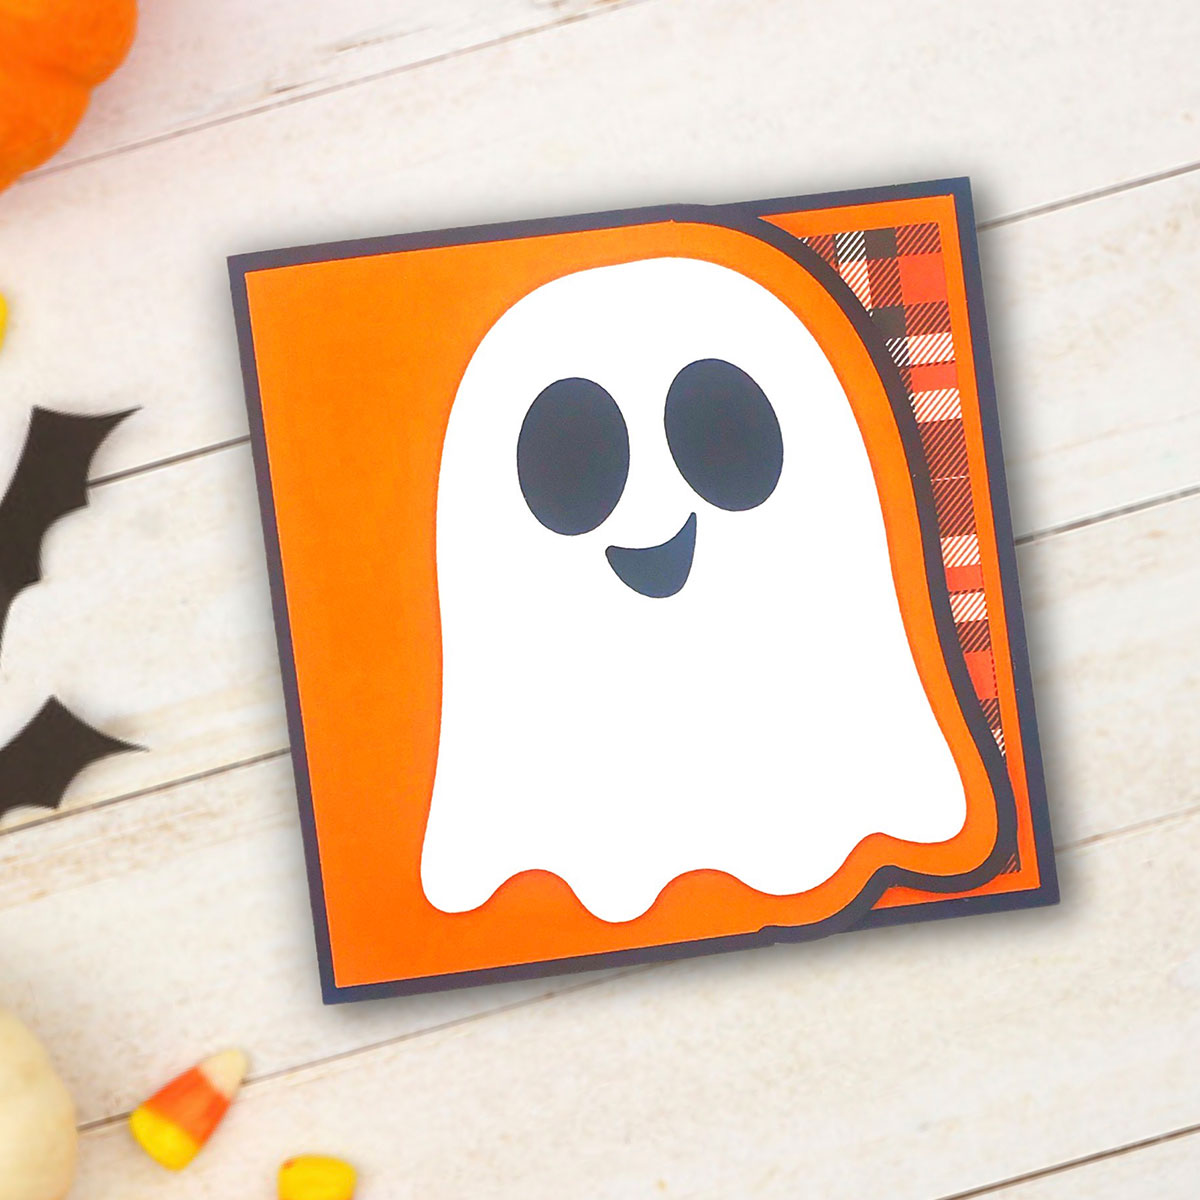
HCC 2023 Day 08 🦇 Happy Ghost Side Edge Card
Are you looking for an easy but effective card for Halloween? This side edge card will be perfect!
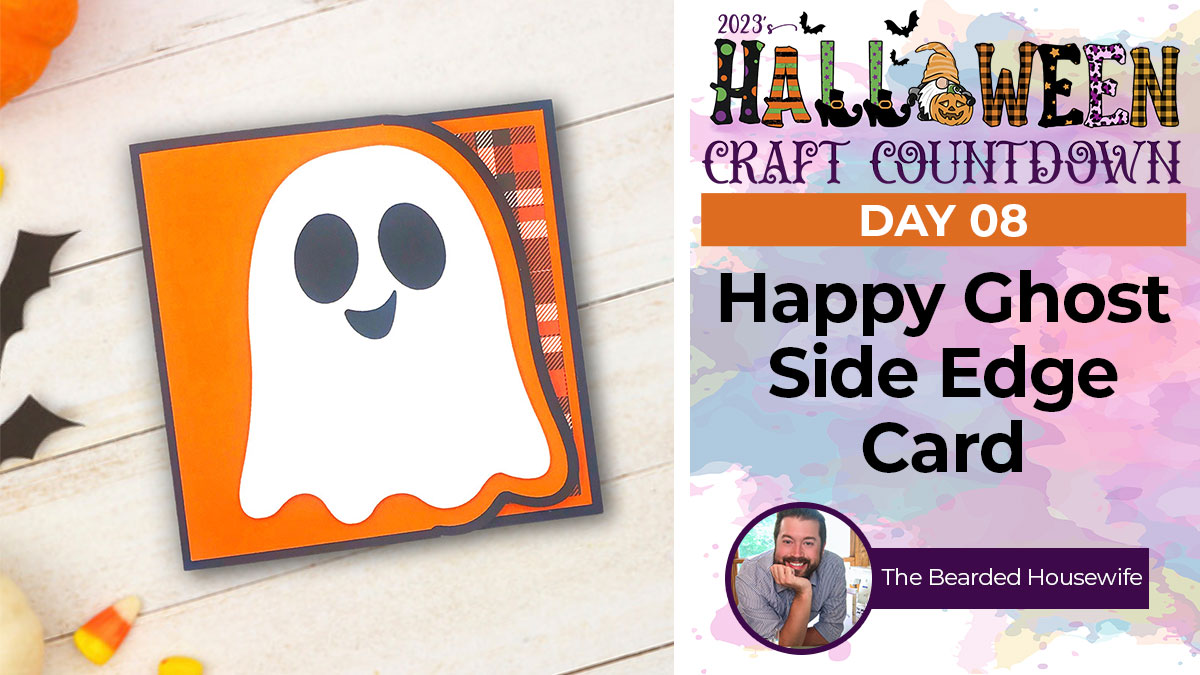
It’s Day 8 of the Halloween Craft Countdown and Nick from The Bearded Housewife will be showing us how to make this Happy Ghost Side Edge Card.
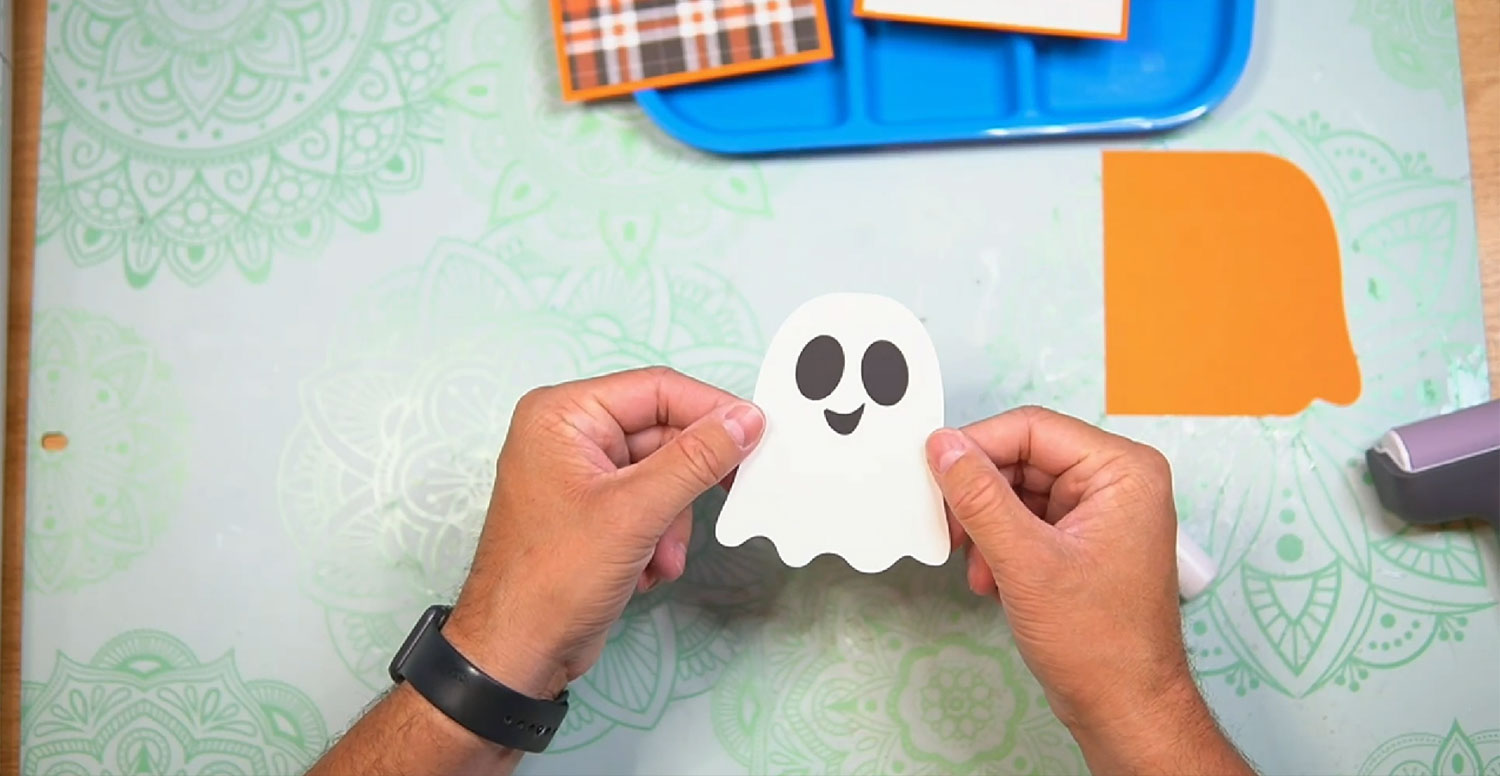
This ghost isn’t too scary, look how cute he is!
Nick will also be showing how to make a matching envelope so that your card will be ready to send right away.
This Project was part of the Halloween Craft Countdown 2023
Materials supply list
Here is a list of the materials that are required to make this project.
Please note that some of the links included in this article are affiliate links, which means that if you click through and make a purchase I may receive a commission (at no additional cost to you). You can read my full disclosure at the bottom of the page.
- Cricut machine
- Light blue Cricut cutting mat (or green cutting mat)
- Cardstock in various colours
- Patterned paper
- Glue
- Foam pads/squares (optional)
This project is suitable for the following types of Cricut machine: Explore Air 2, Explore Air 3, Maker, Maker 3, Venture and Joy Xtra. It is too large to cut on the original Cricut Joy machines.
Video tutorial for personalized candy bar wrappers
Watch the video below to see how to make this cute little ghost card.
If you prefer to read rather than watch, keep scrolling!
This project was created by The Bearded Housewife
Nick has been a crafter for most of his life. On his website, TheBeardedHousewife.com, he helps crafters use their cutting machines to create fun and easy cards and paper crafts.
Written tutorial (with photos!)
Here’s how to make your very own Halloween greetings card using a Cricut machine!
Step 1) Upload the design to Cricut Design Space
Download the files using the box below.

Open up Design Space and start a new project.
Click Upload, Upload Image and Browse.
Select the SVG file from your unzipped folder and upload it.
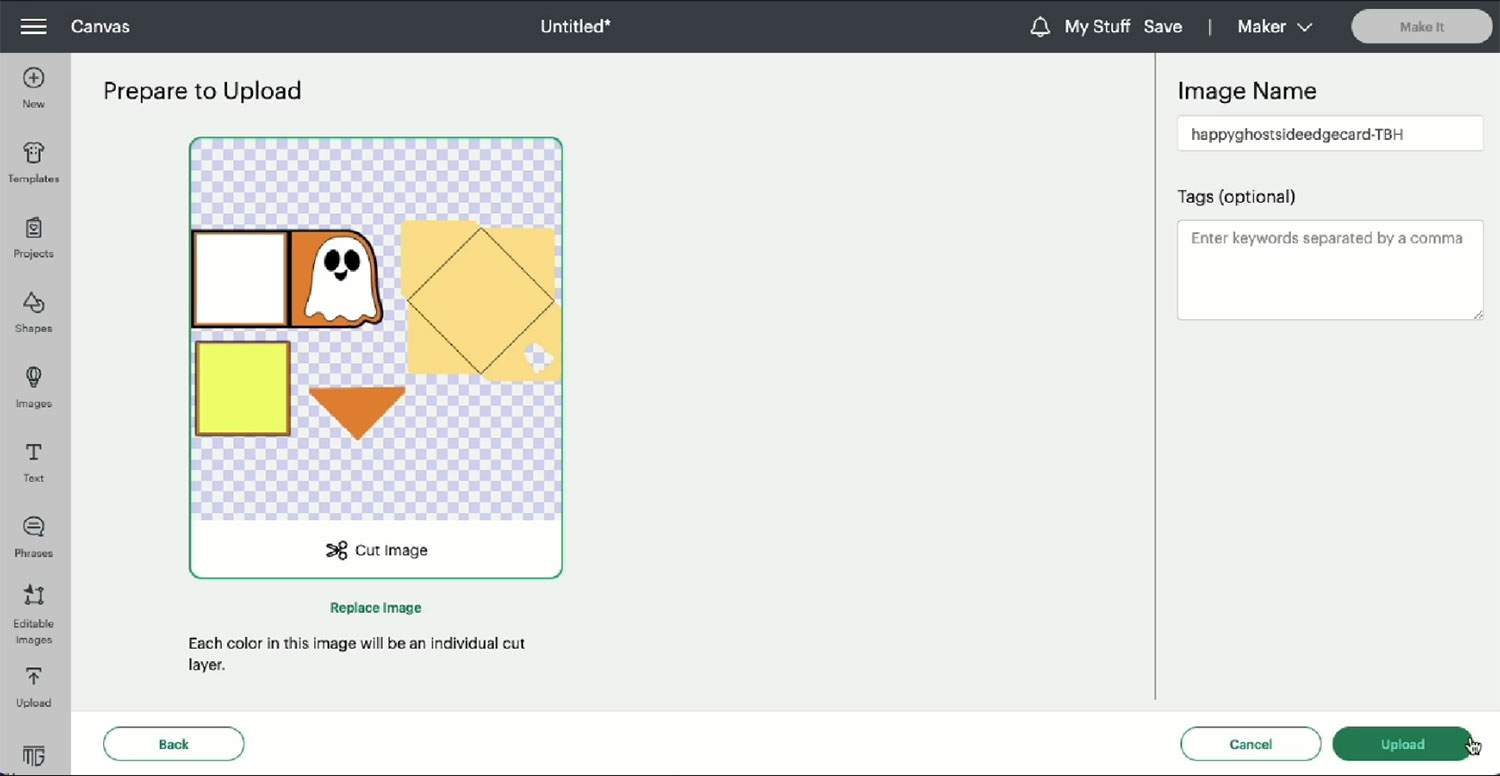
Highlight the image and Add to Canvas.

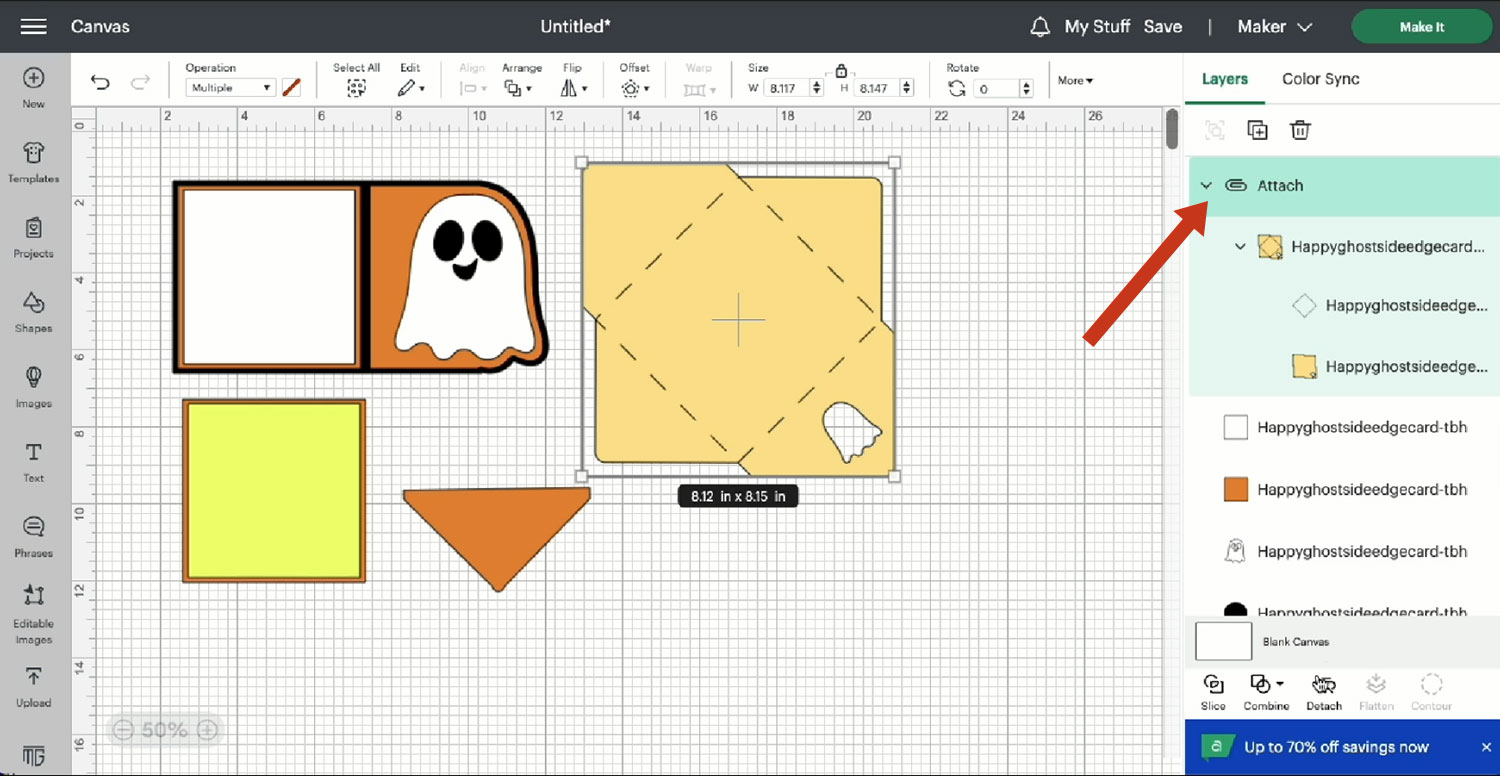
Here’s how the file should look on your Canvas:

Step 2) Convert the score lines
Ungroup the design and scroll down the Layers panel to find the envelope.
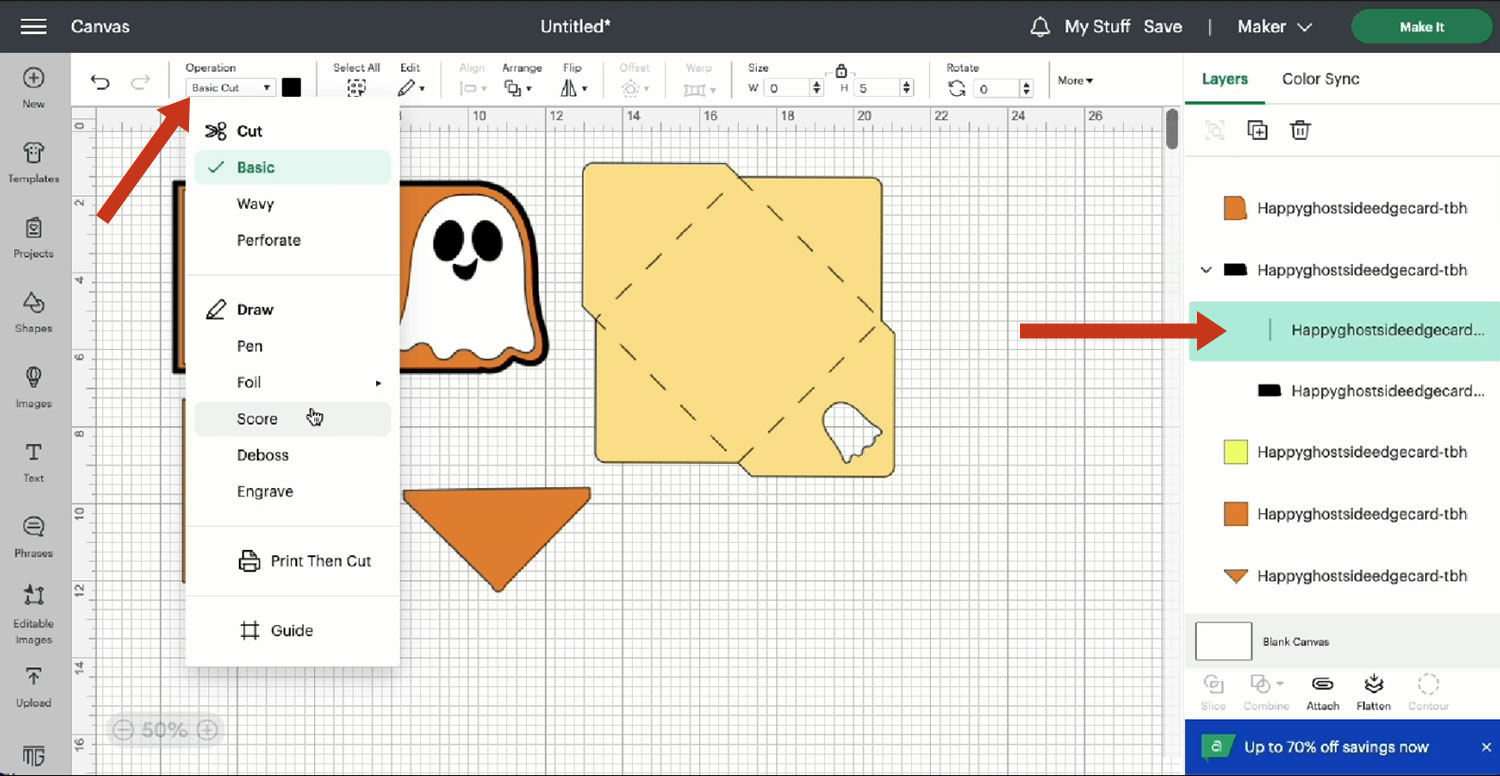
Select the lines (these will look like a black square) and change them from Basic Cut to Score in the Operations drop down.
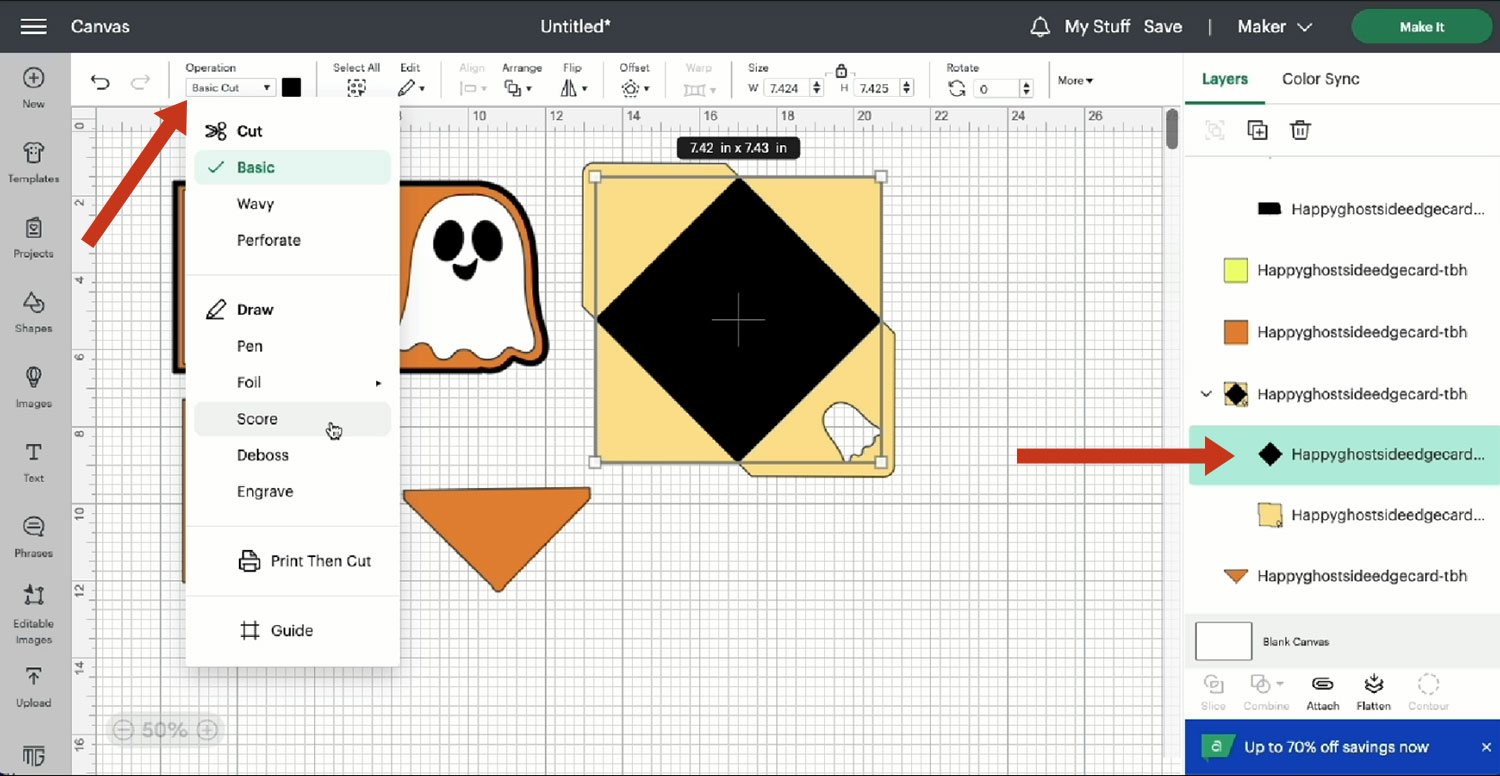
Select the group and click Attach.
You will need to do the same thing for the card base.
Select the line on the card and change it to a Score line.
Attach the score line to the base card.
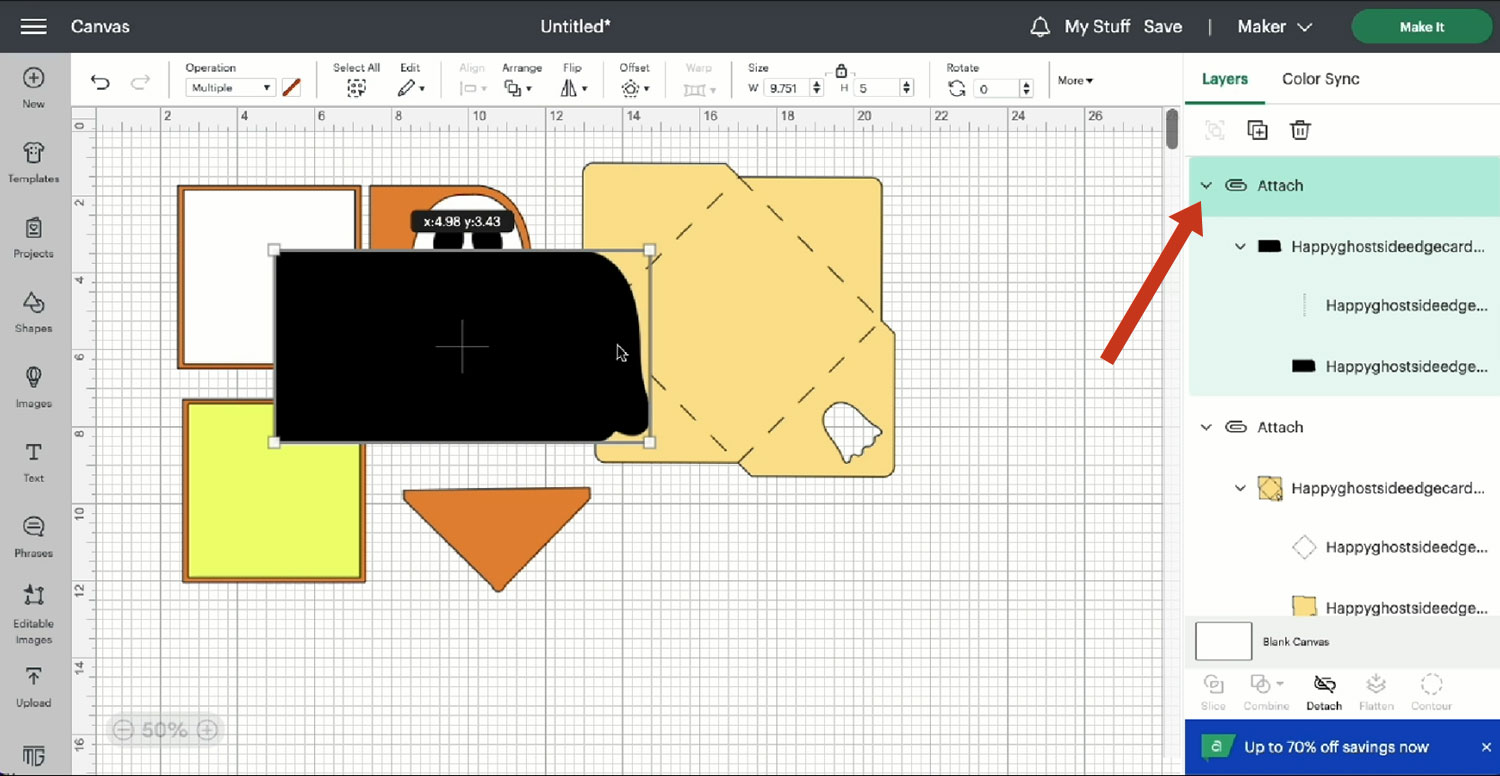
Note: You will see a bright yellow square, this is where you’ll use your pattern paper.
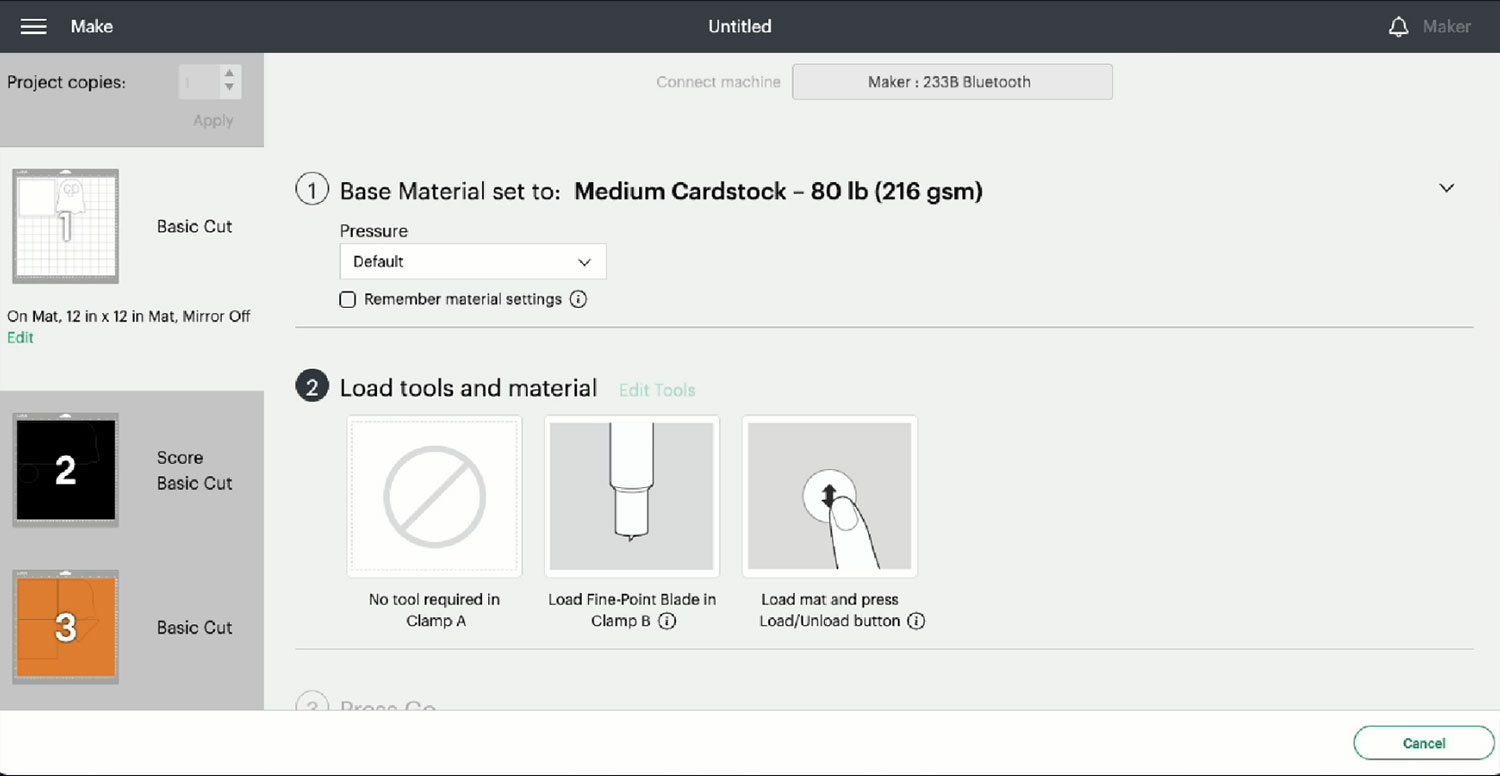
Step 3) Cut the card
When you’re happy with how everything is looking on-screen, go ahead and click Make It.
Follow the on-screen instructions to get everything cut out.
Step 4) Assemble the card
Begin layering your ghost by gluing the black circle behind your ghost’s eyes to make them pop.
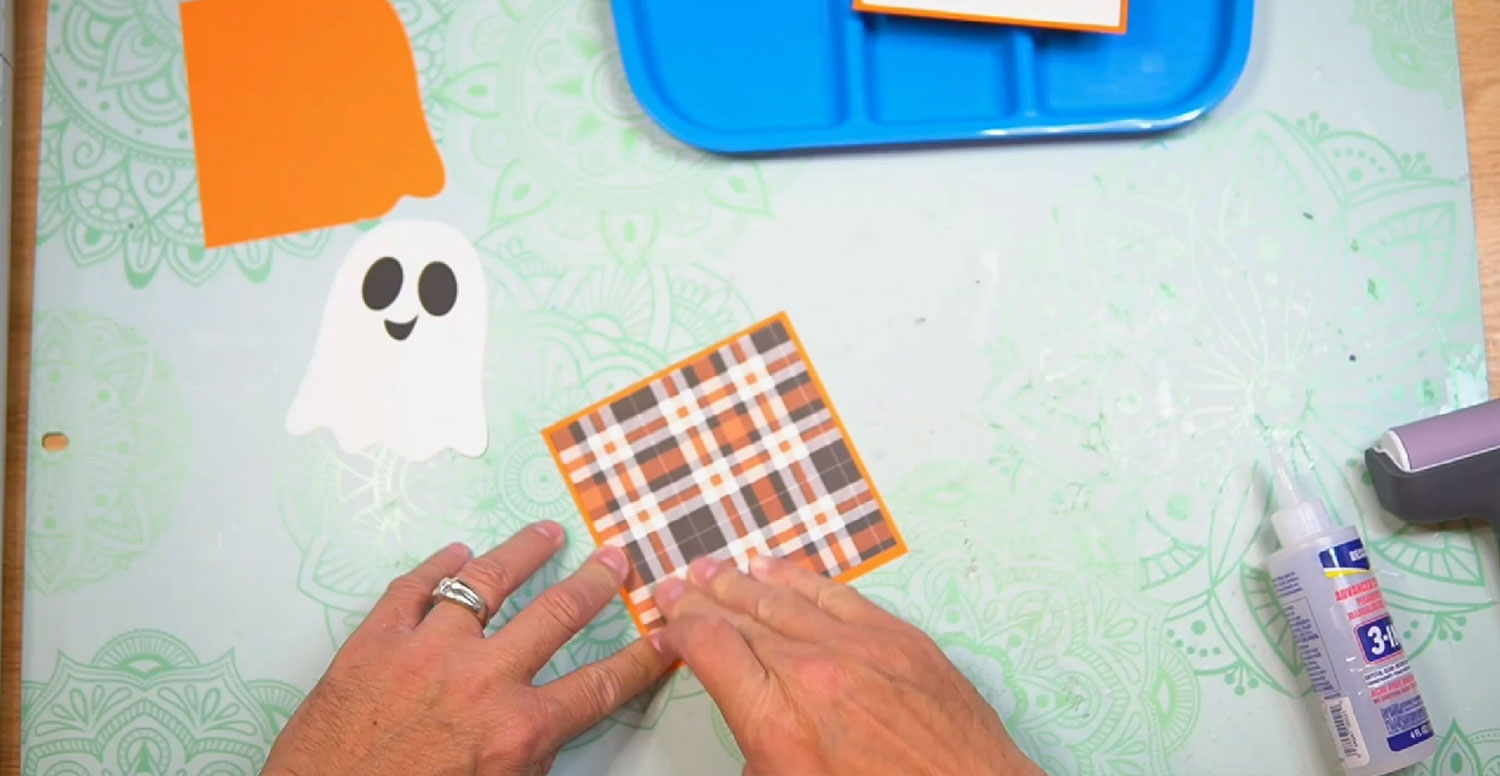
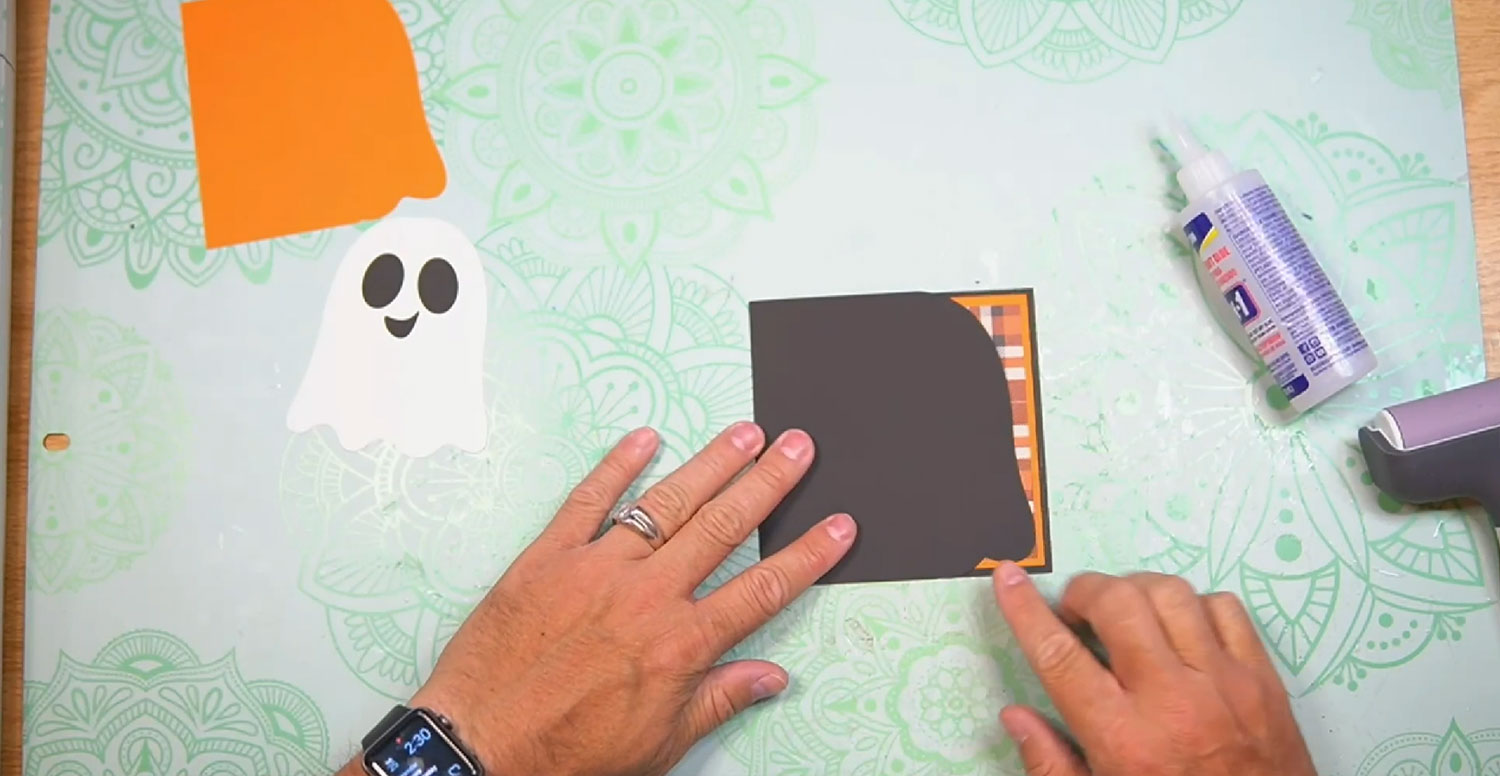
Set your ghost aside, along with the front cover panel, and layer the inside cover panel with the pattern paper.
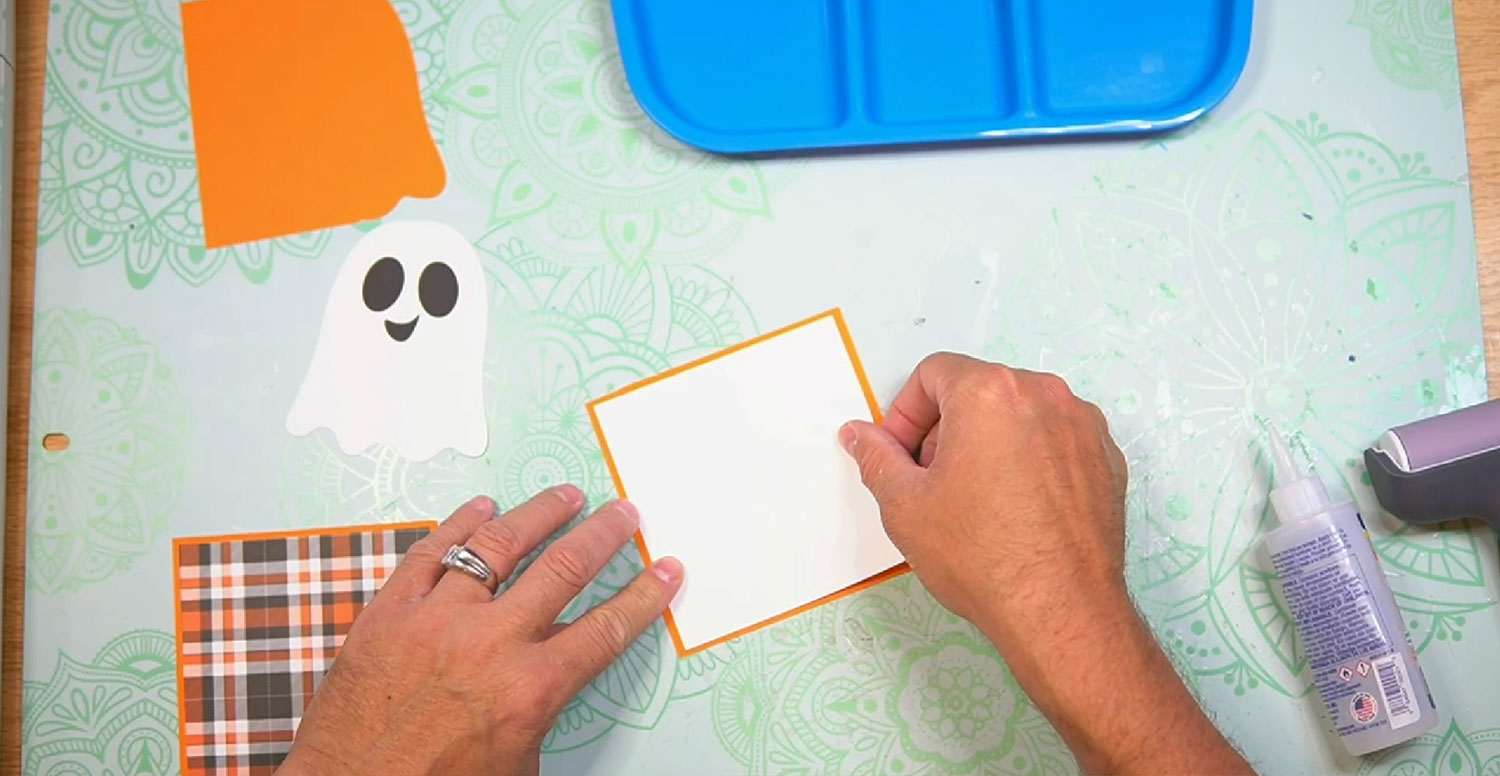
Layer your messaging panel by placing it on top of the final panel.
Fold and burnish along the score line.
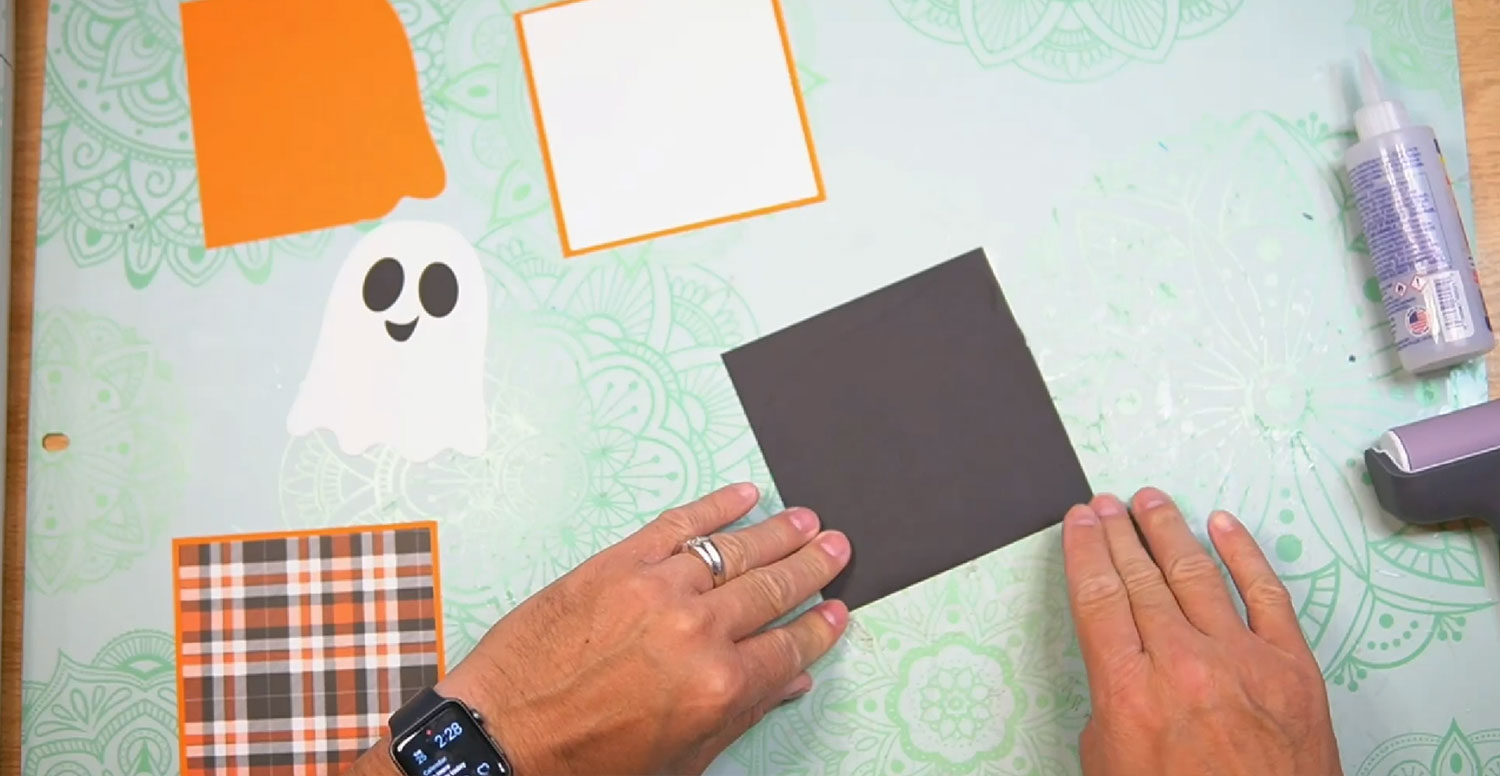
Take your card base and attach both the cover panel (with the pattern paper) and the messaging panel on the back. You can put the messaging panel on the inside if you’d rather.
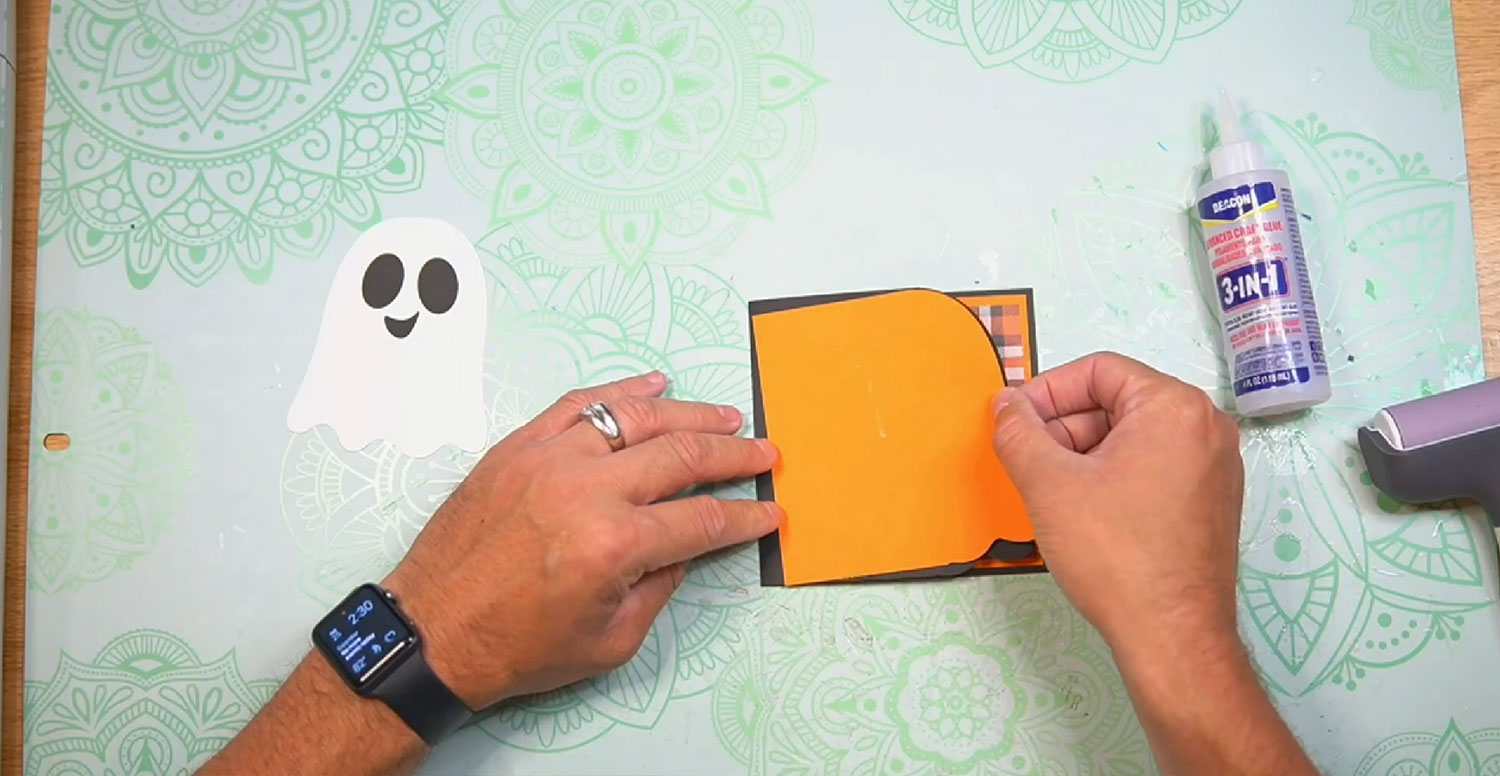
Add the front cover to the front of your card.
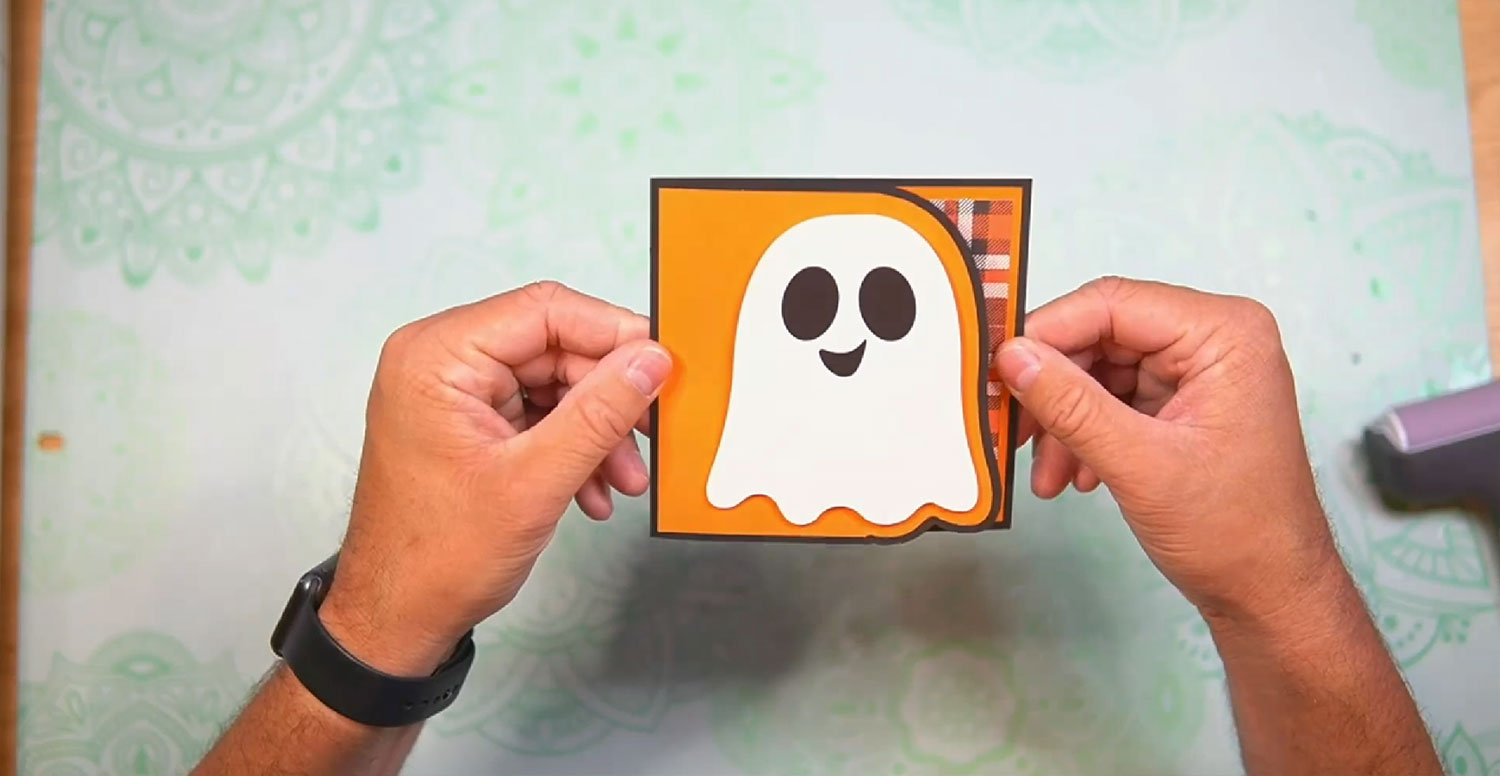
Attach the ghost onto the front cover. Nick used foam squares to add some dimension but you can glue the ghost on if you prefer.
Now your card is all finished, it’s time to make the envelope!
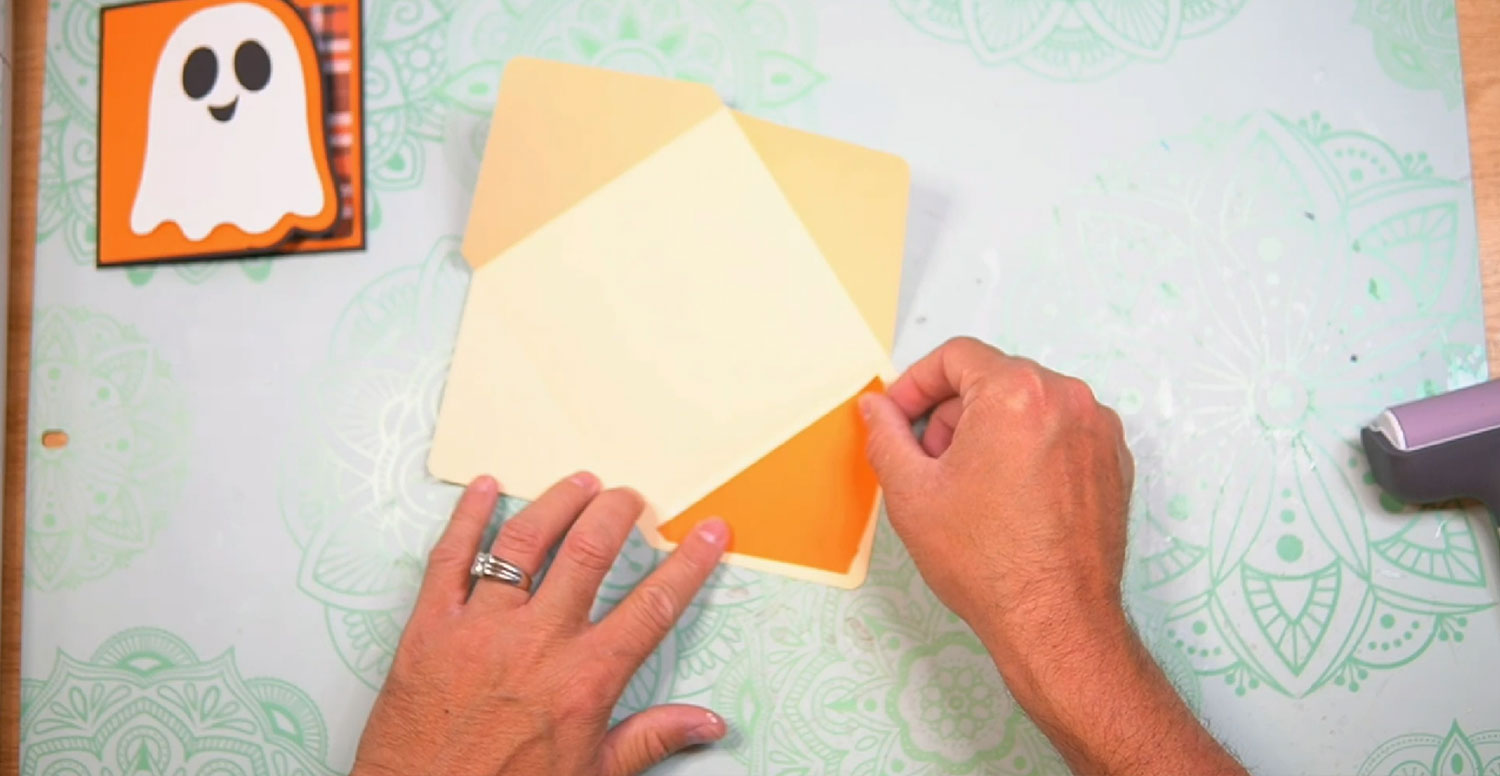
Step 5) Make the envelope
Fold and burnish along the score lines.
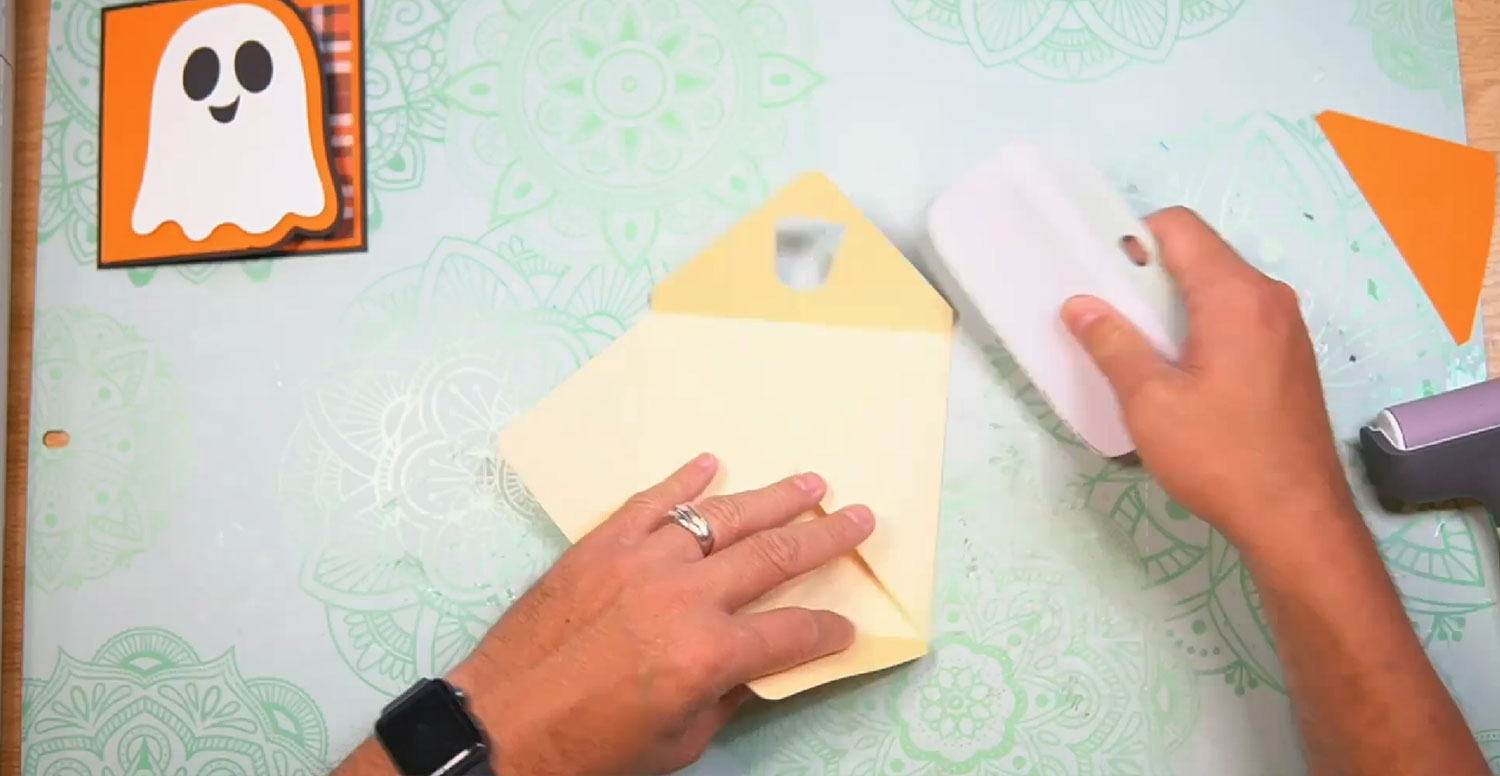
Take the inlay panel and add glue along the outer edge.
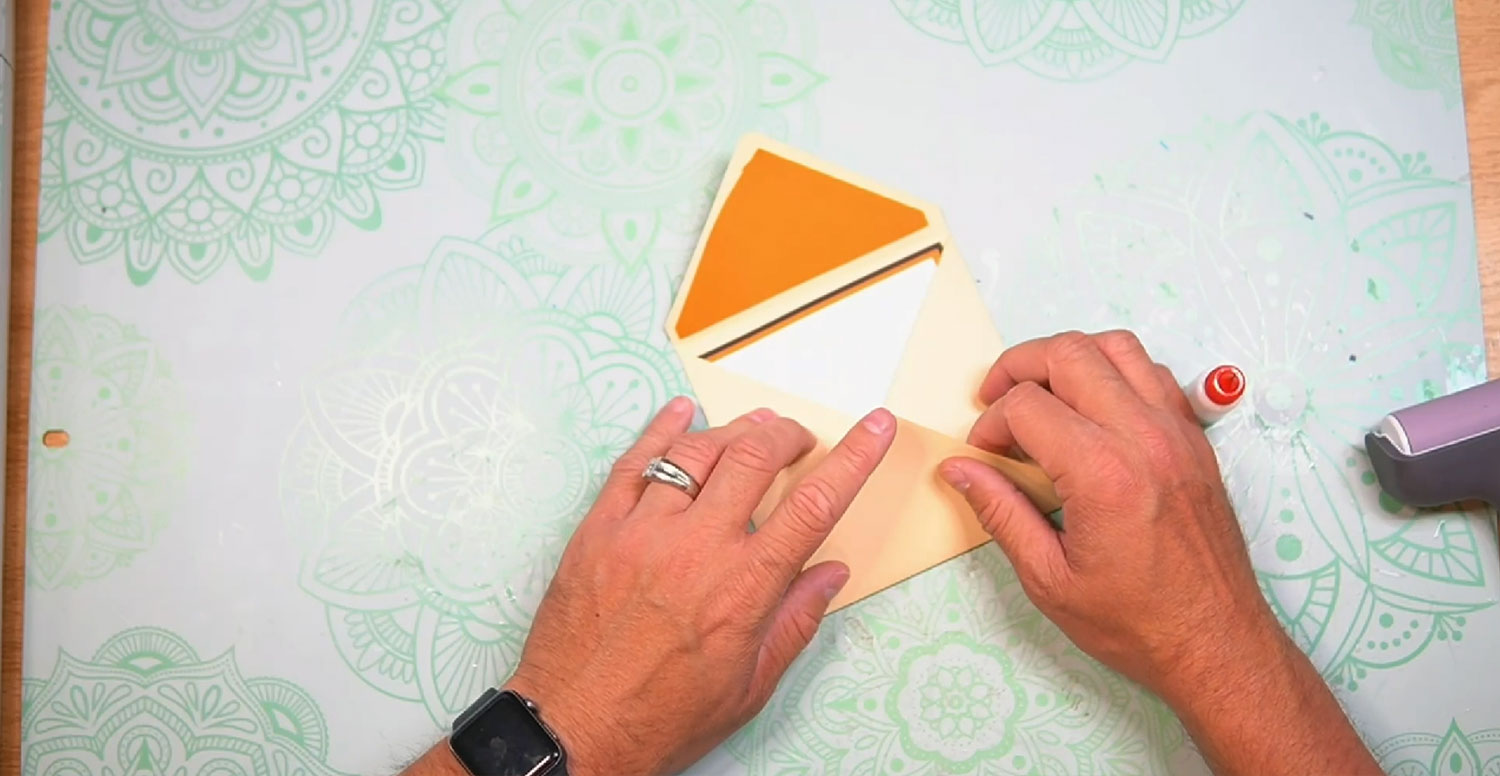
Spin the envelope around. If you have used foam squares on your card, place the card inside the envelope so that you can make sure you have enough space for the card to fit once the envelope is dry.
Add glue along the bottom edge of the side flaps.
Use your thumbs to push up and press. You may want to hold it there for a while, especially if you’re trying to create that larger pocket to fit your envelope.
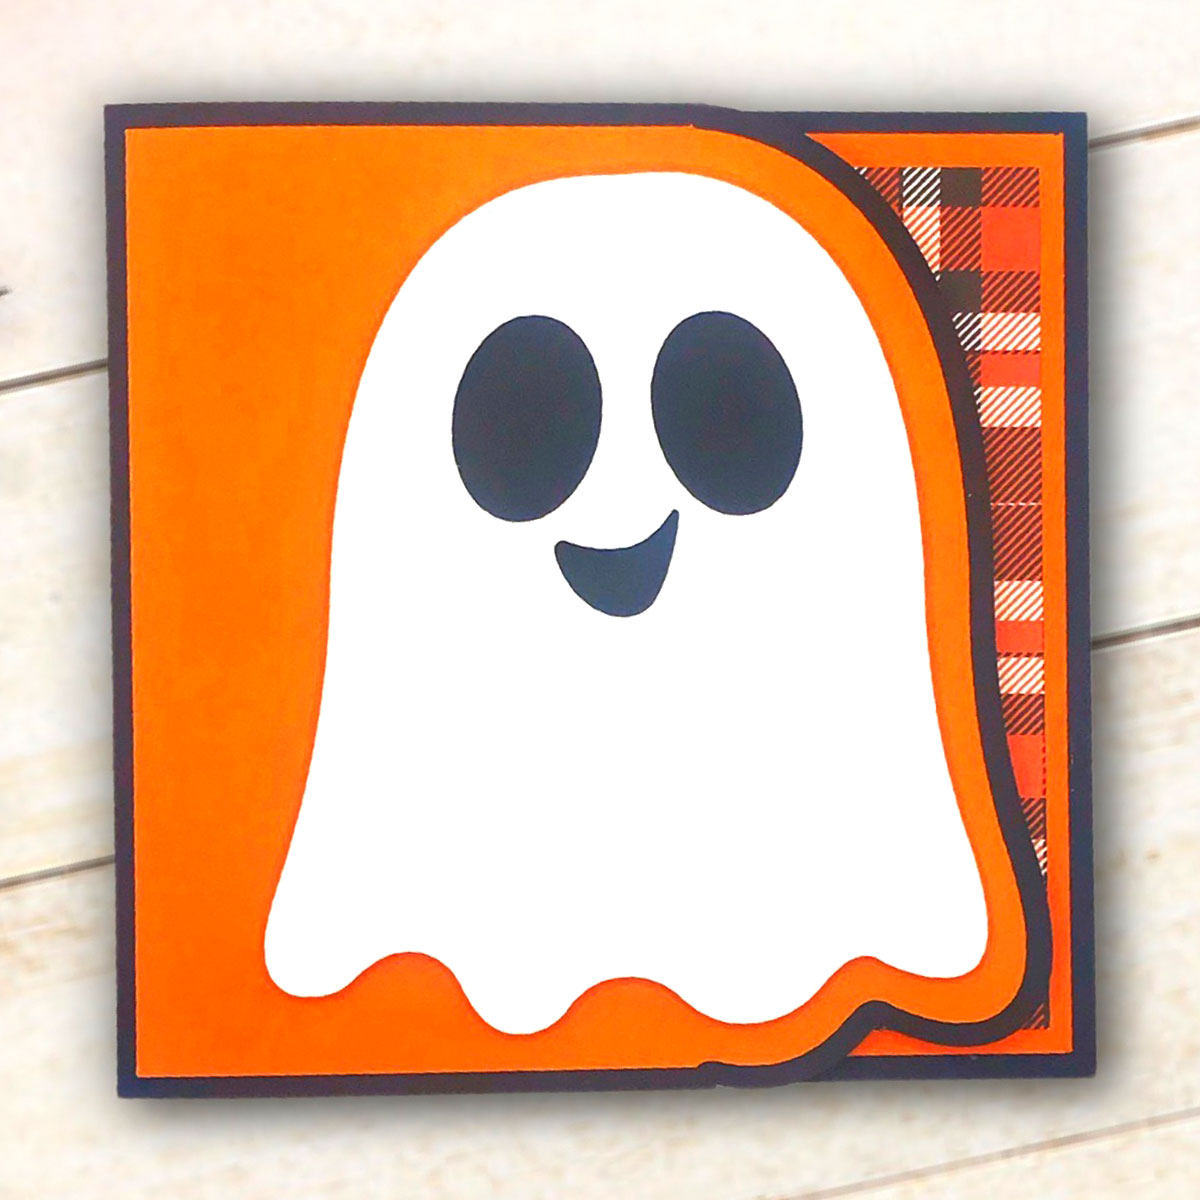
That’s both your card and envelope finished! He’s such a happy little ghost.
Halloween side-edge greetings card
That was such a quick and fun card, I hope you enjoyed crafting alongside Nick.
This card will look so different depending on the colours and patterns of paper that you use. I can’t wait to see what you come up with!
Happy crafting,
Sarah x

