HCC 2022 Day 14 🎃 Filigree Border Cards
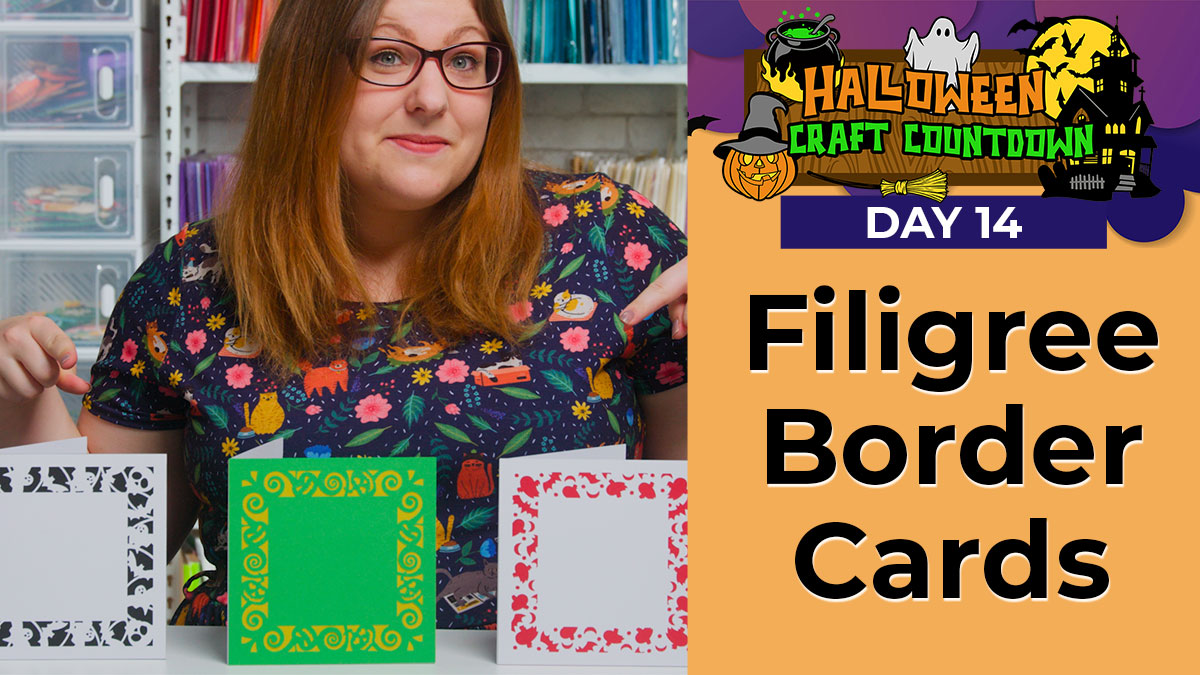
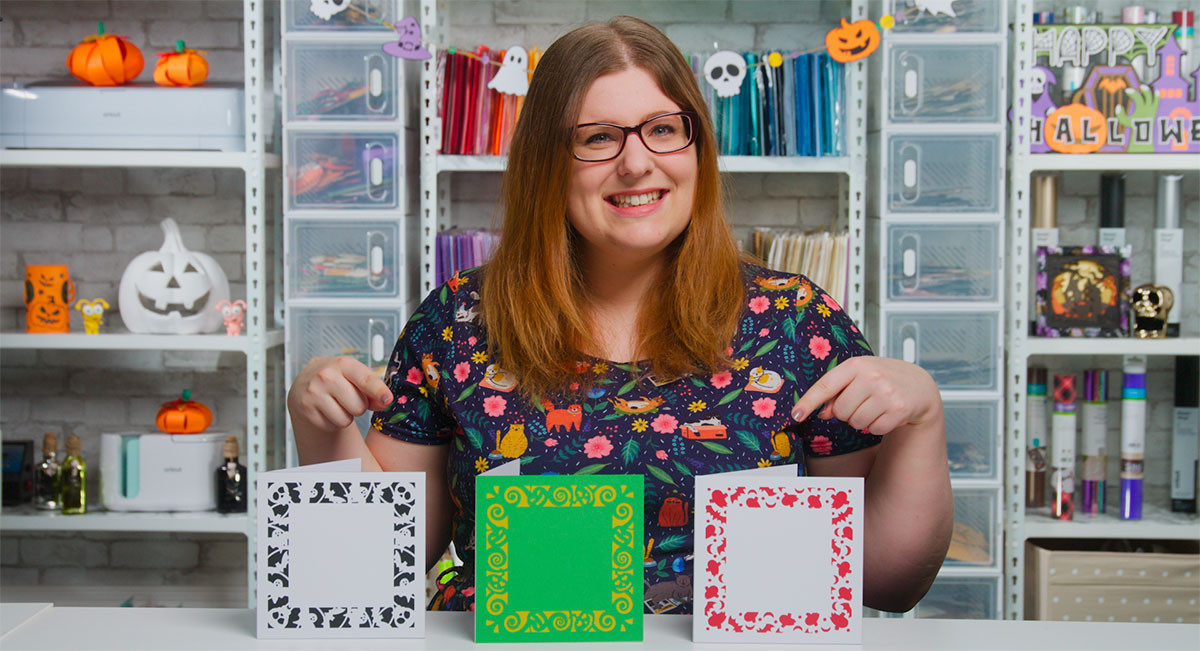
Today we’re back to card making as I’m making filigree border cards with my Cricut.
They make a lovely base to your Halloween greetings cards and there’s a big space in the middle for you to add your own embellishments, toppers, greetings, messages, or whatever you want.
This page also contains a Design Space tutorial on how to design your own filigree border cards for any occasion.
This Project was part of the Halloween Craft Countdown 2022
Materials supply list
Here is a list of the materials that I used to make this project.
Please note that some of the links included in this article are affiliate links, which means that if you click through and make a purchase I may receive a commission (at no additional cost to you). You can read my full disclosure at the bottom of the page.
- Cricut machine
- Light blue Cricut cutting mat
- Coloured Card (I use 160-240gsm weight of card)
- Collall All Purpose Glue
- Needle Tip Applicator Bottle
- Embellishments to finish off the card

Video tutorial
Watch the video below to see how to make this project. Keep scrolling for a written tutorial.
Written tutorial (with photos!)
Here’s how to make the pre-made filigree border cards for Halloween.
Keep scrolling for the Design Space tutorial on how to design you own cards.
Step 1) Download the cutting file(s) & unzip the downloaded folder
Error: No countdown timestamp set.
Before you upload the SVG to Design Space, you need to unzip the download folder that it comes in.
- How to unzip a folder on Windows computer
- How to unzip a folder on a Mac
- How to unzip a folder on an iPad/iPhone
- How to unzip a folder on an Android device
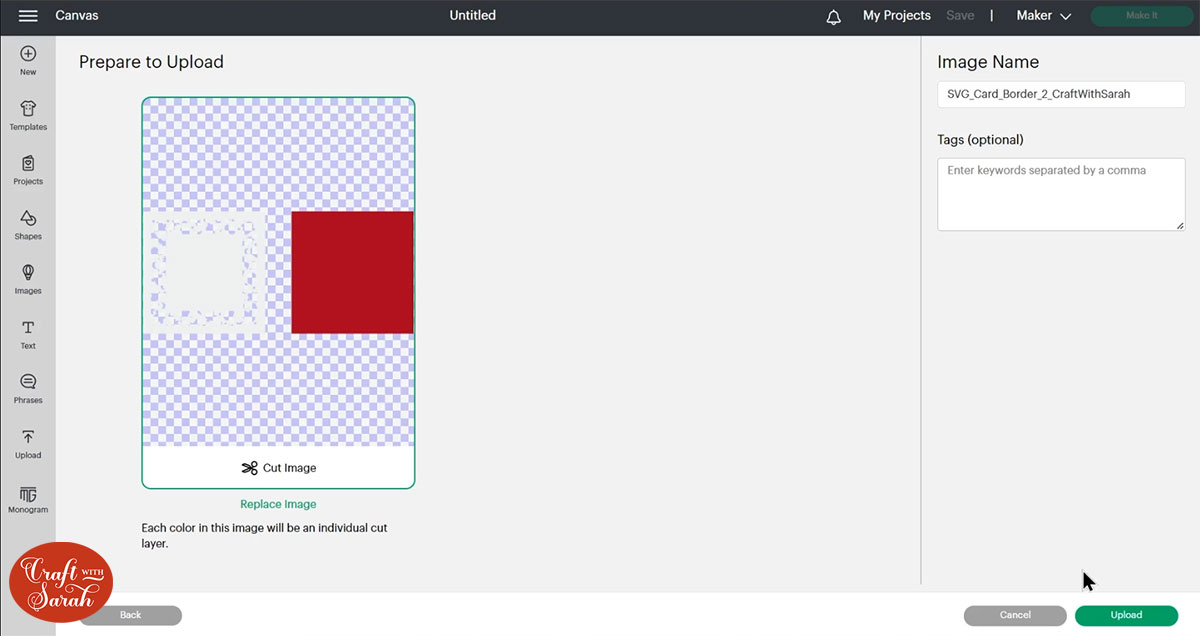
Step 2) Upload the SVG file into Design Space
Open up Cricut Design Space and start a new Project.
Click “Upload” and then find your unzipped version of the downloaded files for this project.

Go into the “Cut Files” subfolder and then the “SVG Files” folder and choose the file you wish to upload.
Make sure you upload the files which start SVG_ in the filename!!
This is how it should look after you have uploaded the file:
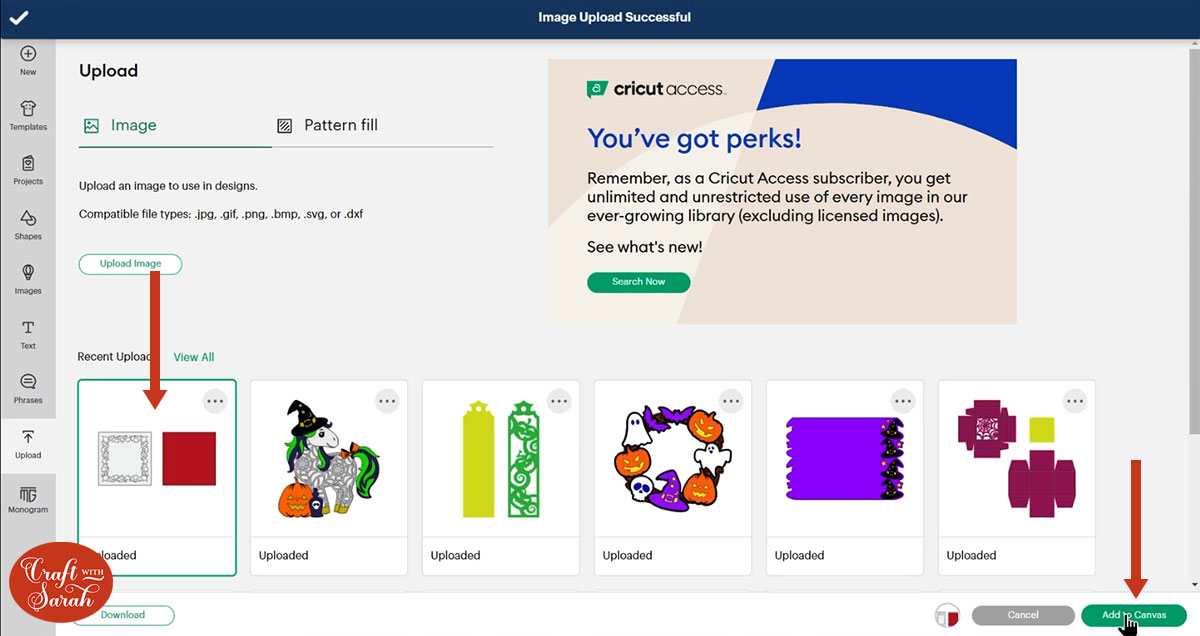
After uploading, the design will show in your “Recently Uploaded Images”.
Click on it and then press “Add to Canvas” to put it onto your Project.
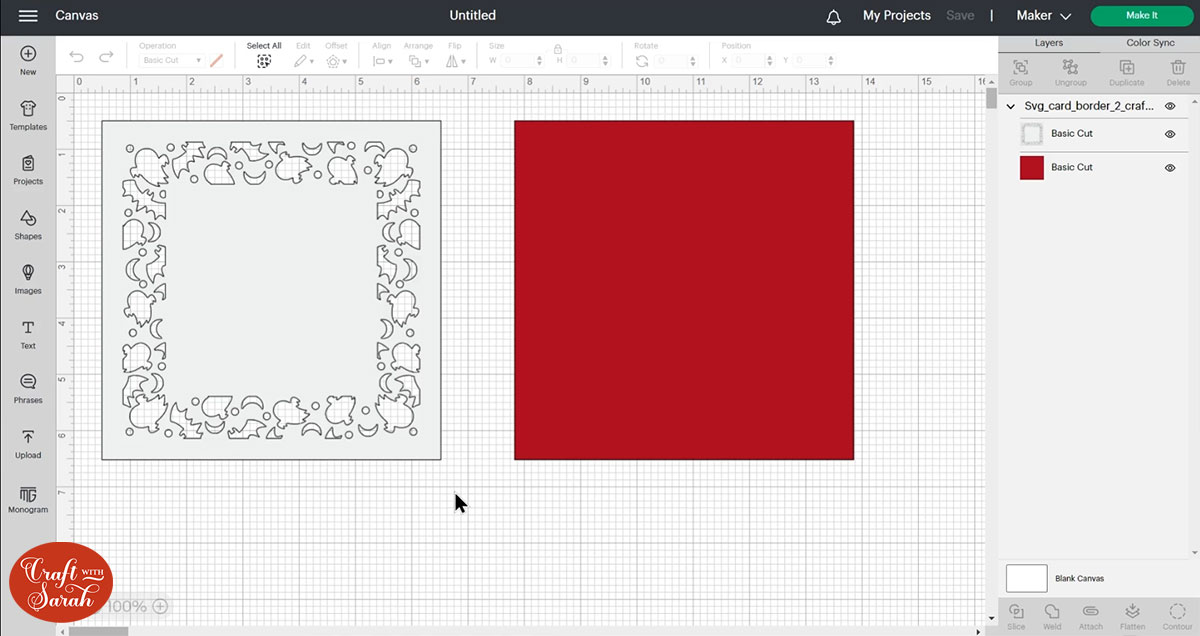
Step 3) Size the design to match your card
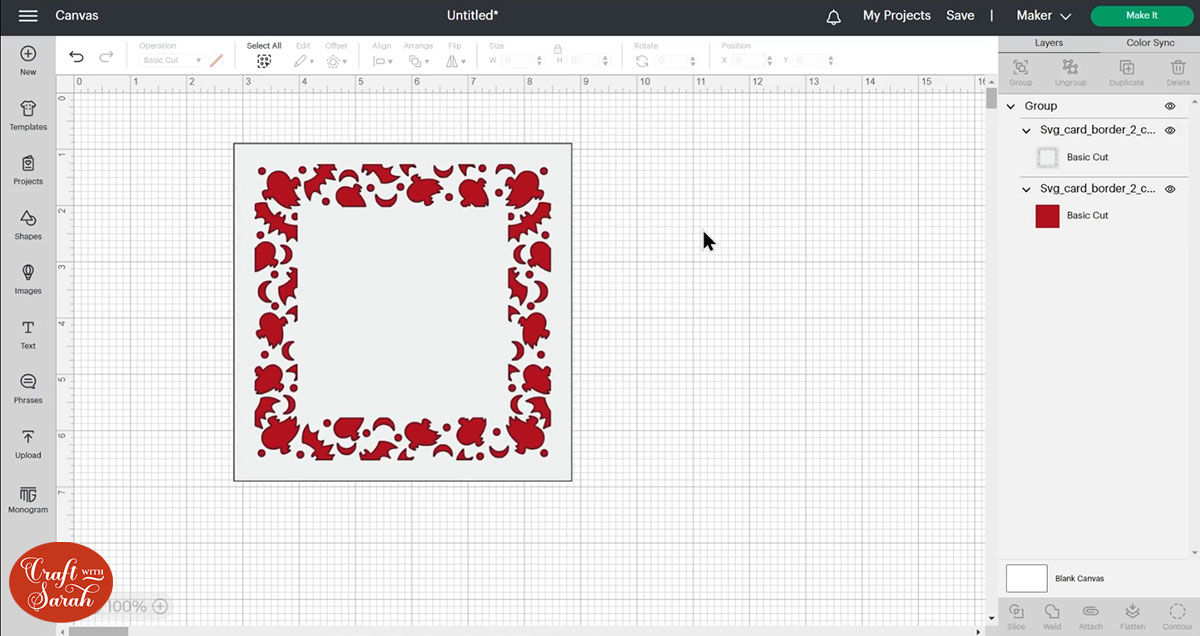
This is how the design looks when it is in your Project:
Click on the design and then press “Ungroup” to separate the layers.

Press “Select All” and then “Align” and “Center” to put the layers one-on-top of each other.
Group the layers together.

You can now resize the design and both layers will change at the same time.
TIP: Make sure the padlock icon above the width/height boxes is CLOSED before you resize. If it appears “open”, click it with your mouse to close it.
I’m putting mine on pre-made card blanks so I’m just resizing them to 6 inches so they will fit.
If you would like to cut your base card with the Cricut, check out this tutorial on how to do that.
Or, watch the video that’s further up this page for the full step-by-step process.
Step 3) Cut out the layers & stick together
When you’re happy with how the project looking in Design Space, click “Make It” and follow the instructions on-screen to cut out all the layers.
After they are cut, stick the solid layer to your base card with glue, then glue the patterned layer on top.
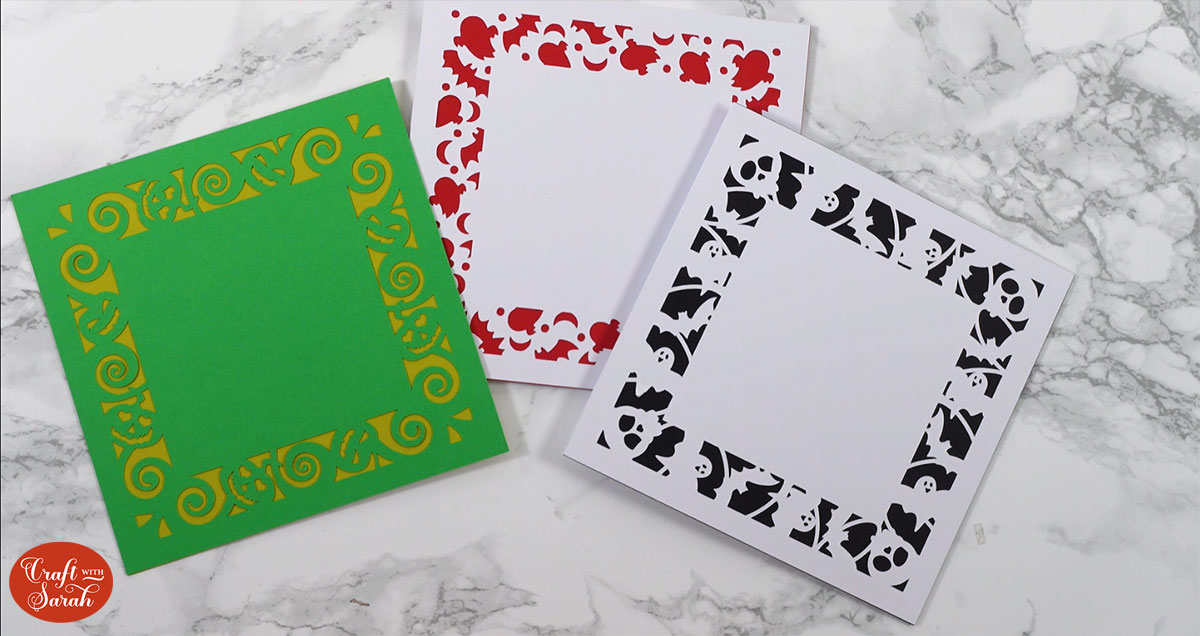
Step 4) Decorate the card
Your card is now ready to be decorated however you like!
Design your own filigree border cards
Want more filigree border card designs?
Here’s how to design your OWN for any occasion in Cricut Design Space!
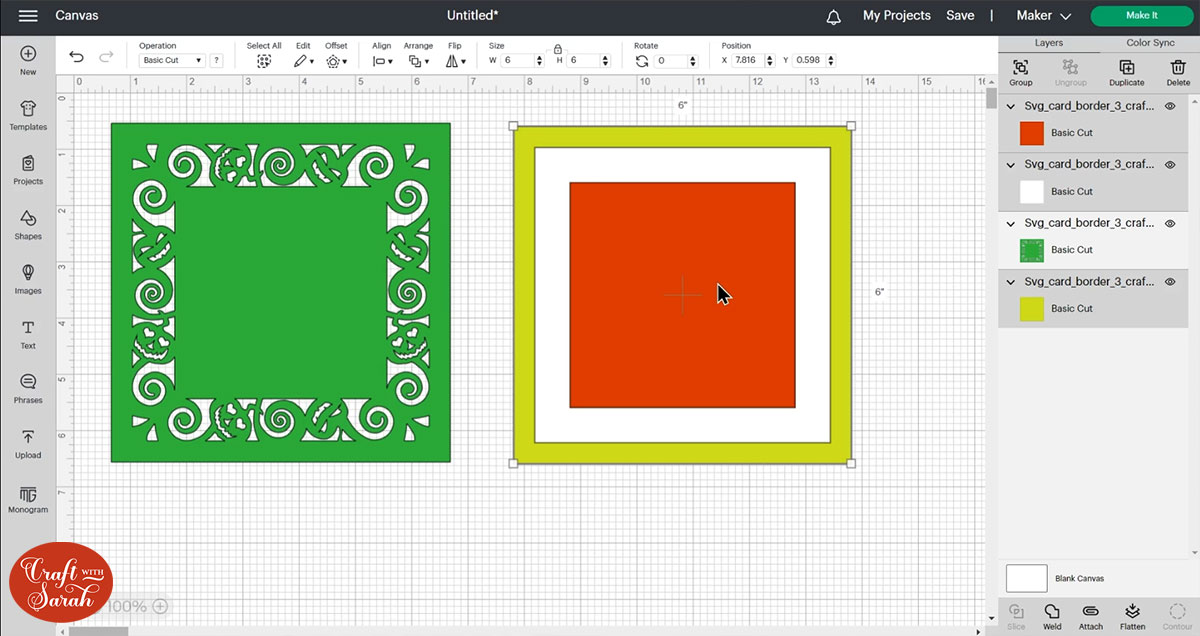
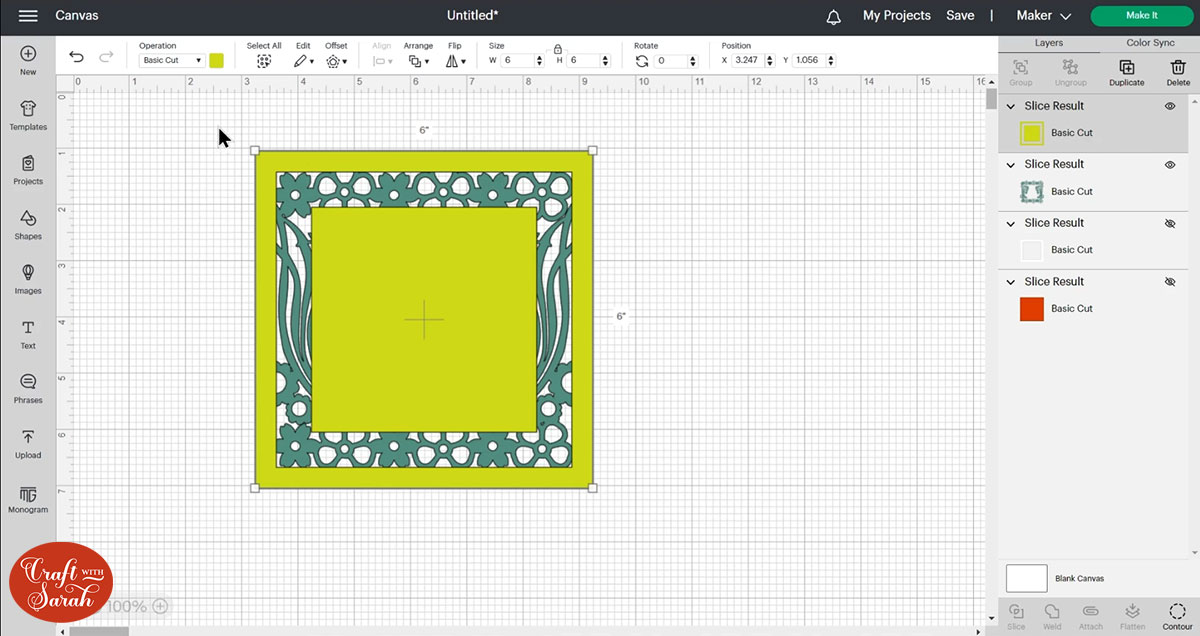
Step 1) Add three squares
Go into “Shapes” and choose a square.
Size it to how big you want your card front to be. For me, that’s a 6-inch square.

Make 2 more squares that are slightly smaller and change the colours of them to make them easier to see.
My white square is 5.25 inches and my red square is 4 inches.
Press “Align” and “Center” to put all the squares in the middle of each other.
This is how they should be looking:
Step 2) Create the card base
Select the smallest and middle squares and “Slice” them.
Delete the second slice result layer (the solid white square) so you are left with this:
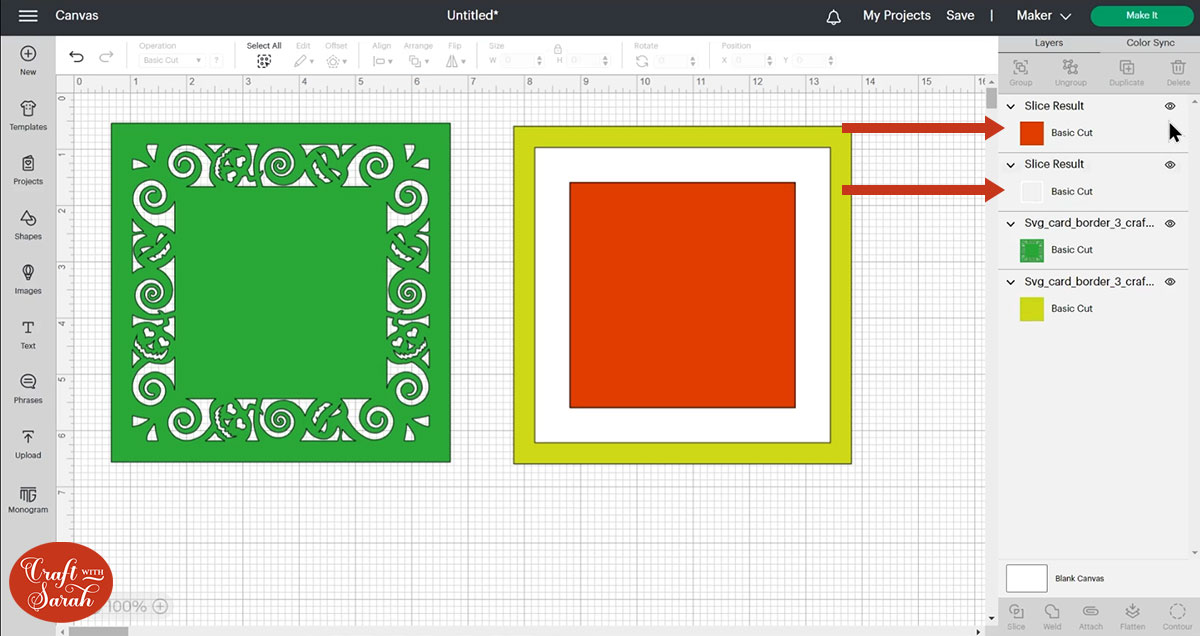
Hide the smallest square layer by clicking the eye next to it on the layers panel.
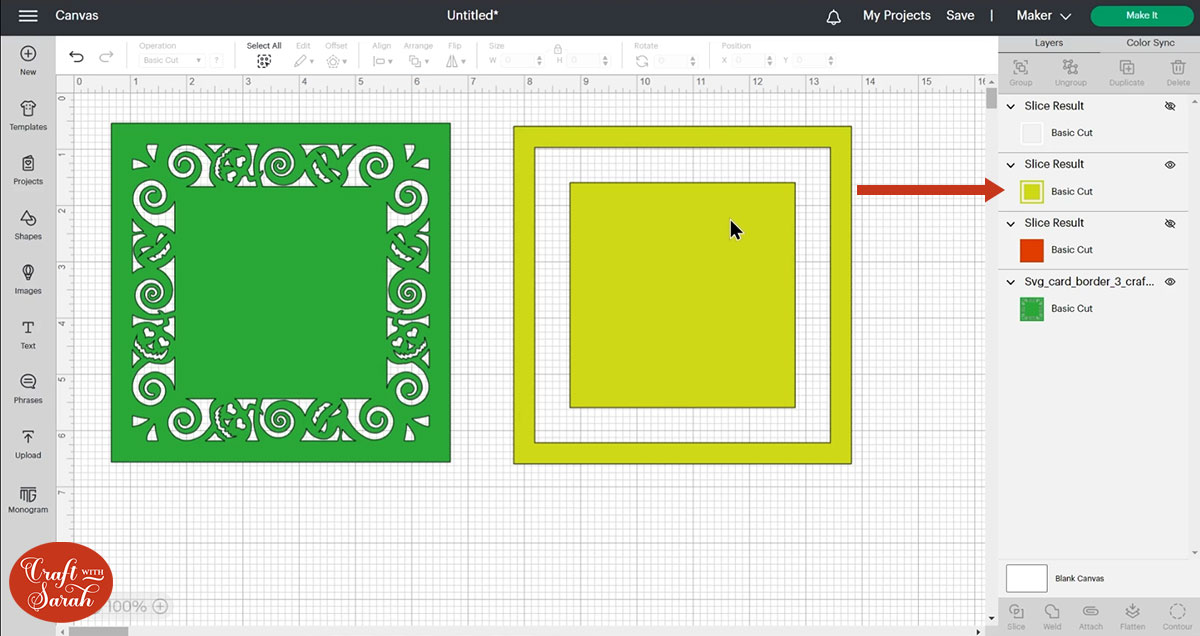
Select the white layer and your largest square and “Slice” them out from each other.
Delete (or hide) the white layers and one of the green layers so you are left with this:
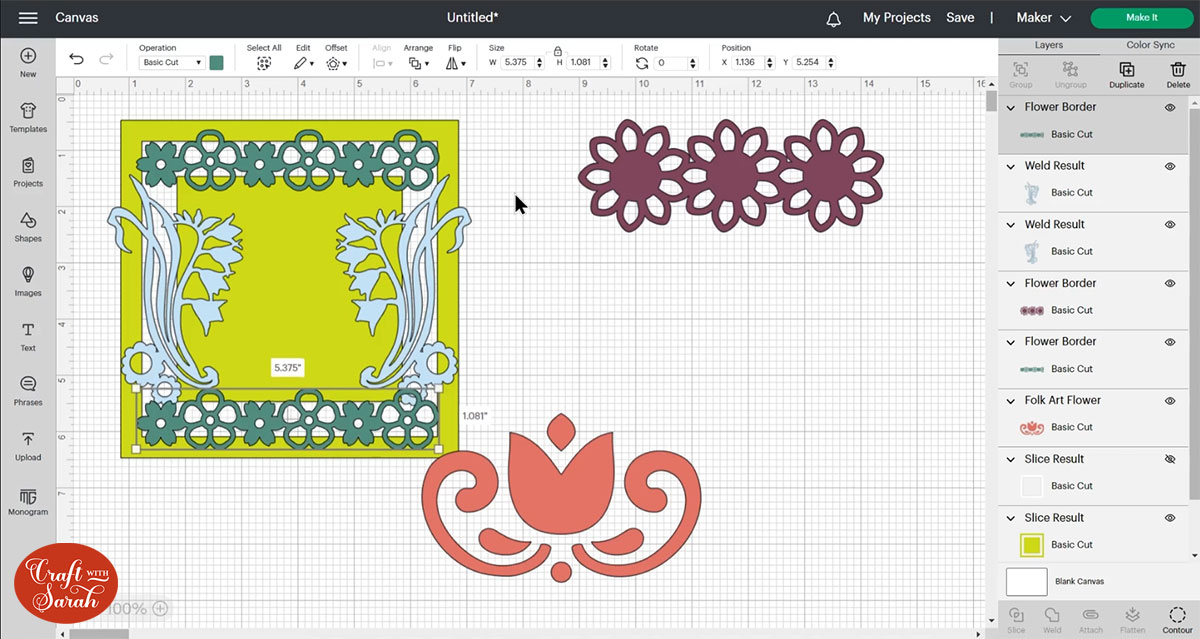
Step 3) Add some images
Go into “Images” and find some pictures to add to the border of the card.
Create your design.
Watch the video at the top of this page to see me design mine in real-time, including some handy tips along the way!
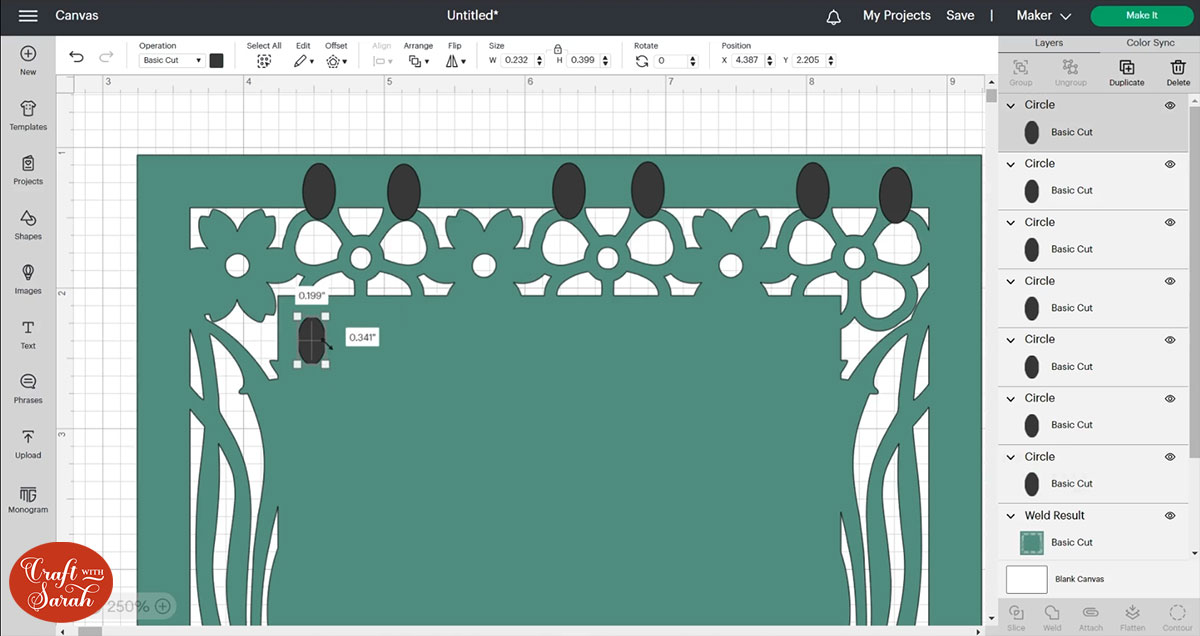
Step 4) Tidy up the images
Select all the picture layers and “Weld” them together to turn them into one layer.
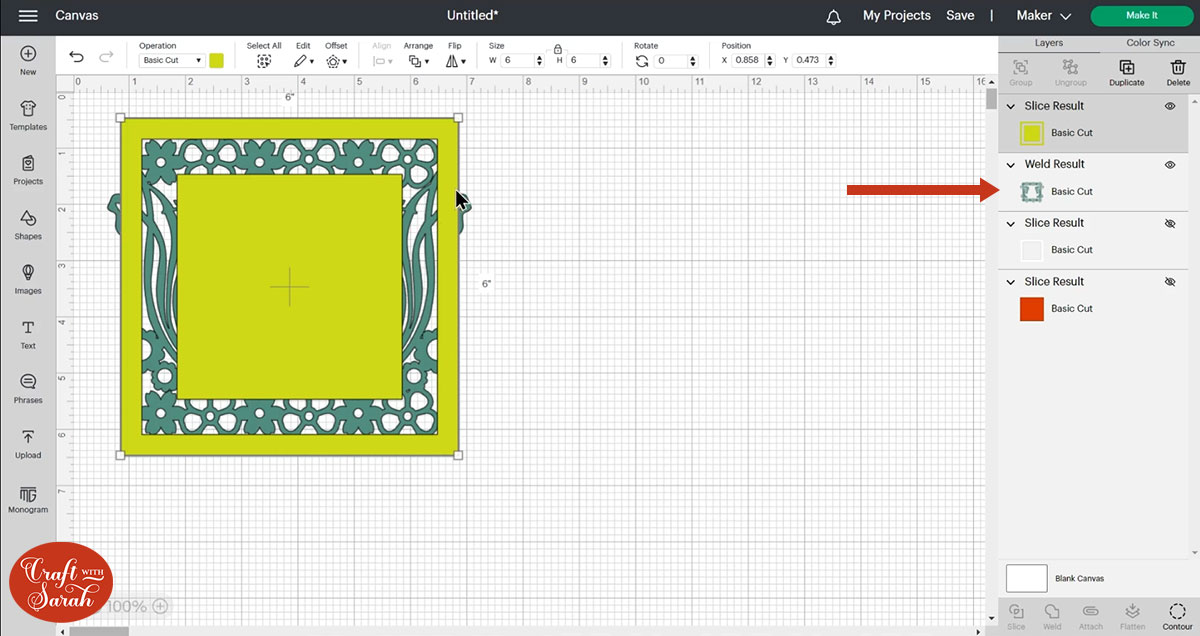
If there are any parts that are going “over the edge” of your square template, you need to cut those bits off.
Use Shapes to cover up all the bits that are poking over the side. Weld the shapes together.
Select the shape layer and the images layer and “Slice” them, then delete the layers you don’t need.
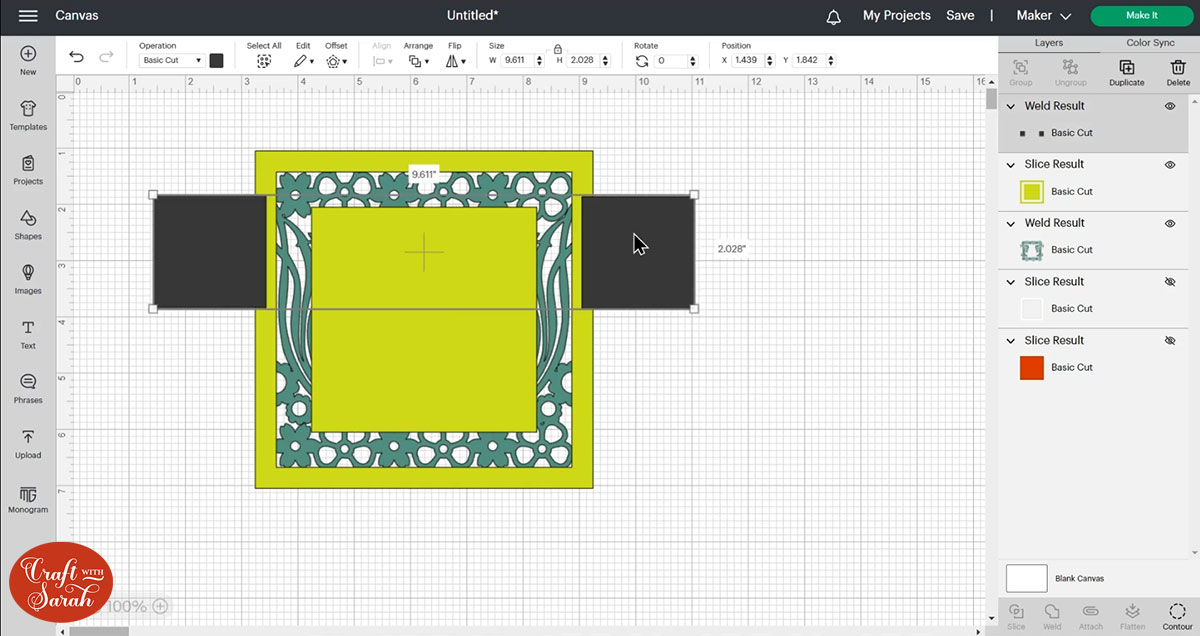
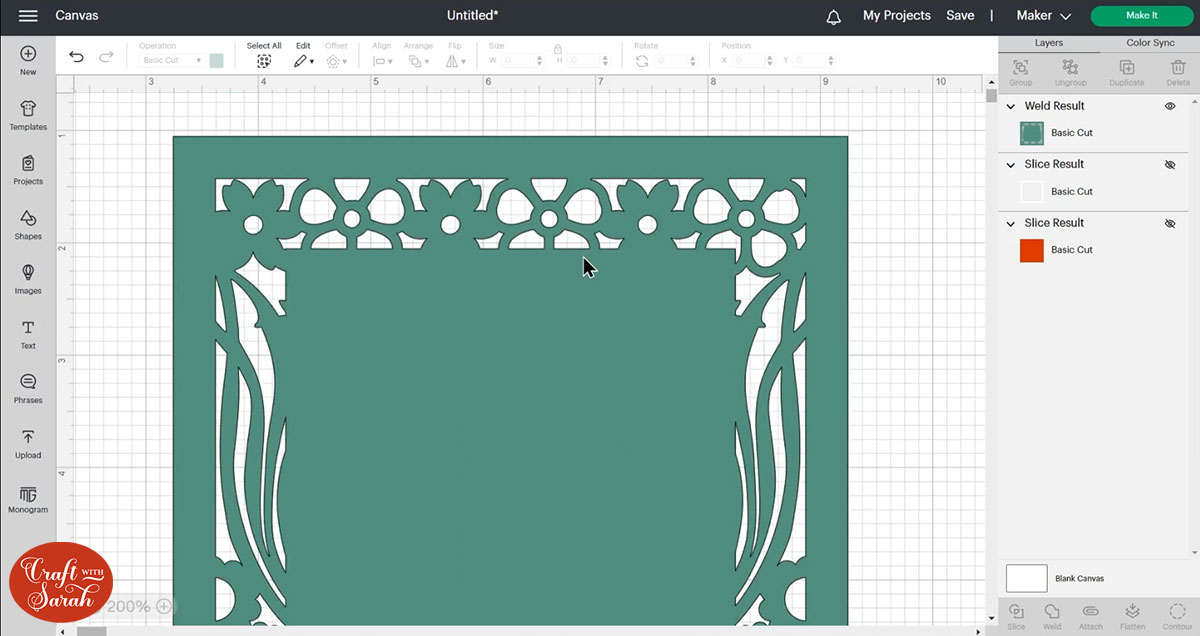
Step 5) Join it all together
Select the card template layer and the images layer and “Weld” them together.
If there are any tiny gaps showing that your Cricut would struggle with, use “Contour” to fill them in.
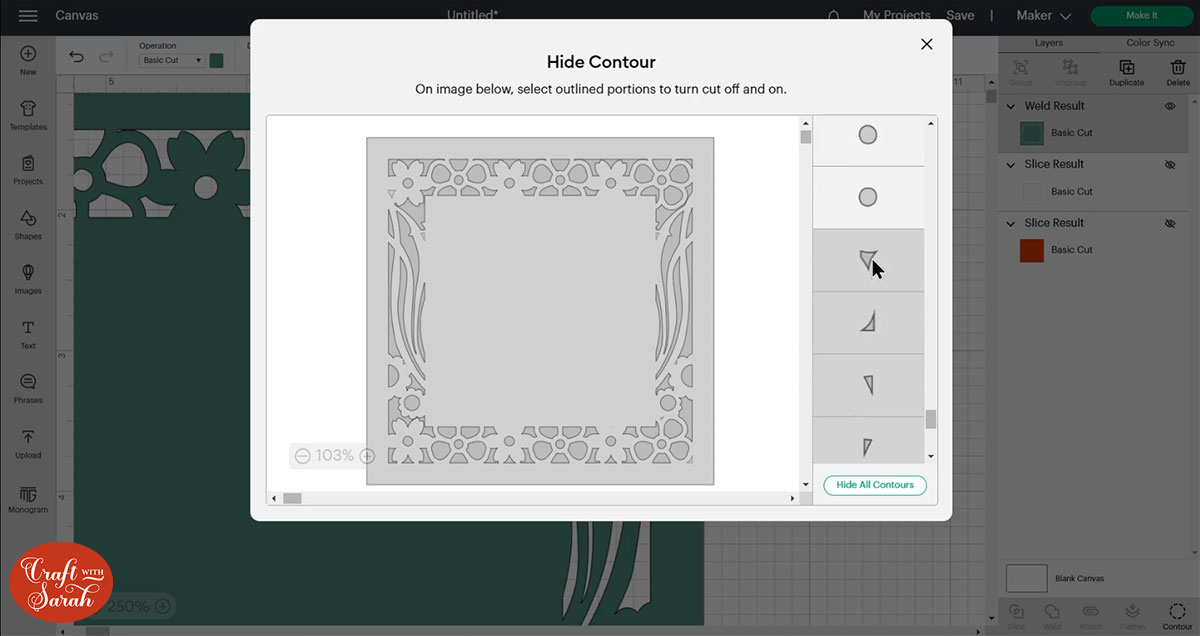
If there are any little holes that you can’t fill in with Contour, draw some shapes over them to cover them.
Then, Weld the shapes to the card.
Your card design is now all ready to be cut!
Filigree border cards made with a Cricut
I hope you enjoyed this tutorial on how to make the pre-designed filigree border cards included in the Halloween Craft Countdown, but also how to design your own in Cricut Design Space.
Happy crafting,
Sarah x

