HCC 2022 Day 02 🎃 Pumpkin Popout Cards
Today’s projects are these spooky (but adorable!) pumpkin cut and fold cards, also known as pop out cards.
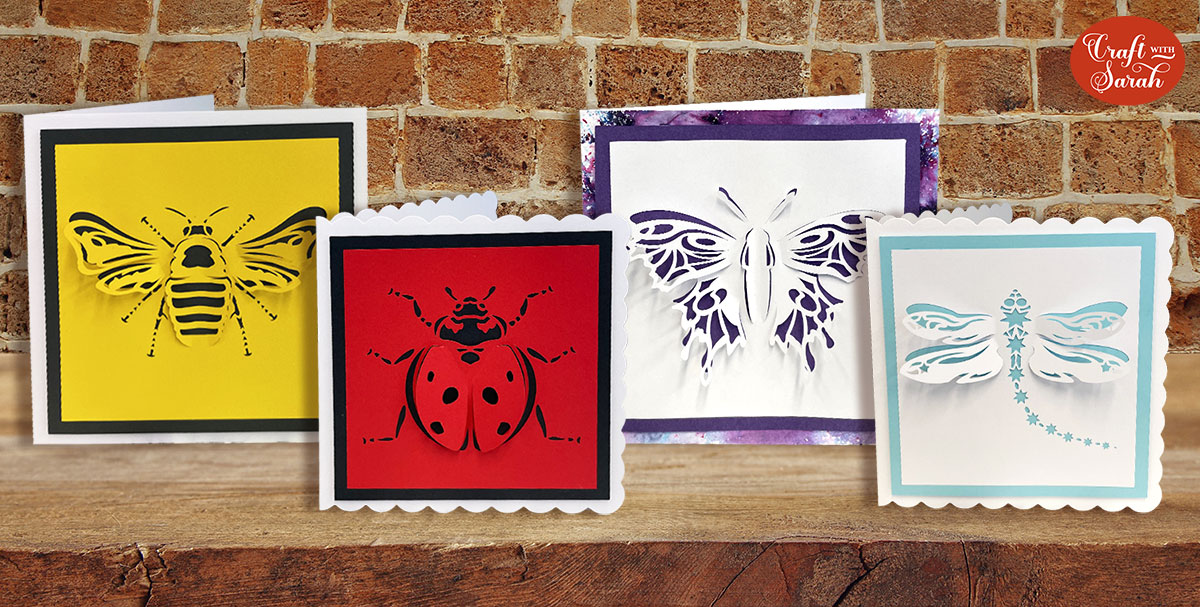
Your Cricut will cut single lines to make up the pumpkin shapes and then you gently bend the shapes back to make a 3D popout effect.
They are really simple to make and, best of all, they fold completely flat for posting.
This Project was part of the Halloween Craft Countdown 2022
Materials supply list
Here is a list of the materials that I used to make this project.
Please note that some of the links included in this article are affiliate links, which means that if you click through and make a purchase I may receive a commission (at no additional cost to you). You can read my full disclosure at the bottom of the page.
- Cricut machine
- Light blue Cricut cutting mat
- 6×6 inch card blank OR card to cut your own card blanks
- White card
- Coloured or holographic Card
- Glue or double-sided tape
- 3D foam pads
- Cricut scoring stylus or scoring wheel (optional)
Video tutorial
Watch the video below to see how to make this project. Keep scrolling for a written tutorial.
Written tutorial (with photos!)
Here’s how to make your very own pumpkin cut and fold cards using a Cricut machine!
Step 1) Download the cutting file(s) & unzip the downloaded folder
Error: No countdown timestamp set.
Before you upload the SVGs to Design Space, you need to unzip the download folder that they come in.
- How to unzip a folder on Windows computer
- How to unzip a folder on a Mac
- How to unzip a folder on an iPad/iPhone
- How to unzip a folder on an Android device
Step 2) Upload the SVG file into Design Space
Open up Cricut Design Space and start a new Project.
Click “Upload” and then find your unzipped version of the downloaded files for this project.

Go into the “Cut Files” subfolder and then select your chosen card design from the “SVG” folder.
For this tutorial, I’ll show you how to make the pumpkin design with the hat which is SVG_Pumpkin_3_Hat_CraftWithSarah.svg, but it’s exactly the same for any of these designs.
Make sure you upload the file which starts SVG_ in the filename!!
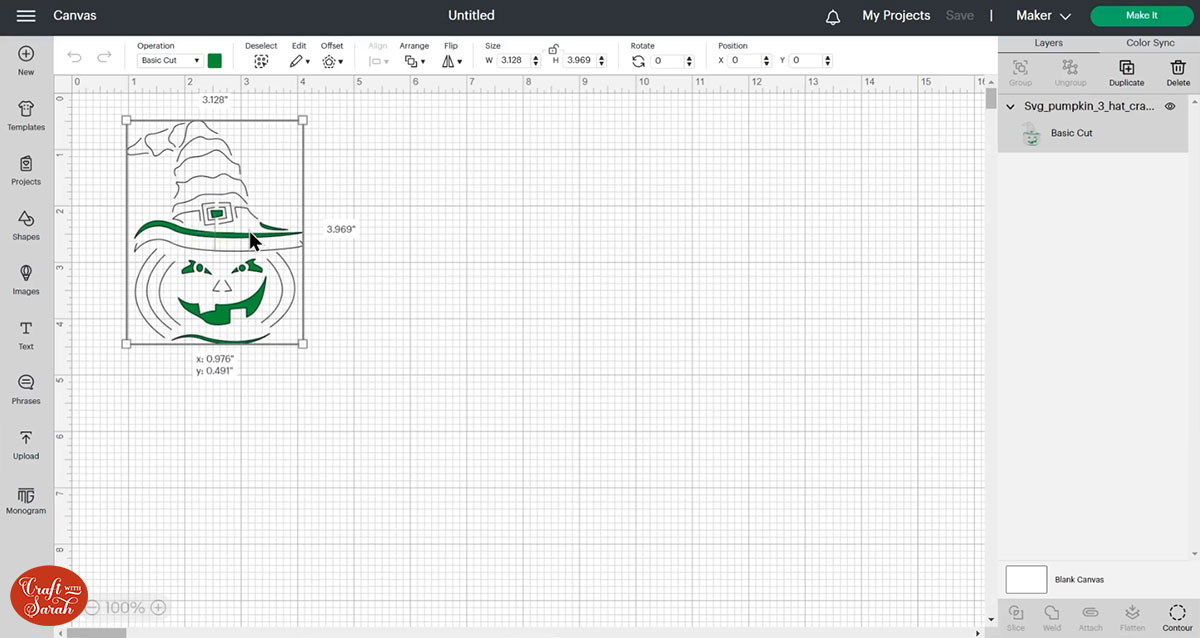
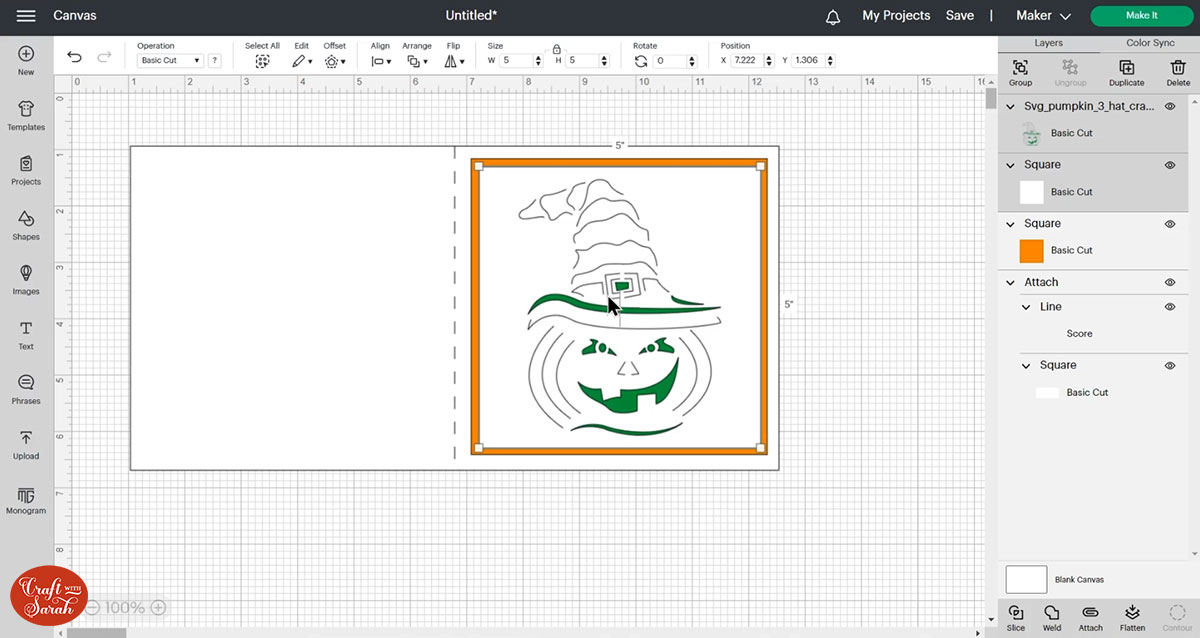
This is how it should look after you have uploaded the file:
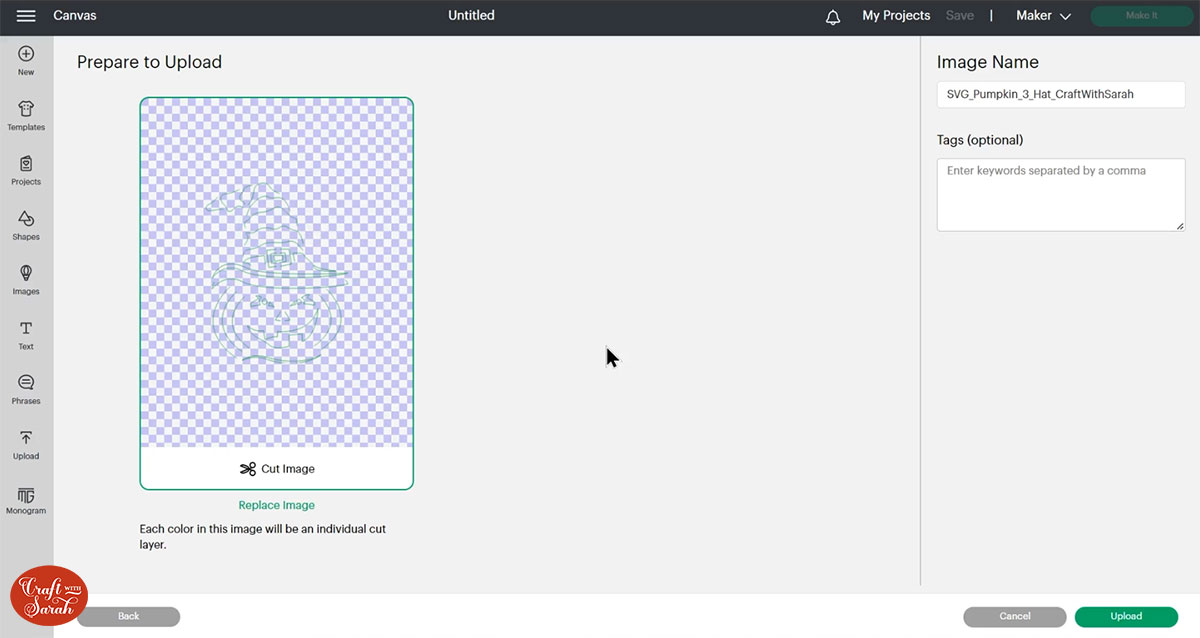
It will look a little bit strange on this screen. You’ll barely be able to see it, but that’s completely fine – that’s what it’s supposed to look like.
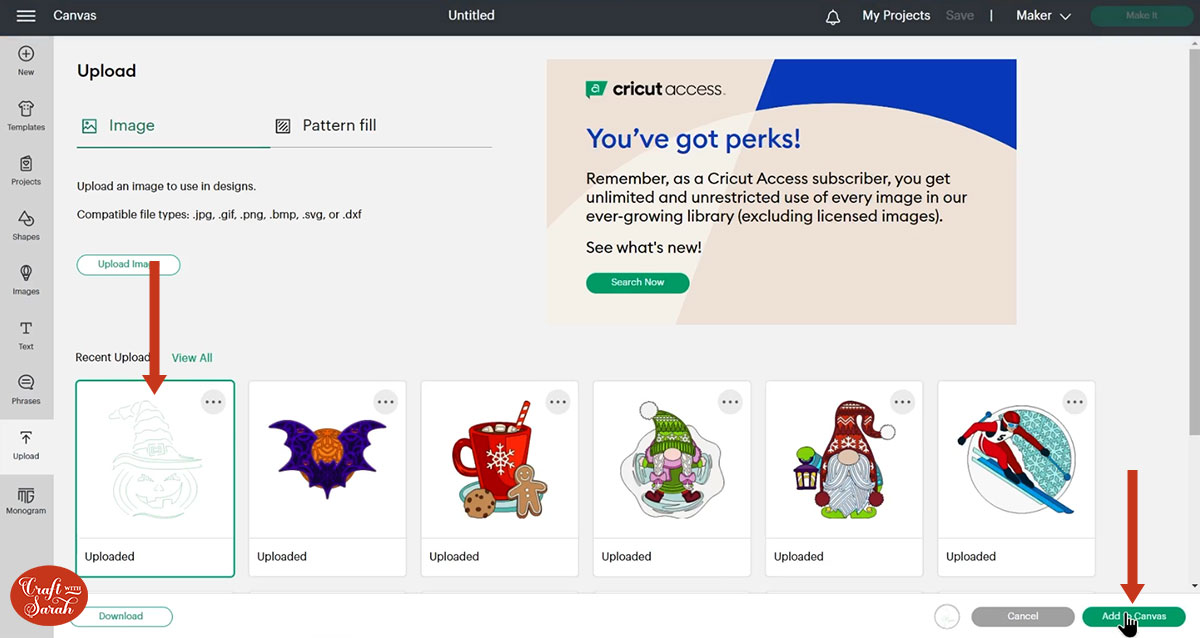
After uploading, the design will show in your “Recently Uploaded Images”.
Click on it and then press “Add to Canvas” to put it onto your Project.
You’ll find once you do this, some parts of the designs will fill in with colour.
That’s okay – it’s showing you the shapes which are going to be cut out from your cardstock.
Step 3) Create your base card
Before we can cut these designs, we need to make a card base and some layers to cut from different colours of cardstock.
If you are using a premade card blank (or making your own by hand-cutting it, without your Cricut machine) then move on to Step 4.
However, if you would like your Cricut to cut the base card, here’s how to make it in Design Space.
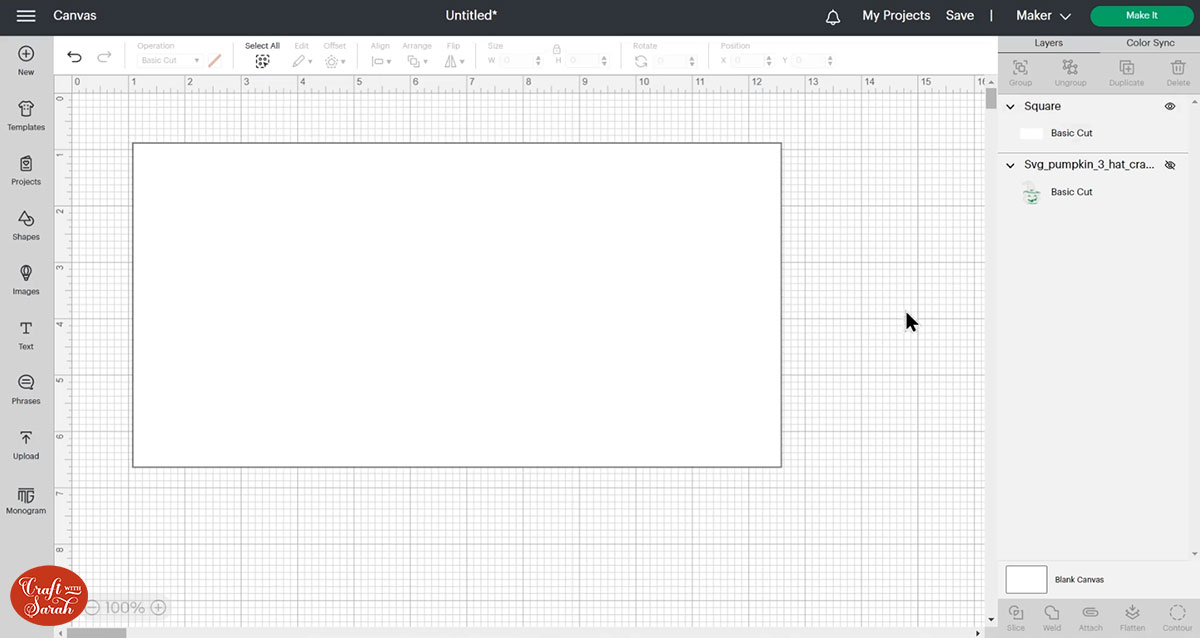
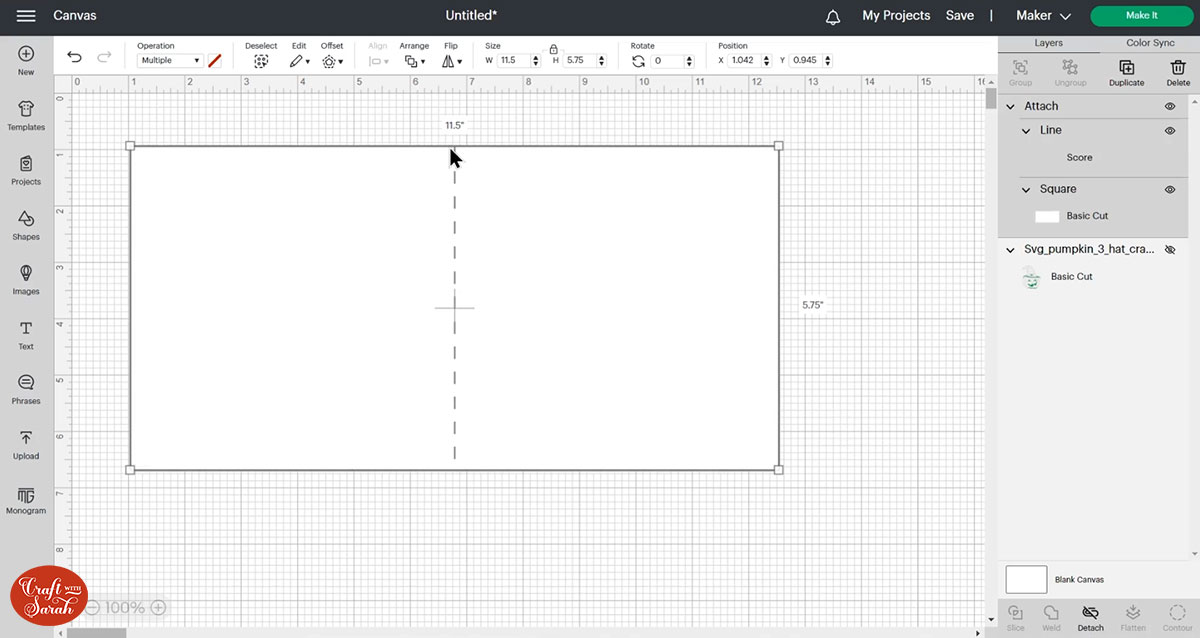
First, hide the pumpkin layer by clicking the eye next to it on the layers panel down the right-side of the screen.
Go into “Shapes” and add a square.

Click the padlock icon above the width/height box to open it up. This means you can resize the width and height separately from each other.
Change the size of the rectangle to 11.5 inches wide and 5.75 inches tall. This will make a 5.75 inch card.
Change the colour to white.
If you have a Cricut scoring wheel or a scoring stylus then add a score line down the middle of the card.
Go into “Shapes” and choose a score line.
Resize it to the same height as your card (5.75 inches).
Press “Select All” to select the score line and rectangle.

Click “Align” and then “Align Center” to put the score line exactly in the middle of the base card.
With both layers still selected, click “Attach” down at the bottom of the layers panel. This tells the Cricut that we want the score line to be done in the middle of the card.
Your screen should be looking like this:
Step 4) Add some layers
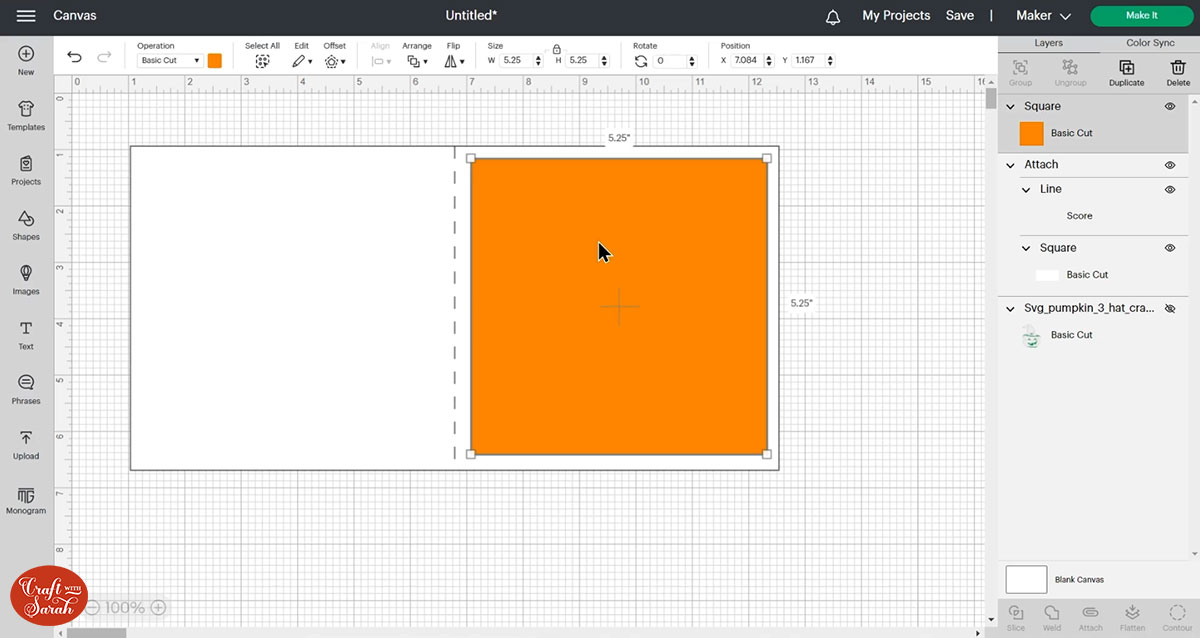
The popout effect of the pumpkins works best when you have a bright colour behind the cutouts to show through the gaps.
Add another square and make it half an inch smaller than your card front on each side.
For our card, that’s 5.25 inches wide and 5.25 inches tall.
Change the colour to something bright.
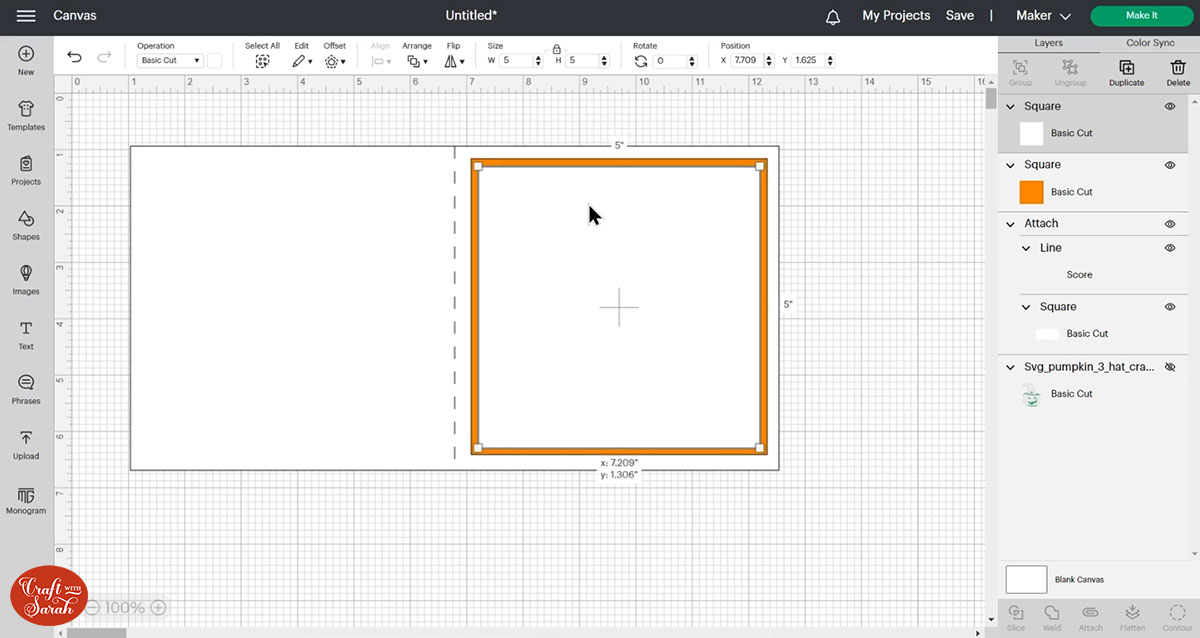
Click the new rectangle and press “Duplicate” to make a copy.
Change the colour of the copied rectangle to white and resize it so it’s a quarter of an inch smaller on each side (5 inches wide and 5 inches tall).
Your screen should now be looking like this:
Step 5) Add the pumpkin
Turn the pumpkin layer back on by clicking the eye icon next to it in the layers panel.
Move the pumpkin design over your white square and resize it to make it smaller.
If the pumpkin is appearing underneath the white square then click the pumpkin and then “Arrange” and “Send to front” to bring it on top of the square.
To put the pumpkin exactly in the middle, select the smallest white square layer and the pumpkin and press “Align” and “Center”.
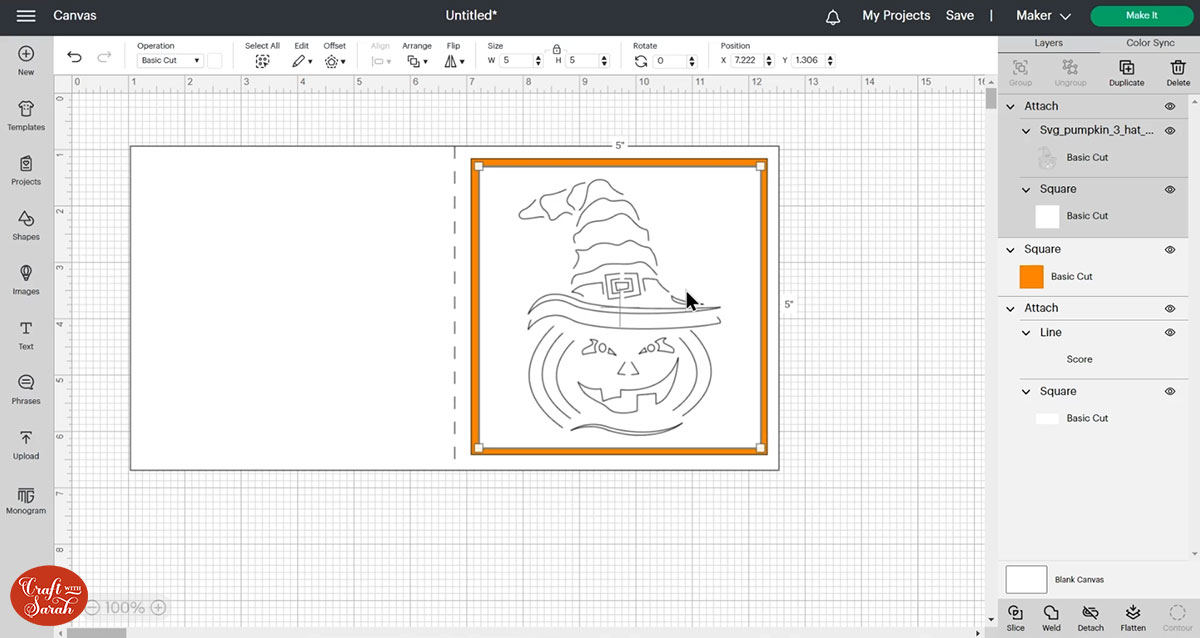
Step 6) Attach the pumpkin to the square underneath
When you’re happy with your card design, it’s time to Attach the pumpkin to the white square underneath.
If you don’t do this then your Cricut won’t cut it in the correct places.
Select the pumpkin layer and the smallest white square.
Press “Attach” down the bottom of the layers panel.
This will change how the pumpkins look, so don’t worry if the appearance or colour changes after Attaching.
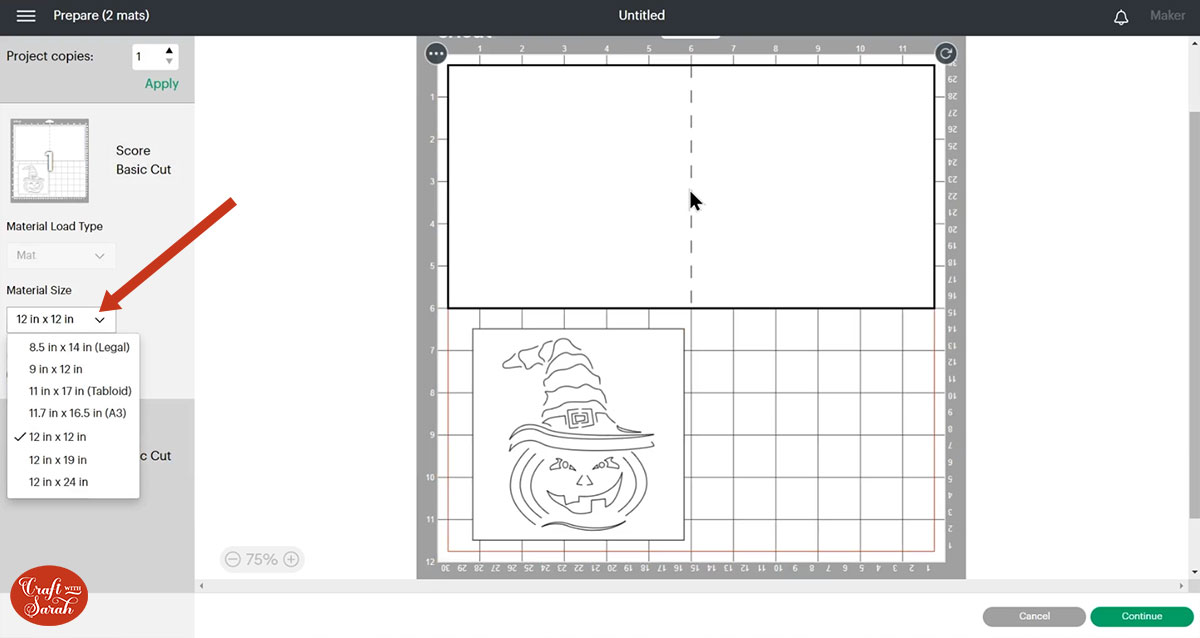
Step 7) Cut the card with your Cricut
Save your Project and then click “Make It” and follow the instructions on-screen to get everything cut out with your Cricut machine.
You can change the paper size using the dropdowns on the left of the page.
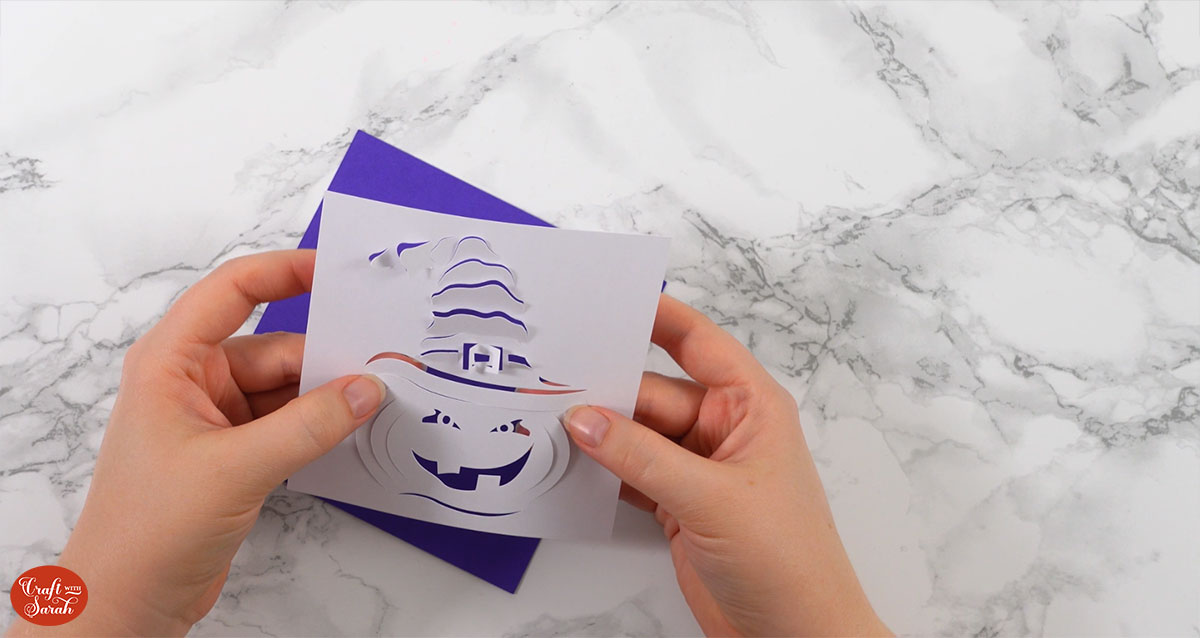
Step 8) Fold out the popout shapes
Use your fingers or a spatula tool to fold up all the edges of the popup shapes.
Gently bend the shapes upwards to make them “come out” from the flat card underneath.
It should be more of a “bend” than actually putting a fold/crease line in the card.
If the shapes come out too much, press them down a little bit and they should stay a bit lower down to the card.
Step 9) Stick the card together
Once you’ve finished the folding, use glue or double-sided tape to stick the piece of card with your pumpkin cutouts into the middle of the brighter coloured square.
Be careful not to put any glue inside any of the popout shapes otherwise the 3D effect will not work.
My favourite glue to use on papercraft projects is Collall All Purpose Glue.
It’s SO good because it doesn’t “warp” or bend the cardstock like some glues do. You can use as much of it as you want and the card stays perfect – and it dries perfectly clear too!
To make it even easier to apply glue to layered card projects, I highly recommend getting some of these needle tip applicator bottles to put the glue into.
Fold your base card in half and then use glue or 3D foam squares to stick the bright coloured cardstock to the middle of the card.
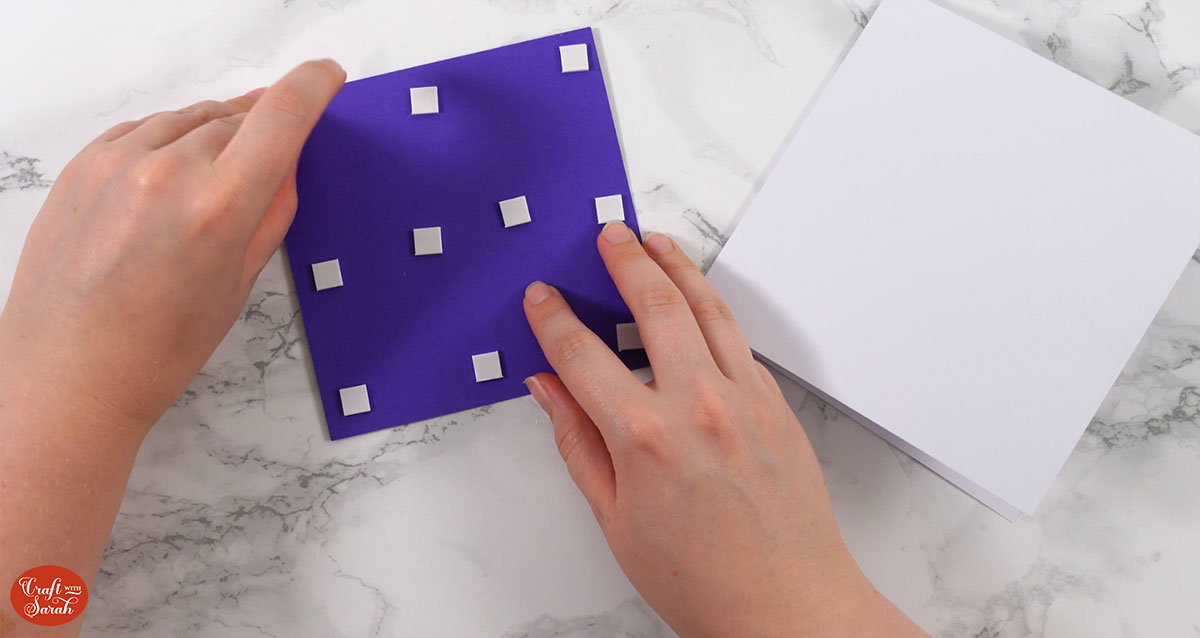
If using foam pads, make sure you add some in the middle of the pieces of card so it give stability to the middle. If you don’t add any foam pads in the middle then it can “sag” under the weight of itself, which doesn’t look as good.
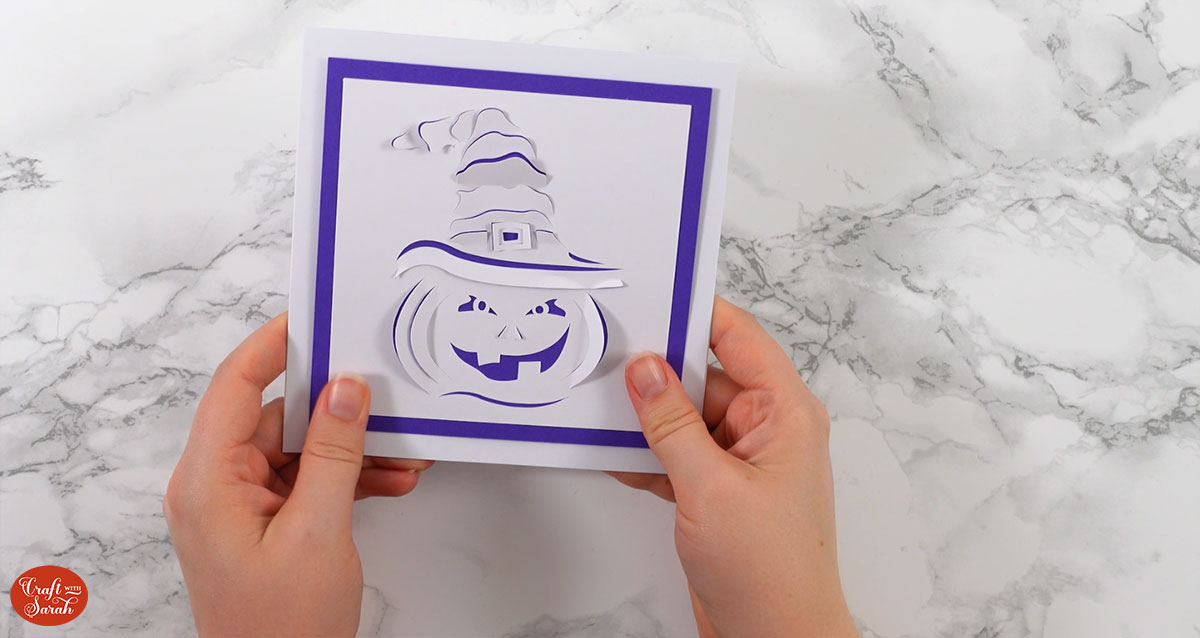
Your card is now finished!
You could leave it as it looks now, or embellish further with toppers, glitter, gemstones, sentiments, or – well, whatever you want!
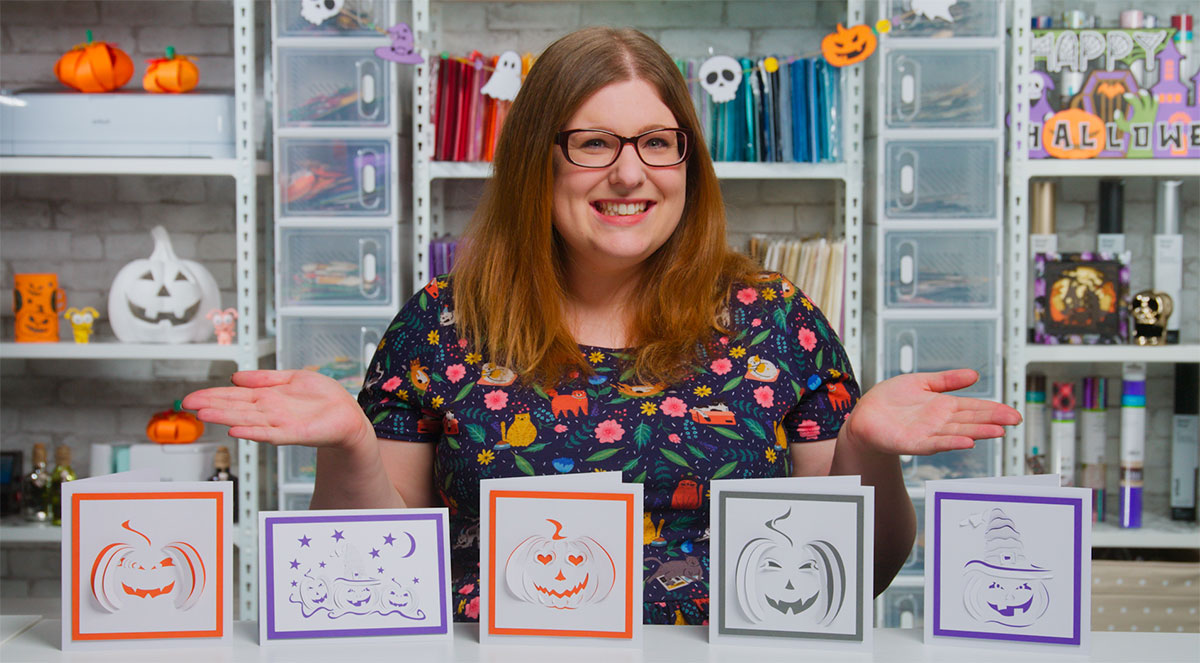
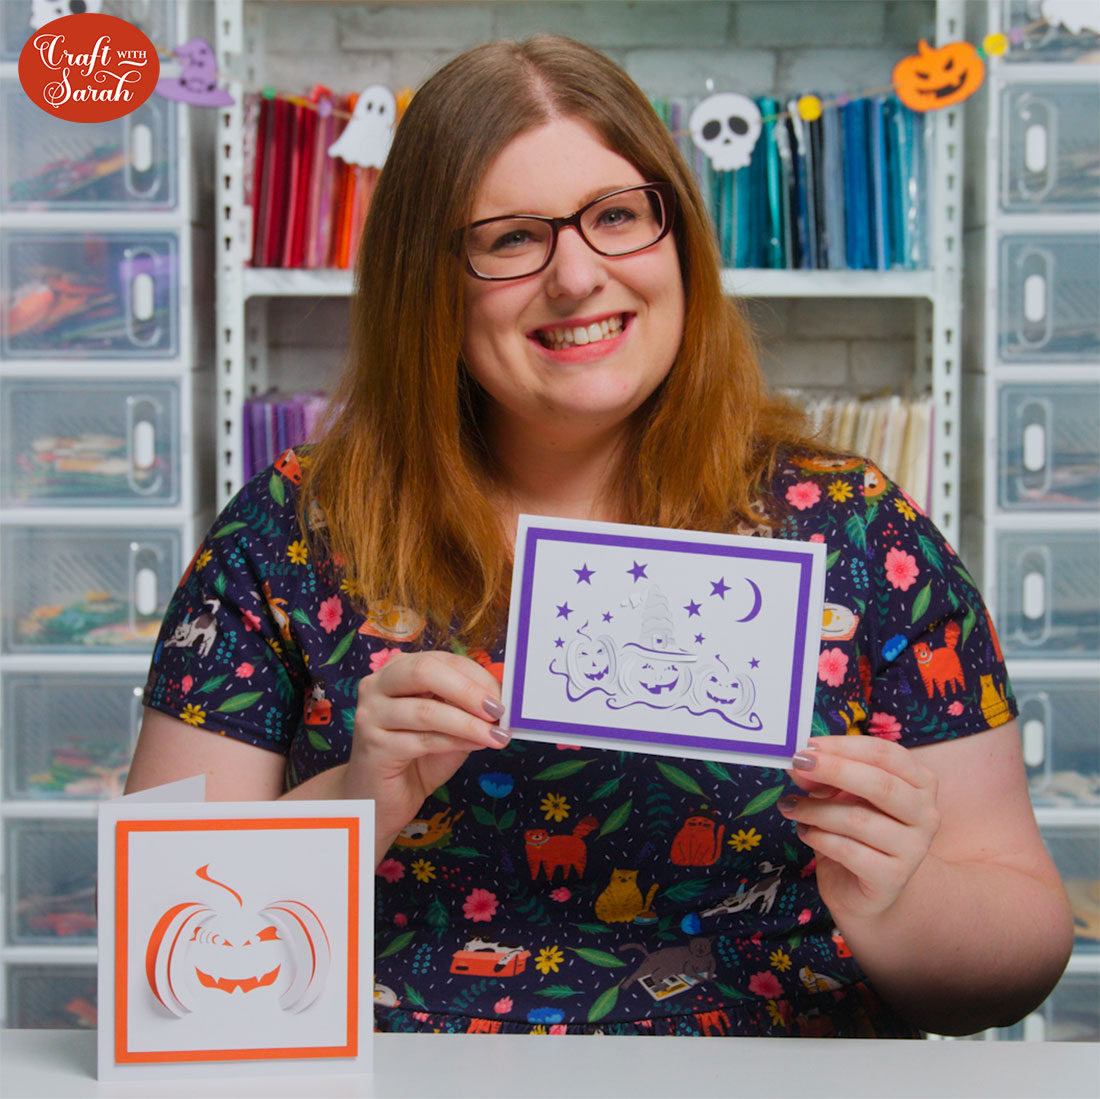
Halloween greetings cards with pumpkins
After sticking all the pieces of card together, you’ll have a wonderful Halloween greetings card, all ready for your message to be written inside.
If you’d like to make even more popout cards, I have lots of different designs to choose from:
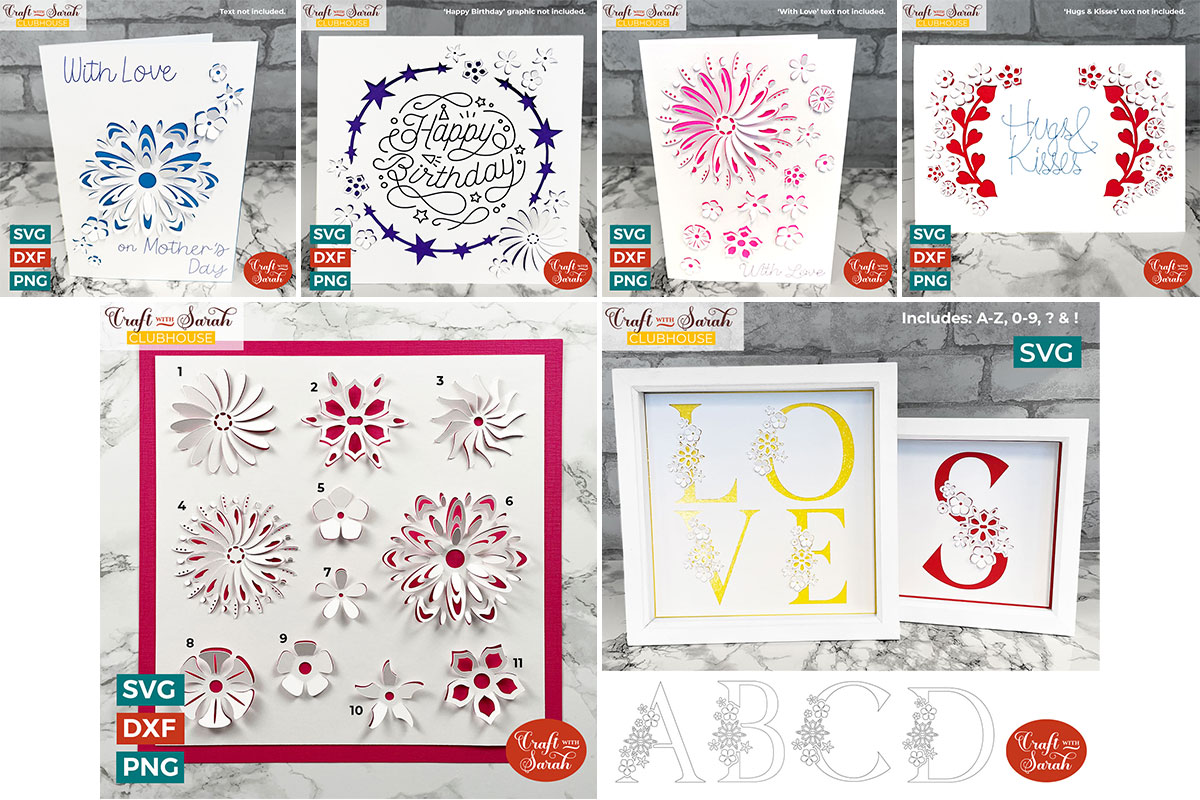
These designs are available in my SVG shop or you can download them for free if you are a Craft Clubhouse member.
Craft Clubhouse is my SVG club for papercrafters. It’s a one-time fee which gives you access to hundreds of layered papercraft projects AND new designs every single month at no extra cost.
It’s not just greetings cards – there are hundreds of layered SVGs, themed alphabets, vinyl SVGs and loads and loads of other goodies. To find out more about Craft Clubhouse, head to craftwithsarah.com/clubhouse.
Happy crafting,
Sarah x

