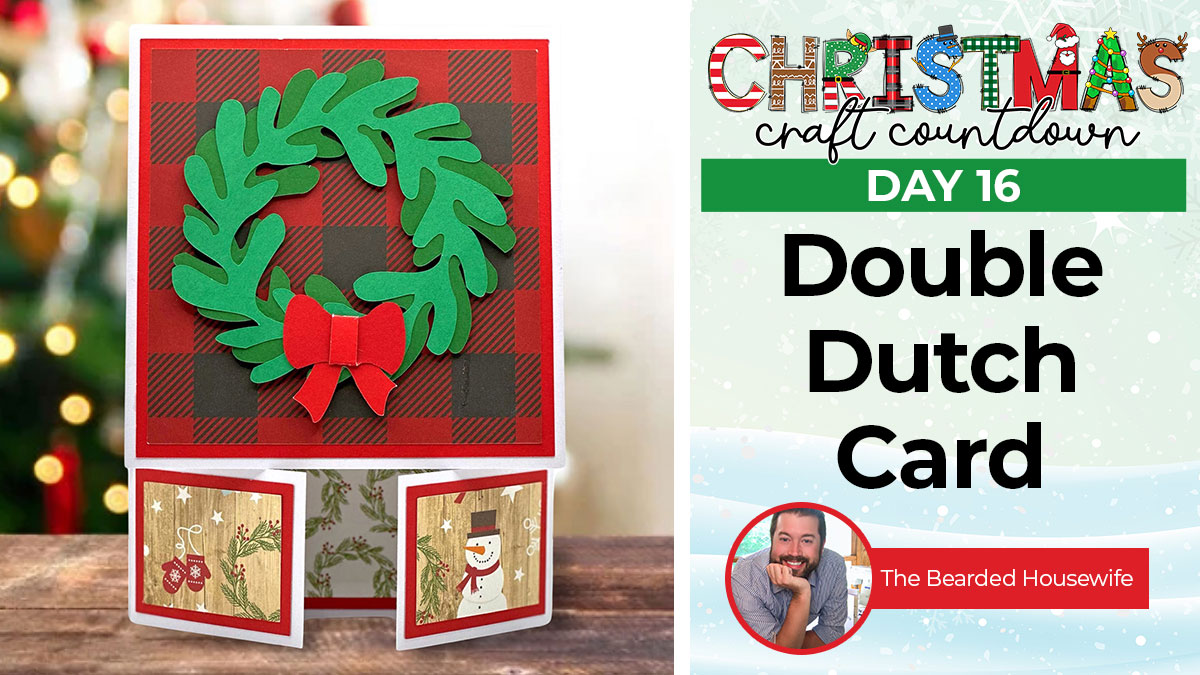
CCC 2023 Day 16 ☃️ Double Dutch Card
Make your own double Dutch Christmas card to wow your friends and family this year.
It’s Day 16 of the Christmas Craft Countdown and Nick from The Bearded Housewife is sharing this stunning double Dutch card.

Grab a selection of your favourite Christmas patterned paper to get started on this card and Nick will take you through each of the steps.
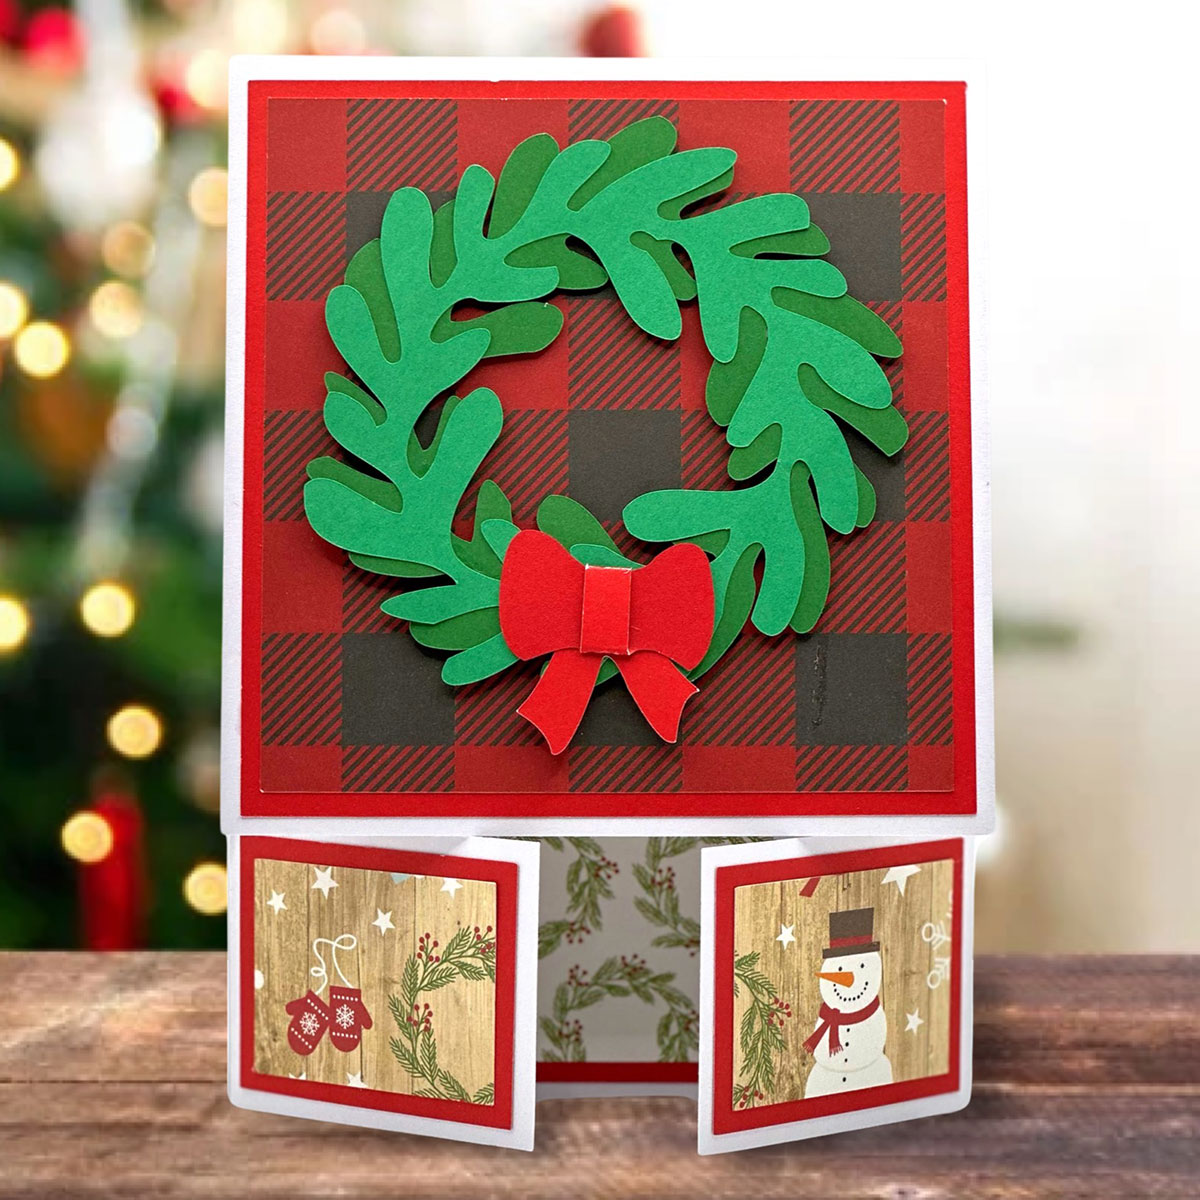
The wreath on the front gives the card a beautiful, Christmassy finish. I just love the way it all opens up to reveal your message inside.
This Project was part of the Christmas Craft Countdown 2023
Materials supply list
Here is a list of the materials that Nick used to make this project.
Please note that some of the links included in this article are affiliate links, which means that if you click through and make a purchase I may receive a commission (at no additional cost to you). You can read my full disclosure at the bottom of the page.
- Cricut machine
- Light grip cutting mat
- Cricut scoring wheel or scoring stylus
- Glue
- Foam square
- Cardstock in various colours
- Patterned paper
- Brayer or scraper tool
This project is suitable for the following types of Cricut machine: Explore Air 2, Explore Air 3, Maker, Maker 3 and Venture.

Video tutorial
You could make this card for all sorts of different occasions with different decorations on the front.
Watch the video below to see how to make this double Dutch card.
If you prefer to read rather than watch, keep scrolling!
This project was created by The Bearded Housewife
Nick has been a crafter his entire life. He loves to create and make beautiful things. He uses his website, The Bearded Housewife, to show Cricut users how to create fun and easy greeting cards and paper crafts.
Written tutorial (with photos!)
Here’s how to make your very own double Dutch Christmas card using a Cricut machine!
Step 1) Download the cut files & unzip the downloaded folder
Download the files using the box below.
Before you upload the SVG files to Design Space, you need to unzip the download folder that they come in.
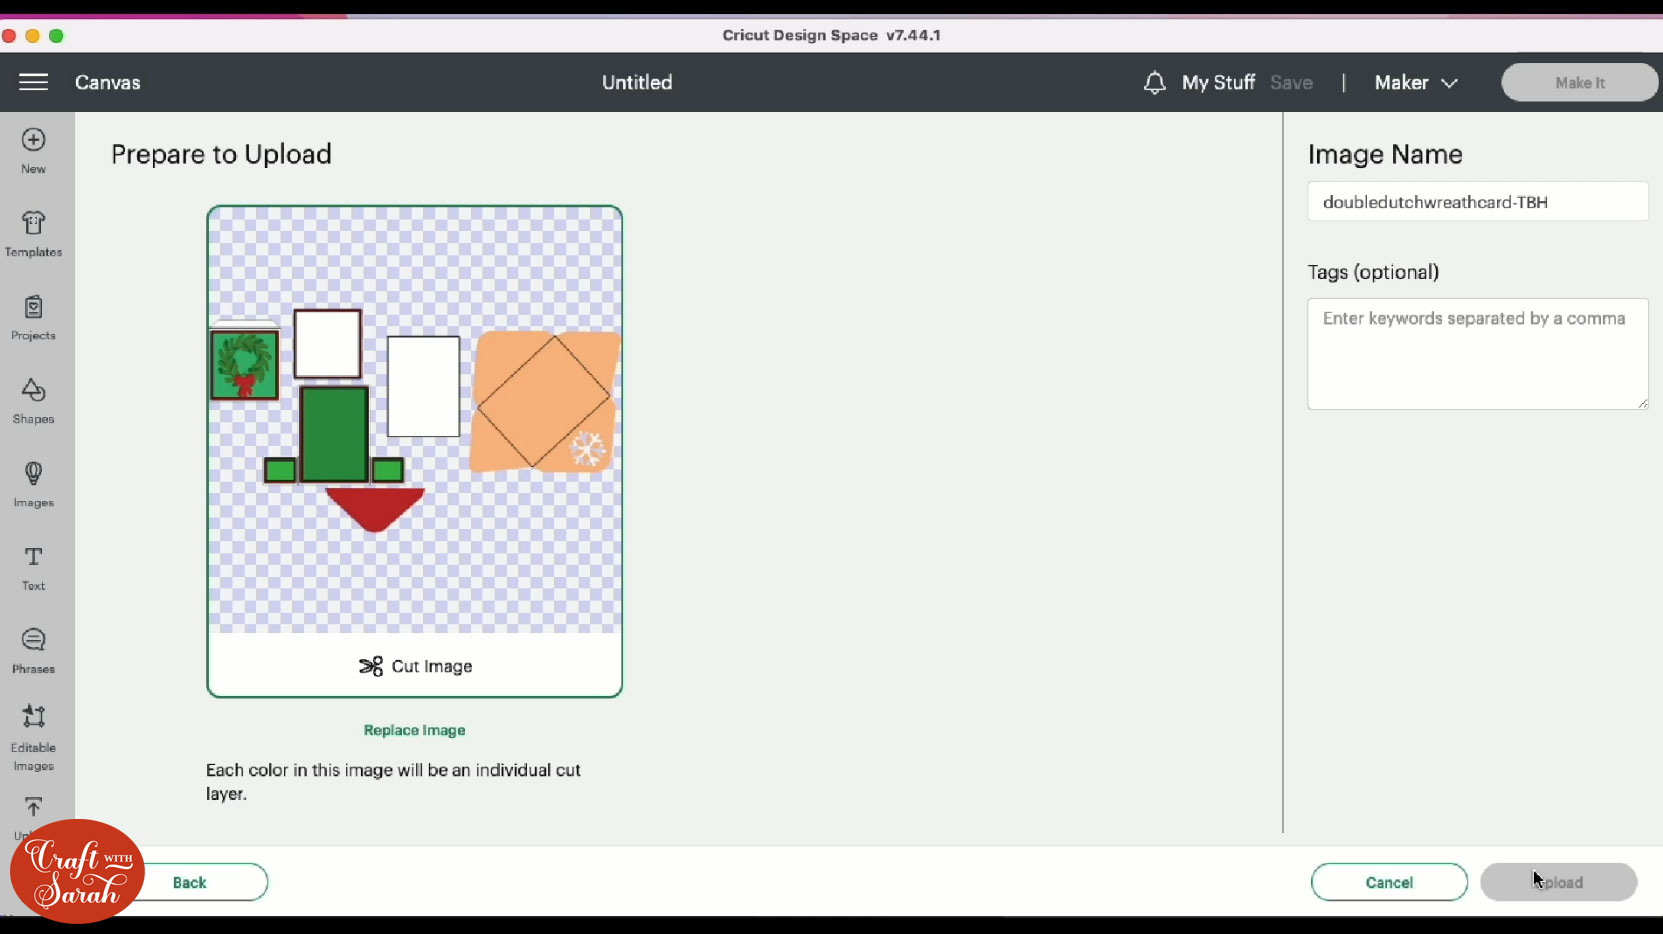
Step 2) Upload the cut files into Design Space
Open up Cricut Design Space and start a new Project.
Click “Upload” and then find your unzipped version of the downloaded files for this project.

Upload the file in the “SVG” subfolder called “doubledutchwreathcard-TBH.svg”
This is what it looks like:
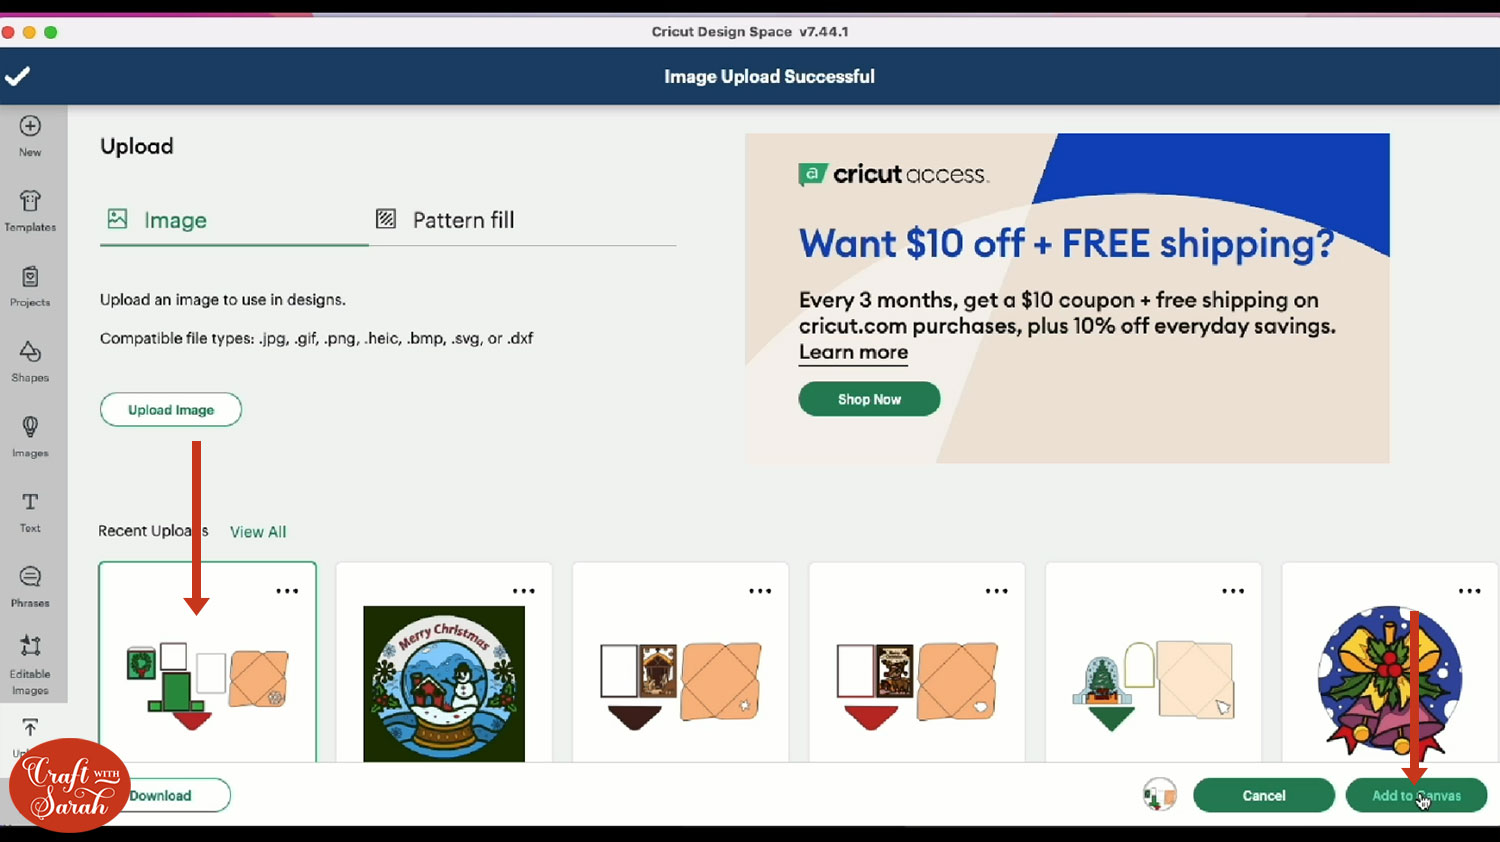
After uploading, the design will show in your “Recently Uploaded Images”.
Click on it and then press “Add to Canvas” to put it onto your Project.
Step 3) Format the card and envelope & cut the project
Select the card and then press “Ungroup” at the top of the layers panel to separate out the layers into their sub-groups.
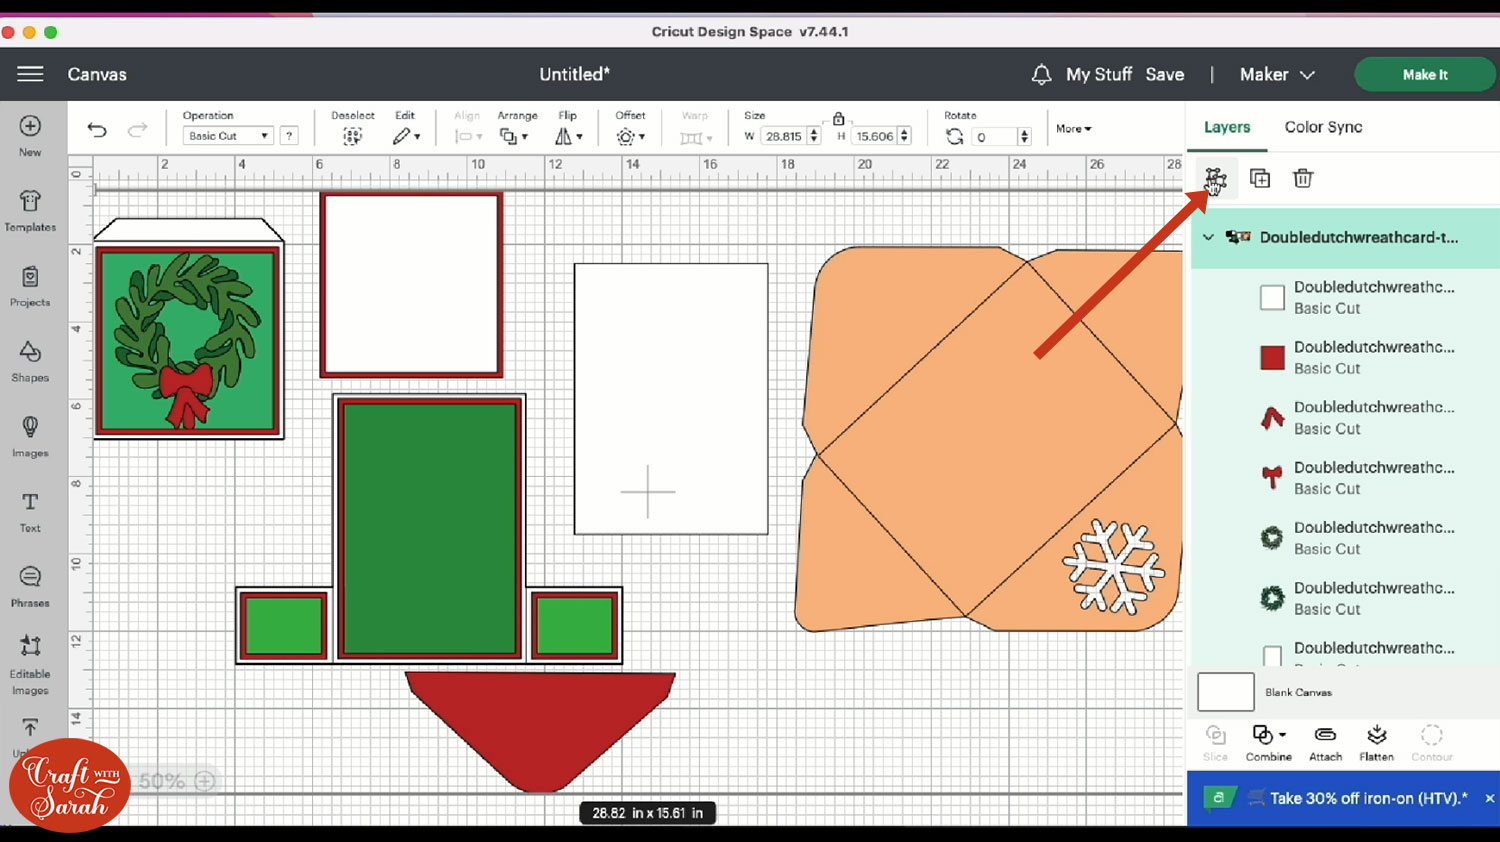
Scroll down the layers panel until you find the envelope.
Select the rectangular layer and change it to a “Score” line using the Operations dropdown.

Select the envelope sub-group and click Attach.
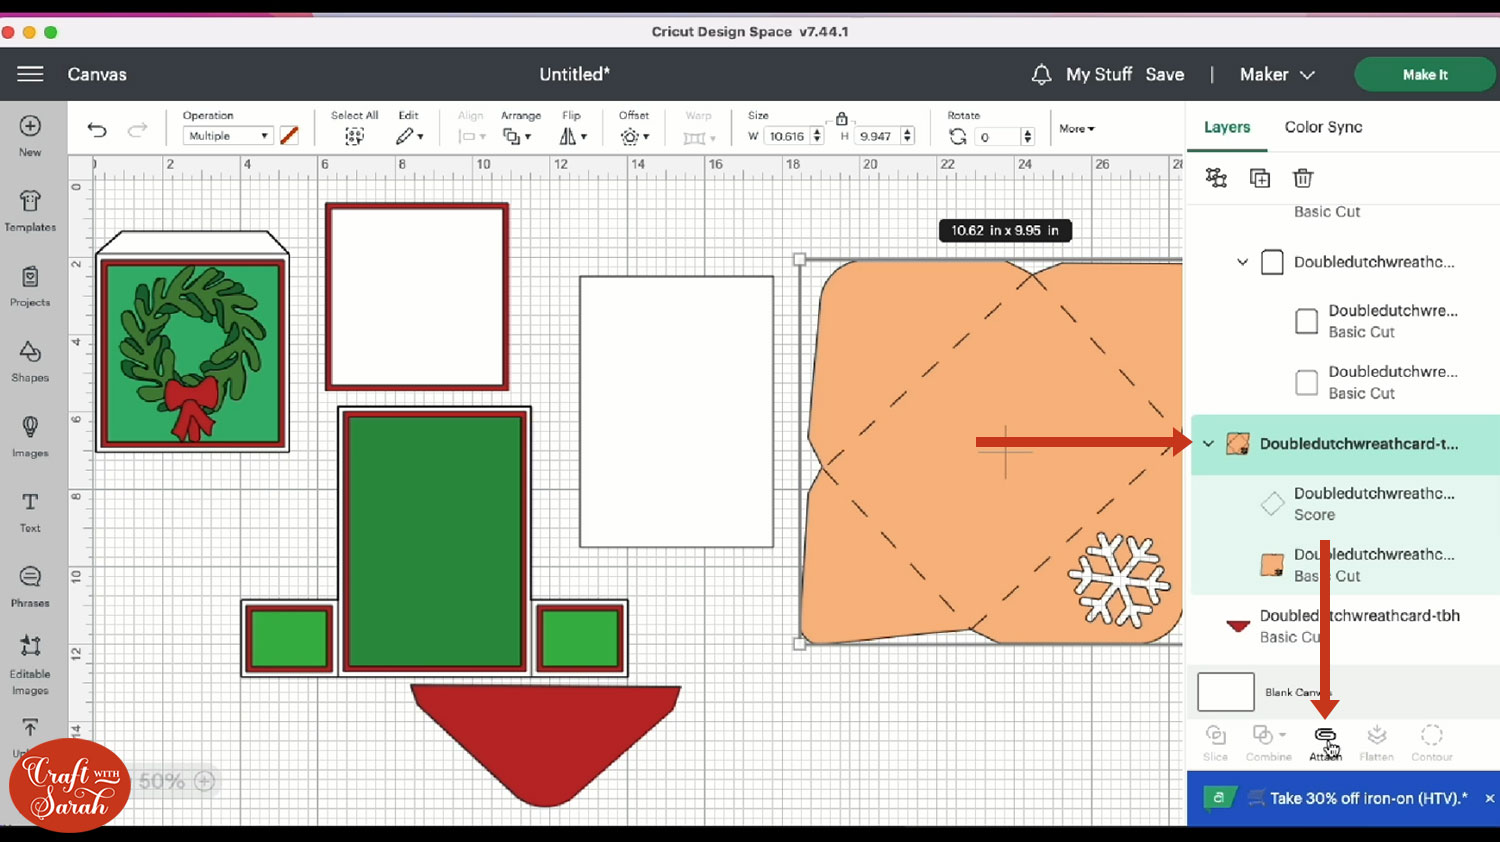
Attach is what tells the Cricut where to do the score lines.
Do the same for both the main card piece and the little tab piece so that the single-line layers on them are changed to “Score” and attached to the relevant pieces.
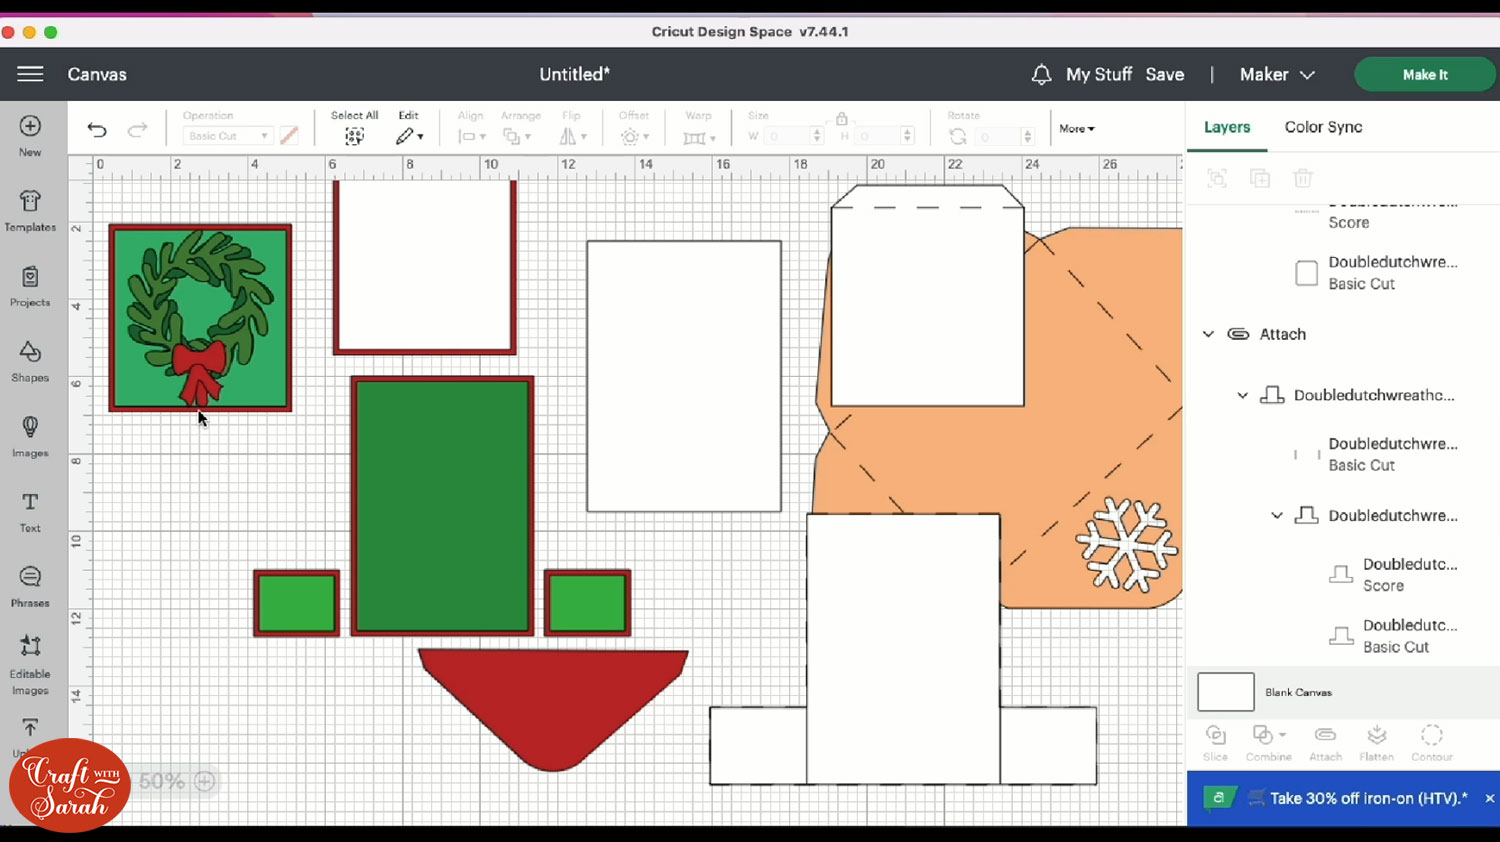
The green sections included in the design are the ones which you can cut from different patterned paper.
They are divided into three different sections. The inside section which will be cut from one piece of patterned paper. The two doors at the bottom from one piece of patterned paper and the section with the wreath will be another patterned paper.
When you’re ready, click Make It to get everything cut out from cardstock.
Step 4) Assemble the card
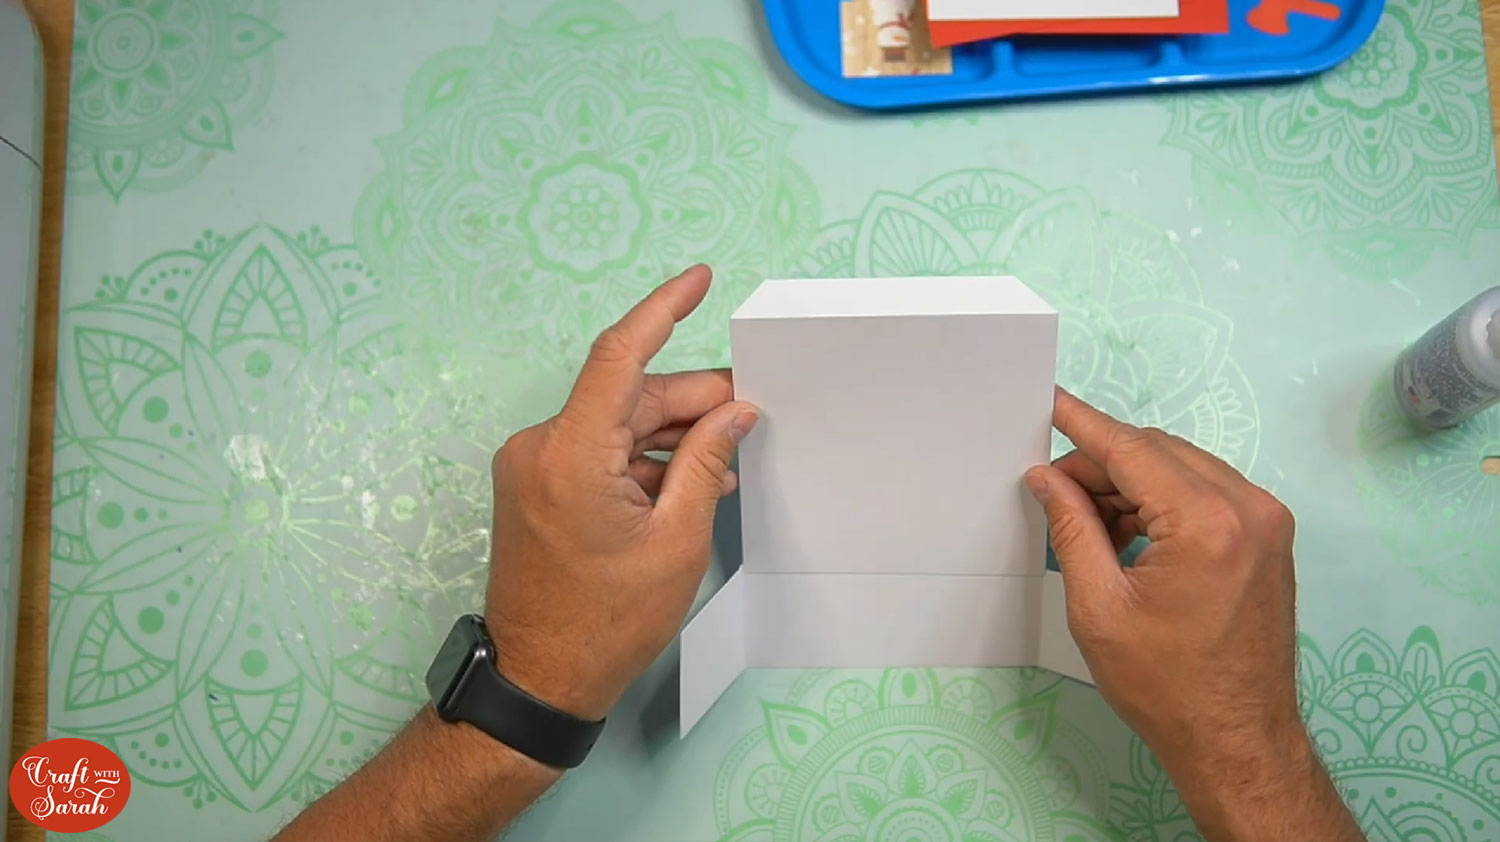
To assemble the card base, take your main piece which resembles the letter T and the piece which has the tab at the top.
Fold along the score line of the tab piece to make a mountain fold. Burnish using your scraper or brayer tool.

Next, fold the two tabs on the main piece inwards to make the doors. Burnish using your scraper or brayer tool.
Flip your tab piece over and add glue to the inside of it.
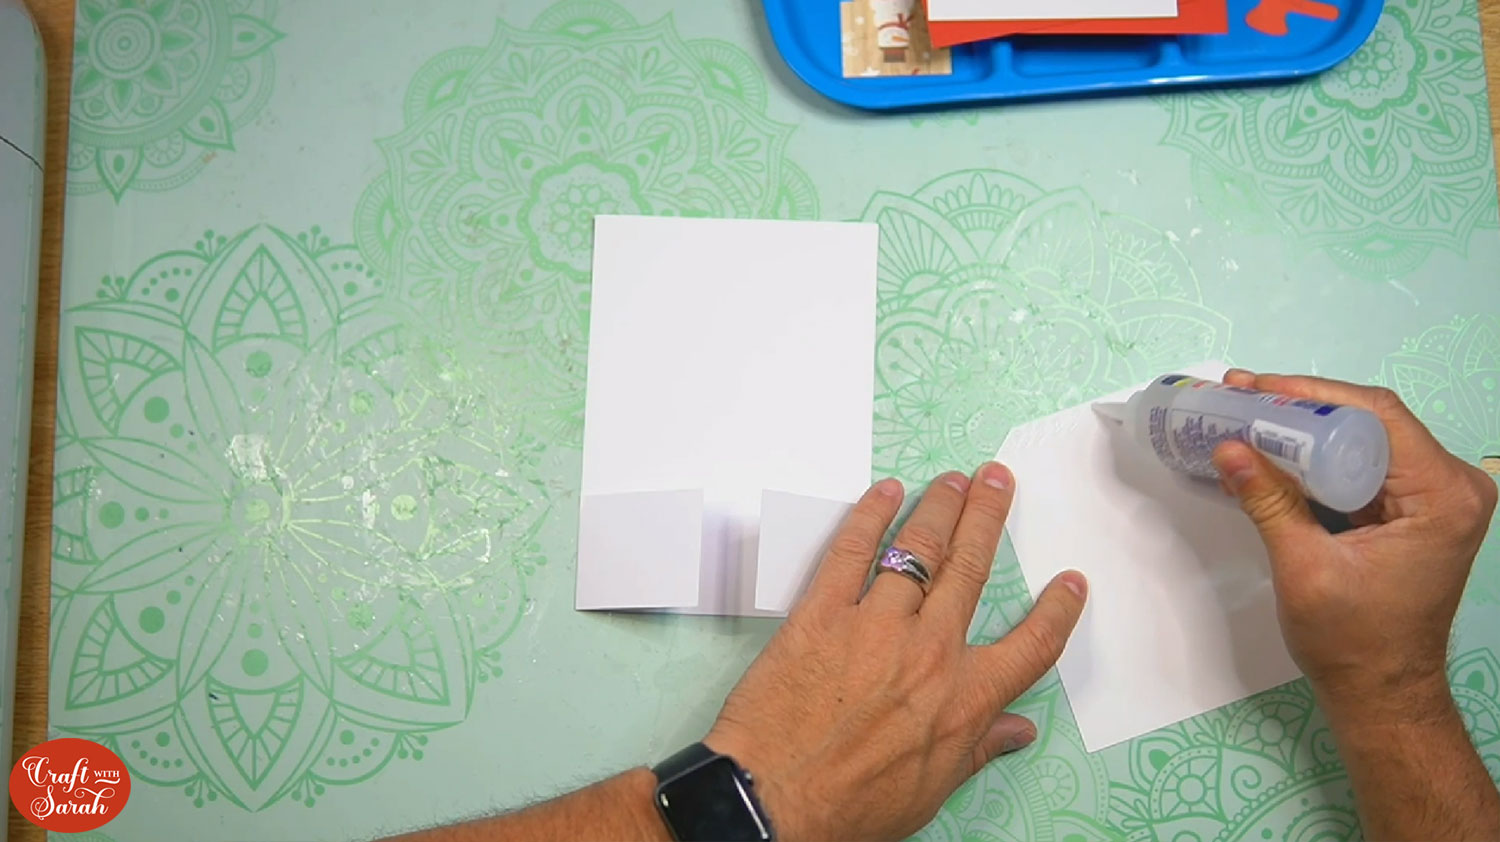
Open up the card base and attach your glued piece to the top of the card base, making sure to line up the edges.
Stick the tab down onto the back of the main piece. We will cover this up later.
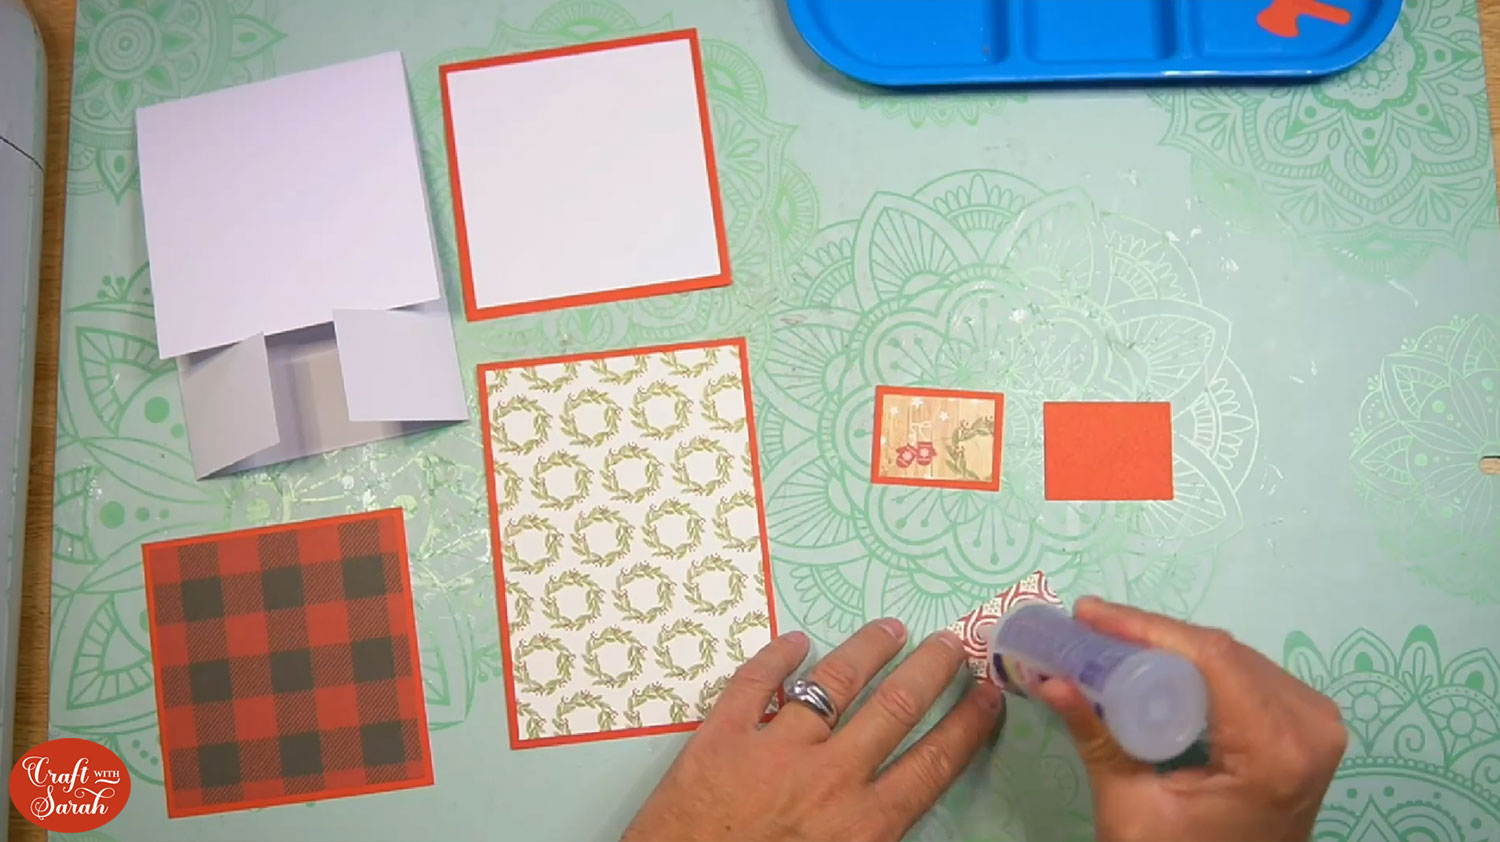
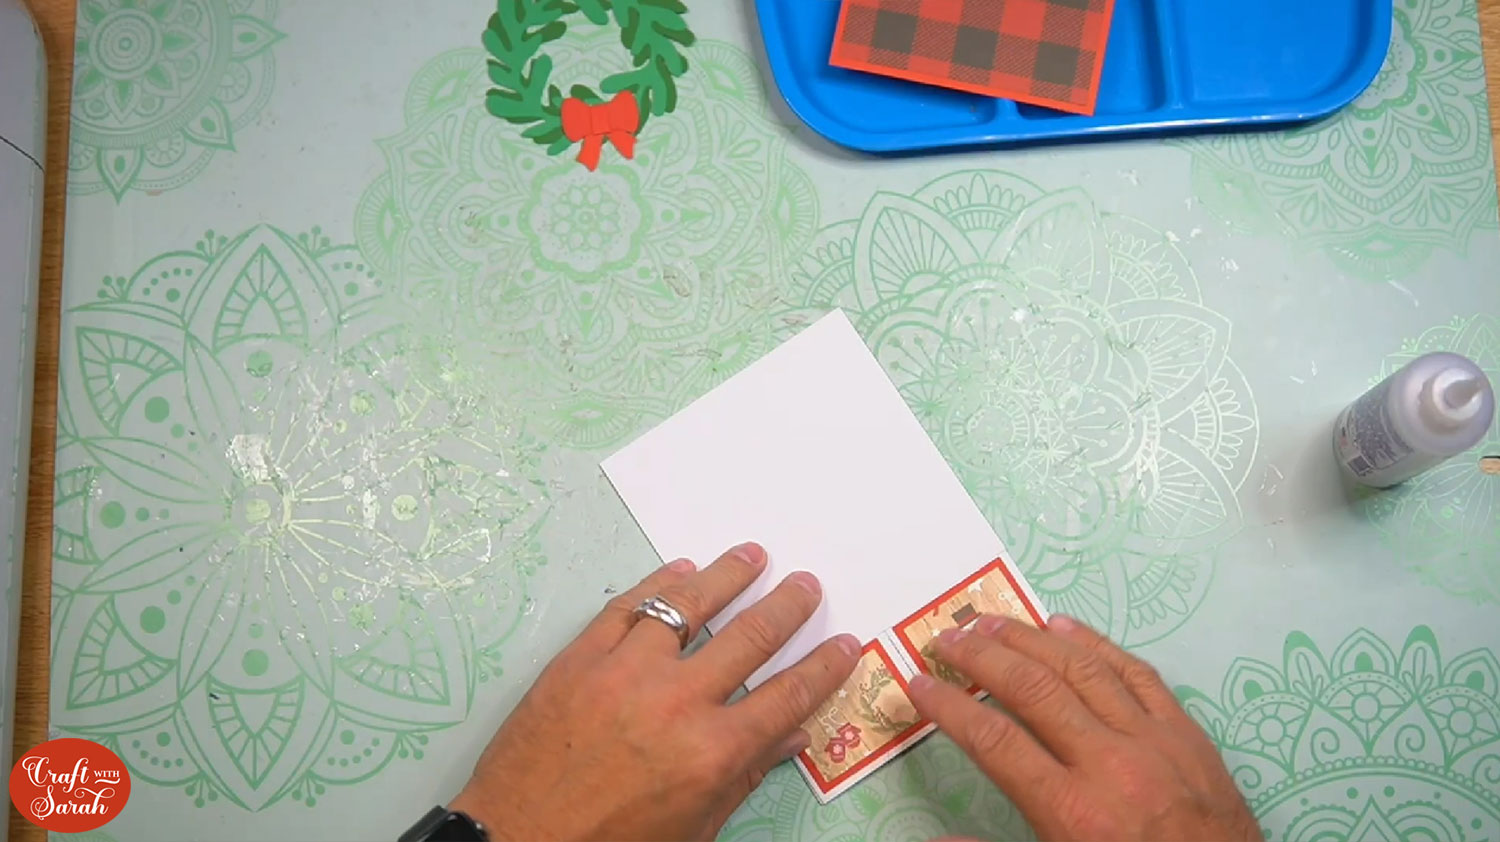
Set your main piece aside and match up your panels with the border layers.
We will start with the messaging panel.
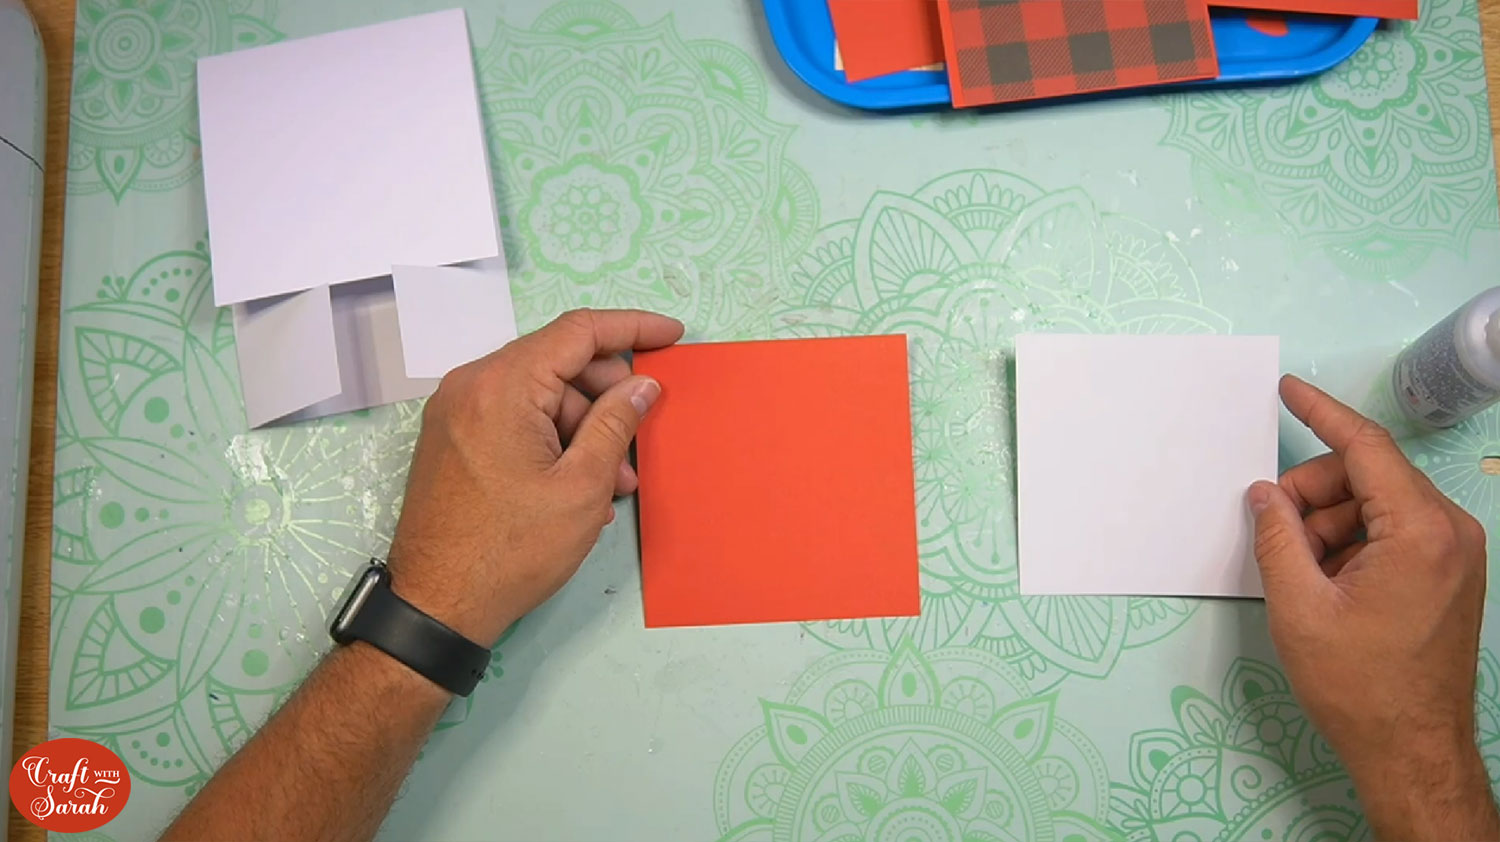
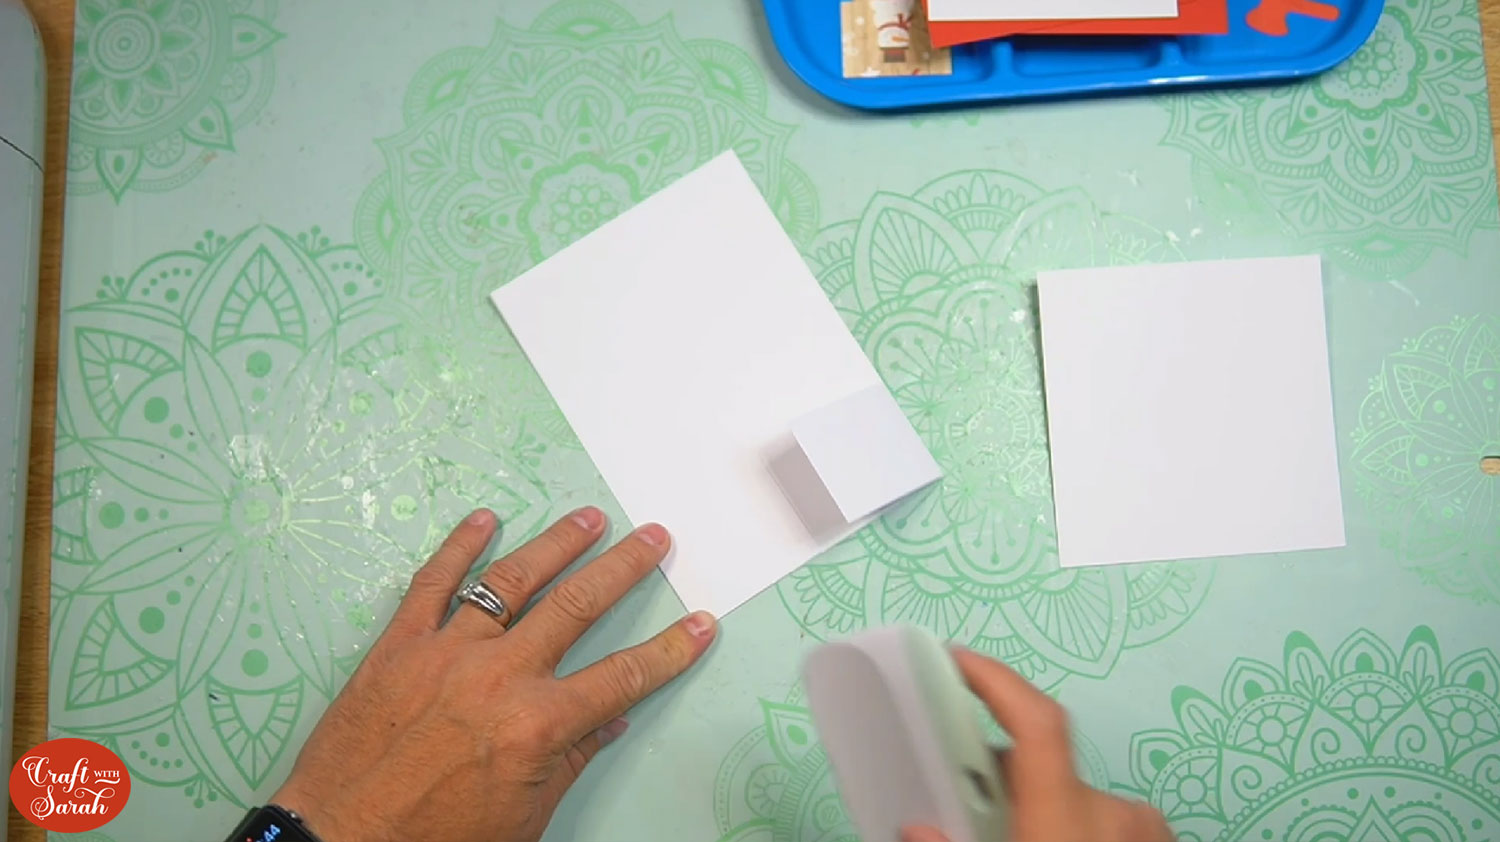
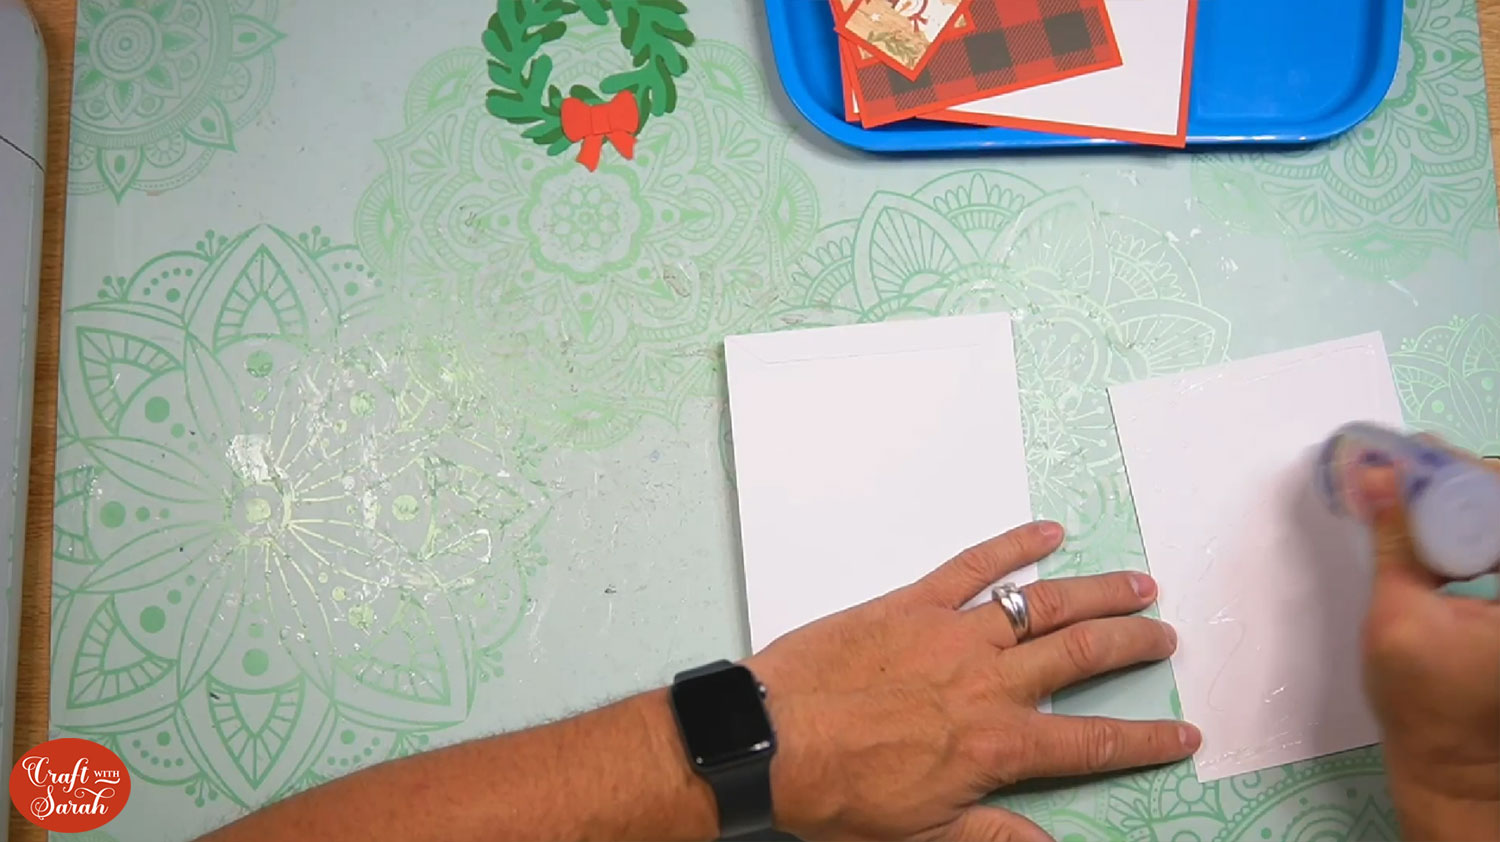
Glue the white square onto the red backing piece.
Do the same for both the other patterned paper panels and the two little door panels.
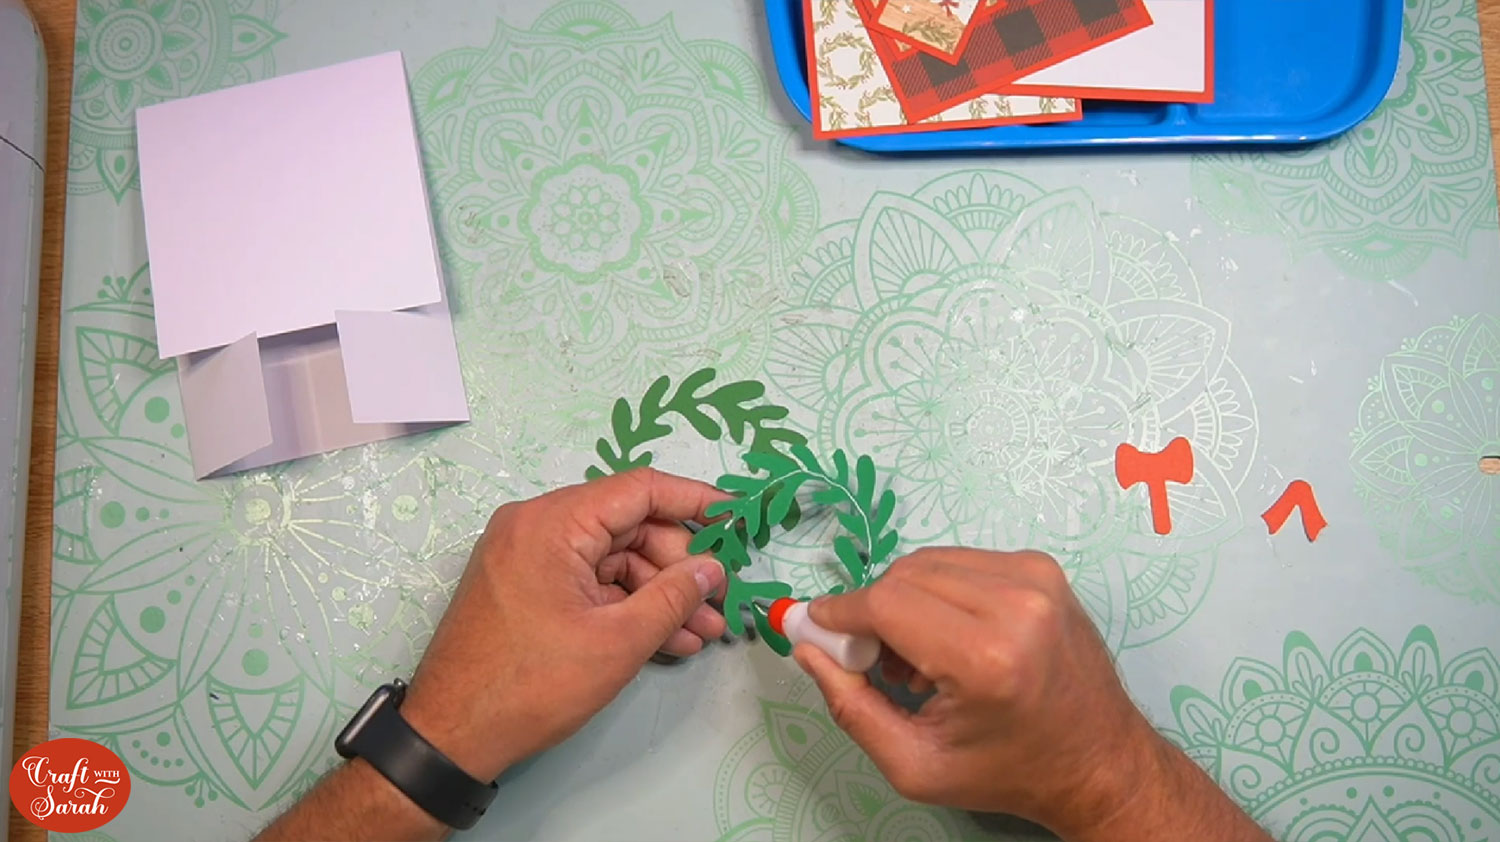
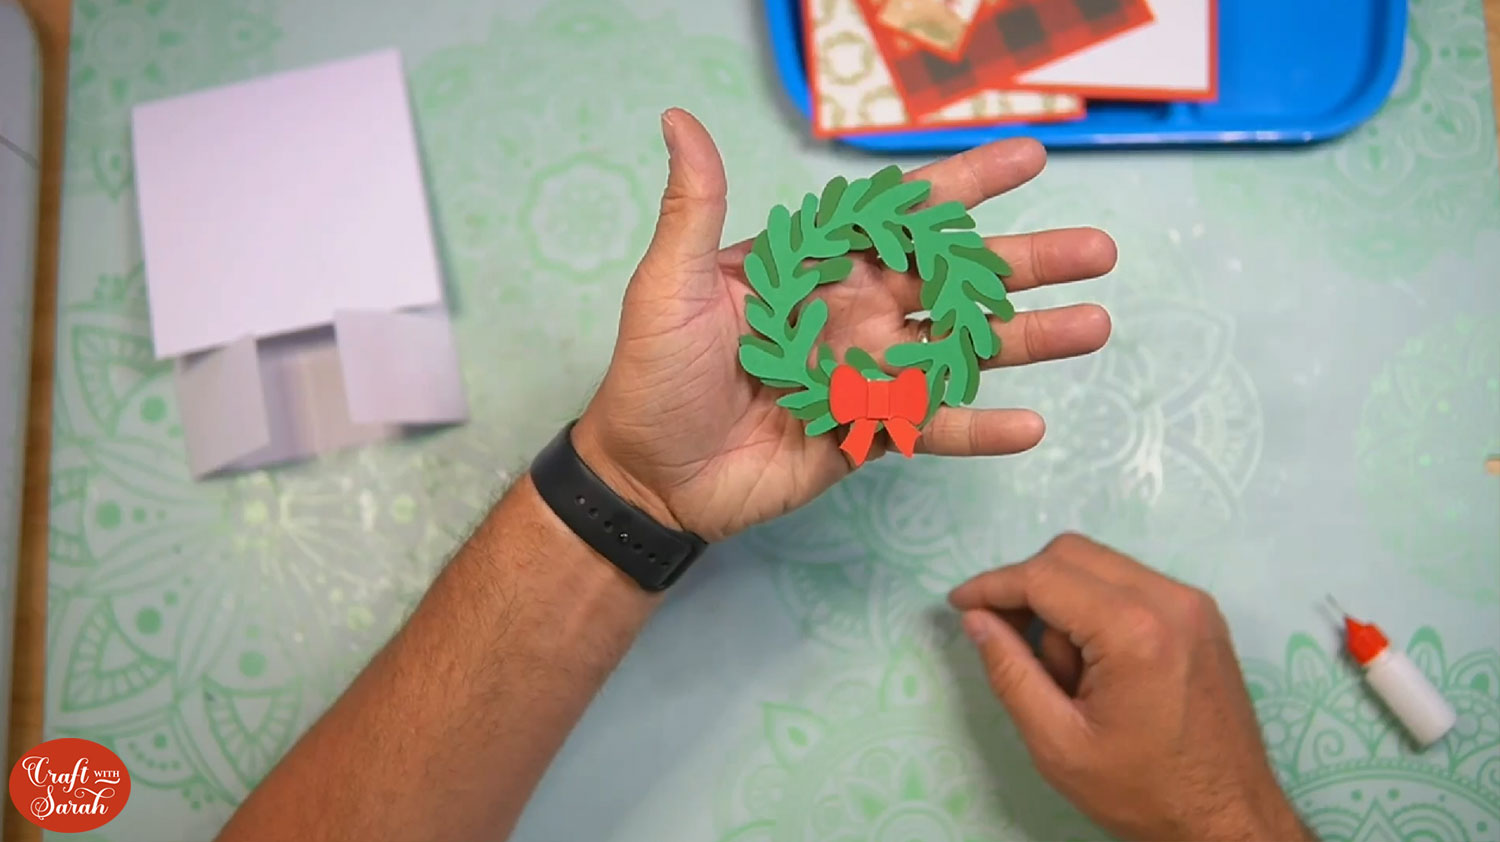
Next, layer up the wreath by adding glue to the ring of the lighter layer, this will be stuck on top of the darker green wreath layer.
Take the bow piece and fold the little tab back.
Glue the remaining top section down. Flip it over for the front of the bow.
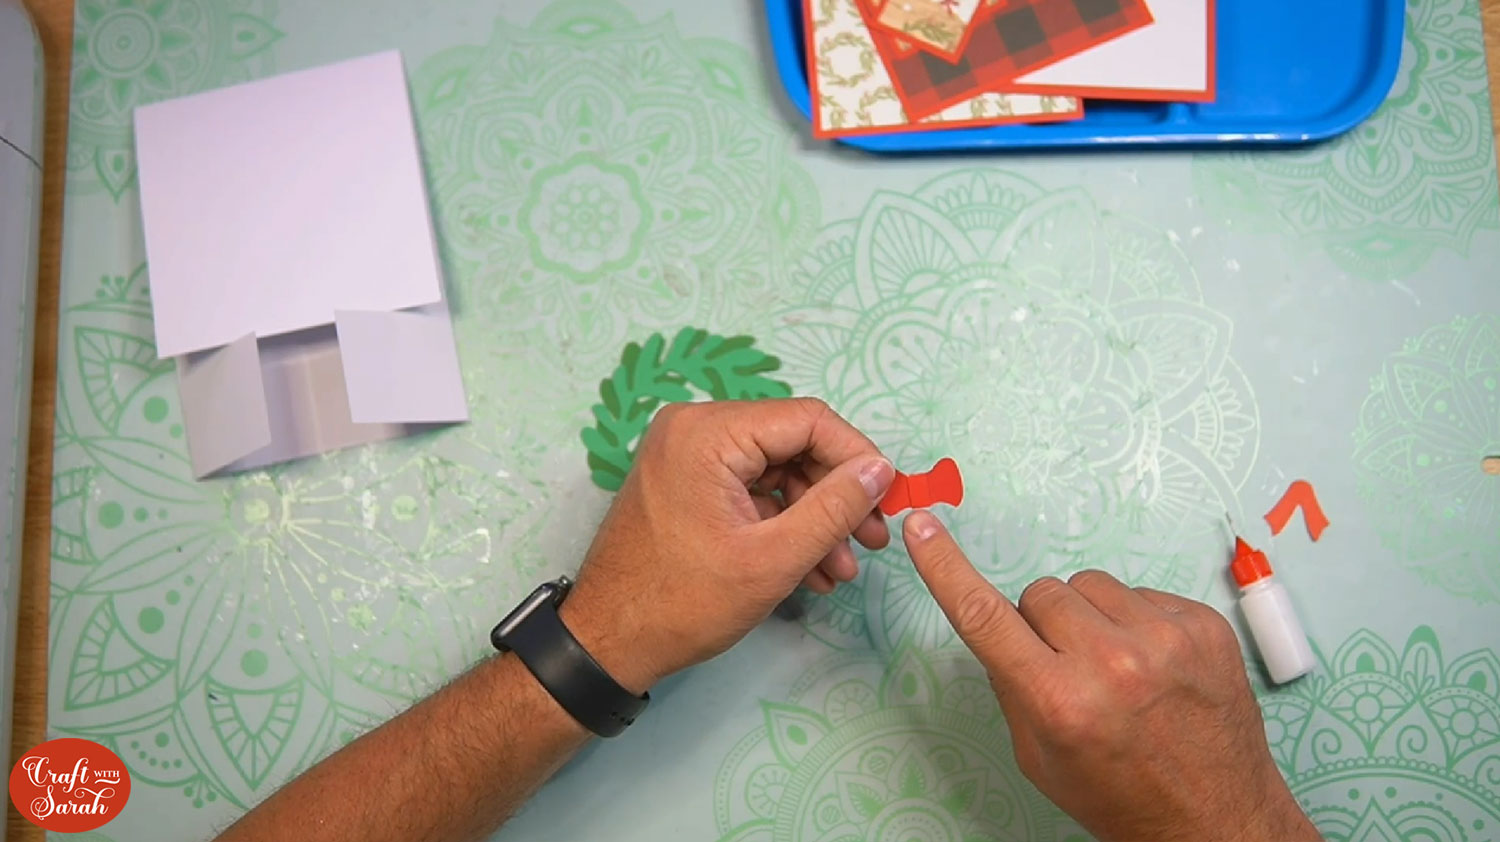
Add a dot of glue to the ribbon of the bow and stick together to make the completed bow.
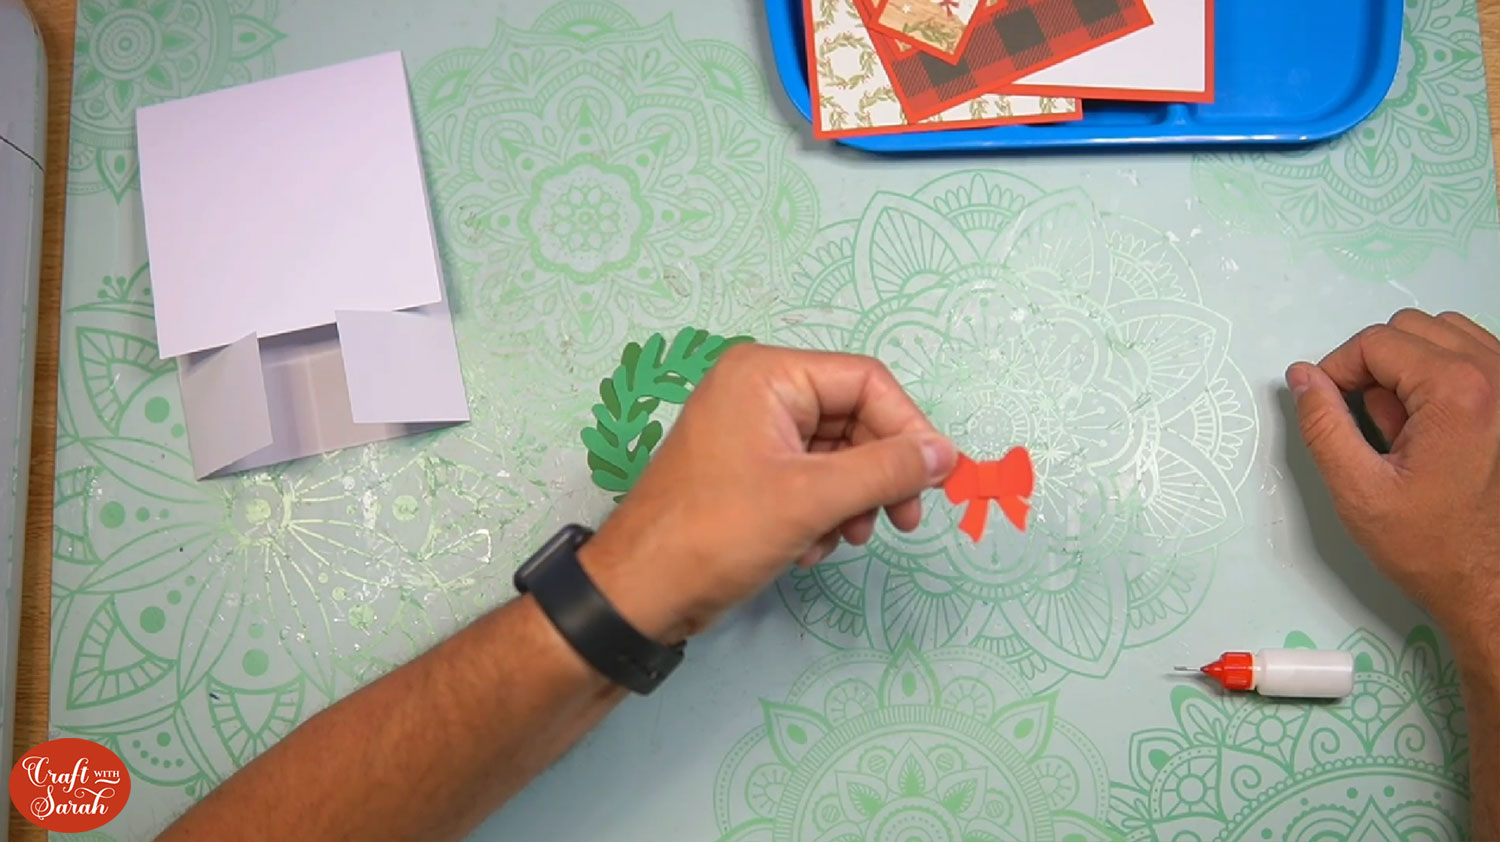
Stick the bow to the bottom of the wreath using glue.
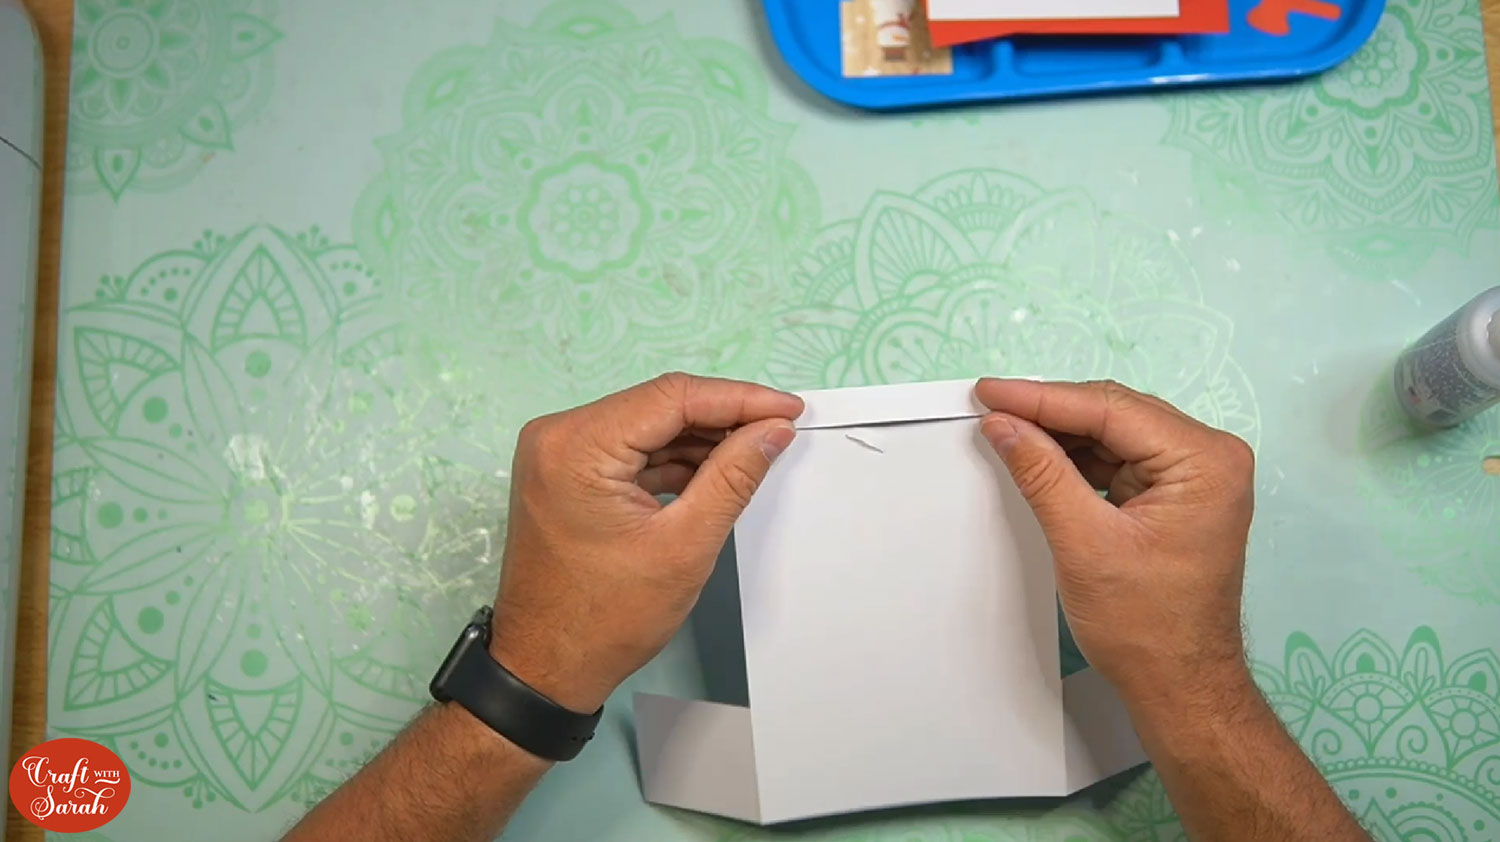
Flip the card base over and glue the extra white piece onto the back of the card to cover up the tab from the beginning.
Flip the card base back over and glue the inside panel onto the card.
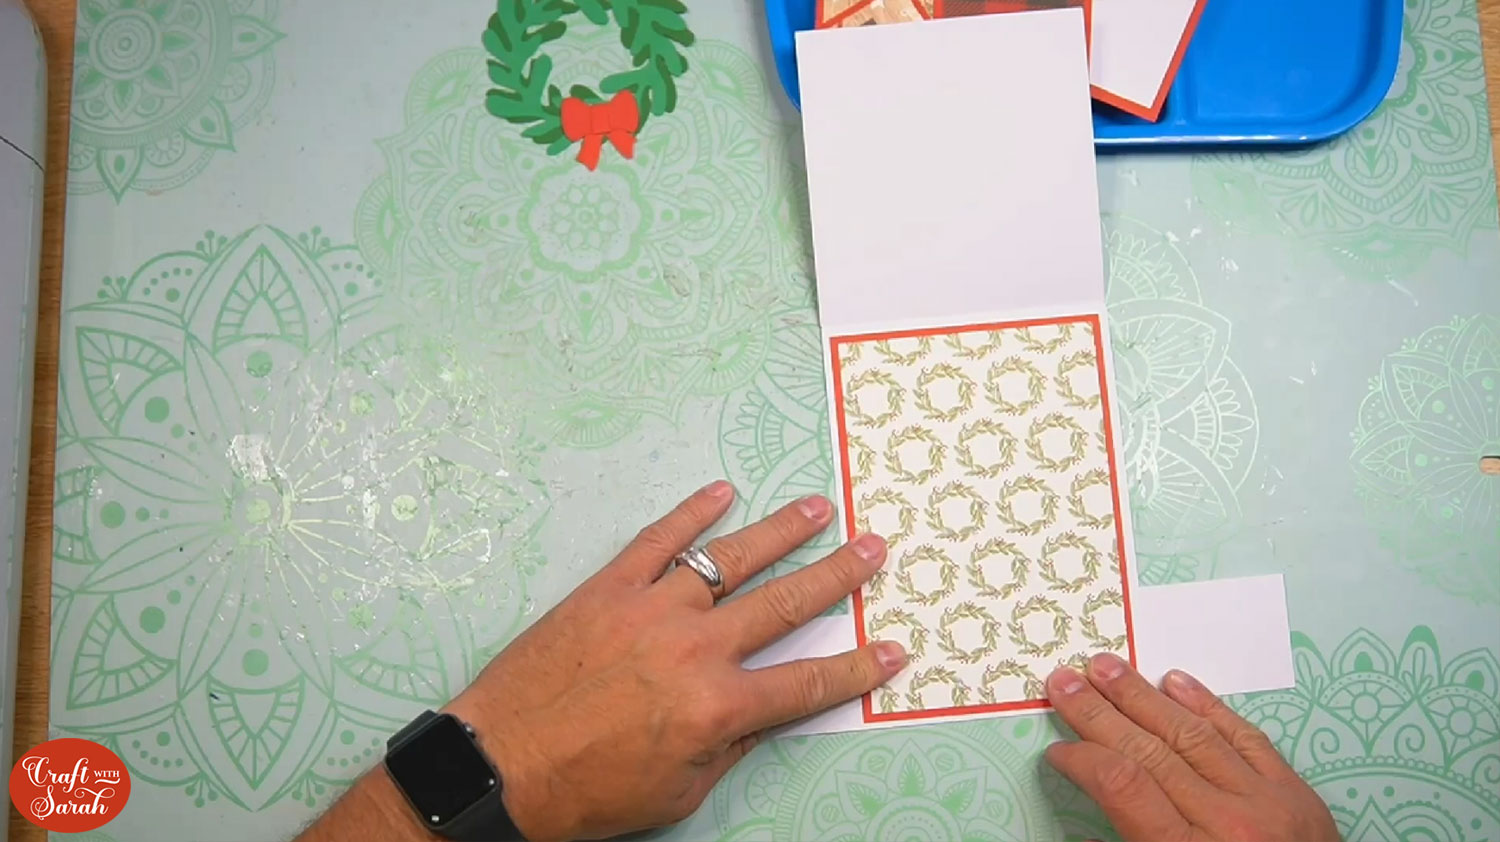
Take the message panel and glue it to the top section of the card.
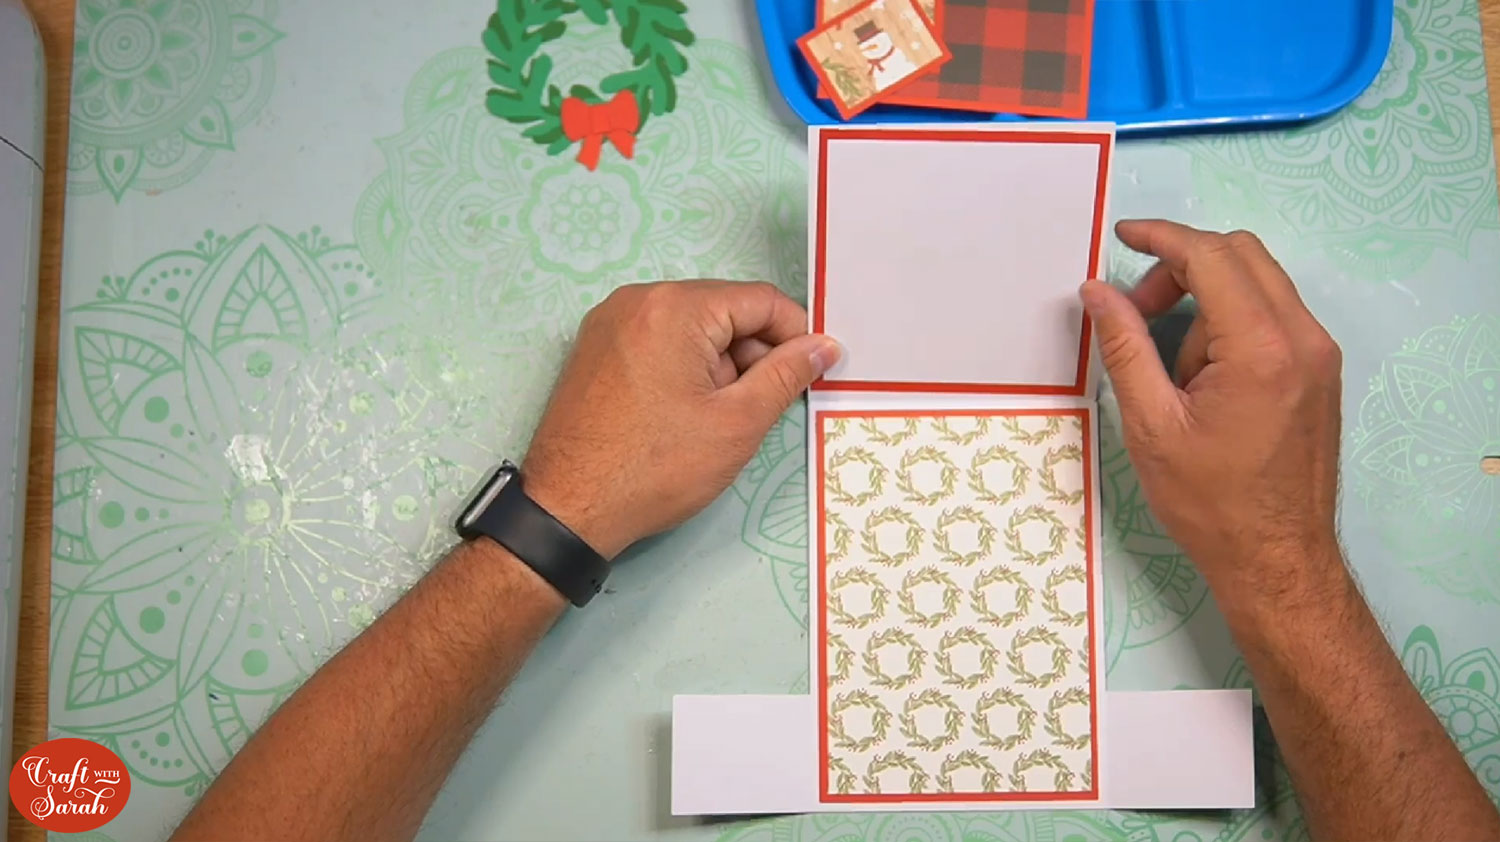
Glue the little cover panels to the side doors.
Bring down the top and add the main cover to the front.
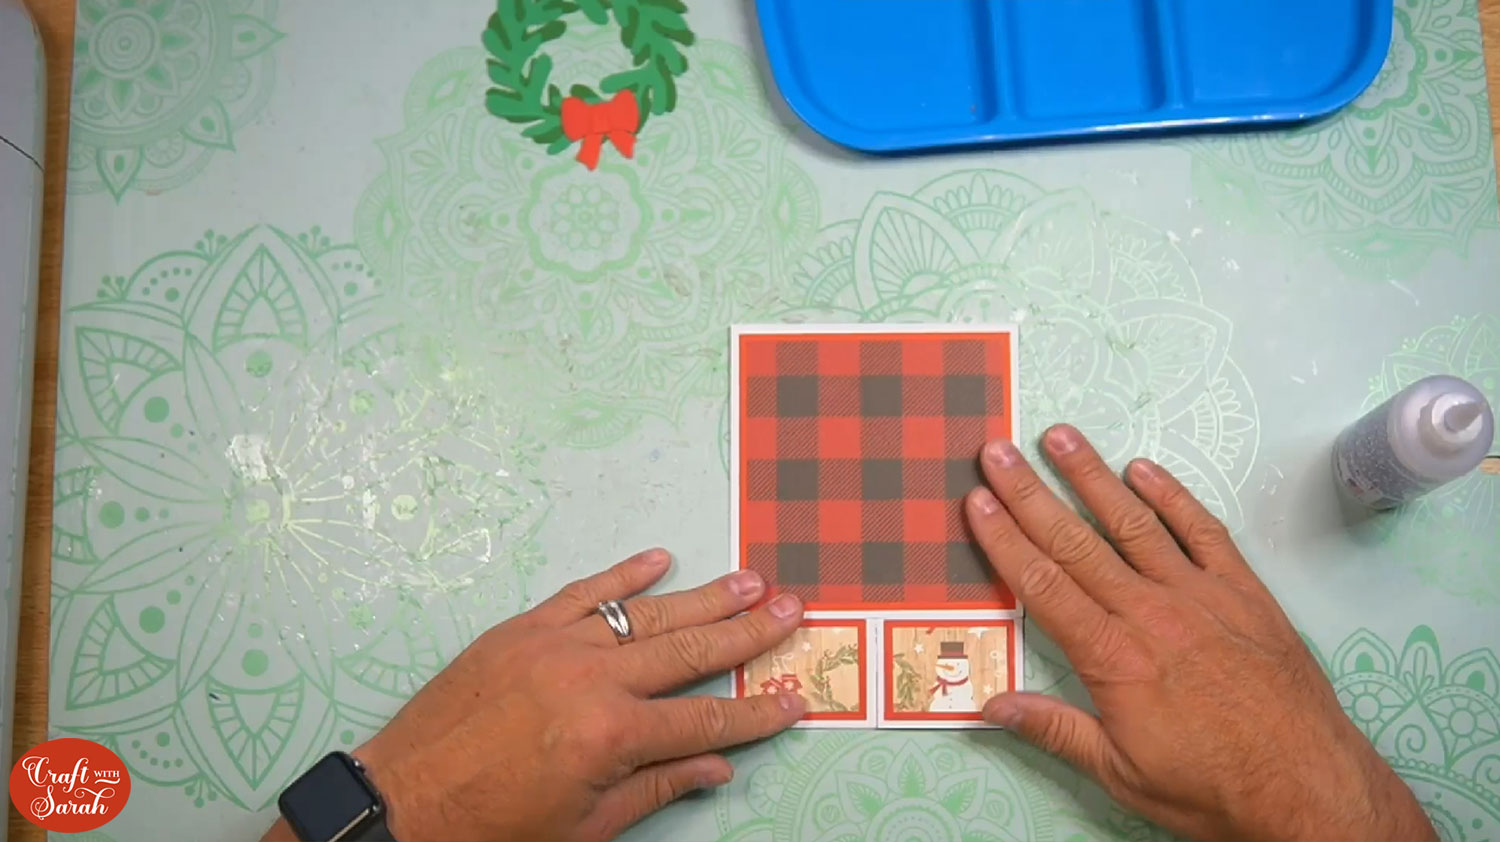
Add the wreath to the front panel using foam squares to add some dimension to the front cover panel.
To help you center the bow, use the line where the side doors meet.
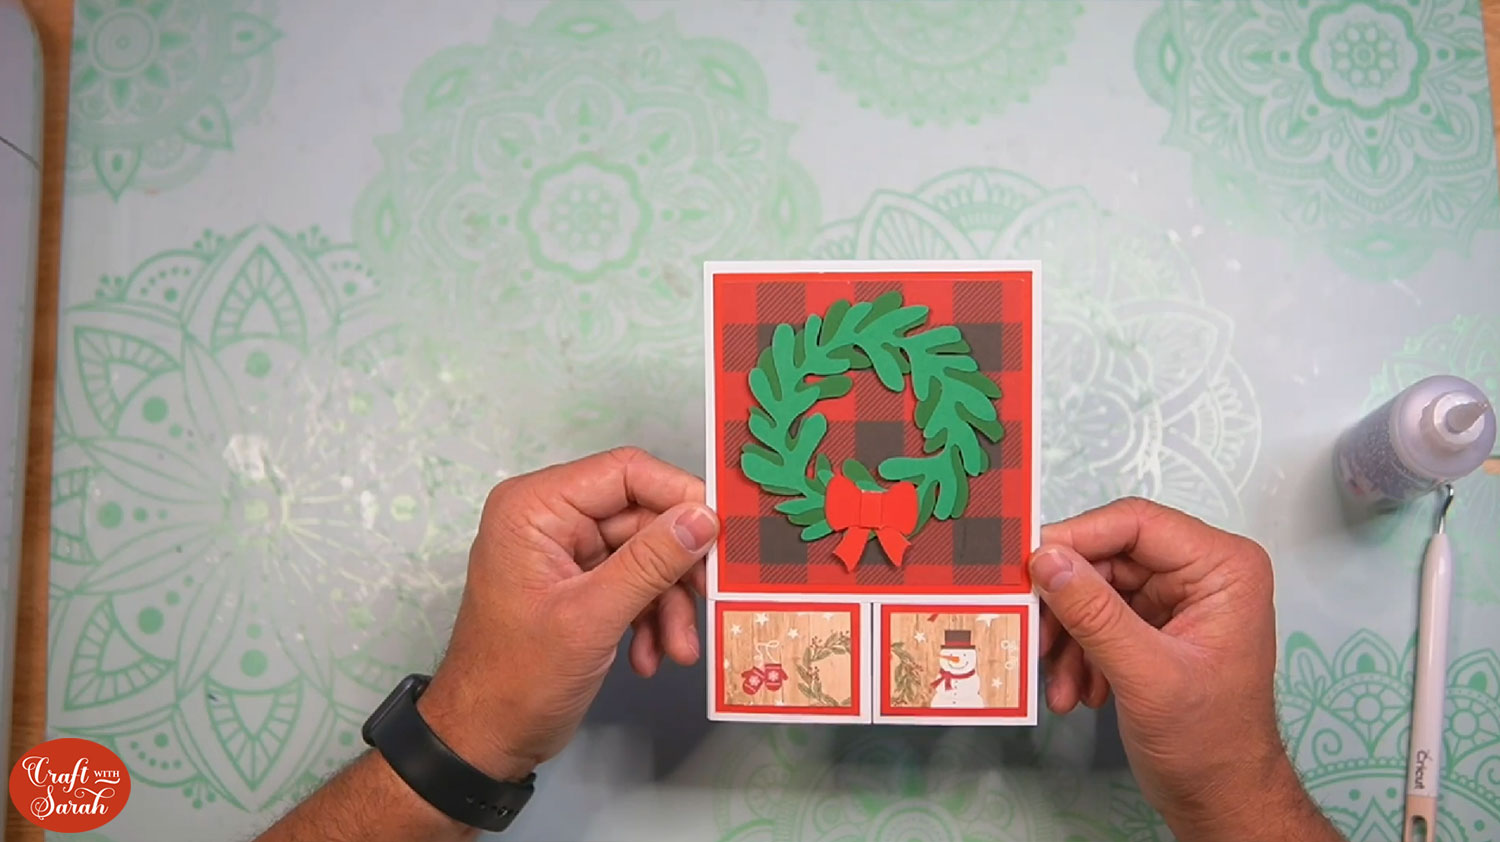
Now your card is complete, let’s move onto the envelope!
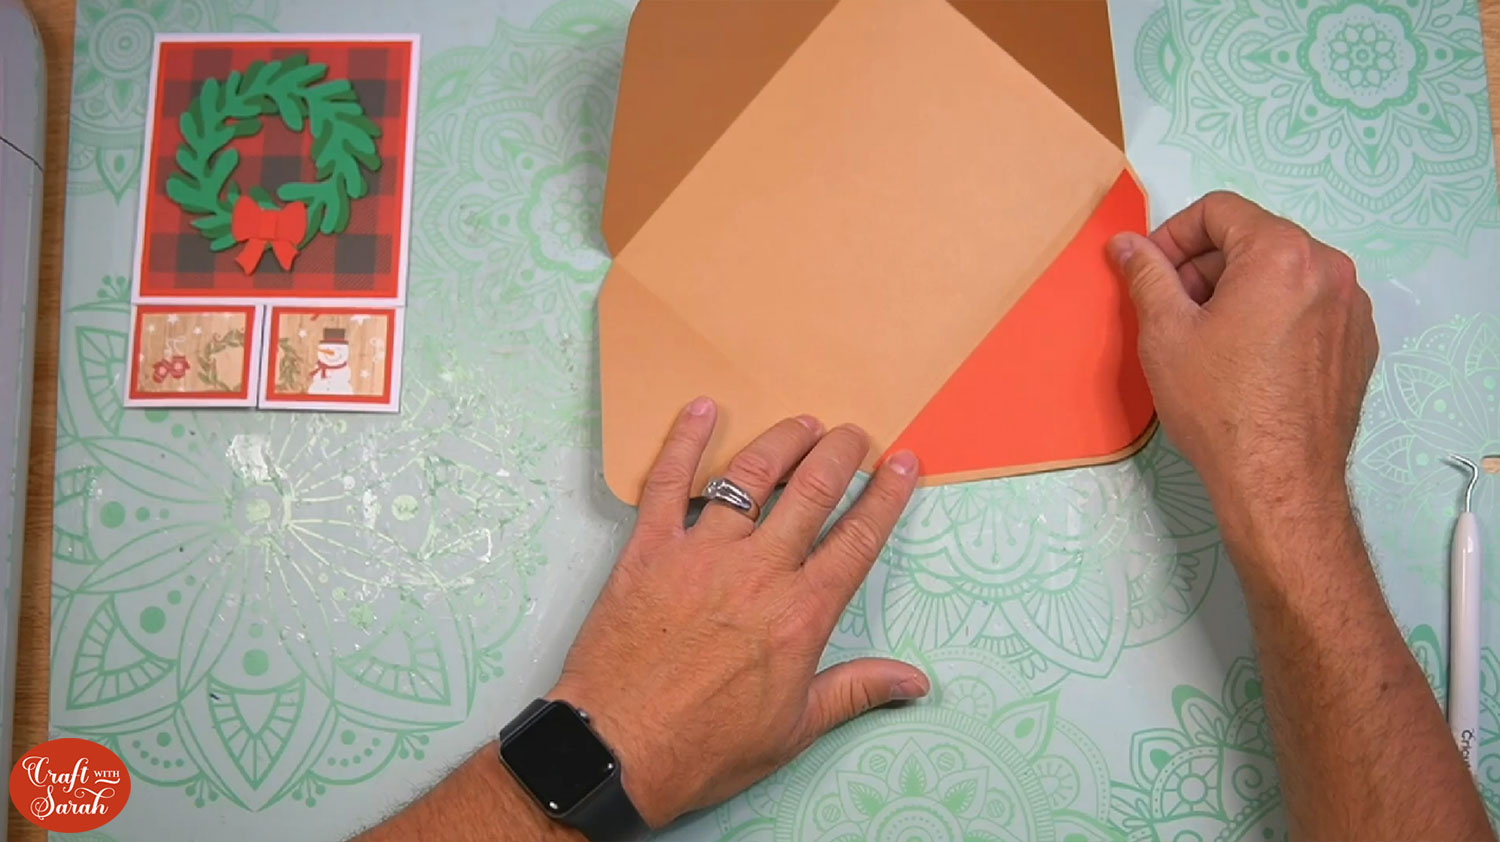
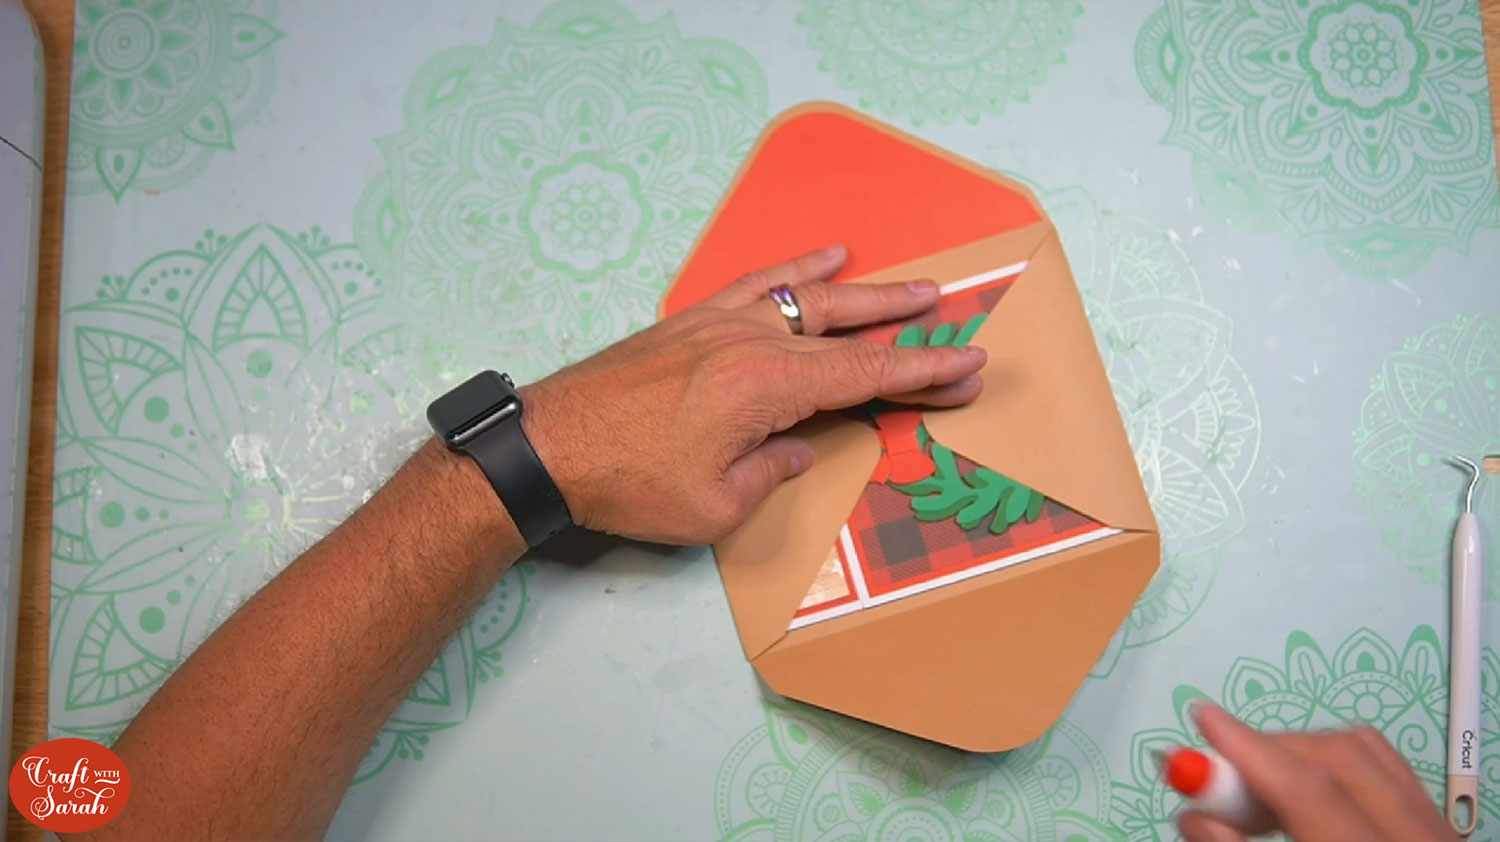
Step 5) Assemble the envelope
Take the large envelope piece and fold and burnish along the score lines.
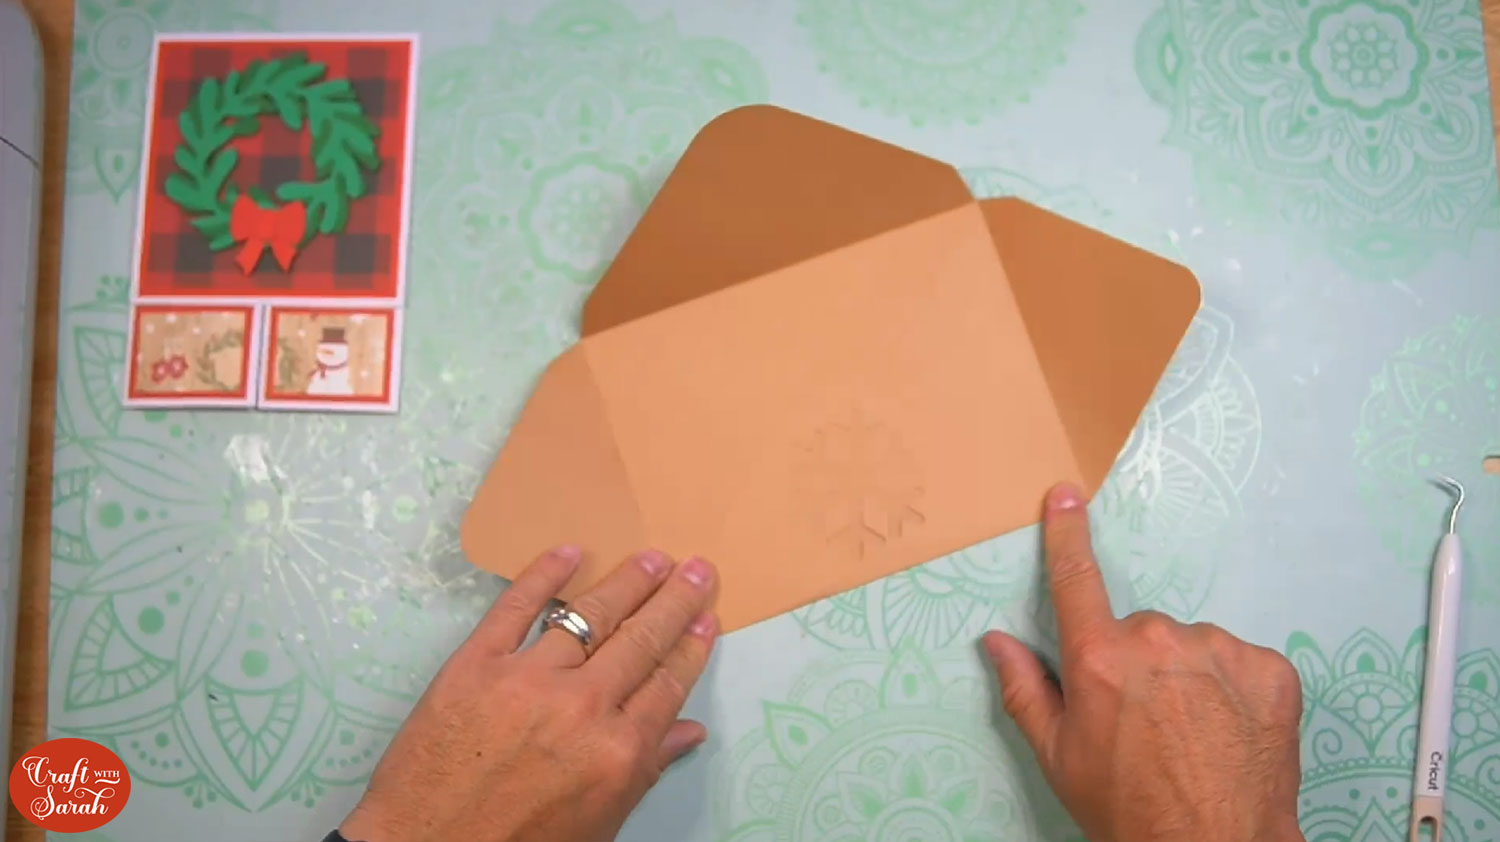
Take the inlay panel and glue around the outer edge.
Flip it over and space the inlay over the cut out on the envelope.
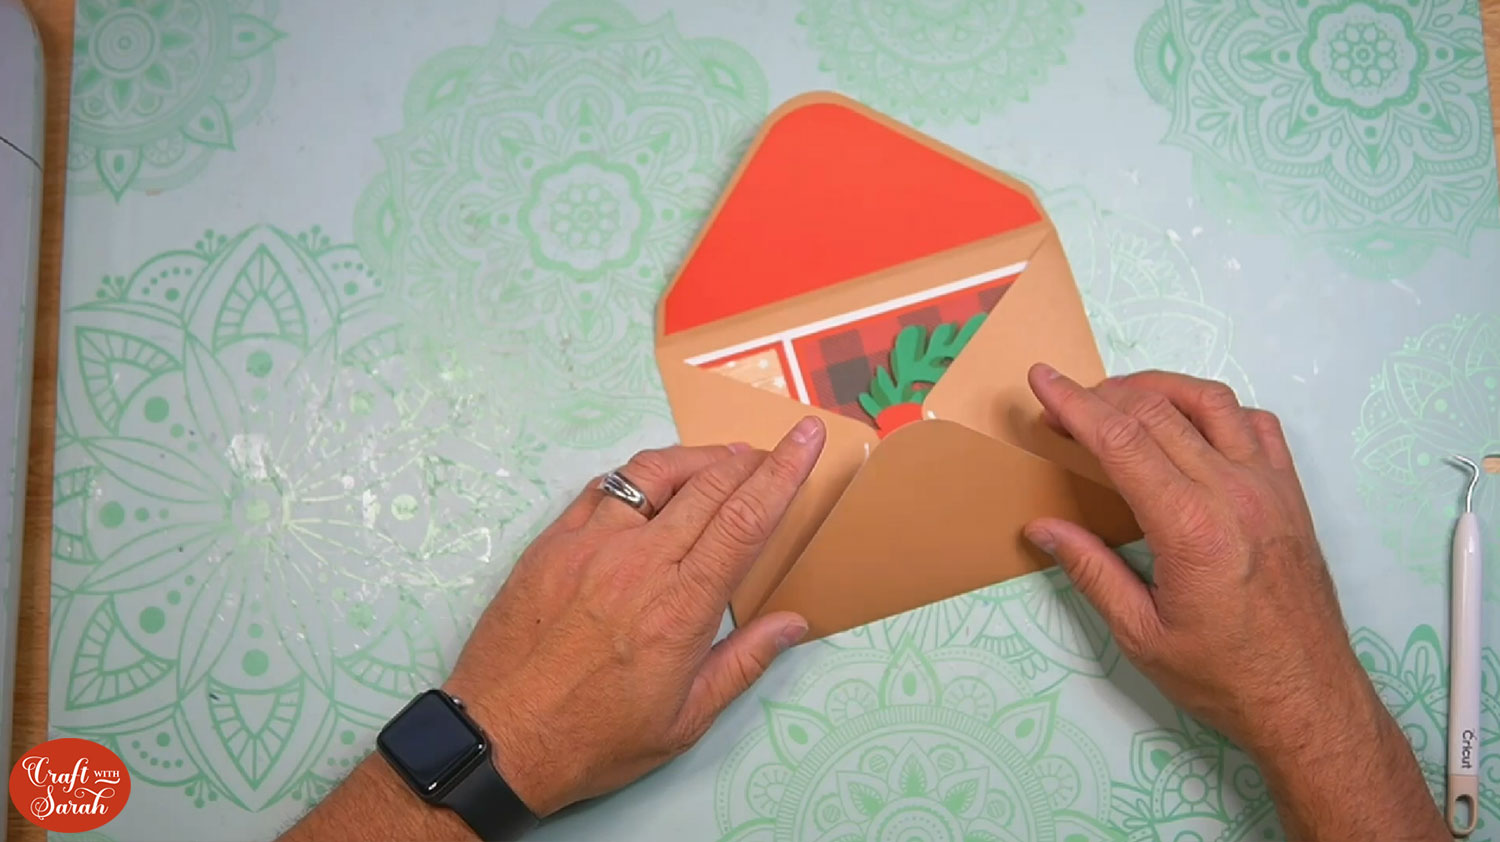
Place your card inside the envelope so that you can create enough room for your envelope to hold the card.
Glue the bottom edges of the side tabs.
Fold the bottom flap up to stick the envelope together.
Easy yet impressive handmade Christmas cards
Now both your card and envelope are all finished and ready to send to your loved ones this Christmas!
This is a great way to show off all your favourite patterned paper in one card. I love all the different elements on it.
I love how you could use the template and make cards for all different seasons and occasions.
Happy crafting,
Sarah x

