HCC 2023 Day 09 🦇 3D Light-Up Witch Hat
Today I’m sharing my favourite design from the whole countdown, although it is one of the slightly more challenging projects to make…
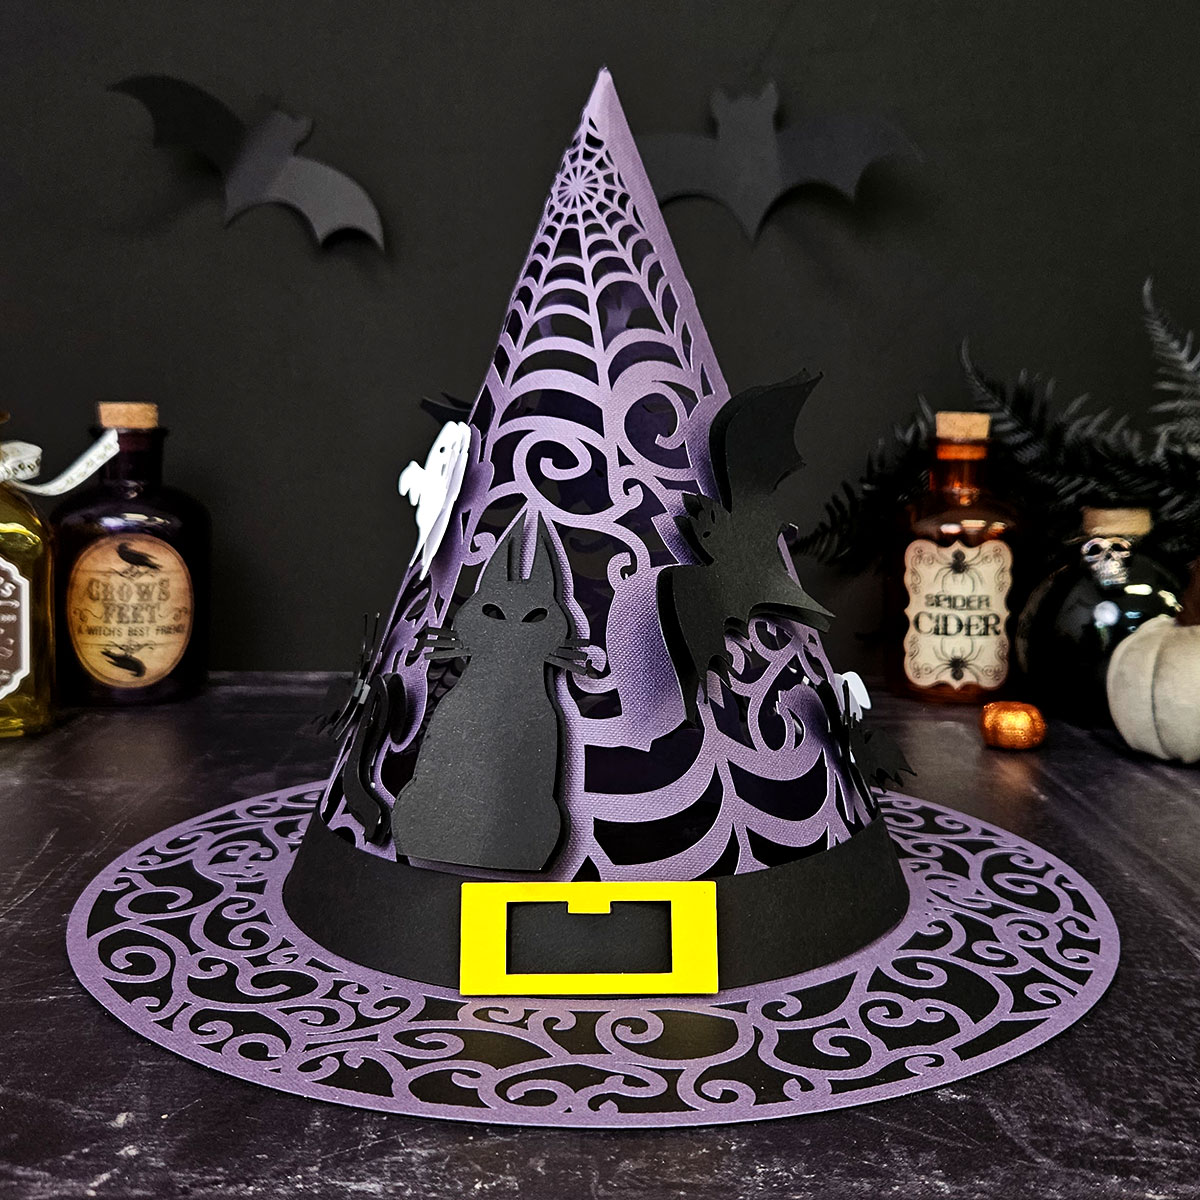
This intricate witch hat design can be made as a wearable hat for your Halloween parties, or it can be used as a table or room decoration.
Fill it with fairy lights for an even spookier appearance!
This Project was part of the Halloween Craft Countdown 2023
Materials supply list
Here is a list of the materials that I used to make this project.
Please note that some of the links included in this article are affiliate links, which means that if you click through and make a purchase I may receive a commission (at no additional cost to you). You can read my full disclosure at the bottom of the page.
- Cricut machine
- Light blue Cricut cutting mat
- 12×12 inch Glitter Card in black, purple, gold and white
- Tracing paper, vellum or parchment paper
- Battery powered fairy lights
- Glue gun
- Cricut scoring stylus or scoring wheel (optional but helpful)
- Collall All Purpose Glue
- Needle Tip Applicator Bottle
This project is suitable for the following types of Cricut machine: Explore Air 2, Explore Air 3, Maker, Maker 3 and Venture. It is too large to cut on the Cricut Joy Xtra and original Joy machines.
If you don’t have vellum or fairy lights, no problem! The hat still looks beautiful without them.
Video tutorial
Watch the video below to see how to make this project. Keep scrolling for a written tutorial.
Written tutorial (with photos!)
Here’s how to make your very own 3D witch hat using a Cricut machine!
Step 1) Download the cutting file(s) & unzip the downloaded folder
Purchase the File(s)
This cut file is available as part of the Instant Access Bundle.
Or, purchase this design individually here

Before you upload the SVG to Design Space, you need to unzip the download folder that it comes in.
- How to unzip a folder on Windows computer
- How to unzip a folder on a Mac
- How to unzip a folder on an iPad/iPhone
- How to unzip a folder on an Android device
Step 2) Upload the SVG file into Design Space
Open up Cricut Design Space and start a new Project.
Click “Upload” and then find your unzipped version of the downloaded files for this project.

The file to upload for Cricut Design Space is the one called svg-witch-hat-craftwithsarah.svg
This is how it should look after you have uploaded the file:
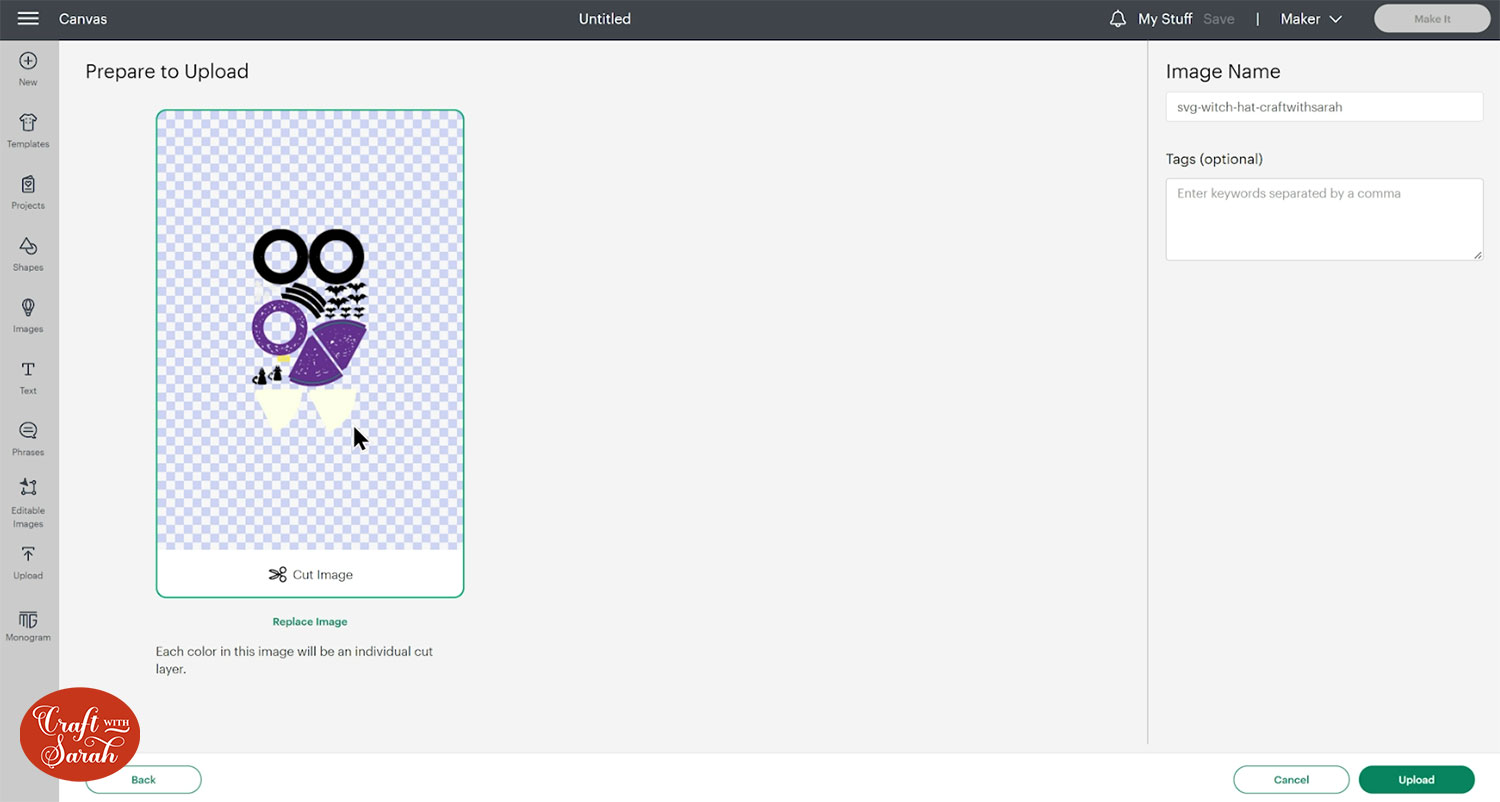
The pieces have all been laid out separately in the file to make it easier to format the score lines, which will be doing soon.
Make sure you upload the file which starts svg- in the filename!!
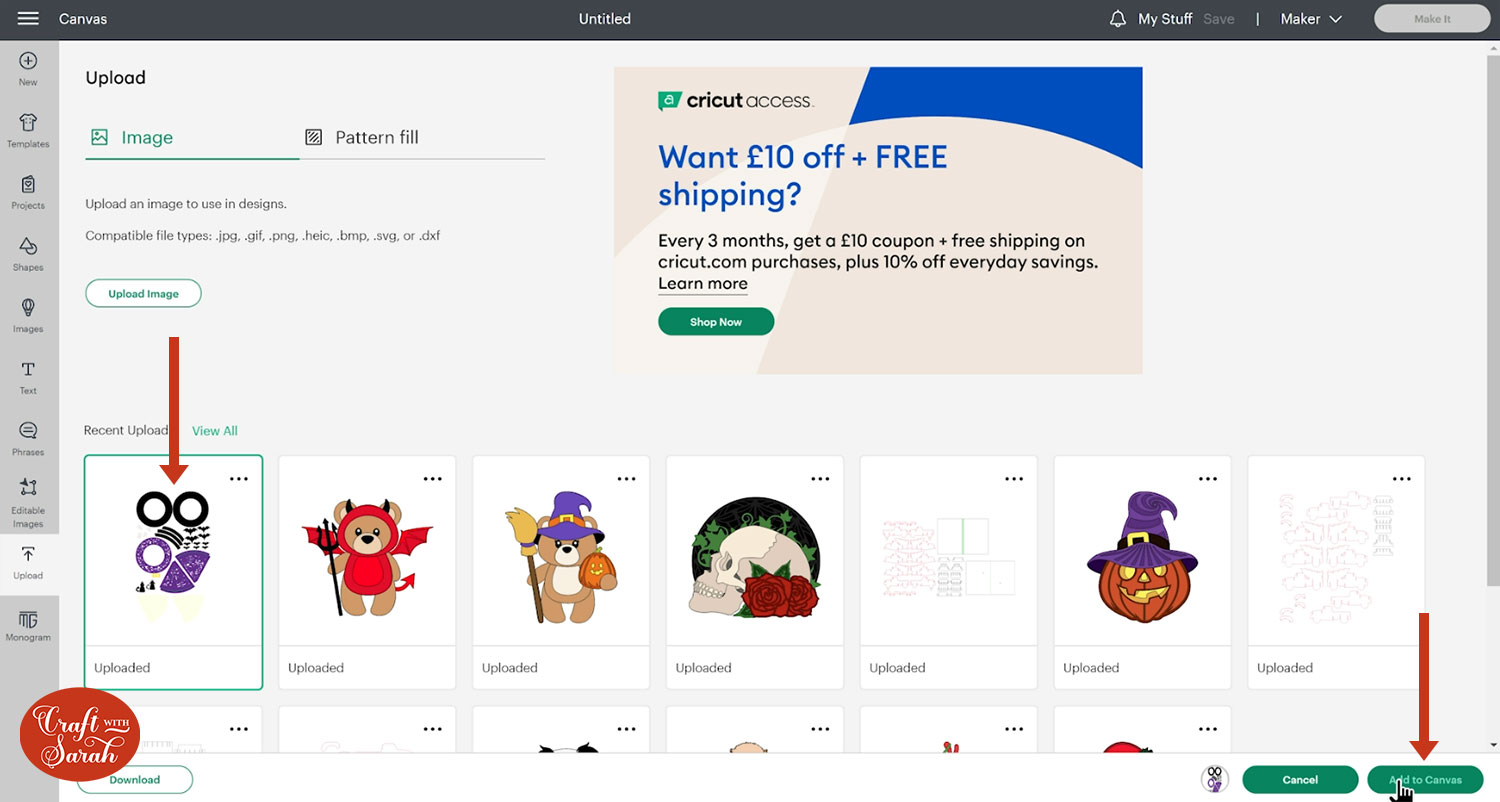
After uploading, the design will show in your “Recently Uploaded Images”.
Click on it and then press “Add to Canvas” to put it onto your Project.
Step 3) Size the witch hat design
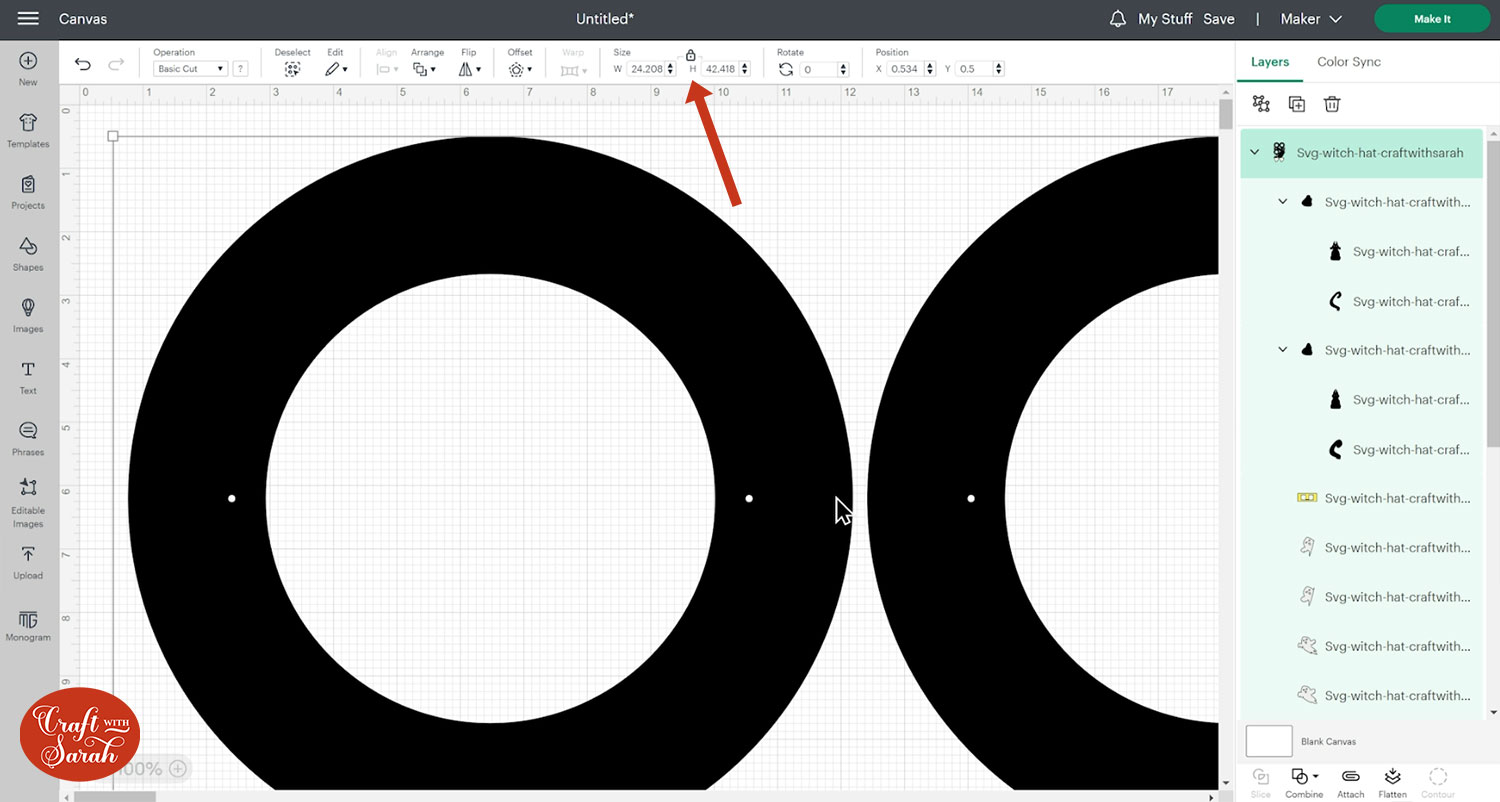
The design should load in at the correct size which is 24.208 inches wide and 42.418 inches wide.
Don’t worry about this large size. Each individual piece is small enough to be cut by the Cricut on a regular 12×12 inch cutting mat.
You can resize the hat smaller if you would like to, but you cannot resize it bigger unless you have the Cricut Venture cutting machine.
To make it smaller, click “Shapes” and create a circle.
Make the circle the size that you want to cut the base of the hat.
Under the “Operations” dropdown, change the circle to a “Guide” layer which will turn it into a pink outline.
Click the Group that contains all the hat layers and resize the whole Group at once until one of the hat circles fits perfectly inside your new Guide circle.
TIP: Make sure the padlock icon above the width/height boxes is CLOSED before you resize. If it appears “open”, click it with your mouse to close it.

Delete the Guide circle when you are done resizing.
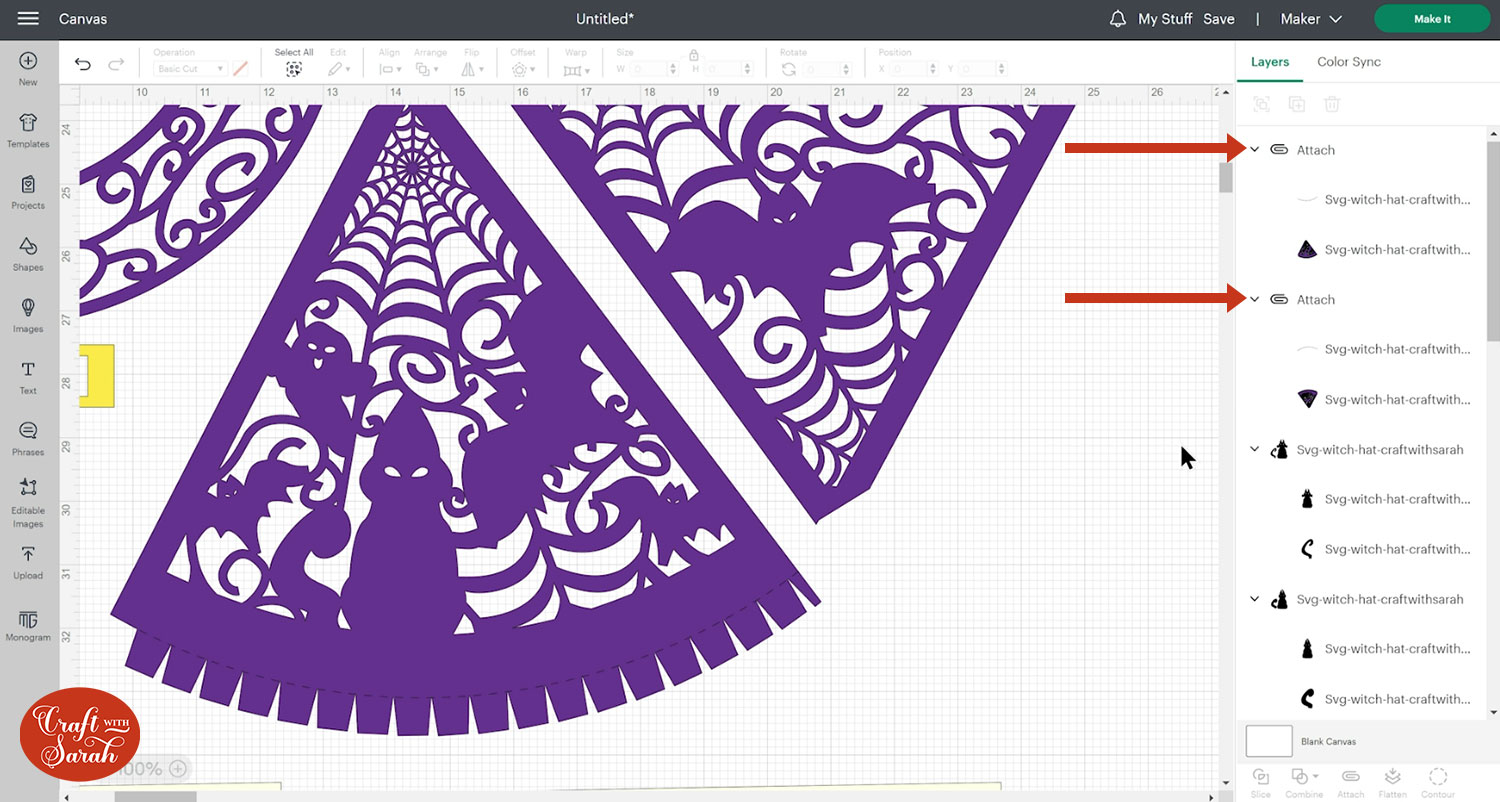
Step 4) Format the score lines
Design Space doesn’t recognise score lines on uploaded files, so we need to manually tell it which lines we would like it to score instead of cut.
There are two lines on the design that need to be changed to score lines.
Click the hat design and Ungroup the layers with the button at the top of the layers panel.

Scroll down the layers panel until you see a purple layer which looks like the shape of a pizza slice, with a curved line on the layer above.
Click the curved line layer.
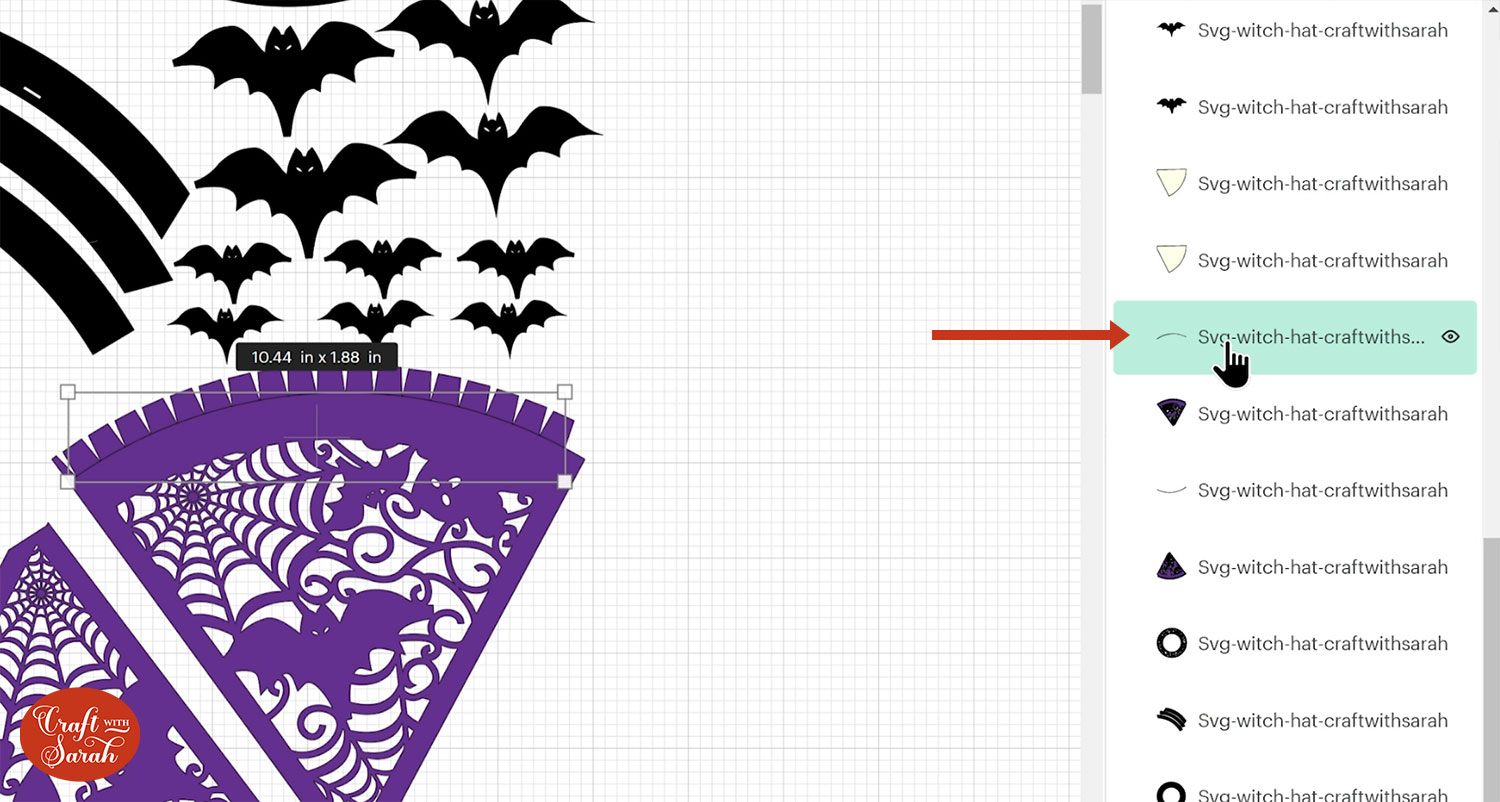
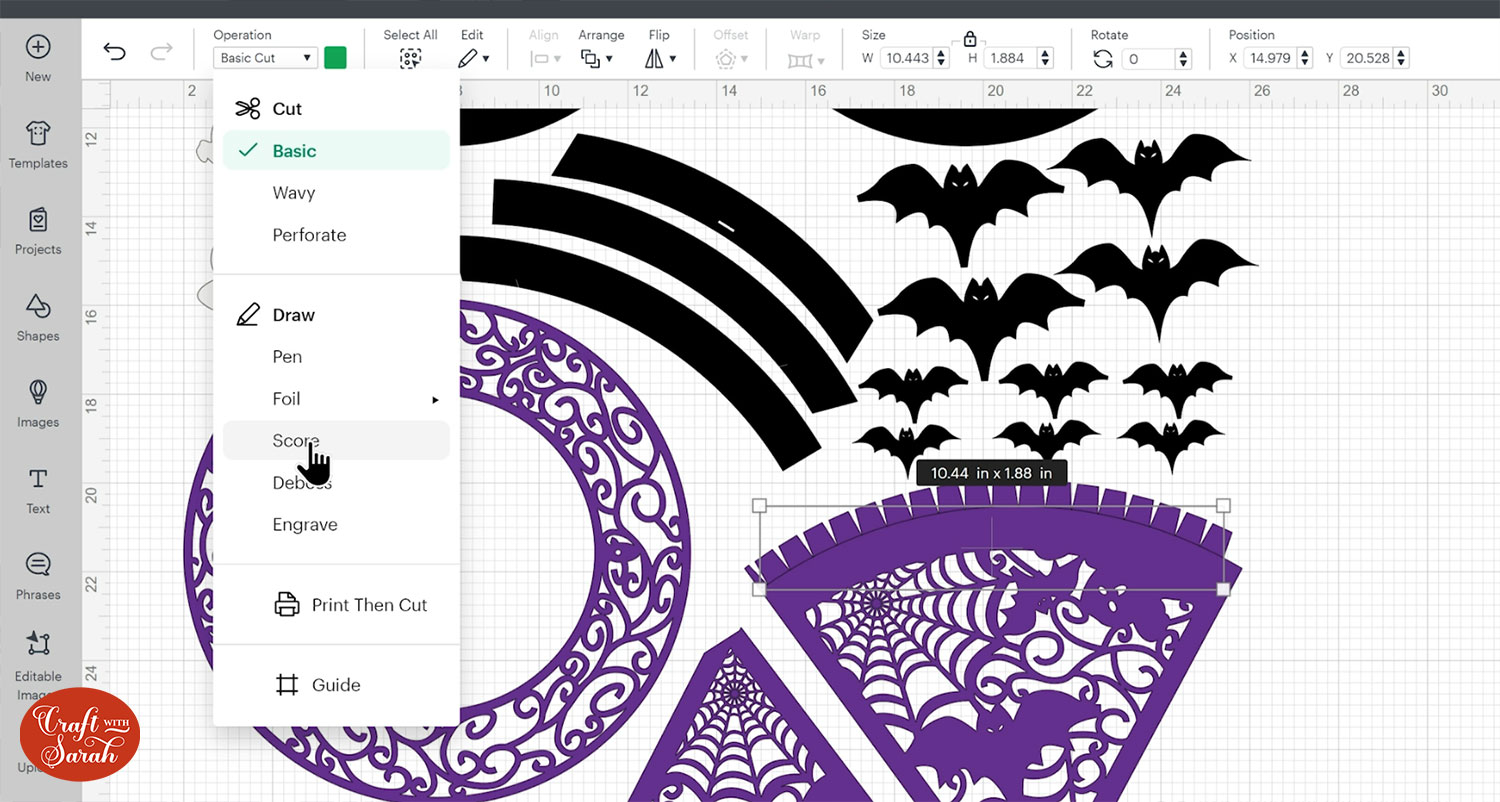
If you do not have a scoring wheel or scoring stylus for your Cricut machine then you can delete this layer, but if you do have one then change the layer to a “Score” line in the Operations dropdown.
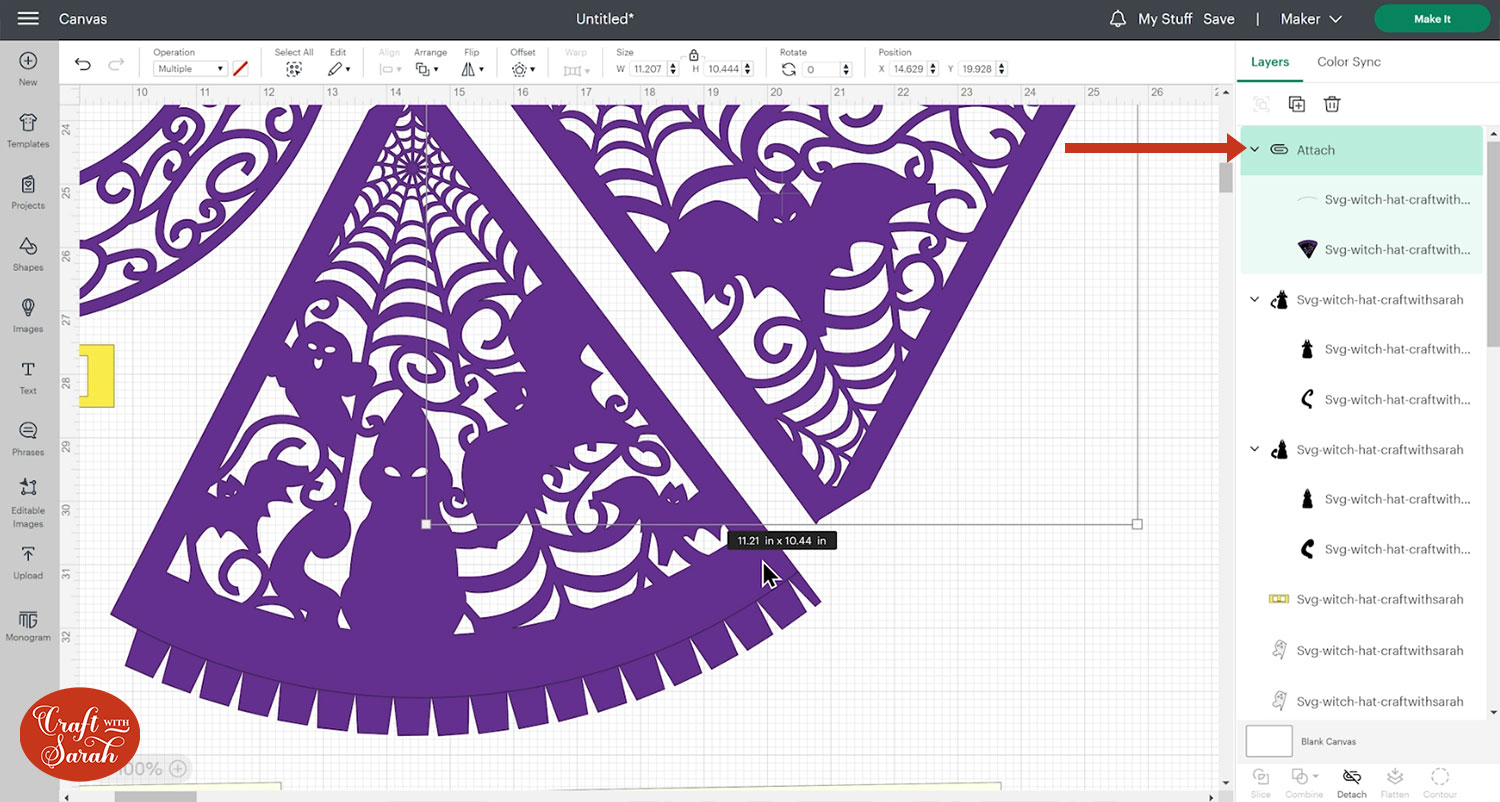
Select the new score layer and the purple “pizza slice” layer underneath and “Attach” them together using the button at the bottom of the layers panel.
Attach is what tells the Cricut to do the score line on that purple shape, rather than on a separate piece of card.
Do the same for the other purple “pizza slice” piece and curved line.
Step 5) Cut out all the layers
When you’re happy with how the project is looking in Design Space, click “Make It” and follow the instructions on-screen to cut out all the layers.
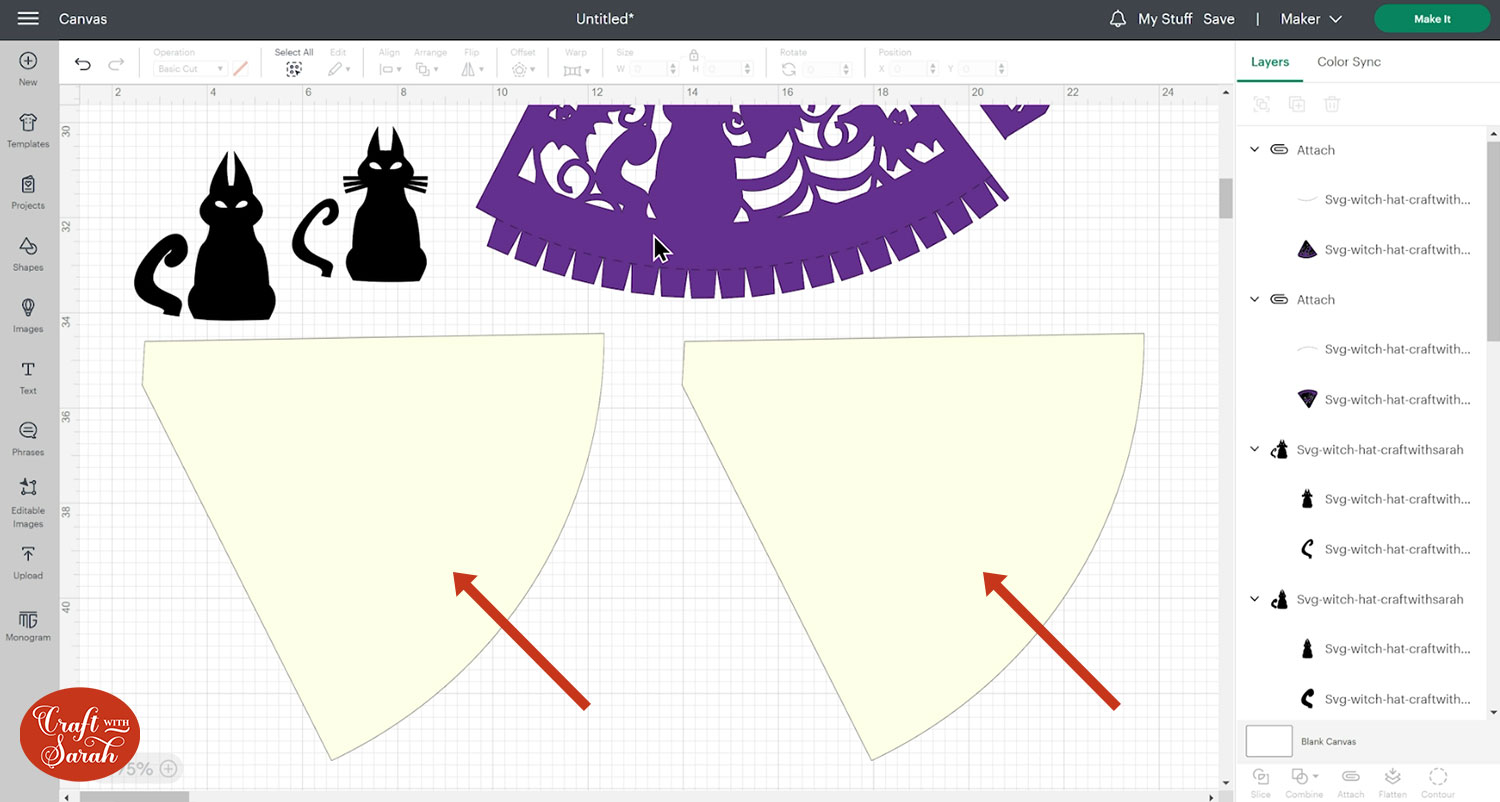
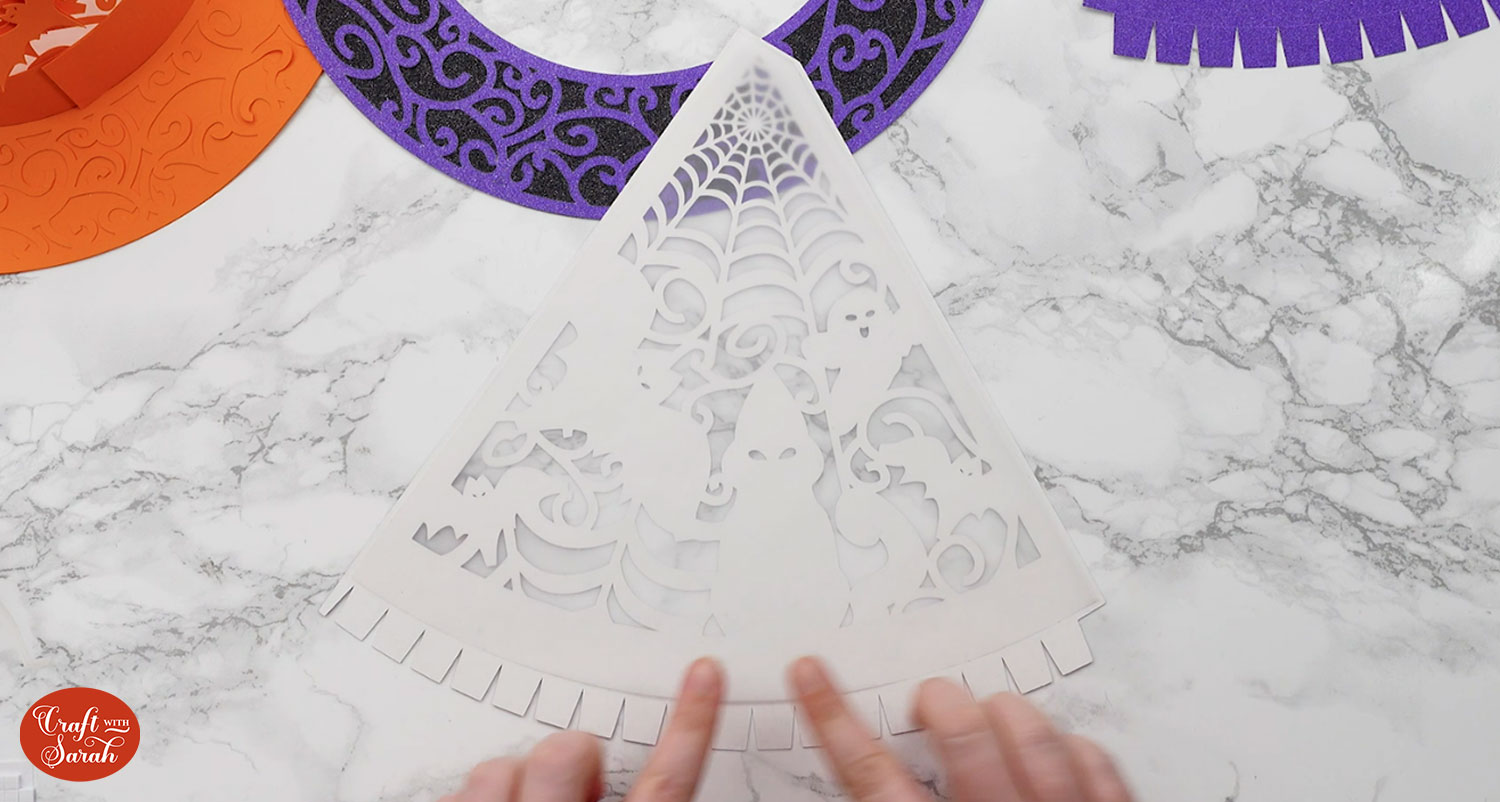
One thing to bear in mind is that the cream-coloured shapes are intended to be cut from a semi-transparent material such as vellum, tracing paper, greaseproof paper or tissue paper.
This is so that they hide the cables of the fairy lights inside whilst still letting the light shine though the gaps in the hat pattern.
To change the paper size, go into the dropdowns over on the left side of the screen and choose the paper size that you want to use. You need to change it for every single colour.
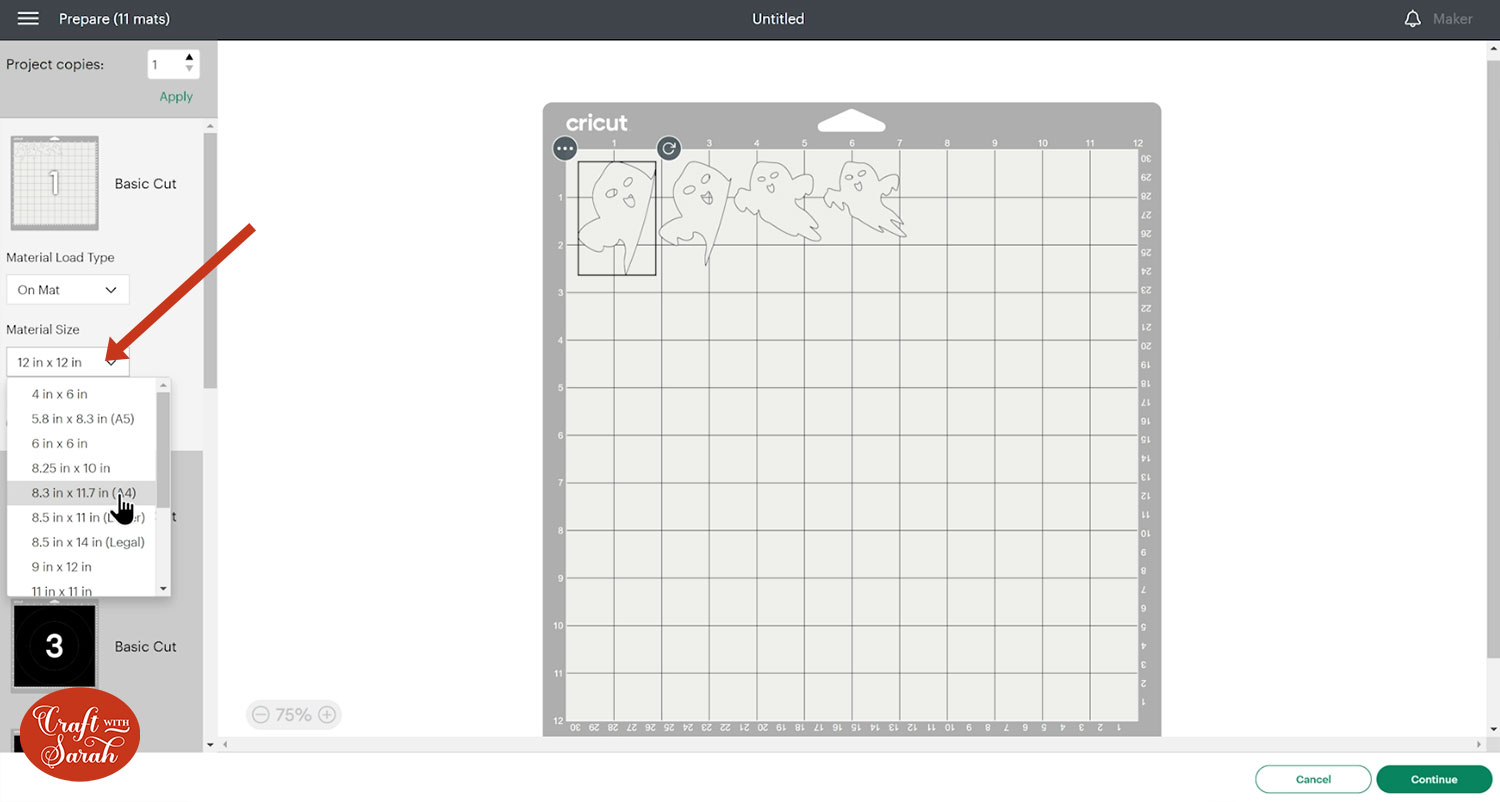
Some of the larger layers won’t let you change the paper as they require a 12×12 inch piece of cardstock due to their size.
To save space on your cardstock, you can move things around by clicking and dragging. Make sure when you’re moving things about that nothing overlaps because otherwise, it won’t cut out properly
TIP: New to cutting cardstock with a Cricut? Check out this in-depth tutorial which goes through every step of the process, including tips for getting the best quality cuts from your Cricut.
Step 6) Assemble the shape of the hat
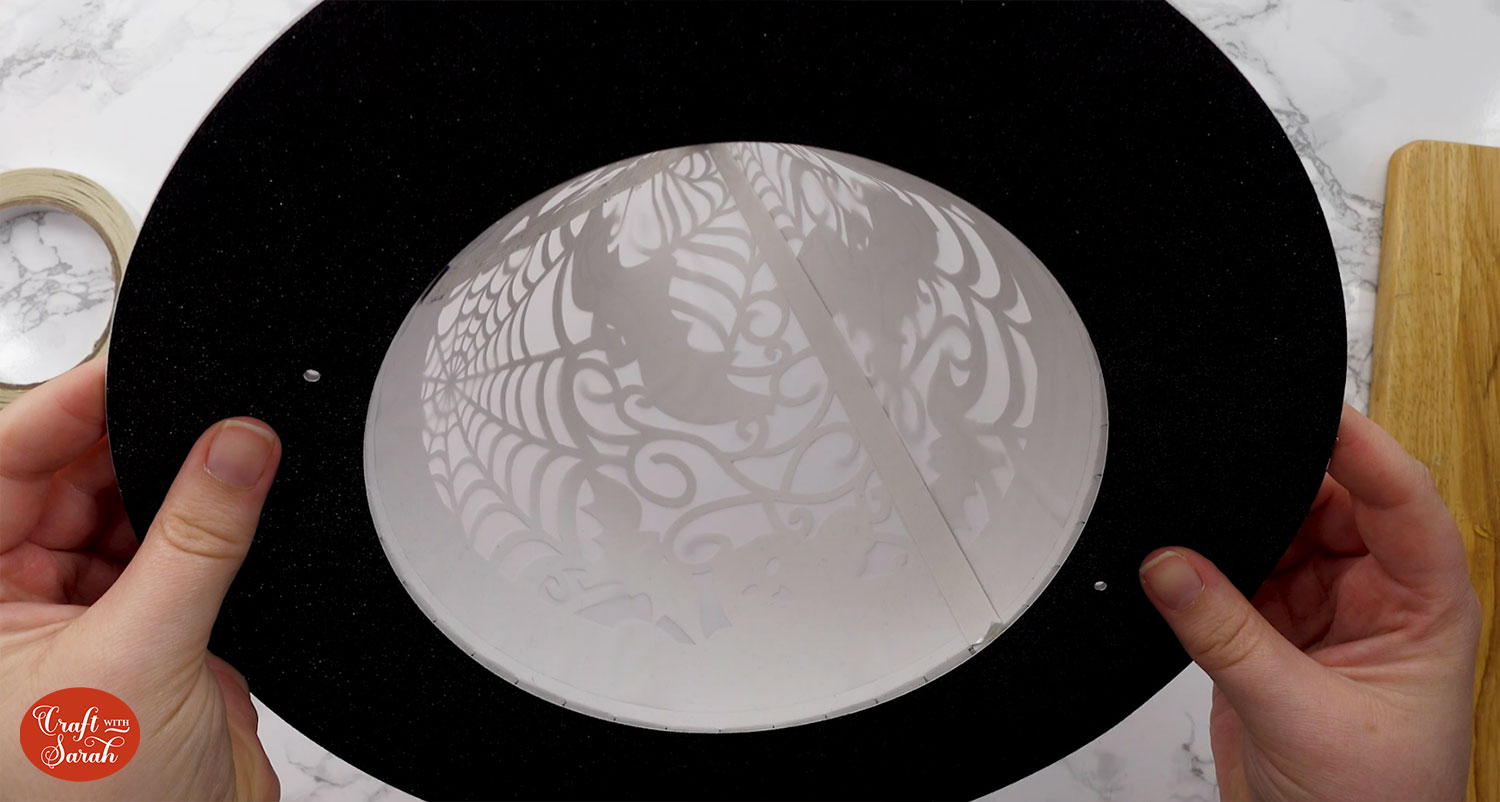
Glue the large detailed swirl circle onto one of the black circles. Make sure you line up the little circle cutouts.
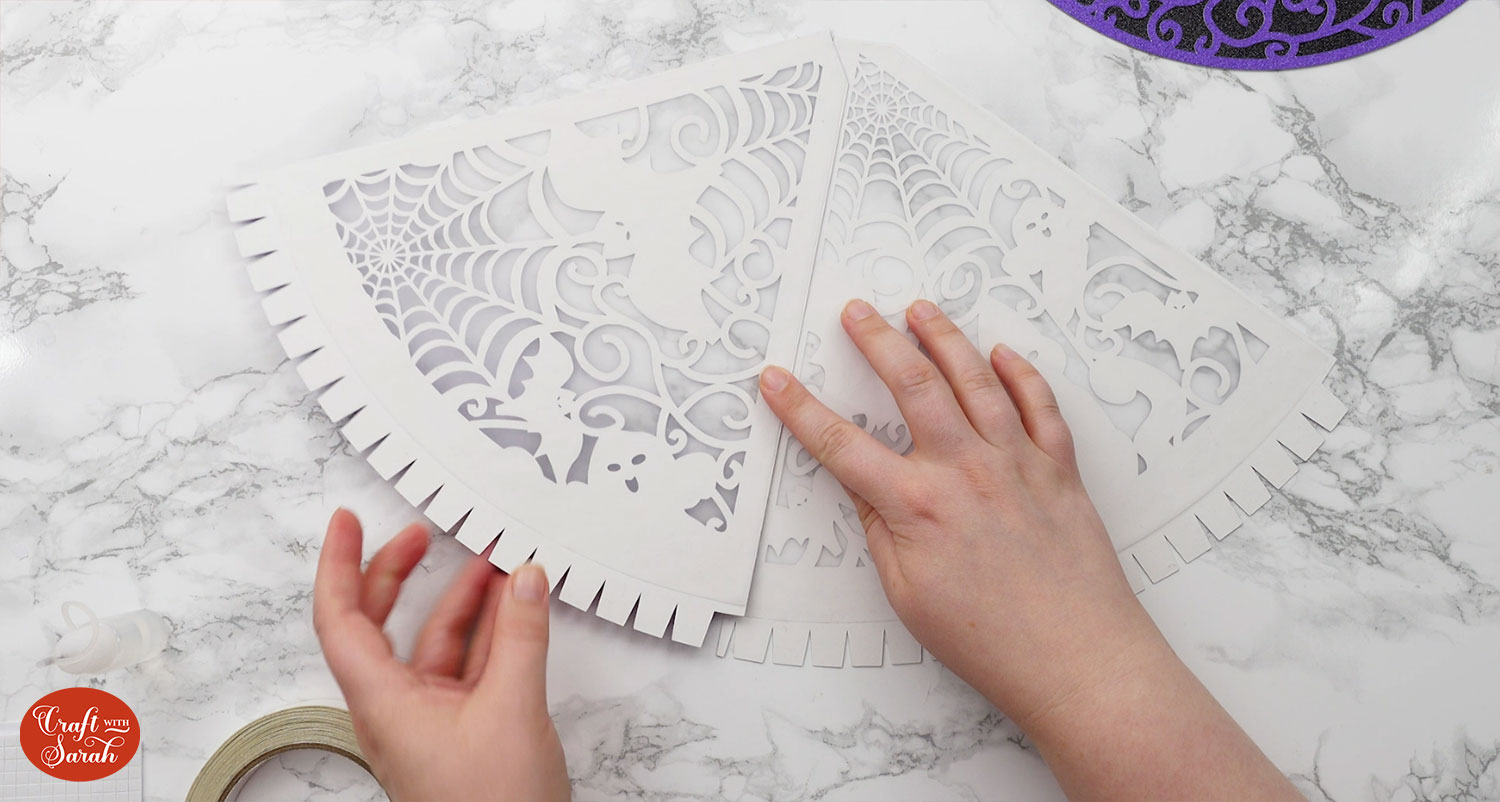
Glue the tracing paper/vellum pieces to the backs of the sides of the hat.
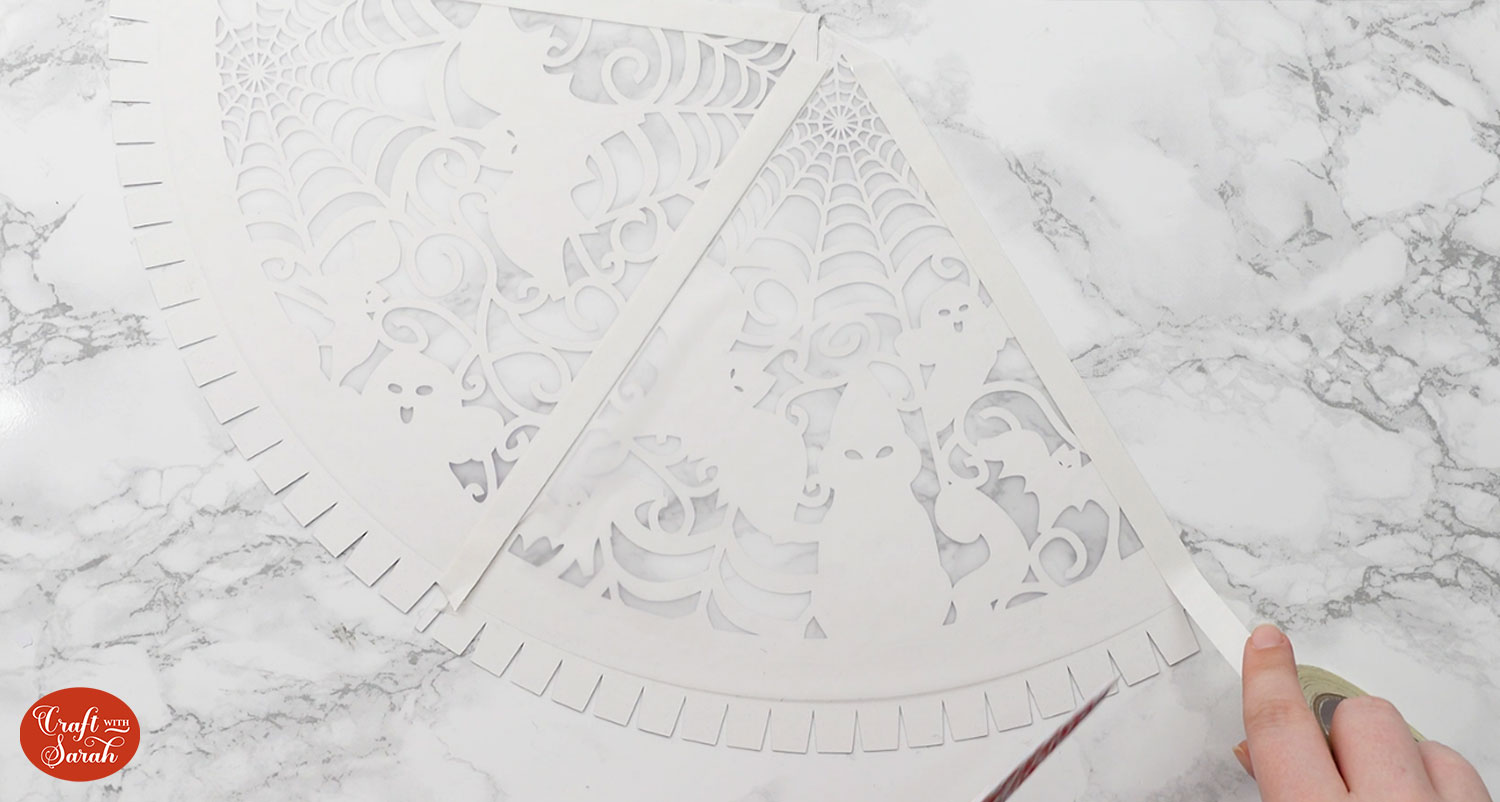
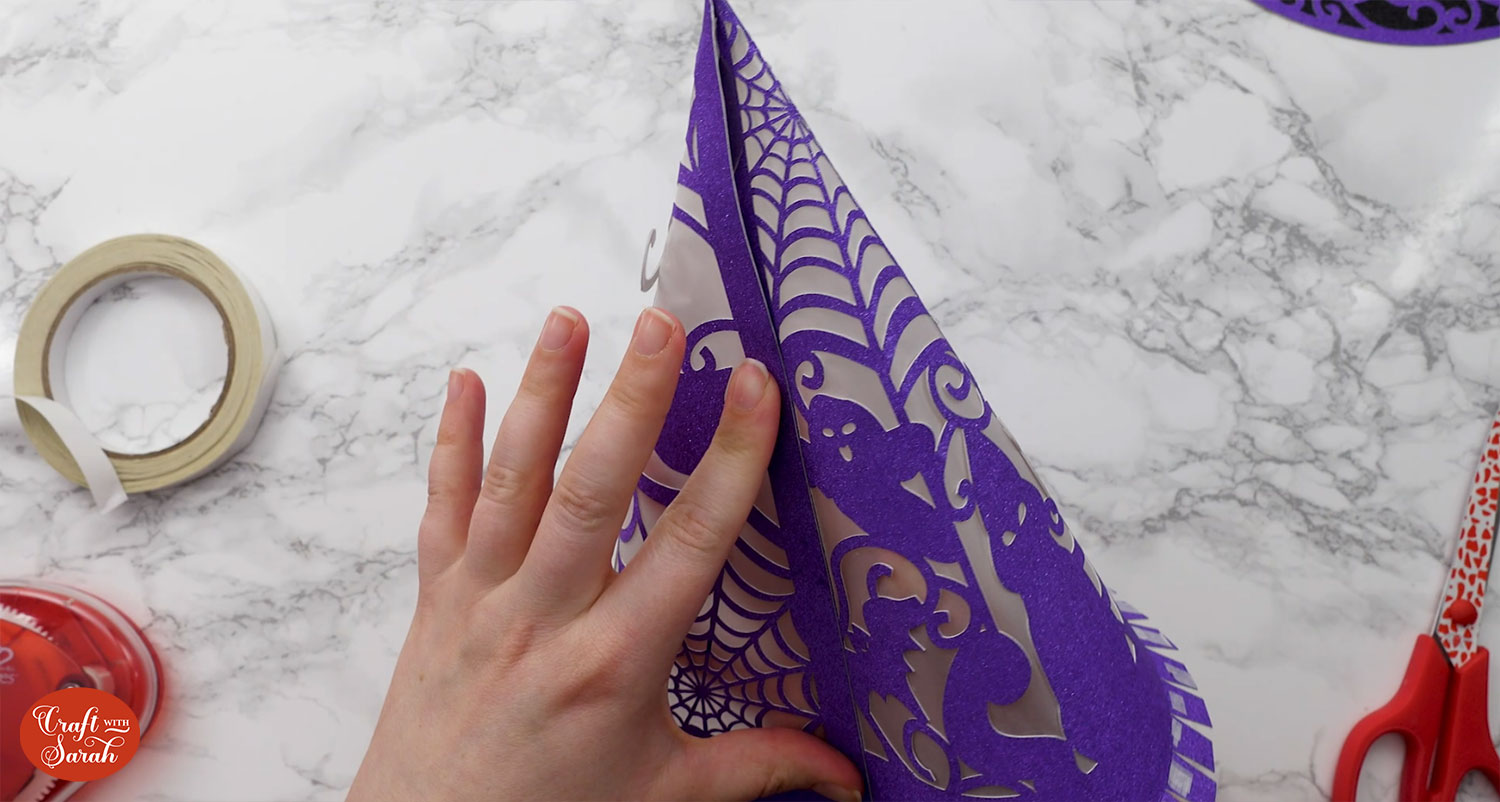
Glue the two sides of the hat together as shown. I tried doing this with double-sided tape in the video, but it didn’t dry very well on my glitter cardstock so I ended up using a glue gun instead which was much better.
Put double-sided tape down all of the solid lines on the back of the hat. These will be used to help stick the lights later on.
Fold all the tabs on the bottom of the hat outwards.
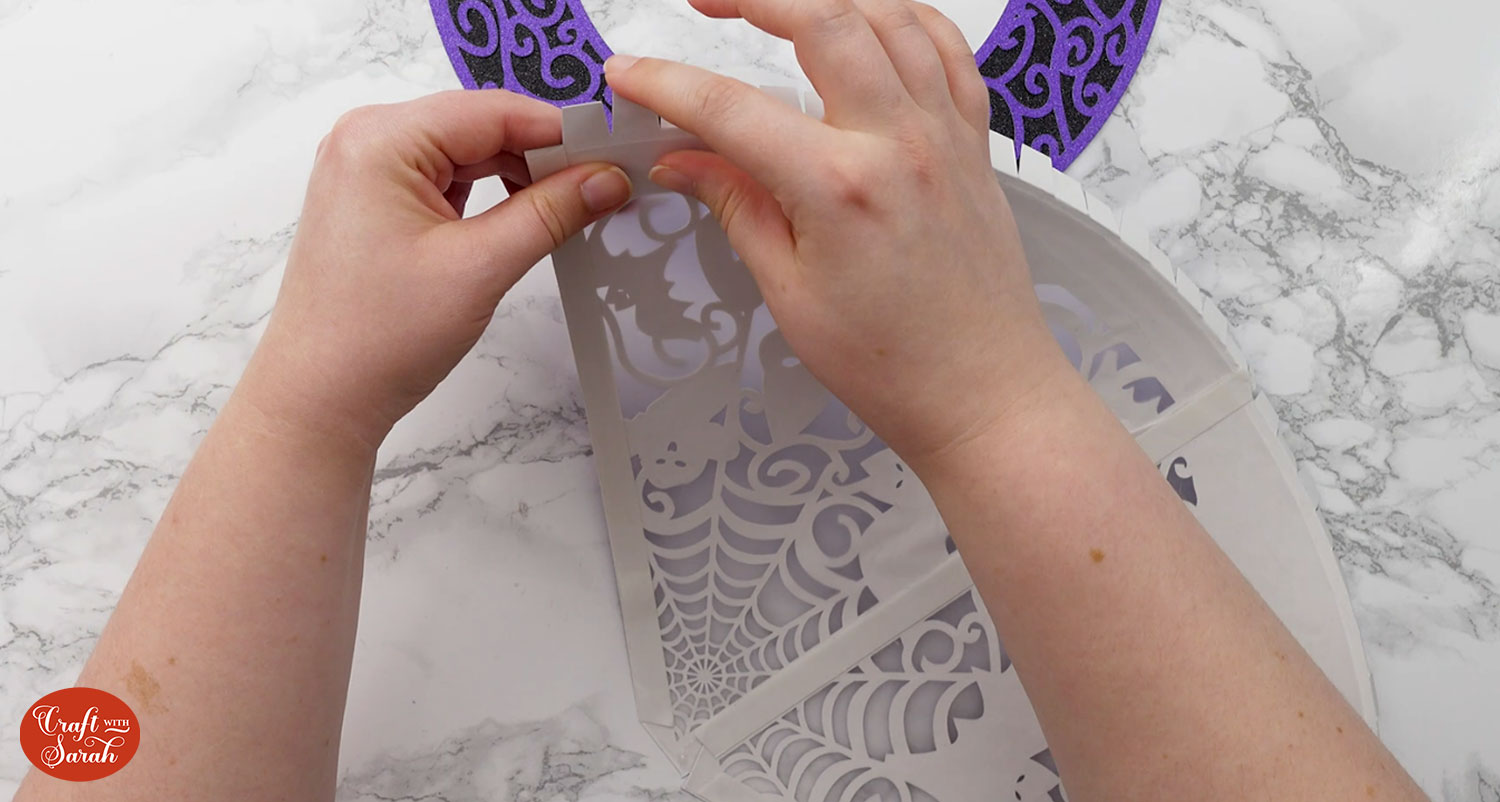
Use a glue gun to stick the hat into a cone shape. Be careful with the top of the hat – it should form a neat “point”.
Add double-sided tape or glue to the top of all the tabs.
Thread the base of the hat over the top and stick it to the tabs.
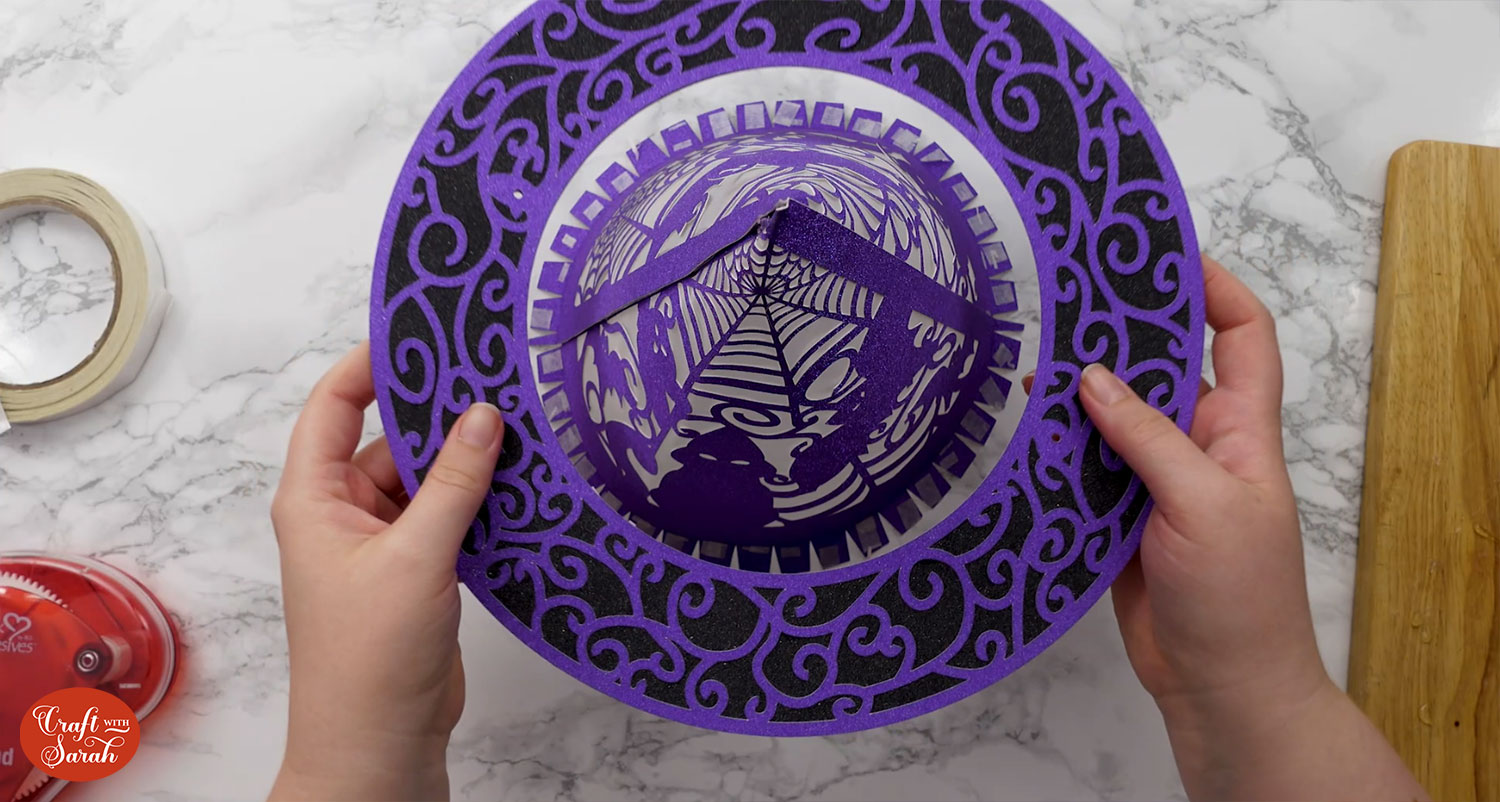
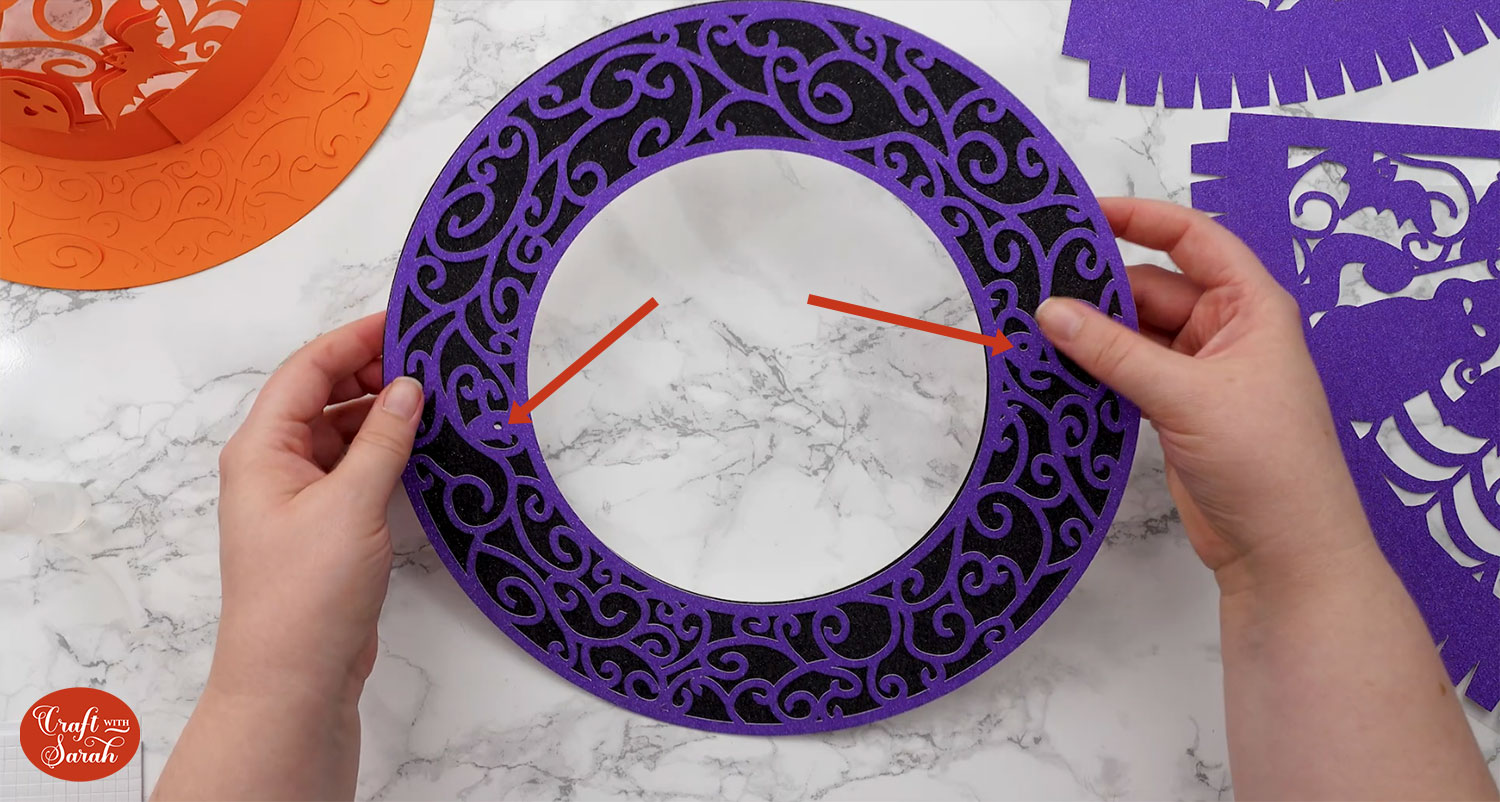
Important – line up the two little circle cutouts on the base of the hat with the solid “lines” on each side.
I forgot to do this when I filmed me video tutorial – whoops!!
The holes should be lined up like this:
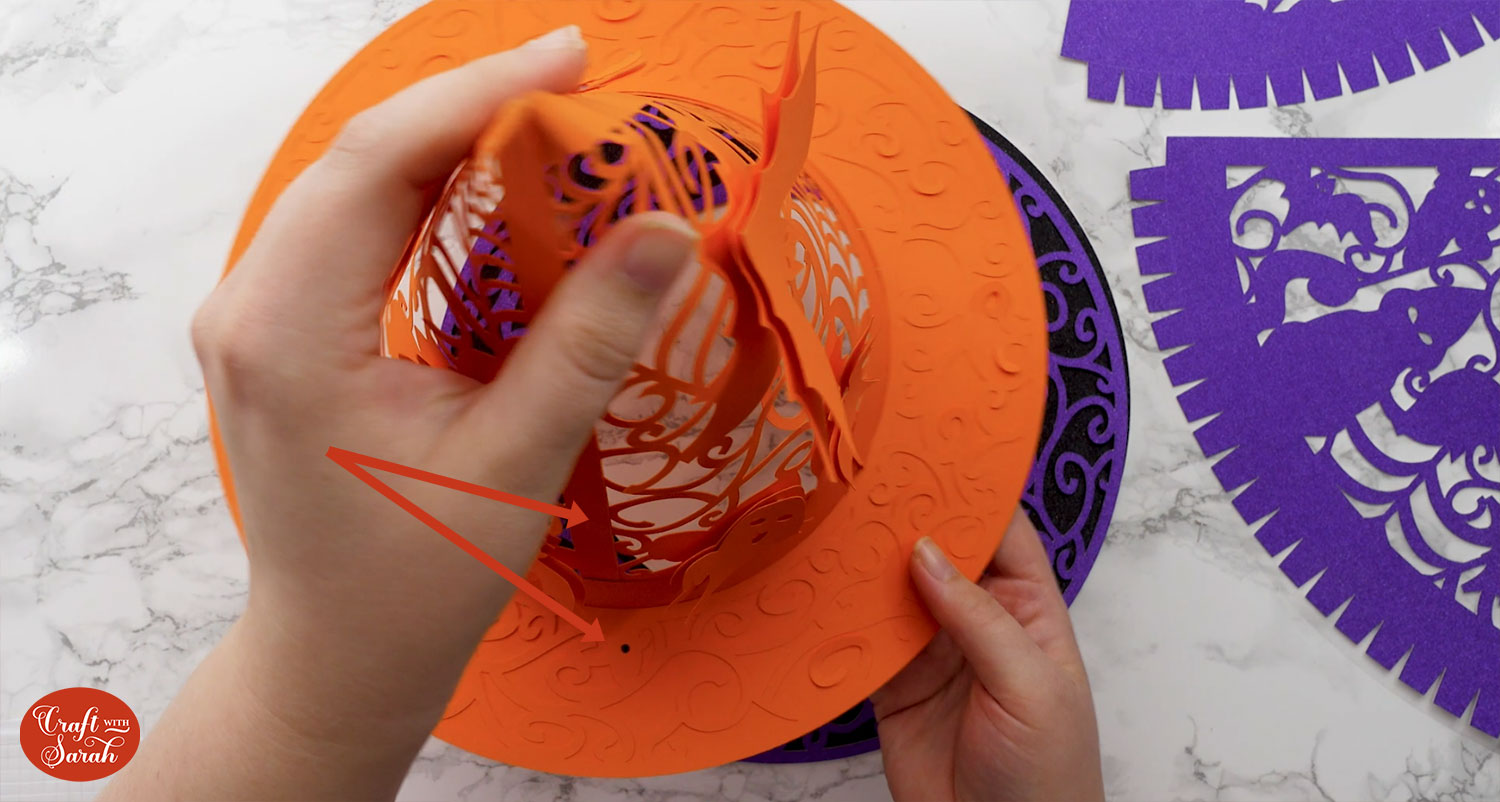
This is so that if you want to wear the hat, you can put elastic through the holes and the hat will face the correct way when you are wearing it.
Press the tabs down securely to seal.
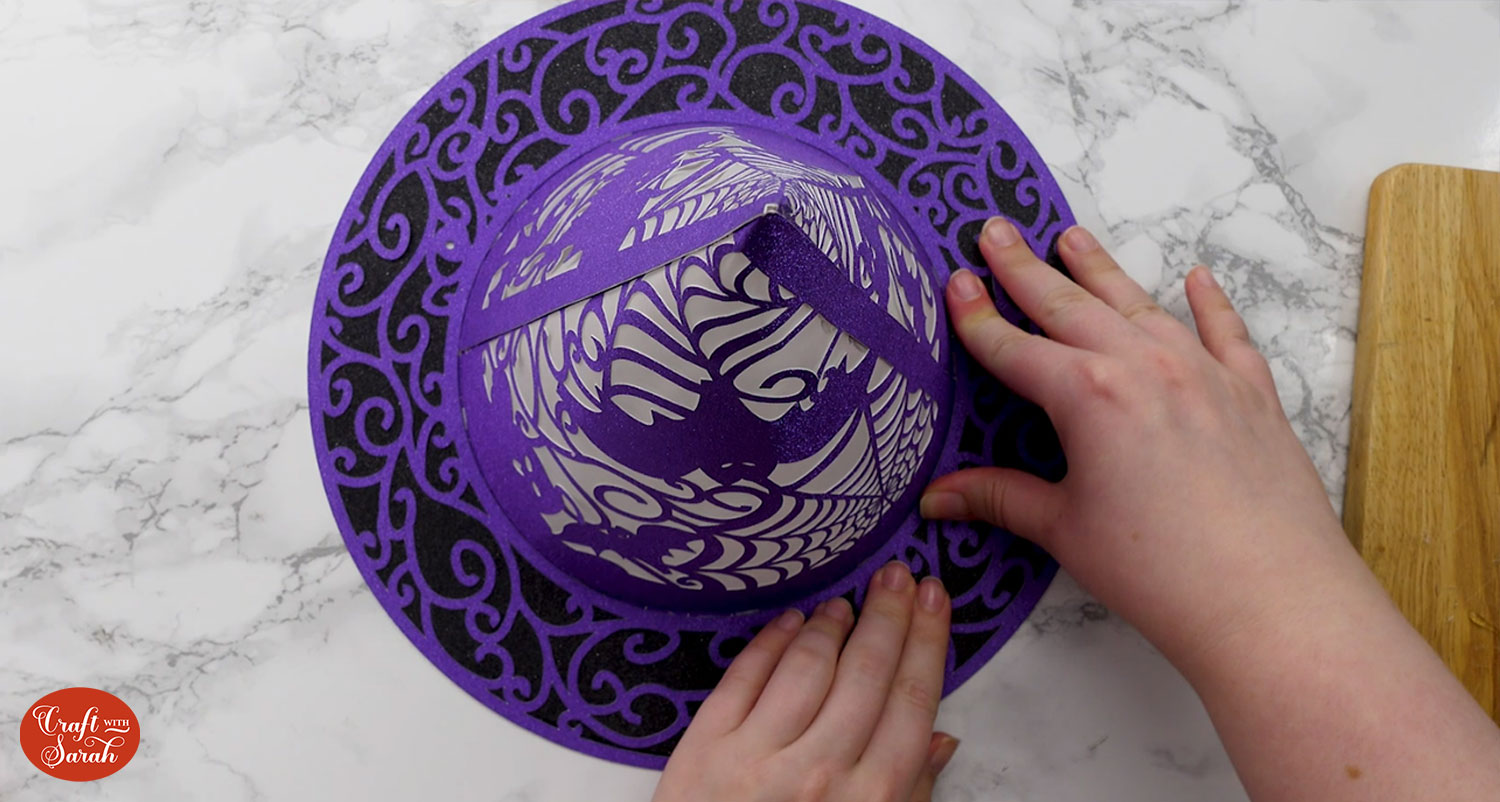
Glue the second black circle to the bottom of the hat to hide all the tabs.
Step 7) Decorate the hat
The main structure of the witch hat is now complete, so it’s time to decorate it!
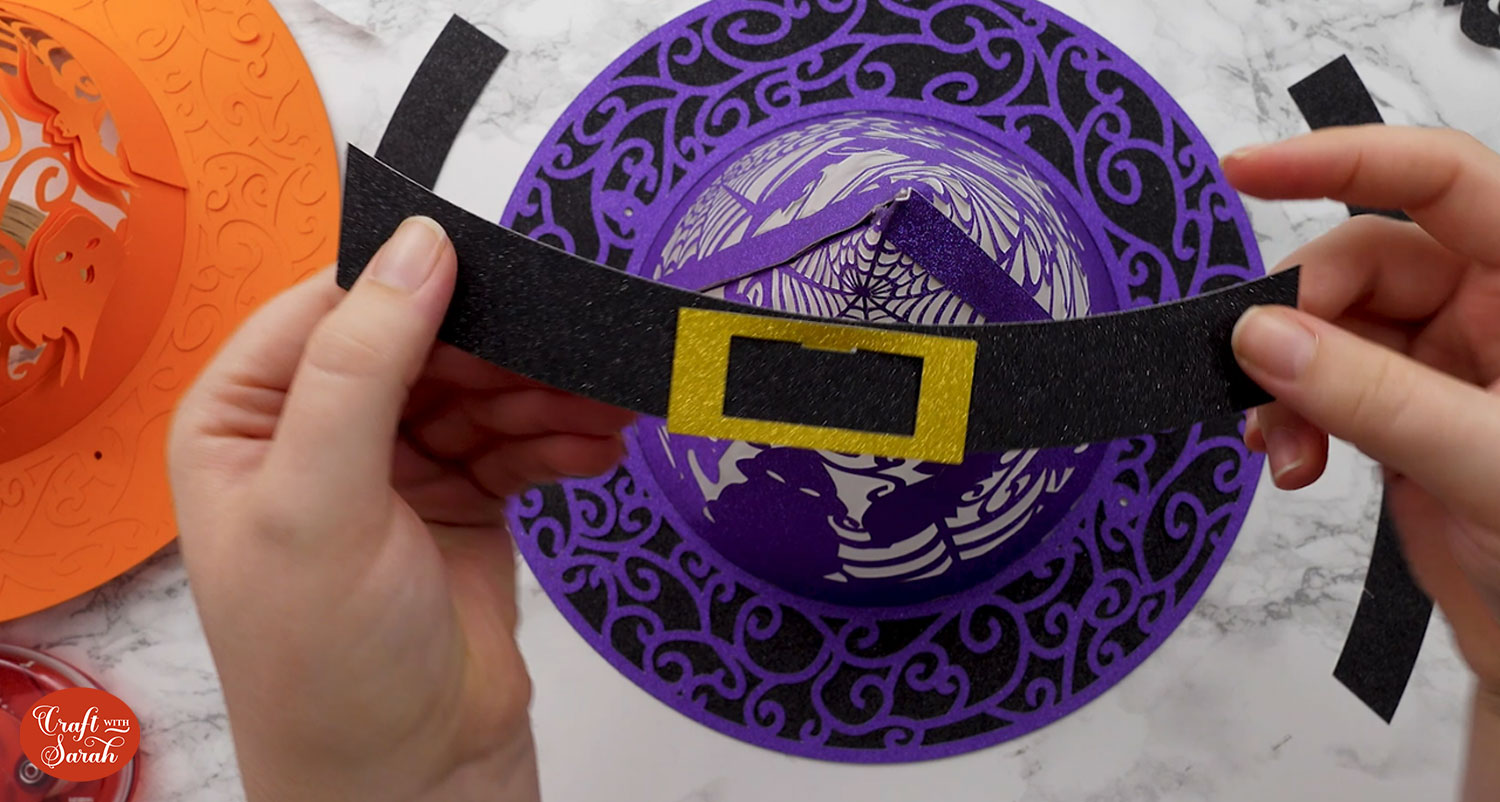
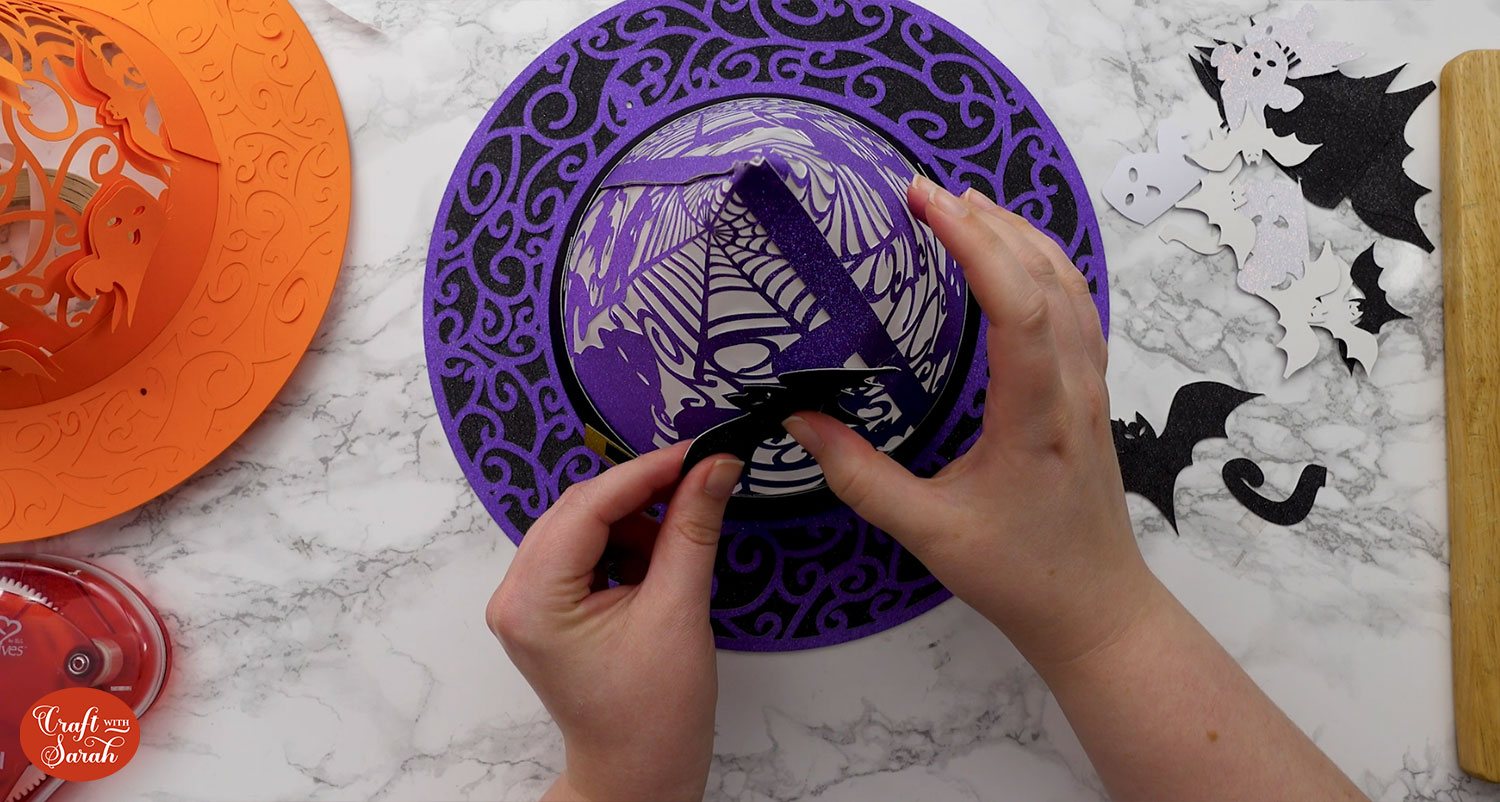
Thread the gold buckle through the slit on the black belt shape. You can glue it to make it more secure.
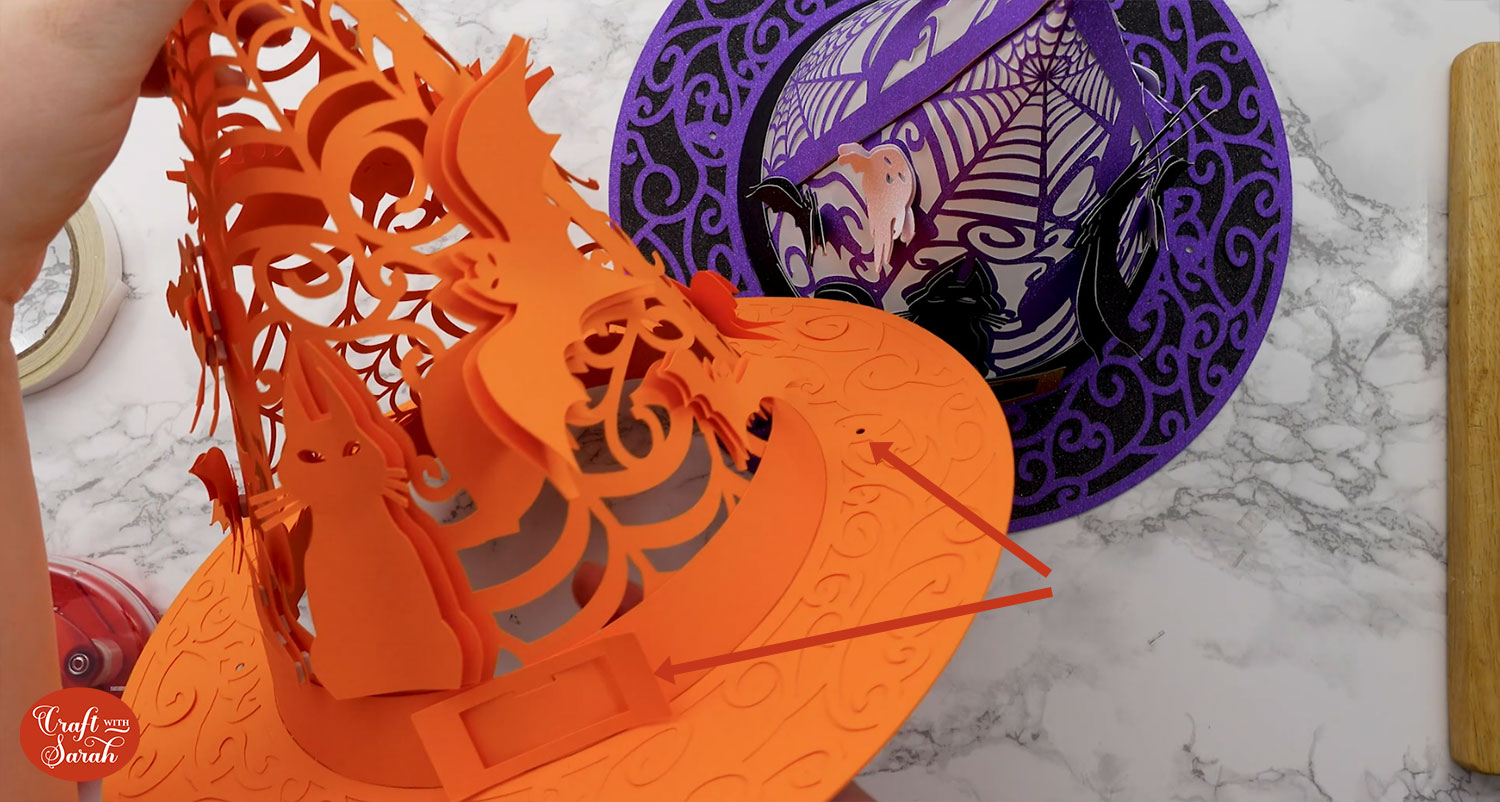
Because I forgot to line up the holes in the base correctly when I glued my hat together, it meant that my buckle ended up a little off-centre.
It should be stuck like this, so it’s perfectly in the middle of the two circle cutouts on the base:
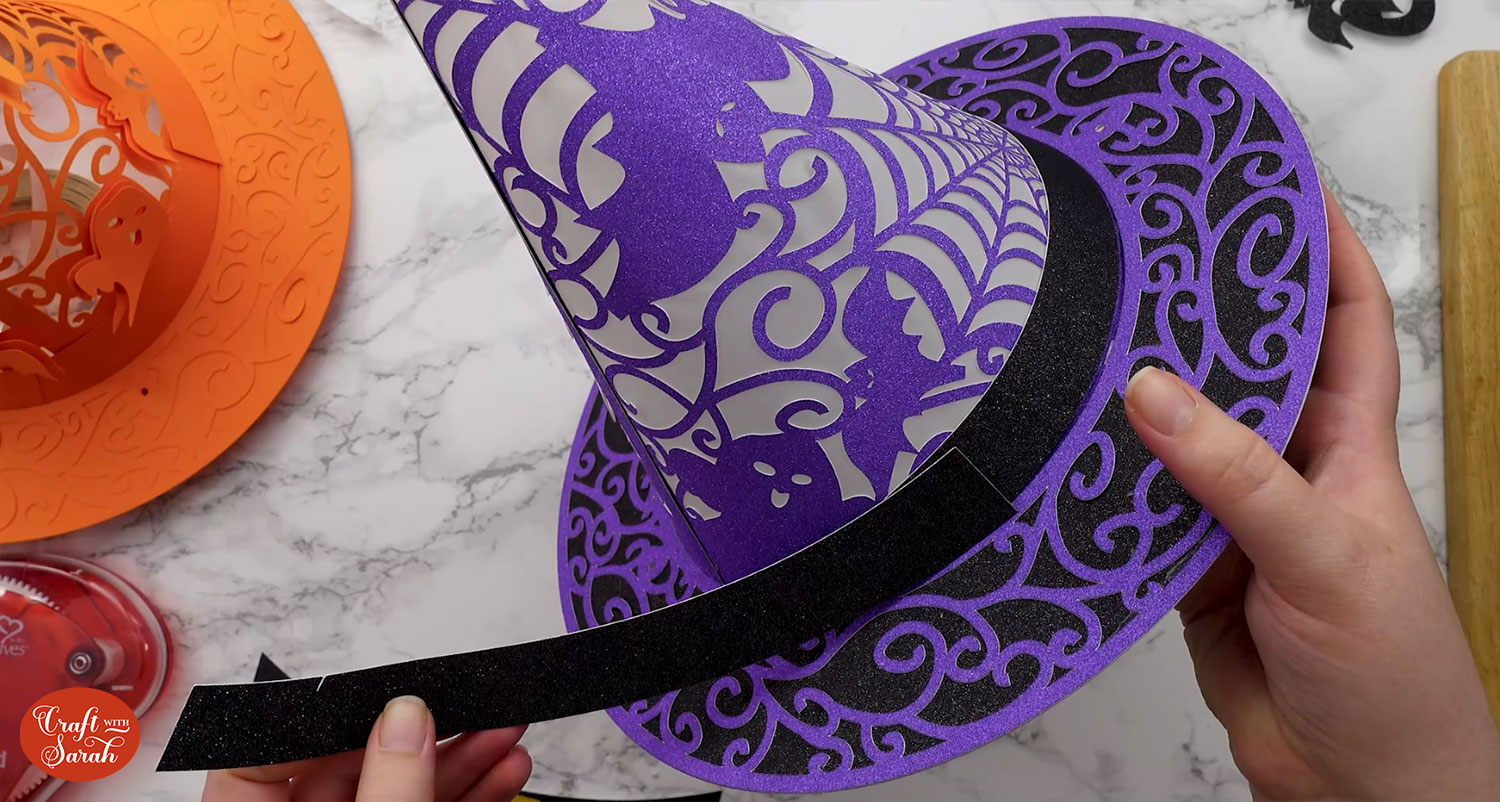
There are two pieces of “belt” to allow you to stick it the whole way around the hat. These is some overlap.
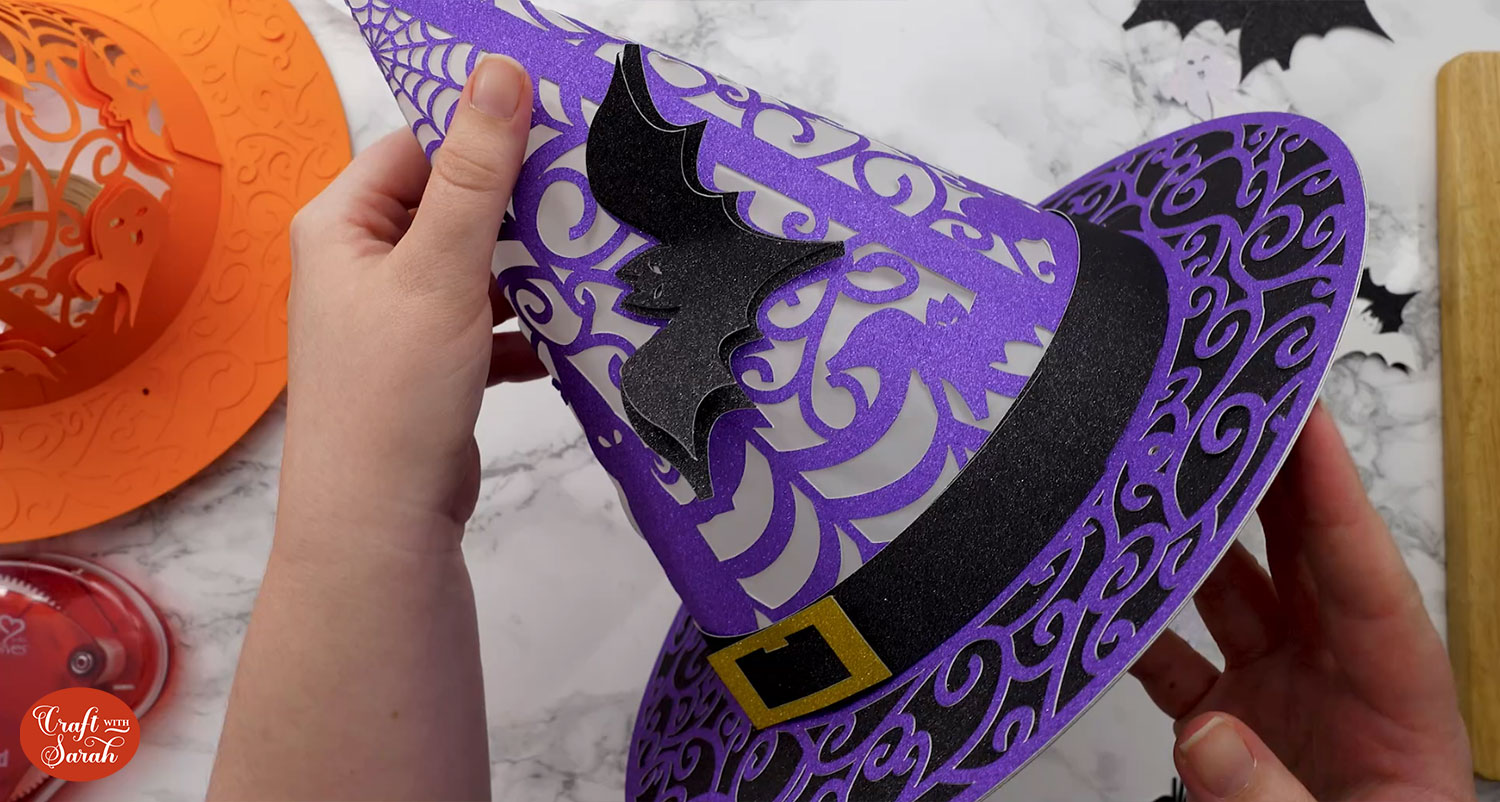
Gently fold up the wings of the bats to make a 3D effect, then use a glue gun to stick them to the hat, largest first.
I like to just put the glue in the middle so that the folded wings can “pop” out from the hat.
Add the second, slightly smaller, bat on top.
Follow the same process for the remaining decorations.
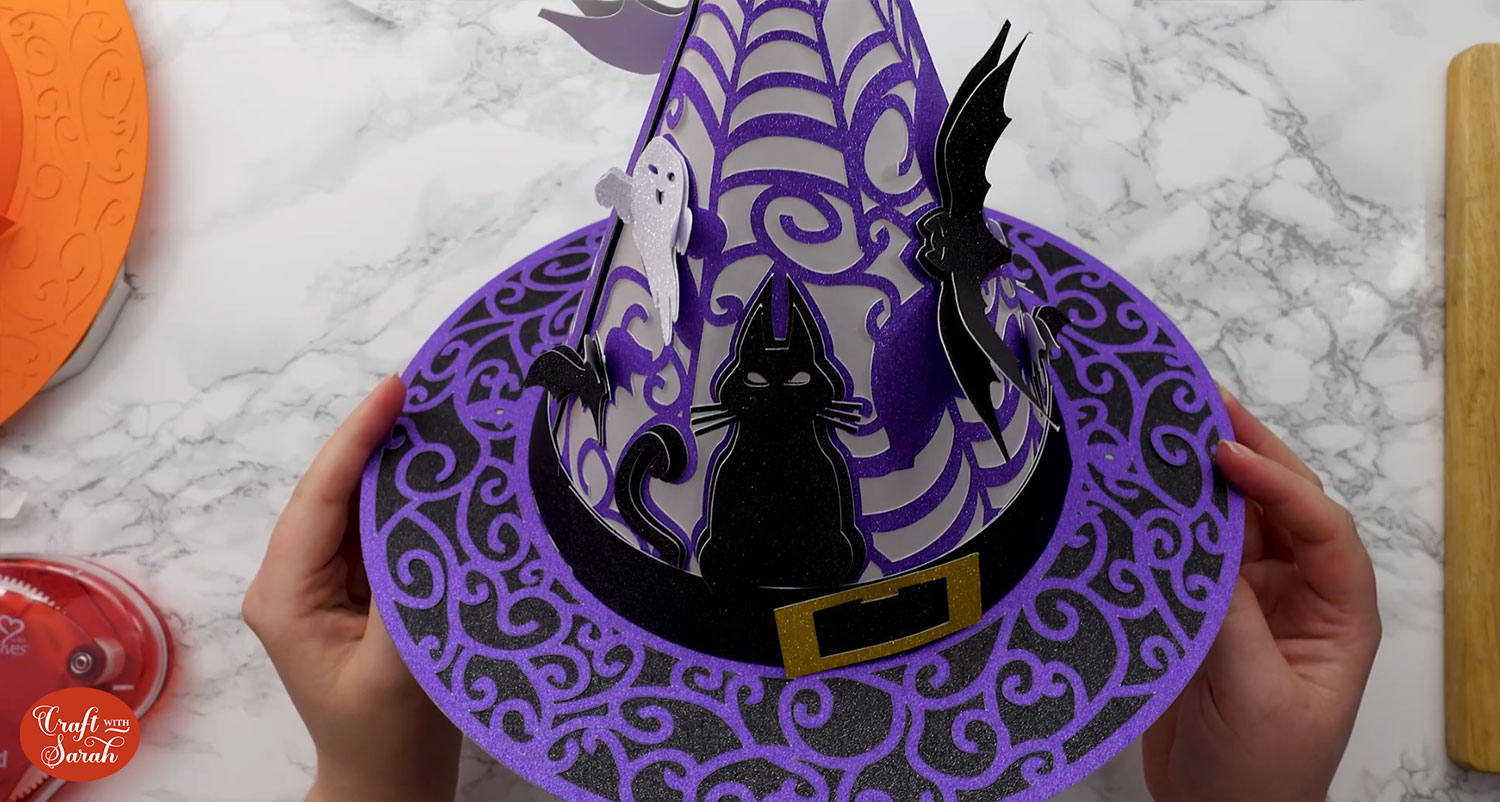
DIY witch hat craft project
After sticking all the decorations, you’ll have a beautiful 3D witch hat all finished!
I added fairy lights to the inside, stuck to the double-sided tape that we added earlier.
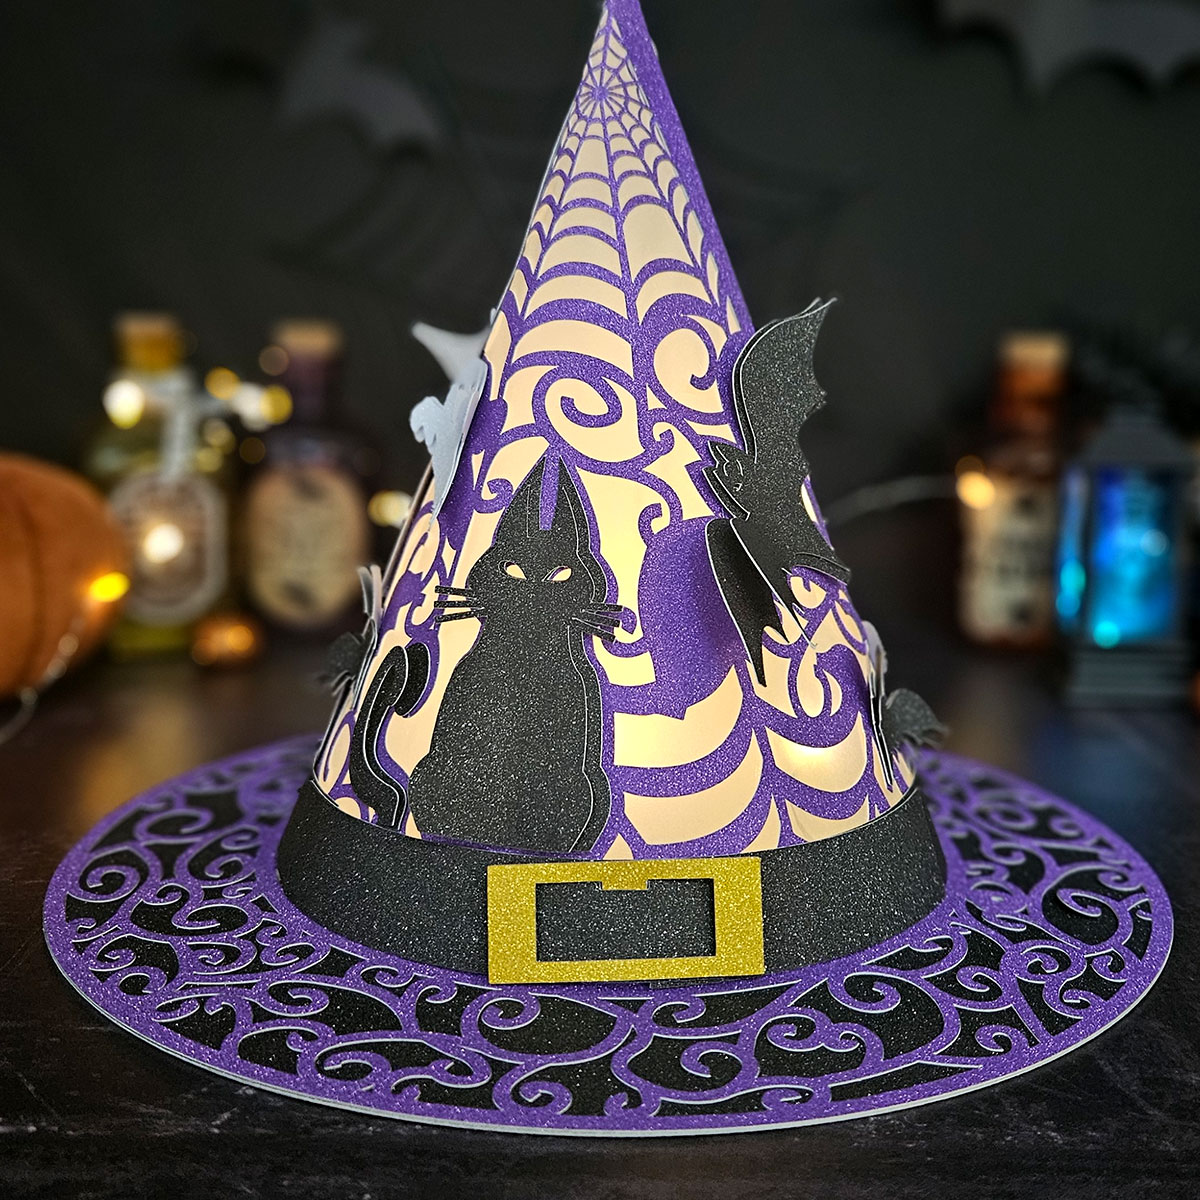
You could tie some elastic, ribbon or similar through the small circle cutouts in the base to allow you to securely wear it as part of your Halloween costume.
Happy crafting,
Sarah x

