xTool M1 Laser Cutter: Setup & Review
Have you had your eye on a laser cutter for your craft projects but weren’t sure where to start or how to use them?
Ever wondered what makes laser machines different from a Cricut, or how easy they are to set up? Let’s find out.
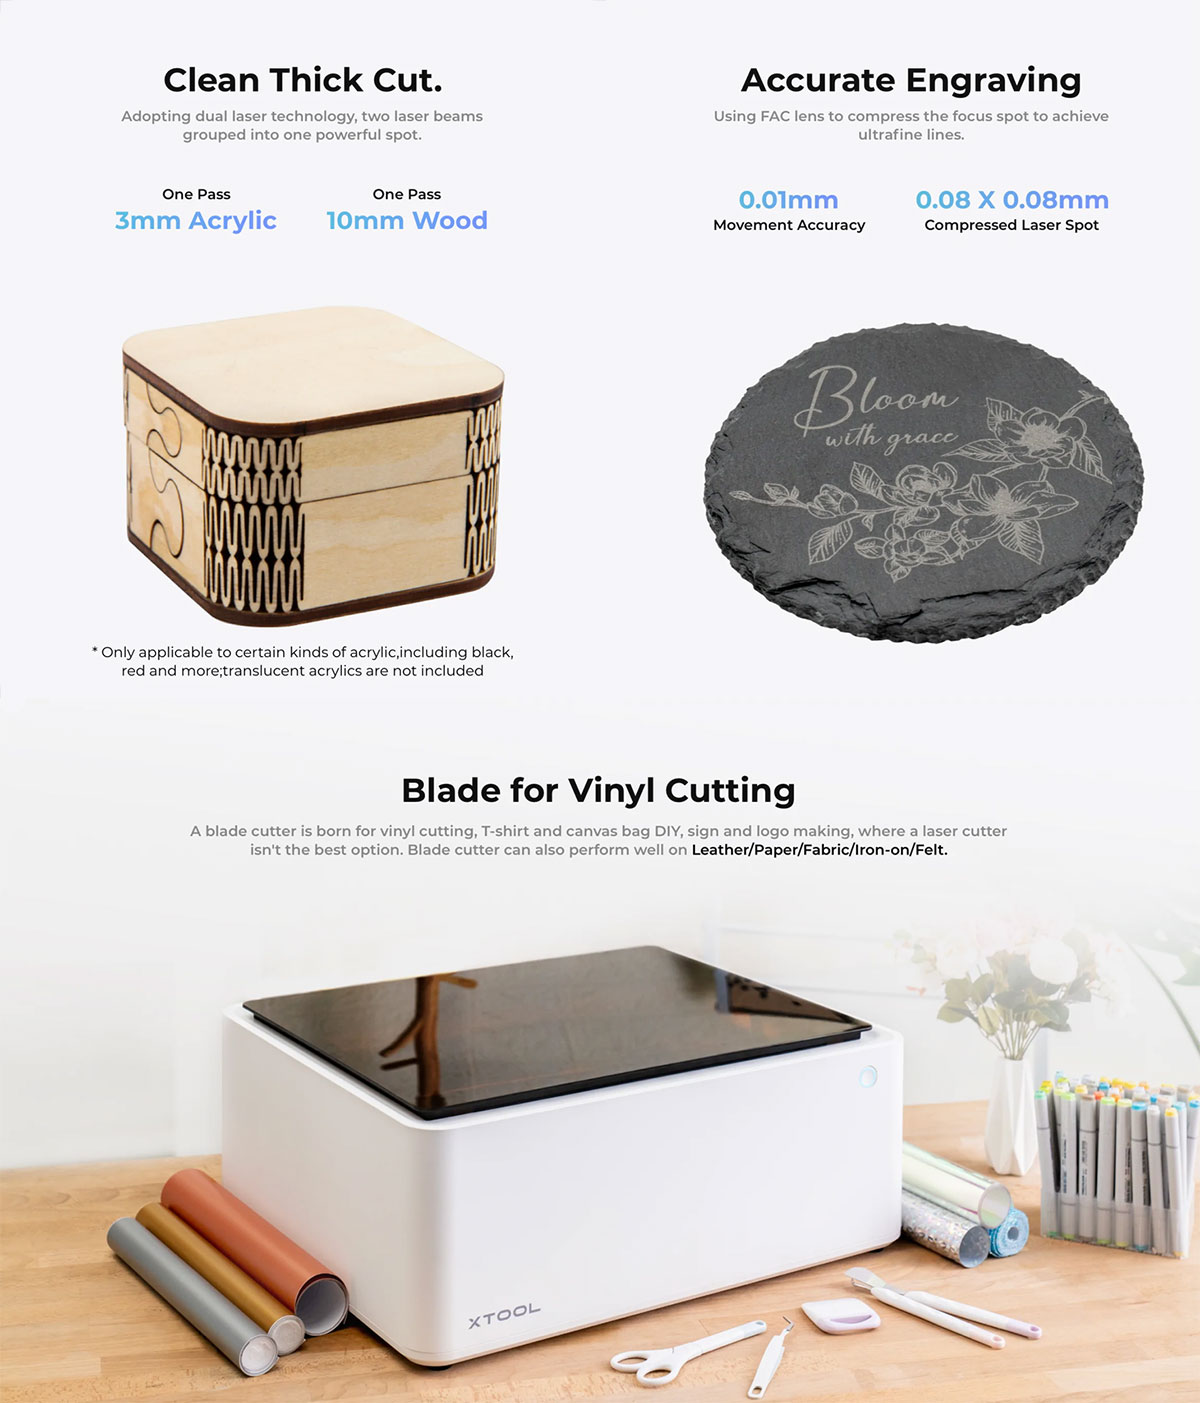
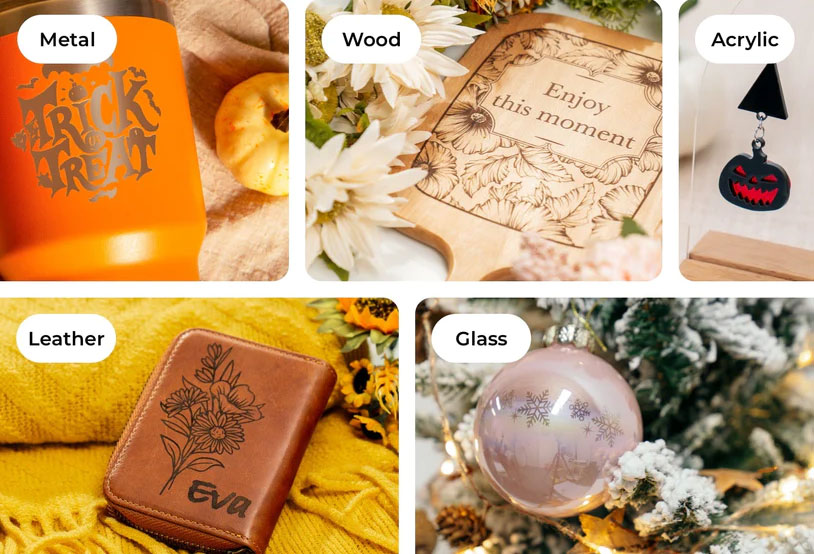
This post contains an initial review and setup instructions for the xTool M1, a laser and blade cutting machine that’s capable of cutting materials such as wood, opaque acrylic, fabric, leather, vinyl, cardstock and more. It can engrave and score on those materials too, plus it can engrave on metal, glass and more.
Please note that some of the links included in this article are affiliate links, which means that if you click through and make a purchase I may receive a commission (at no additional cost to you). You can read my full disclosure at the bottom of the page.
xTool very kindly sent me the M1 machine for free so that I could test it out and put it through its paces. All opinions and project ideas are my own.
Find out more about the xTool M1
This post is a general overview of the machine, how to set it up and make your first cut and my initial thoughts about it.
Over the next couple of months, I’ll be doing more deep dive videos on making projects with it using different materials.
But if laser cutters are not your cup of tea, don’t worry at all – my Cricut tutorials are not going anywhere. I’ll still be creating new Cricut tutorials regularly and of course there’ll still be loads of free SVGs too. This is just something a little extra on top of my usual content.
Let’s get started by having a look at what comes in the box when you order a xTool M1.
Video review of the xTool M1
Here is a video which shows me setting up the machine and doing my first test cuts.
If you prefer to read rather than watch, keep scrolling!
Xtool M1: What’s in the box?
There is a pull tab on the box to open it up which is a nice touch to make the unboxing process easier. Let’s open it up and see what’s inside.
Note: this is the 10W Deluxe (RA2) package which means that it comes with extra accessories such as the rotary attachment and a premium materials package.
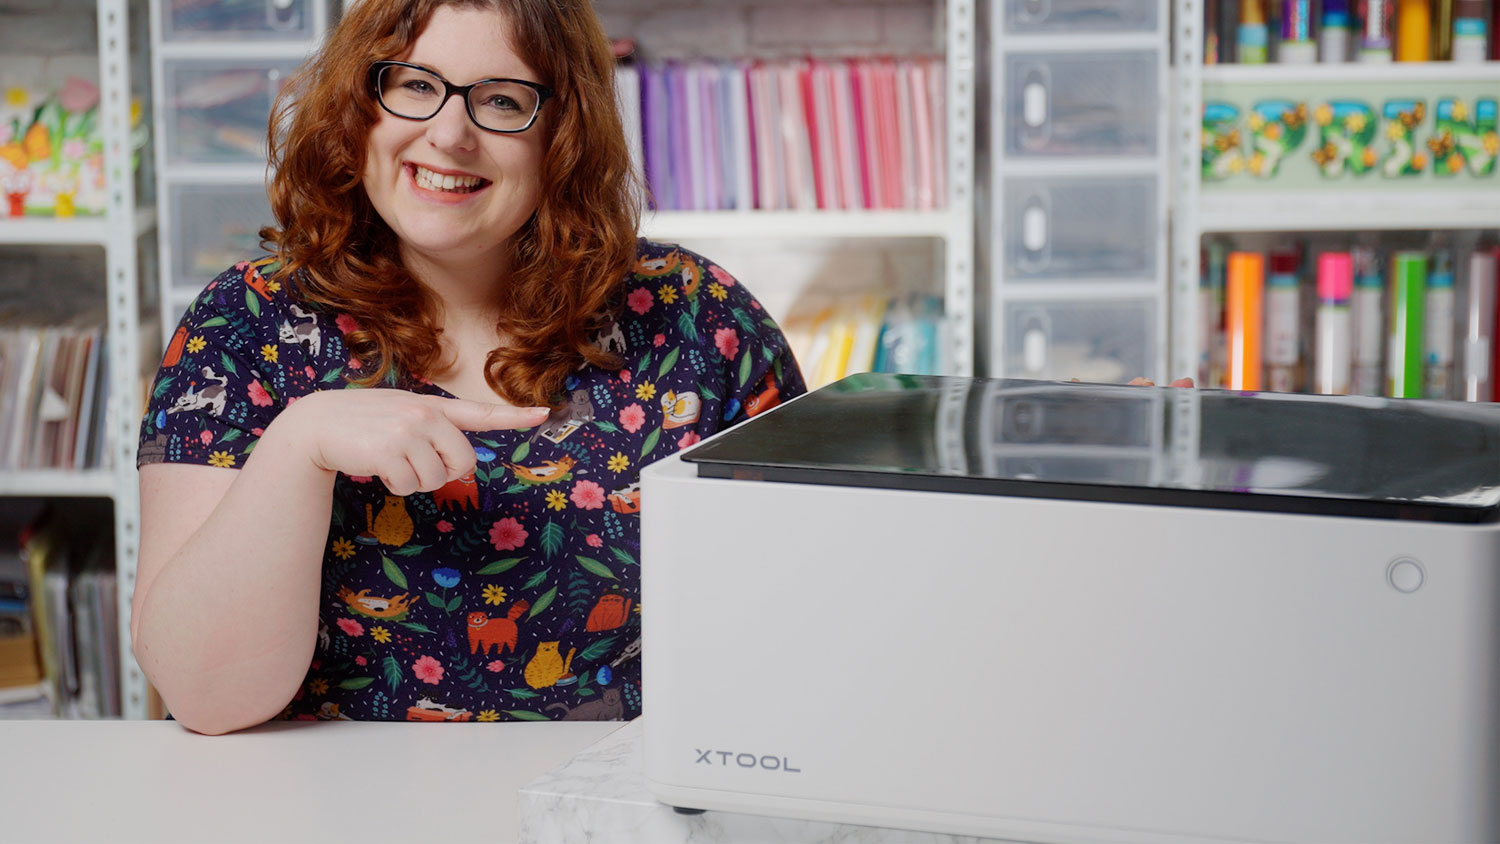
xTool M1 Machine
Here’s what the machine looks like. It’s a little smaller than I was expecting based on the box size, but that’s great as it means it will take up less space in my craft room.
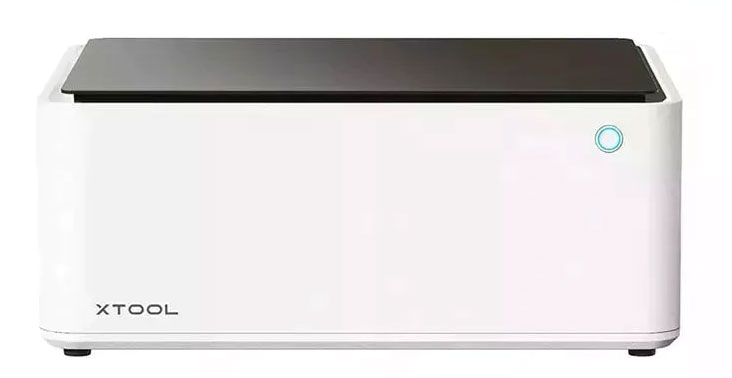
I think the box itself looks great – I like the curved edges and simple buttons. It matches my Cricut machines perfectly 😀
Replacement Blades
The M1 machine is different to most laser cutters because it also comes with a blade and holder for cutting vinyl and cardstock. It comes with five blades to use.
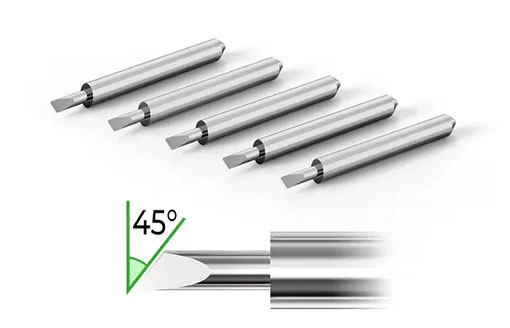
First impressions are that they look very similar to Cricut blades.
Cutting mats
As a Cricut user, they look pretty familiar to me although these are a little bigger. There’s four included in total with the Deluxe package: two blue light grip cutting mats and two pink fabric mats.
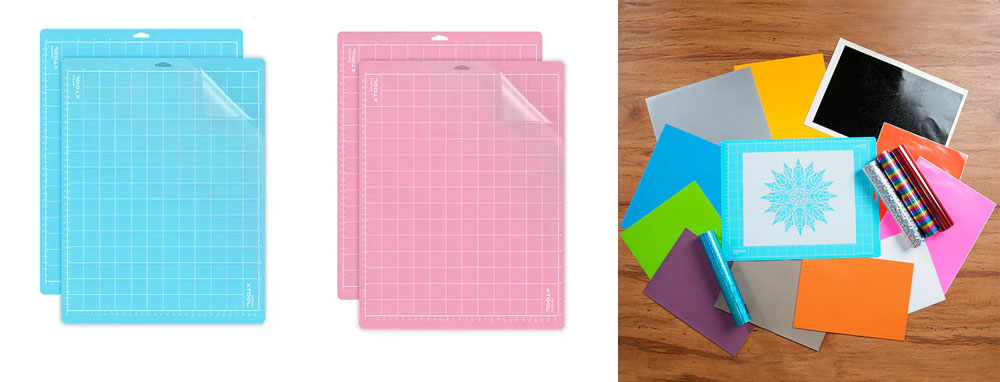
With the standard package, there is one of each included.
The mats are for use with the blade part of the machine, not the laser.
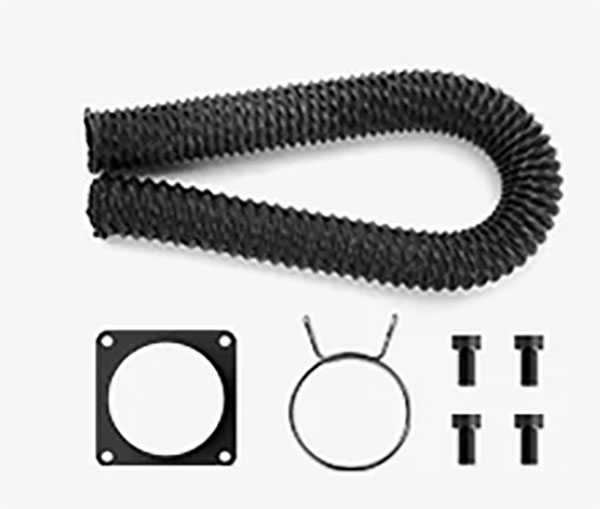
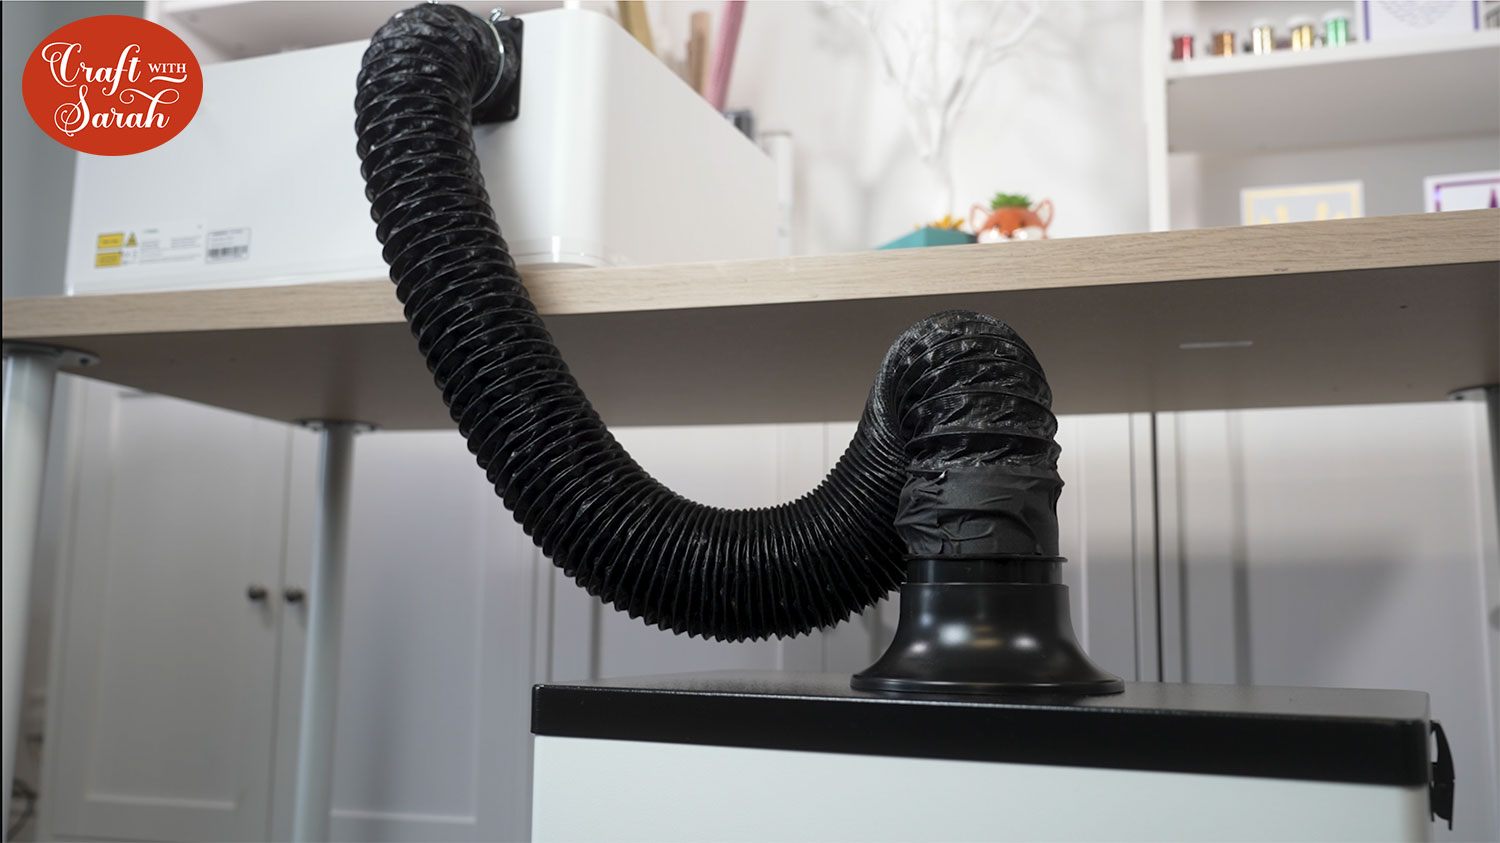
Exhaust Pipe Kit
The xTool needs to be vented out of a window so that all of the fumes and smoke go out of the window instead of into your room.
This is similar to how some types of air conditioner or tumble dryer need venting.
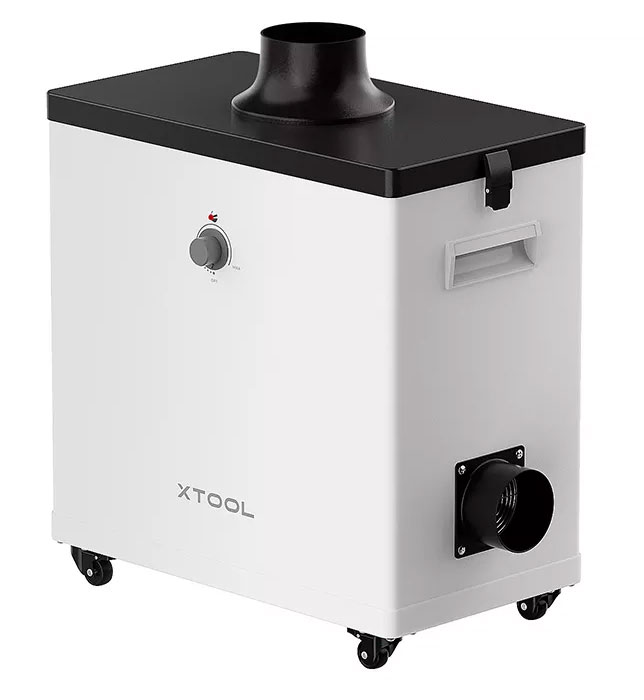
If you don’t have a suitable window, you can get a separate smoke purifier box to vent the machine into instead. xTool kindly provided one of these to me too.
This is great because it means I can craft whatever I want and I’m not limited by having to have a window, which I don’t have very easily available in my craft studio. There’s a dial on the front of the smoke purifier to change the power/strength so you can tailor it to your specific project.
Triangular Prisms
I wasn’t sure what these strange pieces of metal were at first, so I had to look it up! They are designed to sit underneath the material you are cutting to raise it off the bottom of the machine to allow for better air flow.
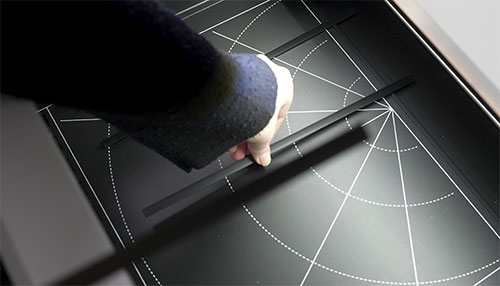
This can help reduce scorching/charring on the edges of the material whilst the laser is cutting.
Premium Material Package
I’m excited for this box! This contains sample materials to try cutting and engraving with the xTool M1 machine. This means I can start testing out the machine right away, without having to order any other materials!
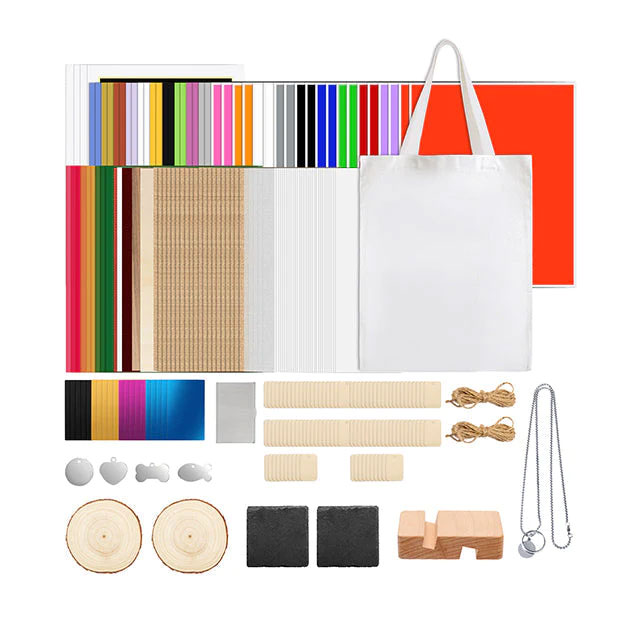
There is a great selection of wood, acrylic, metal, paper and vinyl in here.
With the standard package, you get a basic material package instead.
Rotary Attachment
This is included in the Deluxe package.
I wasn’t expecting this to be included with the machine and I’m so excited for it! It’s for engraving on round materials such as tumblers, glassware, spheres and even jewellery like rings.
It comes with lots of different attachments for engraving on different types of material and shapes. I haven’t tried this out yet, but I’m looking forward to seeing the possibilities.
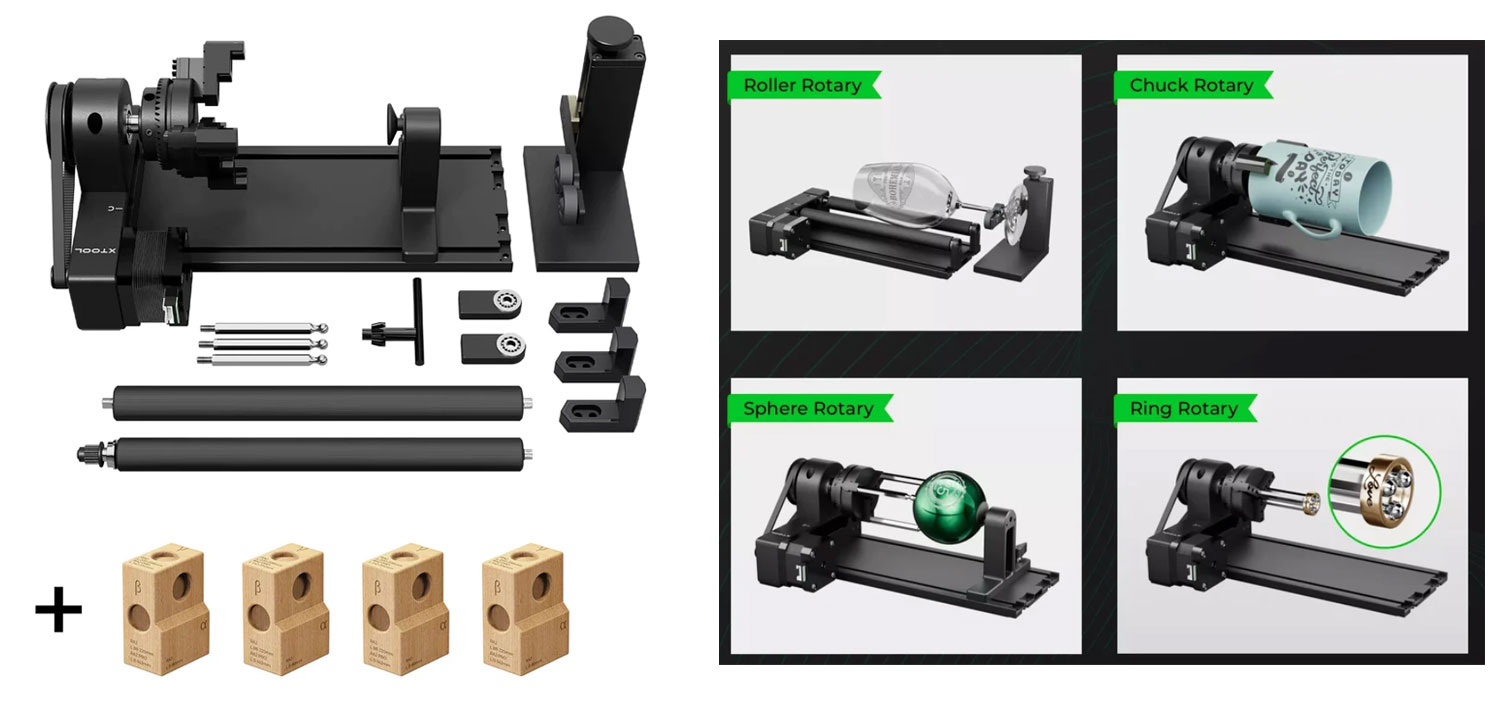
The wooden blocks in the image above are risers. You can use these if you want to engrave taller materials such as wooden boxes. The base/bottom of the M1 machine can be removed and then you can mount the machine on these blocks to make it taller so that you can fit larger items inside.
xTool M1 Setup & Installation
How easy is the xTool M1 to setup and install? Well… fairly easy BUT I feel like the instructions could be iproved a little bit. I did manage to figure it out, but a little more guidance would have been appreciated.
All you really need to do is plug in the machine to a power outlet and then connect it to a computer with a USB cable. I had to find a long cable due to the distance from the machine to my computer.
You might be able to connect with Bluetooth – I didn’t investigate this as my computer’s Bluetooth is a little bit temperamental!
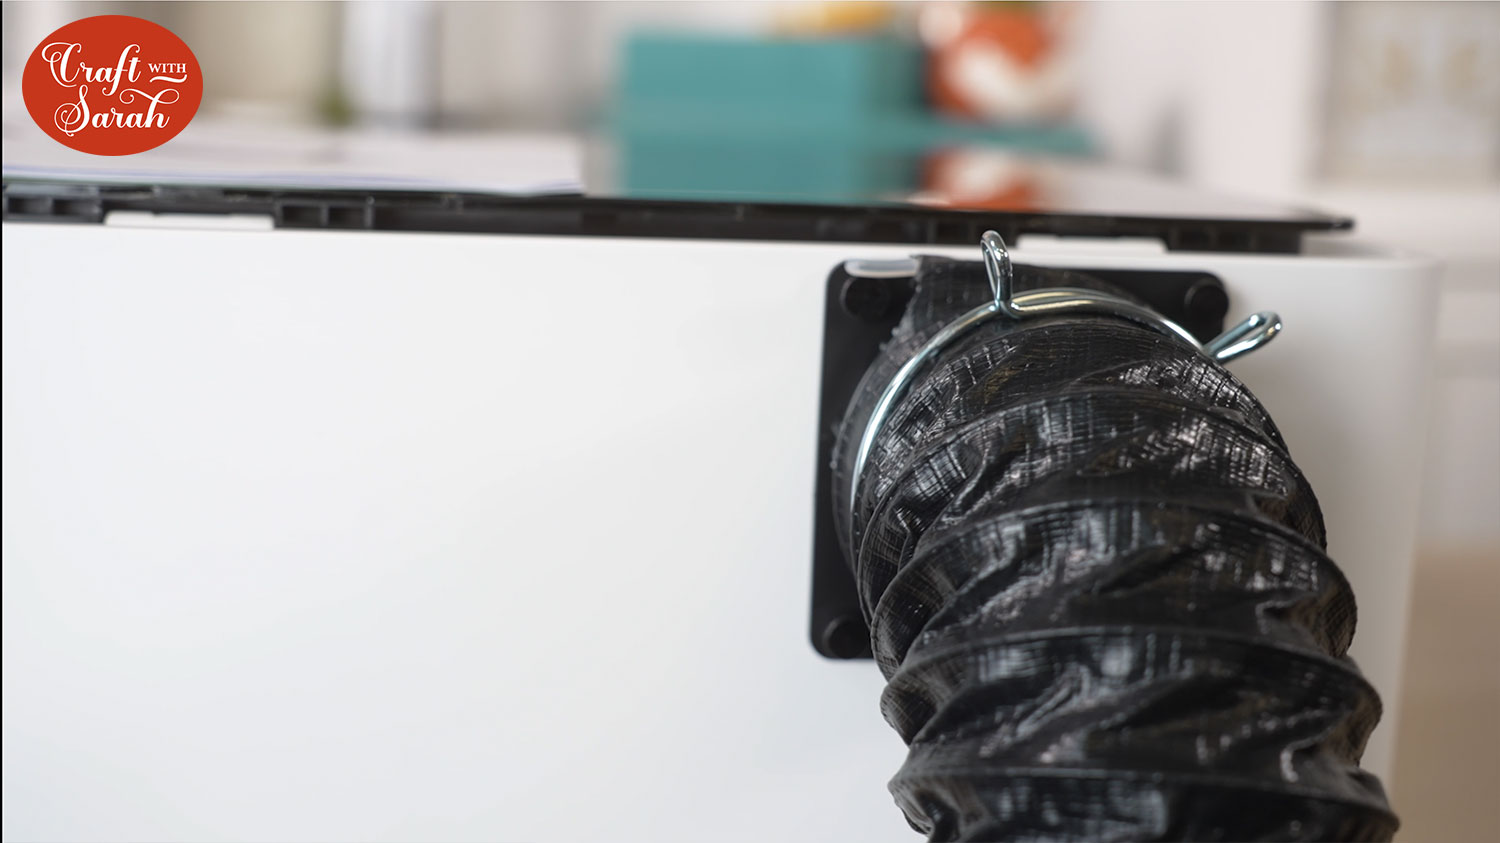
The part I found trickiest was attaching the vent pipe to the laser cutter machine and to the smoke purifier.
I couldn’t quite work out how all the bits fitted together, but I got there in the end!
The instruction book contains a web address to visit to download the xTool Creative Space software that’s required to use the machine.
This is free to install and it was a very simple installation process.
Once I turned on the M1 machine, the software automatically recognised it and popped up a message to say I needed to install the matching drivers.
This took a couple of minutes, but once that was done, I was ready to begin my first cut project!
All in all, it took around 30 minutes to set up the machine and get it all switched on. It would have been quicker if I wasn’t filming the process for my overview video!
Testing the xTool M1 Laser and Blade Cutter
I deliberately stayed away from searching for tutorials on how to use the xTool software because I wanted to get my unbiased first impressions at how easy it was to use.
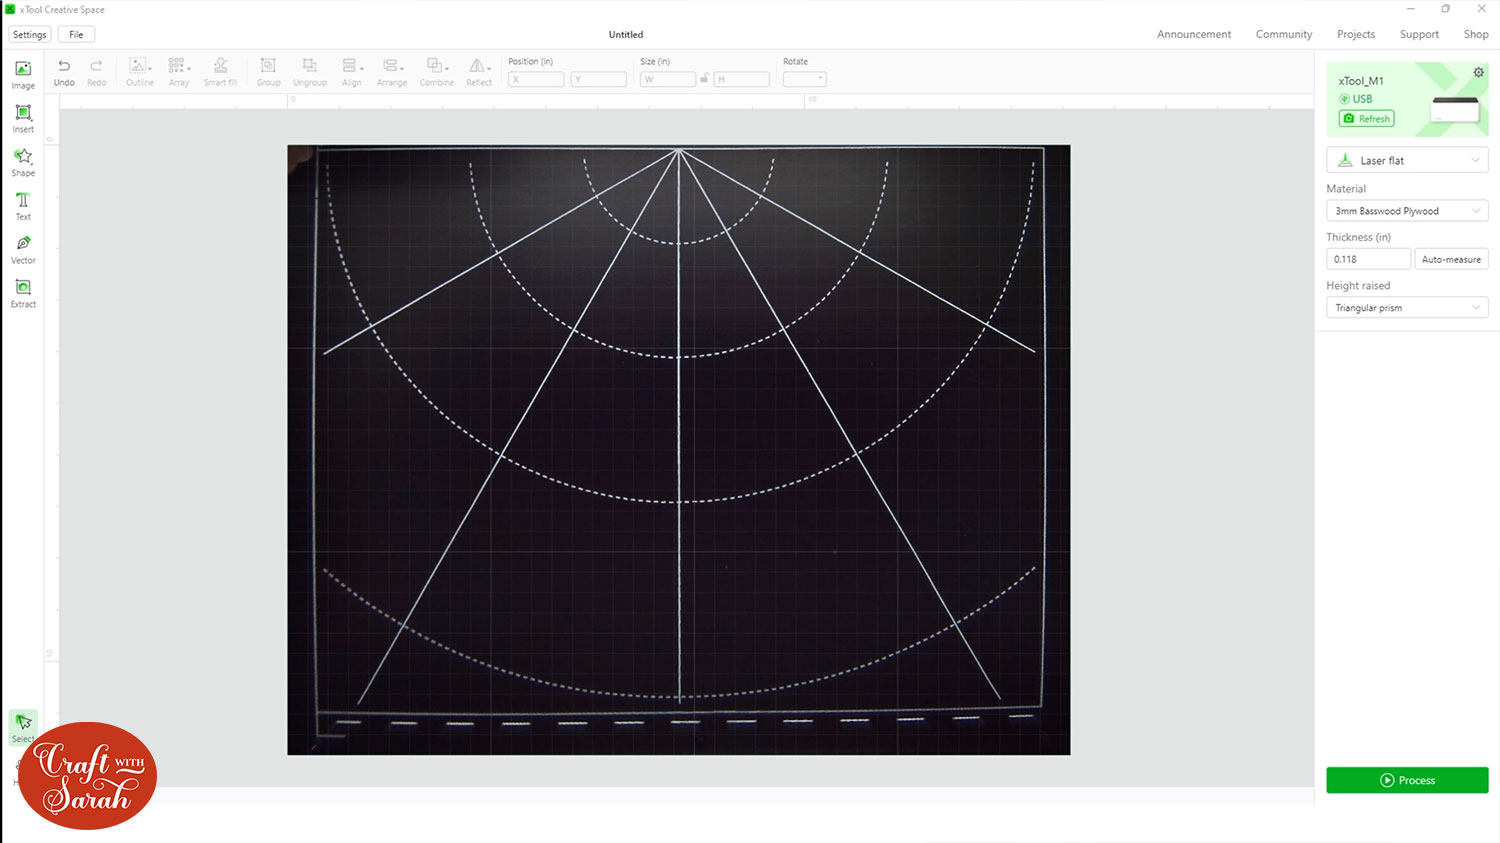
It looks pretty straightforward. It shows the machine over on the top right of the screen and then underneath that I can choose how my laser is set up, what material I’m using, the thickness of it and then whether or not I’m raising the height with the triangle prisms that come with the xTool.
The middle of the screens shows the machine itself.
There’s a camera inside the laser cutter so you can take a picture of it using that camera and then it will show on your software which means you can make sure you’ve got everything positioned absolutely perfectly.
For example if I add those triangle prisms into my laser cutter I can then click the “refresh” button on this top right and now the picture has changed and you can see my triangular prisms.

It’s a bit hard to see because they’re black on a black background.
It’s now time for my first test cut!
I’ve placed a piece of wood from the tester pack into the xTool and then refreshed the screen on the software to take a new picture.
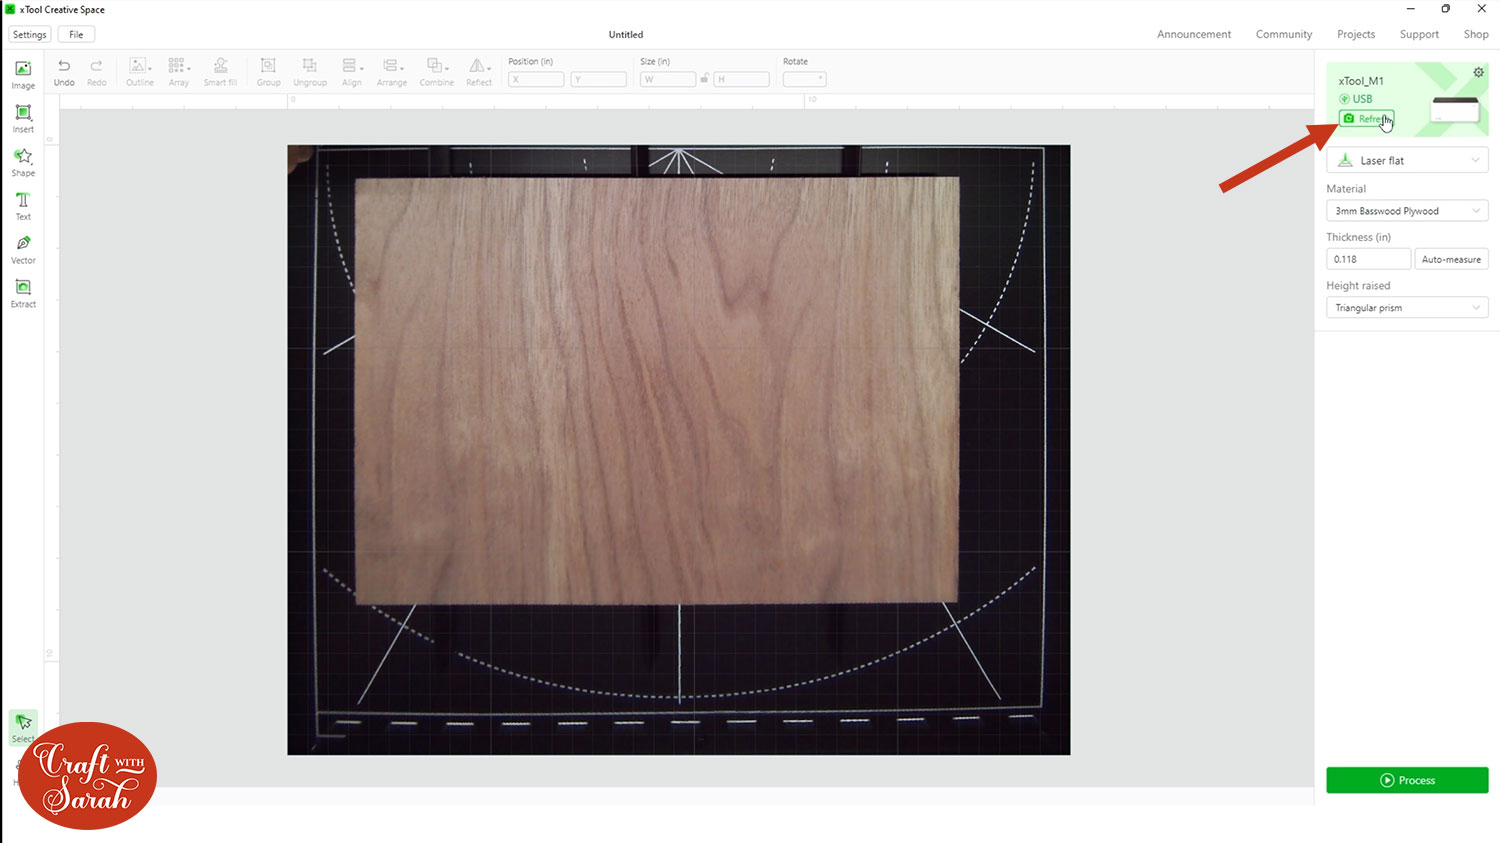
This is the three millimetre base wood plywood so I need to make sure that’s chosen in the settings, then I’m going to leave everything else at the default settings.
You can easily switch between cutting, engraving or scoring.
Click “Shapes” on the left to get a selection of shapes to add. I’ve chosen a star.
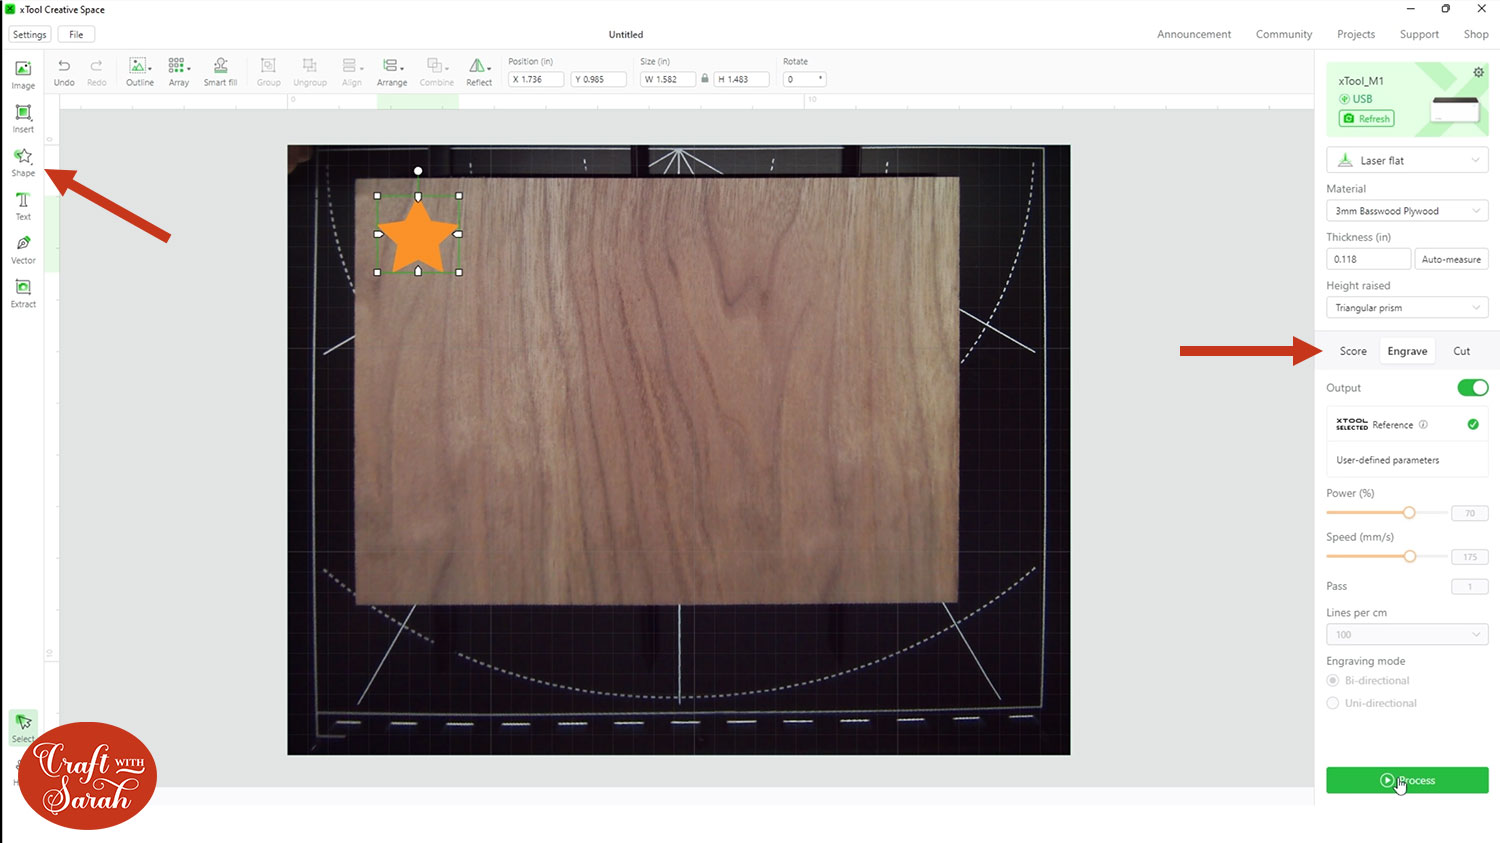
First, I’ll have a go at engraving it. You can move it about to make sure it’s perfectly on the material.
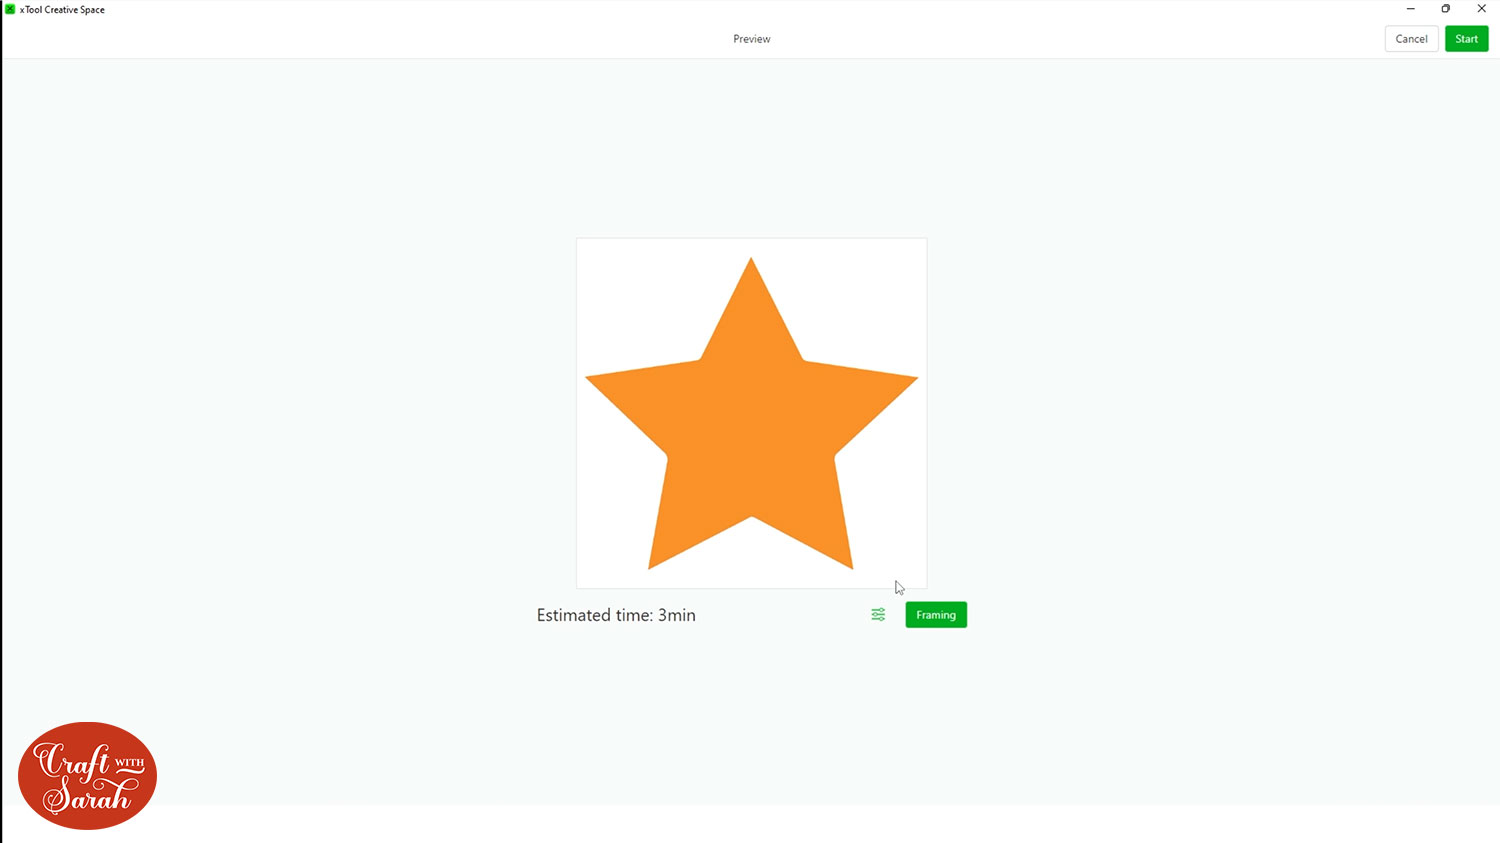
Click “Process” to start. I kept everything at the recommended settings.
I like that it gives an estimate of how long it’s going to take.
IMPORTANT – never leave a laser cutter unattended when it’s working because of the fire risk. You’re cutting/burning your material with something very hot, so stay in the room and keep an eye on the machine as it’s working!
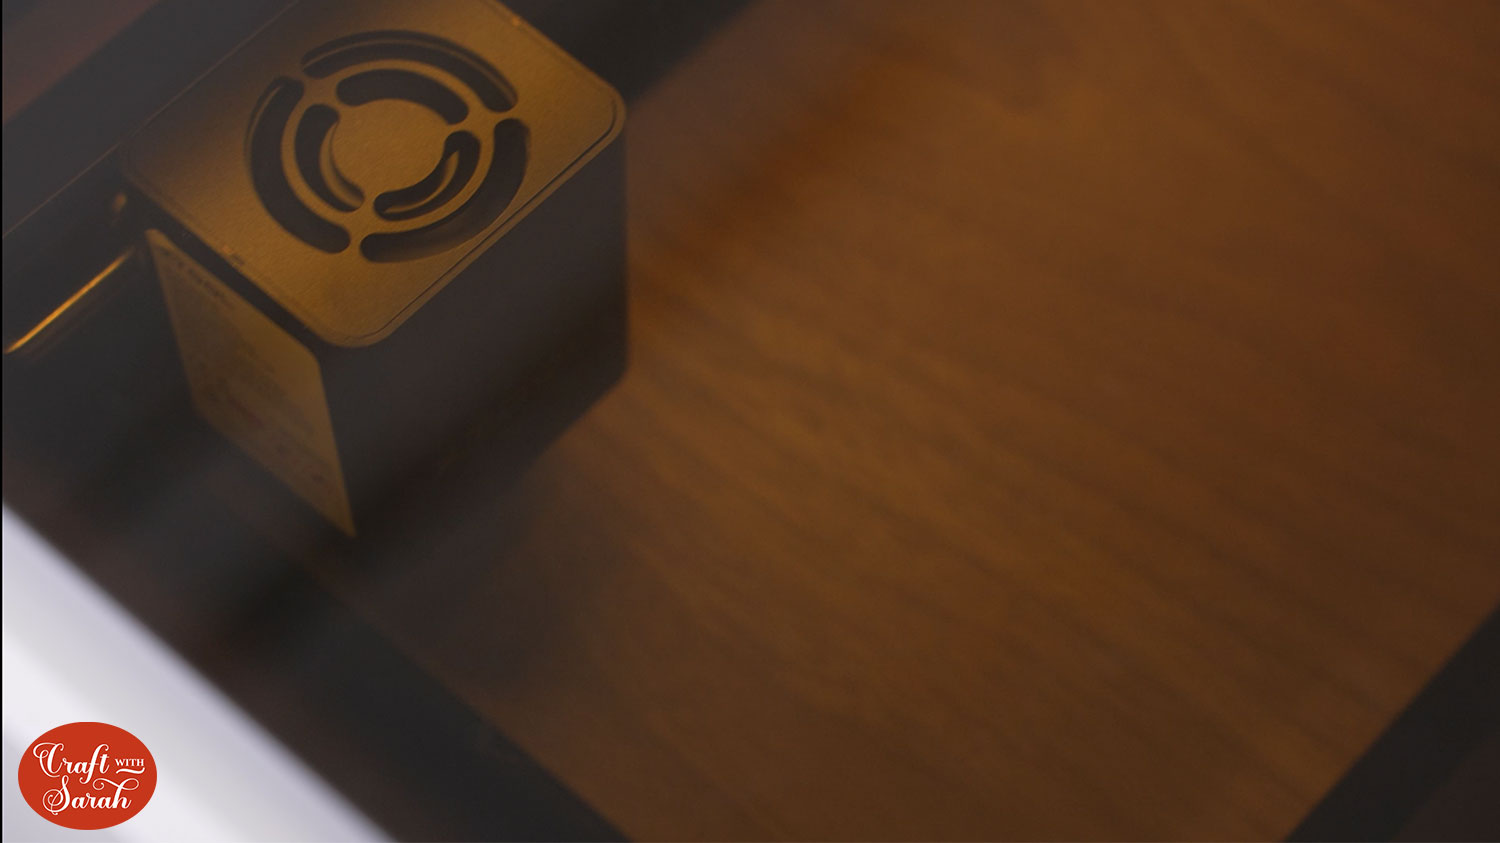
I love that you can see into the machine whilst it’s working to see how it’s getting on.
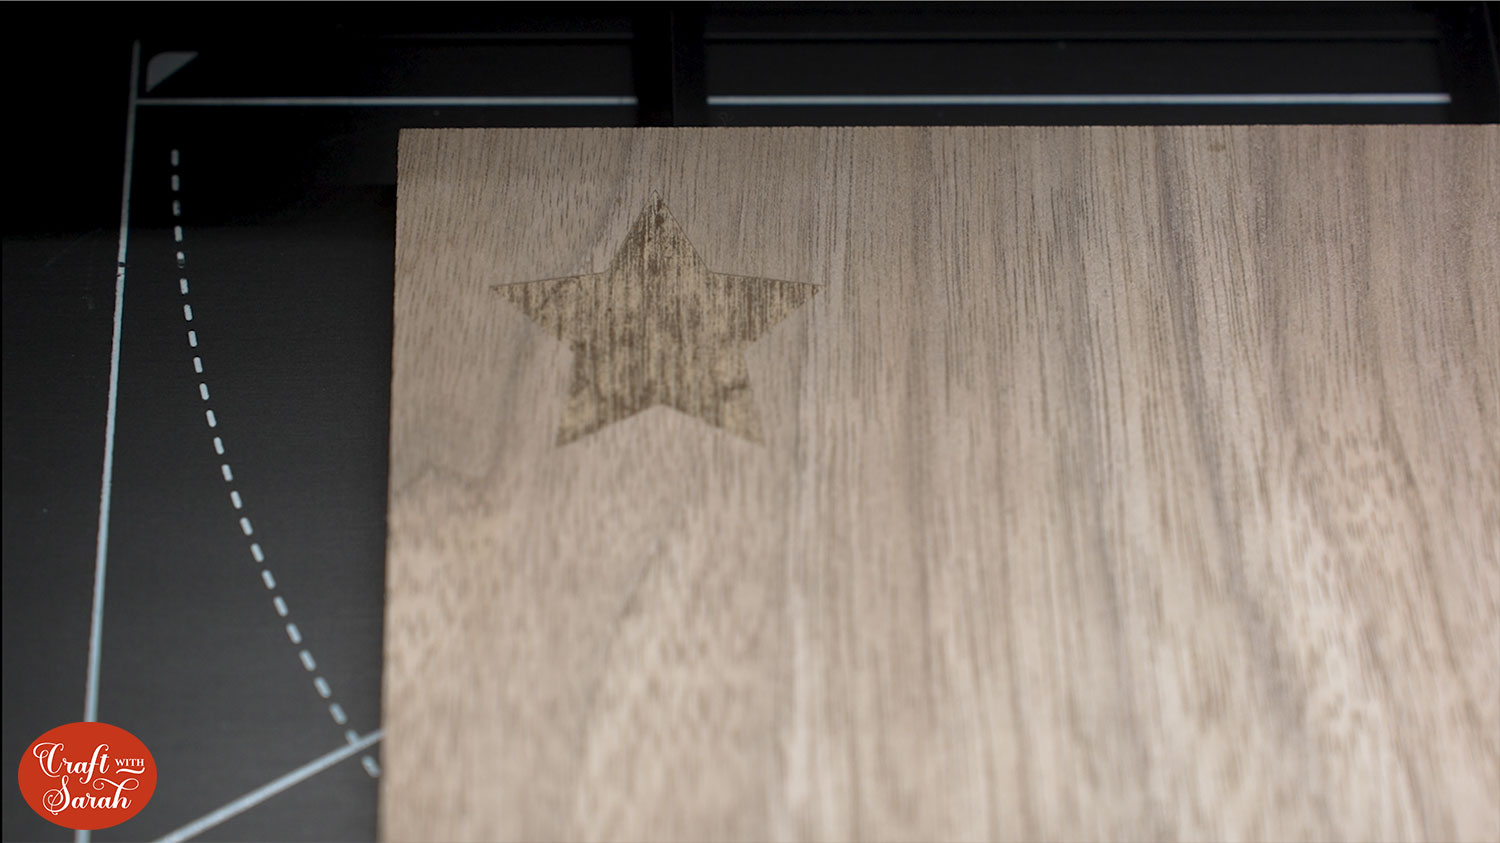
Here’s my engraved star. It’s maybe not quite as dark as I thought it was going to be, but I just needed to change the settings to do it on a little more power. You can still definitely see the outline of that star though.
Next, it’s time for a test-cut!
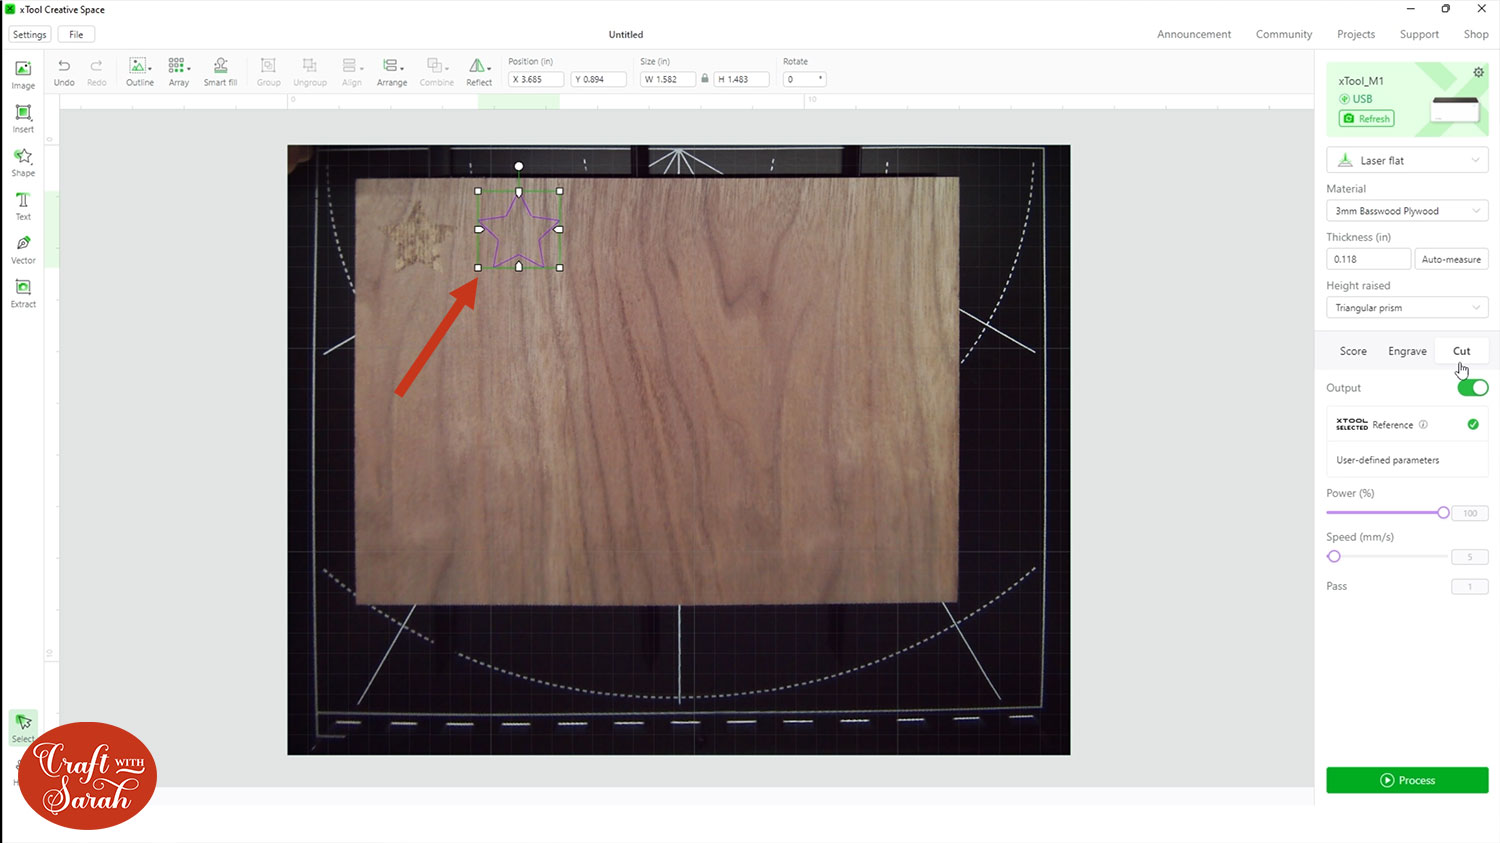
I moved the star over to a different part of the wood and changed it to “Cut”.
Again, I kept all settings at the default as recommended by the software.
And here it is! It’s so small and perfectly cut. This is amazing, the edges are perfectly straight.
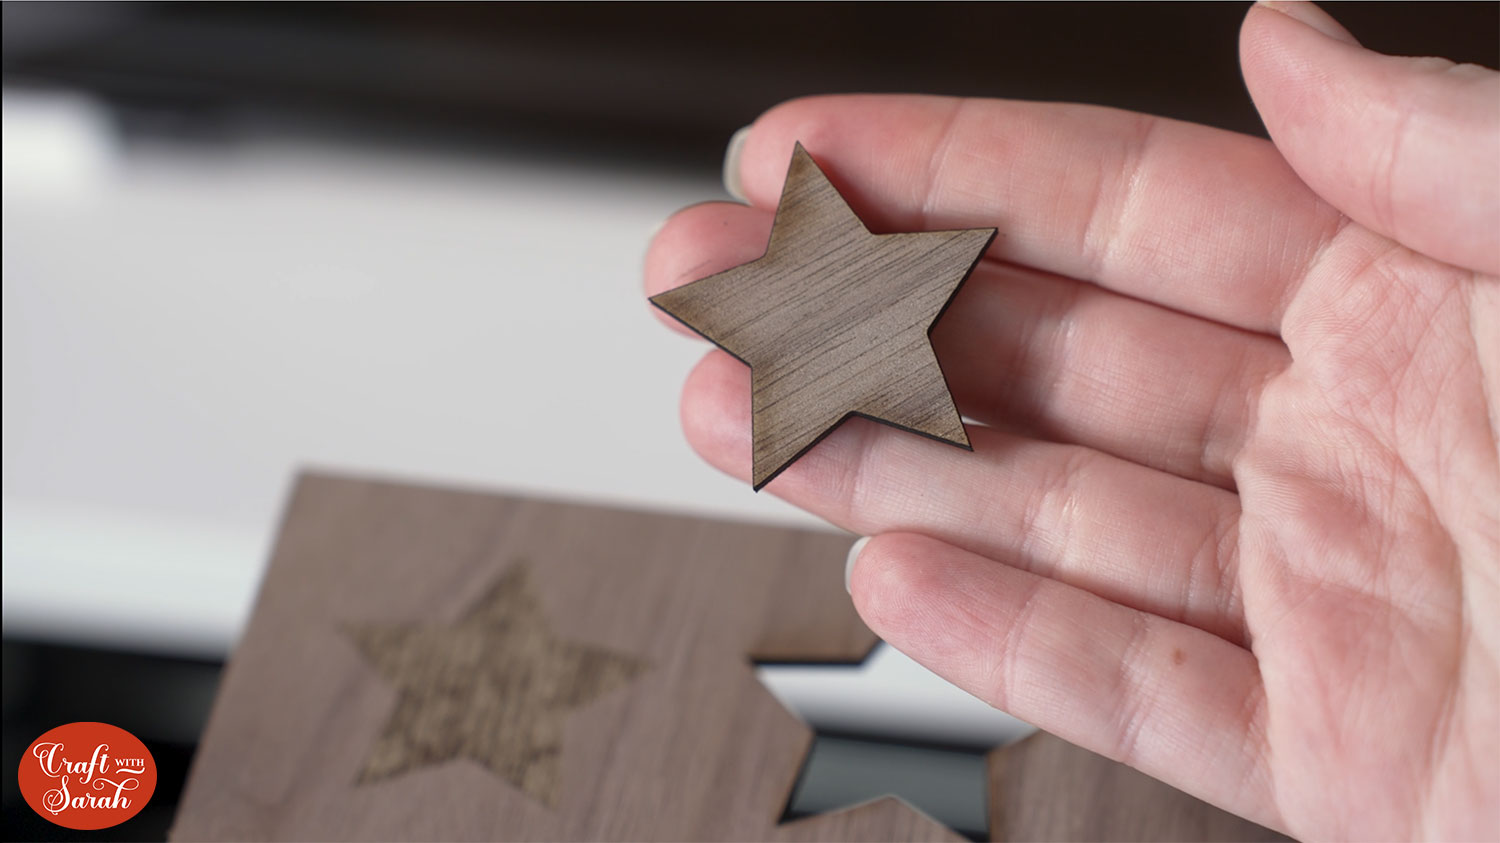
It does have a bit of a smell to it from where the wood has been charred, but that should dissipate over time.
Now let’s try it on something a bit more complicated.
To load an SVG file, go into “File” on the top and then “Import Image”.
Here’s my image I’ve chosen which is of a cowboy on a bucking horse. Much more complicated than a star. I’m also going to cut it quite small to really test the laser cutter.
I’m doing it at a size that my Cricut Machine would really struggle with cutting it from cardstock this small. I feel like this is going to be a challenge but we’ll see how it does.
Here’s a screenshot of the software before cutting:
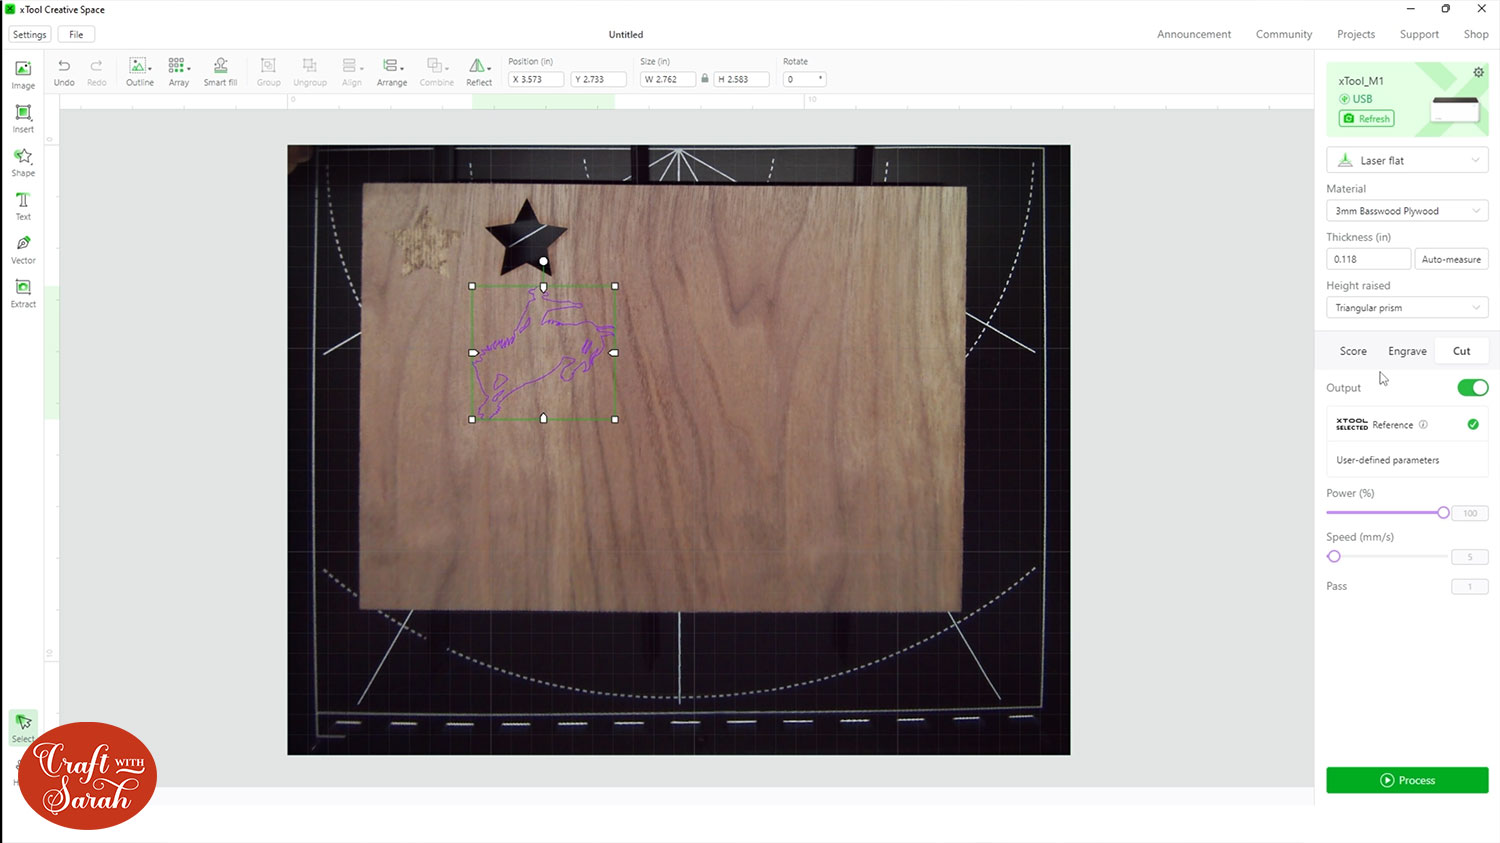
And here is my little cowboy and horse all cut out:

The xTool M1 has done an AMAZING job at cutting out all of the details. The mane and tail are so thin in places, but everything is perfect.
Time for one final test for today. This time I’m cutting one of my flower dog designs.
I’ve made it a bit bigger than the cowboy but this is still smaller than I would cut on a Cricut. Let’s see how it does on all of those flowers and the little details in the face.
Here it is cut out and the laser cutter did an amazing job. Everything is perfect. Look at all those details, even the little nose which is SO small!
I’ve added a UK 20p coin into the photo for scale.
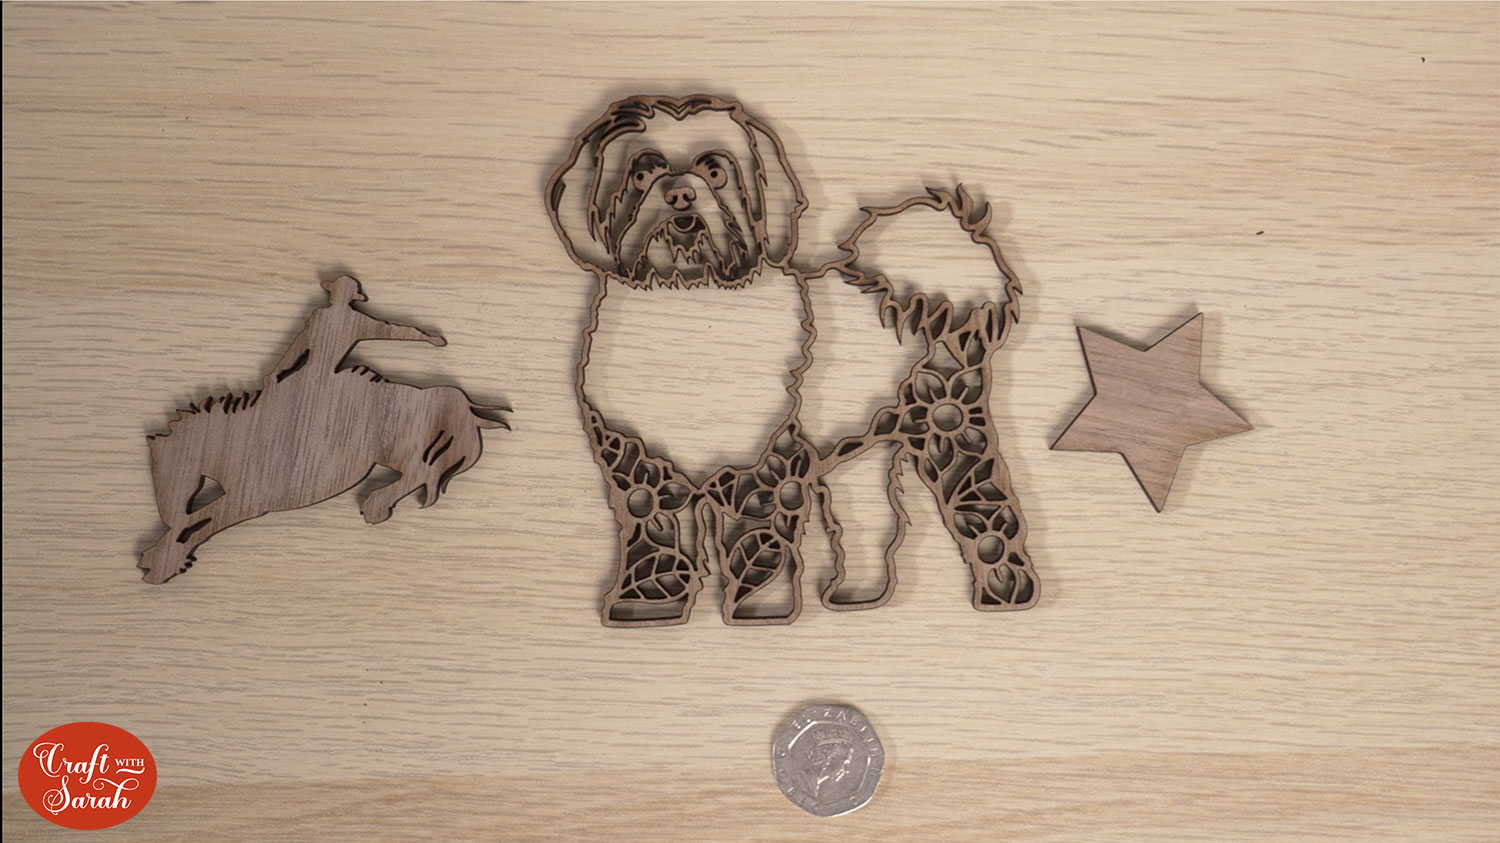
All three of my test projects came out amazing. I’m so happy with how this went and looking forward to trying out even more on my xTool M1.
For today, I didn’t get chance to test out the blade cutter, but I’ll definitely be giving it a go soon.
Overall, I found the machine easy to set up and to use. It is quite heavy and I needed help to move it around my craft room and to lift it out the box, but now it’s out the box I can just about carry it by myself.
The software was intuitive and simple. If anything, it’s perhaps a little too simple – there don’t seem to be many design features like Design Space has, so I think it’s going to need designs to be loaded into it every time rather than creating my own designs directly within it, but that’s something to delve into in more detail another time.
I’ve never tried any other laser cutter, so I don’t have anything to compare the xTool M1 to, but as a starter/hobby laser, I think it’s going to be great!
Final Thoughts and Next Steps…
I hope you enjoyed this overview of the xTool M1 laser cutting machine.
I had lots of fun trying it out and can’t wait to spend some more time with it to really get to know it and to test out some more projects.

I’ve got a few ideas in mind for what I want to try, for example cutting some of my layered SVGs from wood, engraving on slate and wooden coasters, making keyrings, engraving on metal bookmarks and more.
Plus, I’m planning to do a separate review comparing the xTool M1 blade to a Cricut machine to see which one cuts better, quicker and more reliably.
If you are interested in purchasing a xTool M1, here are the links to do so:
xTool M1 – Deluxe package (including rotary tool)
xTool M1 Deluxe package + Smoke purifier
If you have any questions about the xTool M1, please feel free to get in touch and I’ll do my best to answer.
Happy crafting,
Sarah x

