How to make Unicorn Button Art
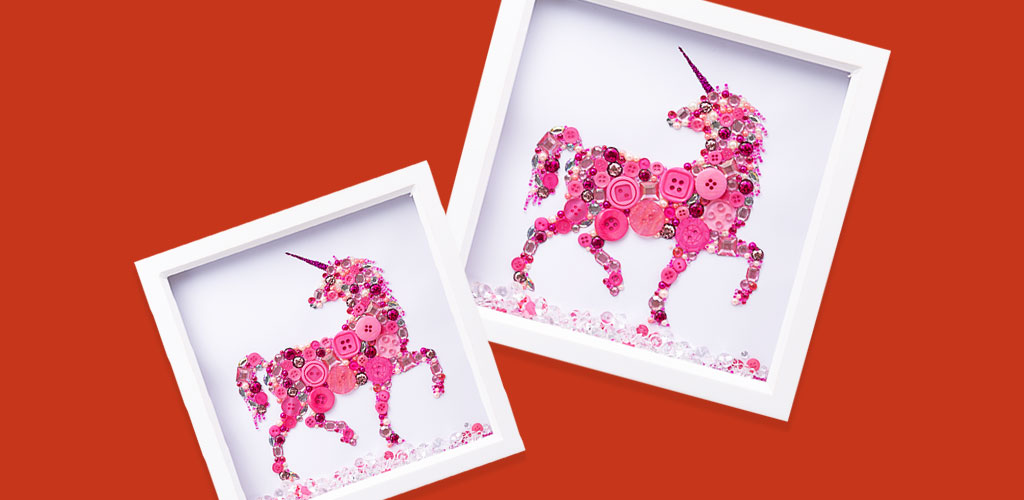
Bling up your child’s walls with this fun unicorn button art project!
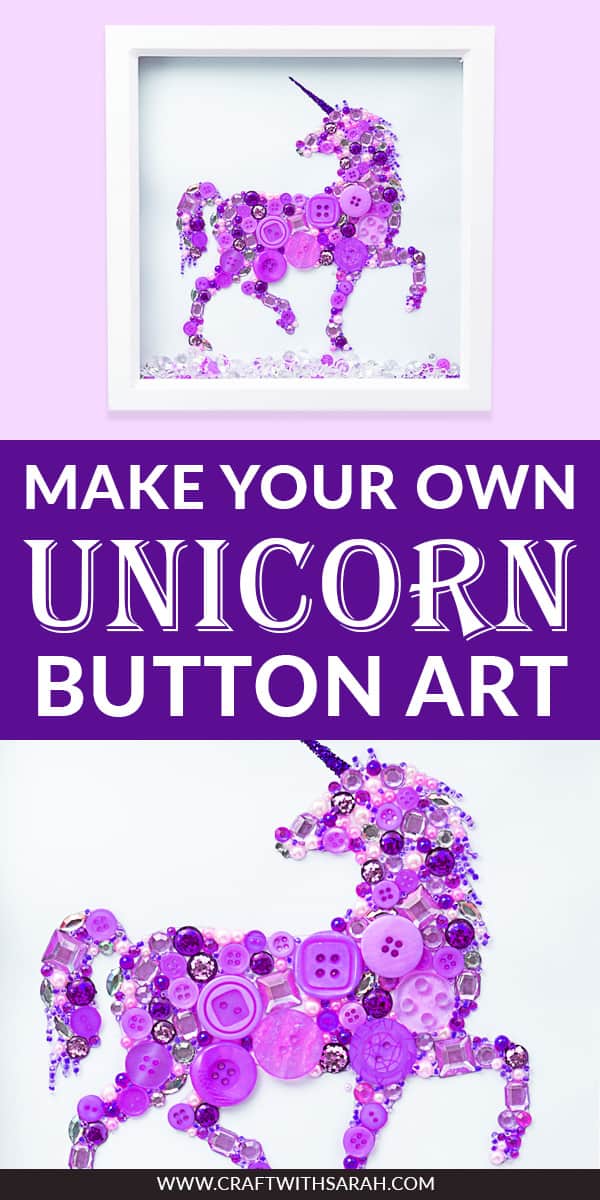
Unicorns are a very popular theme for decorating nurseries and children’s bedrooms. I wanted to create a piece of artwork that would be suitable for this purpose, so decided on a unicorn button art box frame design to add to my ever-growing collection of unicorn crafts.
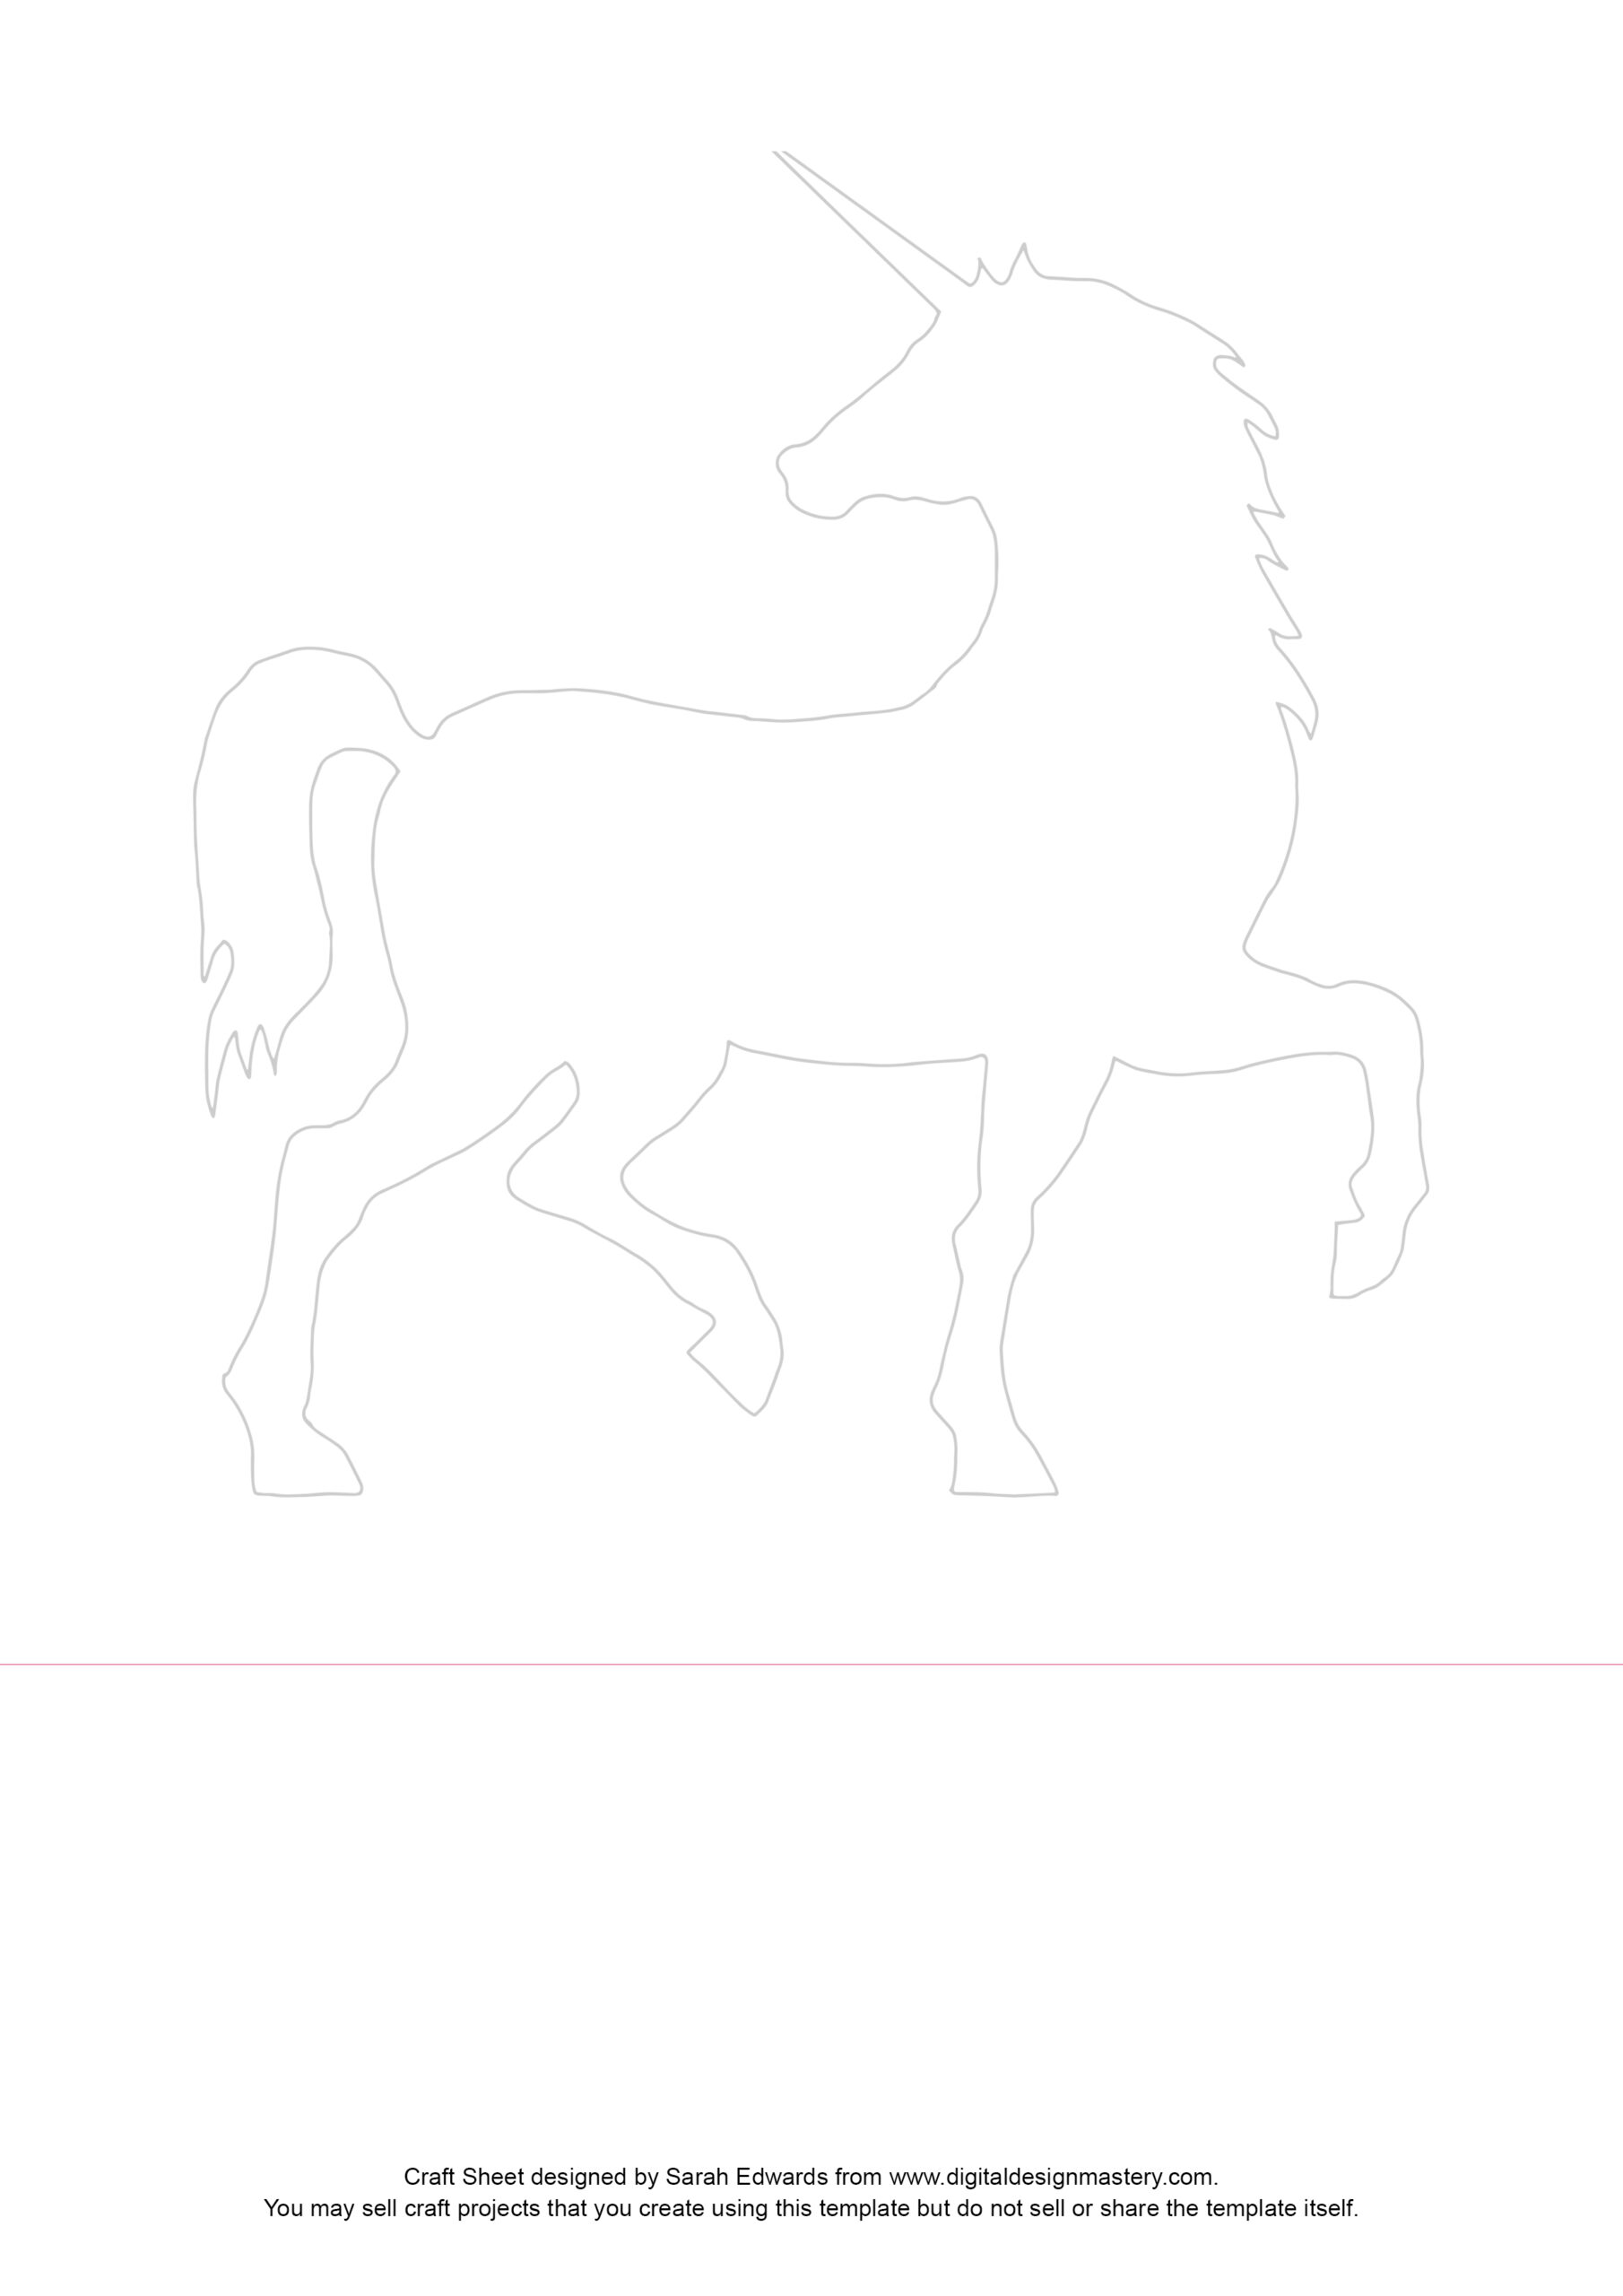
Free unicorn button art template
Do you ever get half way through a craft project and wonder why you ever started? Well, that was me on this one!
Fair warning if you are thinking about giving this unicorn button art a try – it’s simple to make but super time-consuming. It took me about 4.5 hours to stick on all of those little pink gemstones and buttons!
I think it was time well spent though as I love the finished result. I’m not sure I would ever make another one through… I’m just not that patient! 😀
If you have more patience than me, scroll down to get your free printable unicorn silhouette so that you can start creating your own lovely unicorn home decor frame.
Please note that some of the links included in this article are affiliate links, which means that if you click through and make a purchase I may receive a commission (at no additional cost to you). You can read my full disclosure at the bottom of the page.
How to make unicorn button art box frame
Follow these instructions to make your own unicorn button art.
You will need…
- Free unicorn button art printable (download below)
- Glossy photo paper to print on
- Craft knife or paper trimmer
- Pink buttons, gemstones and other flat-backed sparkly embellishments
- Pink seed beads
- Pink glitter
- Thin paint brush
- Mod Podge glue or similar
- A 20x20cm box frame
- Double sided tape
- Scatter diamonds/crystals
Unicorn button art tutorial instructions
Step 1
Print out the free unicorn download onto glossy photo paper, or your favourite card making printer paper.

Use a craft knife and metal ruler or paper trimmer to cut along the button line to make your paper square.
Step 2
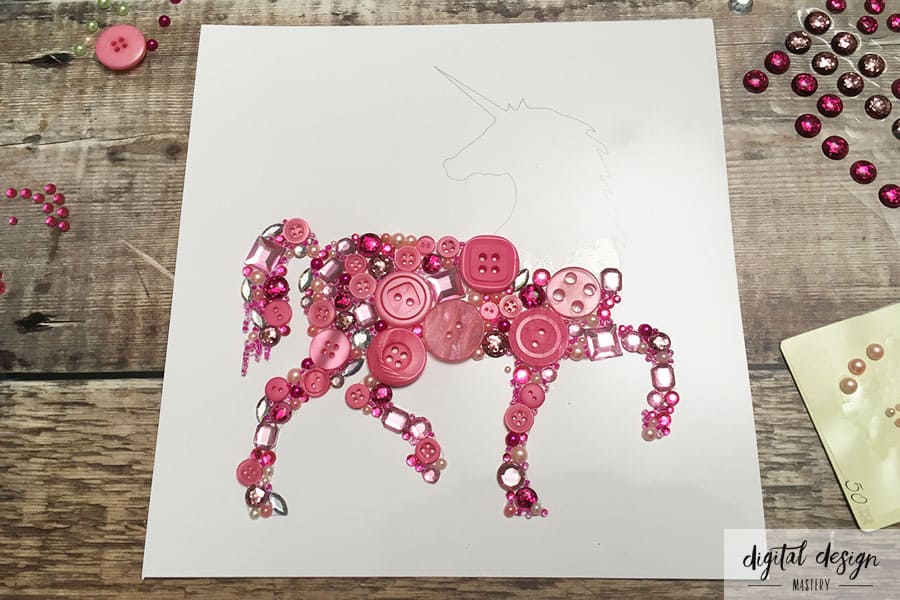
Choose a few large buttons and place them into the unicorn silhouette.
You don’t need to stick them down at this point; you are simply placing the larger elements first to give you a base on which to work.
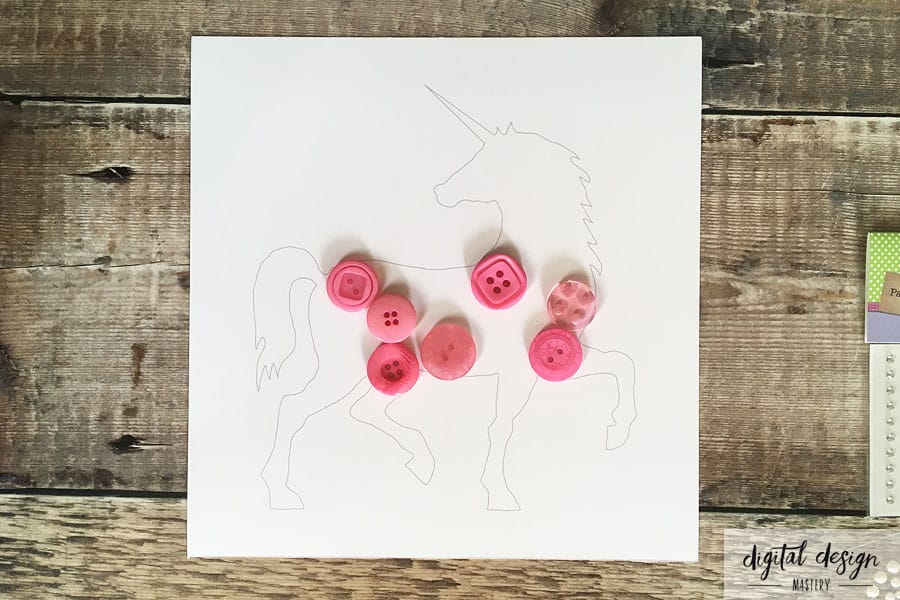
The buttons may move around a little bit as your design progresses.
Step 3
Choose one section of the unicorn and stick down your large buttons.
Start filling out the rest of the silhouette by sticking a range of different size and shape of gemstones and embellishments.
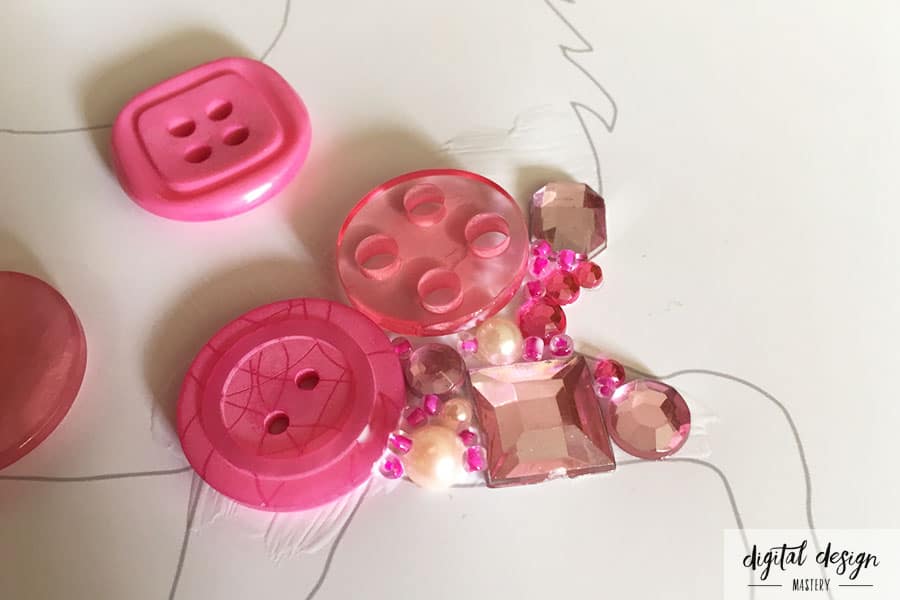
Fill in any small gaps with pink seed beads – these are really small so they are perfect for finishing off the silhouette and disguising some of the border lines of the unicorn printout.
Step 4
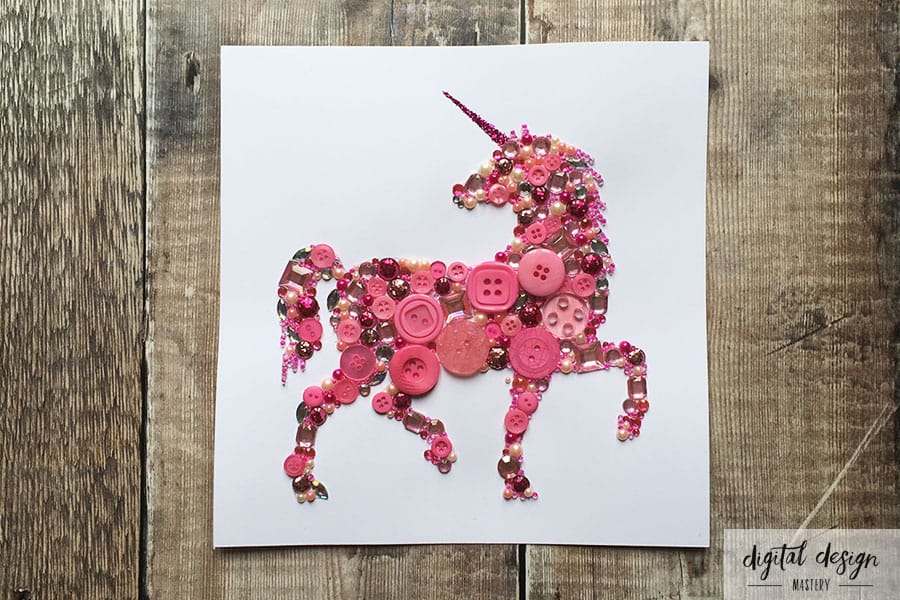
Continue filling out the silhouette, working one section at a time.
When you get to the tail, use seed beads to create the edges of the tail as they are very narrow.
Step 5
Use glitter to cover the unicorn’s horn because it’s too thin and delicate for embellishments to look effective.
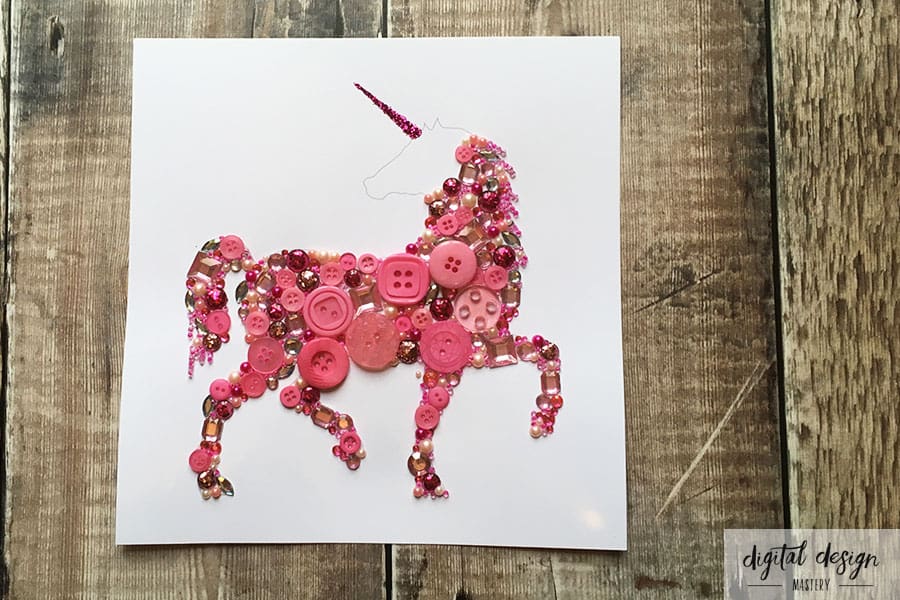
Step 6
Once the unicorn button art silhouette has been filled, wait for your glue to dry and then evaluate the design to see if there are any little gaps that need filling with seed beads.
Step 7
When the design has completely dried you can add it into the box frame.
Pour a selection of scatter diamonds, buttons and seed beads into the frame before you add in the button art.
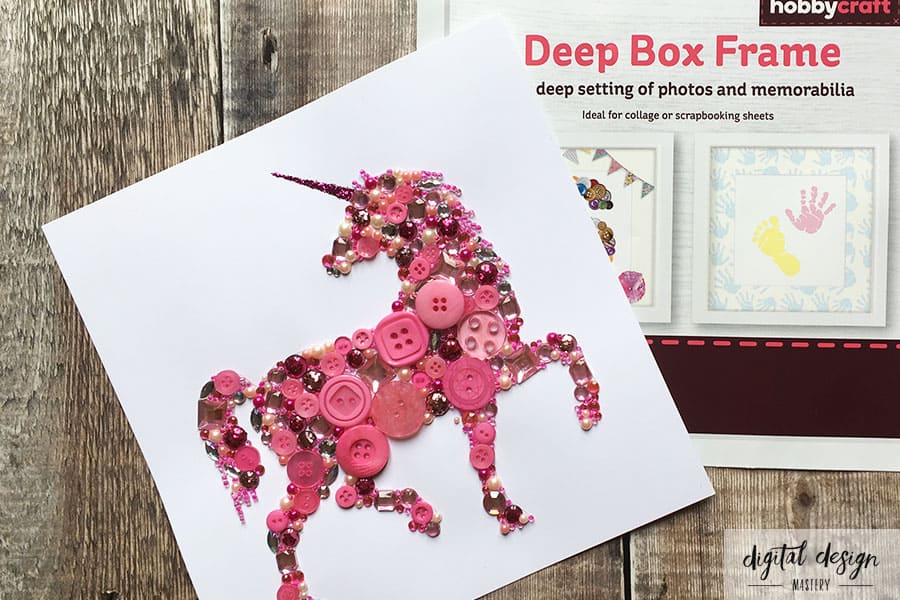
My frame was slightly too large for the unicorn button art so I used double-sided tape to stick my artwork to the back of the square piece of paper that came inside the frame so that it filled the space.
Step 8
Sit back and admire your beautiful, sparkly, glittery unicorn button art!


