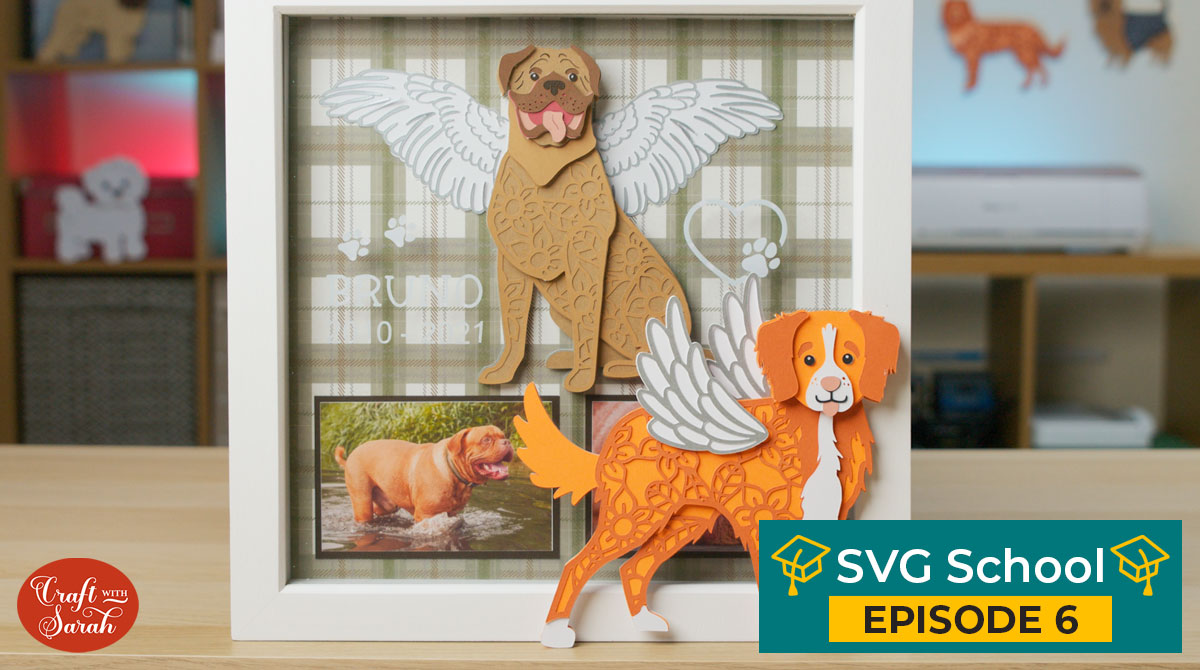
How to Add Angel Wings to Layered SVGs for Pet Memorials
Are you looking to commemorate a pet who has sadly passed over the Rainbow Bridge?
Learn how to add layered angel wings to my layered dog SVGs and how to integrate them into the existing design so that the layers line up perfectly.
[svg_school]
Please note that some of the links included in this article are affiliate links, which means that if you click through and make a purchase I may receive a commission (at no additional cost to you). You can read my full disclosure at the bottom of the page.
How to add layered angel wings to SVGs
Watch the video tutorial below. A full written tutorial with screenshots for each step is available further down this page.
Note: This tutorial was recorded using Design Space v6.11.108. Later versions of Design Space may look different to the video/screenshots shown on this page.
Video resources:
- Toller retriever SVG
- Dogue de Bordeaux SVG
- 130+ dog SVGs & 20+ cat SVGs
- Download Design Space
- How to use layered SVG files (tutorial)
- Cricut Access images used: #M28B16F83 and #MF763606
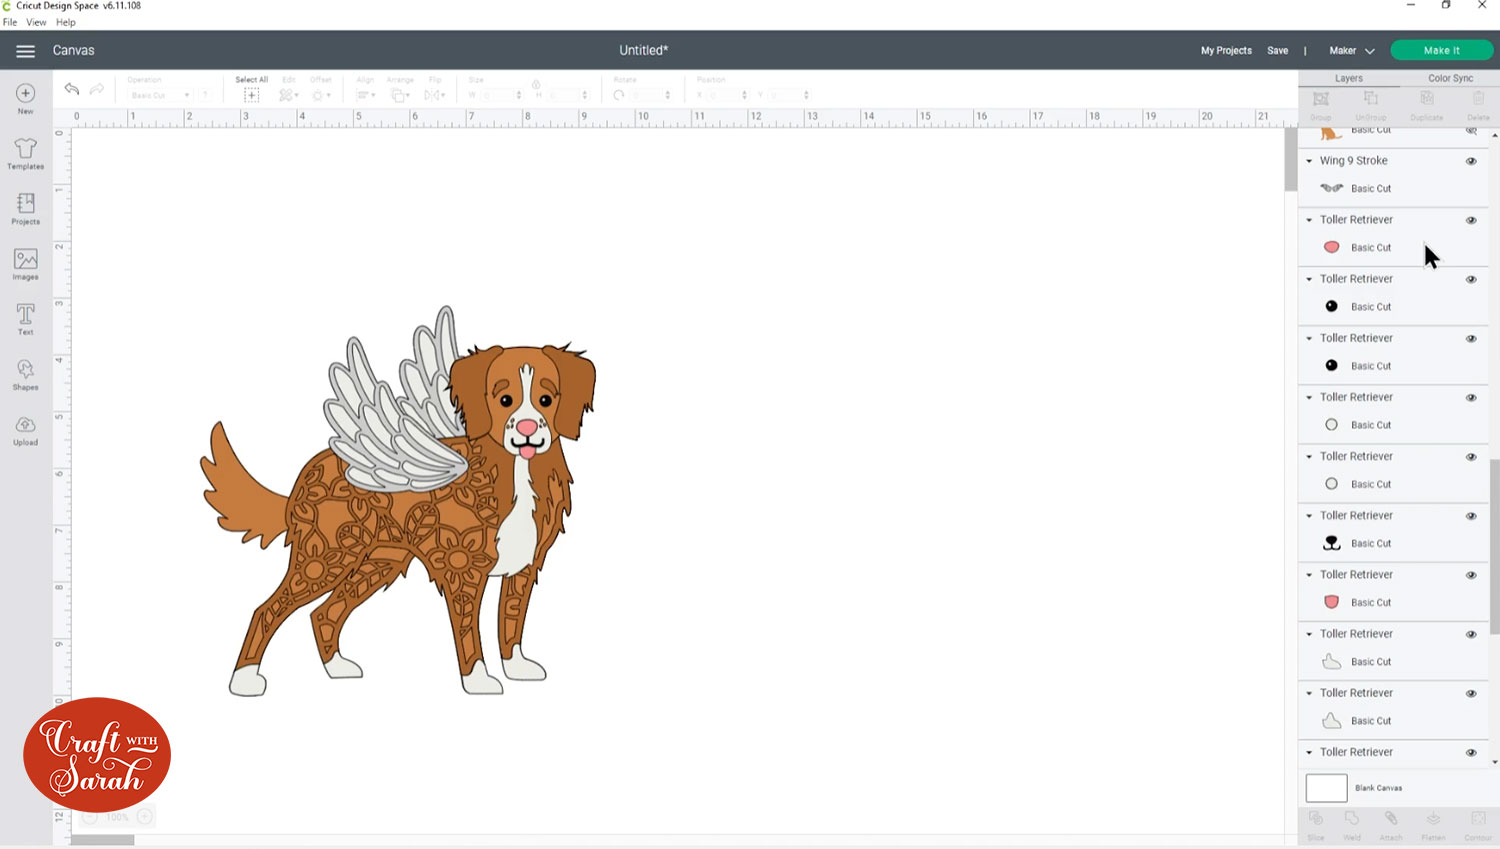
Part 1: How to add angel wings to standing dogs
You can choose to just add one wing to the front of the dog, or to add even more detail by putting a second wing behind the dog.
Step 1) Choose the SVG design and wings
Choose the layered dog SVG and angel wings that you want to use.
These angel wings are from Cricut Access. The reference numbers are #M28B16F83 and #MF763606.

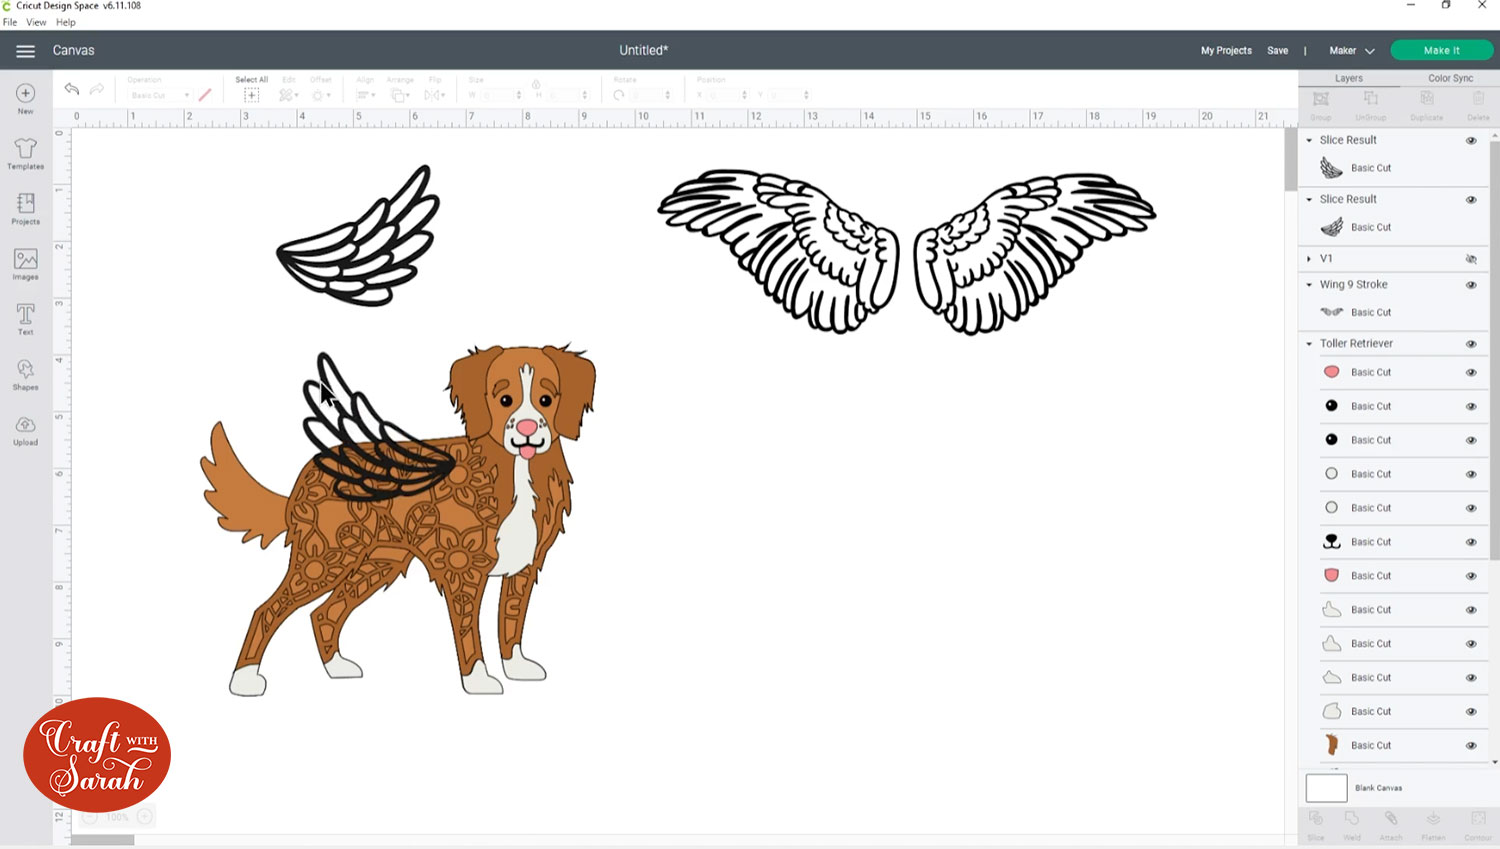
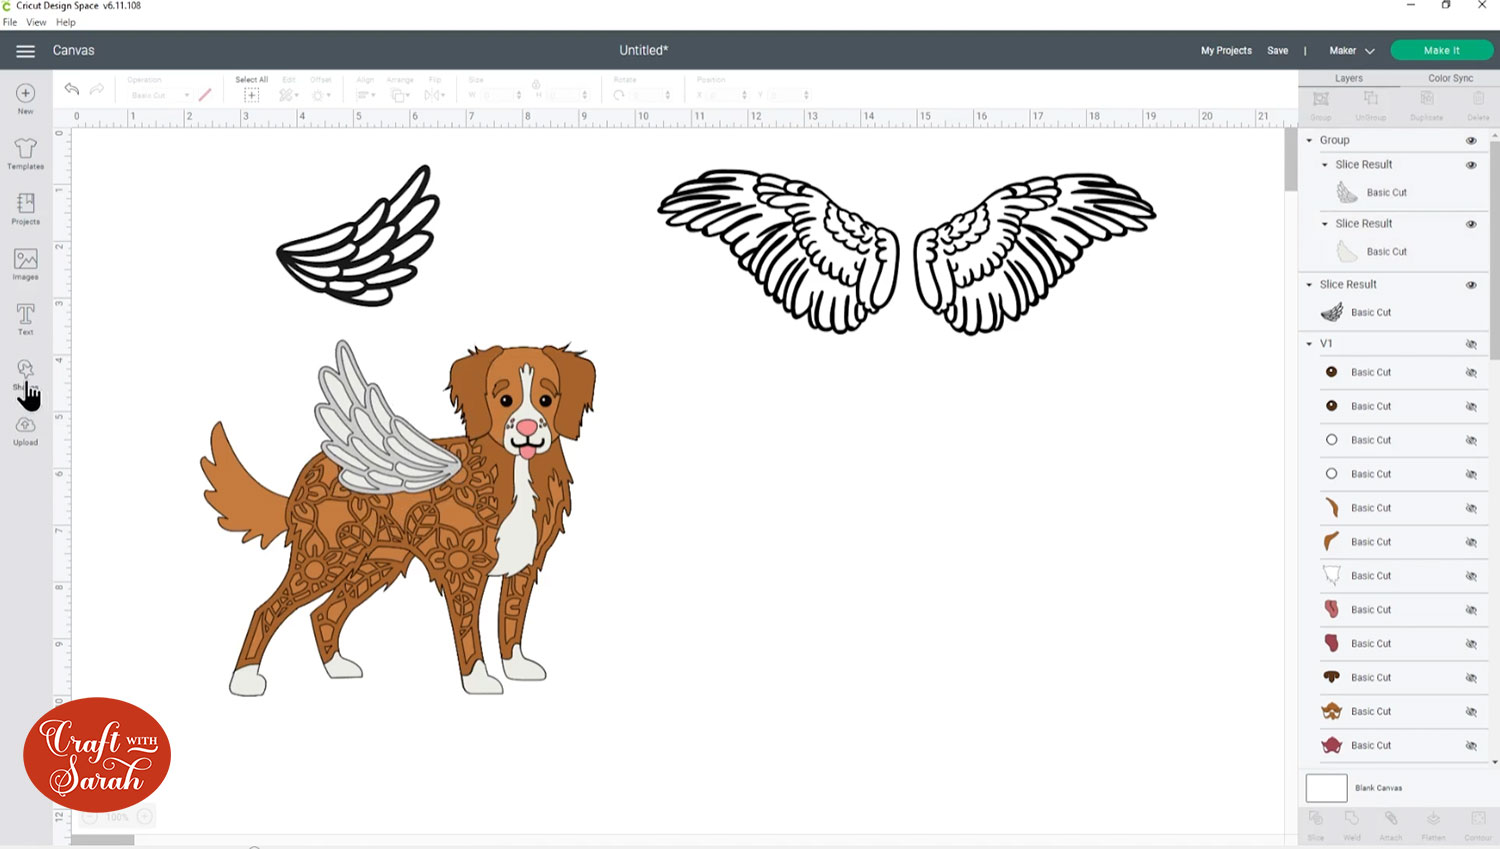
Step 2) Separate the wings
If your wings are both on the same layer then you will need to separate them.
Insert a square and resize it so that it fully covers one of the wings.

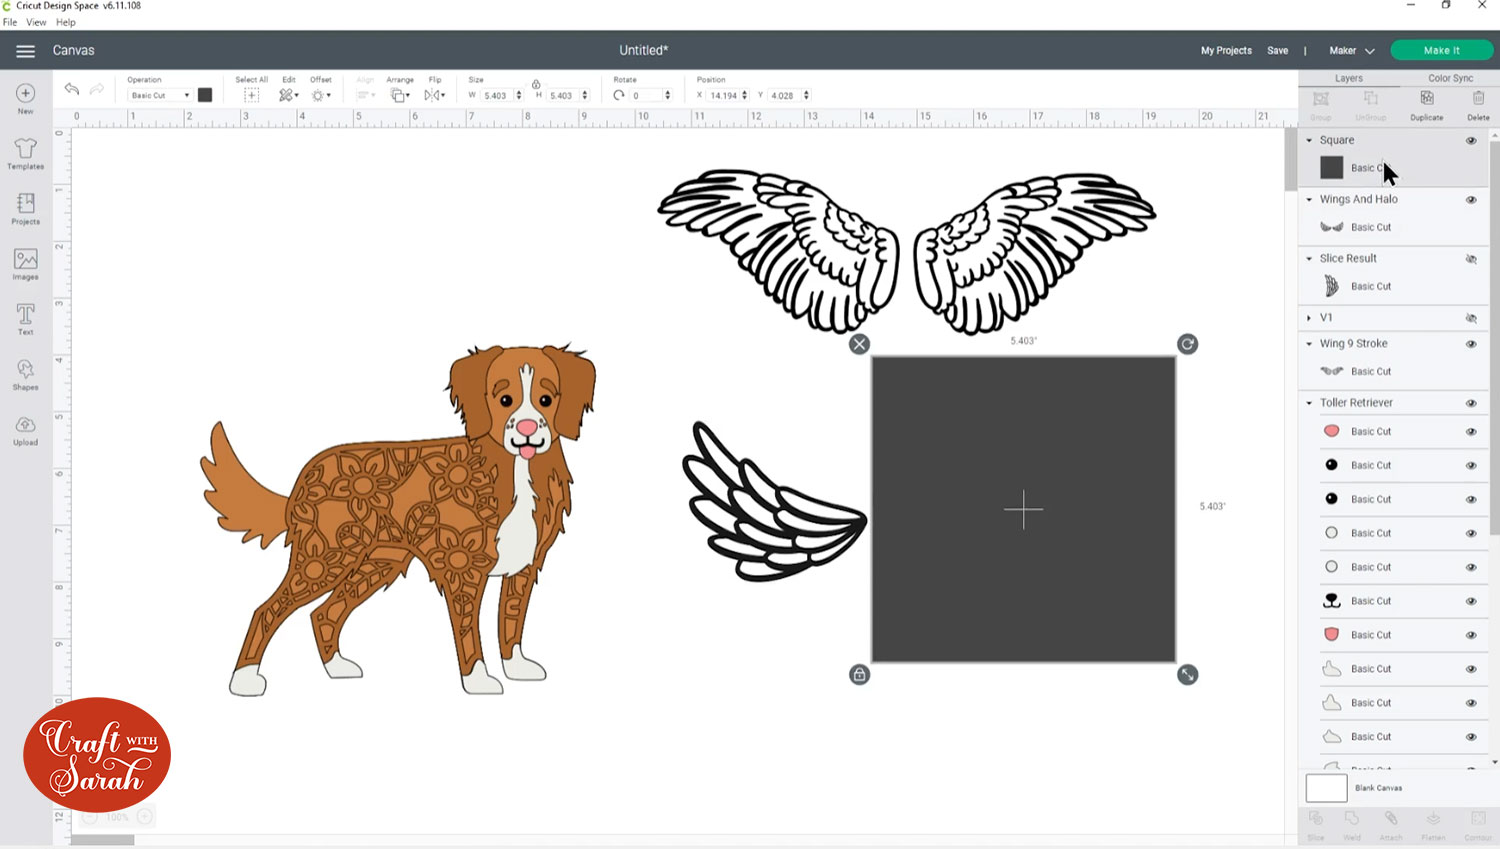
Select the square layer and wings layer and then press “Slice” to cut them apart.

Delete the square layers so you are left with two separate wings.
Step 3) Make the background layer for the wing
Click one of the wings and then press “Duplicate” to make a copy.

Recolour the duplicated copy to make it white (or slightly off-white) then press Contour.

Press “hide all Contours” and then close out of the window.
This will fill in all the gaps in the wing to make a solid shape.
Select the top and bottom wing and then click “Align” then “Align Center” to perfectly position them on top of each other.
If you background layer (the solid colour one) is showing on top of the layer with the details then click the solid layer and press “Arrange > Send Backwards”.
Select both layers again and press “Group”. This will add the layers into a group which means you can move and resize them both at the same time.
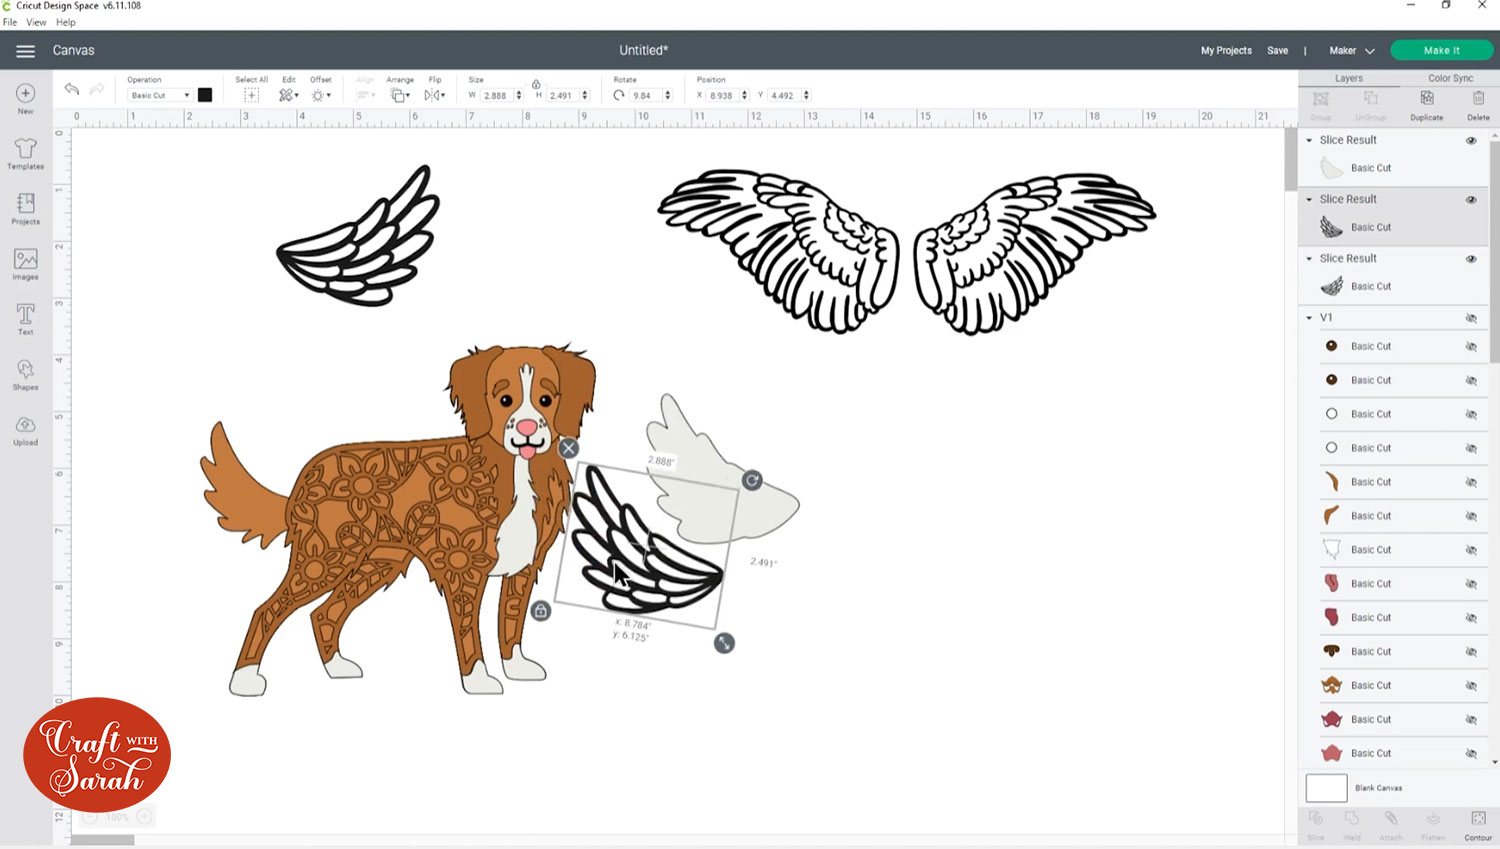
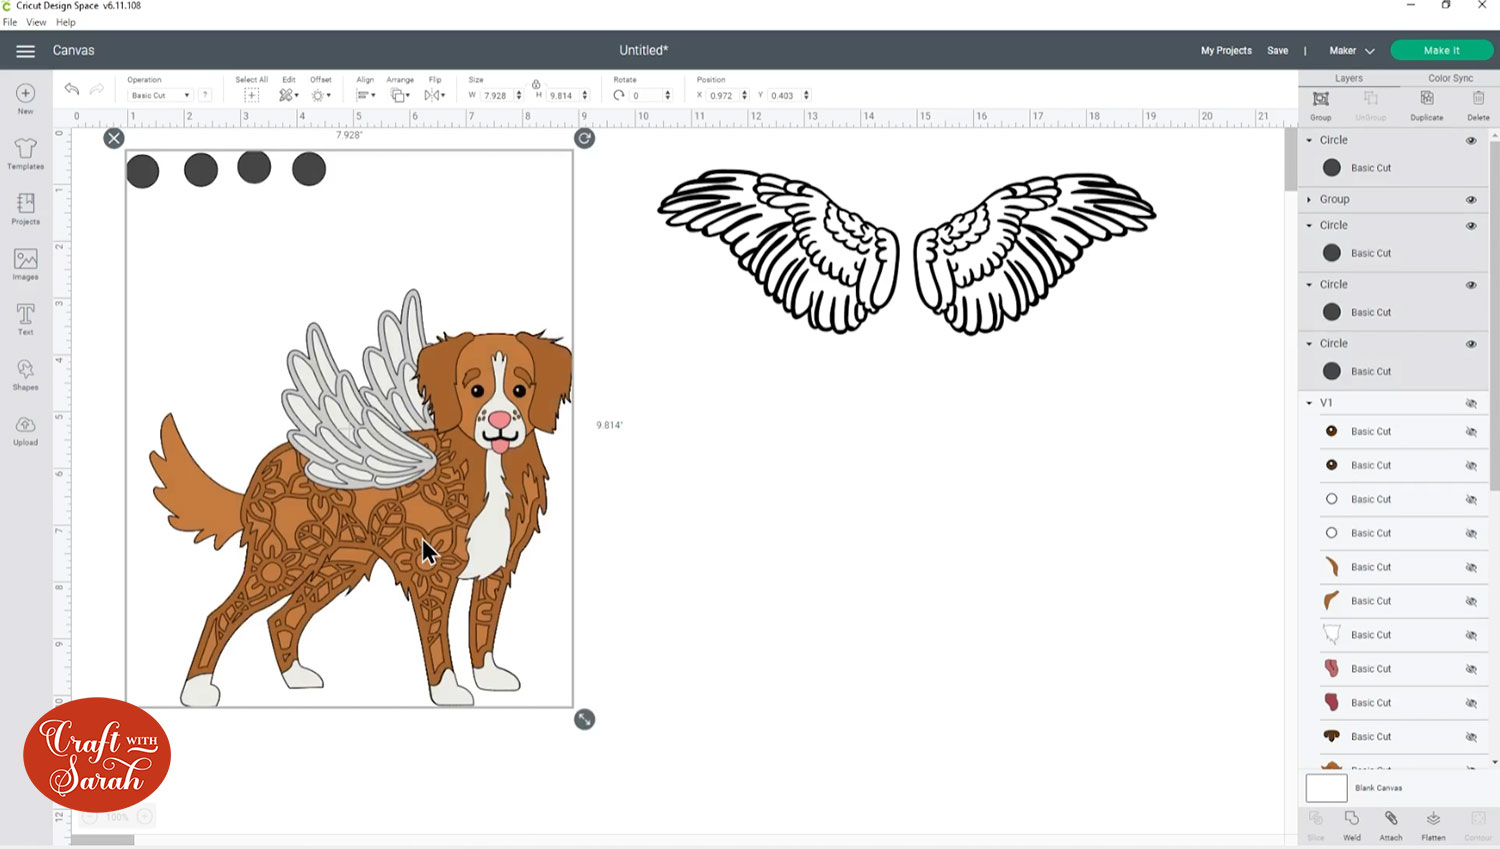
Step 4) Position the angel wing
Move the group on top of the dog and resize/rotate it until you are happy with how it’s looking.
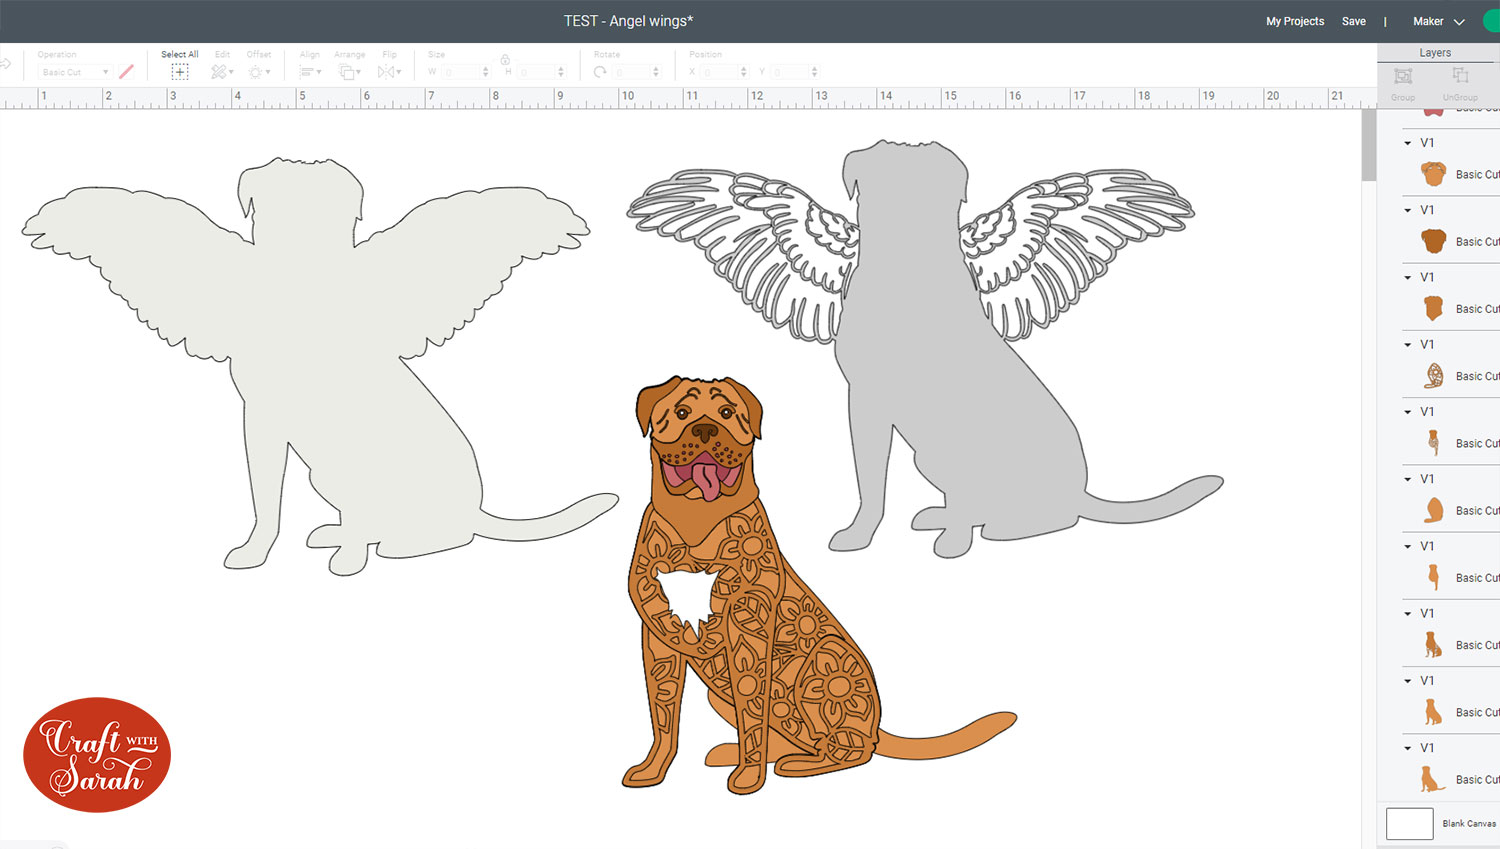
If you want to add a second wing then duplicate the group and add that to the back of the dog.
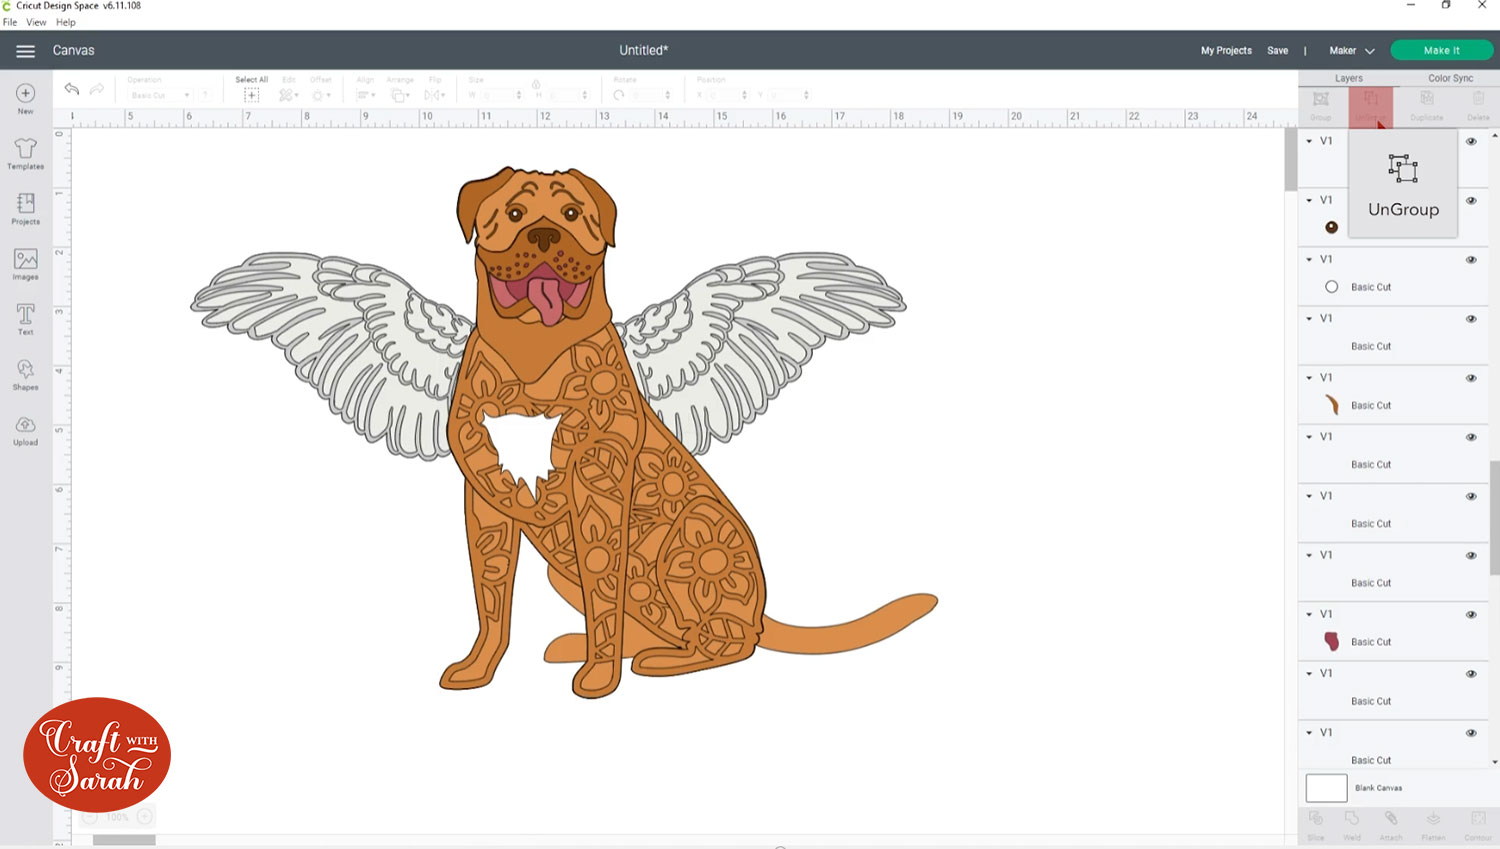
TIP: If you are working with a dog design that’s facing you straight on then add one wing on the left and one on the right, like in the image below.
Step 5) Generate the full layers
If you were to cut the dog and wings out at the moment and try to stick them together with foam pads to add depth, there will be a problem because the back wing will cause the body of the dog to be “uneven” on your surface due to the extra foam/card that forms the wing.
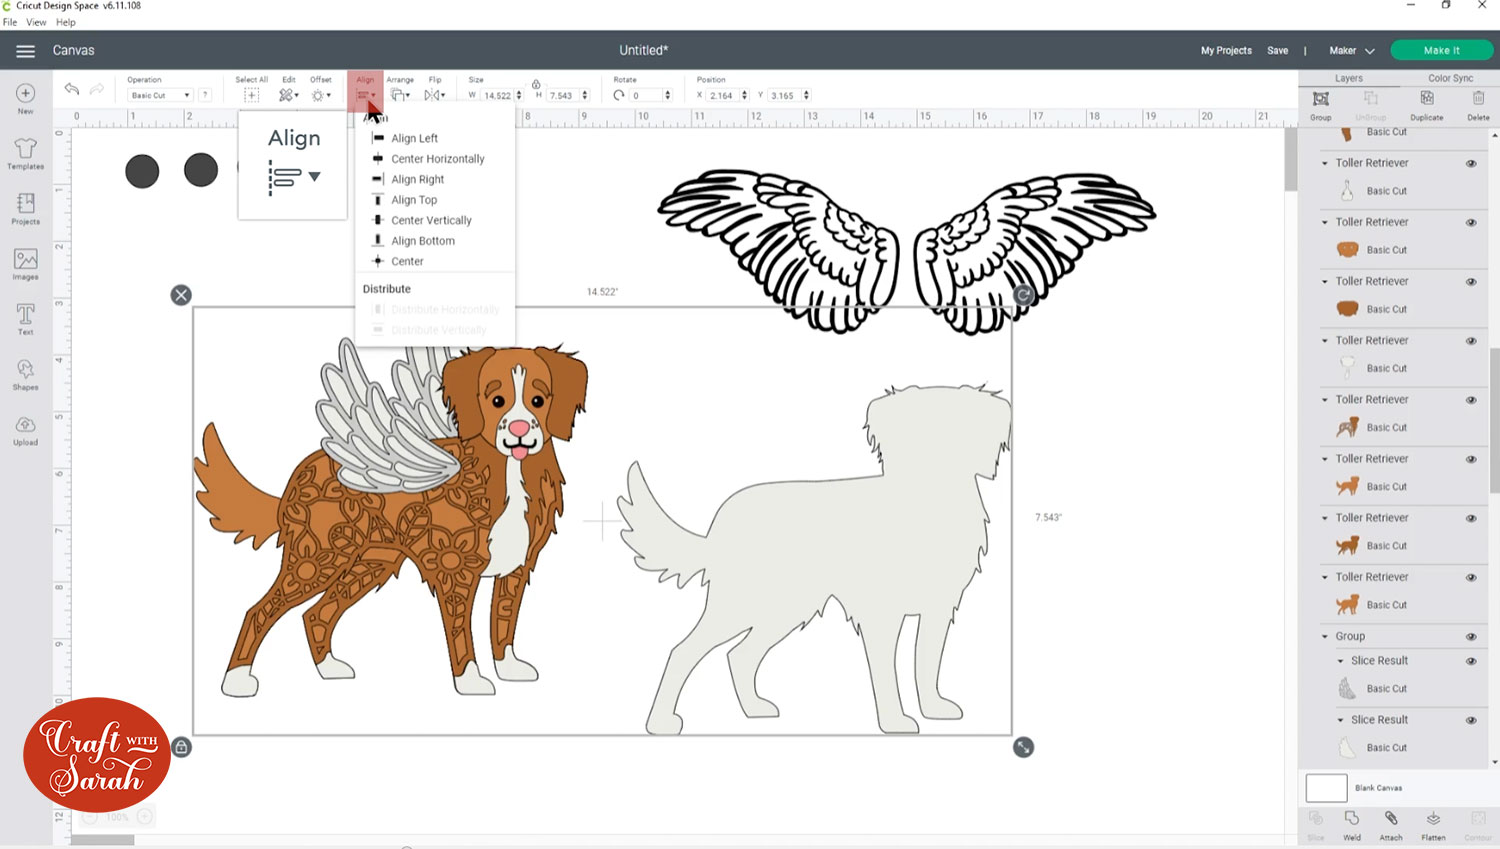
We need to level out the bottom wing layer by making a copy of the bottom body layer and joining it to those wing layers.
Duplicate the bottom layer of the dog and make it same colour as the solid layer of your angel wing.
Move this away from the existing dog so you can drag a box around the dog and the wings and then Group them.
Select the new white dog layer and then Group that has all the other layers in it and then Align them so that the new body layer matches up with the existing body layers.
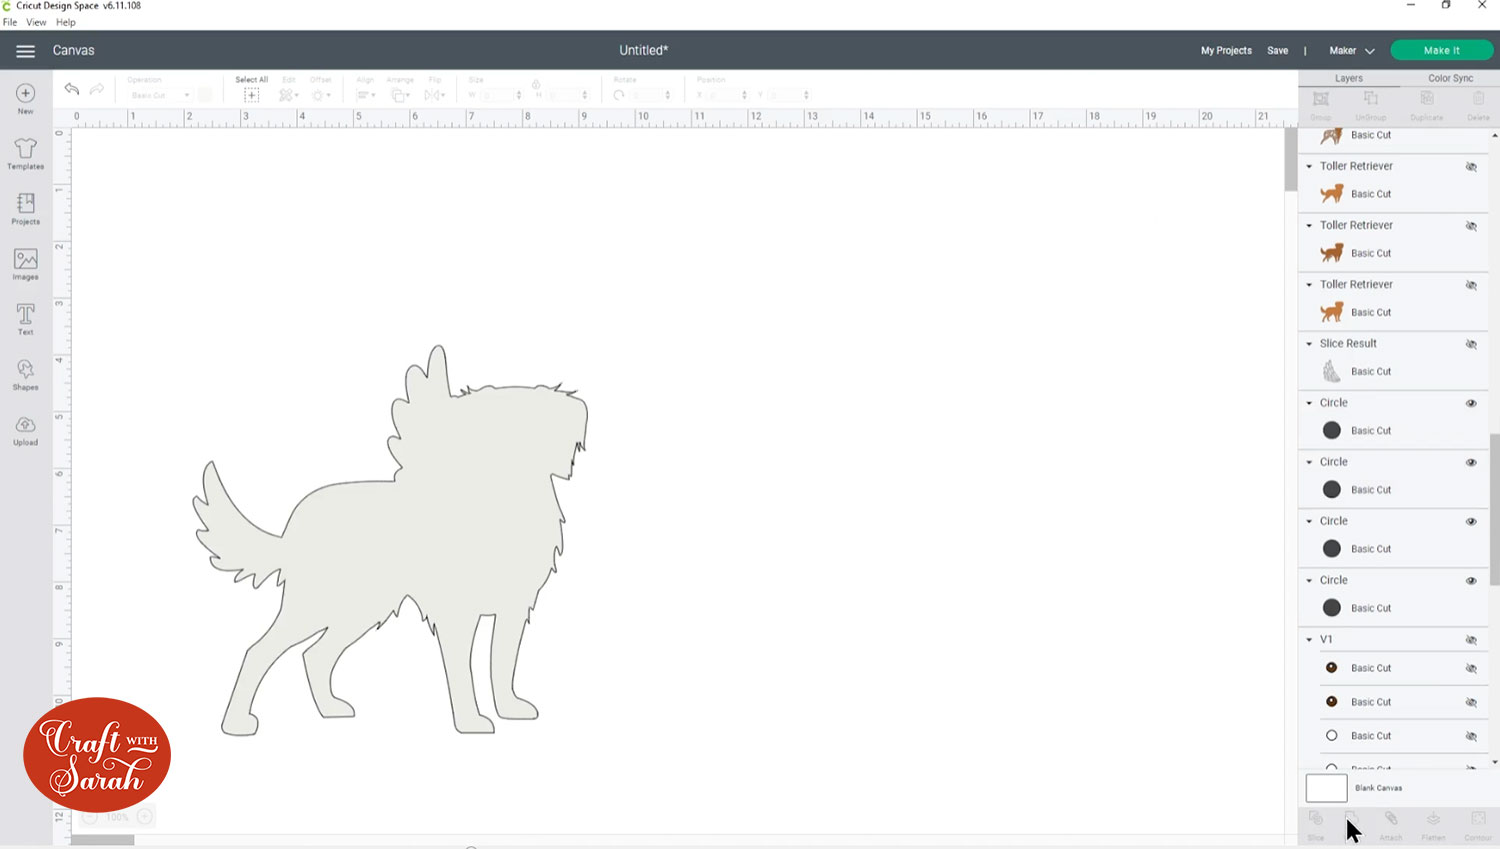
Ungroup the dog group and then click the eye icon next to each layer until you only have the solid layer of the bottom wing and the new white layer showing.
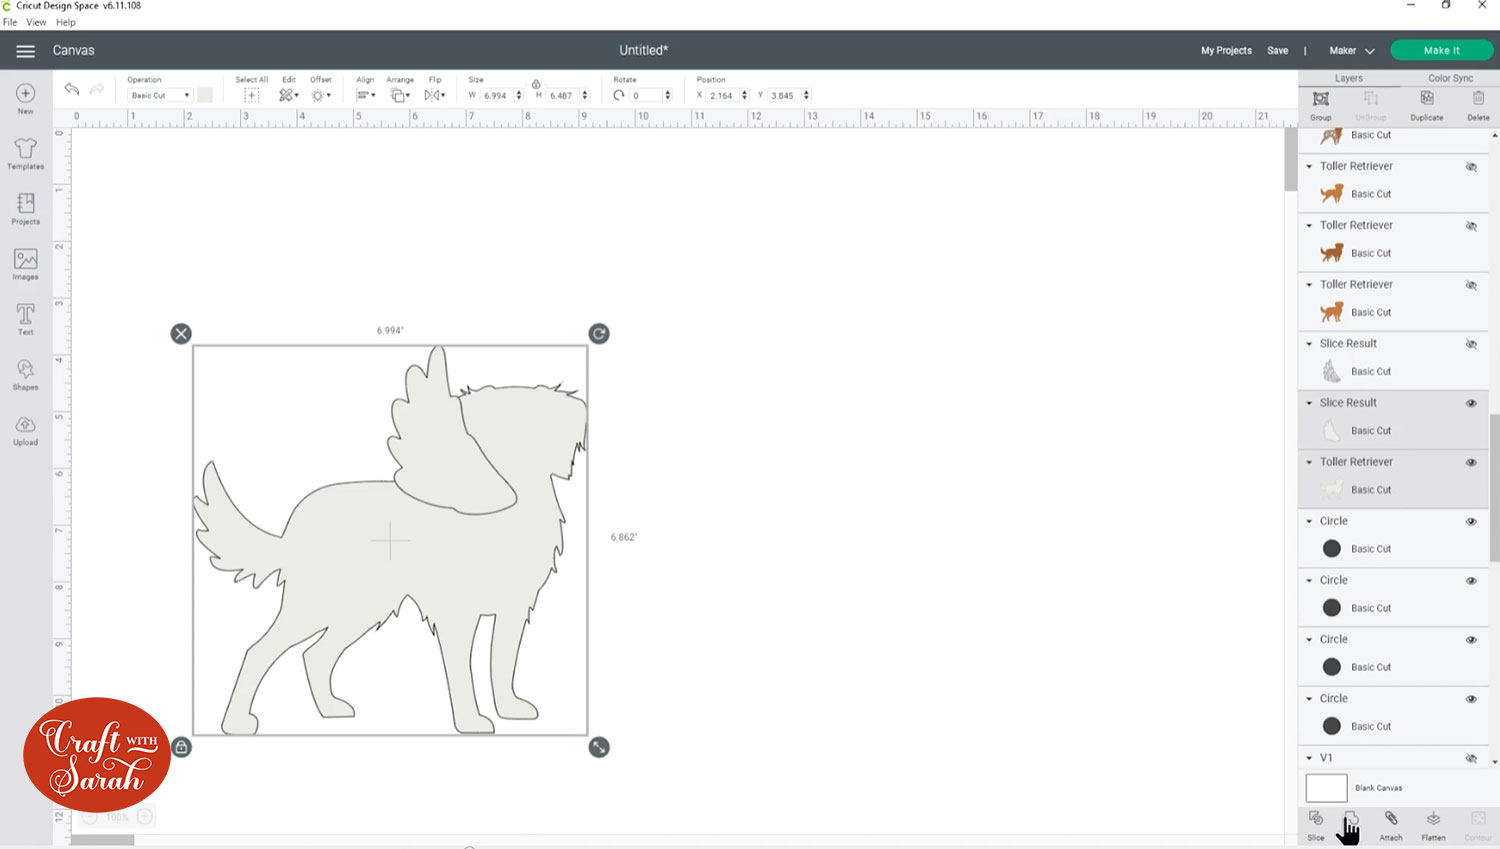
Select both of those layers and click “Weld” to join them together.
You don’t need to do the same for the detailed layer of the wing because that will be stuck on with glue so it won’t affect the height/positioning of the rest of the layers.
The bottom angel wing will now line up perfectly with the rest of the dog body when you stick it together.
TIP: If you are working with a dog design that’s facing you straight on you would Weld both wings to the bottom body layers.
Step 6) Level out the top wing
We face a similar problem with the top wing, although this step is only needed for the side-facing dogs where the top wing is stuck to the top of the dog.
If it overlaps the dog body like the one I am making, you might find that the wing “falls” down after you’ve stuck it to the front of the dog as there is nothing supporting that top part of it.
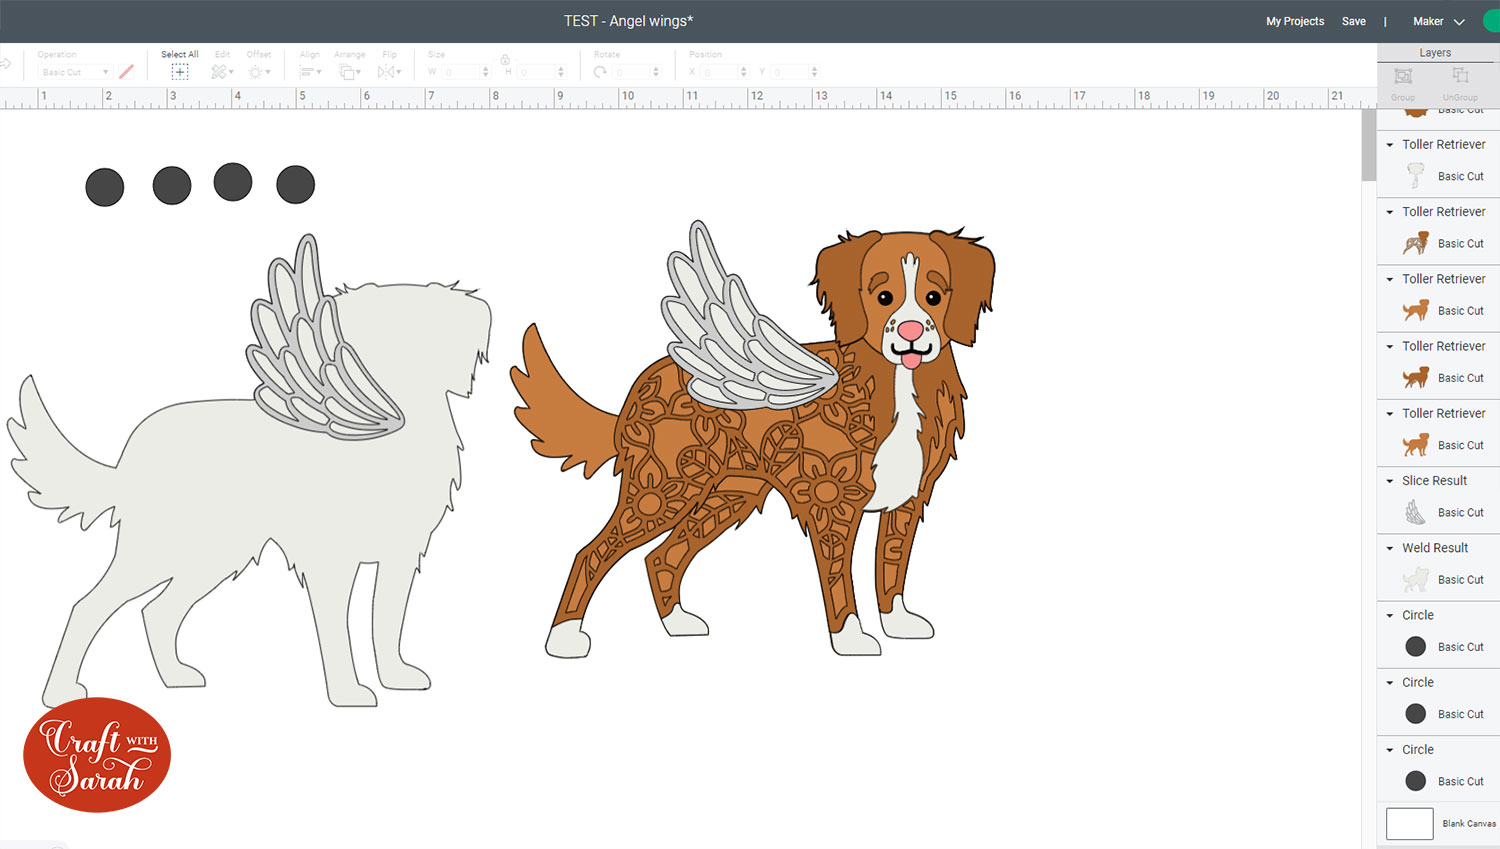
To fix this, draw some small circles that will fit behind the top part of the wing. These will be stuck together with foam pads and then glued to the back of the top part of the wing to make it sit level with the part of the wing that’s on the dog body layer.
You need the same amount of circles as you have dog layers that will be stuck with foam pads, plus one extra.
This is what you should end up with after following all the steps above:
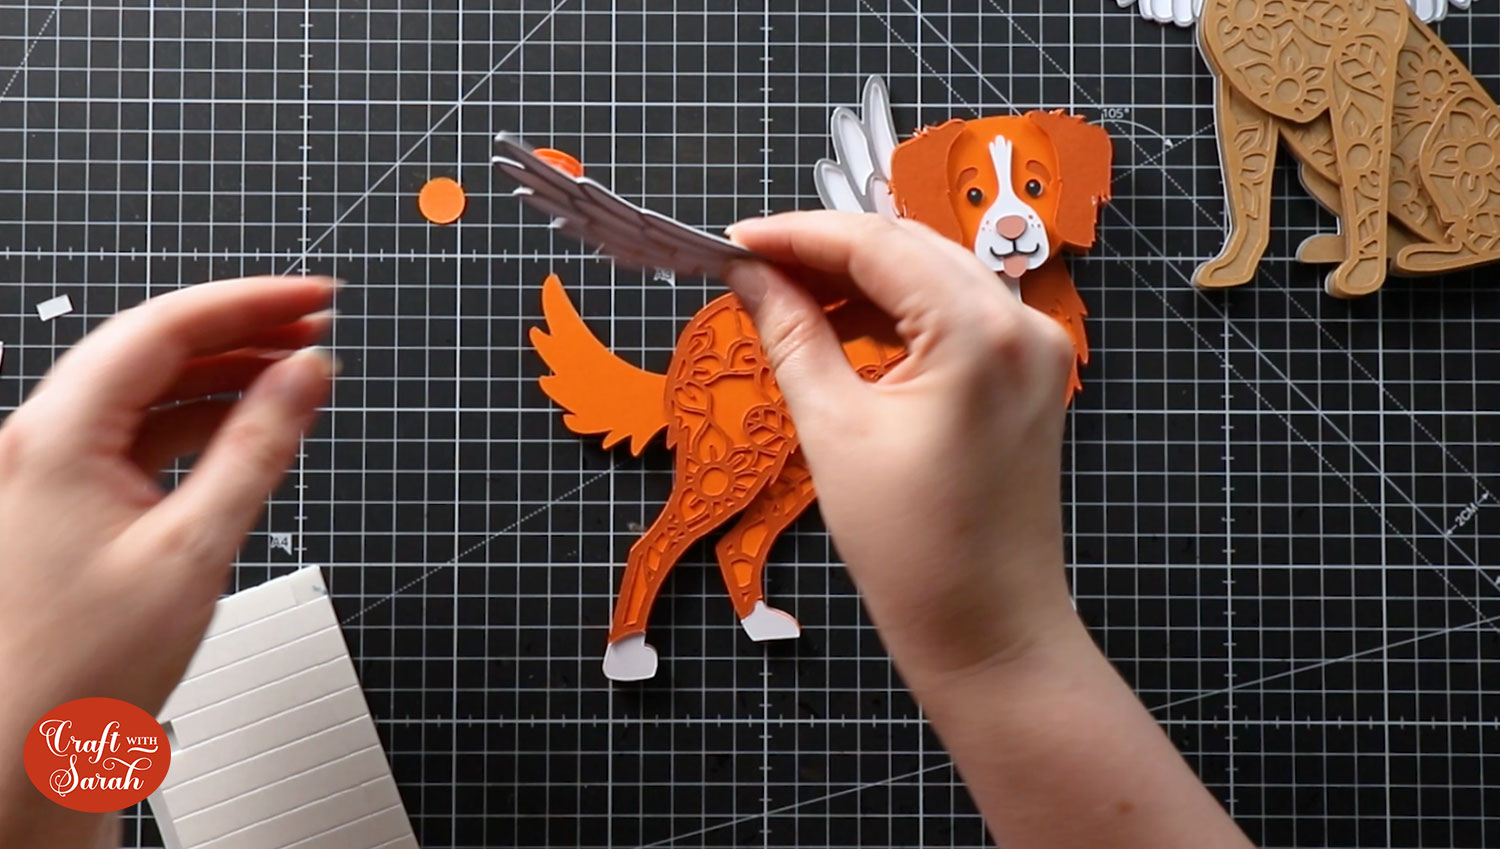
Step 7) Cut and assemble the design
Cut all the layers with your Cricut machine and then stick them together using foam pads and glue.
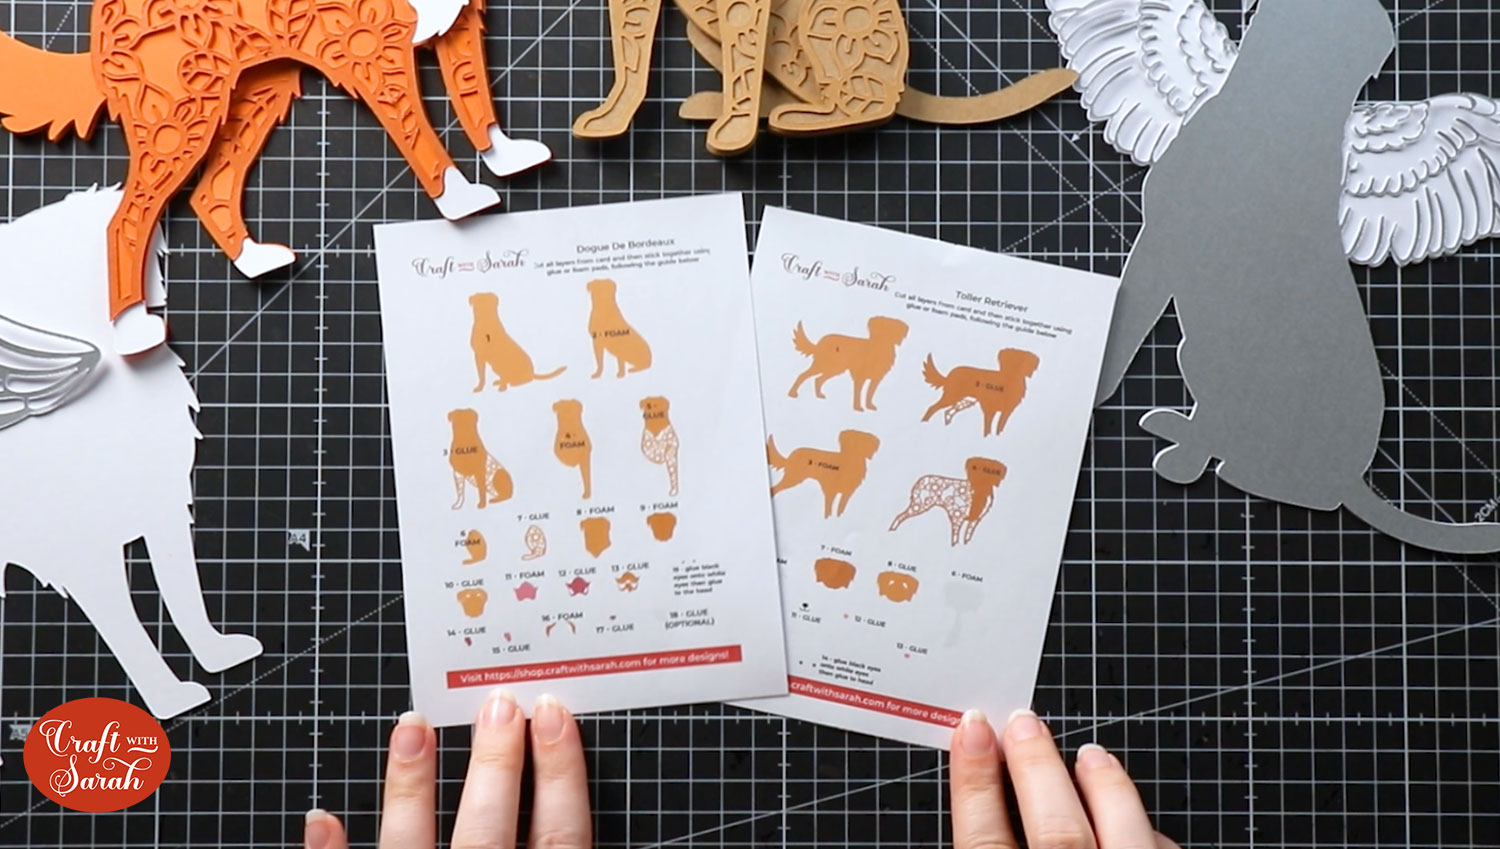
All my layered SVGs come with printable assembly guides so you know which order to stick the layers together in, and whether to use foam or glue for each individual layer.
The brand of foam pads I use is called Dot and Dab.
My favourite glue to use on papercraft projects is Collall All Purpose Glue.
It’s SO good because it doesn’t “warp” or bend the cardstock like some glues do. You can use as much of it as you want and the card stays perfect – and it dries perfectly clear too!
To make it even easier to apply glue to layered card projects, I highly recommend getting some of these needle tip applicator bottles to put the glue into.
When you get to adding the top angel wing, make sure you remember to add the circle “spacers” to the top part so that it doesn’t flop down where it isn’t supported.
Putting the circles under the top part of the wing makes it sit flat which gives a more consistent and professional appearance.
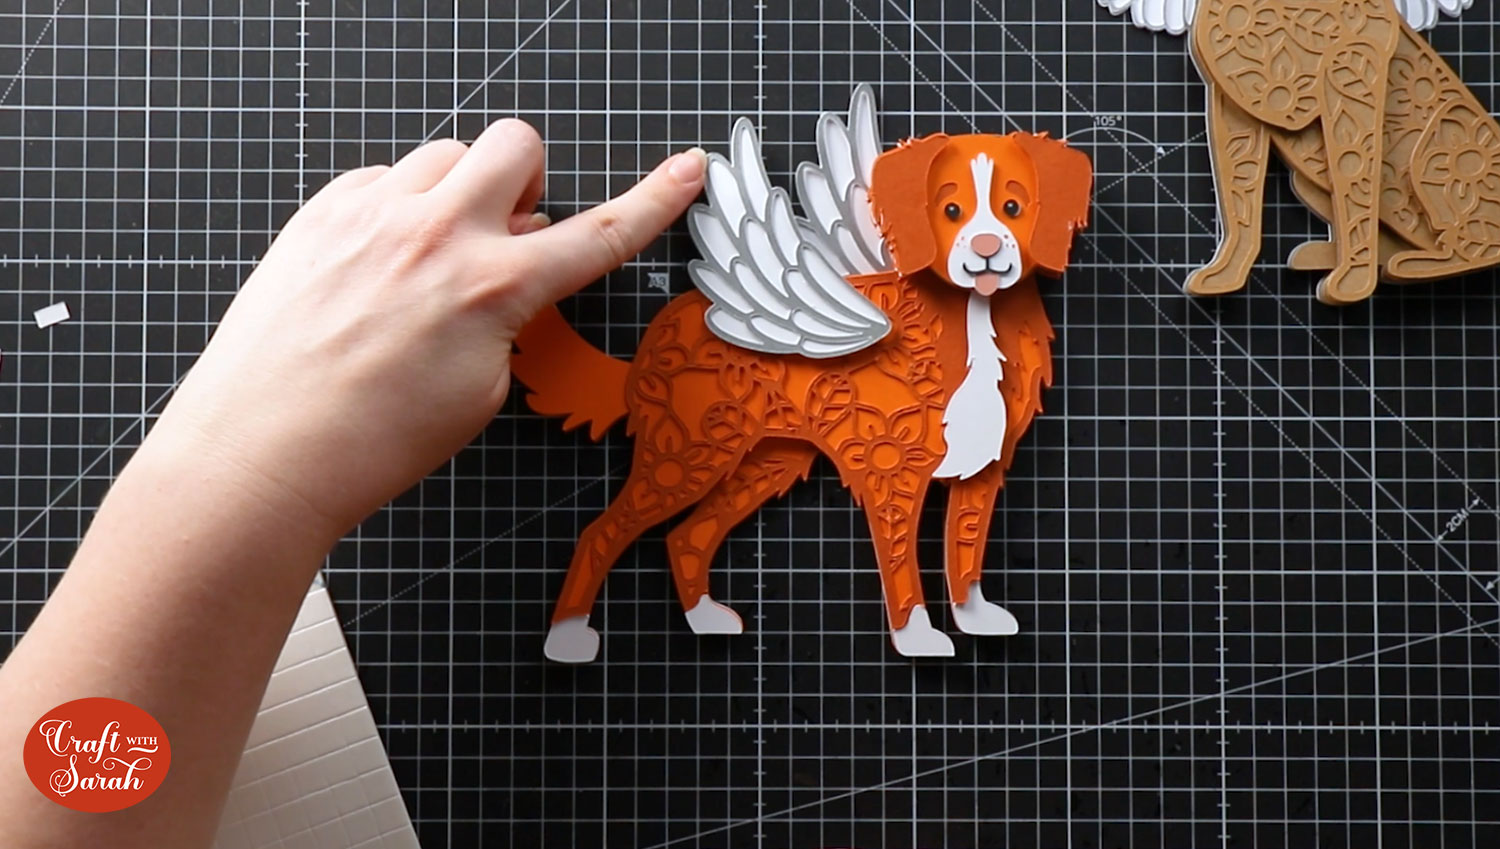
Here are the two different angel dog designs stuck together:
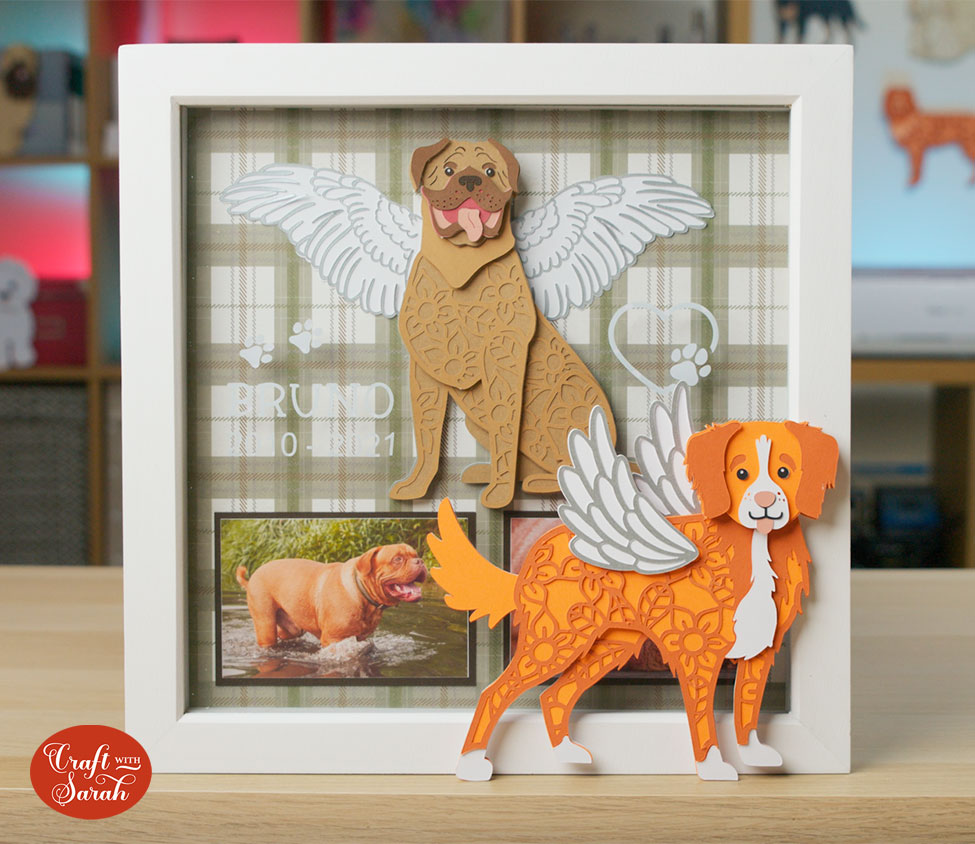
I hope you enjoyed this tutorial on how to add layered angel wings to my dog or cat files in Cricut Design Space.
Don’t forget, I have over 130 dog designs and 20 cats to choose from in my SVG shop.
If you can’t see the perfect design, you may be able to make it by combining two different SVGs or by changing the colours.
[svg_school]
Happy crafting,
Sarah x

