The BEST EVER Way to Frame Papercraft Projects!
Do you love making papercraft projects with your Cricut, but struggle when it comes to framing them?
Papercraft projects are my favourite thing to make, but I’m AWFUL at getting the designs perfectly centred in a frame… and let’s not even talk about my inability to stick anything in a straight line.
THAT ENDS NOW!!!
Check out this NEW “works-every-time” method for aligning papercraft projects in a shadow box frame so everything is PERFECTLY centred and stuck straight.
It’s a real game-changer!!!
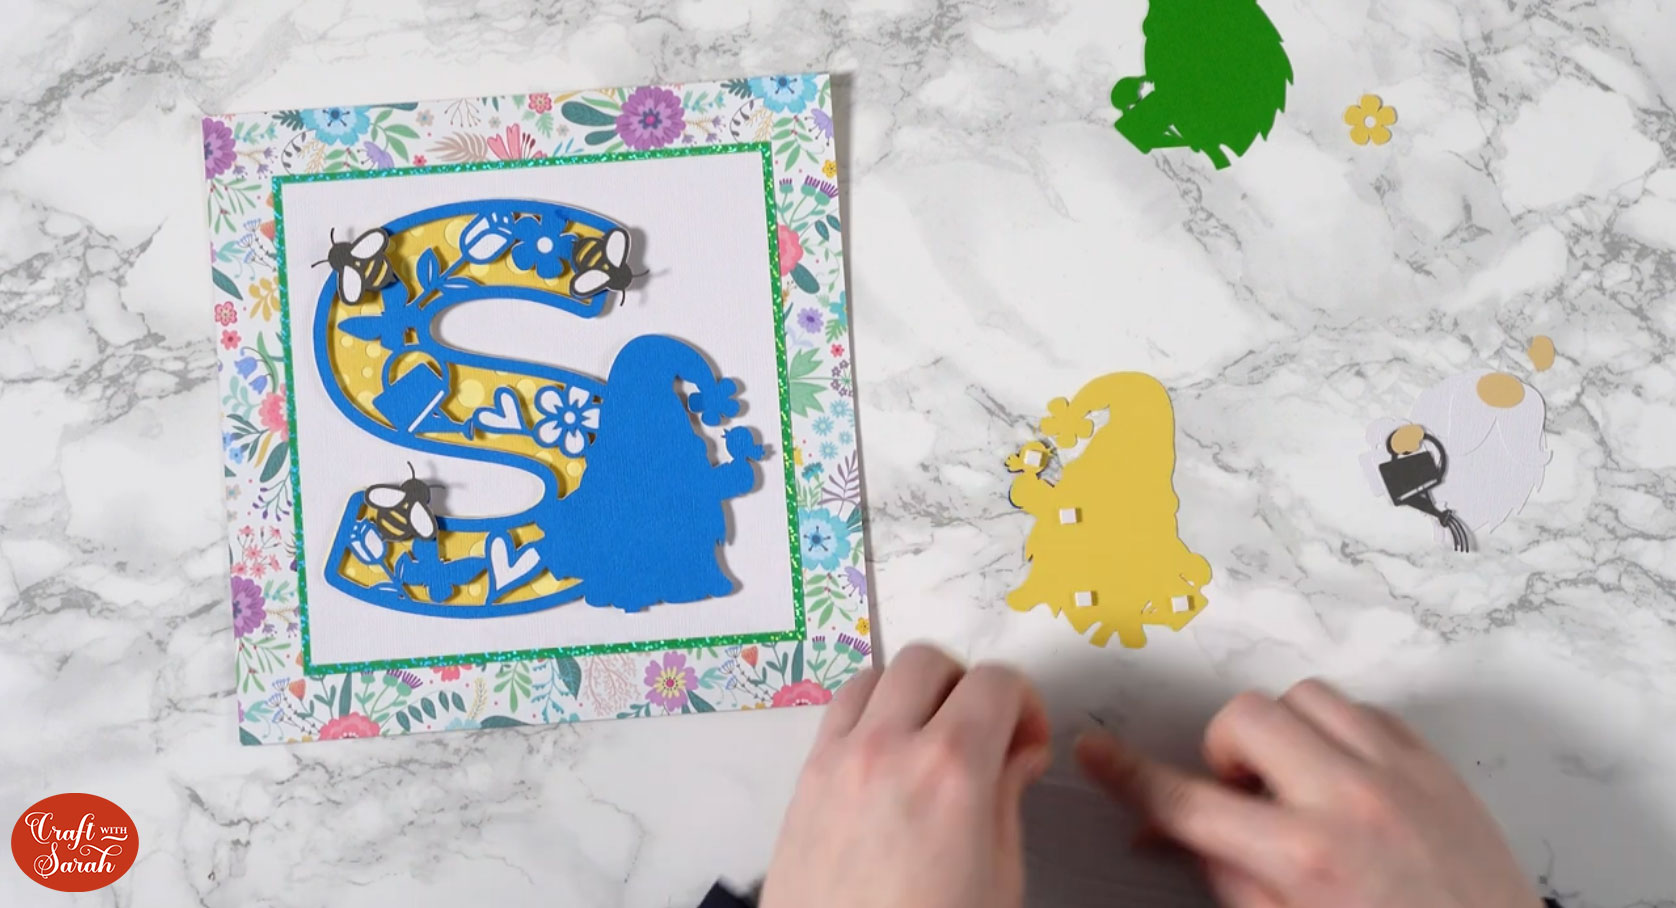
Note – I’m using one of the letters from my layered gnome alphabet, but this technique works for ANY layered svg!!
How to make a Cricut frame template
Here’s how to design your own Cricut frames in Design Space.
I think that the technique is shown best in the video above, as I’ve “focused in” on all the relevant parts of the screen in Design Space to show where I am clicking.
However, I’ve also written out the steps below for if you prefer to read rather than watch!
Frame your Cricut projects the easy way!
Open up Cricut Design Space and let’s get started! 🤩
Step 1) Measure your frame
The first step to creating a Cricut frame template is to know what size we have to work with.
Remove the spacer from your shadow box and measure it from edge-to-edge.
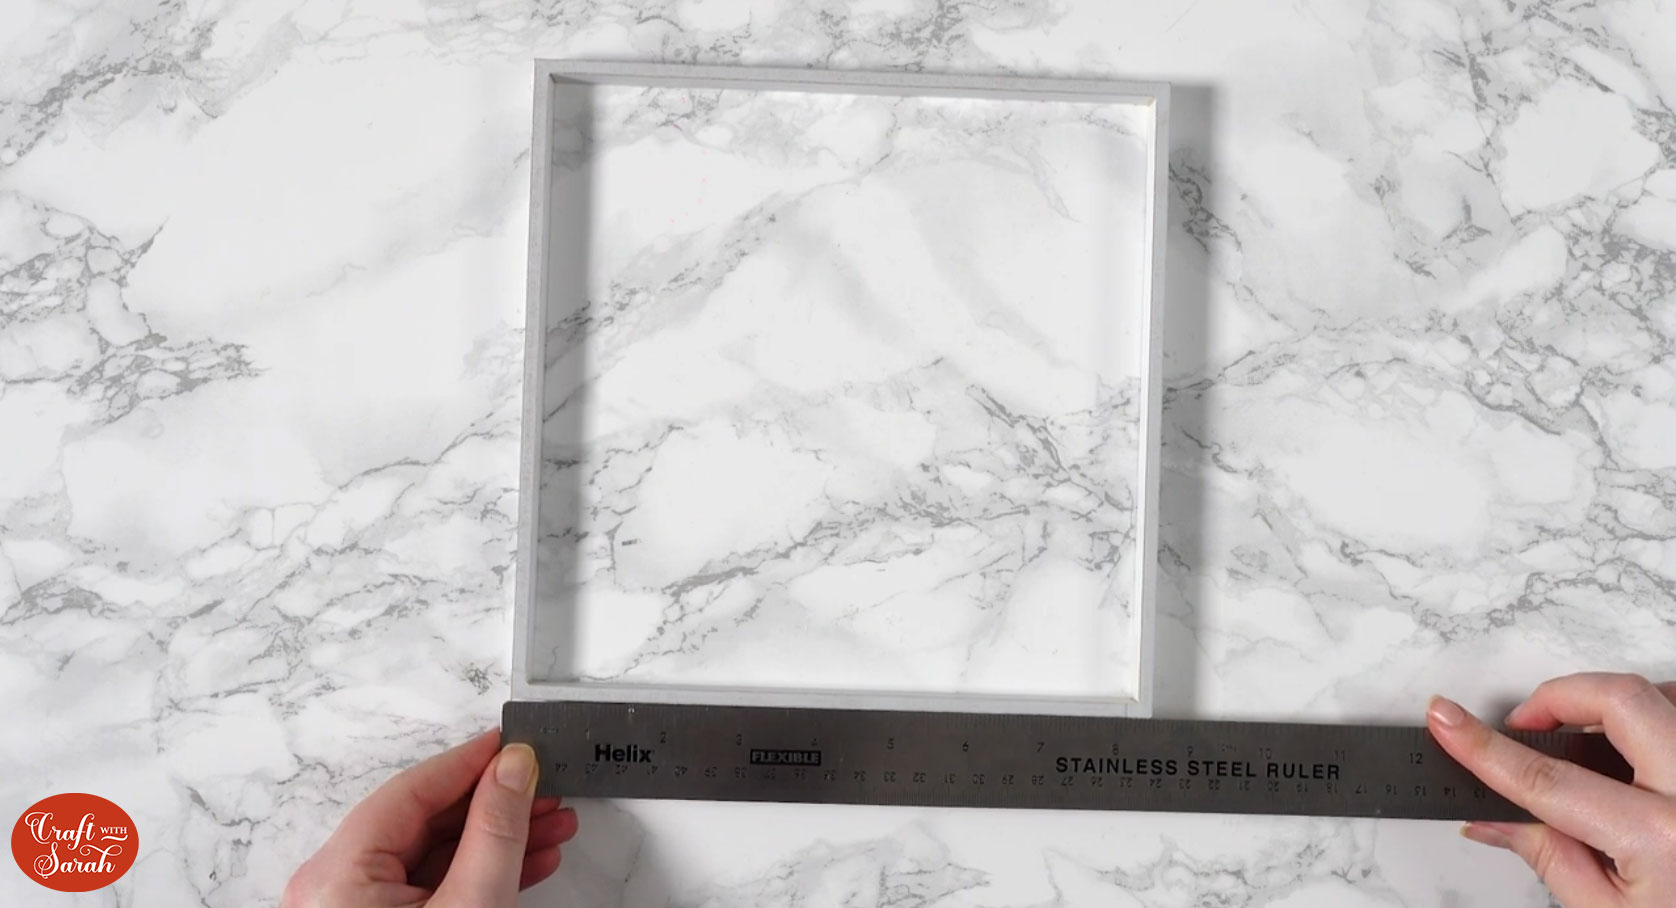
If your frame doesn’t have a spacer then you can measure the frame backing piece.
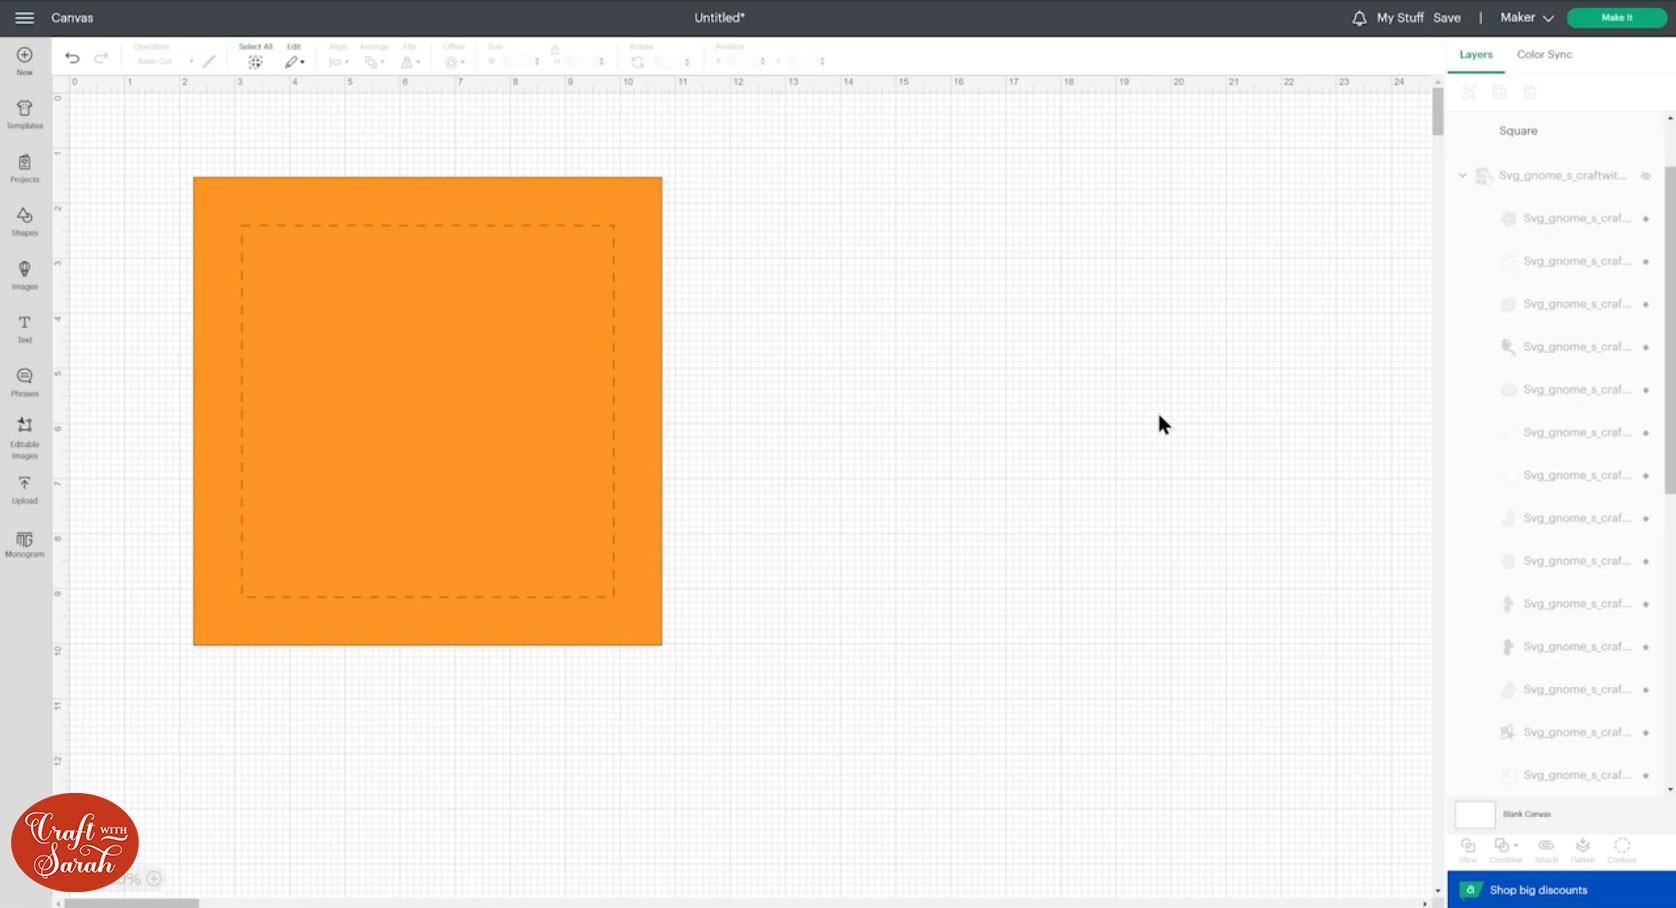
Step 2) Create a base template in Design Space
Use the square Shape in Design Space to make a square or rectangle the exact size that you just measured.
Mine is 8.5 inches.
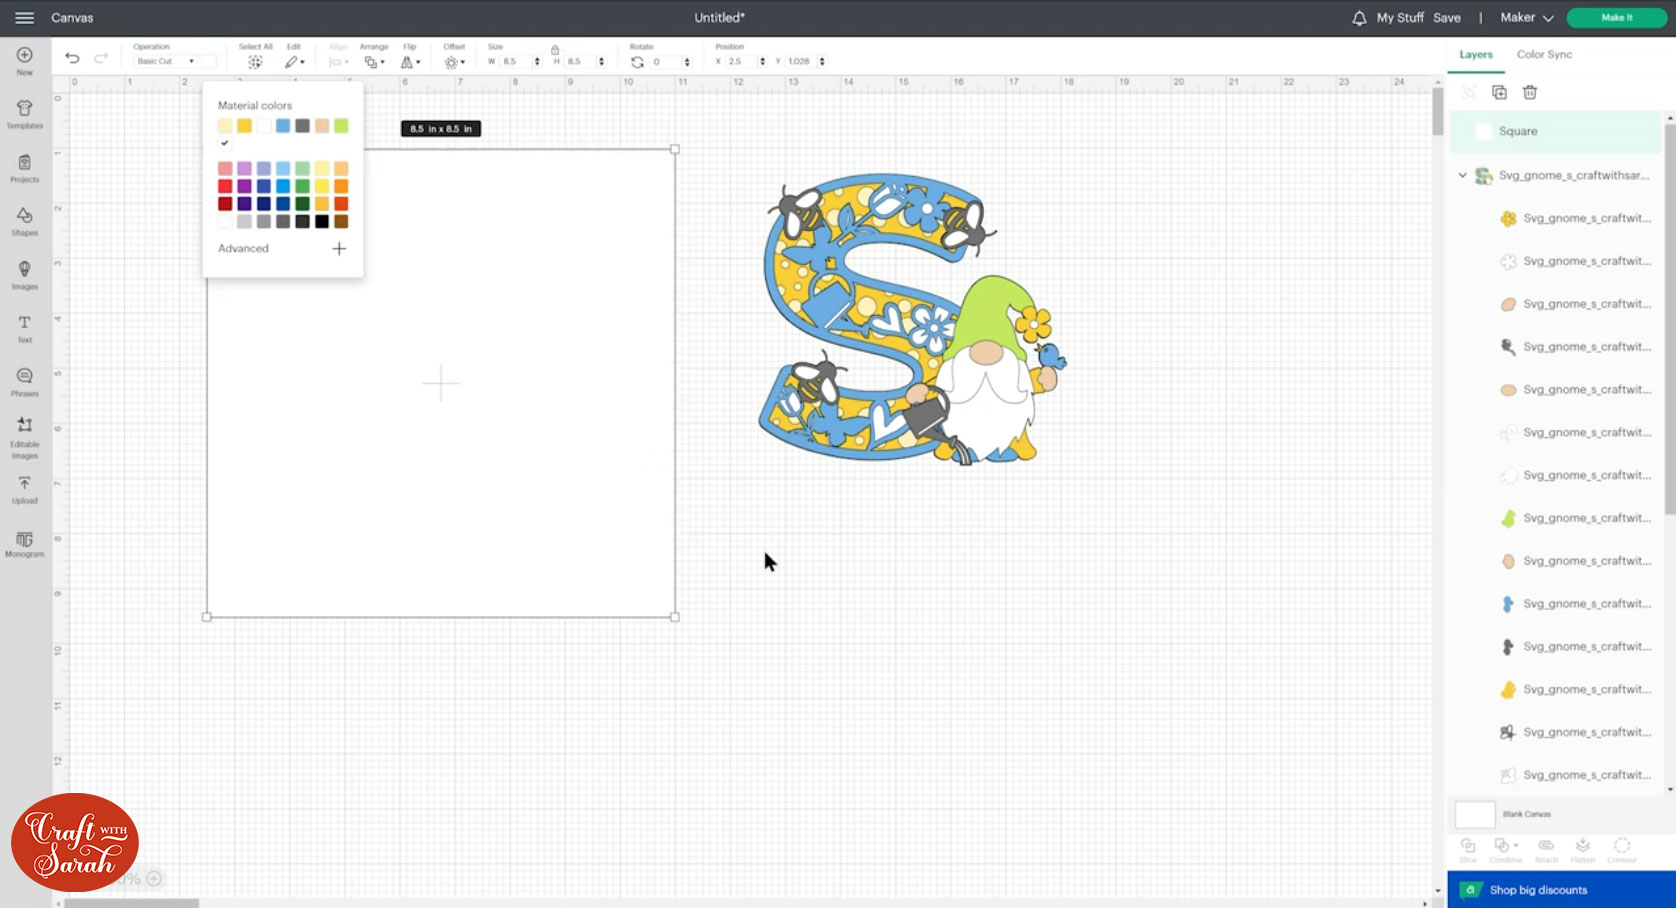
I made my square white, but you can use whatever colour you want.
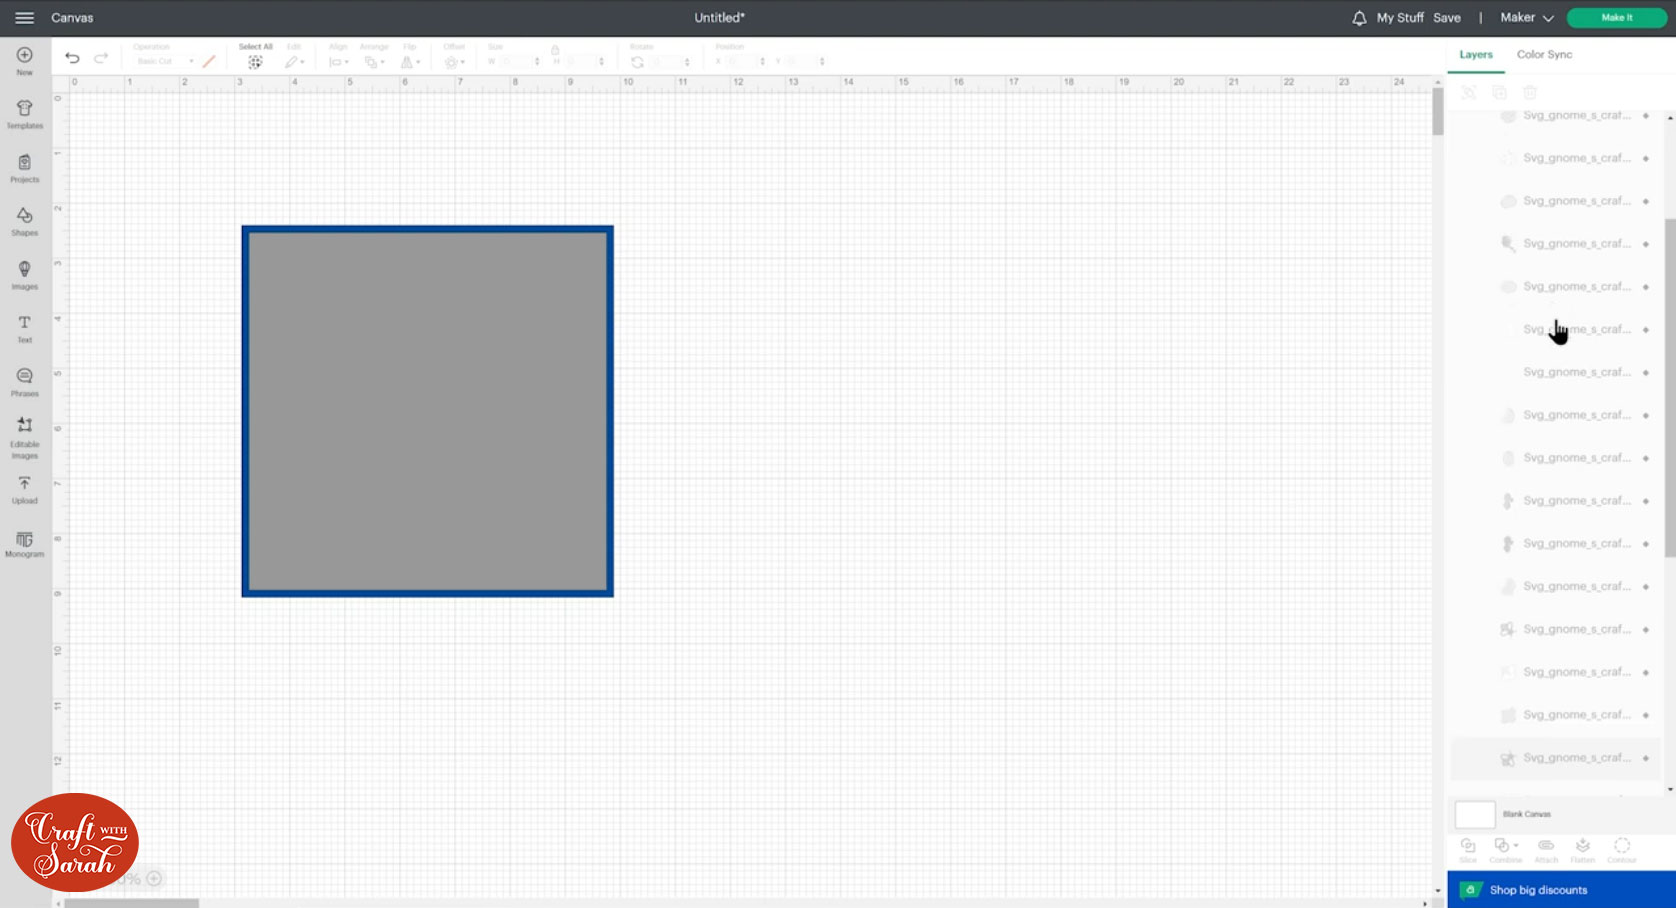
Step 3) Add some layers
I like to frame my projects with a few different colours and patterns behind them, to bring the focus of the eye to the middle of the frame and to add an extra splash of colour.
I made two extra squares and sized them so that I can cut the original square from patterned scrapbook paper, use a dark coloured card for the second square and then cut the smallest one from white so that my layered Cricut design will stand out against it.
My middle square is 6.75 inches wide and the smallest one is 6.5 inches.
TIP: The very edges of your original shape will probably be covered up a little bit by the front of your frame, so don’t put anything close to the edge as you may end up not being able to see it.

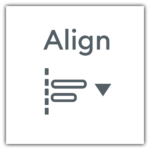
To perfectly align the squares on top of each other, select them all and then press “Align” and then “Center”.
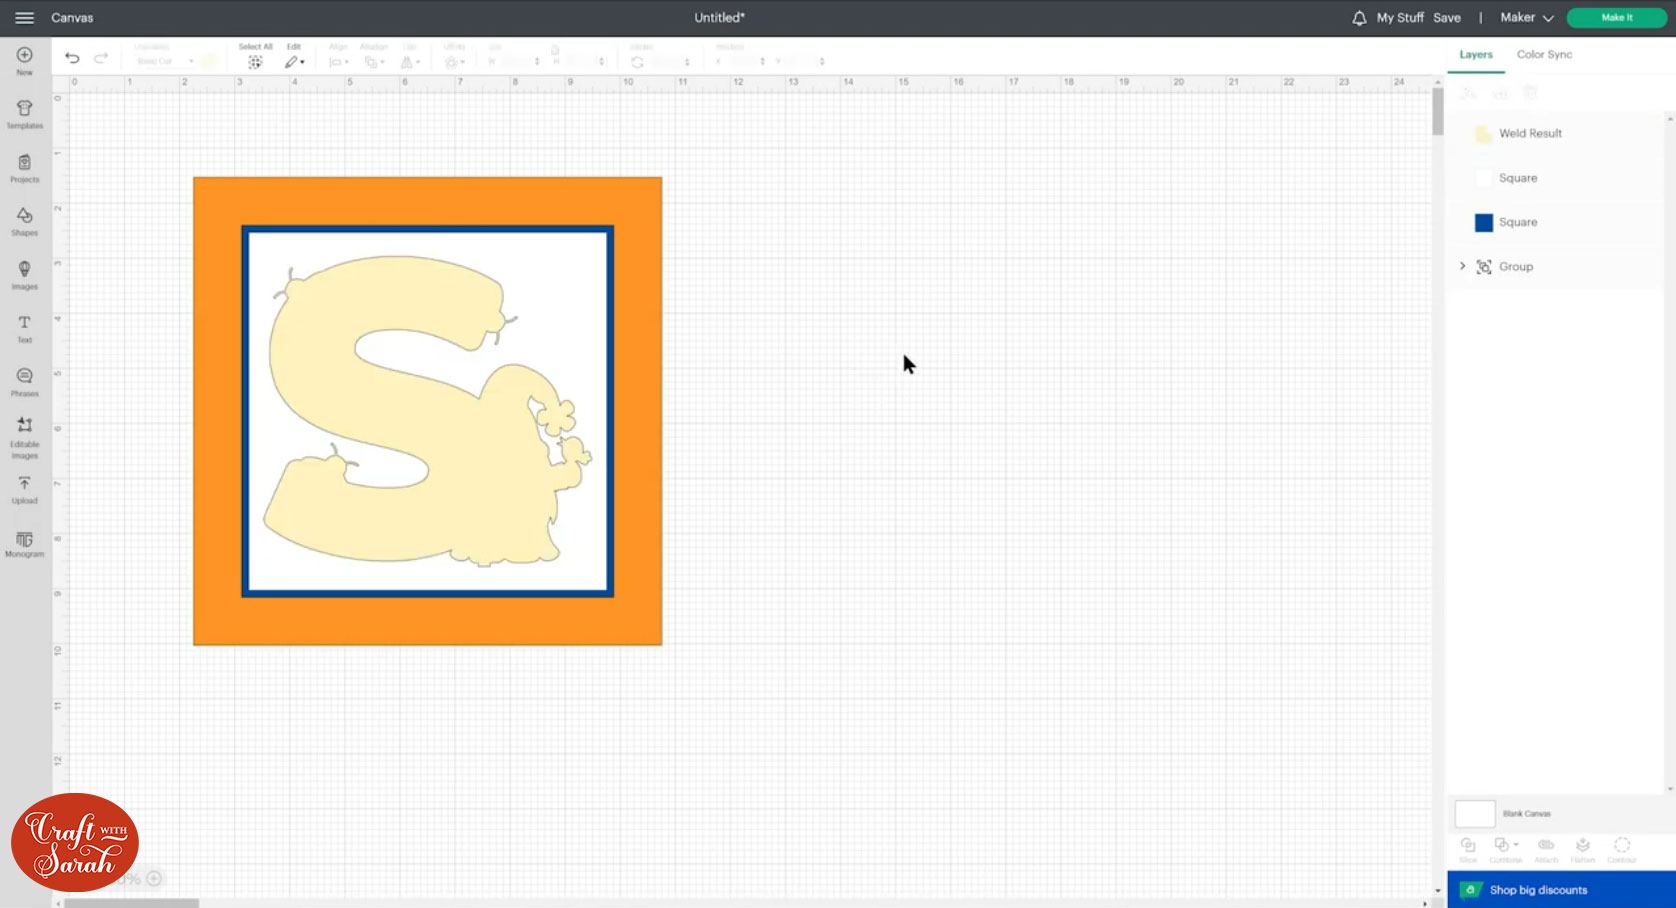
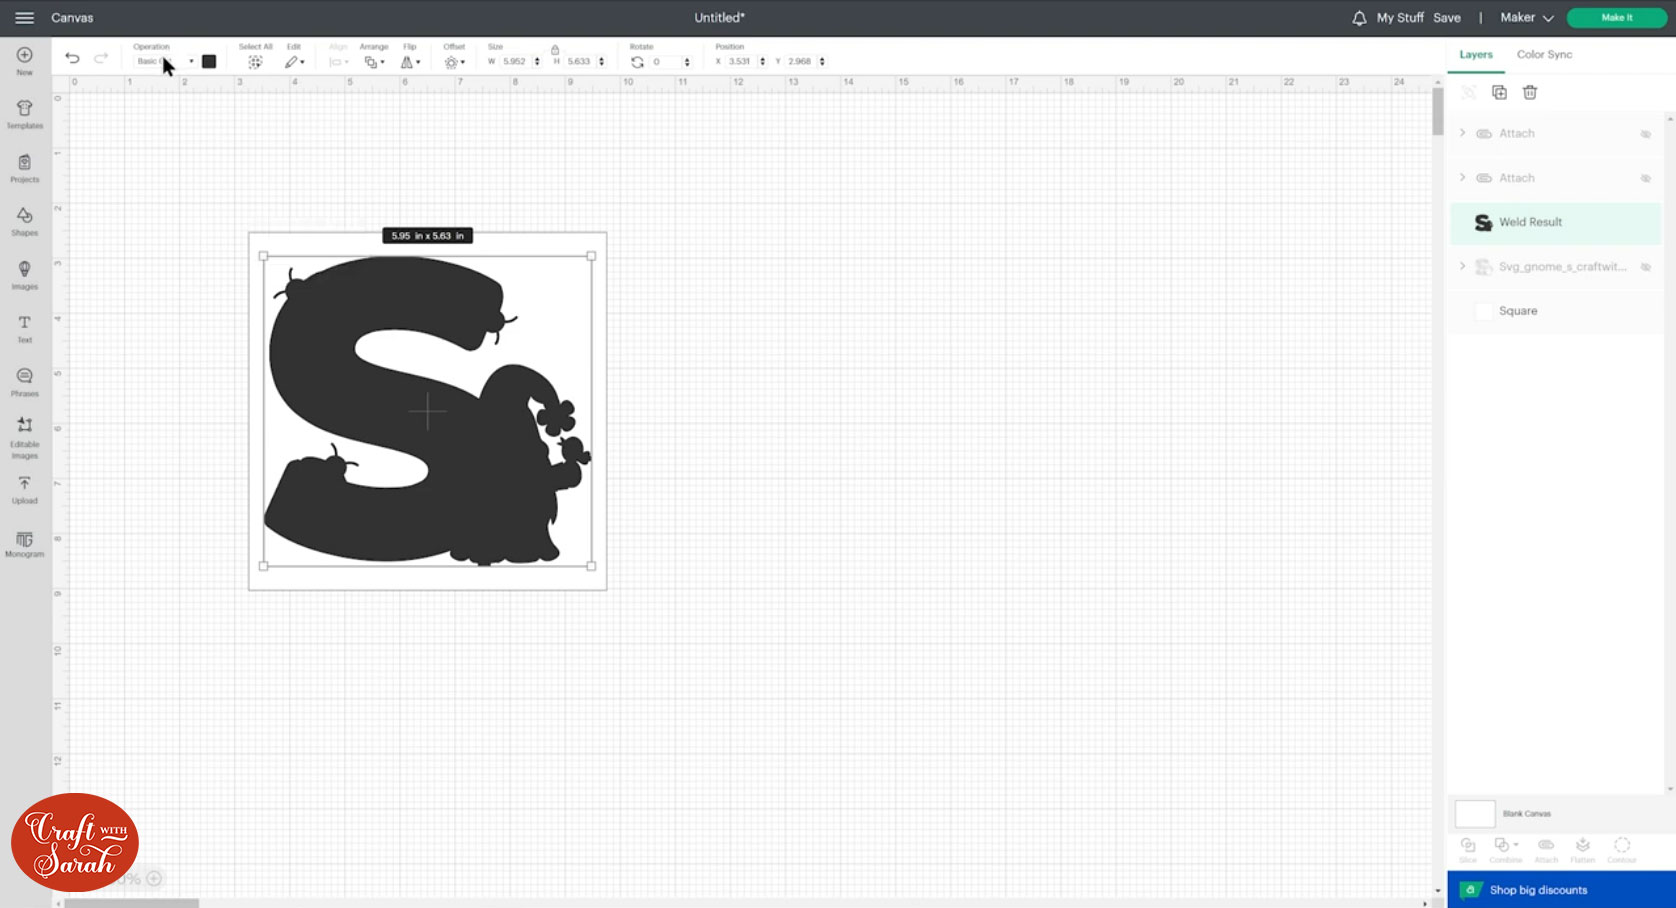
Step 4) Add the layered design
Now that we have the Cricut frame template, we can add the layered design on top to make sure we cut it out at the correct size.

Again, make sure it’s in the middle by selecting everything and then pressing “Align” and then “Center”.
Step 5) Create score lines for perfect placement!
Now comes the clever bit!!
We’re going to use the Cricut scoring tool to add guidelines of all our layers to show us exactly where to stick them when it’s all cut out.
This works with both the scoring stylus or the scoring wheel.
If you don’t have a scoring tool then you could do a similar technique using a Pen, just make sure to use the lightest colour you have so that it won’t show up when everything is stuck together.
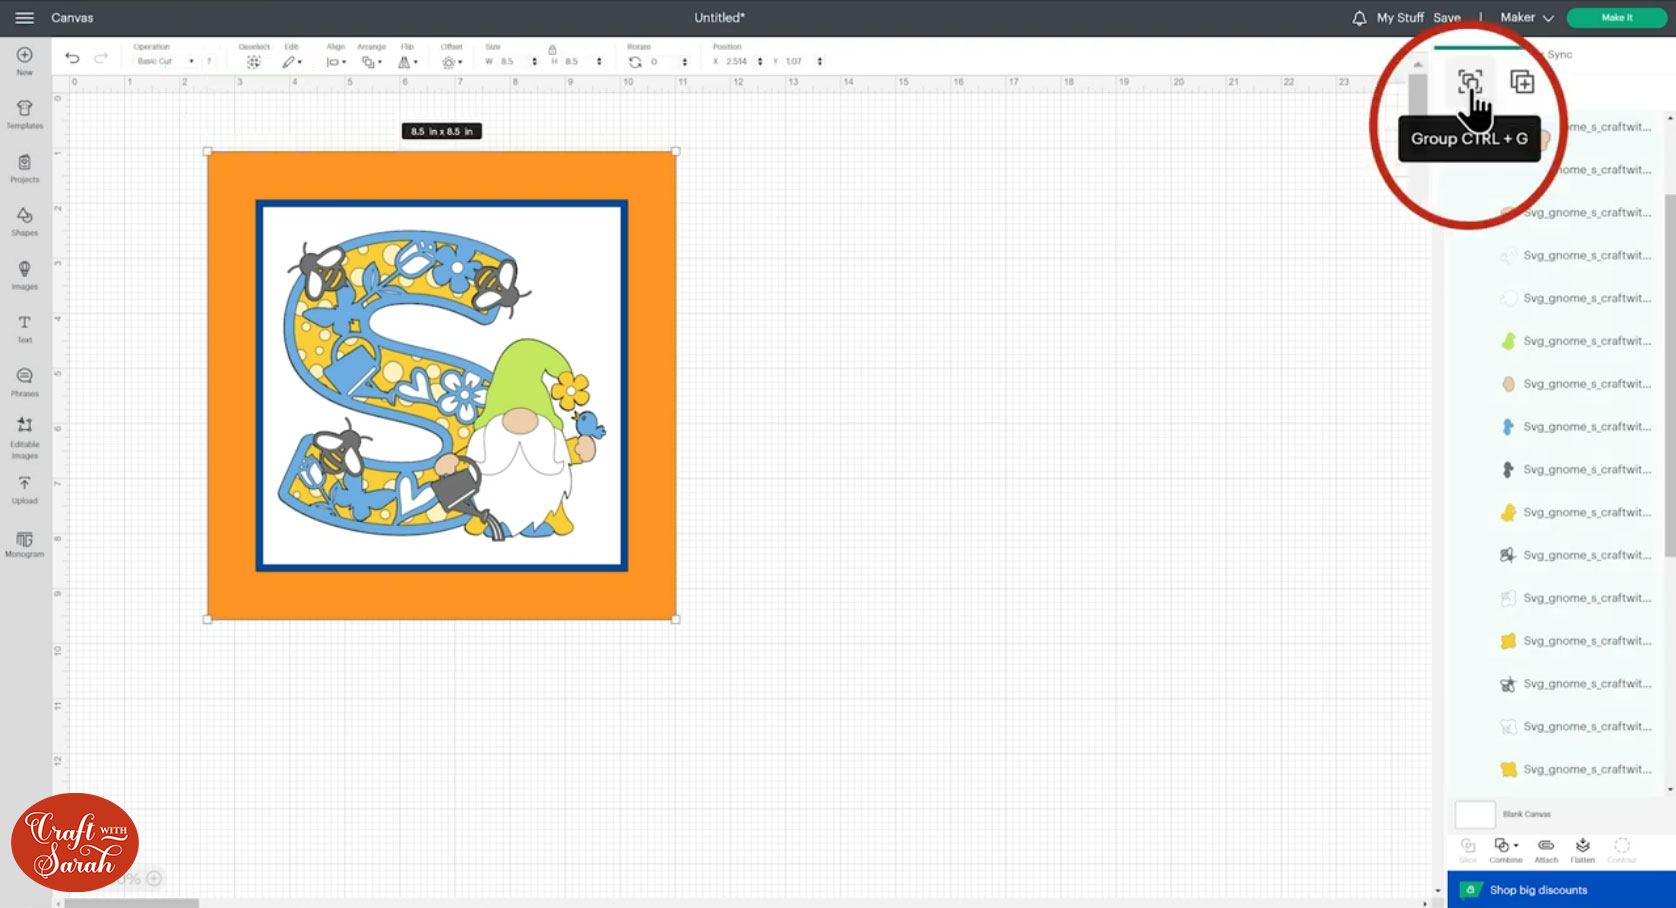
Press “Select All” to select everything on the screen.

Group the layers together by clicking the “Group” button at the top of the layers panel.
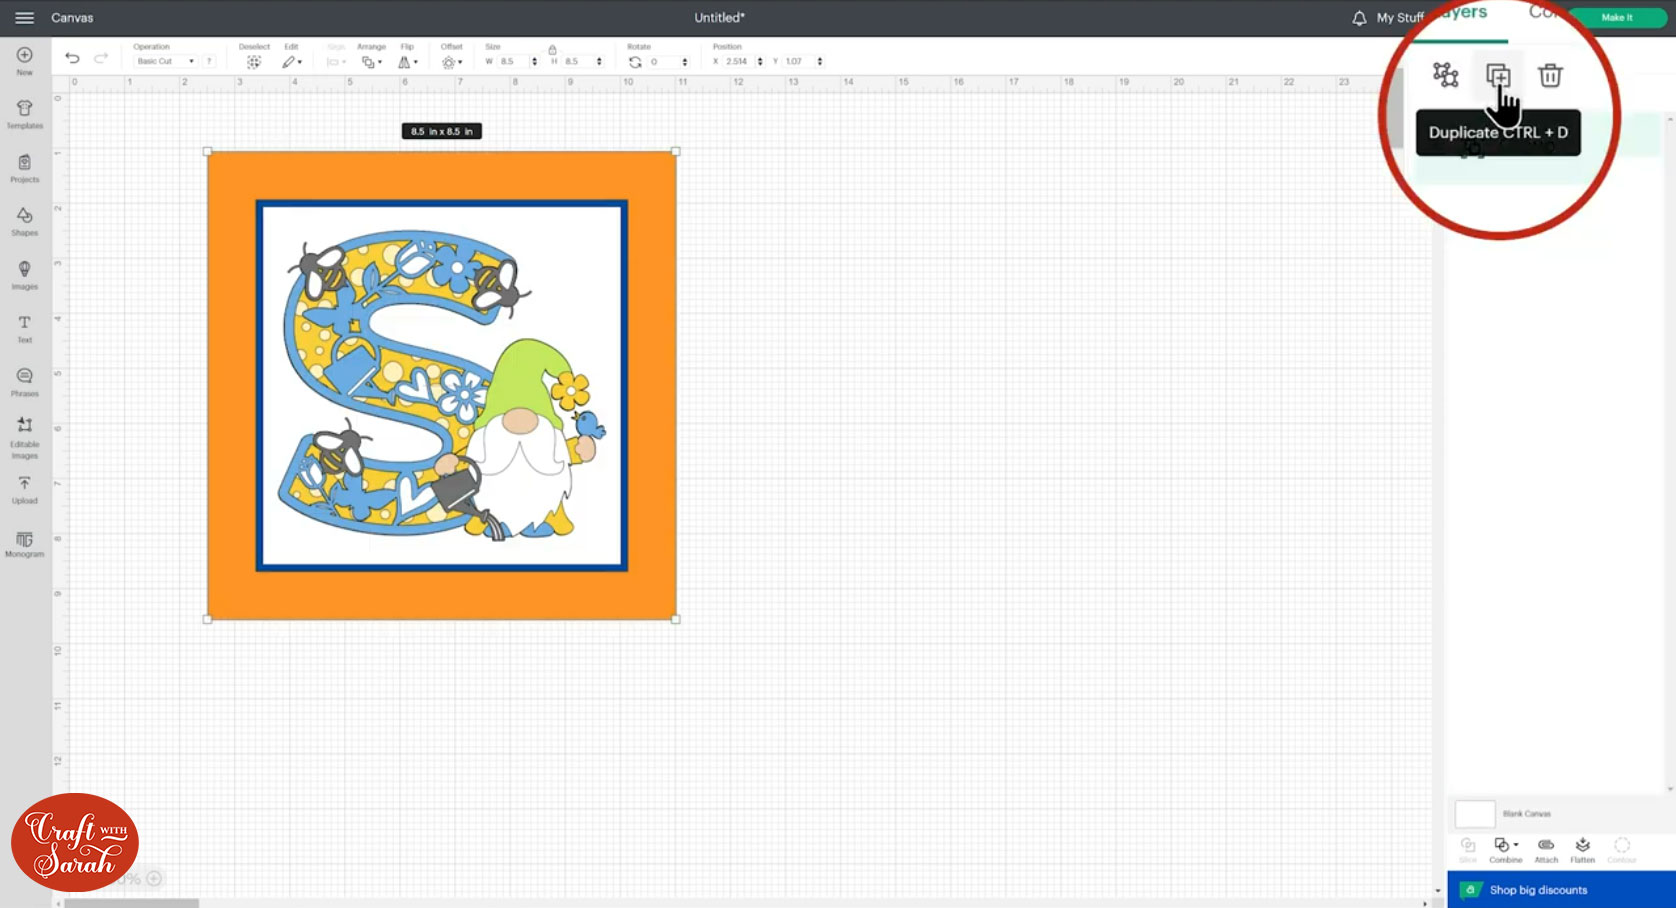
Make a copy of everything by clicking “Duplicate”.
Press “Select All” again and then go to “Align” and “Center” to position the duplicated version of our frame directly on top of the original one.
Click on the largest square layer in the duplicate group to select it and then press delete on your keyboard. We don’t need this layer.
Click the duplicate group and press “Ungroup” at the top of the layers panel.
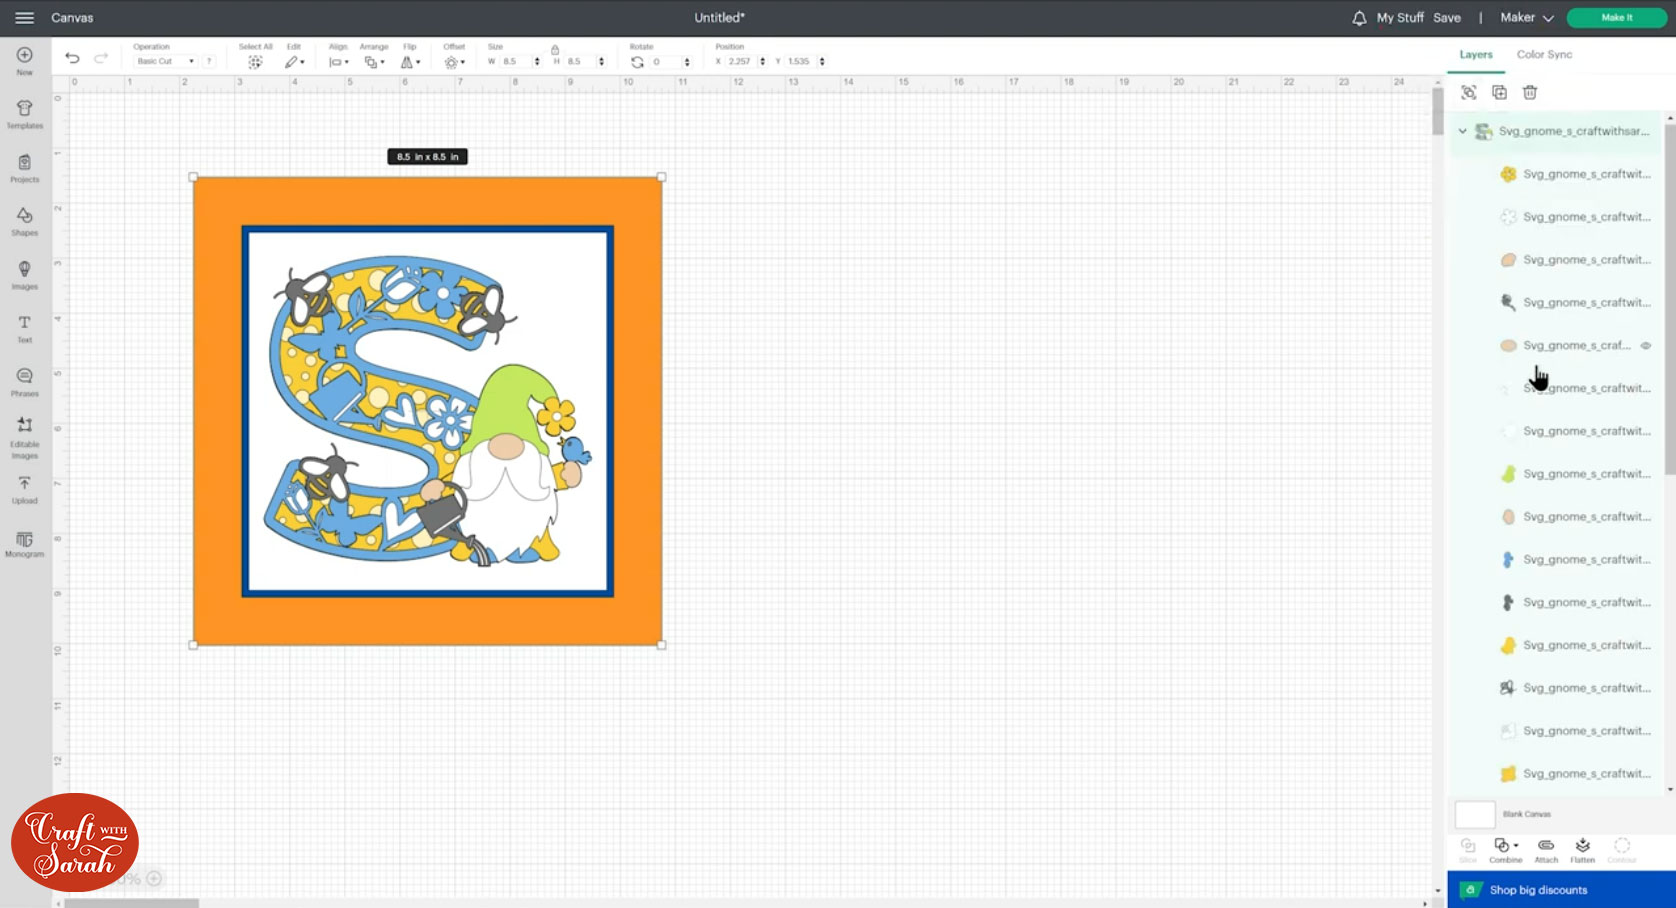
To make things easier to see, close up your layered design by clicking the little arrow next to it in the layers panel.
You should now have something like this:

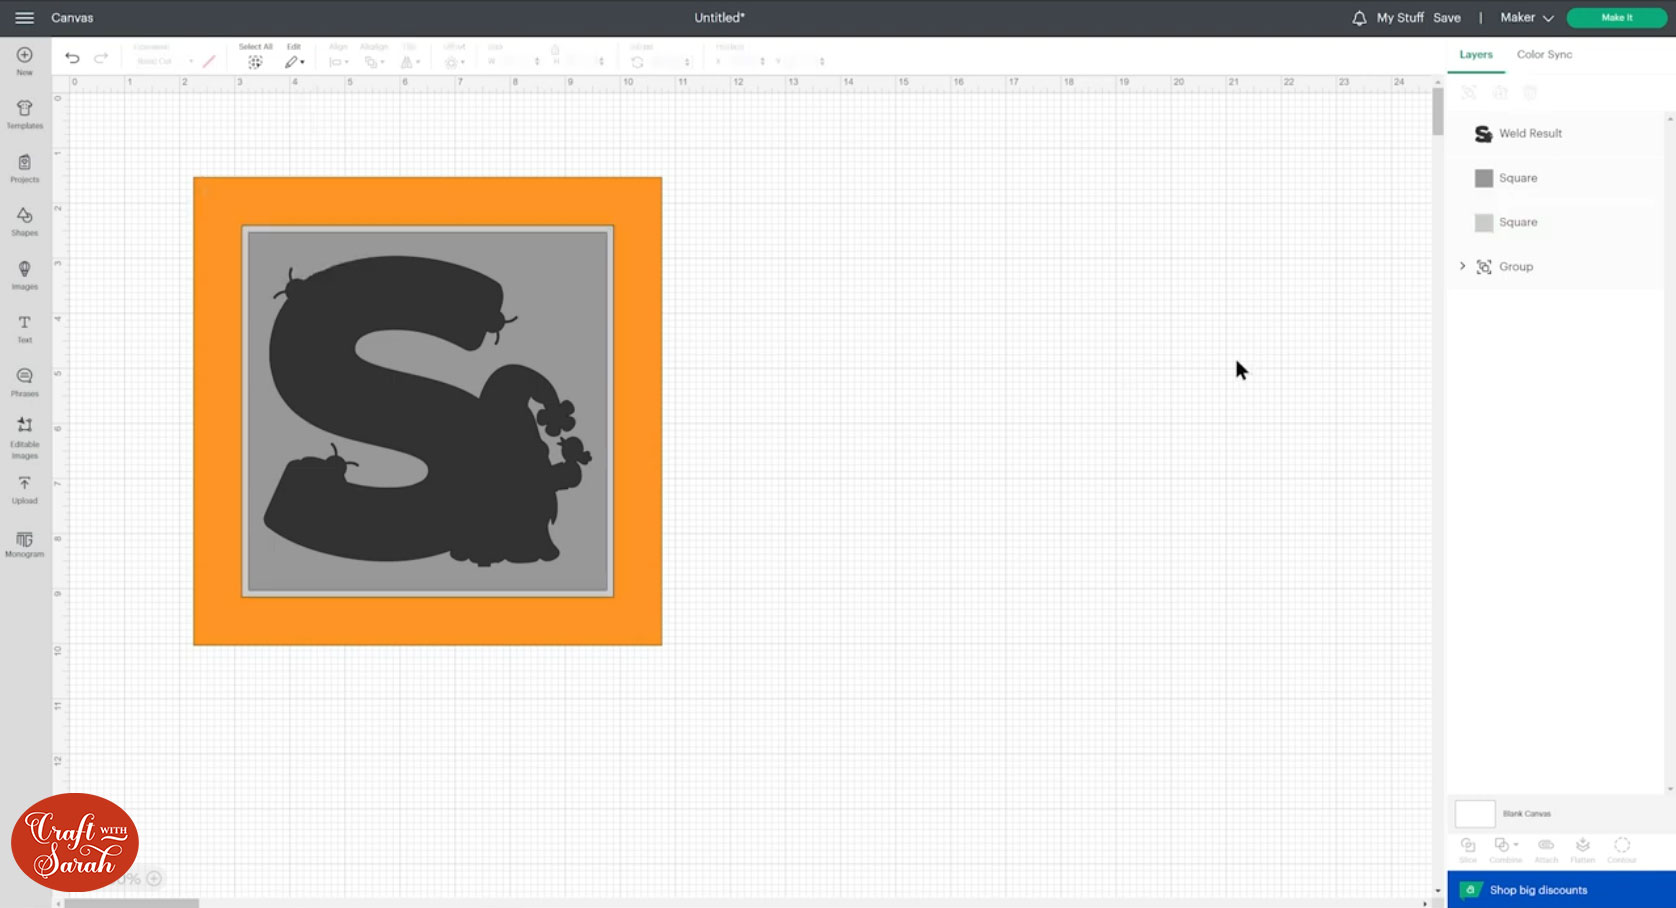
Click the layered design and then go to “Combine” at the bottom of the layers panel and then click “Weld”.
This merges all the layers into one.
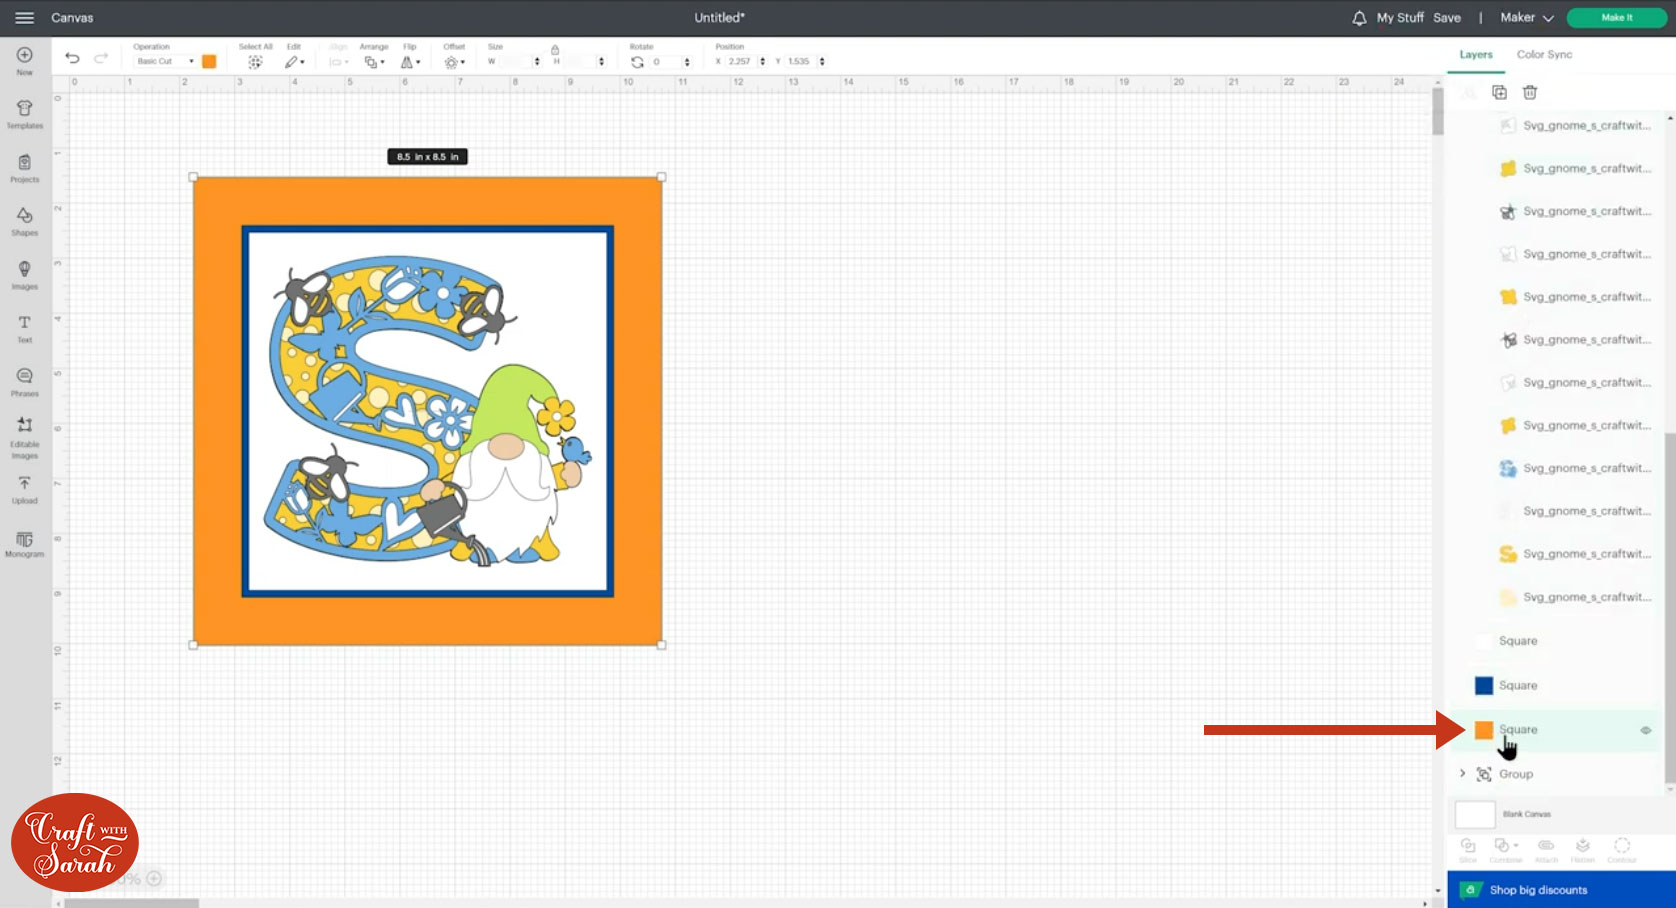
Re-colour the new “Welded” shape and the other two squares to shades of grey. This just makes it easier to differentiate them from our original layers for the next few steps.
CAUTION: From this point onwards, be VERY careful not to move any of the squares/designs around on the page, otherwise it won’t all line up correctly at the end!!
Click on the original group of layers and Ungroup them.
Hide everything apart from our ORIGINAL largest square and the DUPLICATE middle-sized square (the grey coloured one).
To hide layers, hover your mouse over the layer in the layers panel and then click the little eye picture that appears.
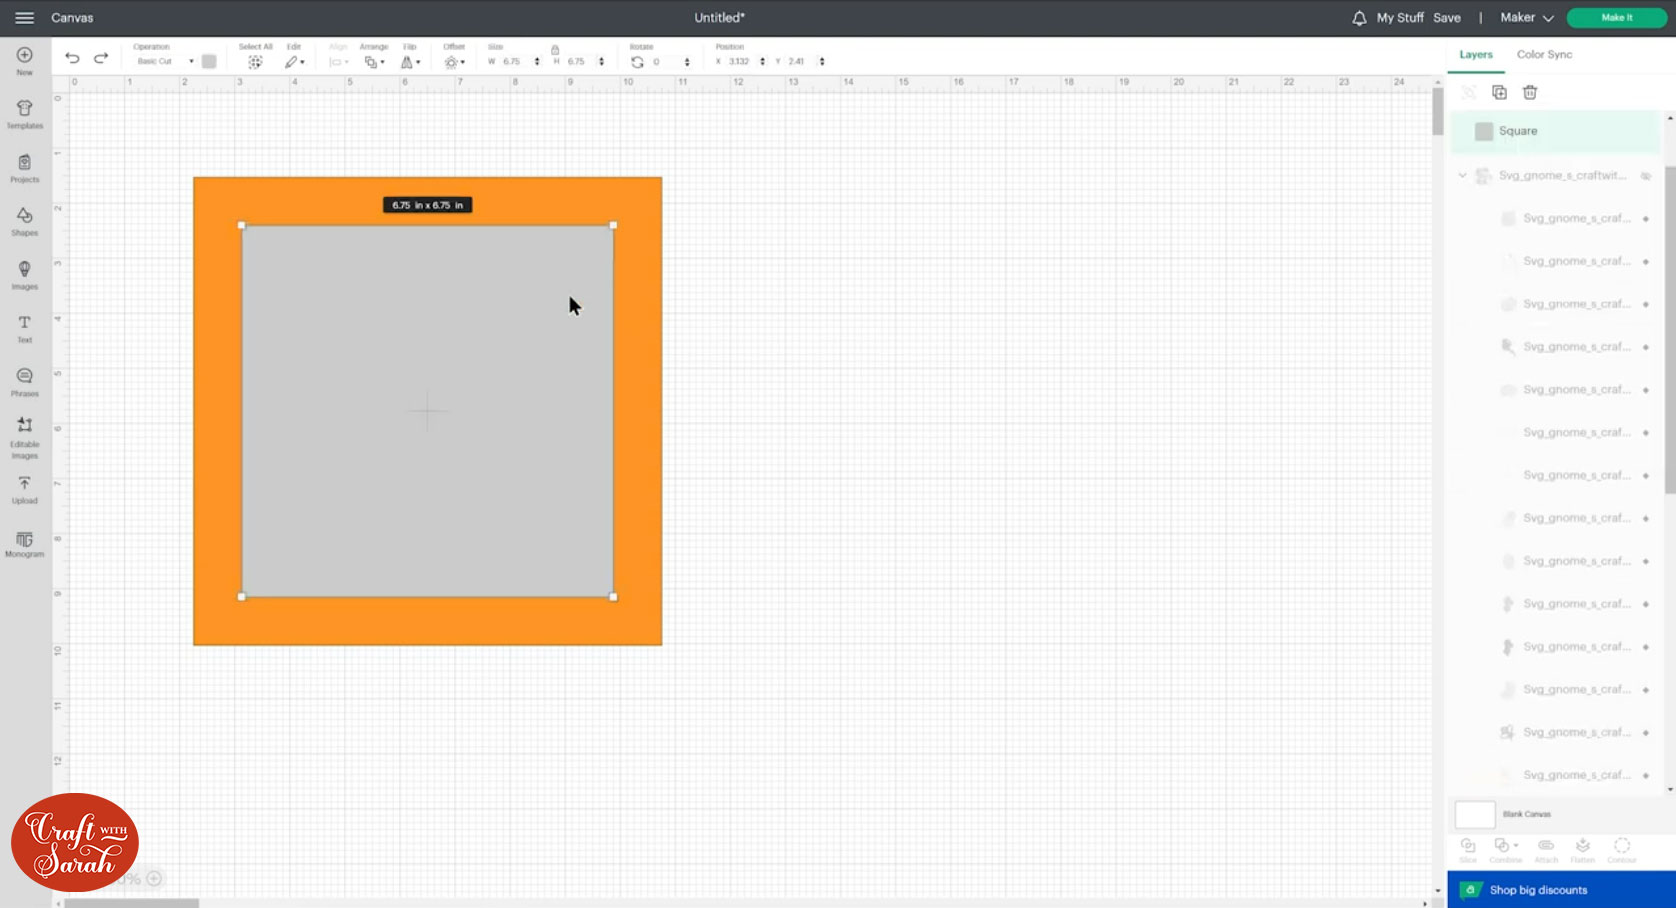
Click the grey square and then click into the Operations dropdown menu and change it to a Score line.
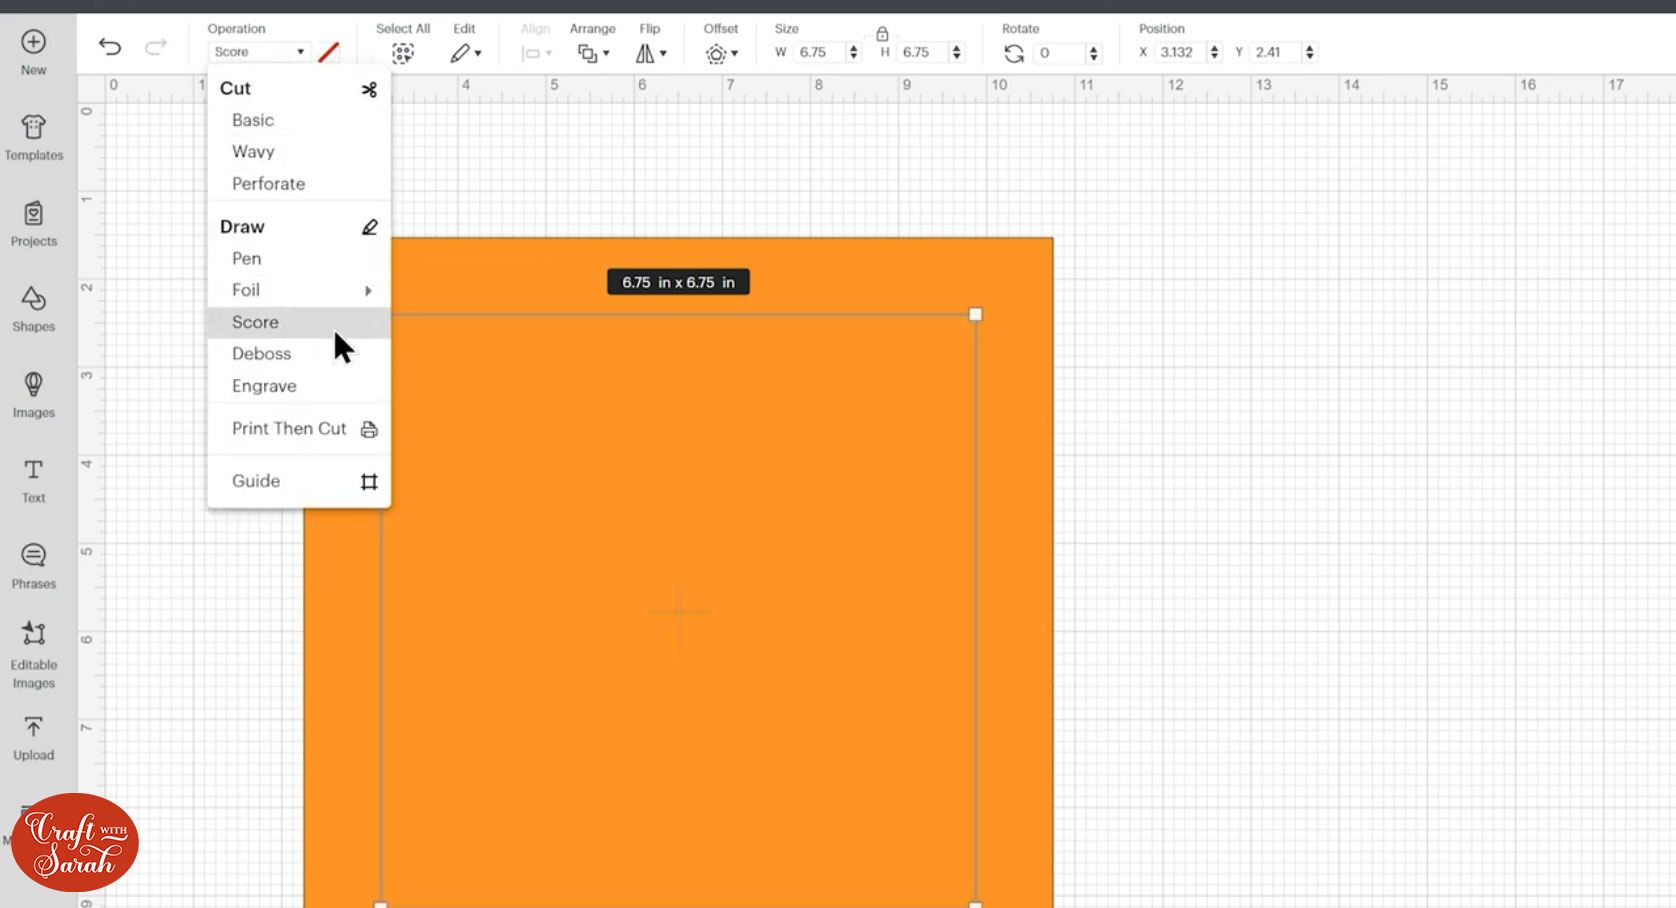
Here’s how it looks when we click away:
Select both of those layers and press “Attach”.

Attach is what tells the Cricut that we actually want it to do the score lines on top of the largest square.
Hide those Attached layers and turn back on the ORIGINAL middle-sized square and the DUPLICATE (grey) smallest square.
Click the grey square and change it to a score line, then Attach it to the original middle-sized square.
You can’t really see the score line on the photo below as it’s a black score line on a very dark blue, but I promise it’s there! 😆

Hide those layers.
Turn on the ORIGINAL smallest square and the Welded version of the layered design.
Change the Welded layer to a Score line and Attach it to the white square.
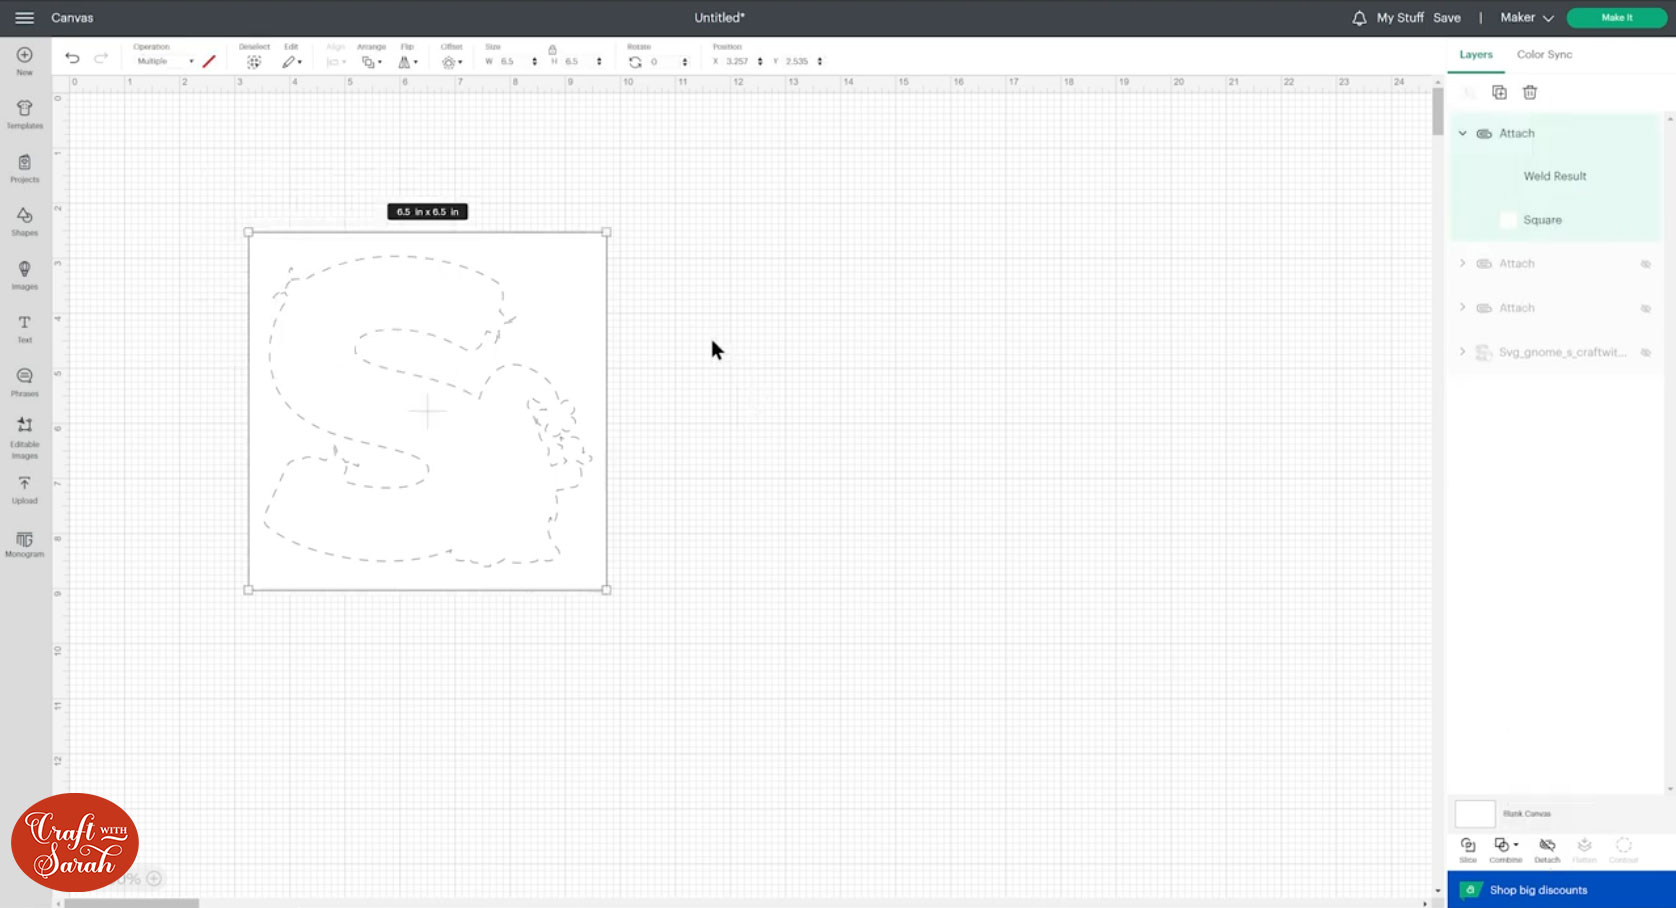
Turn all the layers back on.
We have done all the hard bit now!!
You may need to drag the layers around in the layers panel to get them appearing in the correct order. It’s ok to move the layers around now that we have finished all the formatting.

Step 6) Save and cut the project
We’ve done quite a bit of custom work in Design Space, so make sure you save your project!
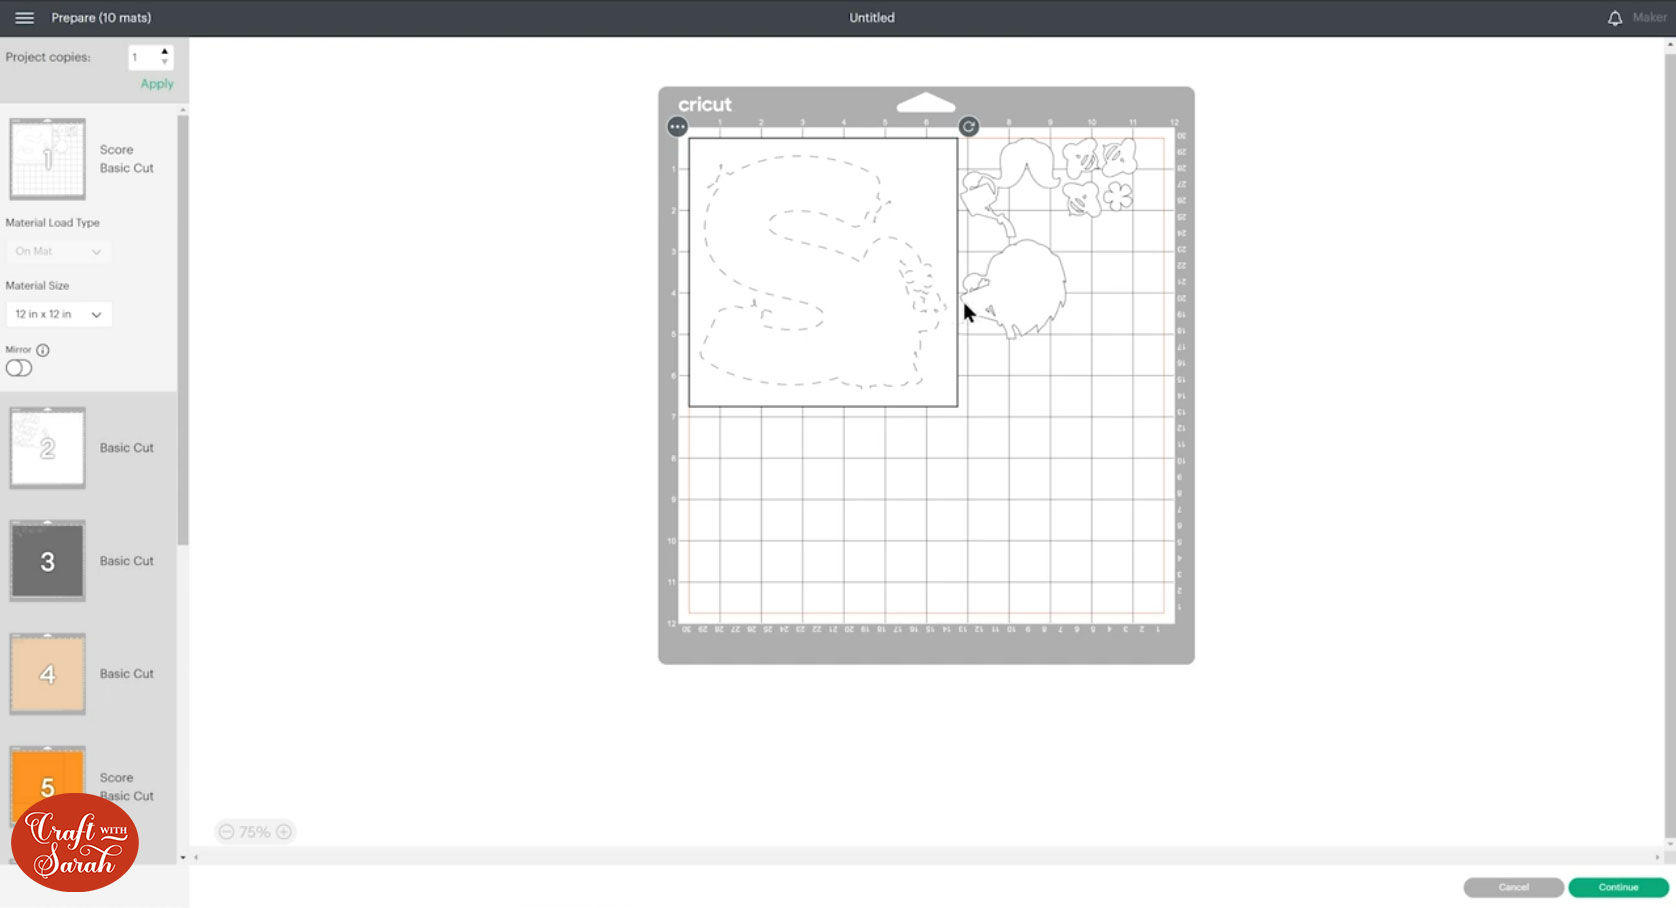
Click “Make It” and follow the on-screen instructions to get all of the layers cut out.
Our wonderful score line guides are going to show us EXACTLY where to stick the layers to make everything straight and centred.
Step 7) Stick everything together
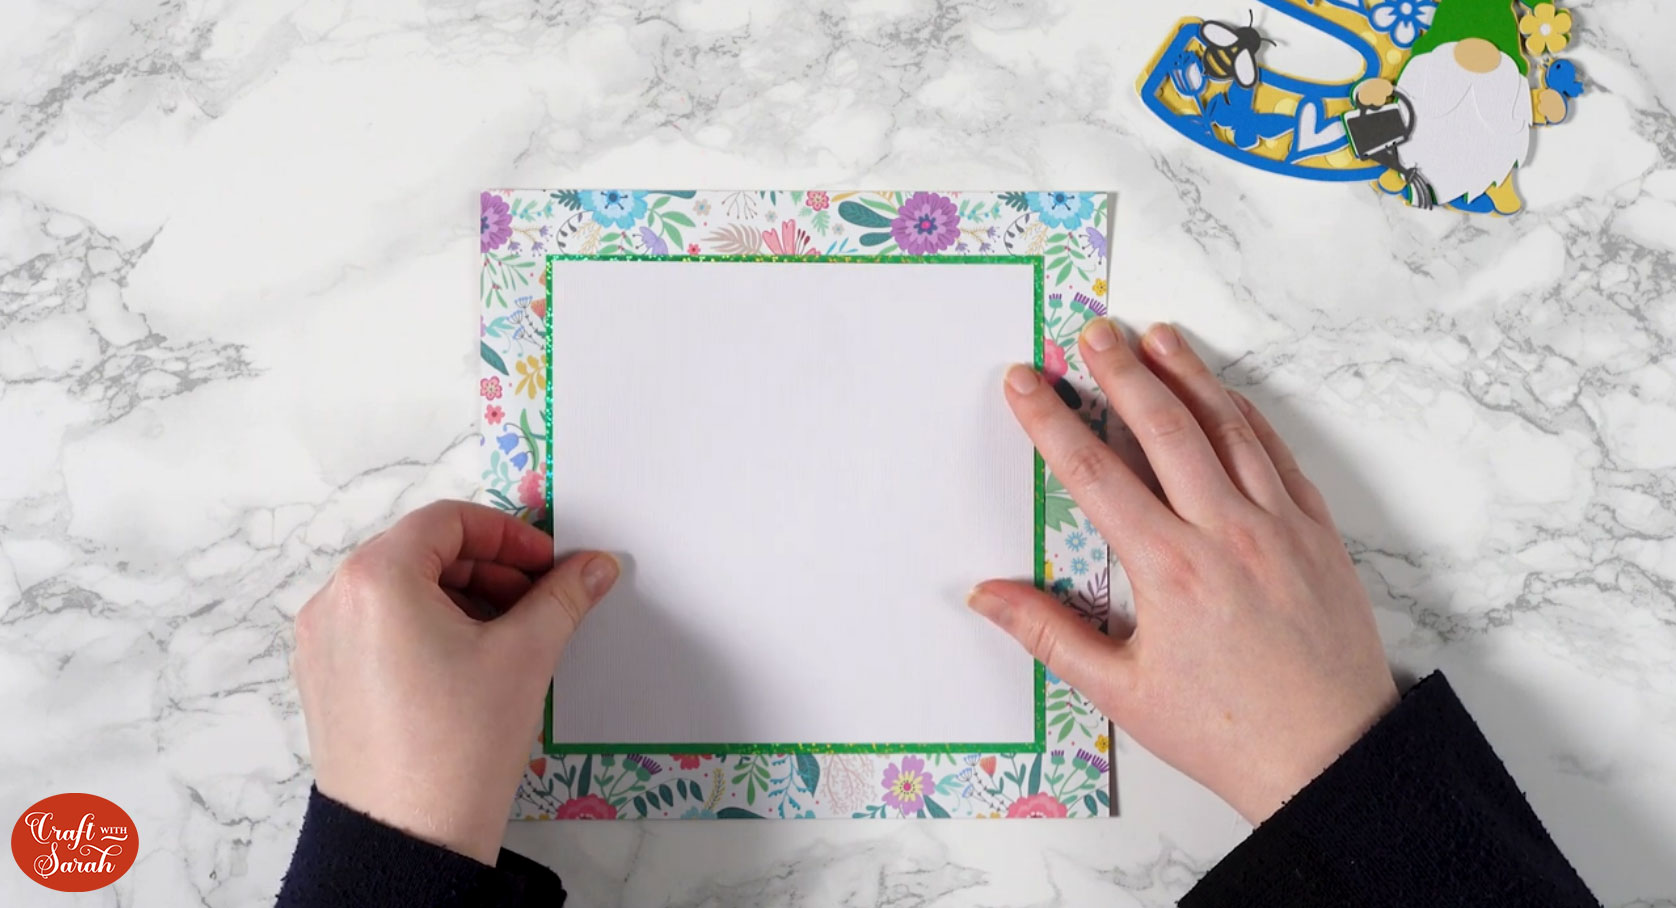
Glue the three square pieces together, making sure that you line up the squares on those magical score lines.
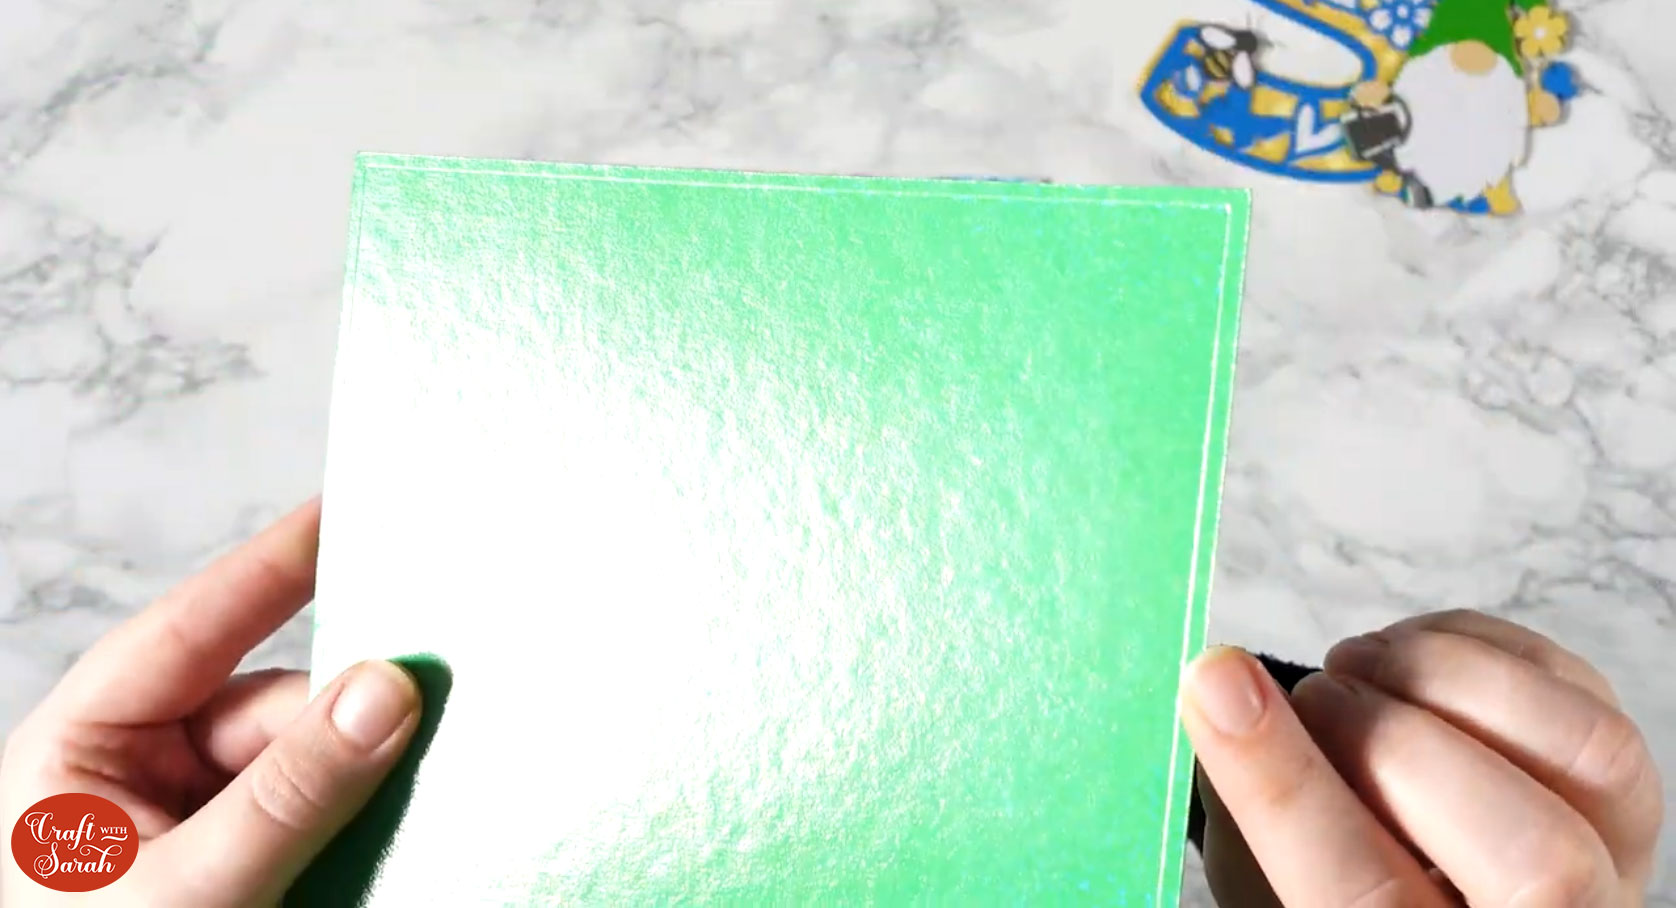
This makes it SO easy to stick together. No more wondering if something is going to be straight – we know immediately that it’s going to be perfect, woohoo!!
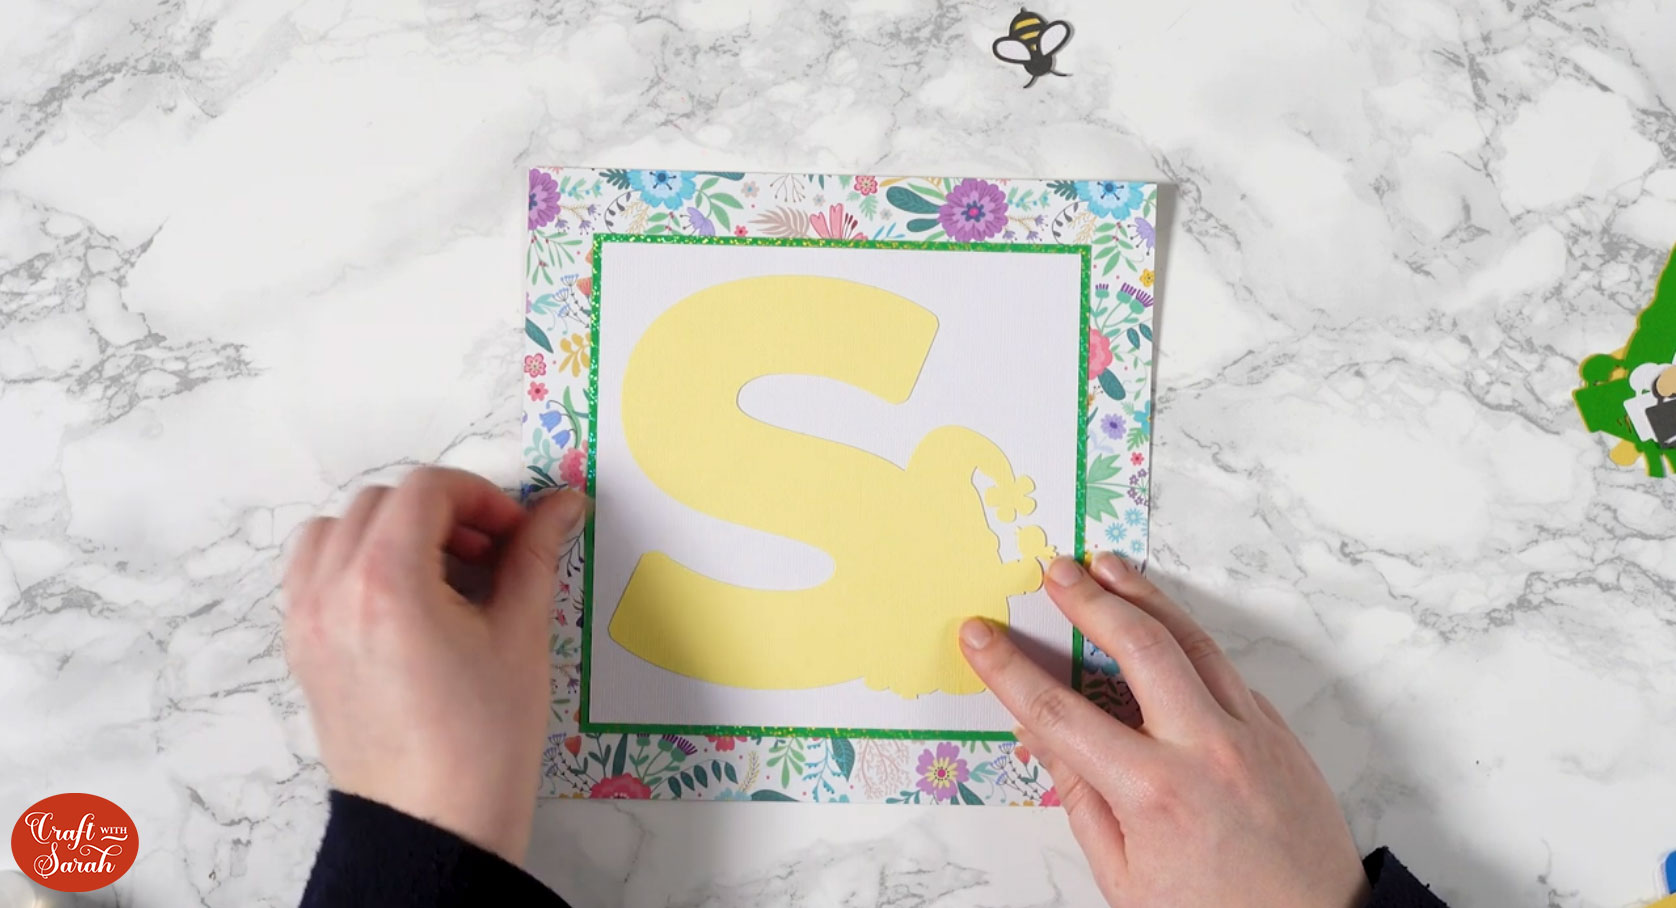
Stick the bottom layer of the layered design to the middle of the design, again following the score line.
You can then either build up the rest of the layers directly onto that layer, or build it separately and then stick it all on top of that first layer when everything else is stuck.
I decided to build up the layers directly onto that bottom layer.
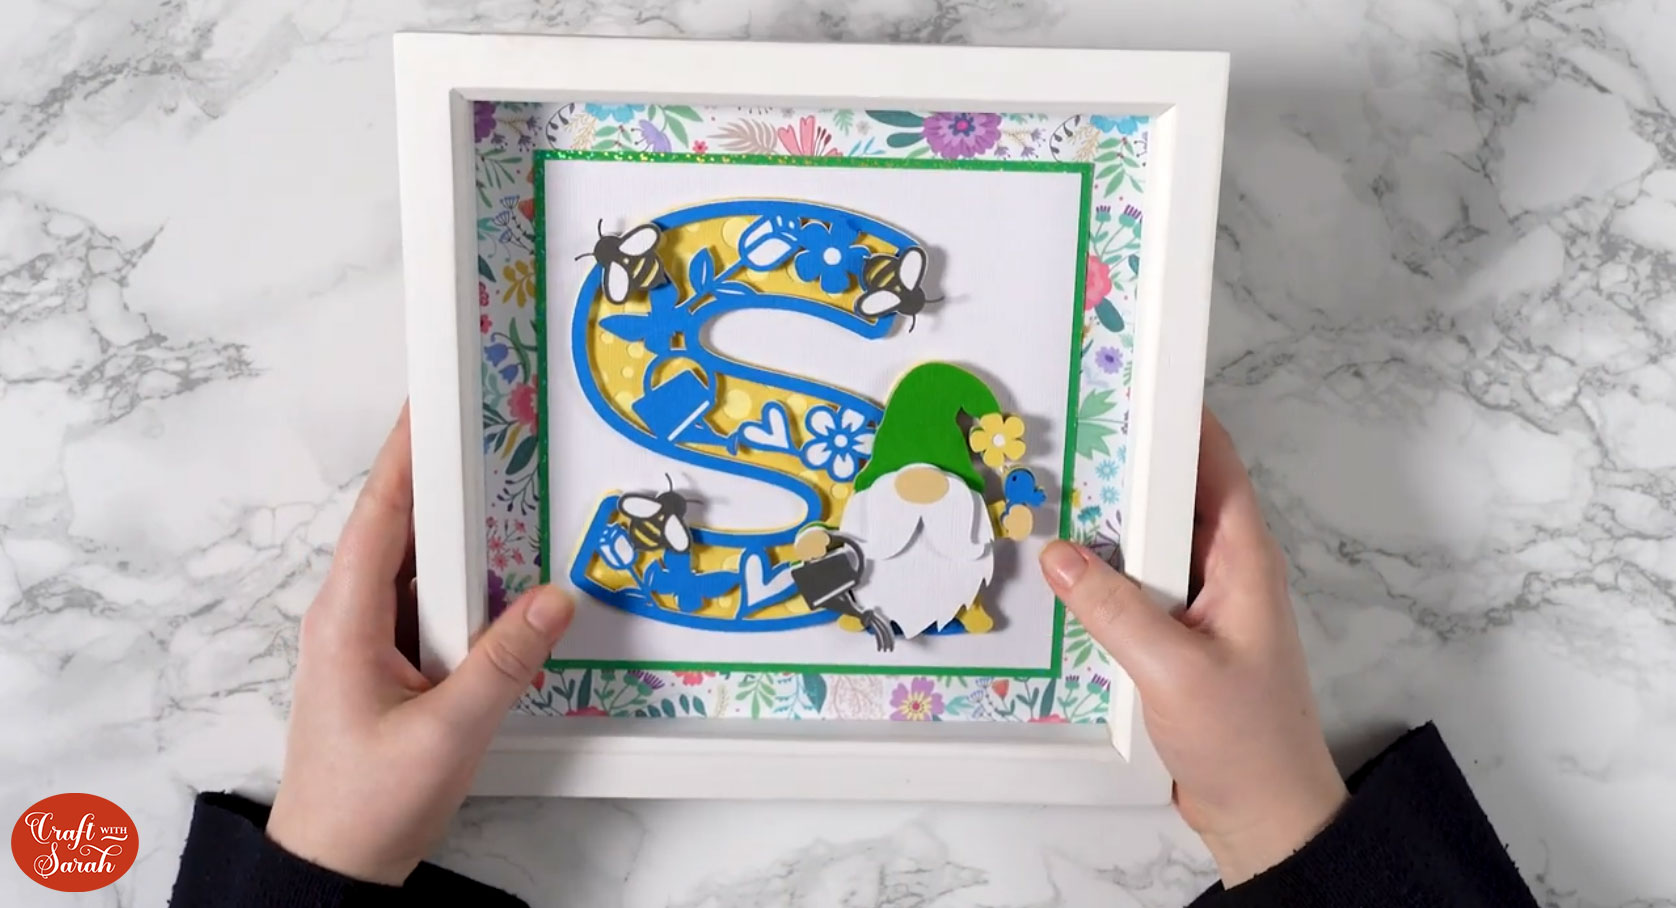
Step 8) Frame the project
Once everything is stuck together and the glue has dried, add your project into the frame.
It should fit perfectly as we measured it right at the beginning.
Here’s how my gnome “S” looks:
I hope that you enjoyed this tutorial on how to perfectly align papercraft projects when you are framing them.
It does take a few extra minutes in Design Space to add on all of the score lines, but I really feel that this is going to make framing SO much easier.
Especially if you are like me and struggle to get things stuck straight!!

Happy crafting,
Sarah x

