Cricut Paper Rose Tutorial 🌹 3D Layered Rose SVG
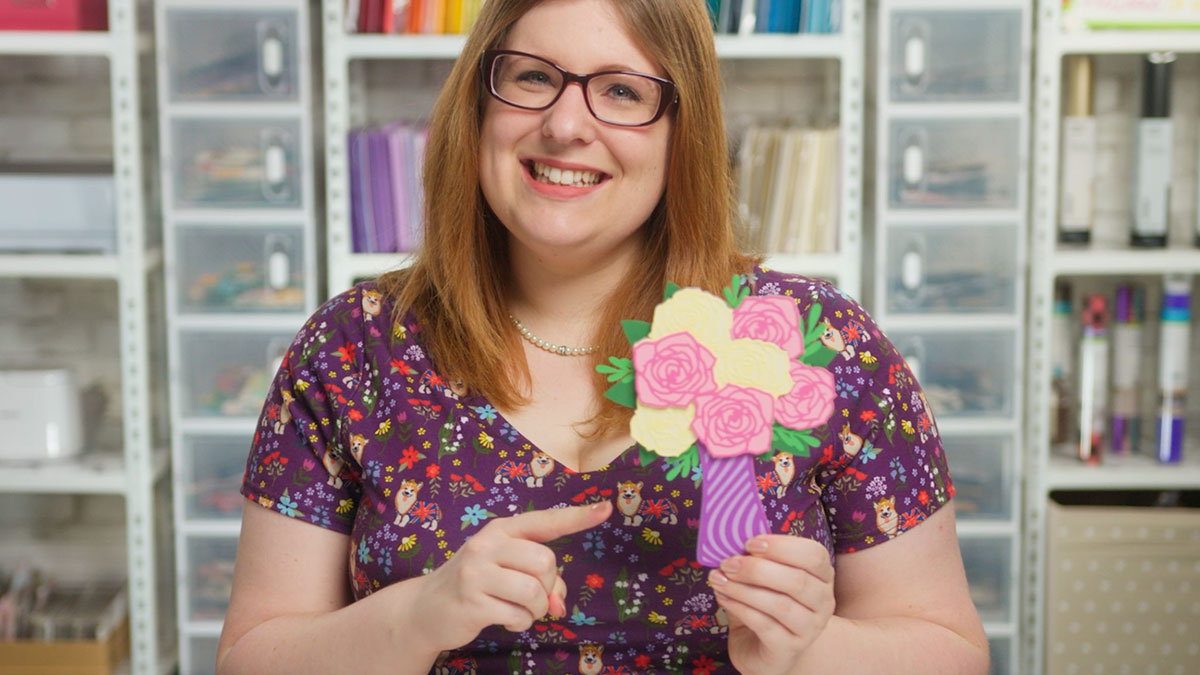
Make gorgeous Cricut paper roses with this free layered flower SVG file.
It makes a beautiful papercraft project that’s suitable for lots of different occasions such as birthdays, Valentine’s Day, Mother’s Day, thank you gifts and more.
See how to stick all the layers together (and the order they go in!) in this tutorial.

Video tutorial for paper rose SVG
Watch the video below to see how to make this beautiful floral craft project. Keep scrolling for a written tutorial.
Layered paper flower materials
Here is a list of the materials that I used to make this project.
Please note that some of the links included in this article are affiliate links, which means that if you click through and make a purchase I may receive a commission (at no additional cost to you). You can read my full disclosure at the bottom of the page.
- Cricut machine
- Light blue Cricut cutting mat
- Coloured Card (I use 160-240gsm weight of card)
- Collall All Purpose Glue
- Needle Tip Applicator Bottle
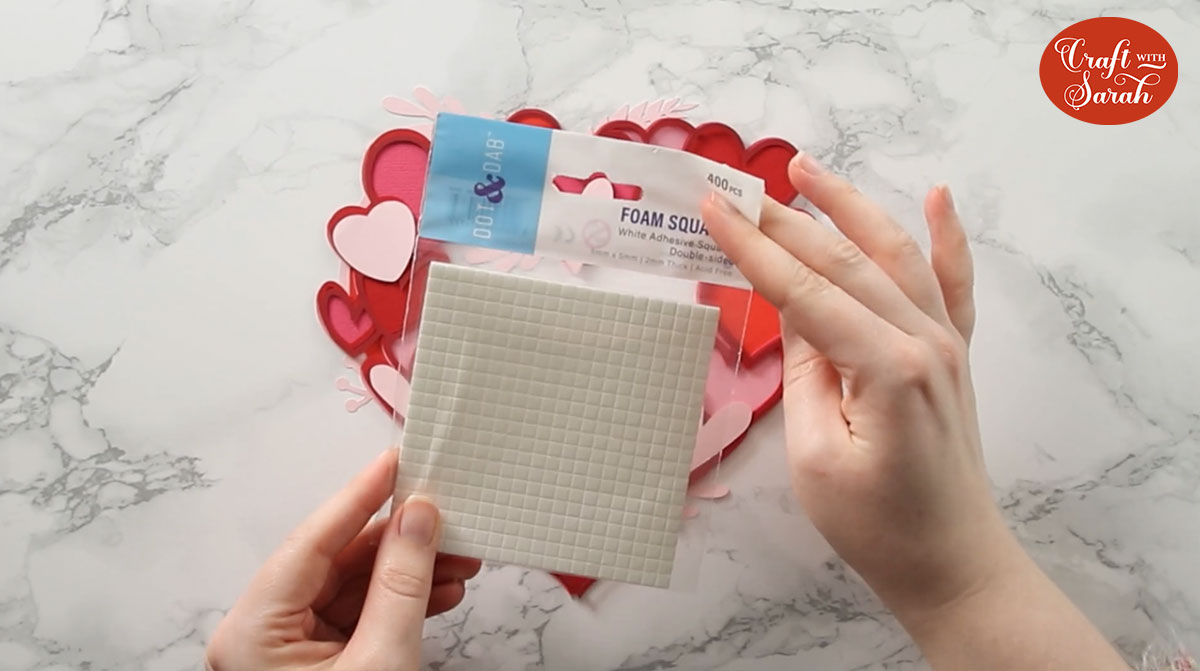
- 3D foam pads
Layered rose vase SVG assembly instructions
Here’s how to make your very own paper roses using a Cricut machine!
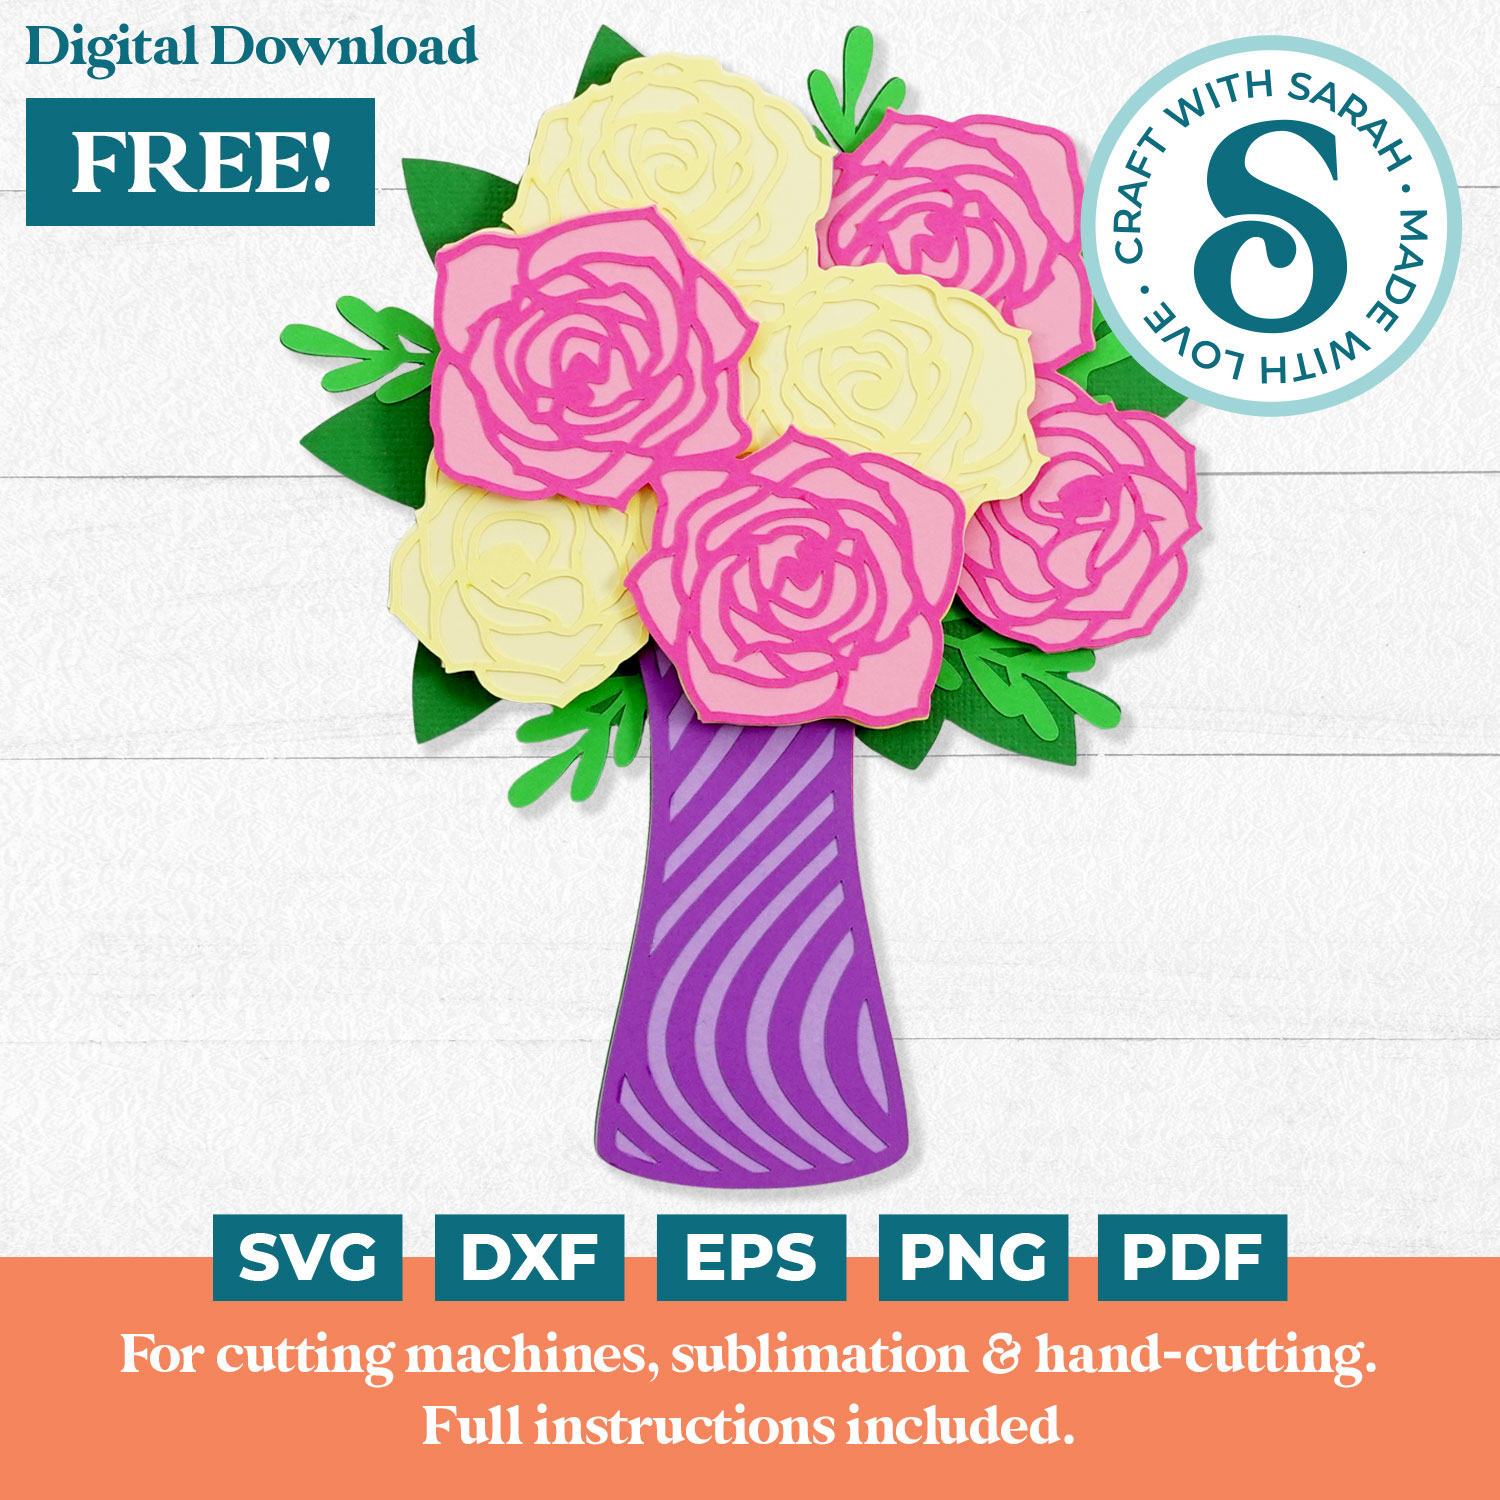
Step 1) Download the free file & unzip the downloaded folder
Download the Free Cutting File
Please login to your account to download this file.
TERMS OF USE:
You may sell finished, handmade physical craft items that you have made using this product but must not sell or share the digital files. Read full terms of use
Before you upload the SVG to Design Space, you need to unzip the download folder that it comes in.
- How to unzip a folder on Windows computer
- How to unzip a folder on a Mac
- How to unzip a folder on an iPad/iPhone
- How to unzip a folder on an Android device
Step 2) Upload the SVG file into Design Space
Open up Cricut Design Space and upload the file called svg-rose-vase-craftwithsarah.svg
Make sure you upload the file which starts svg- in the filename!!
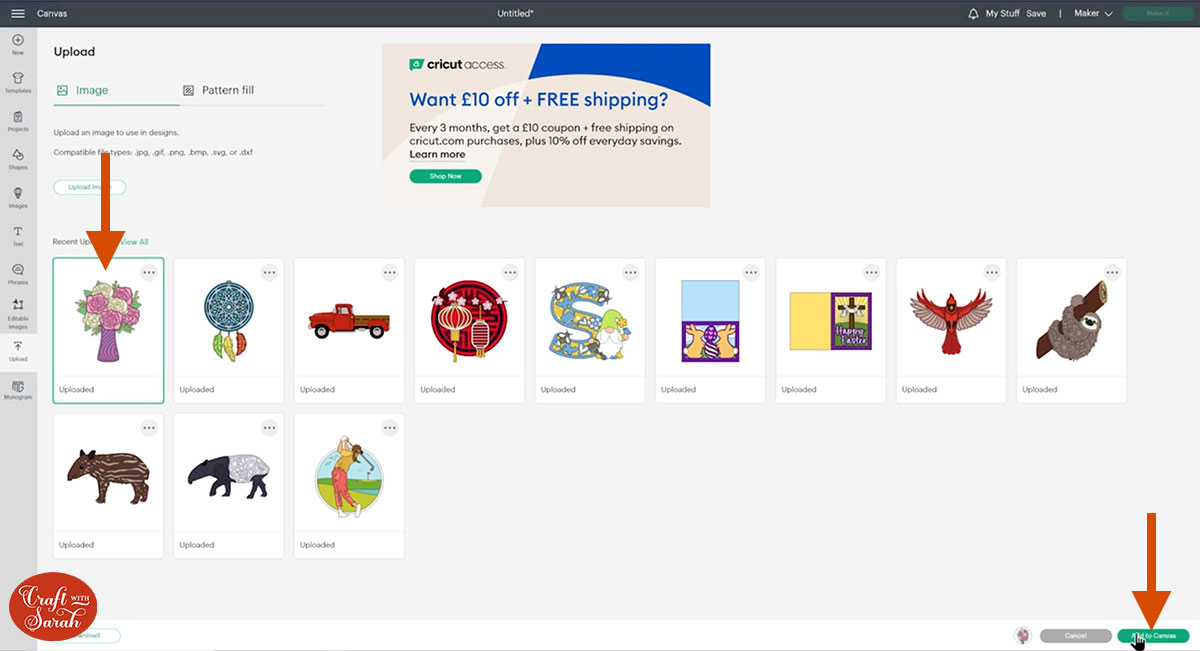
This is how it should look after you have uploaded the file:
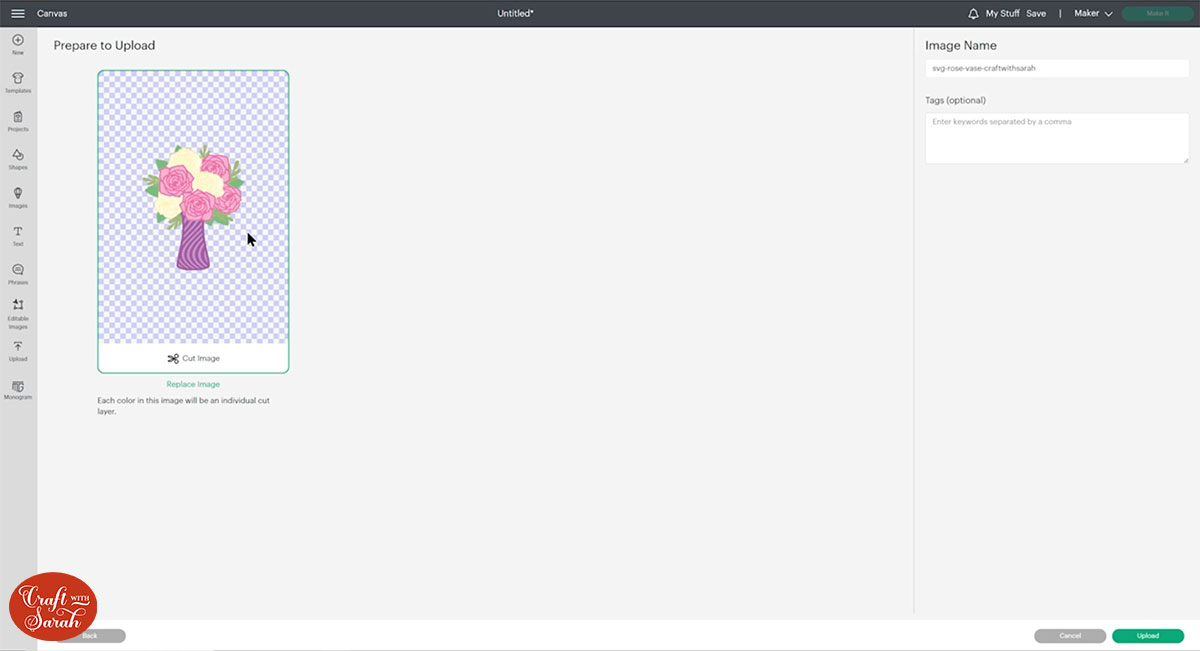
After uploading, the rose wreath design will show in your “Recently Uploaded Images”. Click on it and then press “Add to Canvas” to put it onto your Project.
You can change the colour of the roses by clicking the relevant layers in the layers panel on the right-side of the screen and then clicking into the colour box and selecting your preferred colour.
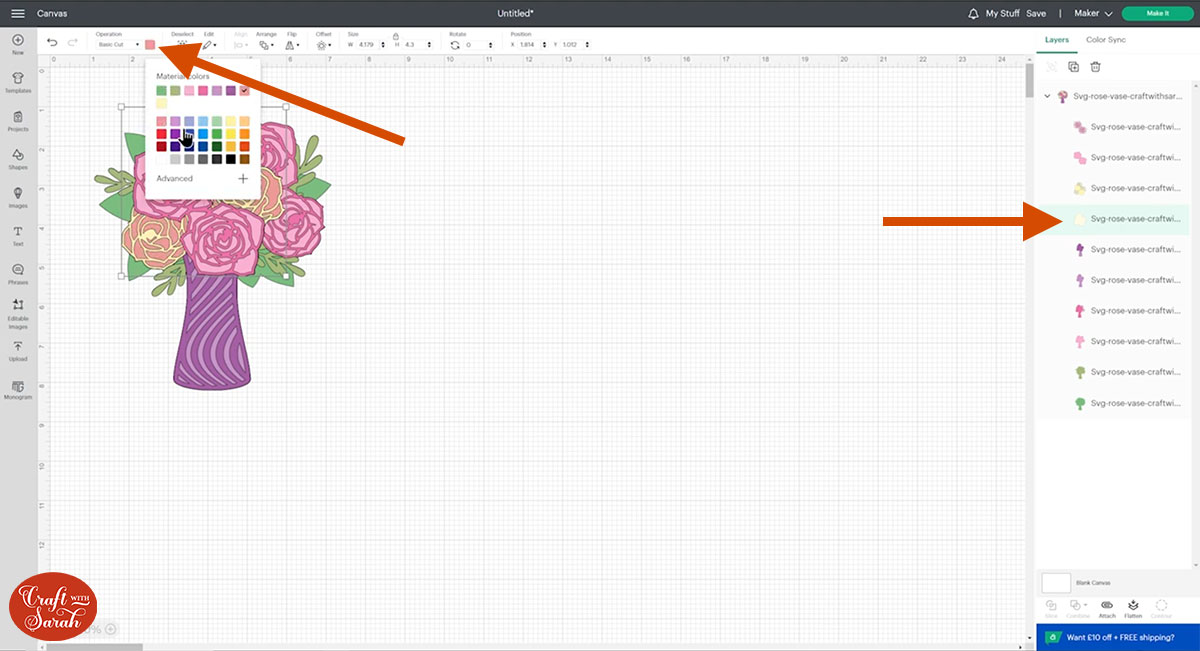
I like to use a light colour for the bottom of each flower and a darker shade for the outline layer that makes up the petals on top.
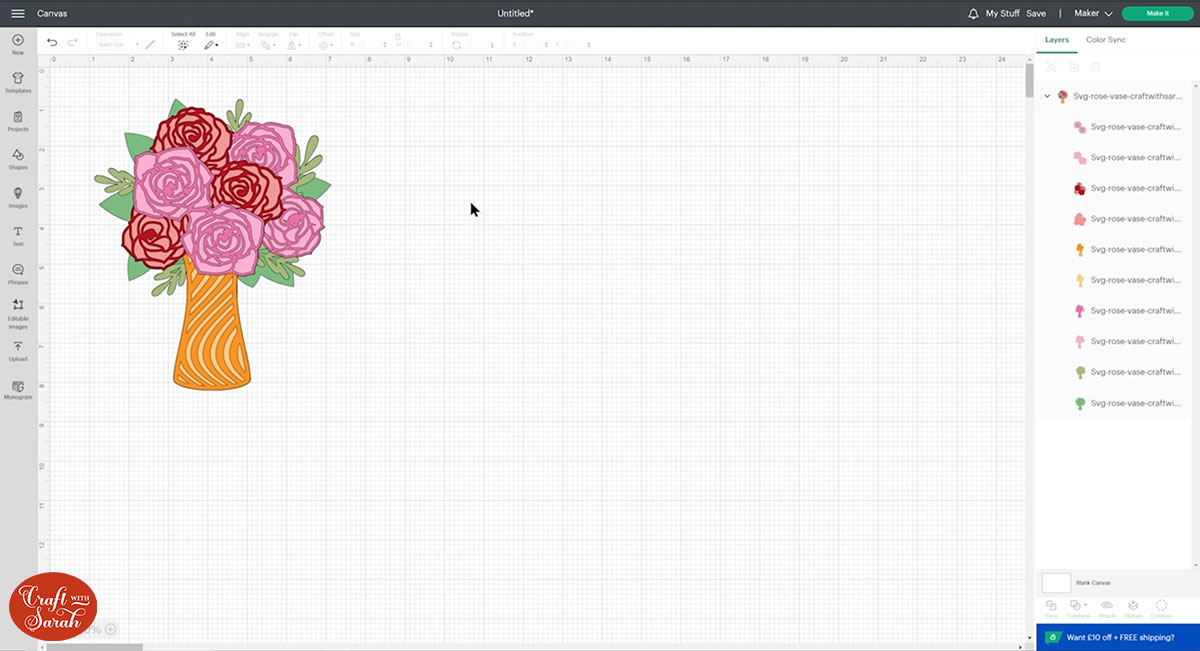
Here’s how it could look with red roses instead of yellow, and an orange vase:
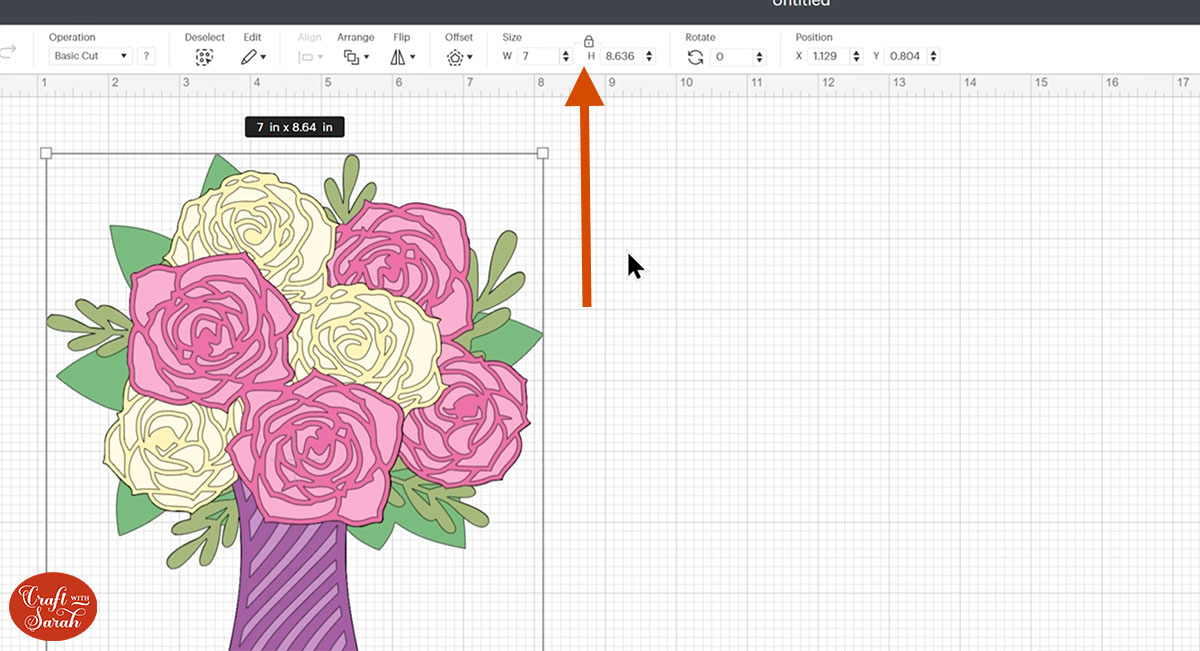
To resize the design, click the roses on your canvas and use the width/height boxes near the top of the screen to make it the size that you want to cut it.
I made mine 7 inches wide. I definitely wouldn’t recommend going much smaller than about 5.5 inches in width as otherwise the thin edges around the roses will become quite delicate and may be difficult to get off the mat without them tearing.
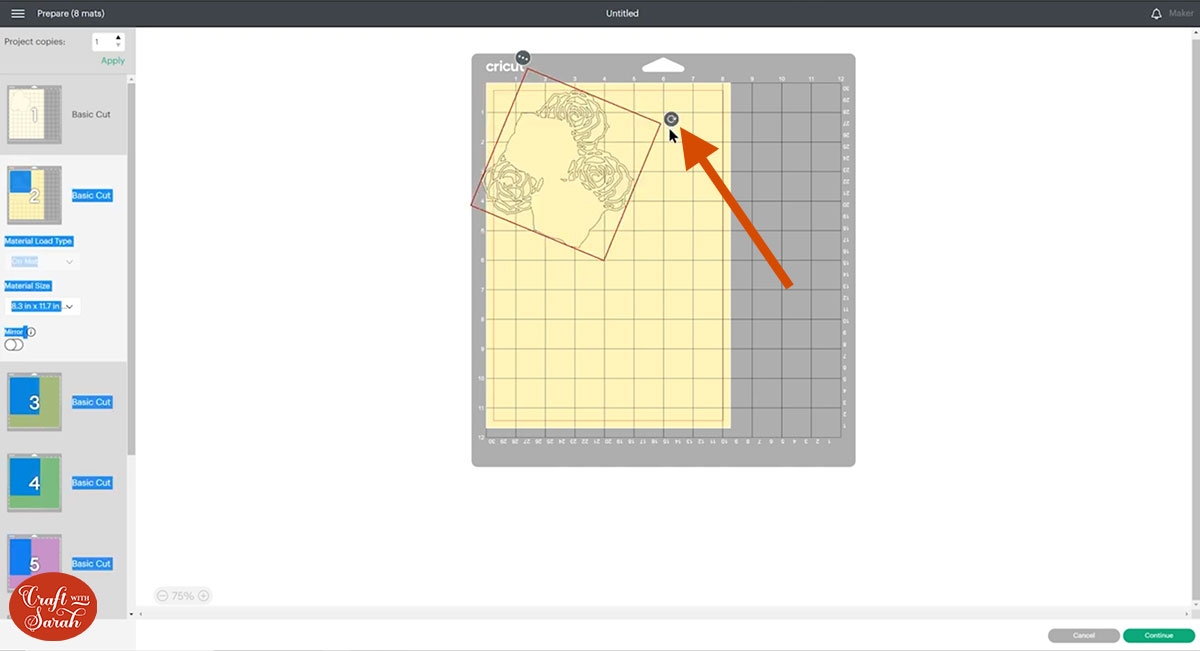
When you’re happy with the size of the flowers, click “Make It” and follow the instructions on-screen to cut out all the layers.
Change the paper size using the dropdowns on the left.
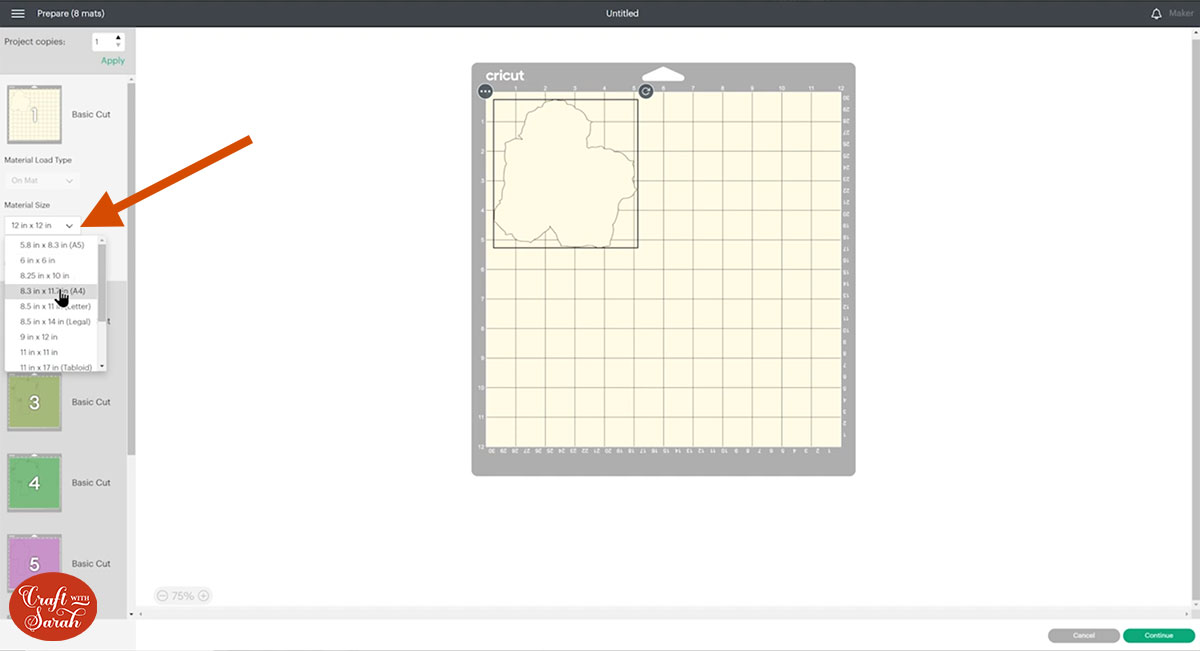
You can click-and-drag shapes around to use up less of your cardstock.
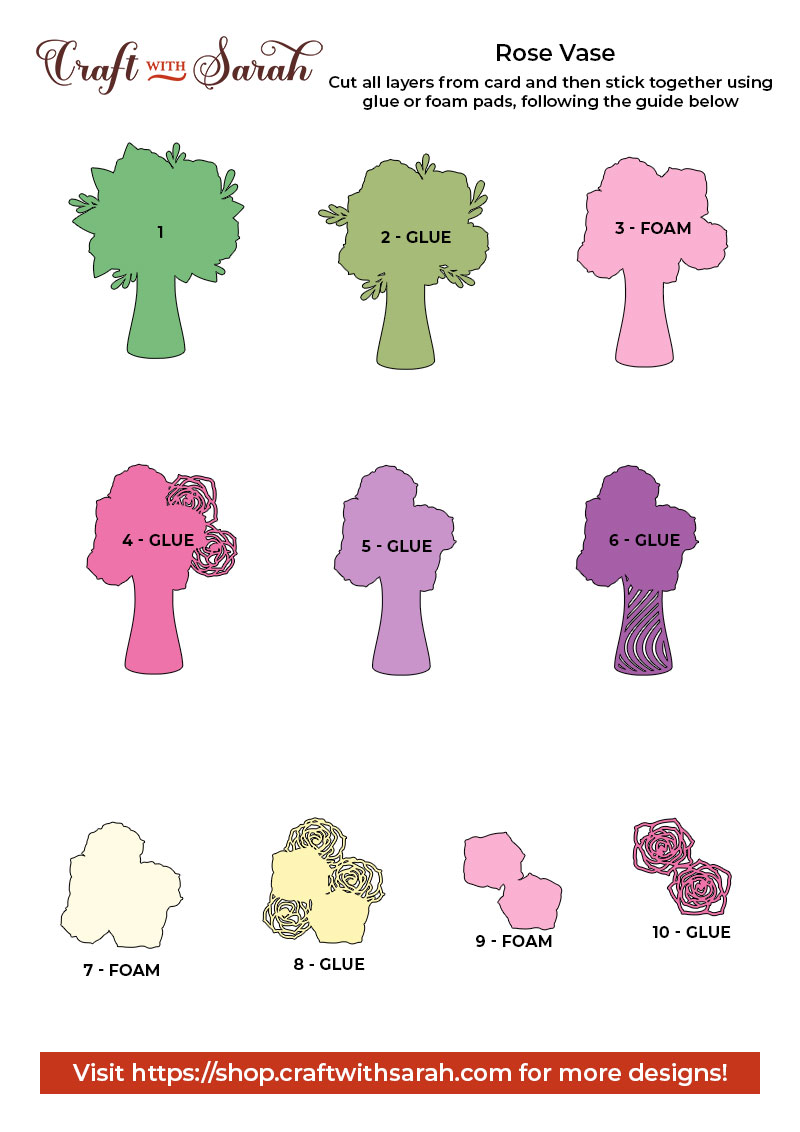
Step 3) Stick the layered roses together
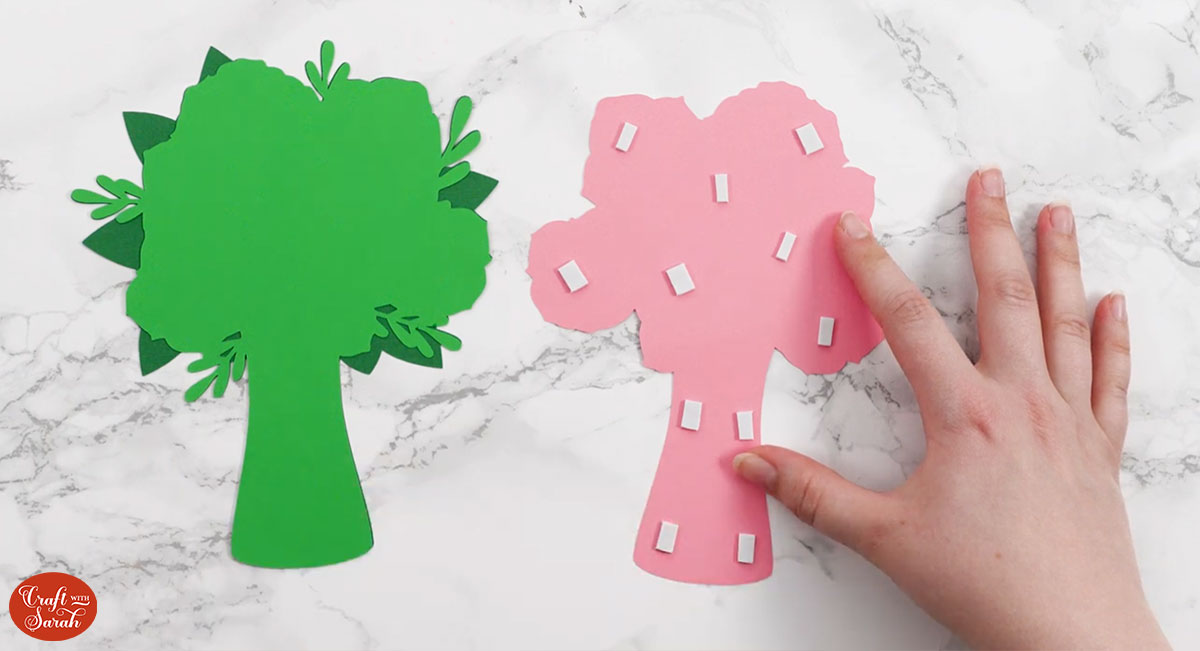
Use 3D foam pads and glue to stick the layers together.
Use this guide to see the order to stick the layers together in. A high quality printable version of this assembly guide is included in the folder when you download this SVG.
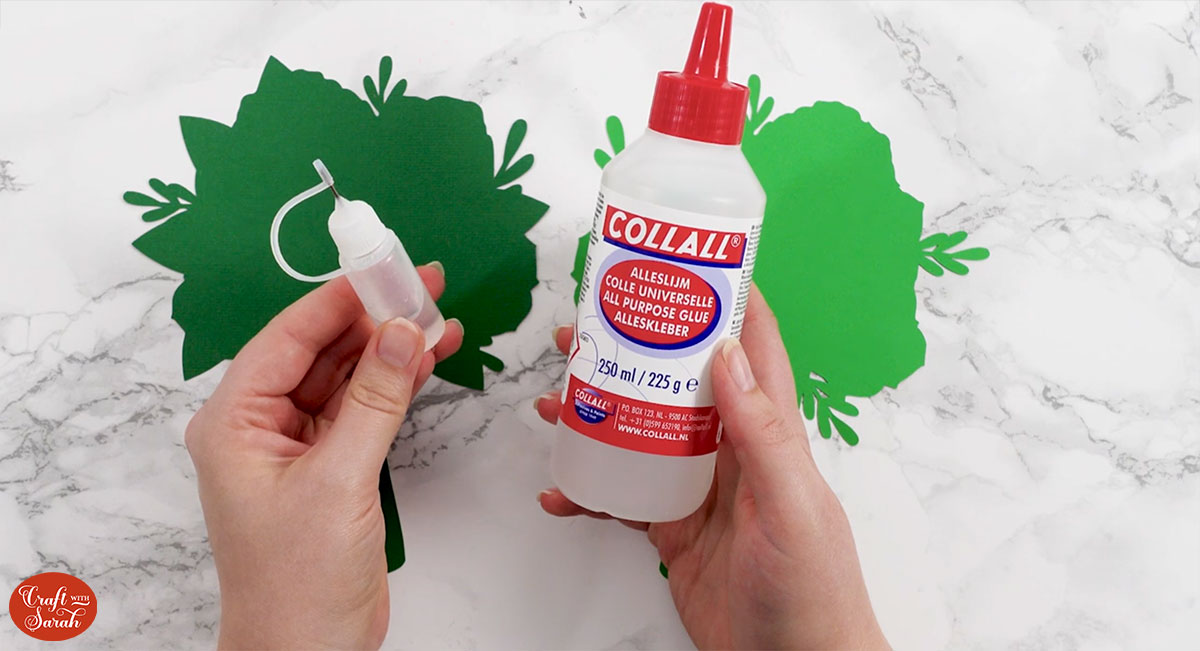
My favourite glue to use on papercraft projects is Collall All Purpose Glue.
It’s SO good because it doesn’t “warp” or bend the cardstock like some glues do. You can use as much of it as you want and the card stays perfect – and it dries perfectly clear too!
To make it even easier to apply glue to layered card projects, I highly recommend getting some of these needle tip applicator bottles to put the glue into.
The nozzles are REALLY tiny which makes them perfect for putting glue in the pieces of cardstock that make up these roses.
The foam pads that I use are from “Dot & Dab”, but any foam squares will work. If yours are big then you may need to cut them smaller with scissors to fit inside the smaller flowers.
When adding the foam pads to the relevant layers, make sure you add some in the middle of the pieces of card so it give stability to the middles. If you don’t add any foam pads in the middles then it can “sag” under the weight of the other layers which doesn’t look as good.
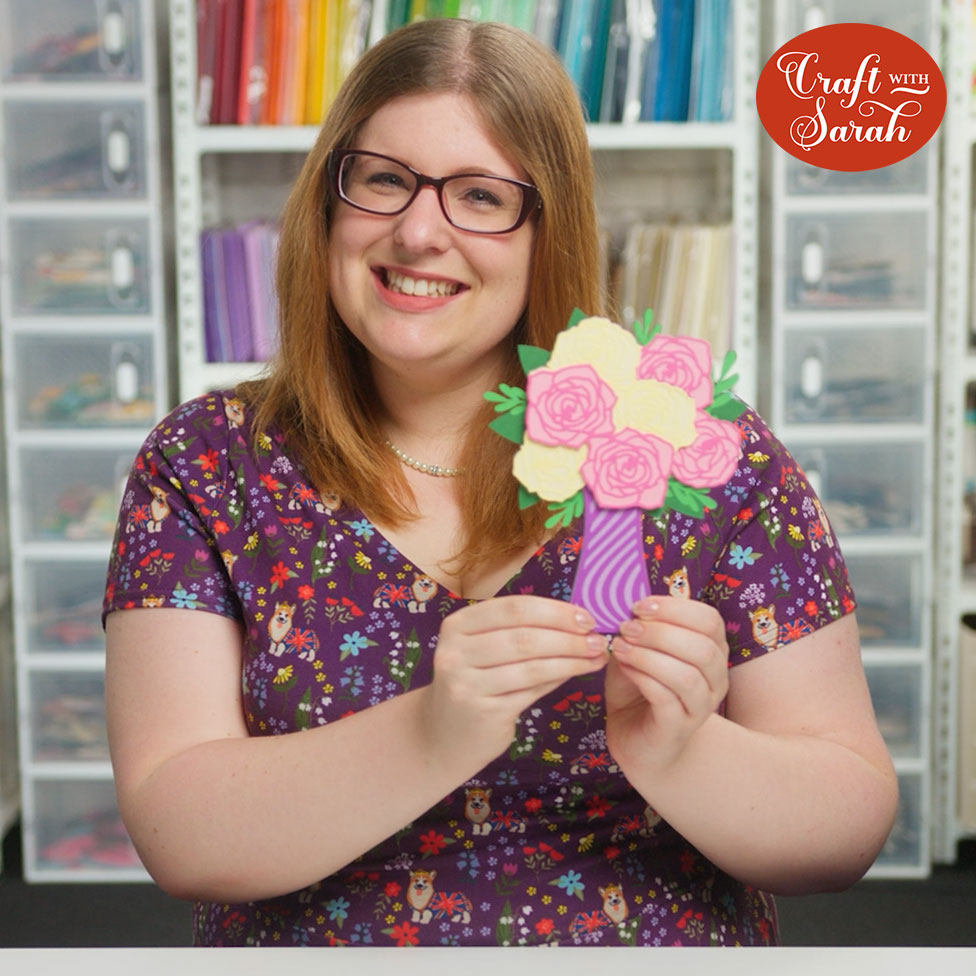
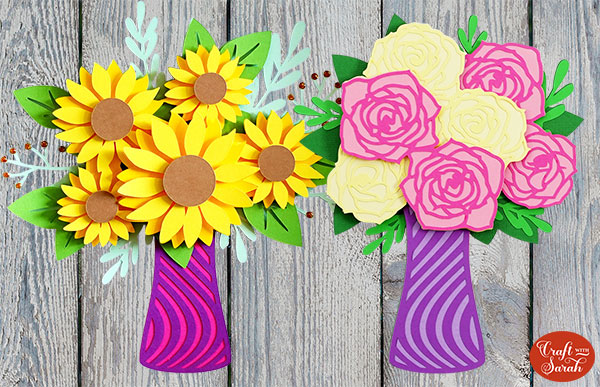
After sticking all the pieces of card together, you’ll have a wonderful vase full of flowers all ready to go in a frame, on a greetings card, or even stuck straight to the wall with some blu-tack or propped up on a shelf.
I hope that you enjoy this free paper roses SVG!
For even more paper flower crafting, why not download this free sunflower SVG too?
It matches the rose design perfectly!
Love layered SVGs? Check out my other free layered SVG files
Happy crafting,
Sarah x

