Layered Halloween Greeting Cards
Send your friends and family some spooky cheer this Halloween with a layered greeting card.
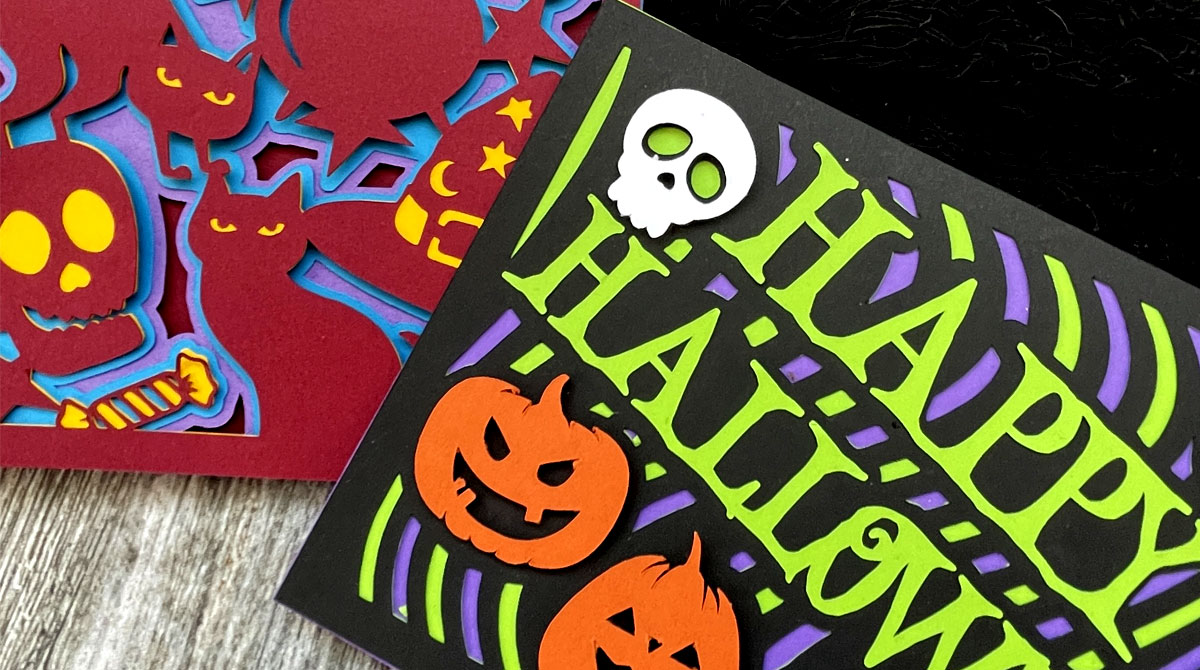
These cards are quick and easy to put together, but look really impressive when made!
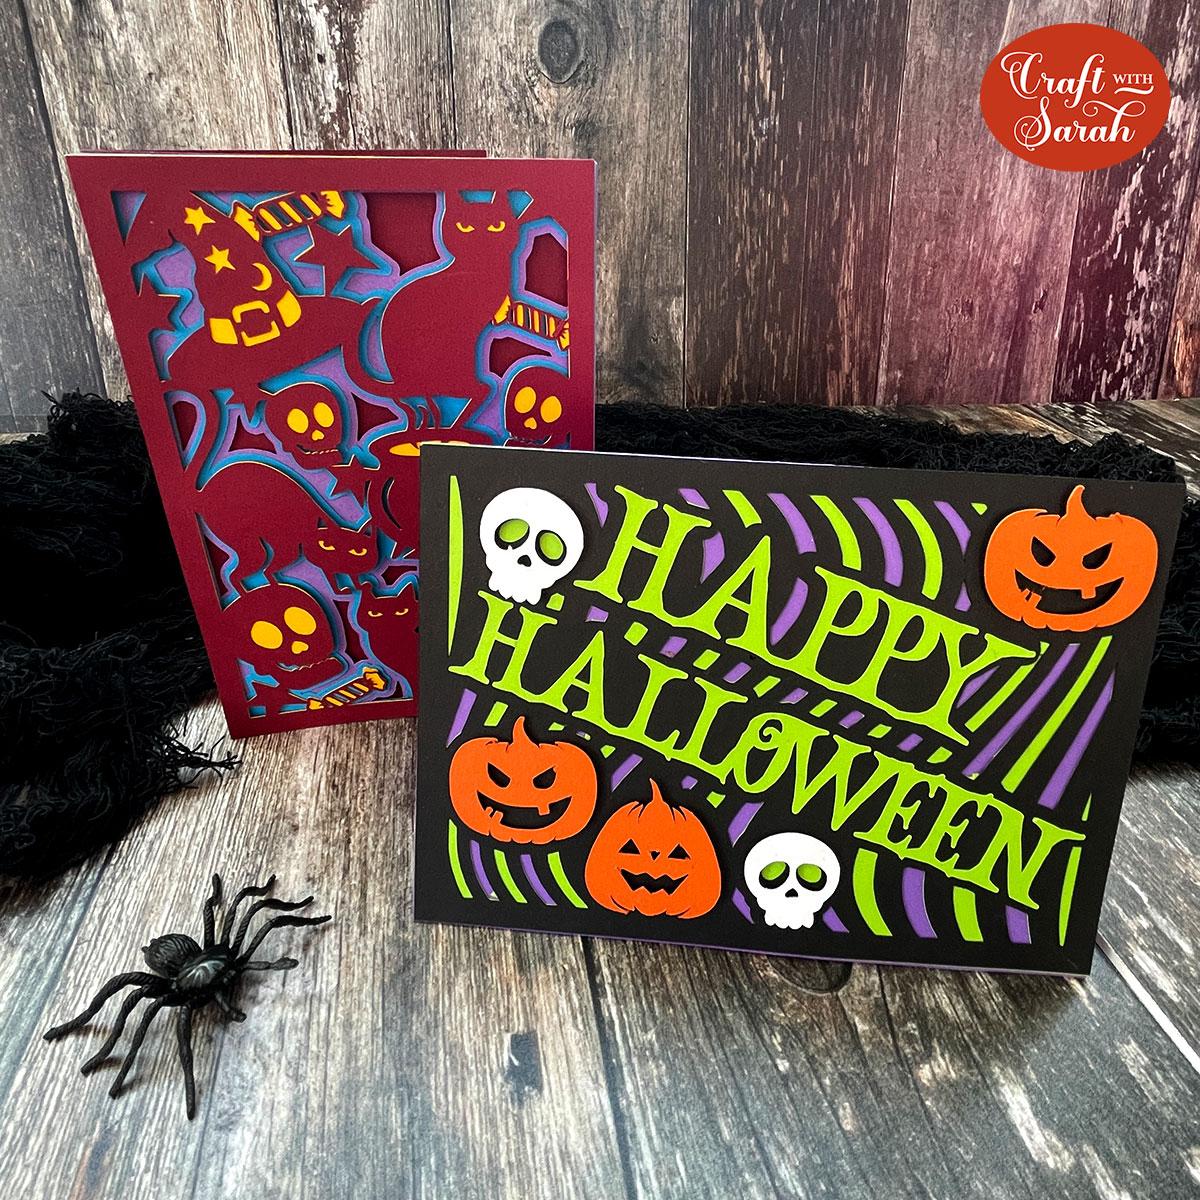
Two different free SVGs are provided for you. The first is a landscape card which says “Happy Halloween” and the other is a portrait card with lots of Halloween graphics all over the front.
Video tutorial: 3D layered cards with a Cricut
Watch the video below to find out how to cut and assembly these spooky Cricut cards. Or, keep scrolling for a written tutorial.
3D layered card materials
Here is a list of the materials that I used to make these cards.
Please note that some of the links included in this article are affiliate links, which means that if you click through and make a purchase I may receive a commission (at no additional cost to you). You can read my full disclosure at the bottom of the page.
-
- Free SVG design (scroll down to find the download box)
- Digital cutting machine such as a Cricut Maker
- Light grip cutting mat
- Cricut scoring wheel or scoring stylus (optional but so helpful!)
- Craft card in different colours (I use 160gsm card)
- Collall All Purpose Glue
- Needle Tip Applicator Bottle
- 3D foam pads

Easy Halloween greeting cards with a Cricut
Here’s how to cut and assemble my free layered Halloween greeting card SVG files.
Step 1: Download and unzip the free SVGs
Download the Free Cutting File
Please login to your account to download this file.
TERMS OF USE:
You may sell finished, handmade physical craft items that you have made using this product but must not sell or share the digital files. Read full terms of use
After download, you’ll need to unzip the folder. How you do this is different depending on the type of computer or mobile device you are using.
- How to unzip folder on Windows computers
- How to unzip folders on Mac computers
- How to unzip folders on iPads/iPhones
- How to unzip folders on Android devices
Step 2: Upload the SVG into Cricut Design Space
Open Design Space and create a new Project.
Click “Upload” and then “Upload image”.

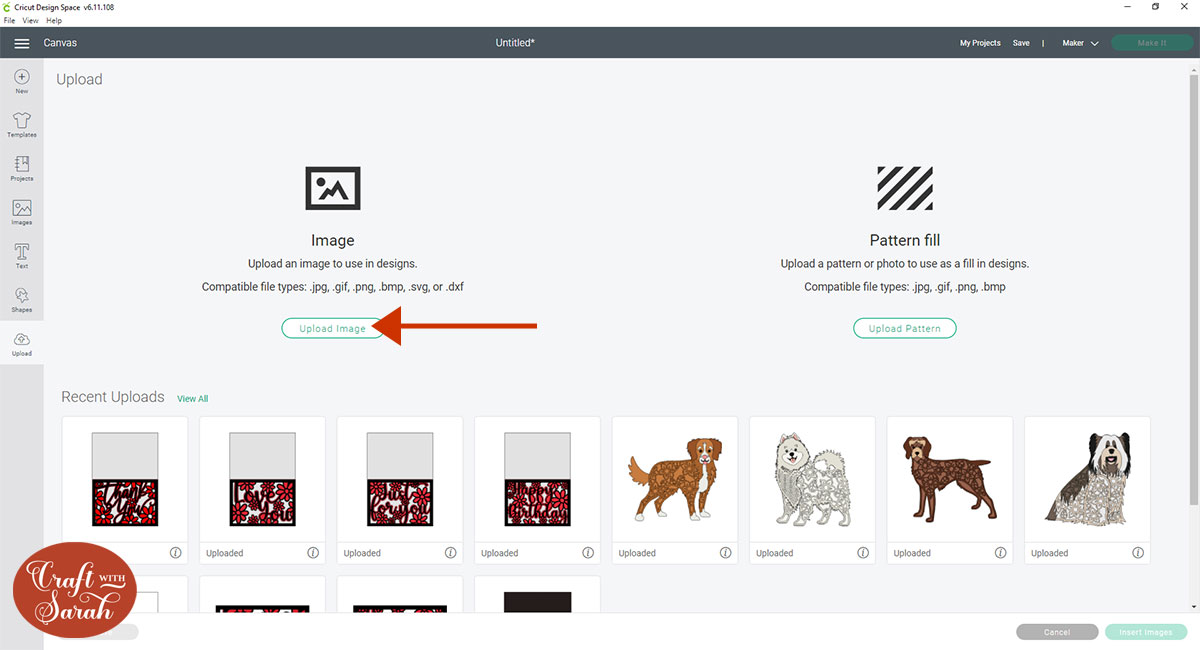
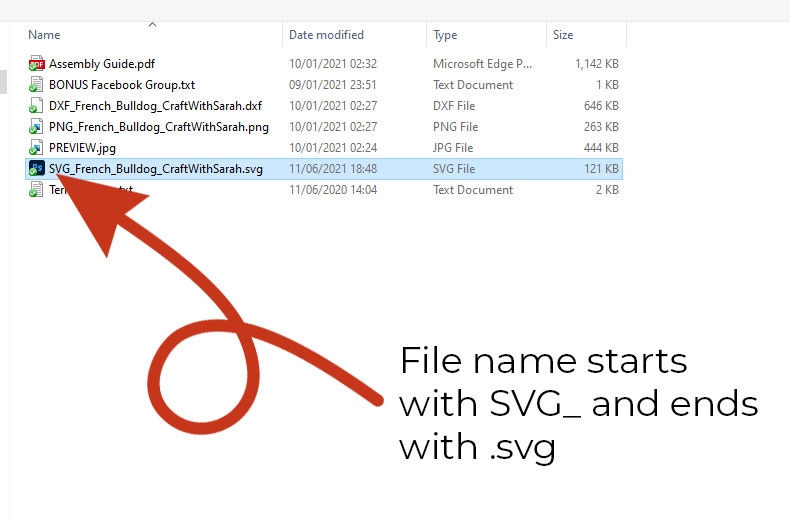
Find the card SVG that you want to use. All my SVG files start with SVG_ in the filename and end in .svg so make sure you are uploading the correct file, otherwise it will not work.
This part is REALLY important, because the other files won’t load in Design Space. You MUST select the one which starts SVG_ in the filename.
Here’s an example of how my SVG files look when you view the filenames:
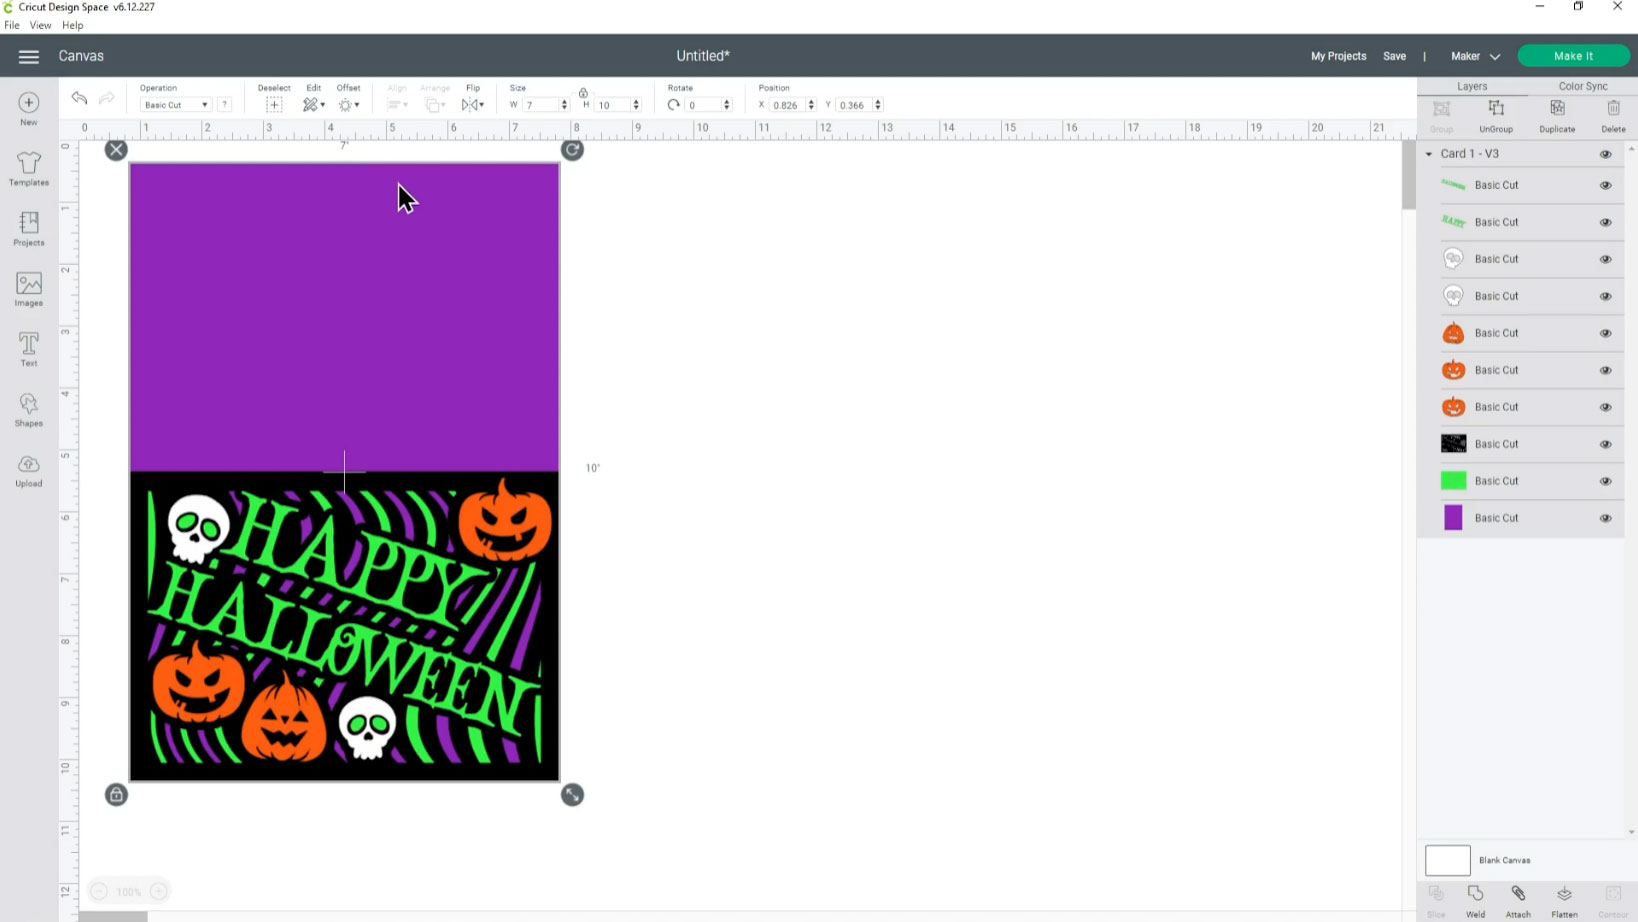
After selecting the file, click “Upload image” and then the card will appear under the heading that says “Recently Uploaded Images”. Click the card and then press “Insert images”.
The card should load into Design Space at the correct size. They have been designed to make a 5×7 inch card.
You can resize them if you want to make a smaller or larger card.
Step 3: Check the Score Line
I have NOT included score lines as part of the SVG files.
This is because Design Space recently changed how they “see” score lines, so it doesn’t format them correctly any more and turns them into cut lines instead. I didn’t want to include those in case you didn’t notice it needed to be changed to “score”, as otherwise it would ruin your card when you cut it out.
If you would like to add score lines to the card bases, it’s really easy to do. Here’s how:
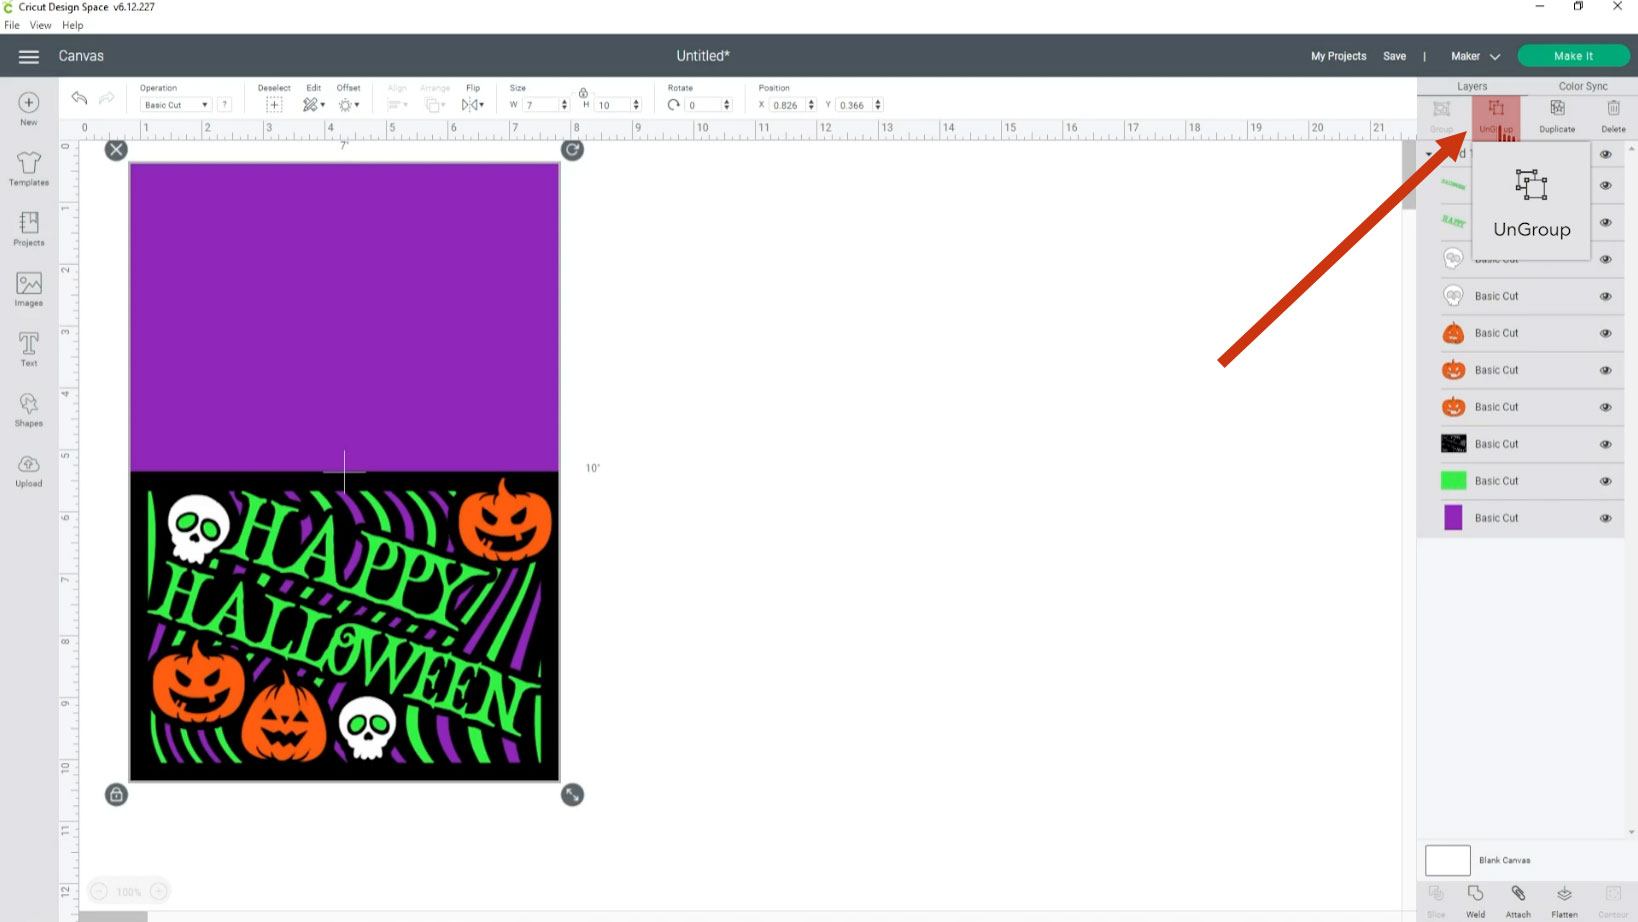
First, click on the Group of layers and press “Ungroup”.
Drag the base card over to one side and then click “Shapes” and insert a Score Line.

Change the size of the score line to match the card. You may need to rotate it too.
Click the score line, press the Shift key on your keyboard and select the base card layer.
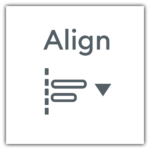
Click “Align” and then “Center”.
This puts the score lines exactly in the middle of the base card.
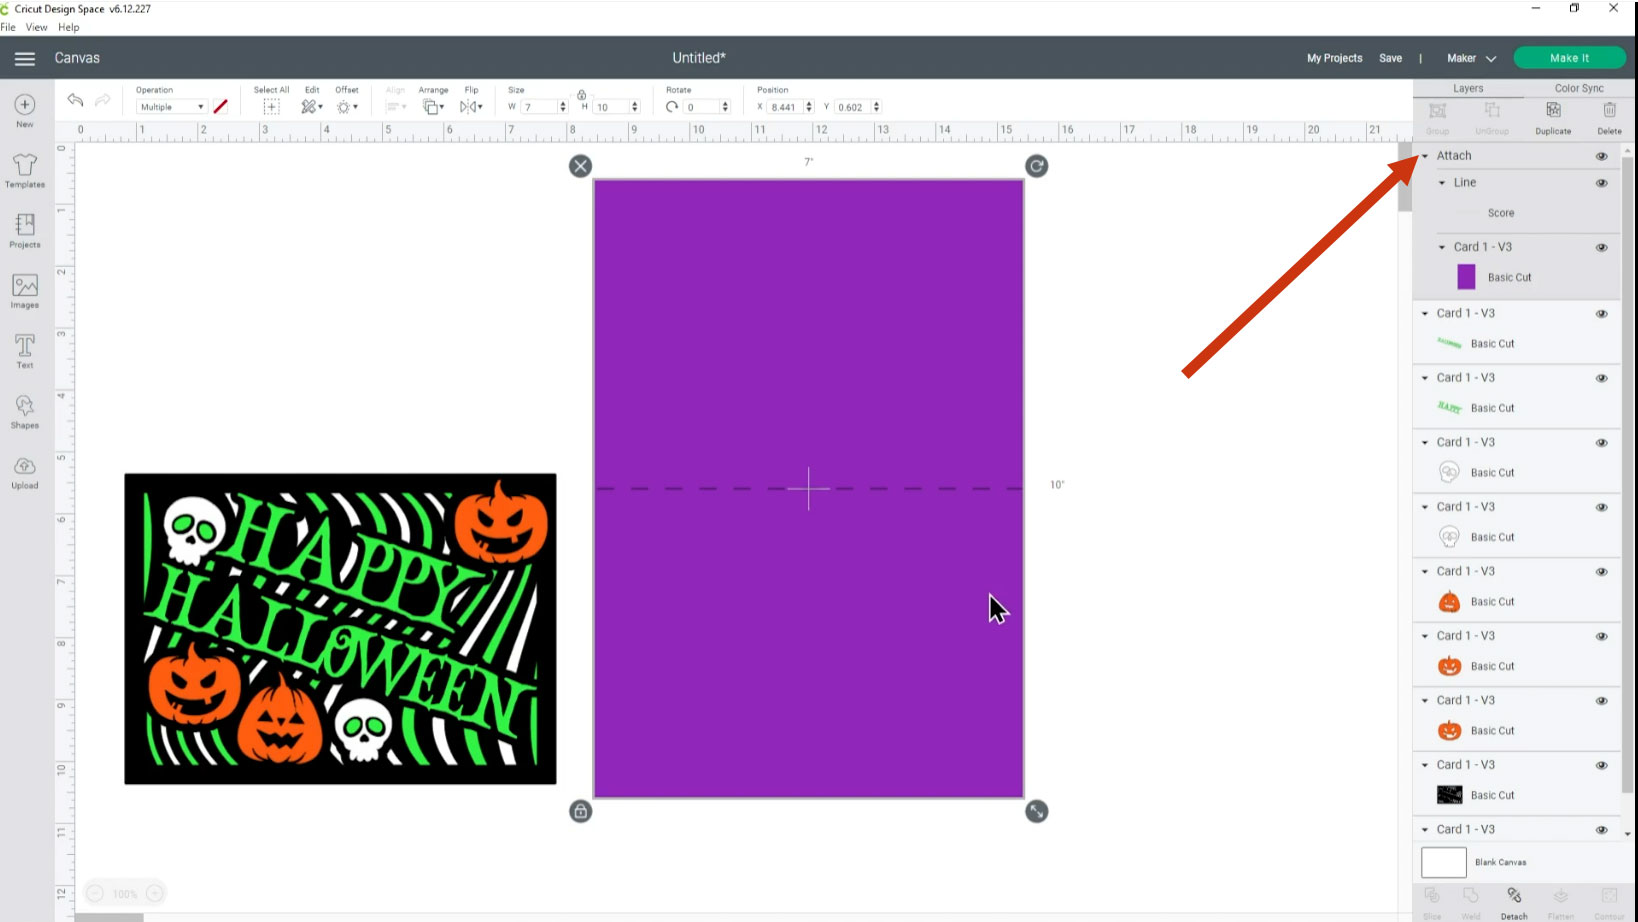
With those two layers still selected, click the “Attach” button.
This “joins” the score line to the base card so that the Cricut understands that you want it to score along the middle of the base card.
Step 4: Cut the layered greeting card SVG
When you’re happy with the size and colour of the card, click “Make It”.
This will split all the colours out into individual mats.
Change the paper size for each colour in the dropdowns on the left.
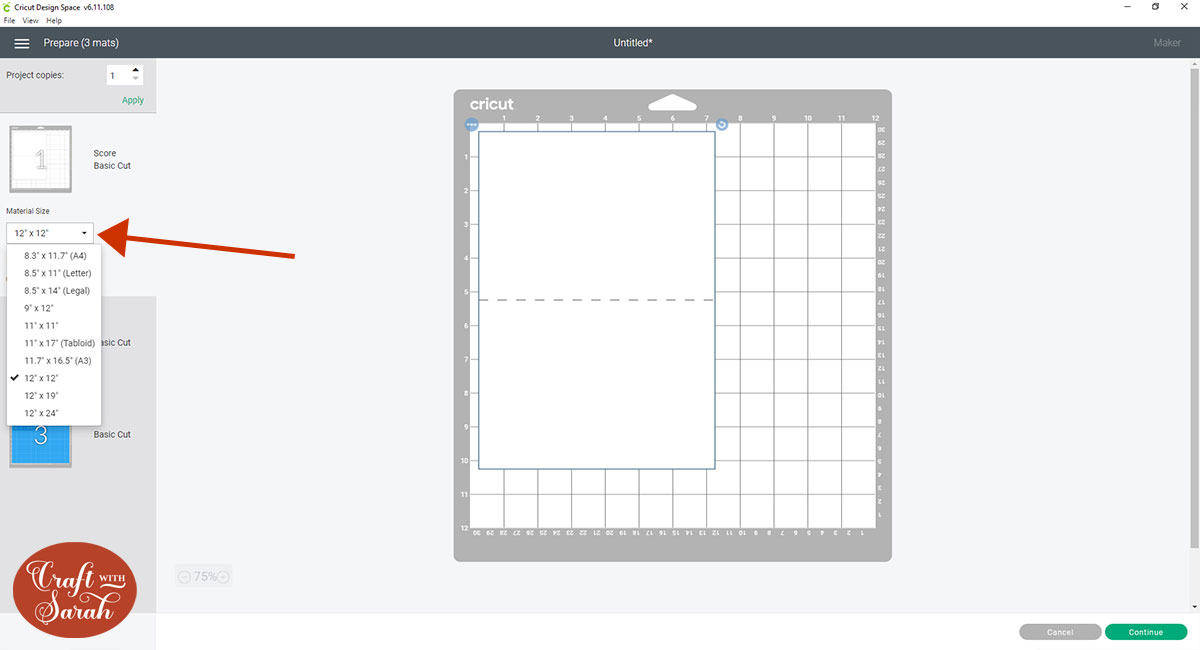
Click “Continue” and then choose your material type.
The setting to choose will vary based on the thickness of the card that you will be cutting. 160gsm paper tends to cut well with the light or medium cardstock setting but any thicker and I’ll use medium or heavy.
Follow the instructions on-screen to cut out all the different pieces of card.
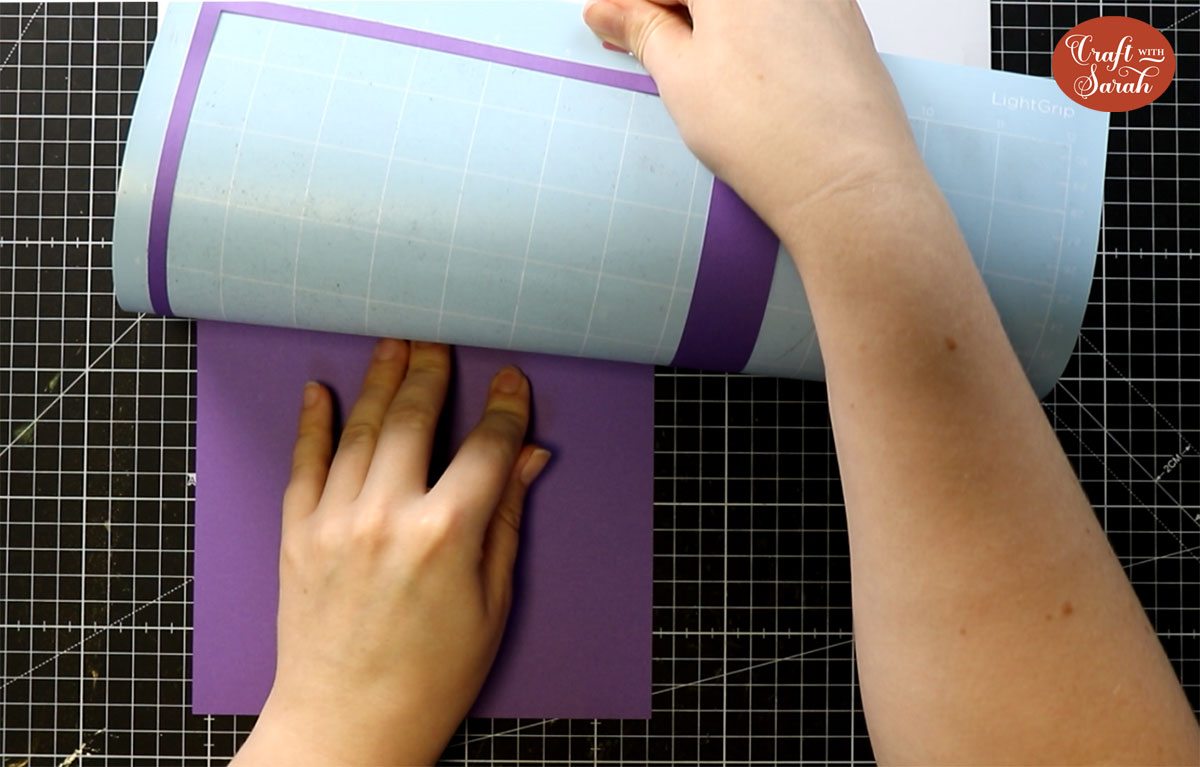
Tip: When taking the card off the mat, turn the mat upside down and peel the mat away from the card. Use one hand to keep the card pressed flat against your work surface. This ensures the card stays flat when it comes of the mat.
Step 6: Stick the layers together
Fold the base card in half along the score line.
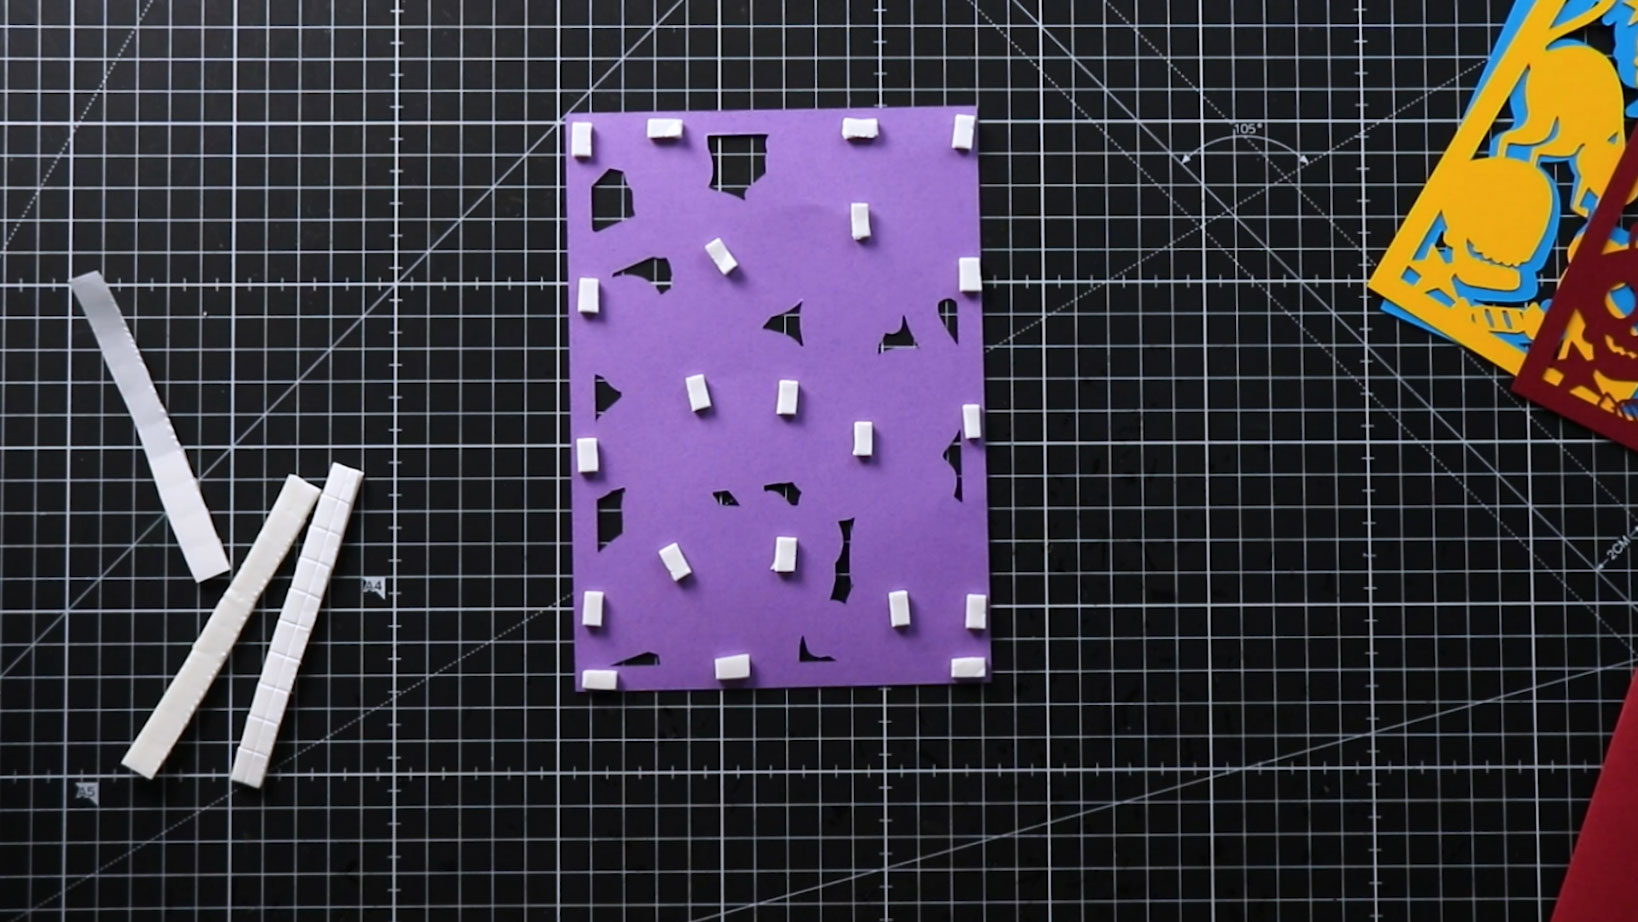
Then, use 3D foam pads to stick all the layers of the card together.
I started by putting foam pads on the bottom of the second layer and then sticking it to the base card. Be sure to use a good amount of foam all around the edge and place some pieces in the middle of the card too. This stops the card “sagging” in the middle as you are building in some support for it.
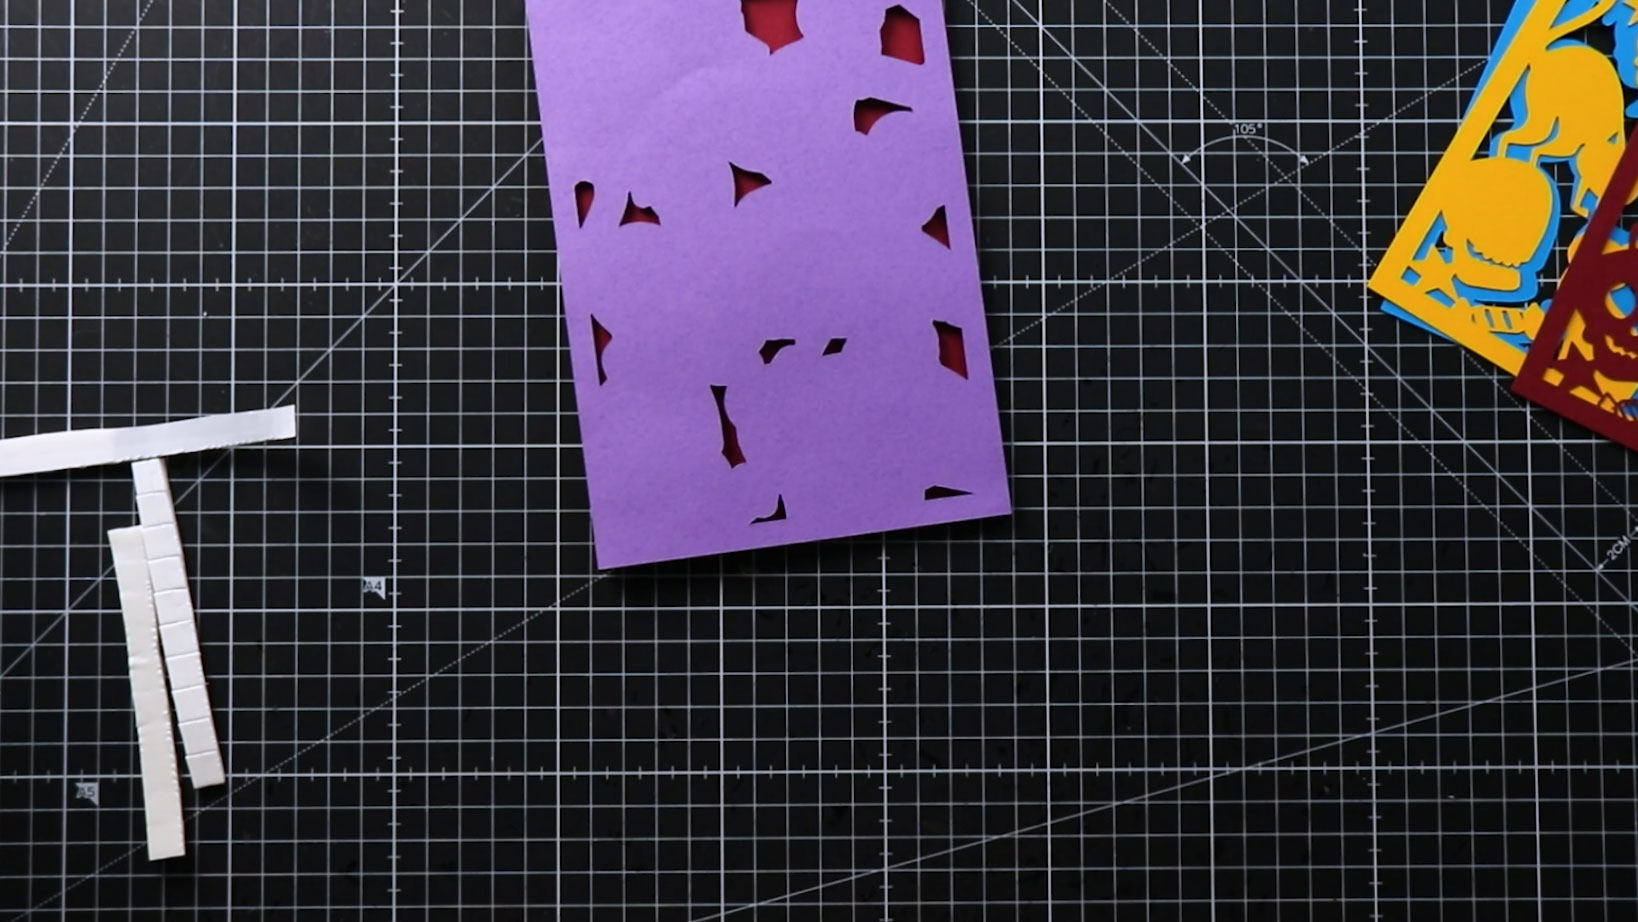
Carefully line up the middle layer against one edge of the base card. Gently place it down on the card and check you’re happy with the positioning. If not, carefully pick it up and try again.
When it’s all lined up, press down to stick the foam pads.
You can use foam pads or glue for the next layer. I used glue because I didn’t want my card to get too thick, as otherwise it would cost more to post.
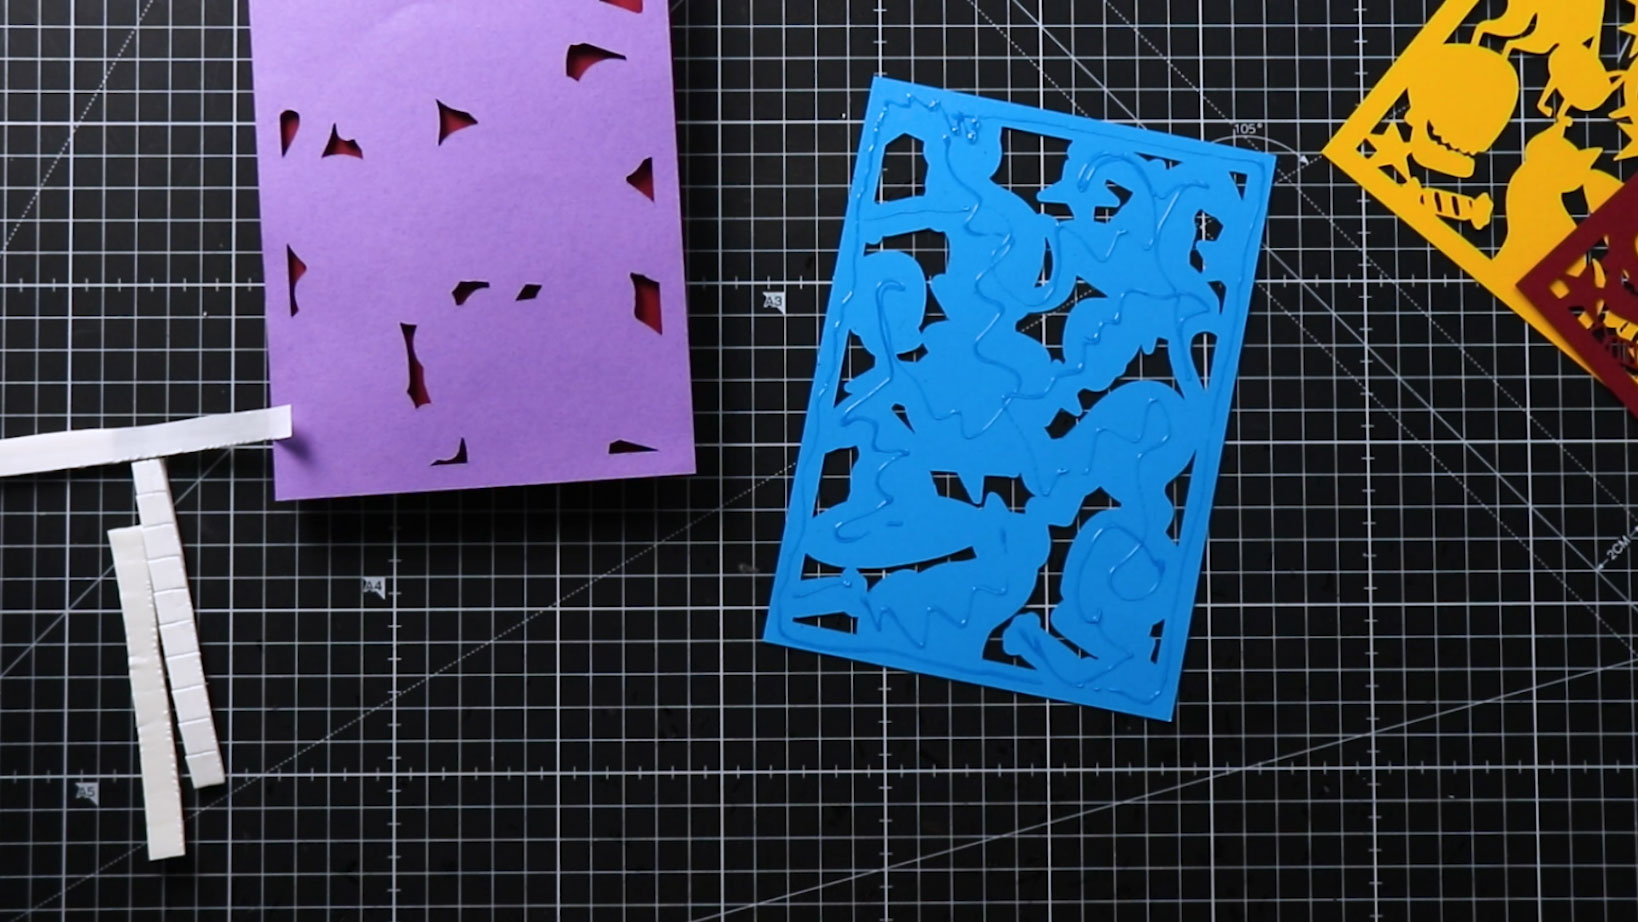
Attach the next layer of the card. I used foam this time.
Make sure your foam doesn’t go outside of the card, otherwise you will see it peeking through the gaps when you turn it around.
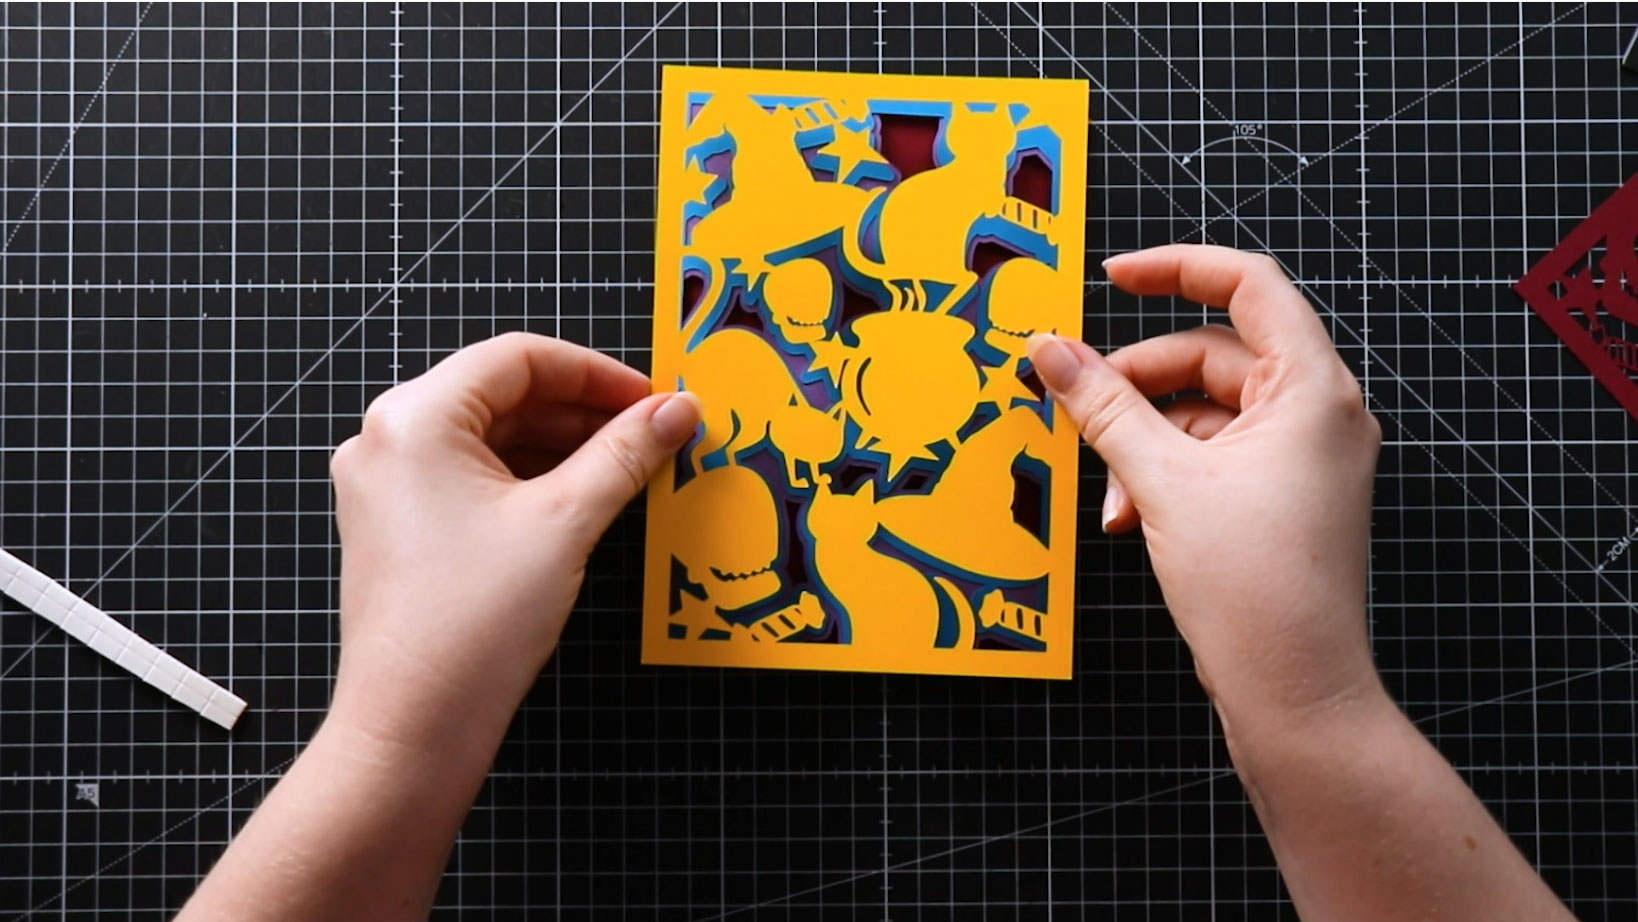
Stick the top layer onto your card to finish it off. I used glue for this one, but you could use foam pads too.
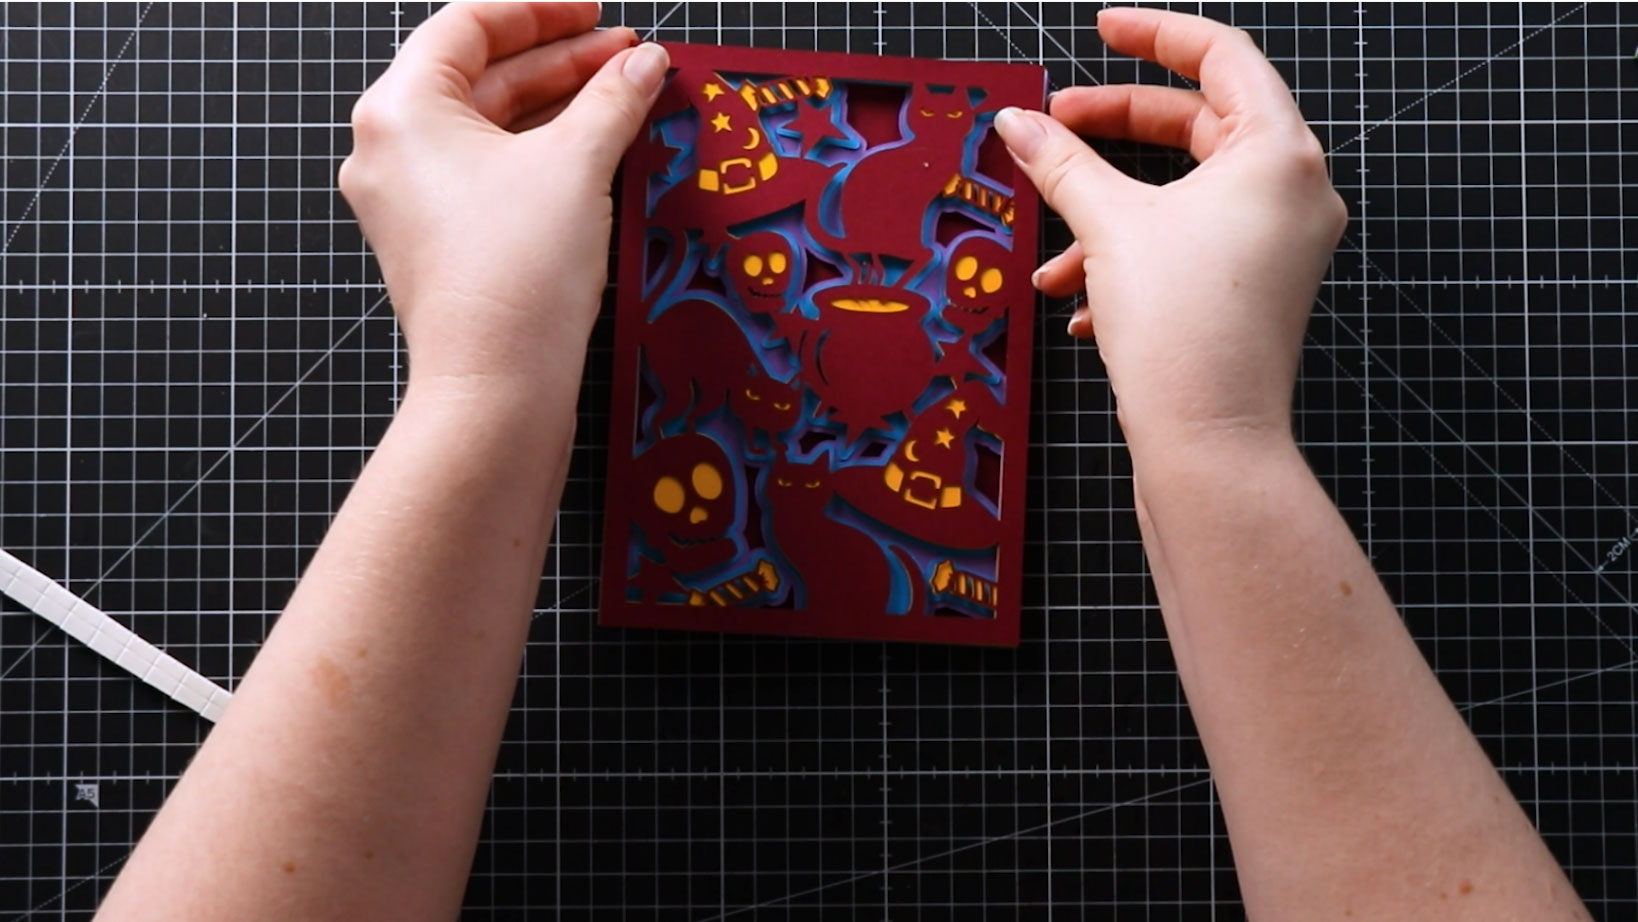
And that’s all there is to it!
I love how quick and easy these layered cards are to put together.
The other card design included in the free download goes together in the same way 🙂
I left my cards like this, but you could add extra embellishments or toppers to them to make them even more personal and special.
I hope you enjoyed this tutorial on how to make layered Hallowen greetings cards with a Cricut.
If you’d like to make more layered projects, check out my free layered SVGs – there are loads to choose from and new designs are added regularly!
Happy crafting,
Sarah x

