Layered Paper Art for Halloween
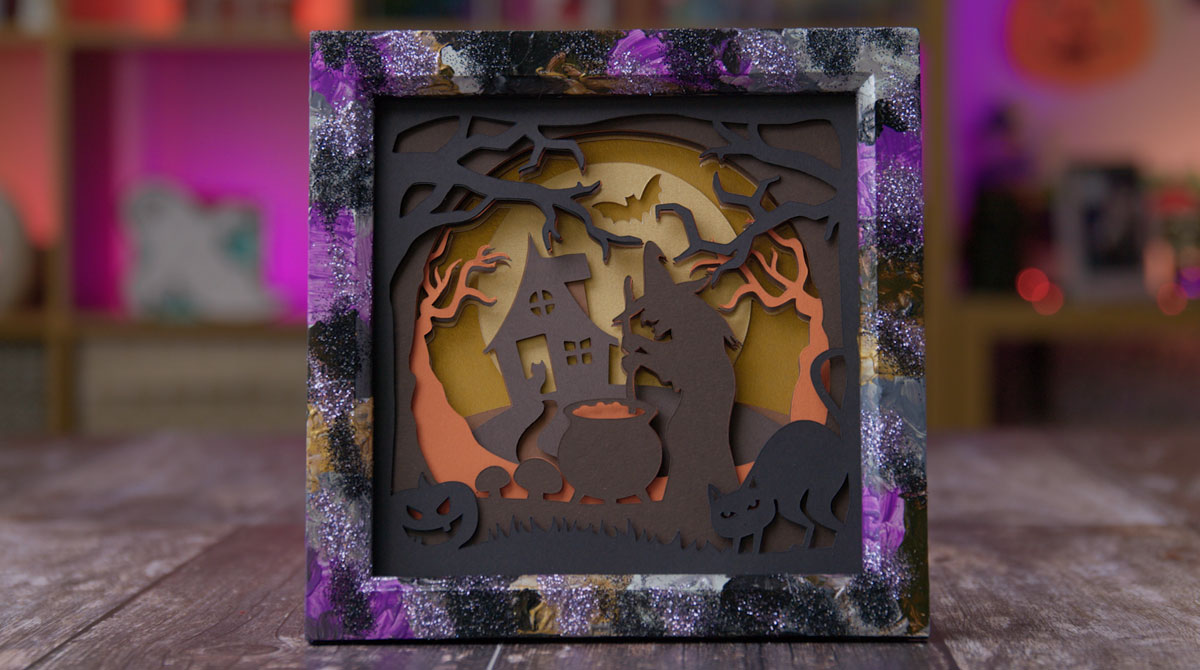
Make spooky layered paper art for Halloween with this free witch and haunted house shadow box SVG.
Make it extra “Halloweeny” by decorating the shadow box frame with paint and glitter too! I had so much fun painting the frame, even if I did end up completely covered in glitter!
[cws_halloween2021]
Video tutorial: Layered Paper Art for Halloween
Watch the video below to find out how to cut and assemble this Halloween shadow box project Or, keep scrolling for a written tutorial.
The link to download the free SVG is a little further down this page. Look for the pale green box 🙂
Note: This video was recorded with Design Space version 6.12.227. Later versions might look a little different.
Layered autumn sign craft materials
Here is a list of the materials that I used to make this project.
Please note that some of the links included in this article are affiliate links, which means that if you click through and make a purchase I may receive a commission (at no additional cost to you). You can read my full disclosure at the bottom of the page.
- Cricut Maker
- Light blue Cricut cutting mat
- Coloured Card (I used 160gsm weight of card)
- Collall All Purpose Glue
- Needle Tip Applicator Bottle
- 3D foam pads
- Shadow box (mine is a white 15x15cm shadow box from Hobbycraft)
- Acrylic paint
- Glitter
Halloween layered paper art tutorial
Layered papercraft shadow boxes are really easy to make and they look stunning.
Download the free SVG using the box below and open it in Design Space.
Download the Free Cutting File

Please login to your account to download this file.
TERMS OF USE:
You may sell finished, handmade physical craft items that you have made using this product but must not sell or share the digital files. Read full terms of use
Before you can use the files, you need to unzip the download folder that it comes in.
- How to unzip a folder on Windows computer
- How to unzip a folder on a Mac
- How to unzip a folder on an iPad/iPhone
- How to unzip a folder on an Android device
Step 1: Upload the Halloween SVG into Design Space
After you have unzipped the folder, open Design Space and make a new Project.
Click “Upload” and then find the SVG file on your computer.

IMPORTANT – if you are using Cricut Design Space then you MUST upload the file which starts SVG_ in the filename. The other files won’t work in Design Space.
Step 2: Size the layered paper art design
Open up your shadow box frame and measure the wooden spacer from one edge to the other.
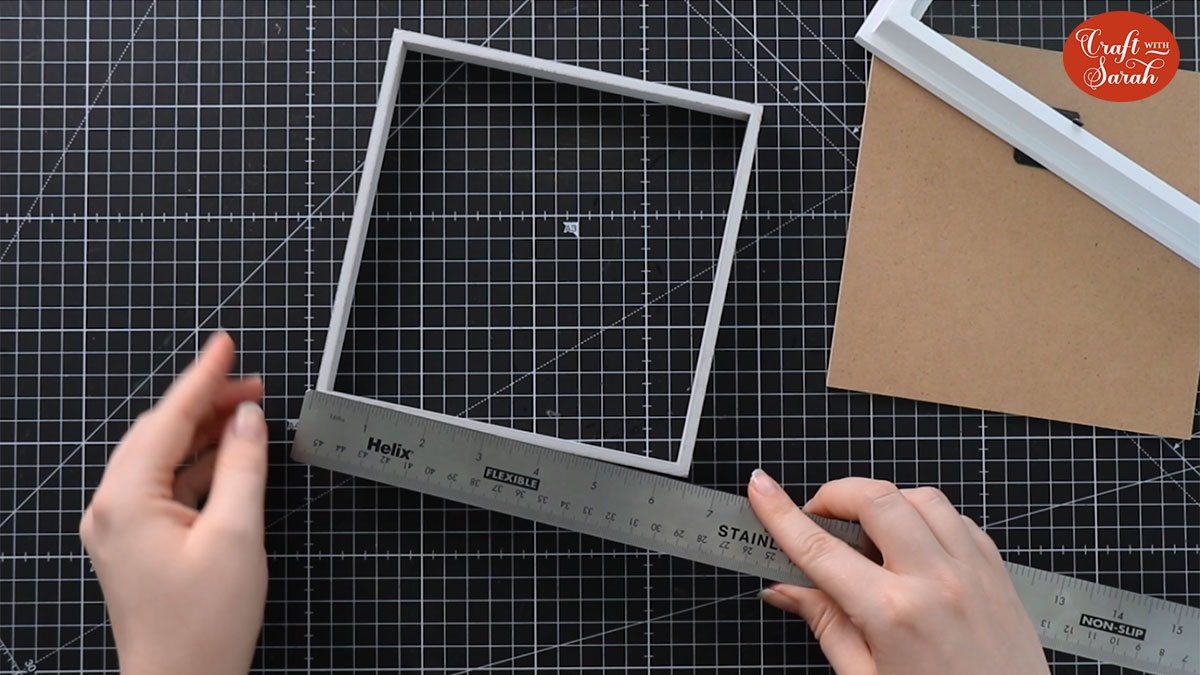
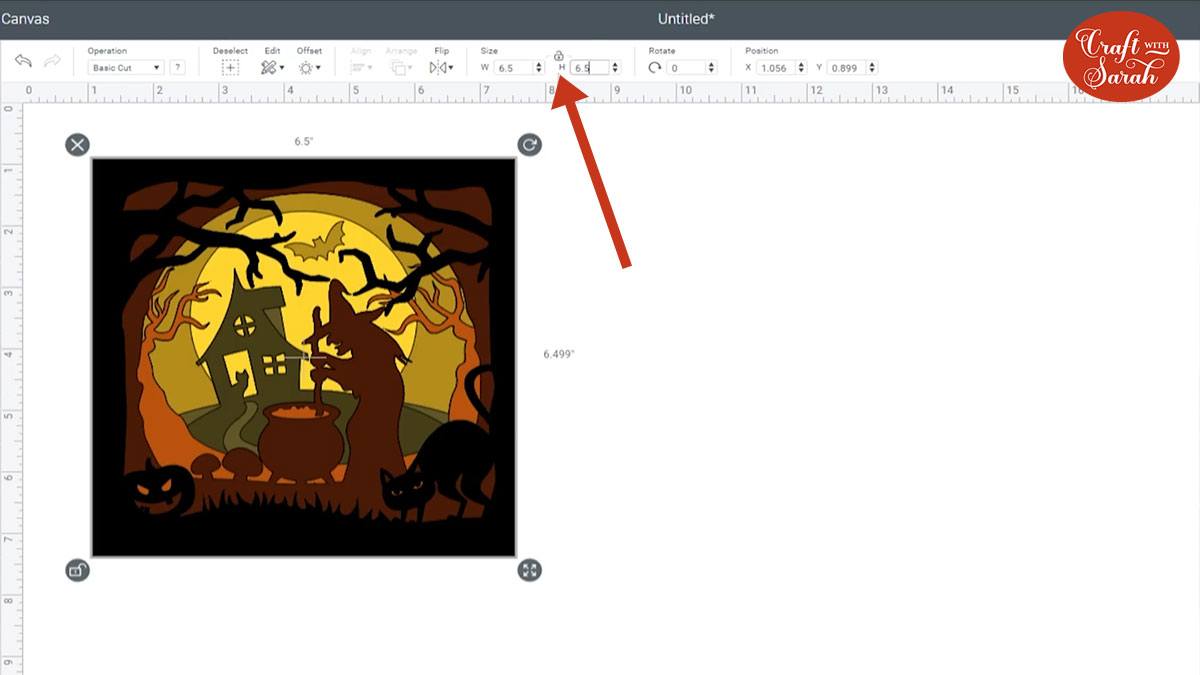
This is how big you need to make the SVG in Design Space. Use the width/height boxes to change the size of your design to the same size as the shadow box.
Step 3: Cut out the shadow box layers
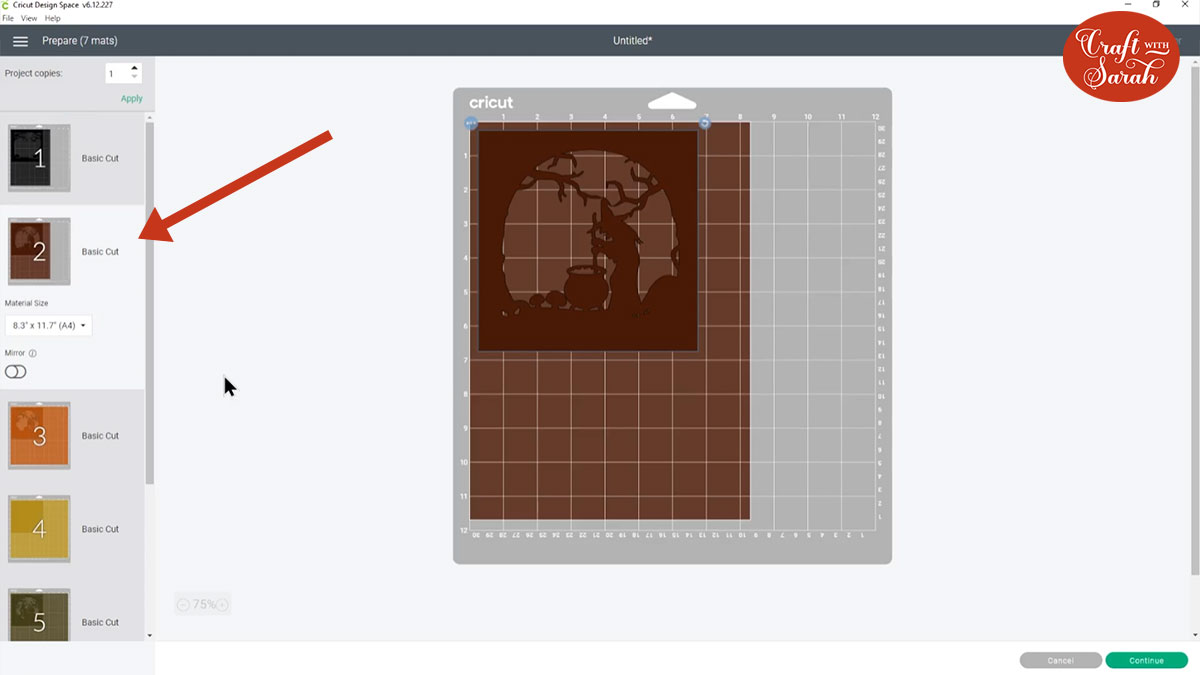
Click “Make It” on the top-right of the screen and follow the on-screen instructions to cut out each layer of the shadow box design from cardstock.
Pay careful attention to the mat colours on the left of the screen as Design Space sometimes changes the other, so be careful to cut the right layer from the right colour of card.
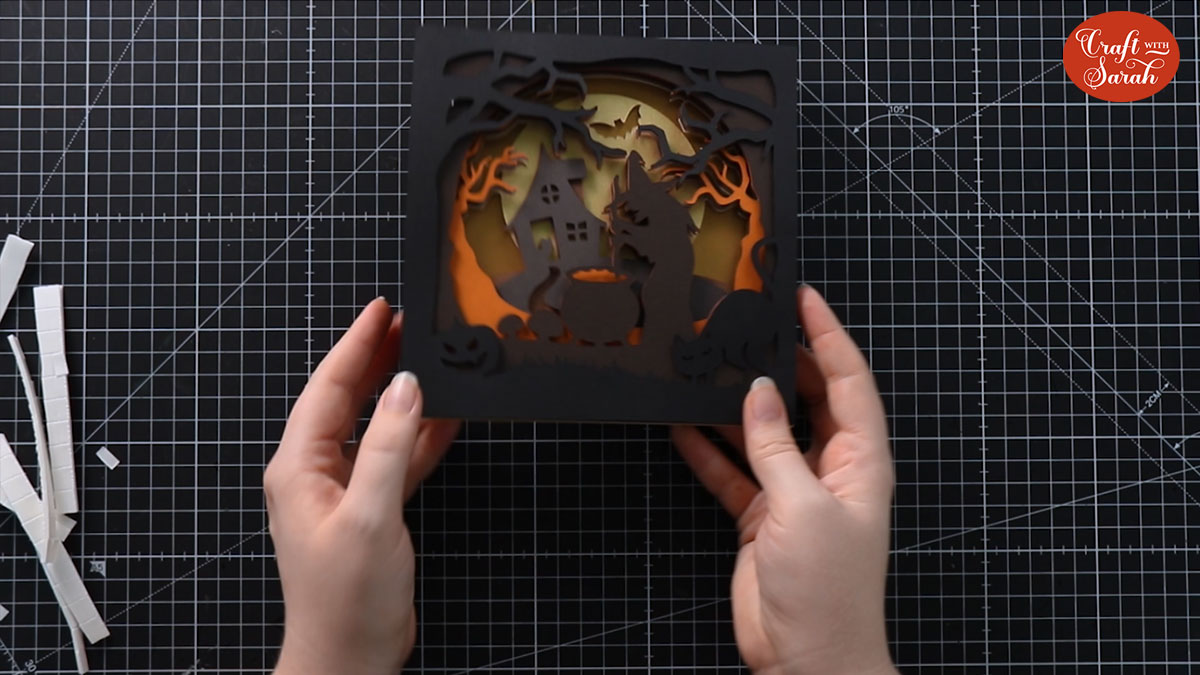
Once everything is cut out, put the cardstock layers in order so you can check you are happy with the colours.
Step 4: Stick the layers together
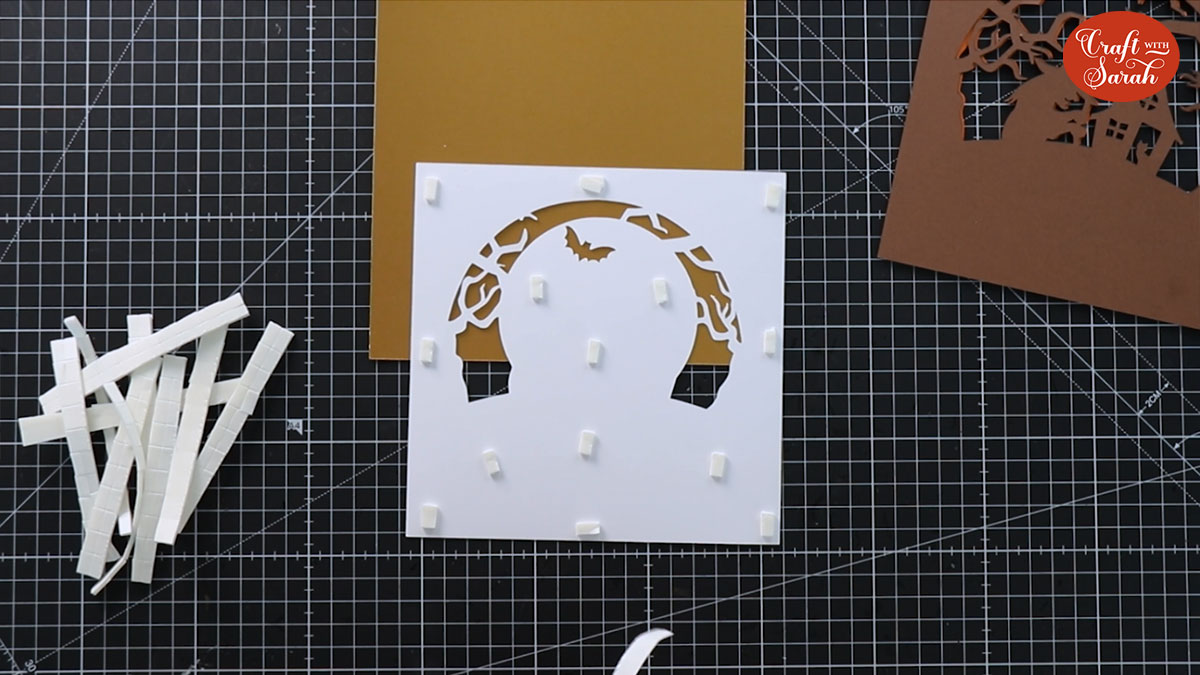
Starting with the bottom two layers, add 3D foam pads to the back of each layer and stick them together.
Here is the order to stick them in. Your download folder contains a larger, higher-quality version of this assembly guide.
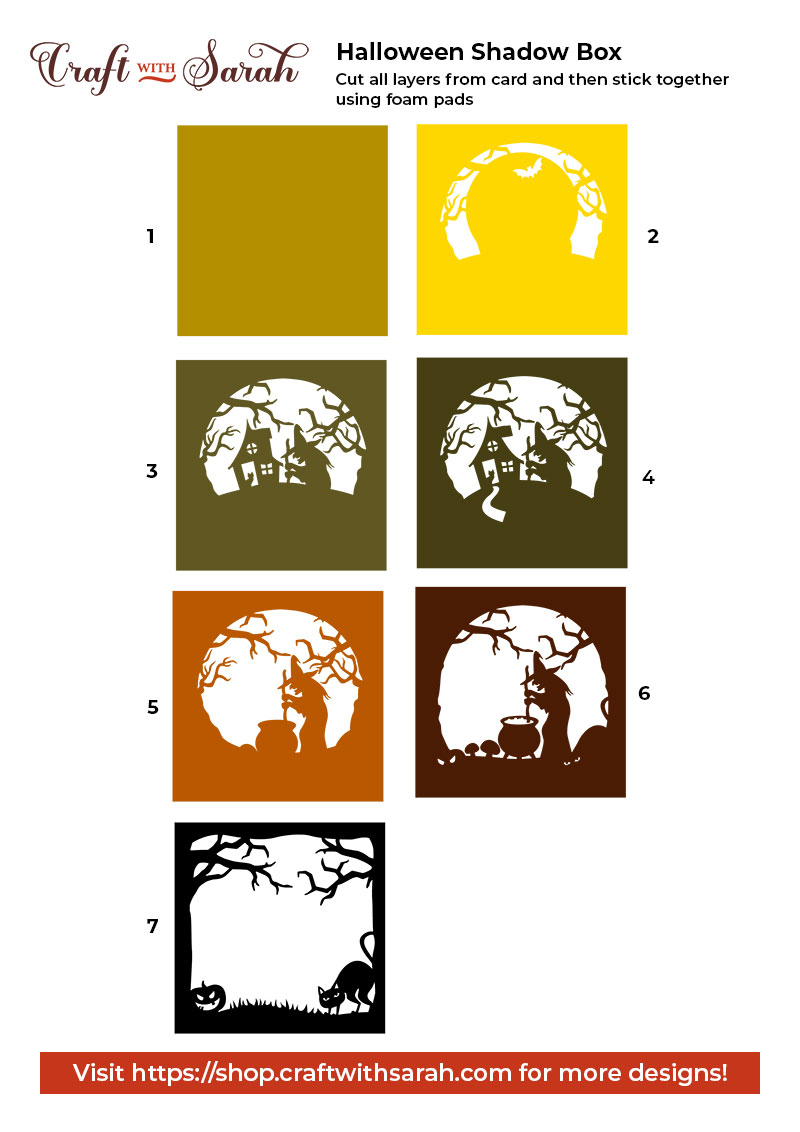
Be really careful to line up the edges of the squares accurately when sticking the layers together, otherwise it might not fit in your frame.
Add some foam pads in the middle of the card pieces to give it stability and to stop the middles sagging under the weight of the other layers.
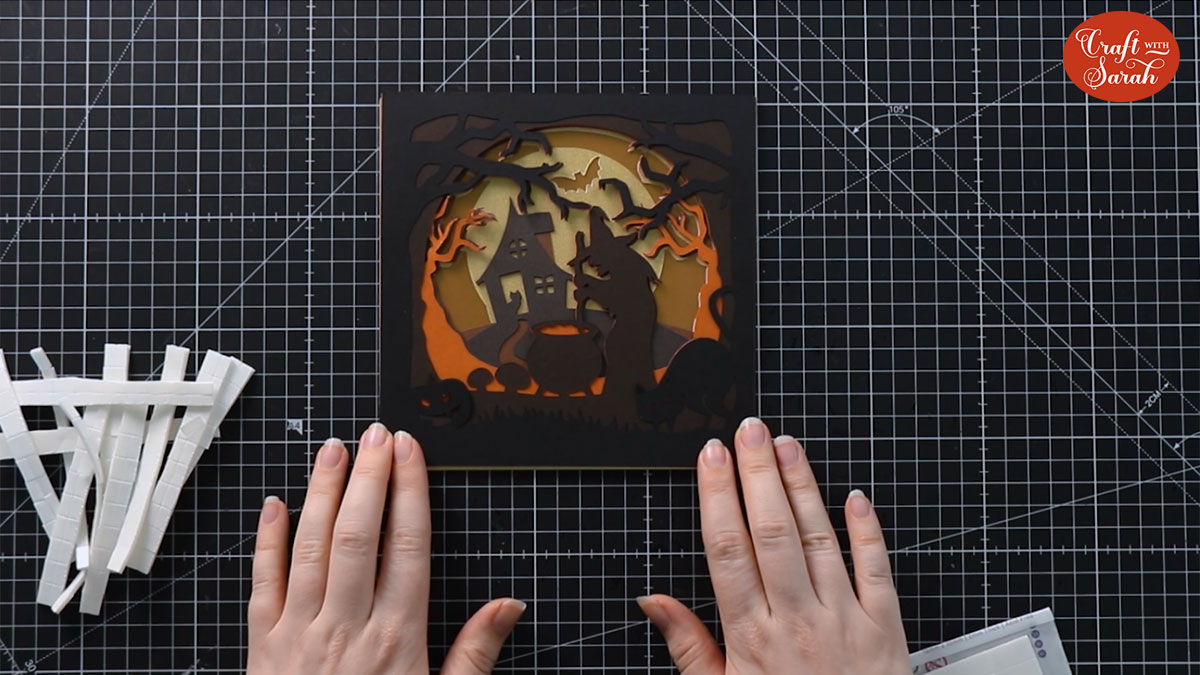
Once all the layers are stuck together, it will look like this:
Step 5: Decorate the shadow box frame
This step is optional, but it’s a great “extra touch” to make your shadow box look extra spooky for Halloween.
As the frame of my shadow box was originally white, I felt that it didn’t really match the dark colours of the cardstock.
So… I decorated it!!
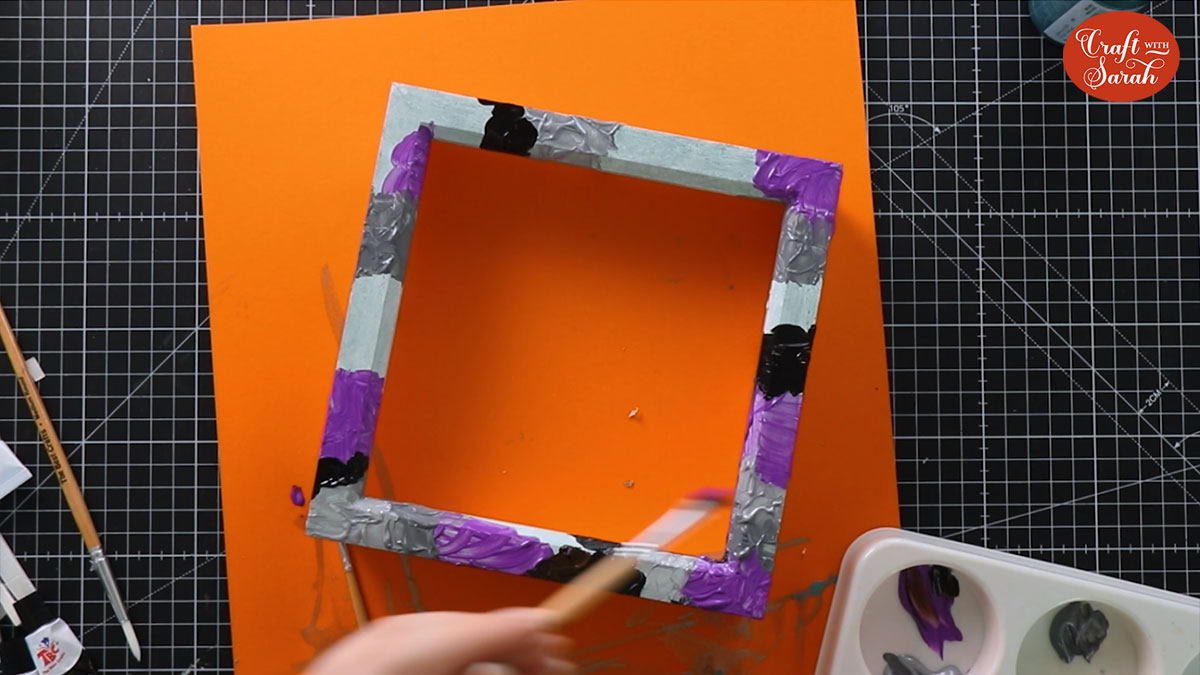
Paint the underside edges of the frame with black acrylic paint to cover up the white at the sides.
Then, let’s get creative with the front of the frame!!
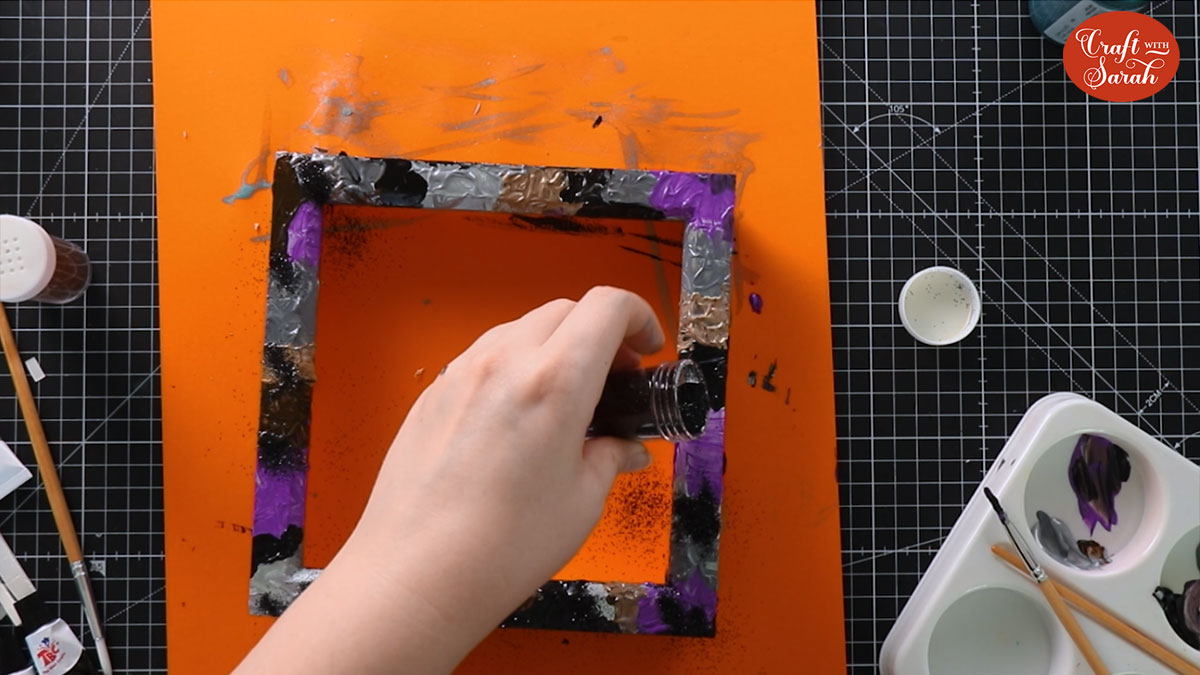
Put small amounts of various “Halloween colour” acrylic paint in a tray and then dab it all over the frame to create a multi-colour effect.
Whilst the paint is still wet, add some glitter.
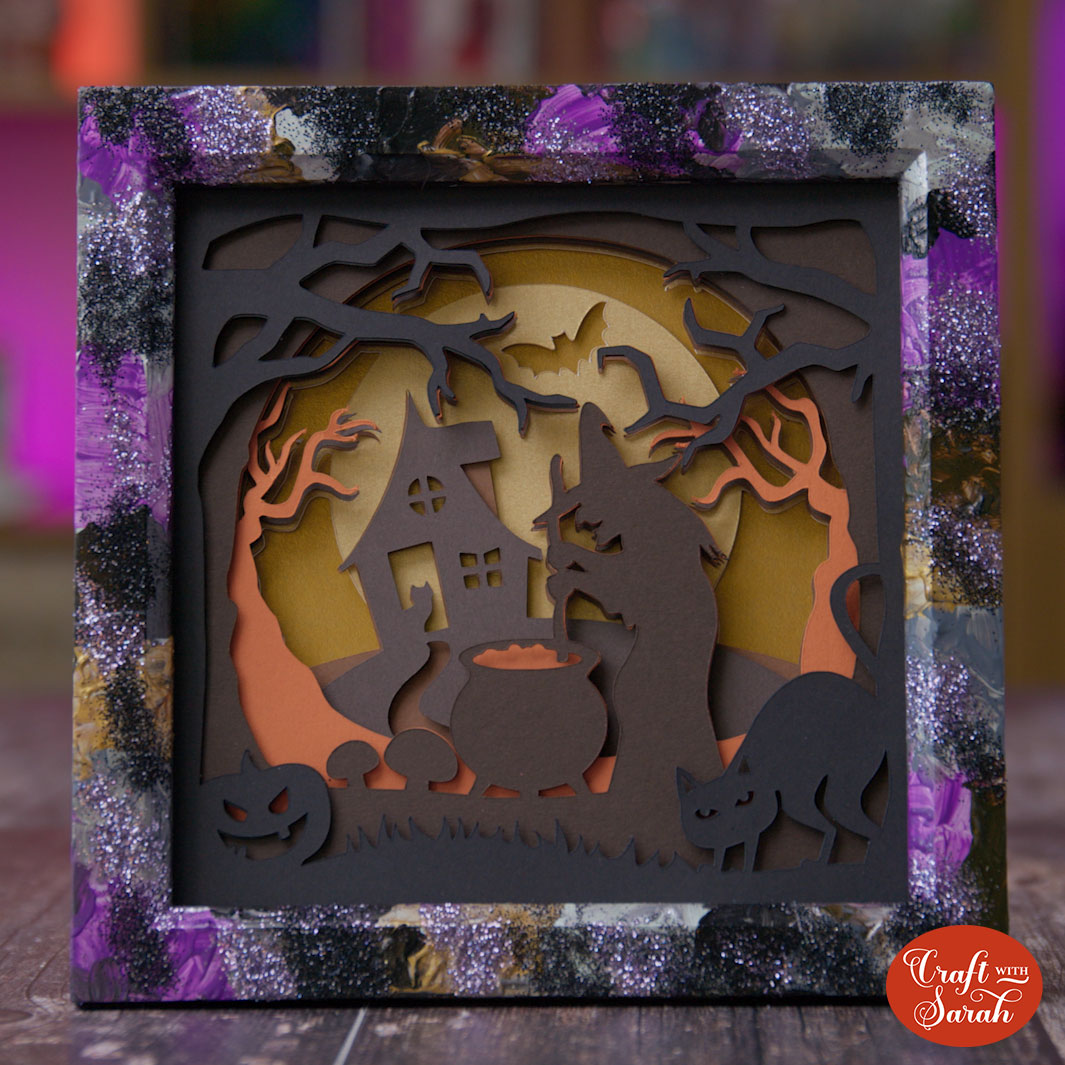
Step 6: Add the layered paper art
Once the paint is completely dry, you can add the paper art.
Remove the spacer from the frame and put the design into the frame, behind the glass.
Don’t panic if your paper layers “stick out” the top of the frame before you add the back on. When you push down the metal tabs it will “squish” your foam pads together to make it all fit inside the frame.
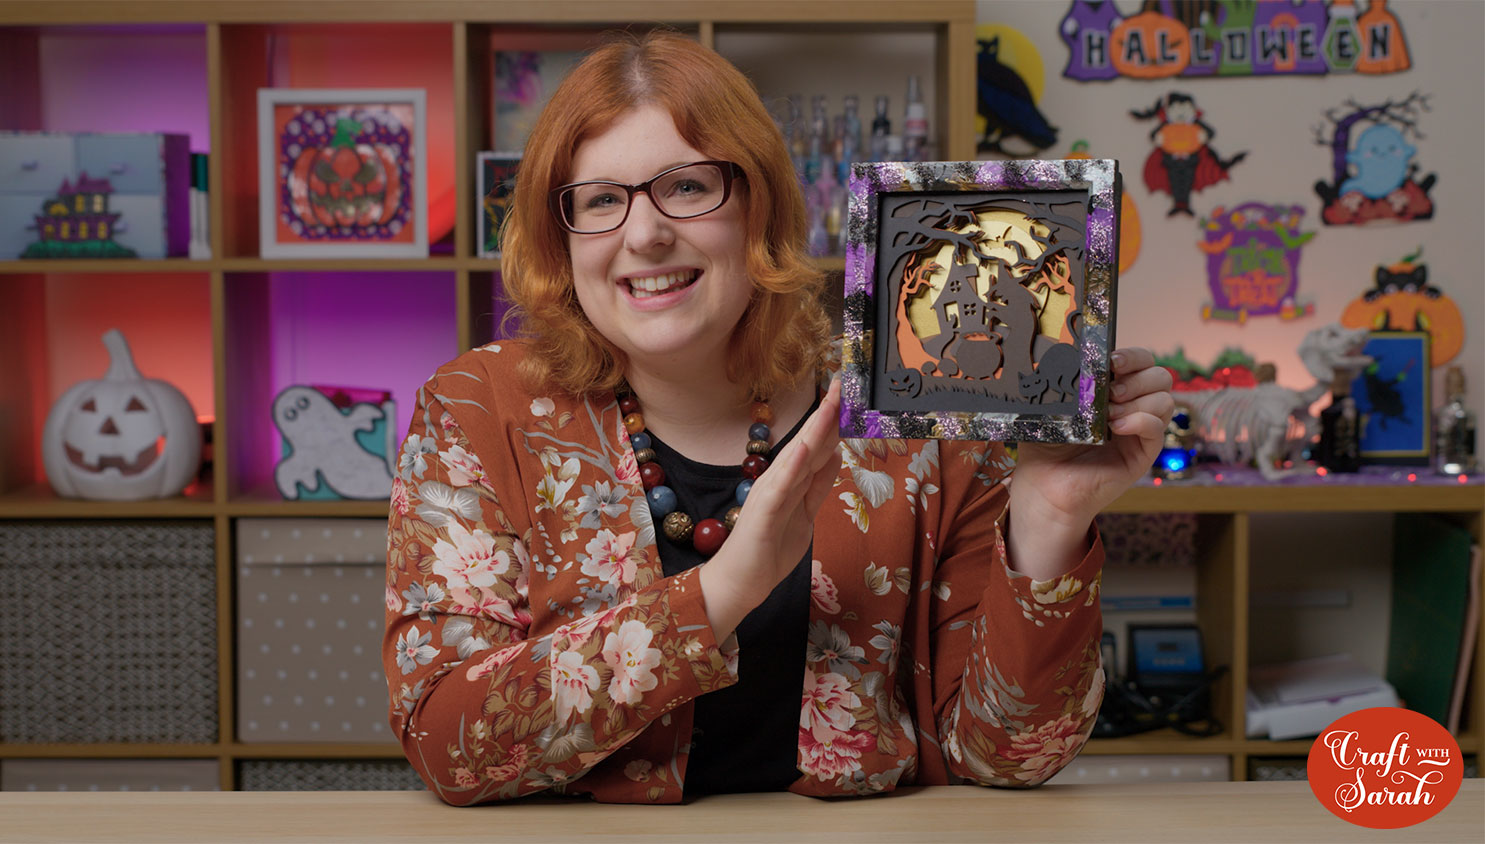
I hope you enjoyed this tutorial on how to make layered paper art for Halloween with a Cricut machine.
If you did, you might also like this Halloween shadow box project that I shared for last year’s Halloween Craft Countdown!
Love layered SVGs? Check out my other free layered SVG files
Happy crafting,
Sarah x

