Graduation Money Holders 🎓 How to make Money Holders with a Cricut
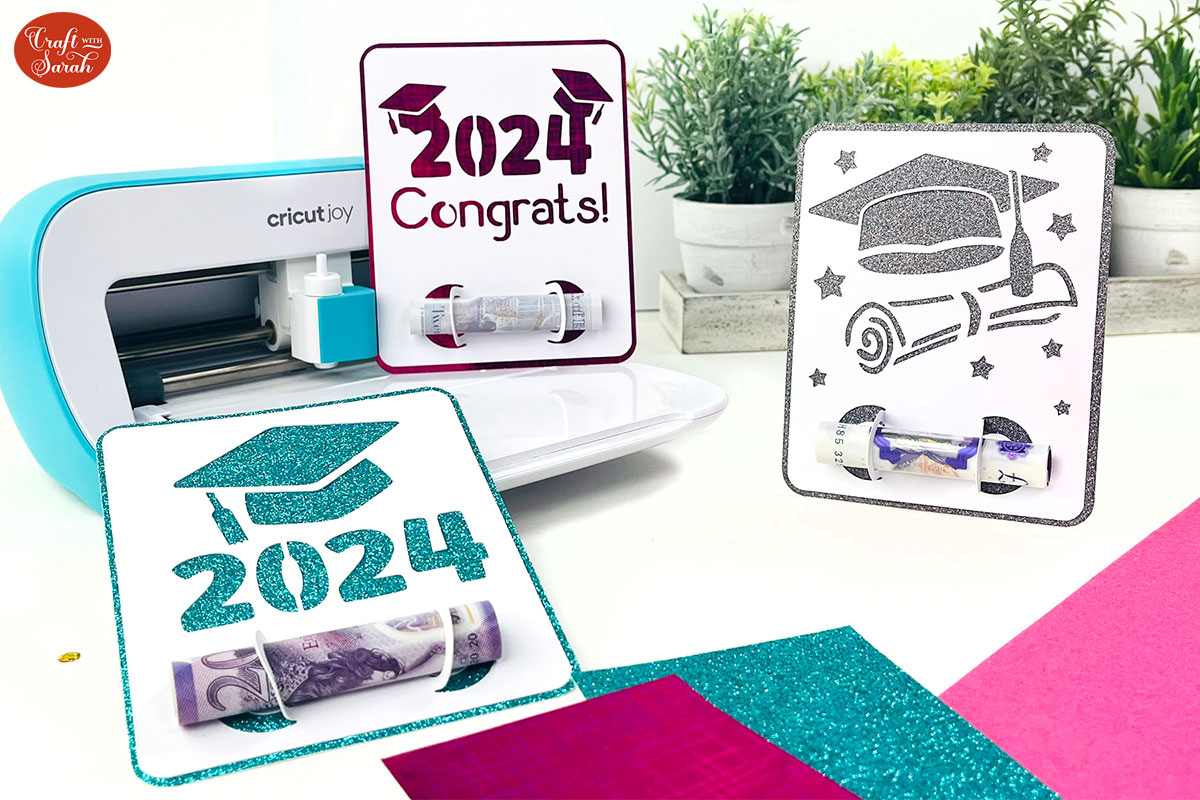
Graduation season will be here before we know it. These free money holder SVGs are a lovely way to say “Congratulations”!
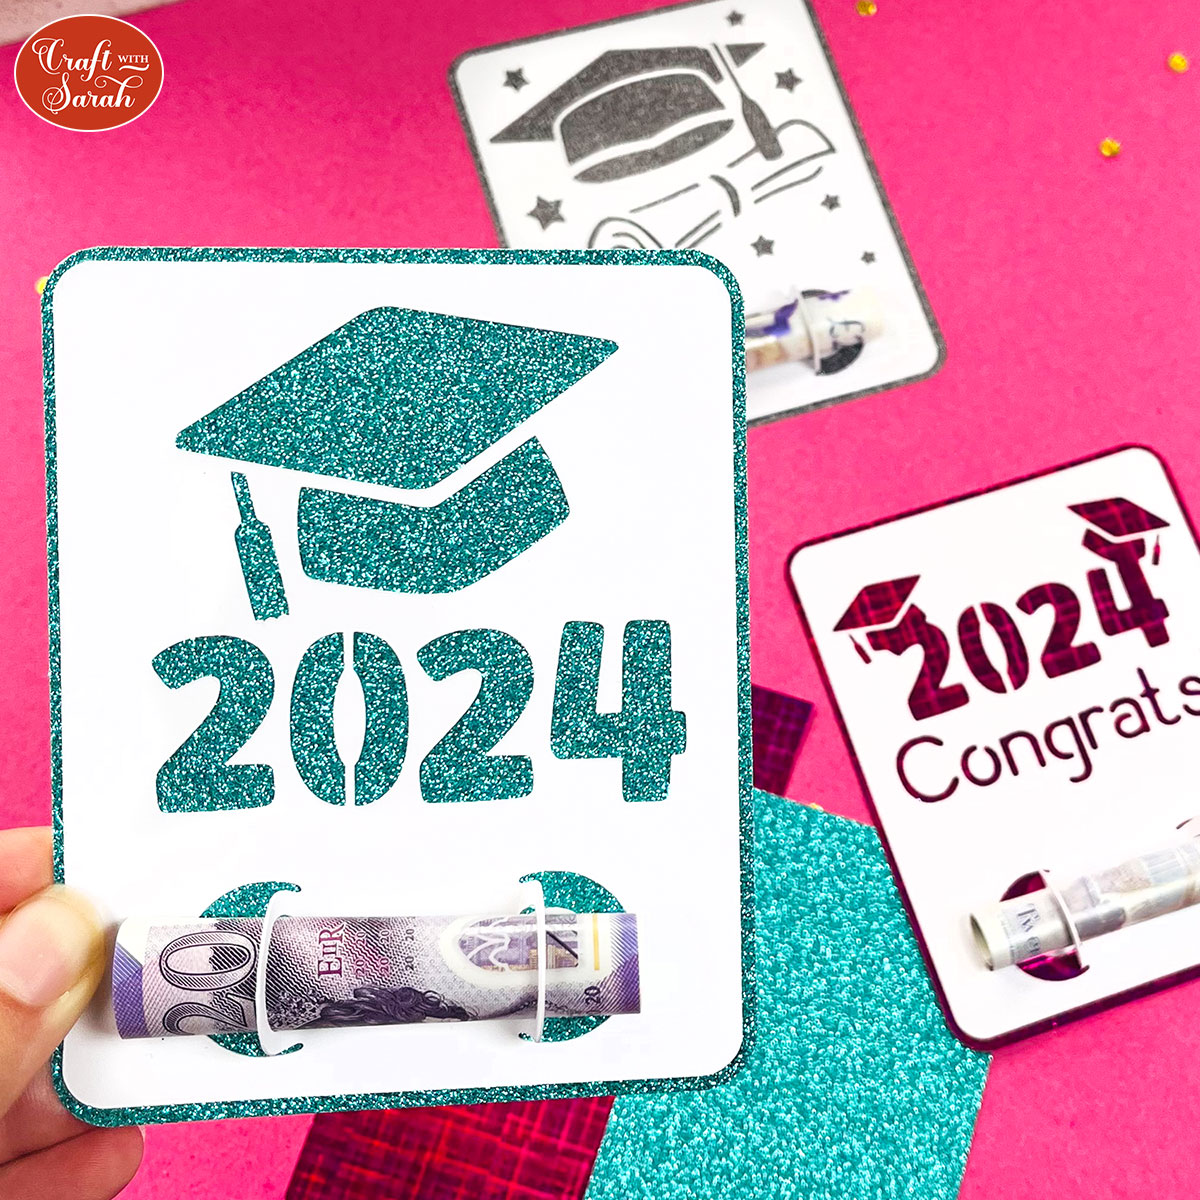
Choose from three different money holders designs, all with a graduation theme.
They are very easy to cut and stick together but look super impressive!
The designs with years on come with versions all the way up to 2030, so you’ll be prepared for the next few years of graduates too!

Materials supply list
Here is a list of the materials that I used to make this project.
Please note that some of the links included in this article are affiliate links, which means that if you click through and make a purchase I may receive a commission (at no additional cost to you). You can read my full disclosure at the bottom of the page.
- Cricut machine
- Light blue Cricut cutting mat
- White cardstock
- Coloured holographic/glitter cardstock
- Glue
- A money note to add into the front
Cricut money holders tutorial
Watch the video below to see how to make this project. Keep scrolling for a written tutorial.
How to make a money holders with free SVGS
Here’s how to make your very own DIY money holders using a Cricut machine!
Step 1) Download the free files & unzip the downloaded folder
Download the Free Cutting File
Please login to your account to download this file.
TERMS OF USE:
You may sell finished, handmade physical craft items that you have made using this product but must not sell or share the digital files. Read full terms of use
Before you upload the SVGs to Design Space, you need to unzip the download folder that they comes in.
- How to unzip a folder on Windows computer
- How to unzip a folder on a Mac
- How to unzip a folder on an iPad/iPhone
- How to unzip a folder on an Android device
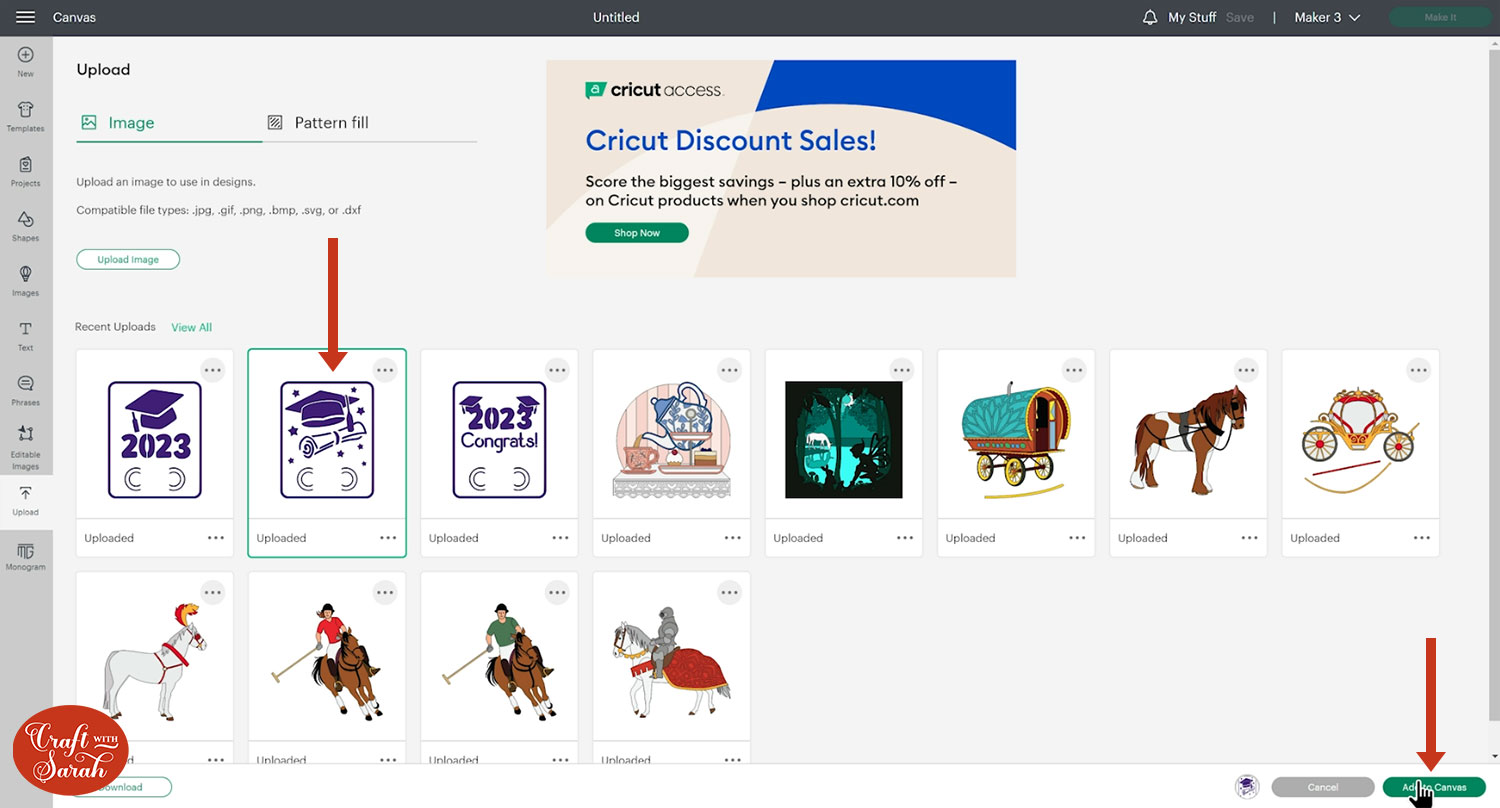
Step 2) Upload the SVG files into Design Space
Open up Cricut Design Space and upload the files.
Make sure you upload the files which starts svg- in the filename!!
This is how they should look after you select the file:
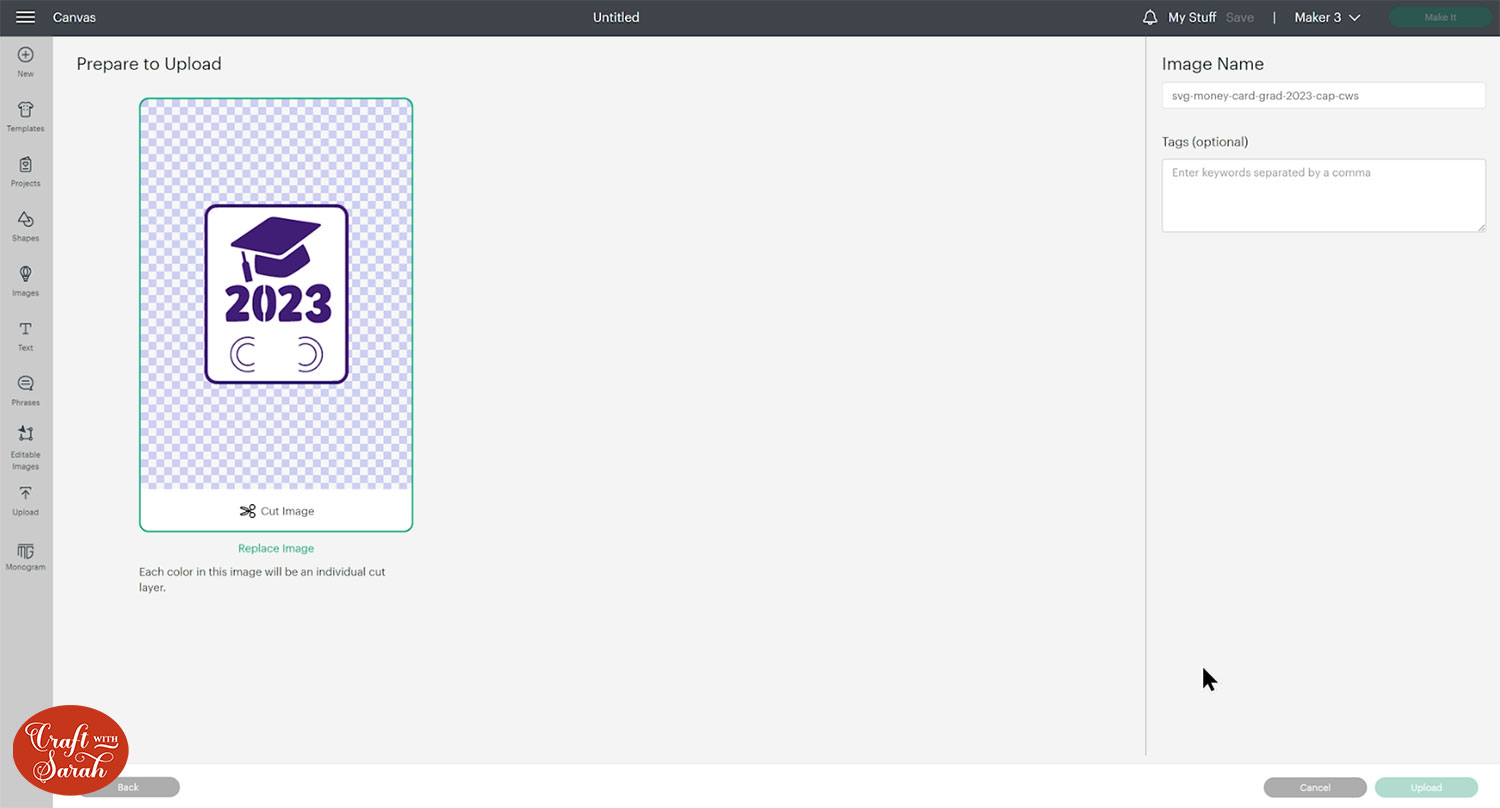
After uploading, the designs will show in your “Recently Uploaded Images”. Click on the one you want to make and then press “Add to Canvas” to put it onto your Project.
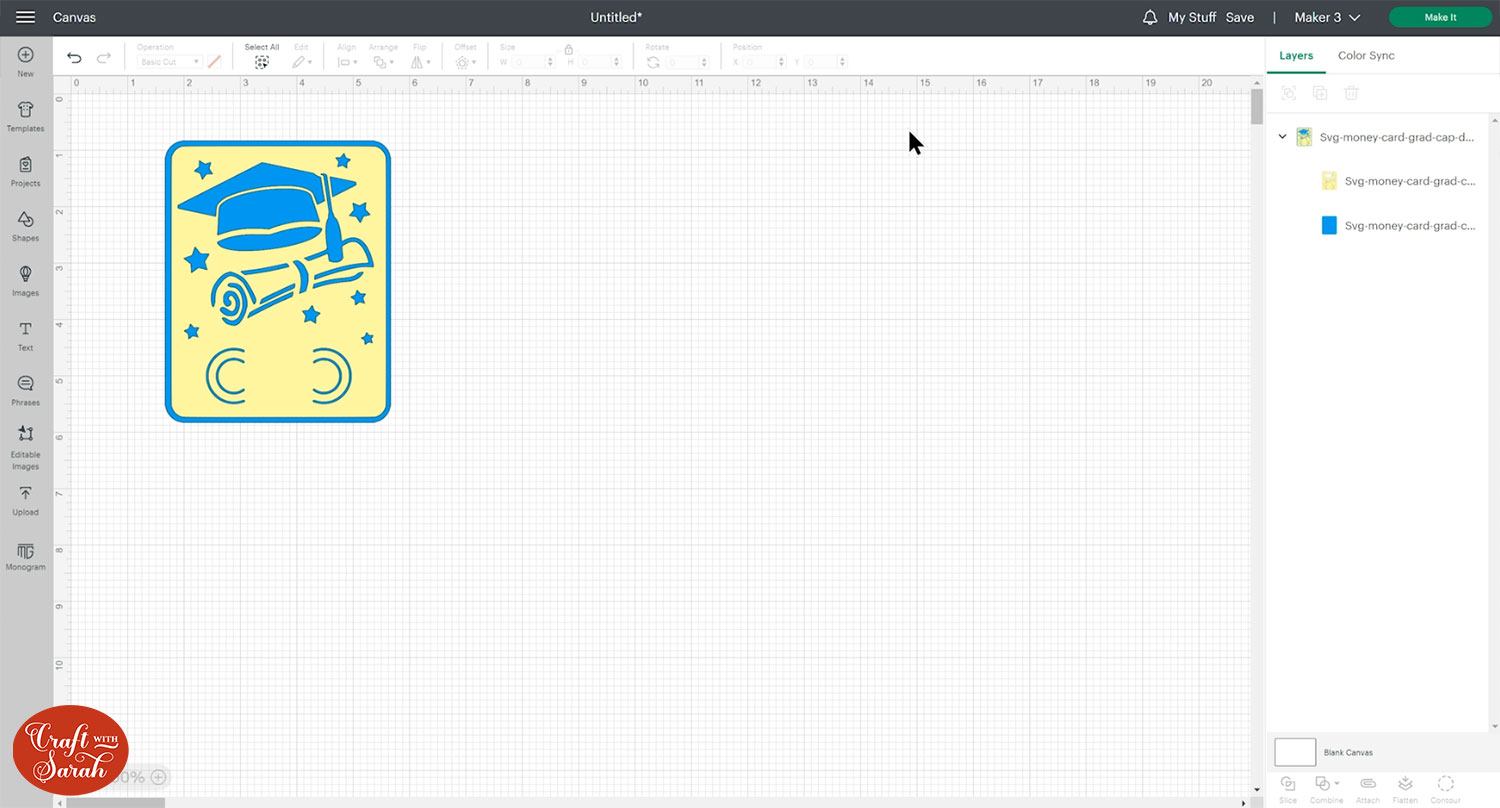
Step 3) Check the size and resize or recolour if needed
The design should load in at 4 inches wide and 5 inches tall.
If it doesn’t, resize it to match.
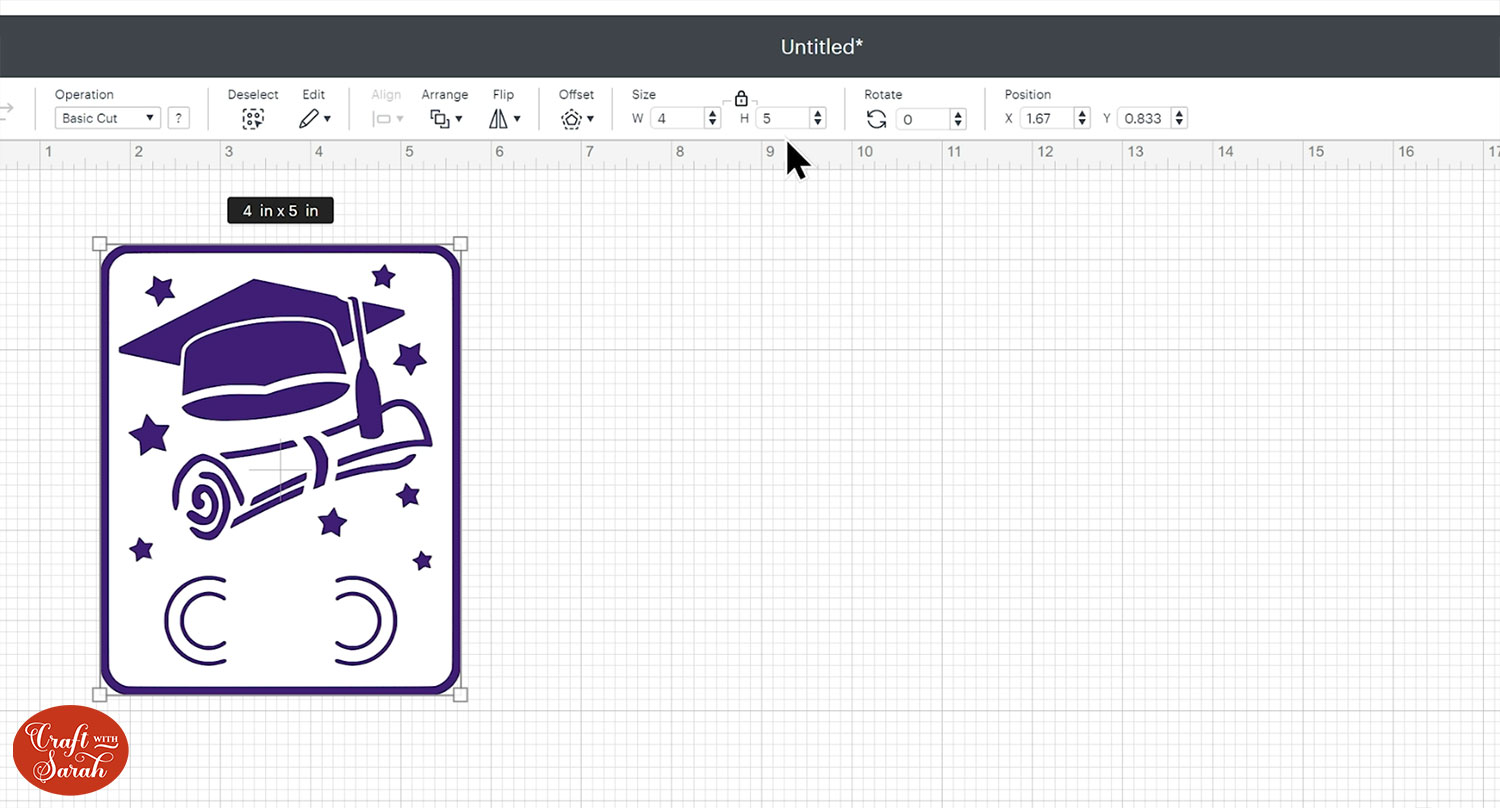
You can resize the gift card if you want to make it larger or smaller.
You can also recolour it to see how different colours look. This can be great for helping you decide what colour card to cut them from!
Step 4) Cut the money holder design
Click “Make It” to begin the cutting process.
You can change the paper size using the dropdowns on the left of the page.
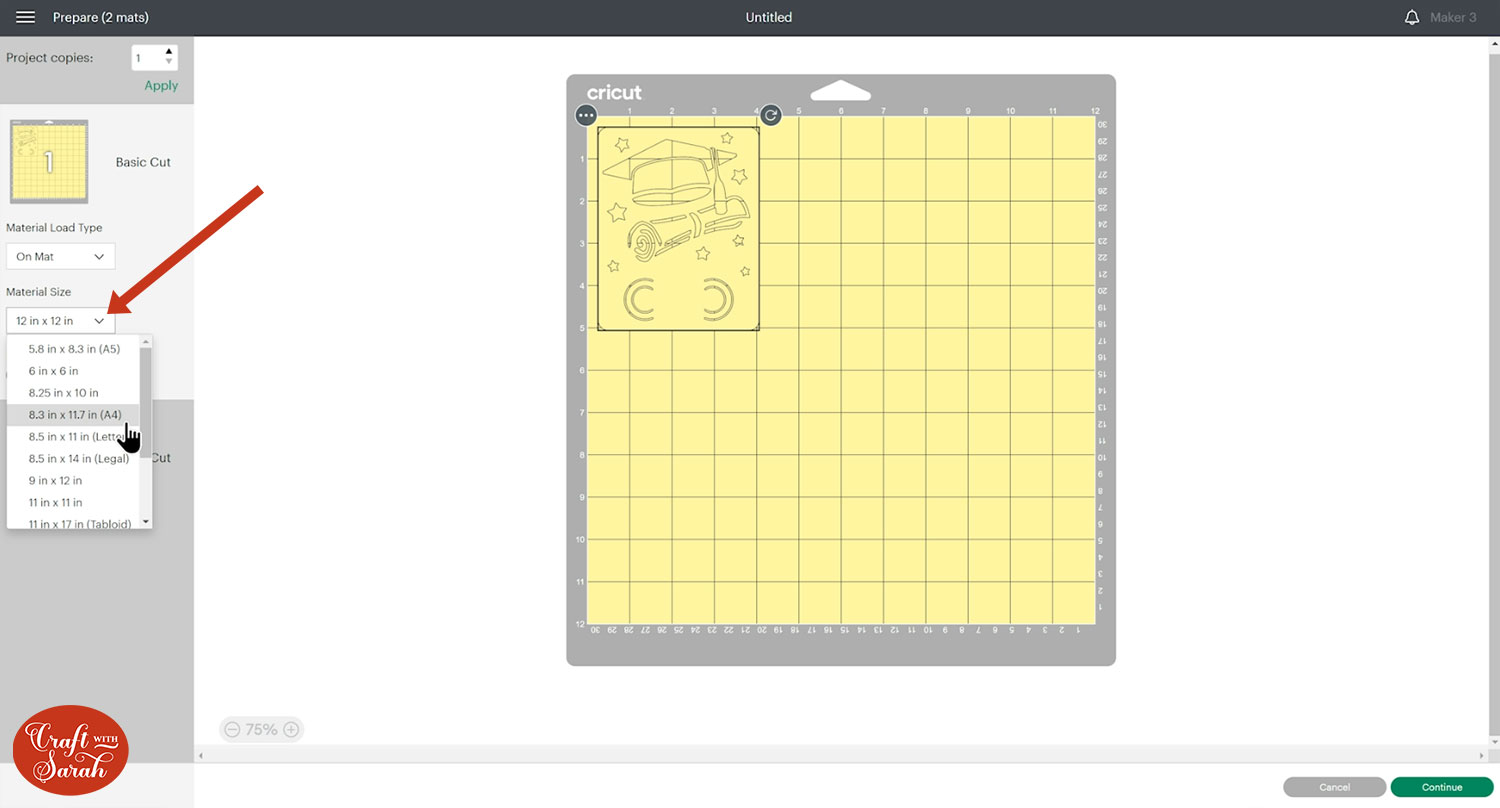
I like to rotate the shapes around so that they don’t use up so much of my cardstock.
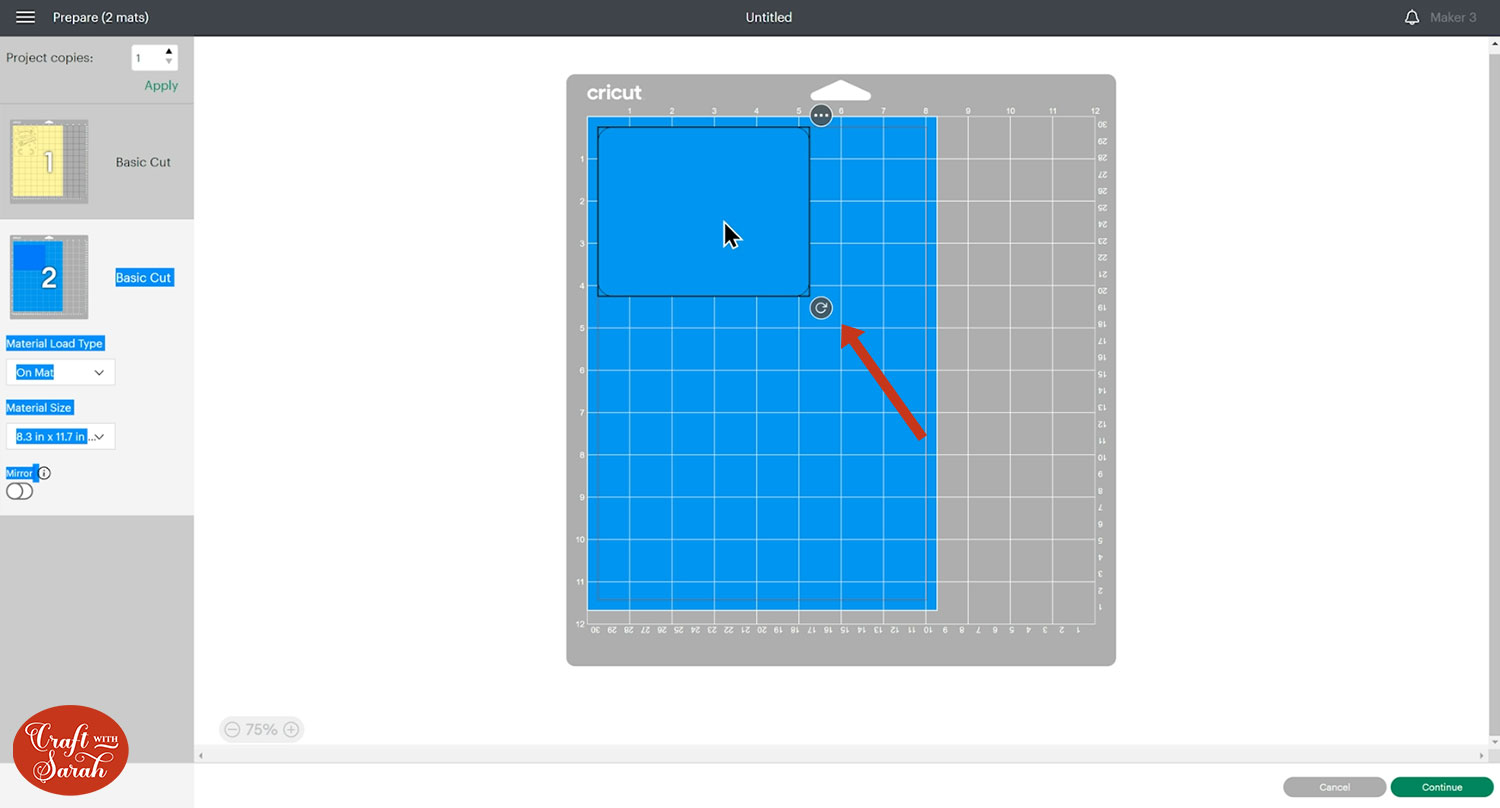
Follow the on-screen instructions to get both pieces of the money holder cut with your Cricut.
I like to use glitter card, metallic card or holographic card for the bottom piece for a little bit of extra sparkle!
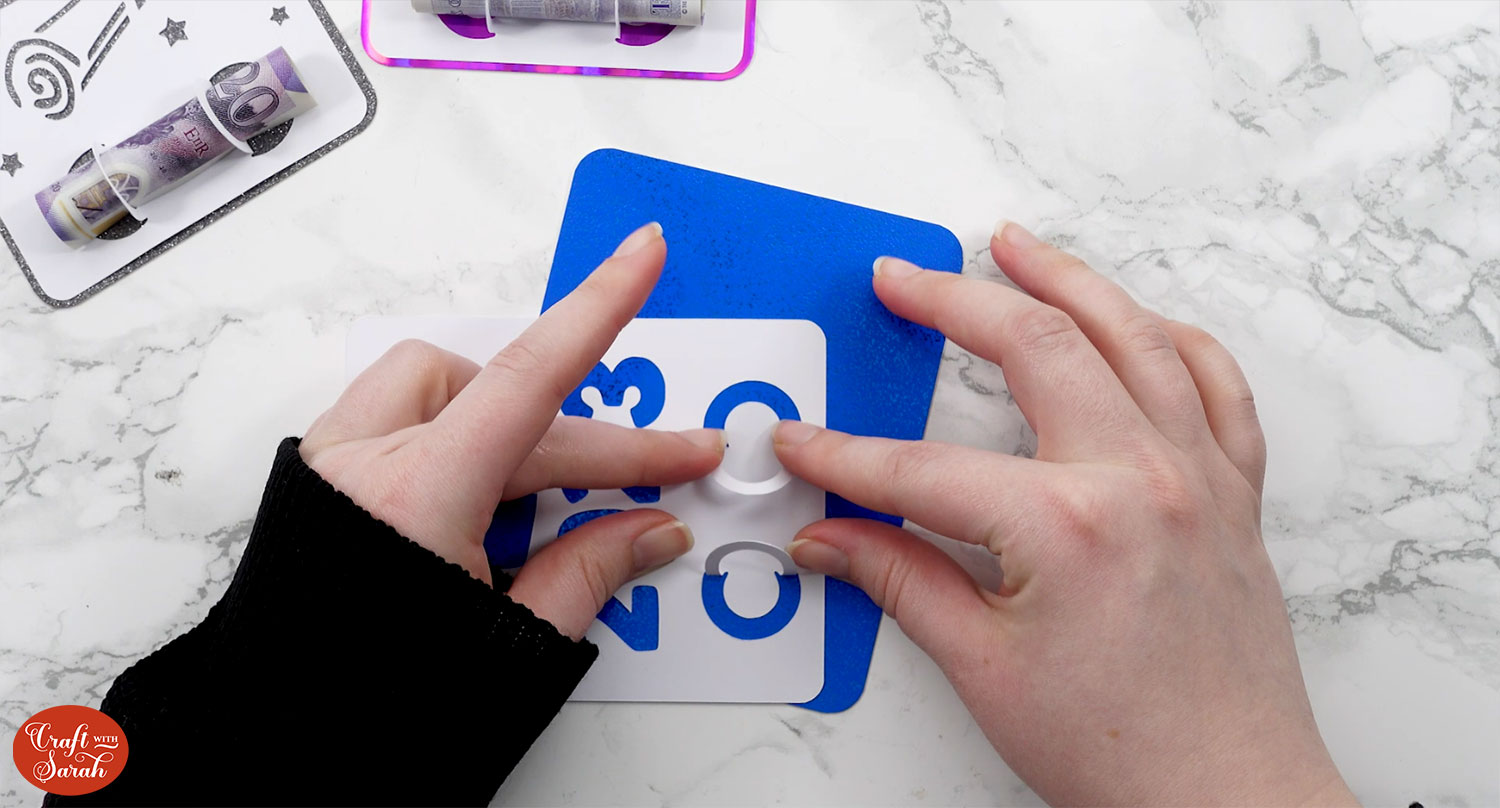
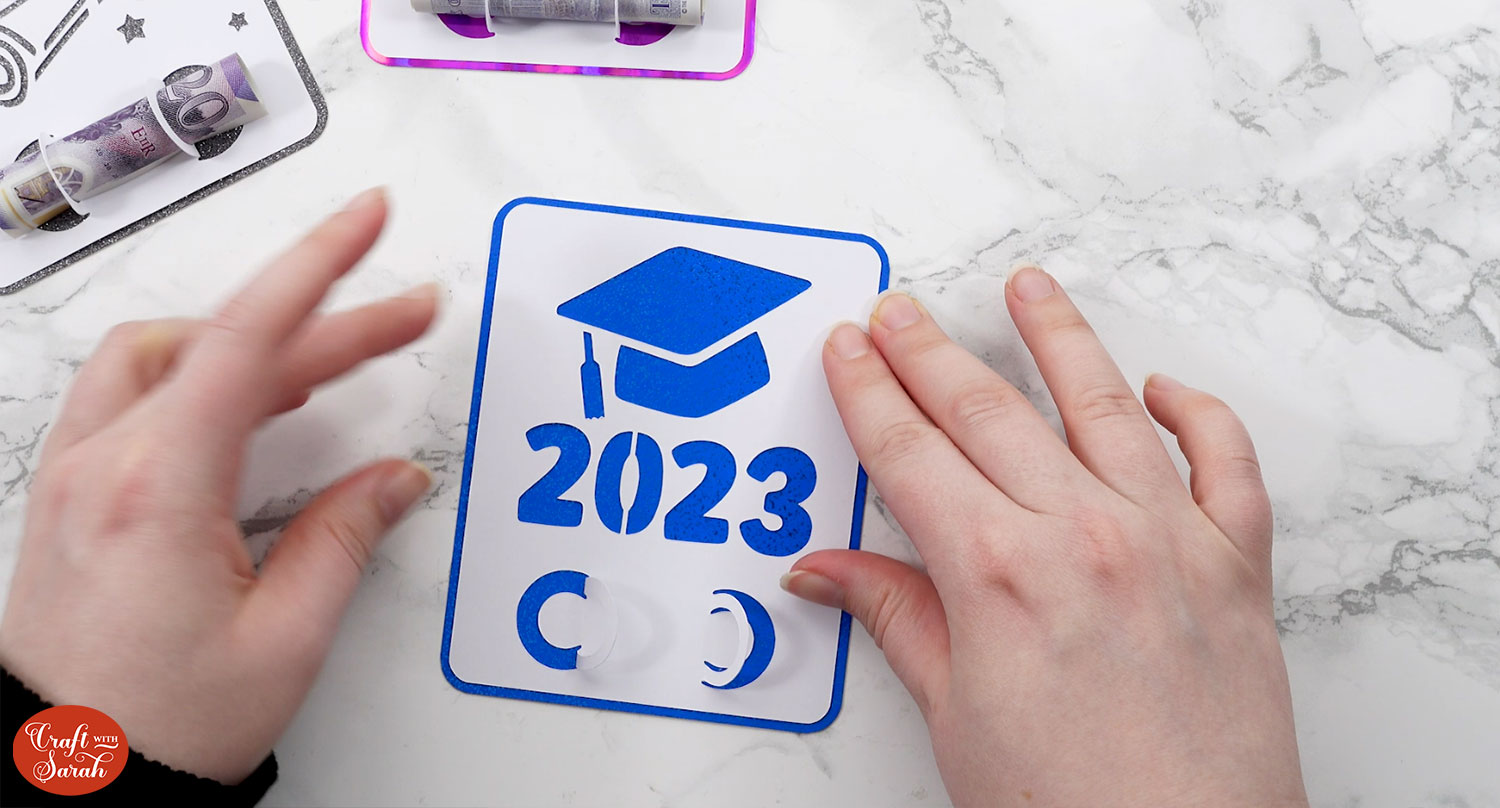
Step 5) Stick the money holder together
Fold the two semi-circle cutouts upwards.
This is where you will slot the money.
Glue the front of the money holder onto the back piece, leaving a thin border of the back colour all the way around the edge.
Be careful not to put glue on the slots that you folded upwards!
Finally, tightly roll up your money note and thread it through the slots.
It will naturally expand to fill the gap when you let go, which holds it securely in place without needed to stick it.
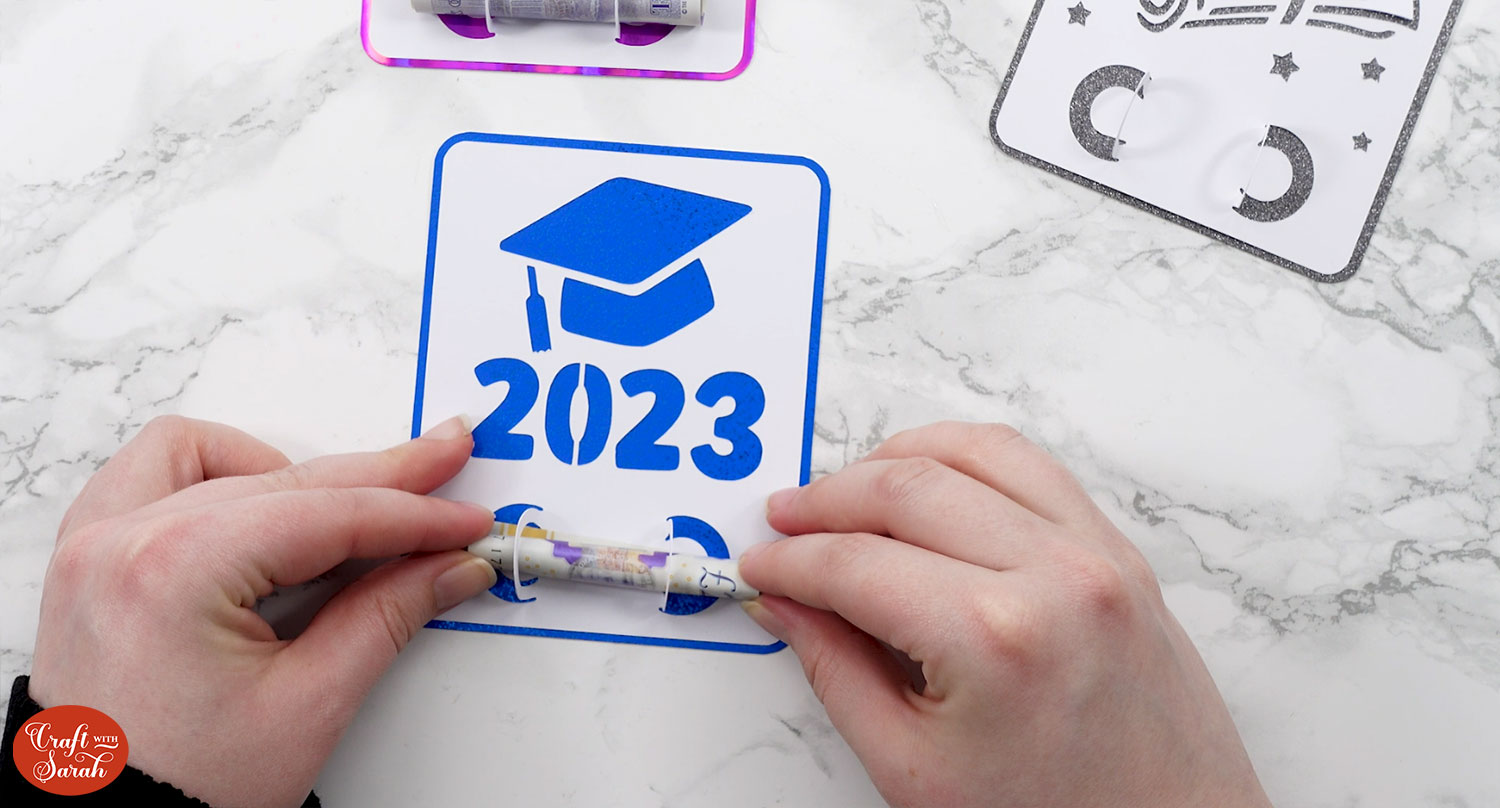
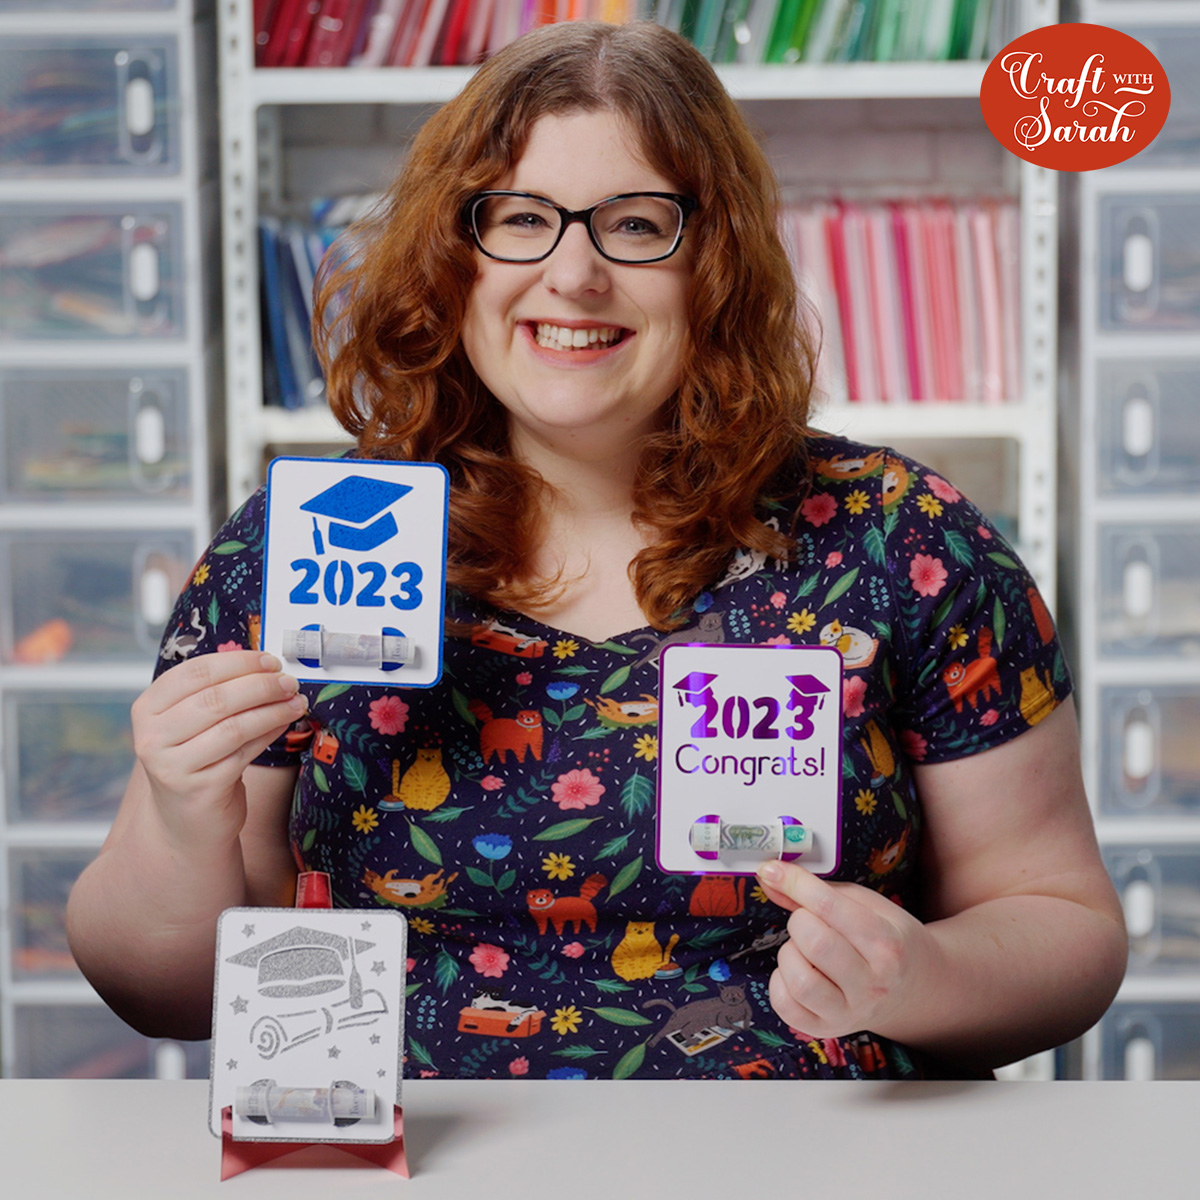
And there you have it – graduation money holders, done!
I hope you enjoyed this tutorial on how to make money holders with a Cricut.
I love how quick they are to make, and they’re great for using up your card scraps too!
Happy crafting,
Sarah x

