Quick & Easy Fun Fold Card Template

Fed up of making the same style of cards all the time? Try something different with this “over the edge” fun fold card template!
Contents:
Please note that some of the links included in this article are affiliate links, which means that if you click through and make a purchase I may receive a commission (at no additional cost to you). You can read my full disclosure at the bottom of the page.
What is a fun fold card?
A fun fold card is… well, one that’s… err… fun… to fold! ??
It’s a generic card making term for any card shape that is a little more complex and interesting than simply folding a piece of card in half to make your card blank.
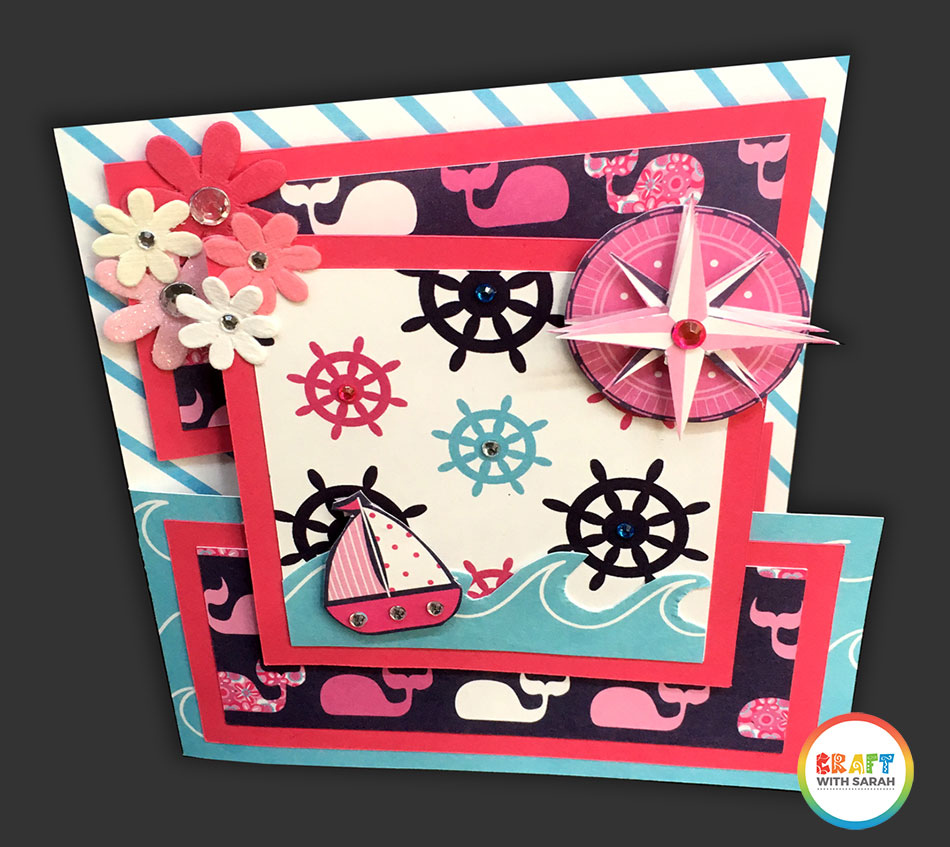
For this card, the “fun fold” part is the half-size front panel combined with the over-the-edge square.
It’s such a simple design, but has endless possibilities for crafting fun!
Fun fold card making template
Use the box below to get the fun fold card in Cricut Design Space.
All you need to do is click the link and the template is ready for you in Design Space, all perfectly sized and including all the score lines!
VIDEO: How to make a fun fold card
Watch the below video for instructions on how to assemble this fun fold card.
Materials list
Here is what you’ll need to make this fun fold card…
You will need…
- Paper set (I used these nautical papers)
- Coloured card or paper
- Tape runner / Double-sided tape / Tacky glue
- 3D foam pads (optional)
- Embellishments such as sticky gemstones and flowers
WRITTEN TUTORIAL: How to make a fun fold card
Here is how to assemble this over-the-edge fun fold greetings card.
1) Cut out all pieces of the template
Don’t forget to cut one of the smaller rectangle onto white so you can write your message on it.
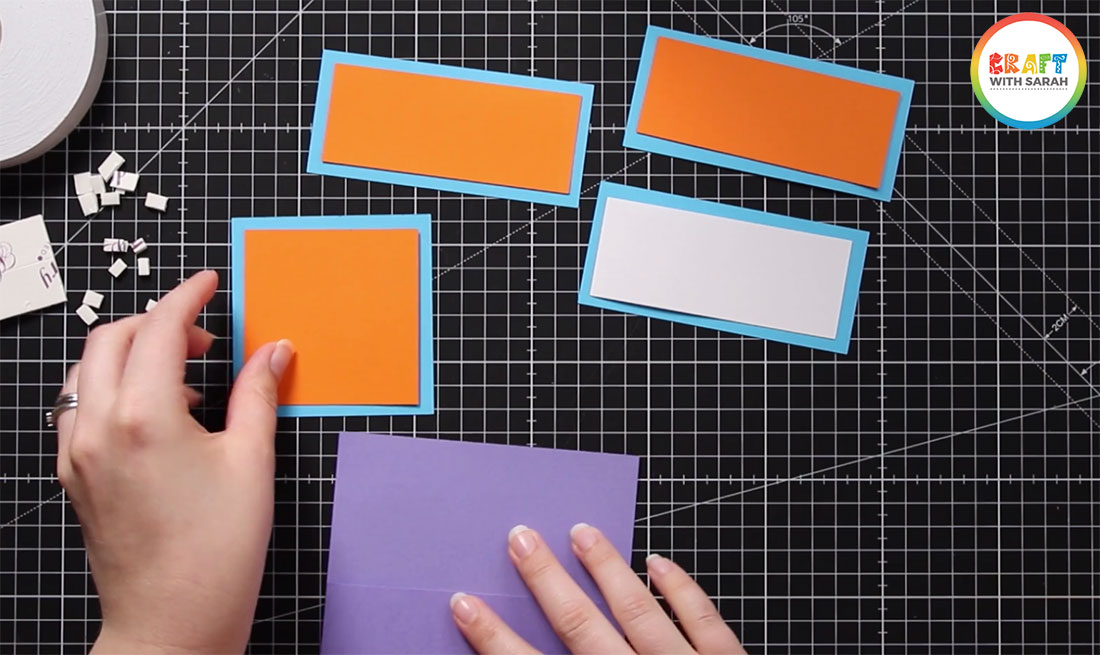
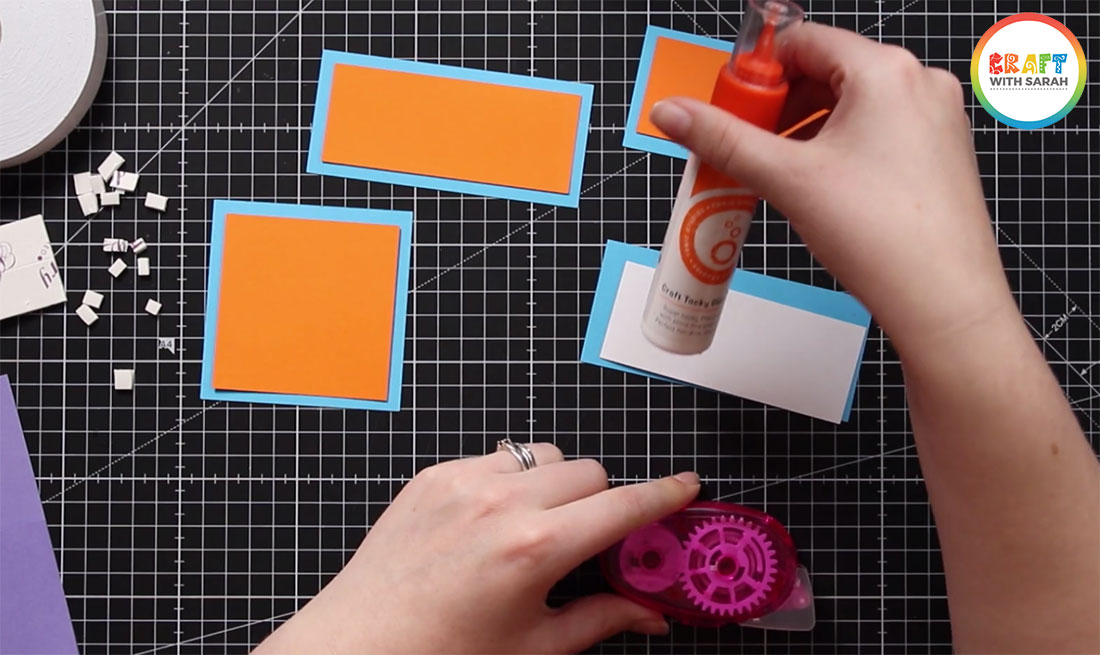
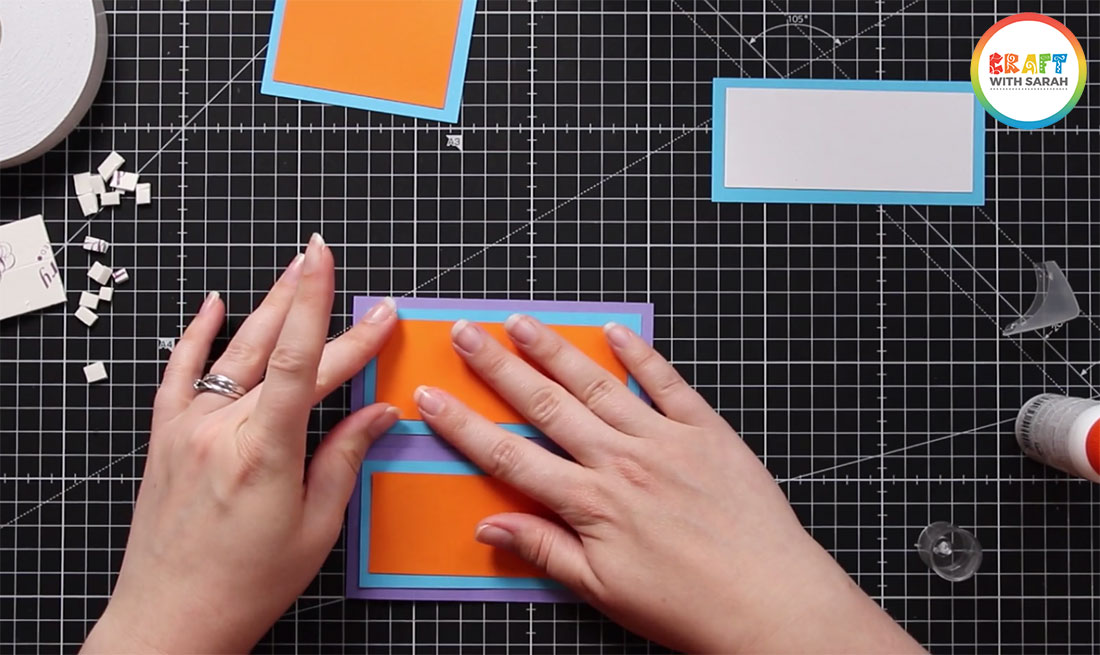
2) Stick the smaller shapes to the larger ones
Stick the three smaller rectangle into the middle of the larger versions, and the smaller square onto the larger one.
I use double-sided tape or tacky glue for card making – both are great adhesive choices.
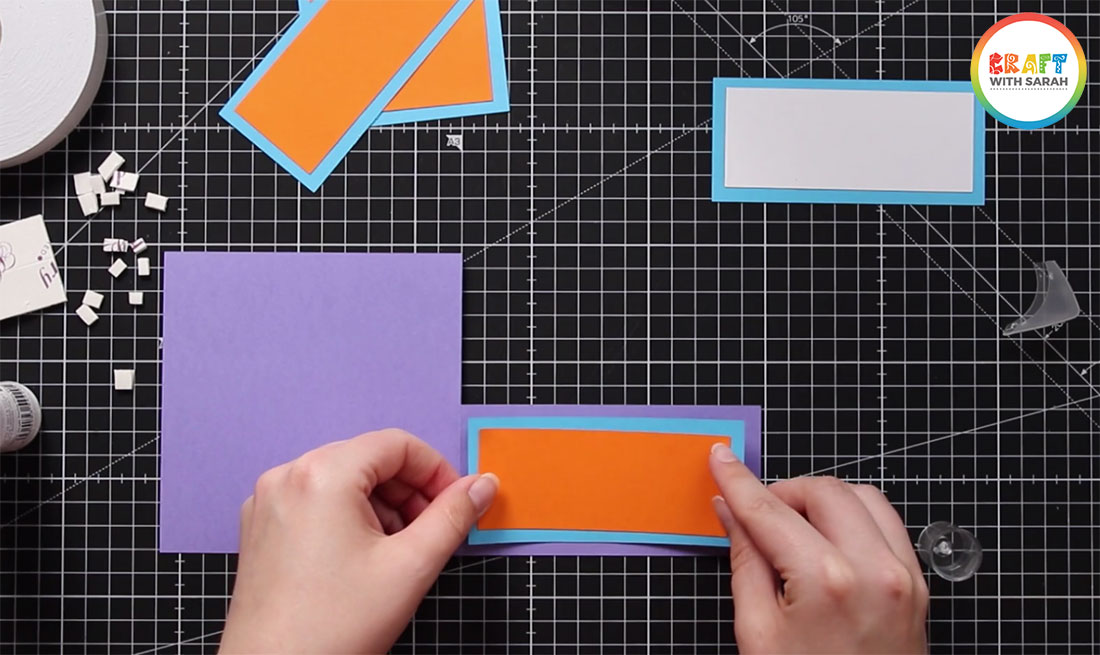
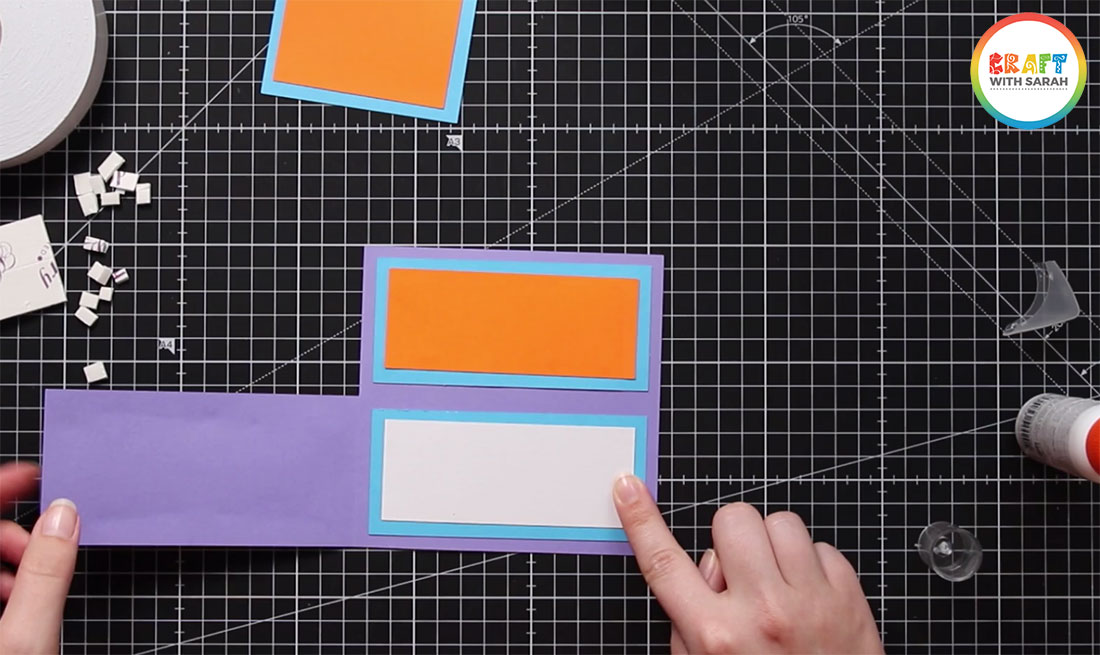
3) Stick on the front panel
Stick the front panel to the front of the card base.
It’s easiest to open up the card to do this to make sure you’re sticking it exactly in the middle.
4) Stick on the top panel
Stick the top panel to the inside of the card base, at the top.
You could use foam pads to this panel to add a bit of 3D dimension!
5) Stick in your insert piece
Open up the card and stick the rectangle with your message section to the inside of the card.
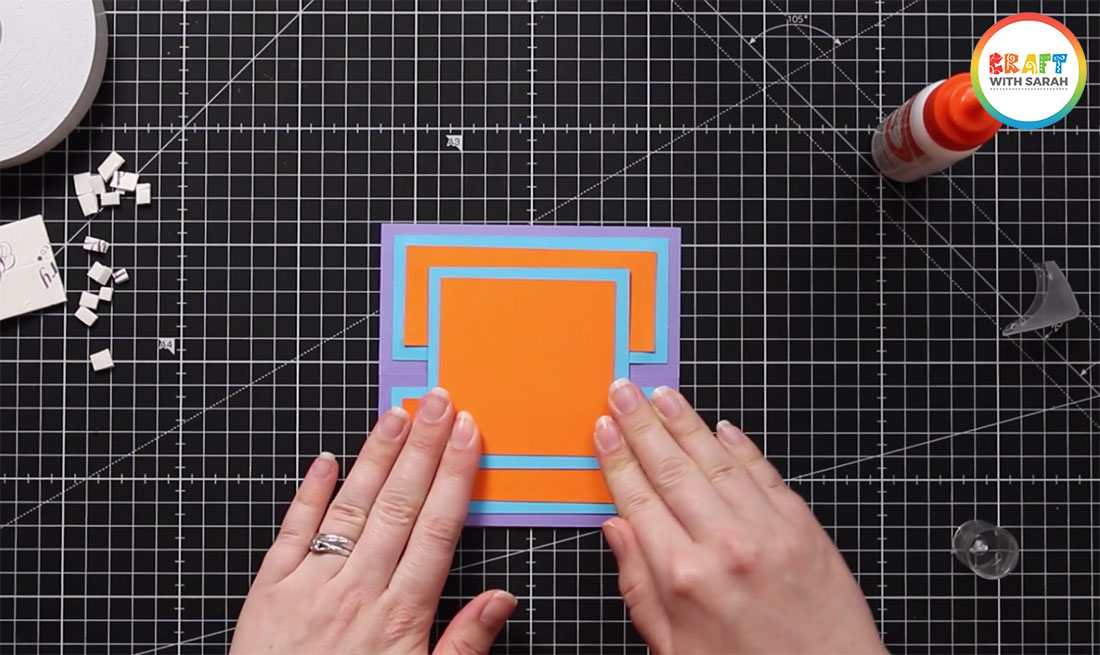
6) Attach the square
Put adhesive on the bottom 1/3 of the back of the square panel.
Stick it to the front of your card.
Make sure you don’t have any glue showing through the back that might accidentally stick it to the inside of the card, otherwise it won’t open!
You could use foam pads instead of glue to add a bit of 3D dimension.
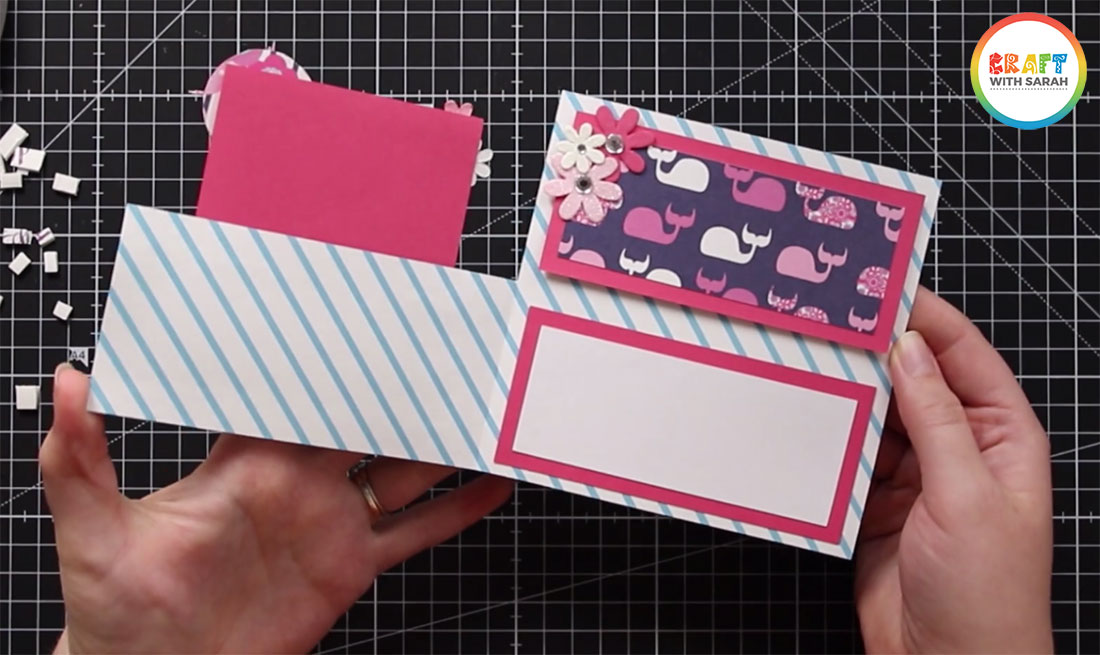
7) Decorate the card!
Now for the REALLY fun bit – adding your decorations!
Go as subtle or as WILD as you want with your embellishments!
I hope you have enjoyed this fun fold card tutorial.
Check out my other card making tutorials and Cricut crafts for more crafting ideas.
Happy crafting,
Sarah x

