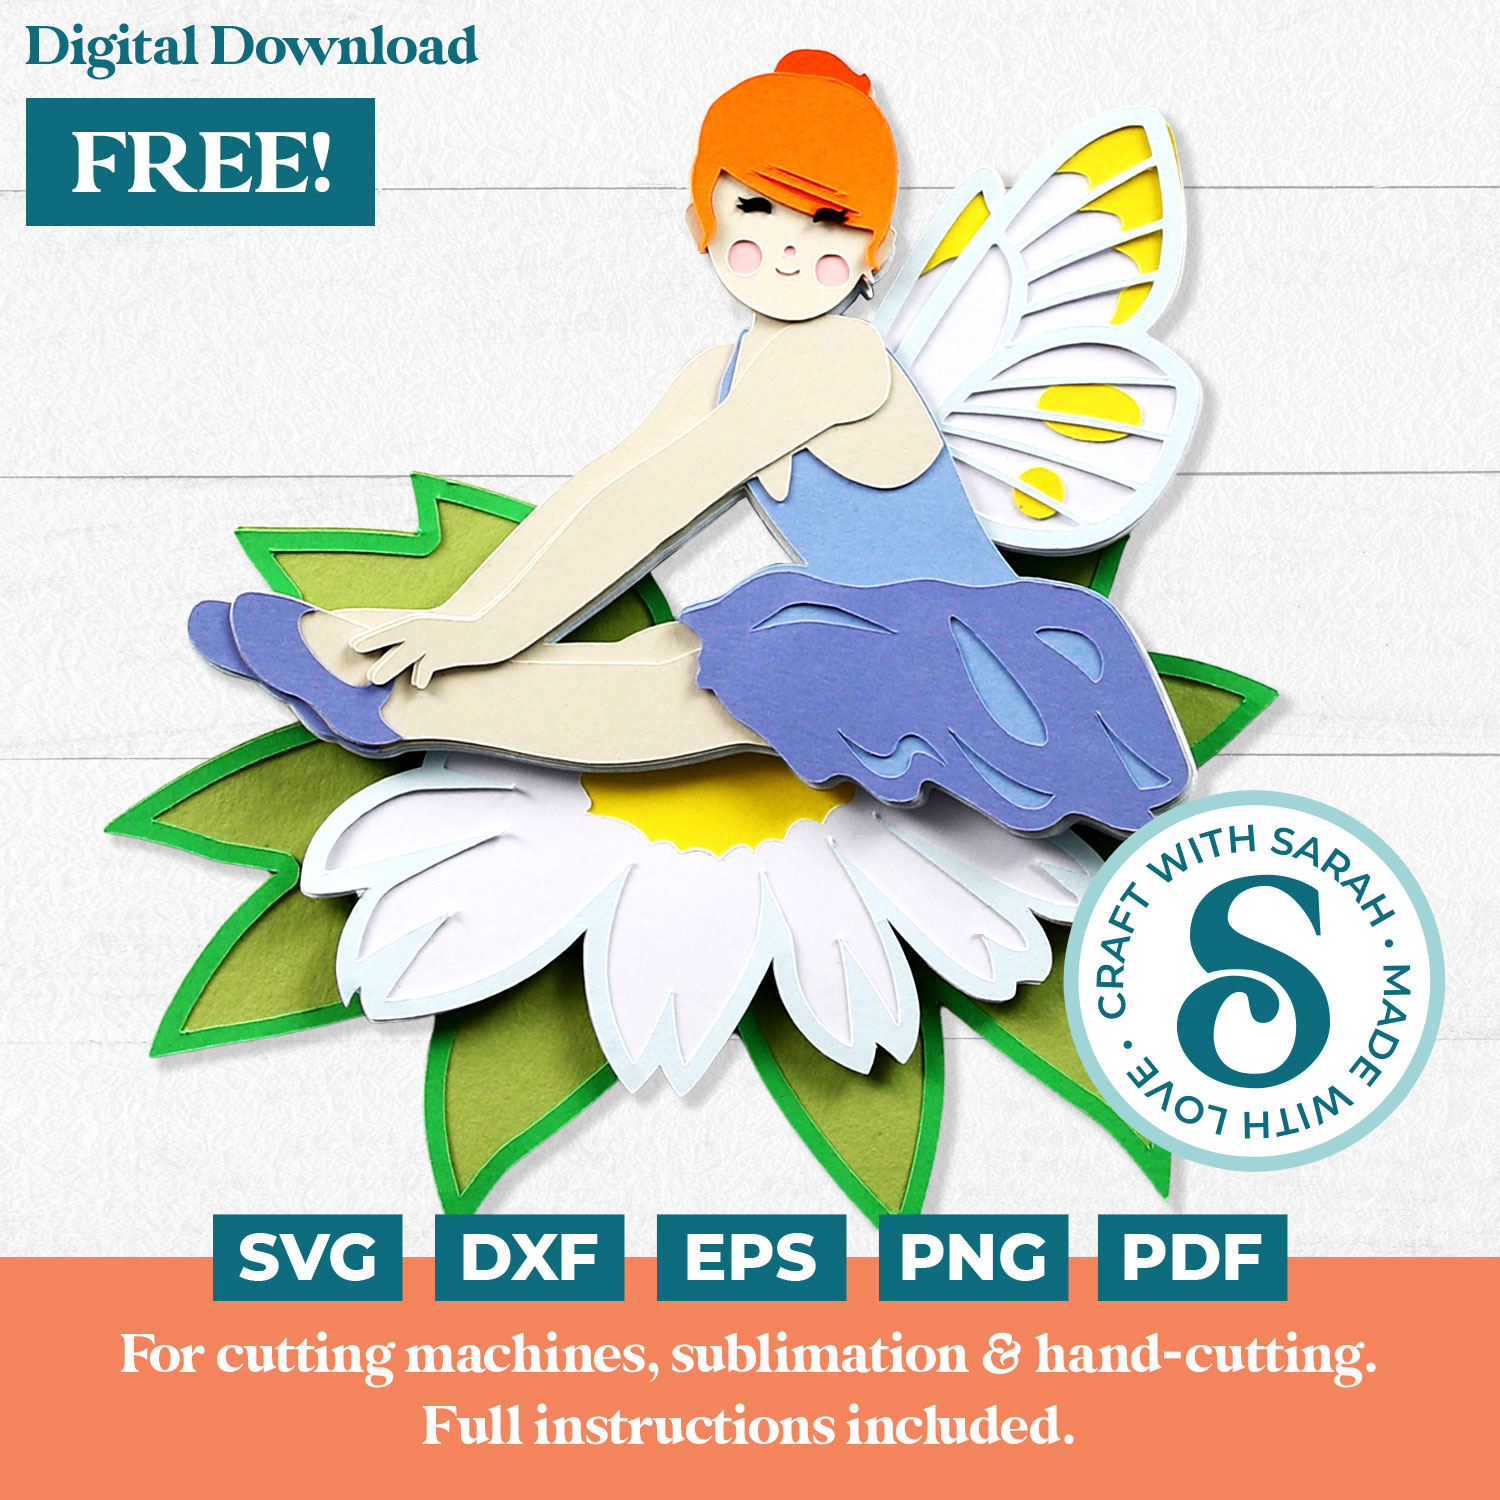
FREE Fairy SVG 🧚 DIY Fairy Paper Craft Project for Cricut
Make a magical craft project with this free layered fairy SVG.
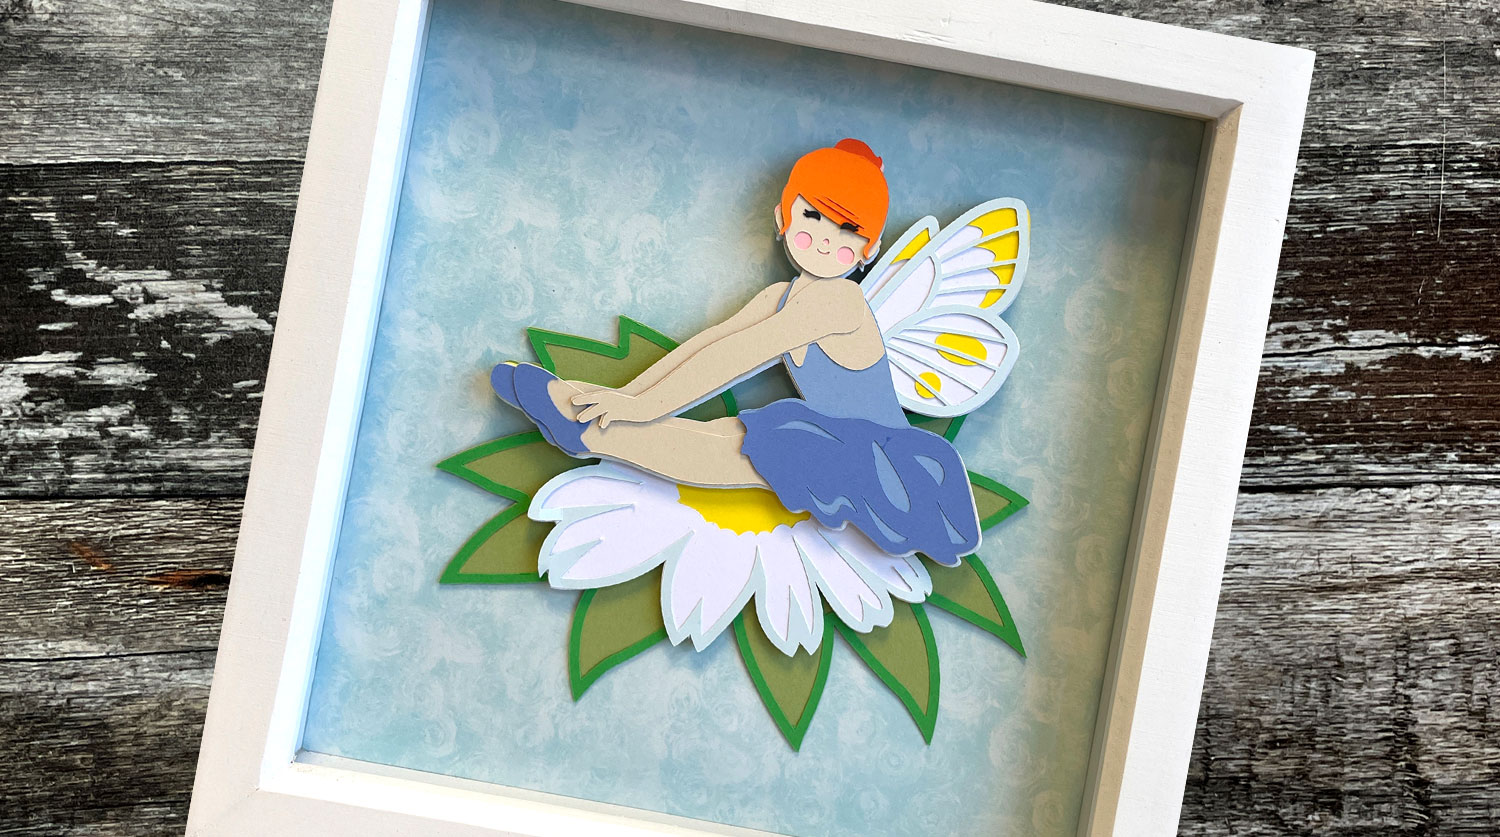
This gorgeous little fairy is sat on her favourite daisy flower and she has a big smile on her face as she is enjoying a beautiful summer’s day in the sunshine!
The colours of the daisy are reflected in the fairy wings colours which make her match the flower beautifully.
This free fairy SVG is perfect for making DIY fairy crafts for a child’s bedroom decor, or perhaps to go on a scrapbook page or (a large!) greetings card.
See how to stick all the layers together (and the order they go in!) in this tutorial.
Video tutorial: Free layered fairy SVG
Watch the video below to find out how to cut and assemble this cute little daisy flower fairy. Or, keep scrolling for a written tutorial.
The link to download the free layered fairy SVG is a little further down this page. Look for the pale green box 🙂
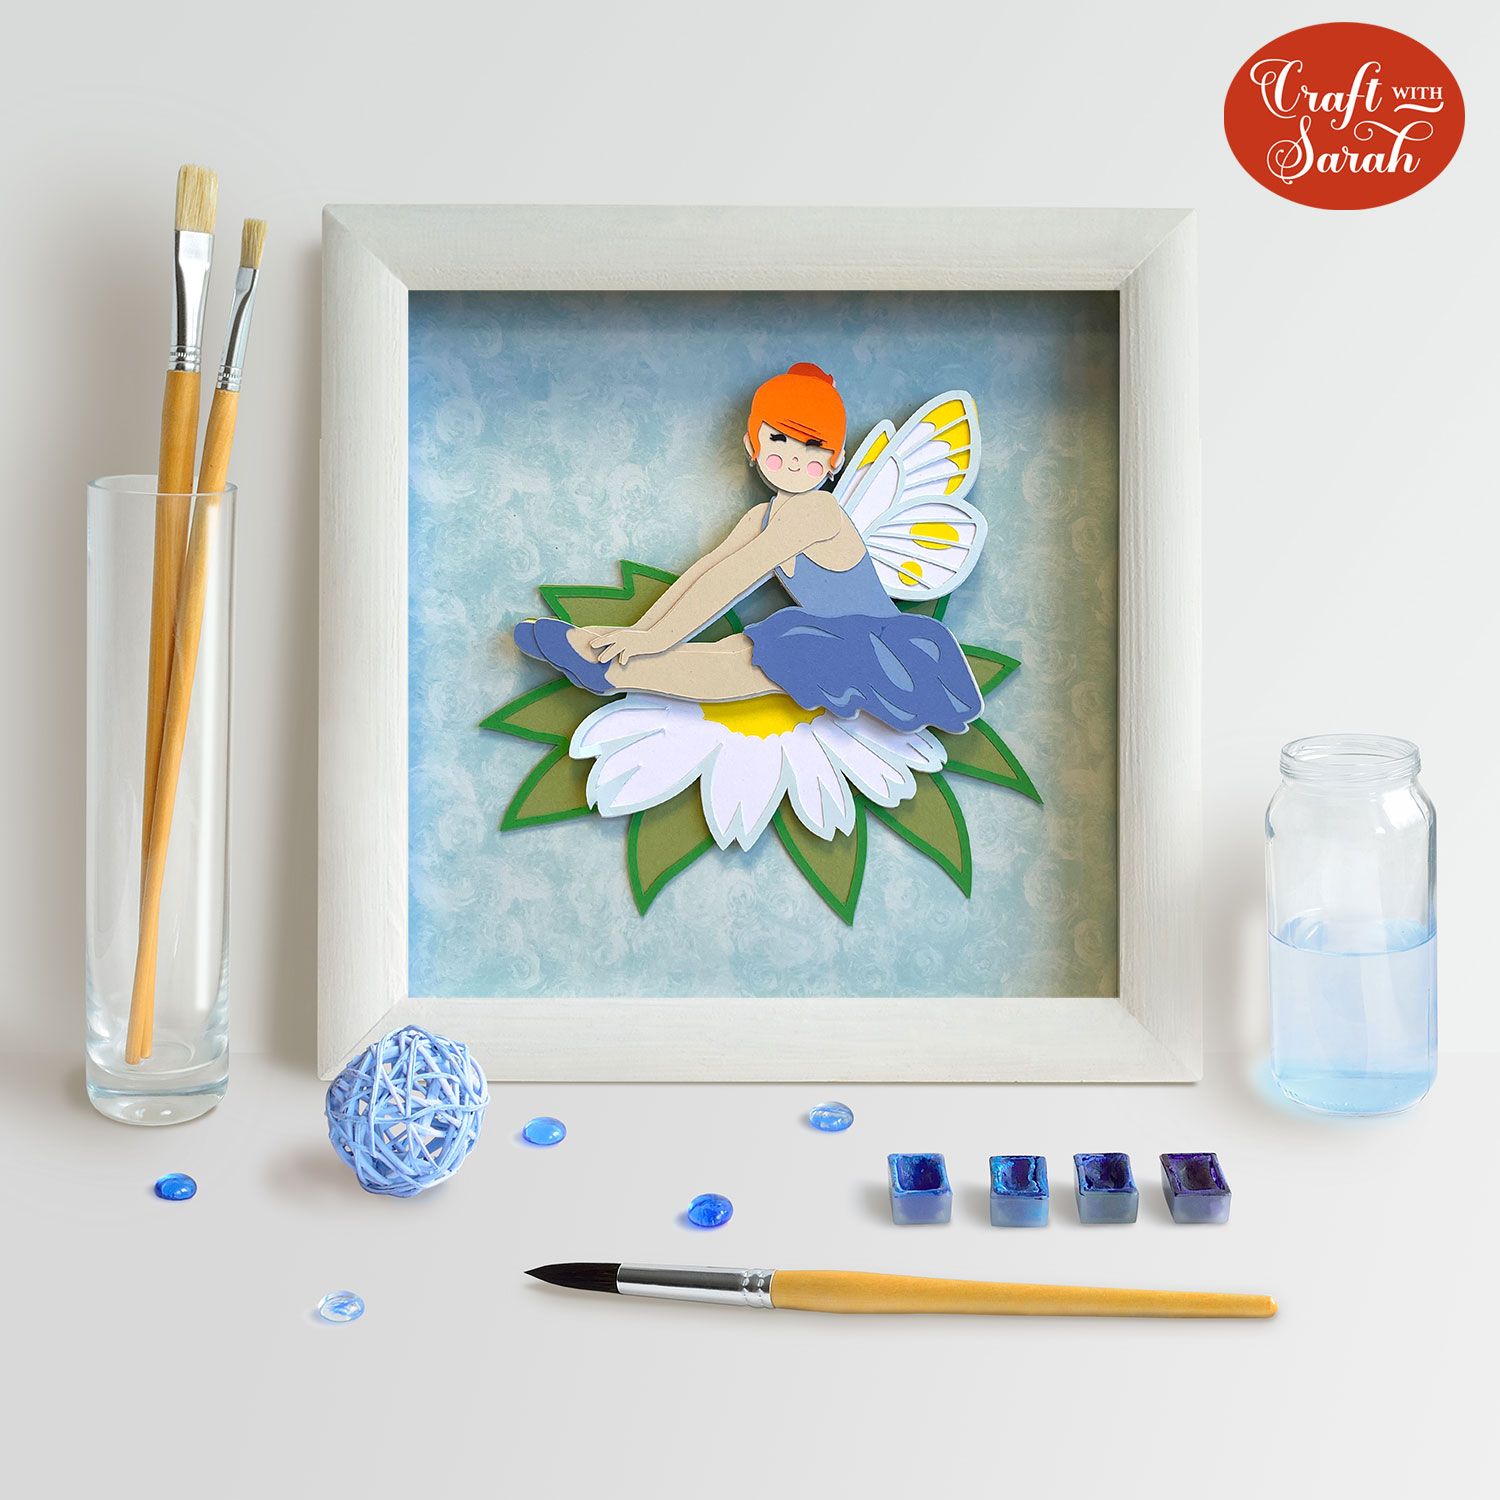
Daisy fairy craft materials
Here is a list of the materials that I used to make this project.
Please note that some of the links included in this article are affiliate links, which means that if you click through and make a purchase I may receive a commission (at no additional cost to you). You can read my full disclosure at the bottom of the page.
- Cricut Maker
- Light blue Cricut cutting mat
- Coloured Card (I used 160gsm weight of card)
- Collall All Purpose Glue
- Needle Tip Applicator Bottle
- 3D foam pads
- Shadow box (I used a 20x20cm box frame from Hobbycraft)
Layered fairy SVG assembly instructions
Here’s how to make your very own daisy flower fairy using a Cricut machine!
Step 1) Download the free file & unzip the downloaded folder
Download the Free Cutting File
Please login to your account to download this file.
TERMS OF USE:
You may sell finished, handmade physical craft items that you have made using this product but must not sell or share the digital files. Read full terms of use
Before you upload the SVG to Design Space, you need to unzip the download folder that it comes in.
- How to unzip a folder on Windows computer
- How to unzip a folder on a Mac
- How to unzip a folder on an iPad/iPhone
- How to unzip a folder on an Android device
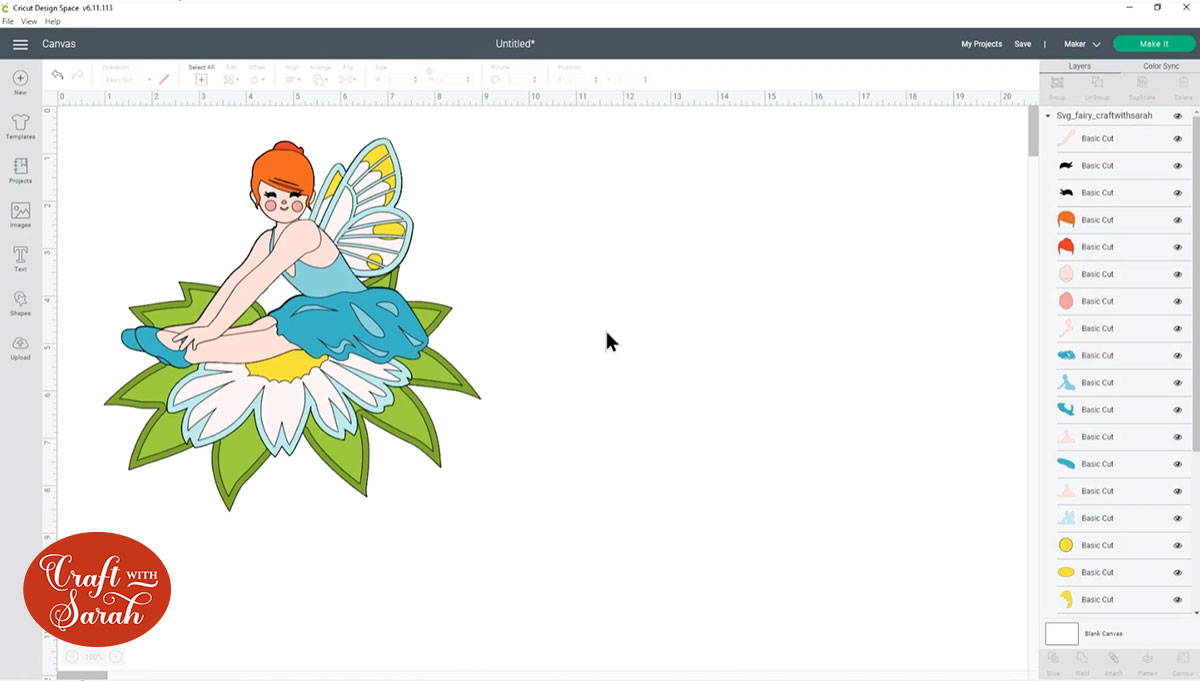
Step 2) Upload the SVG file into Design Space
Open up Cricut Design Space and upload the file called SVG_Fairy_CraftWithSarah.svg
Make sure you upload the file which starts SVG_ in the filename!!
This is how it should look after you have uploaded the file:

After uploading, the fairy will show in your “Recently Uploaded Images”. Click on it and then press “Insert Image” to put it onto your Project.
Click the fairy on your canvas and use the width/height boxes near the top of the screen to make it the size that you want to cut it.
I made mine 6.5 inches wide to fit inside my shadow box. I definitely wouldn’t recommend going much smaller than that as some of the details (especially the eyes!!) are fairly small so if you make the design much smaller it will be difficult to stick the smaller pieces together.
When you’re happy with the size of the daisy flower fairy in Design Space, click “Make It” and follow the instructions on-screen to cut out all the layers.
Step 3) Stick the layered fairy together
Use 3D foam pads and glue to stick the layers together.
As this design has so many layers, I used glue for most of them instead of 3D foam pads.
Use this guide to see the order to stick the layers together in. A high quality printable version of this assembly guide is included in the folder when you download this SVG.

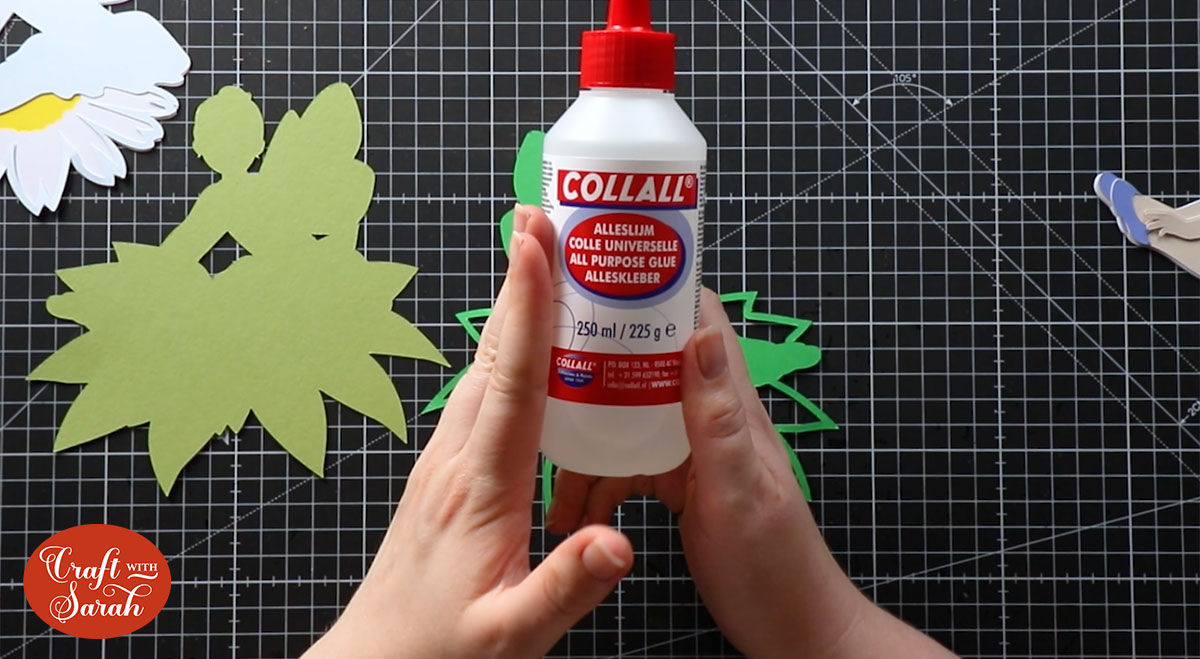
My favourite glue to use on papercraft projects is Collall All Purpose Glue.
It’s SO good because it doesn’t “warp” or bend the cardstock like some glues do. You can use as much of it as you want and the card stays perfect – and it dries perfectly clear too!
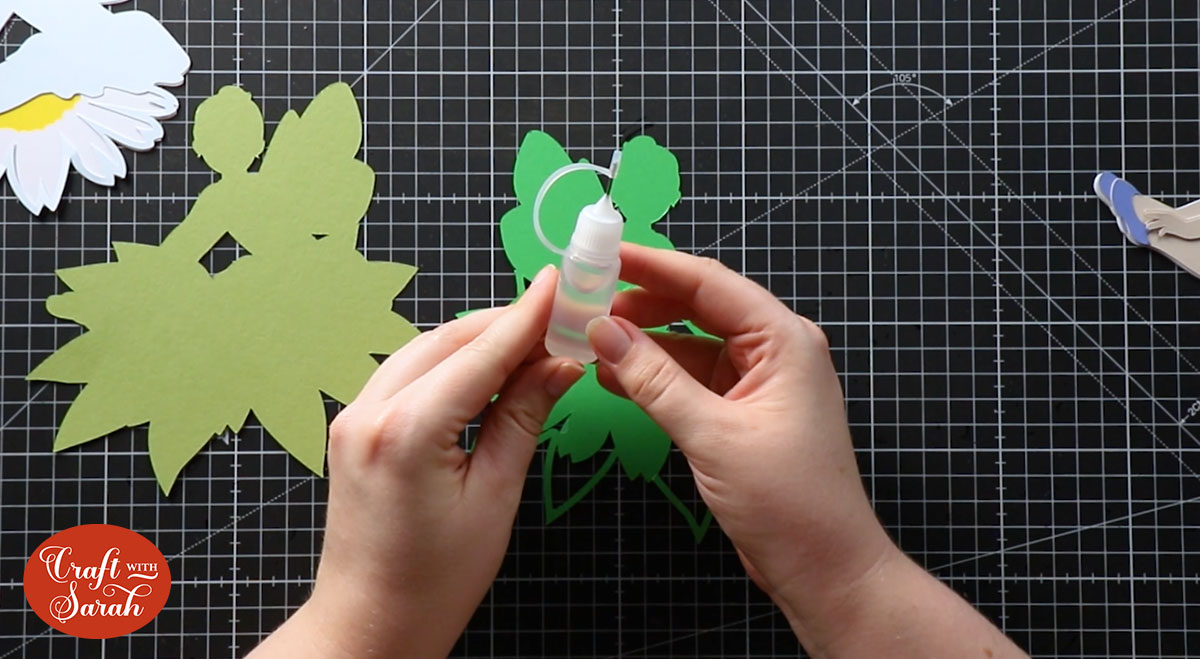
To make it even easier to apply glue to layered card projects, I highly recommend getting some of these needle tip applicator bottles to put the glue into.
The nozzles are REALLY tiny which makes them perfect for putting glue in the tiny pieces of cardstock that make up this flower fairy.
When adding the foam pads to the relevant layers, make sure you add some in the middle of the pieces of card so it give stability to the middles. If you don’t add any foam pads in the middles then it can “sag” under the weight of the other layers which doesn’t look as good.

Step 4) Frame your fairy papercraft project
The final step is to frame your fairy!
I cut a piece of scrapbook paper into an 20x20cm square which was the size of my frame and then glued the fairy to the middle of it.
And here is the final result…
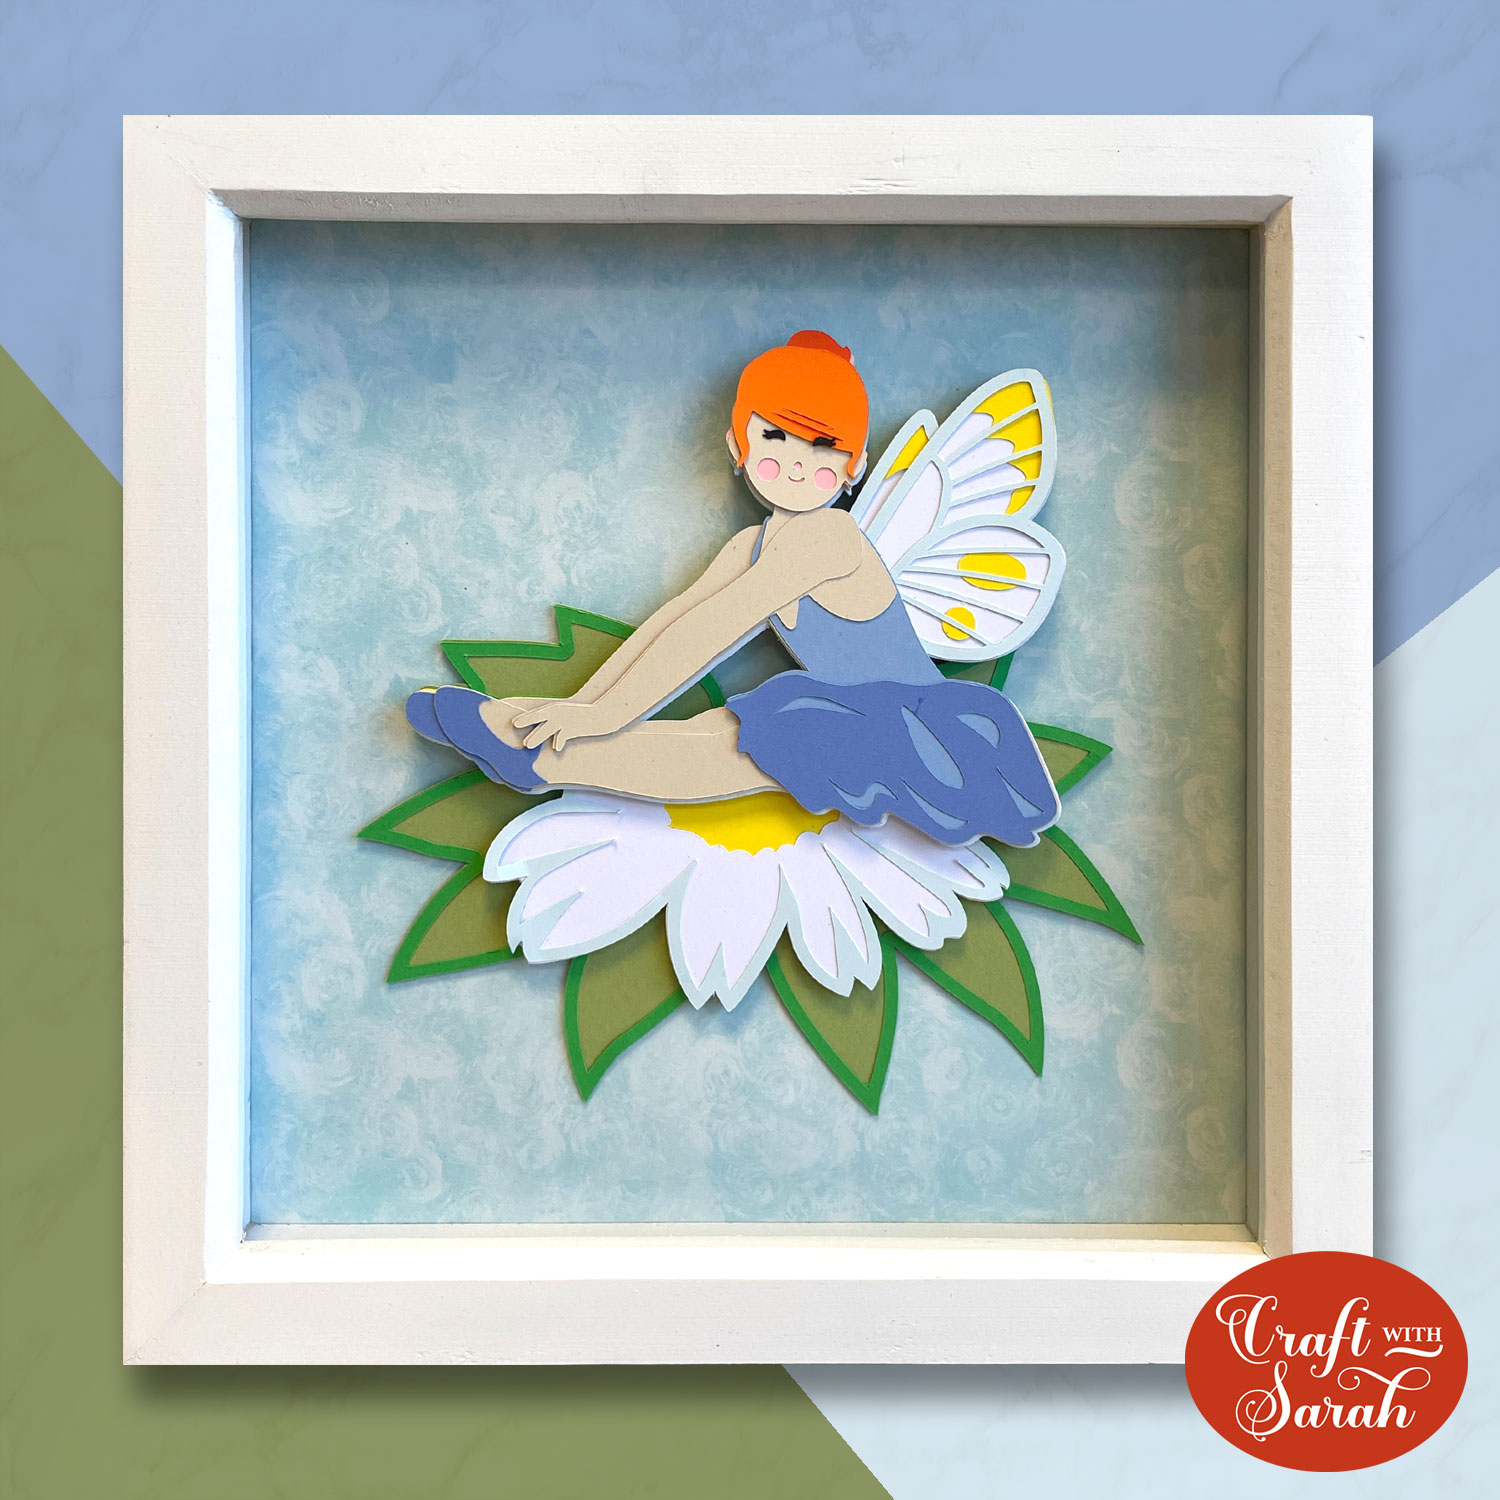
I hope that you enjoy this free layered fairy SVG!
Love layered SVGs? Check out my other free layered SVG files (including a magical unicorn design!)
Happy crafting,
Sarah x

