Hanging Moon & Star Decoration 🌙 Layered Eid SVG
Make handmade decorations for Eid celebrations with this mandala moon and star layered SVG project, perfect for cutting with your Cricut machine.
Eid al-Fitr is a joyous Muslim holiday that marks the end of Ramadan, the holy month of fasting. It’s a time for reflection, prayer, and spending time with loved ones.
Eid celebrations typically involve special prayers, feasting, exchanging gifts, and spreading happiness and goodwill among family and friends.
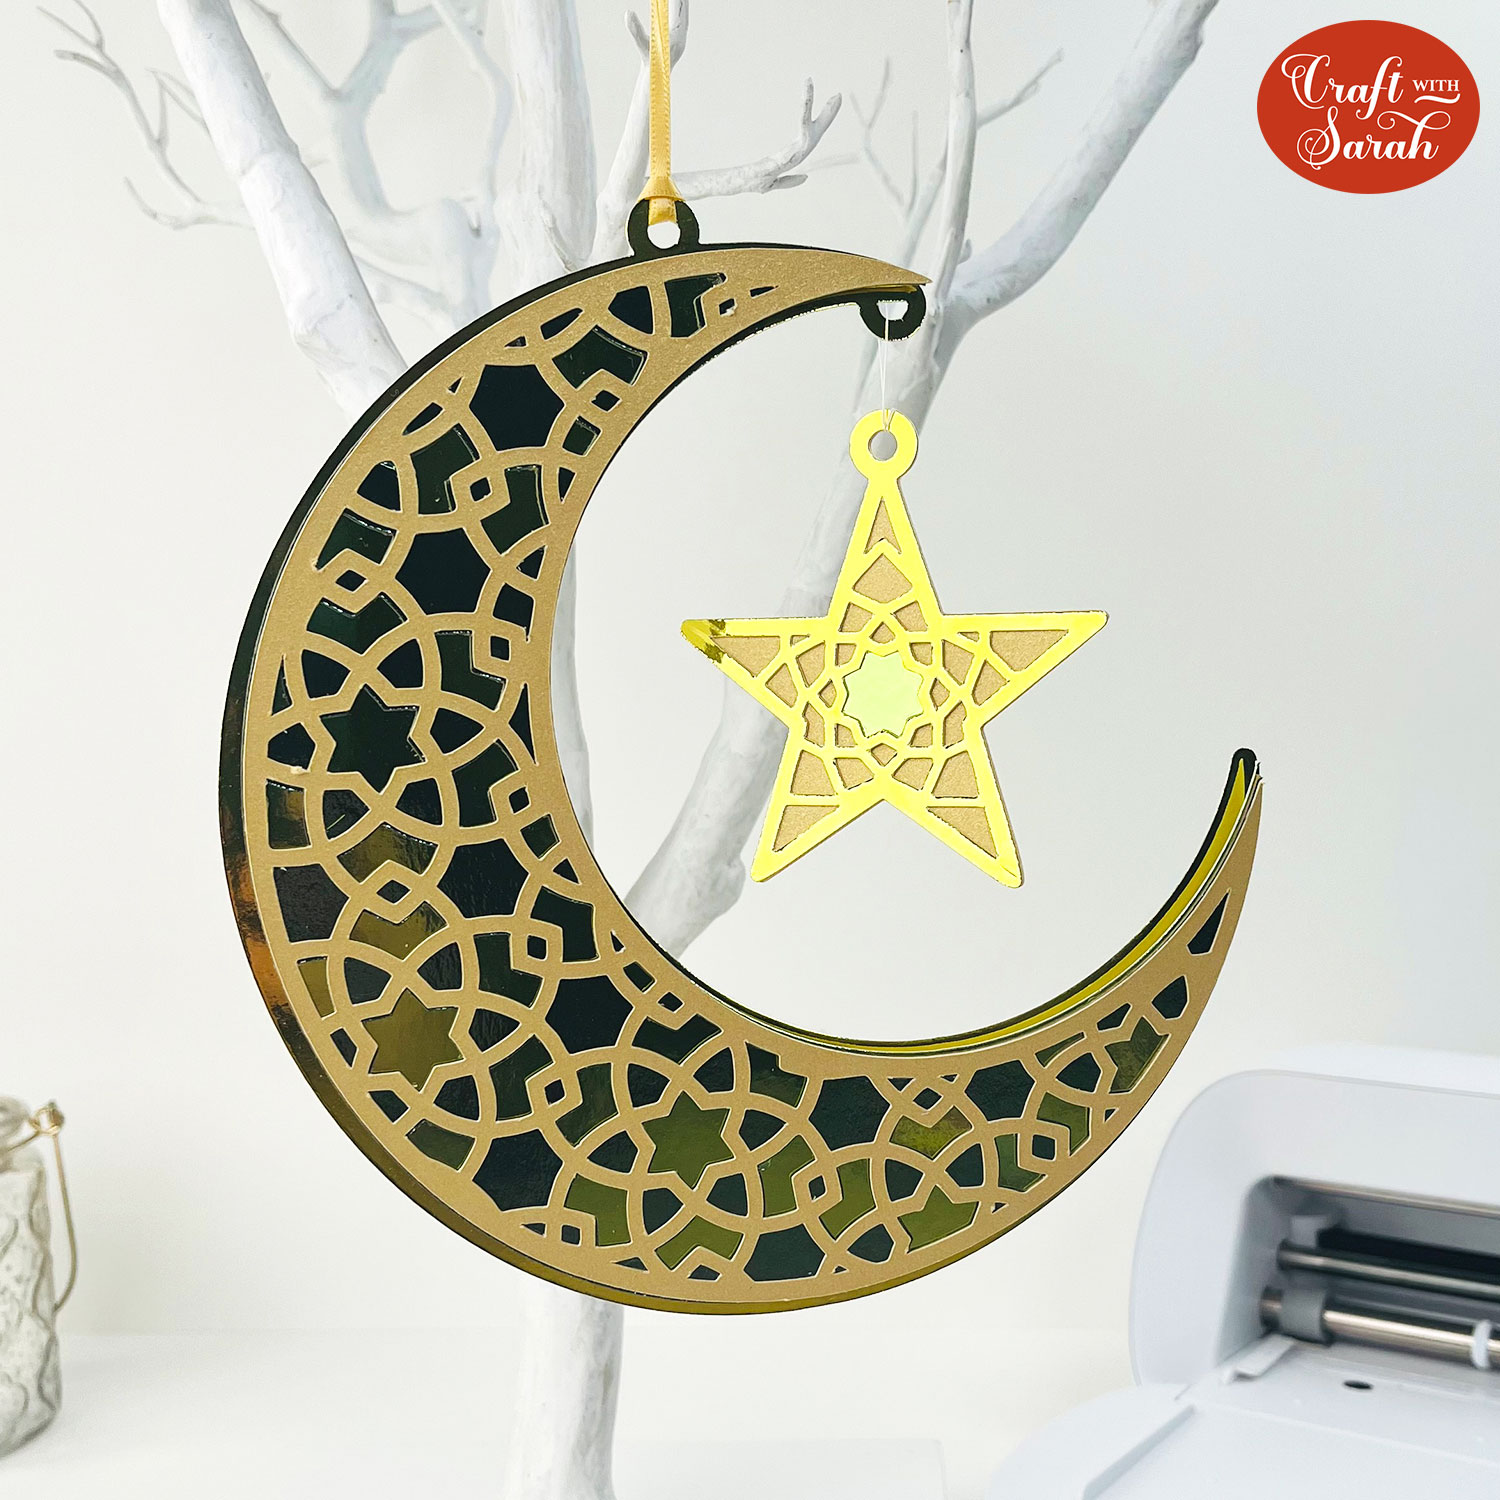
This Cricut craft project captures the essence of the occasion, with an intricate hanging moon and star decoration to display in your home.
Use holographic, metallic or glitter cardstock for some added shine and sparkle.
Video tutorial for mandala moon and stars Eid Mubarak SVG
Watch the video below to see how to make this craft project for Eid celebrations. Keep scrolling for a written tutorial.
Materials list for hanging decoration craft project
Here is a list of the materials that I used to make this project.
Please note that some of the links included in this article are affiliate links, which means that if you click through and make a purchase I may receive a commission (at no additional cost to you). You can read my full disclosure at the bottom of the page.
- Cricut Machine
- Light blue Cricut cutting mat
- Coloured Card
- Collall All Purpose Glue or similar
- Needle Tip Applicator Bottle
- 3D foam pads
- String or ribbon
Layered Eid Mubarak SVG assembly instructions
Here’s how to make your very own mandala moon and star using a Cricut machine!
Step 1) Download the free file & unzip the downloaded folder
Download the Free Cutting File

Please login to your account to download this file.
TERMS OF USE:
You may sell finished, handmade physical craft items that you have made using this product but must not sell or share the digital files. Read full terms of use
Before you upload the SVG to Design Space, you need to unzip the download folder that it comes in.
- How to unzip a folder on Windows computer
- How to unzip a folder on a Mac
- How to unzip a folder on an iPad/iPhone
- How to unzip a folder on an Android device
Step 2) Upload the SVG file into Design Space
Open up Cricut Design Space and upload the file called svg-eid-craftwithsarah.svg
Make sure you upload the file which starts svg- in the filename!!
This is how it should look after you have uploaded the file:
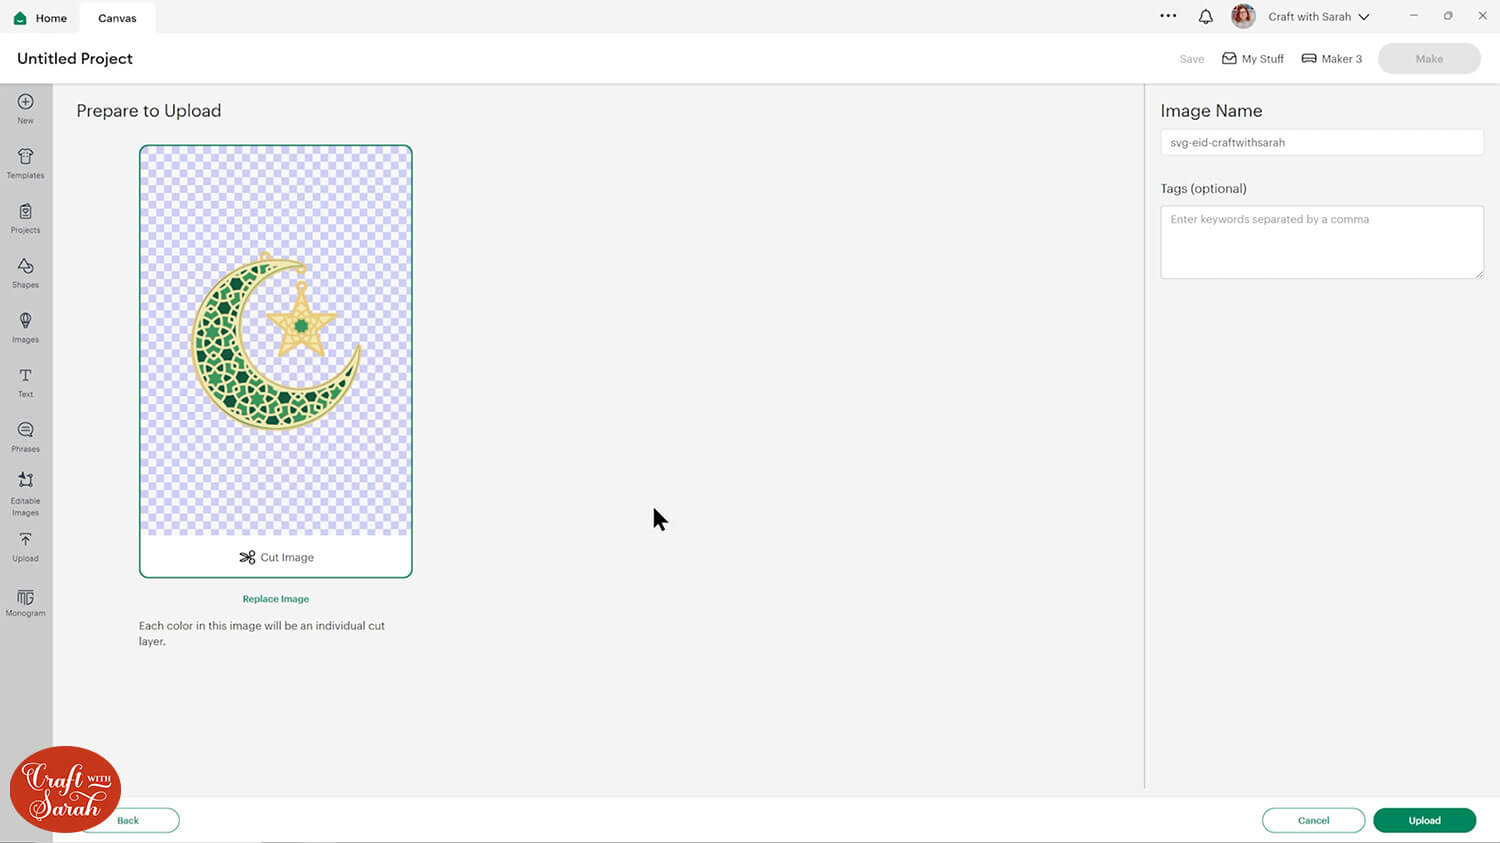
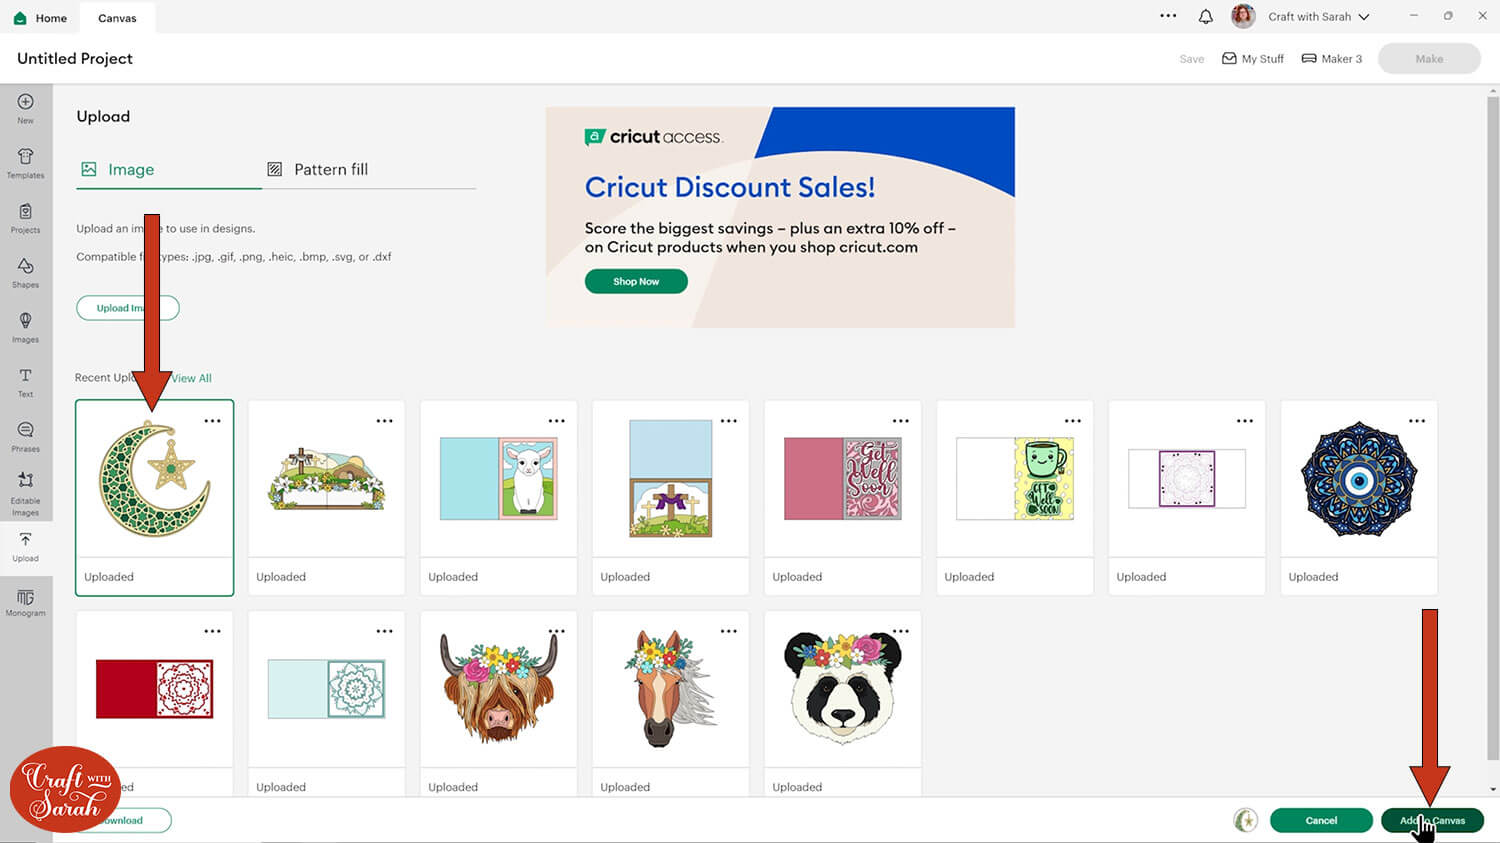
After uploading, the design will show in your “Recently Uploaded Images”. Click on it and then press “Add to Canvas” to put it onto your Project.
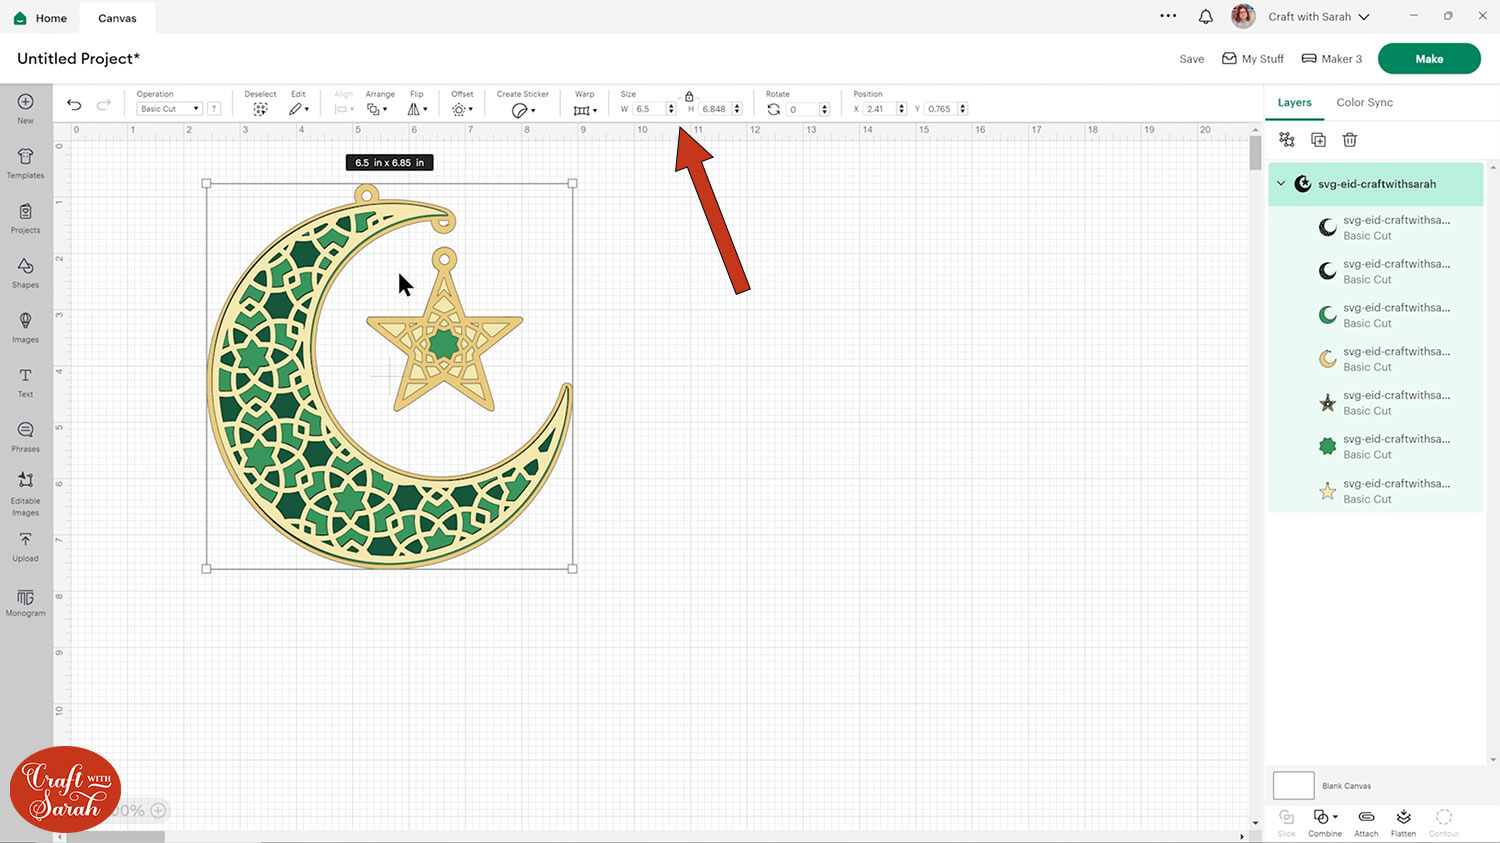
Click the design on your canvas and use the width/height boxes near the top of the screen to make it the size that you want to cut it.
I made mine 6.5 inches wide, which is 6.848 inches tall.
I don’t recommend going smaller than about 4 inches wide as some of the mandala pieces will get quite thin and delicate the smaller they are made. If you make the design much smaller than that, it may be difficult to cut.
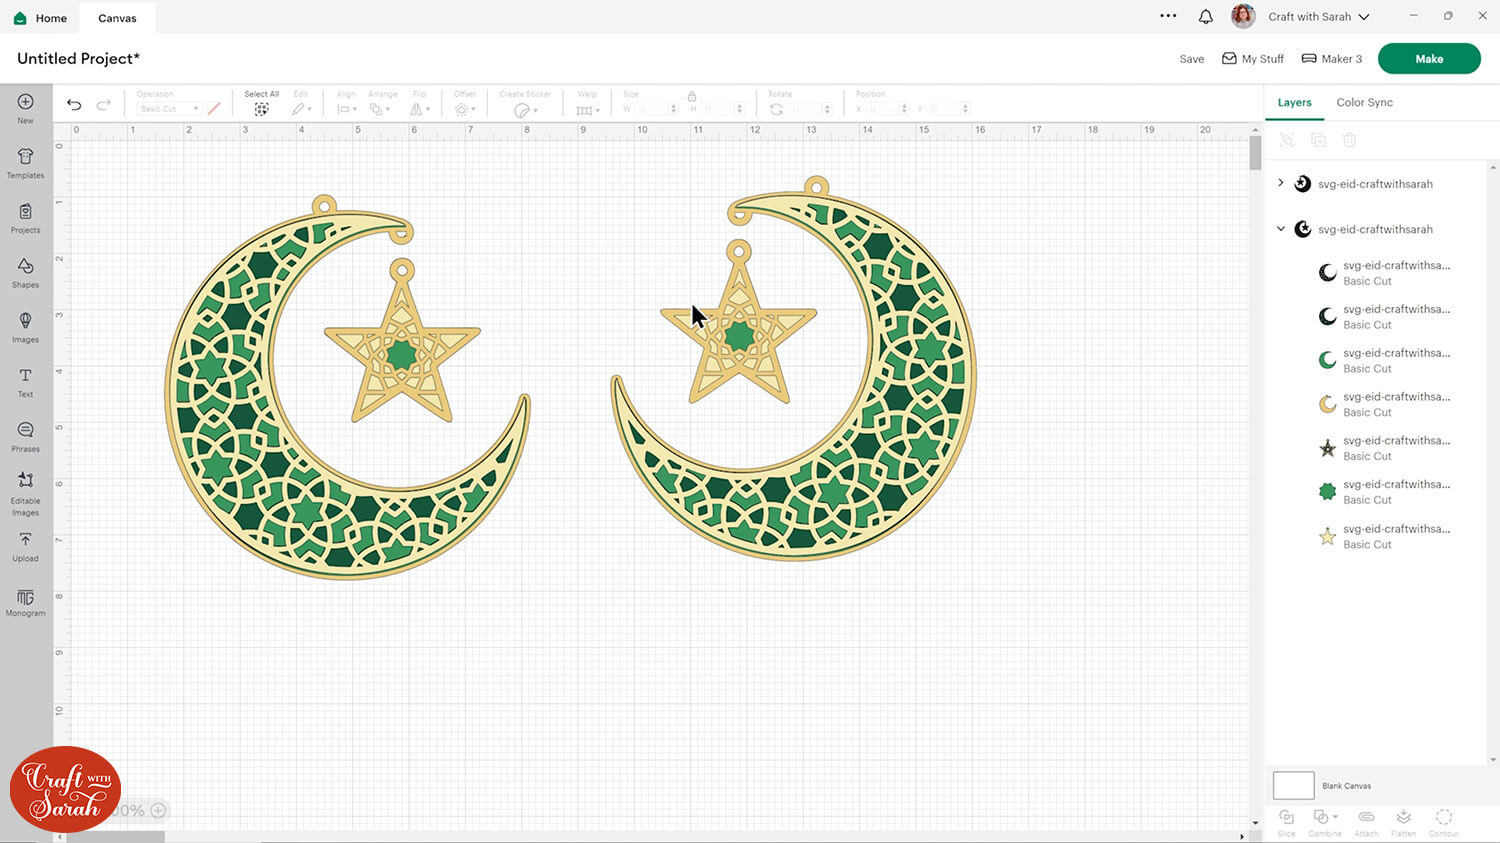
You may wish to double-side the project so that it looks pretty on both sides when it’s hung up.
To do that, click the design and press “Duplicate” to make a copy.
Click the copied layer and press “Flip”, then “Flip Horizontal” to make a mirror-image of the original.
Step 3) Cut the design
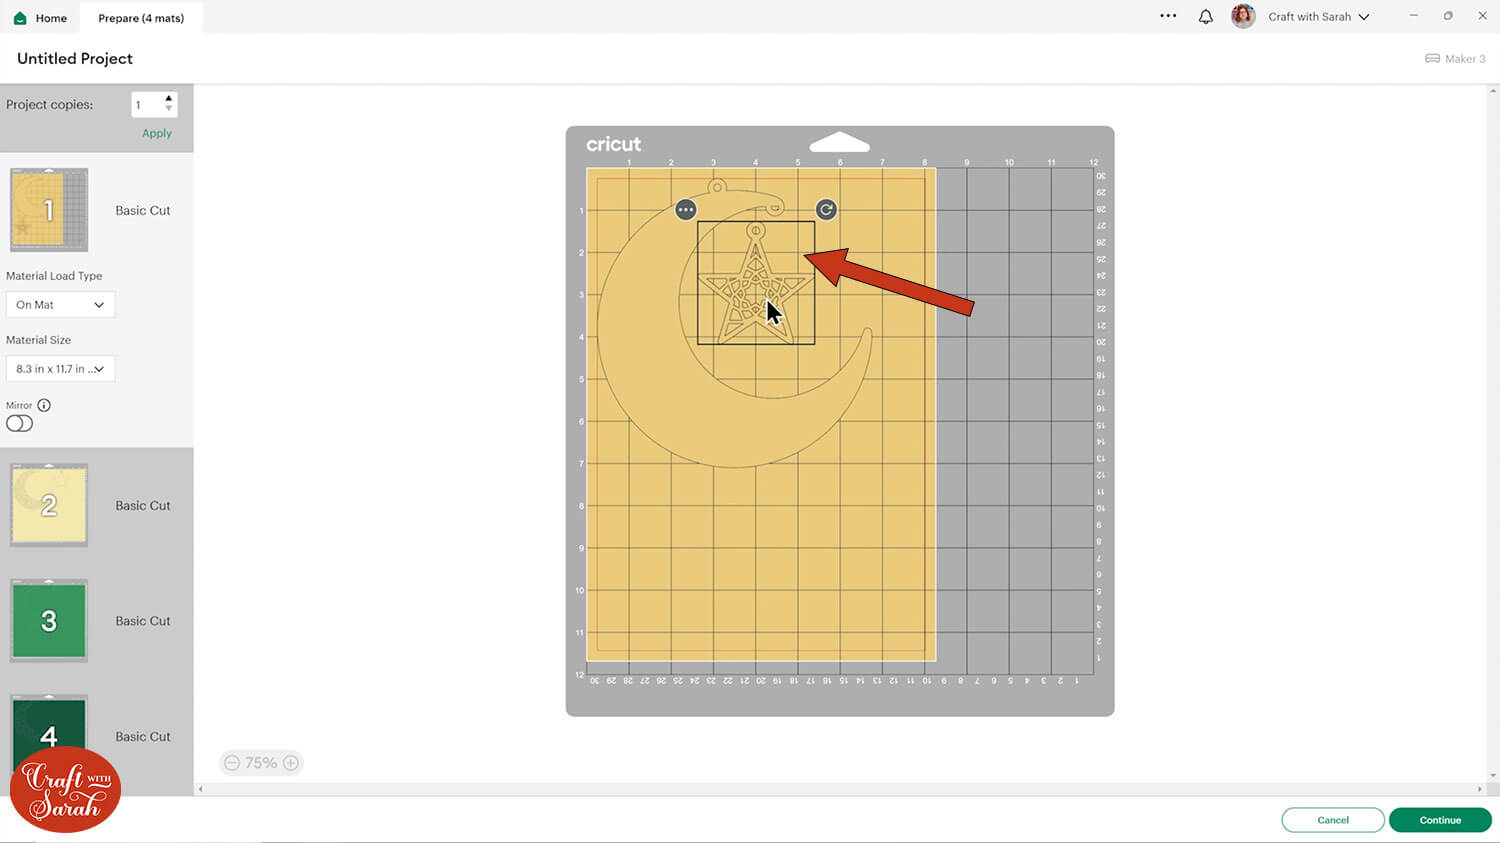
When you’re happy how the design is looking in Design Space, click “Make” and follow the instructions on-screen to cut out all the layers.
Change the paper size with the dropdowns on the left of the screen. You need to change it for every colour.
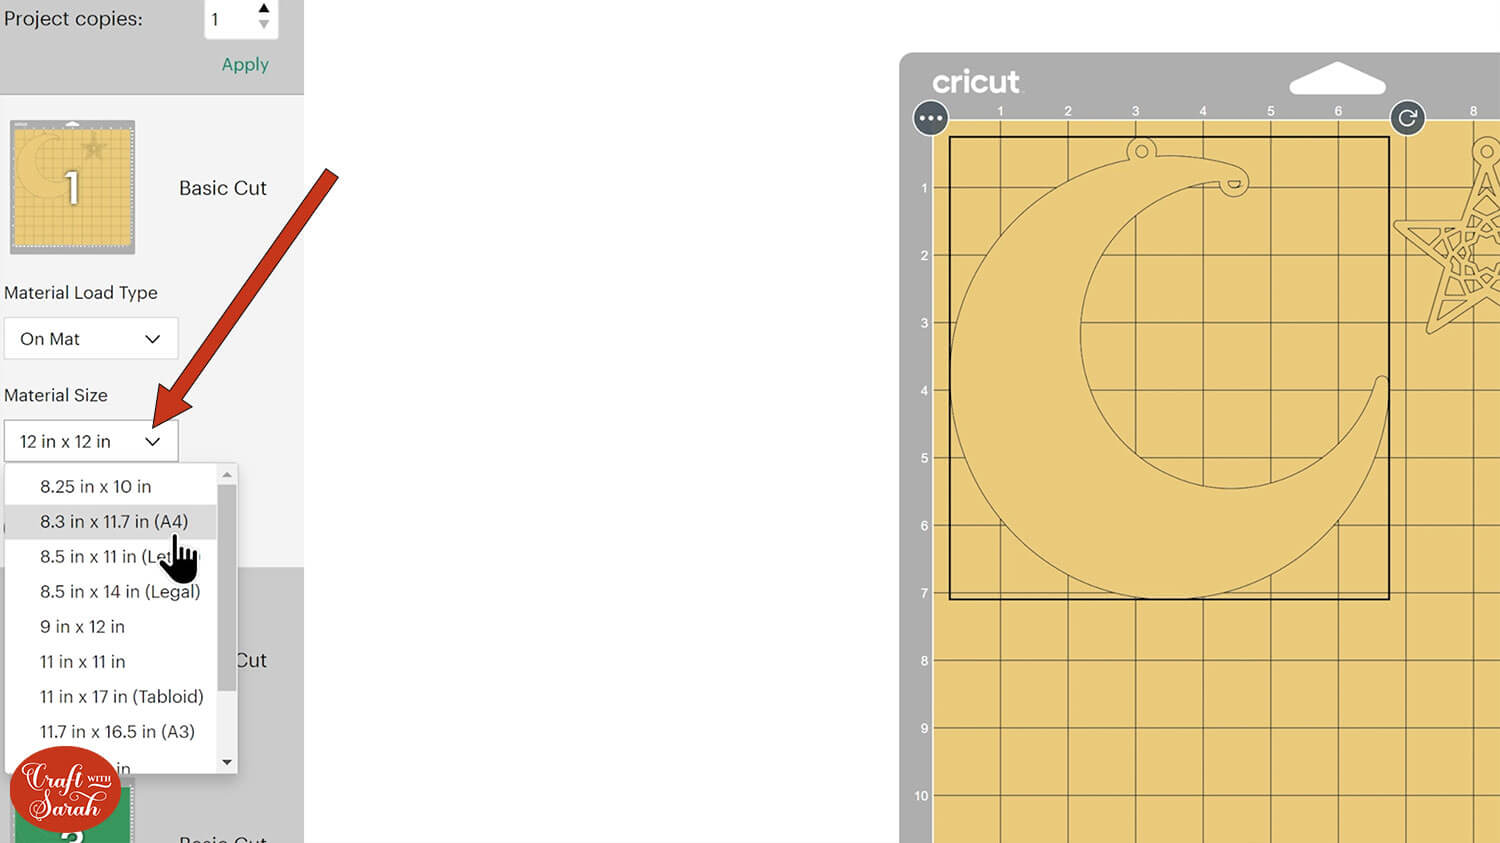
You can drag-and-drop the pieces on the screen to move them about to take up less space on your cardstock.
Step 5) Stick the project together
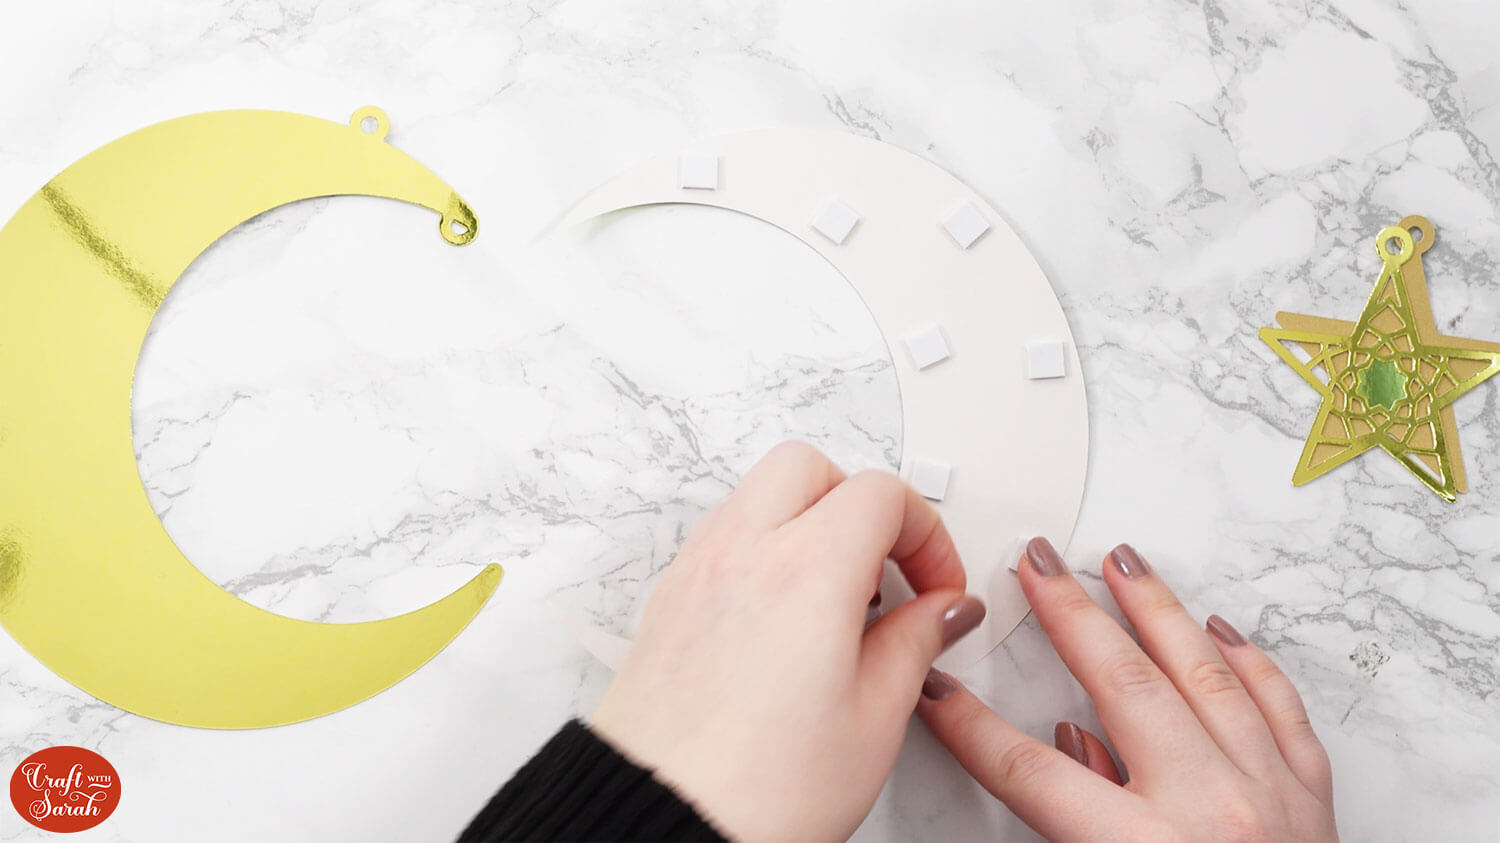
Use 3D foam pads and glue to stick the pieces together.
Use this guide to see the order to stick the layers together in. A high quality printable version of this assembly guide is included in the folder when you download this SVG.
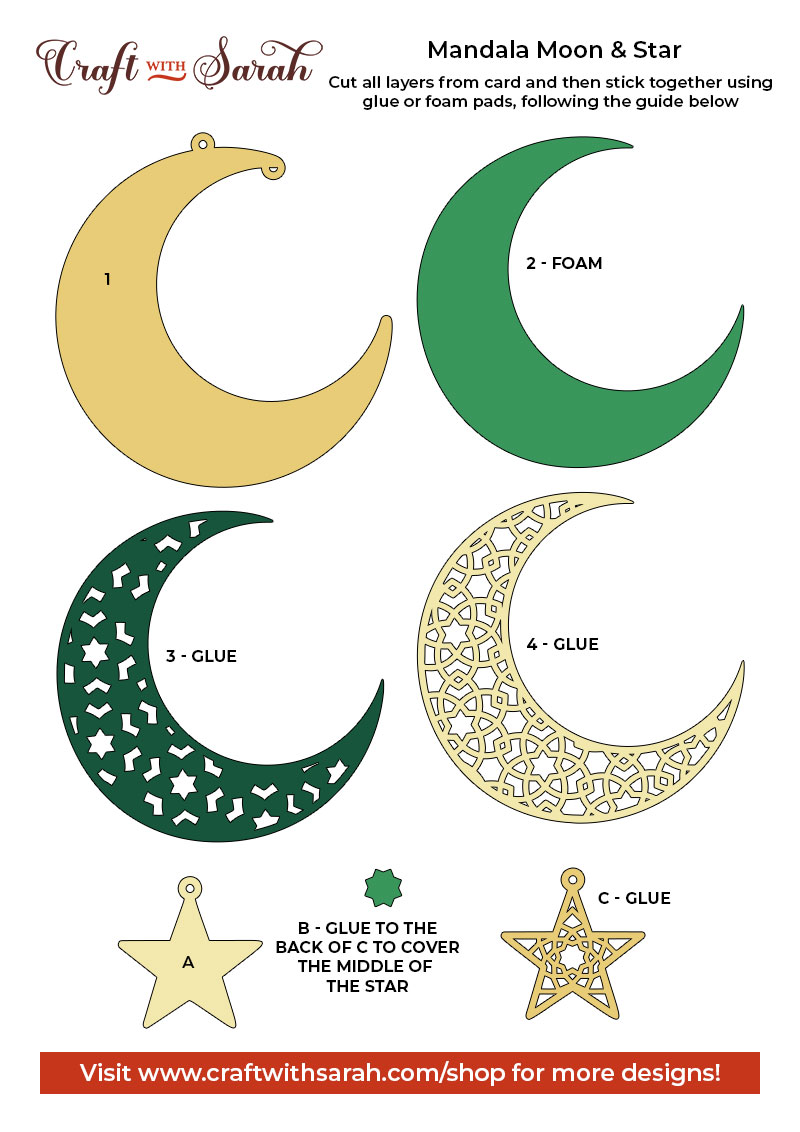
When adding the foam pads to larger pieces, make sure you add some in the middle of the pieces of card so it gives some stability to the middles. If you don’t add any foam pads in the middles then it can “sag” under the weight of the other layers which doesn’t look as good.
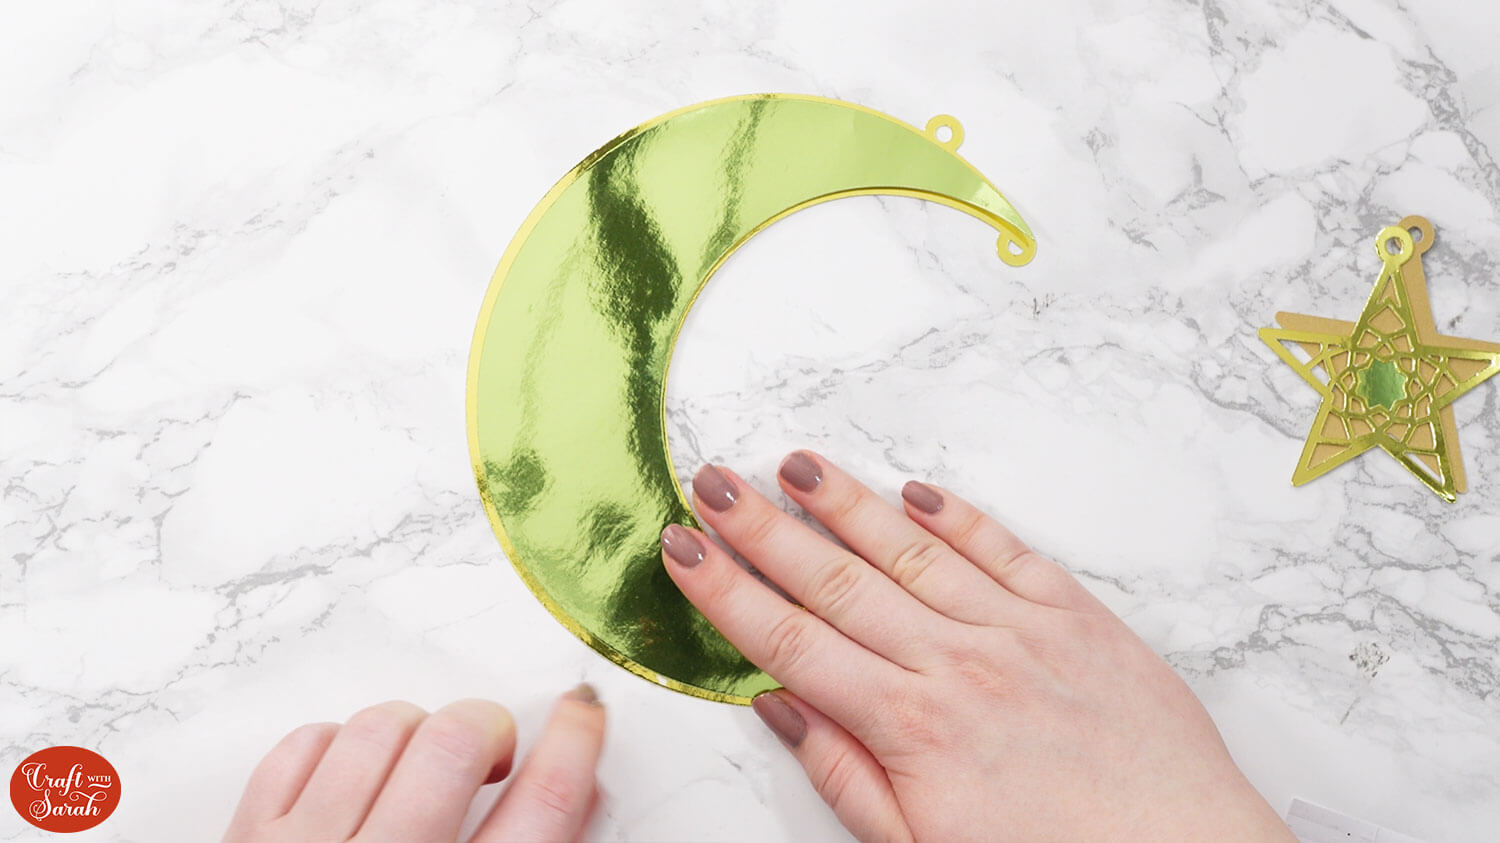
When sticking on the green solid moon crescent, try to get an even amount of gold showing around each side. This took me a couple of tries to get in the correct position!
If you’re double-siding the project then fully assembly each moon and star separately, then glue them back-to-back.
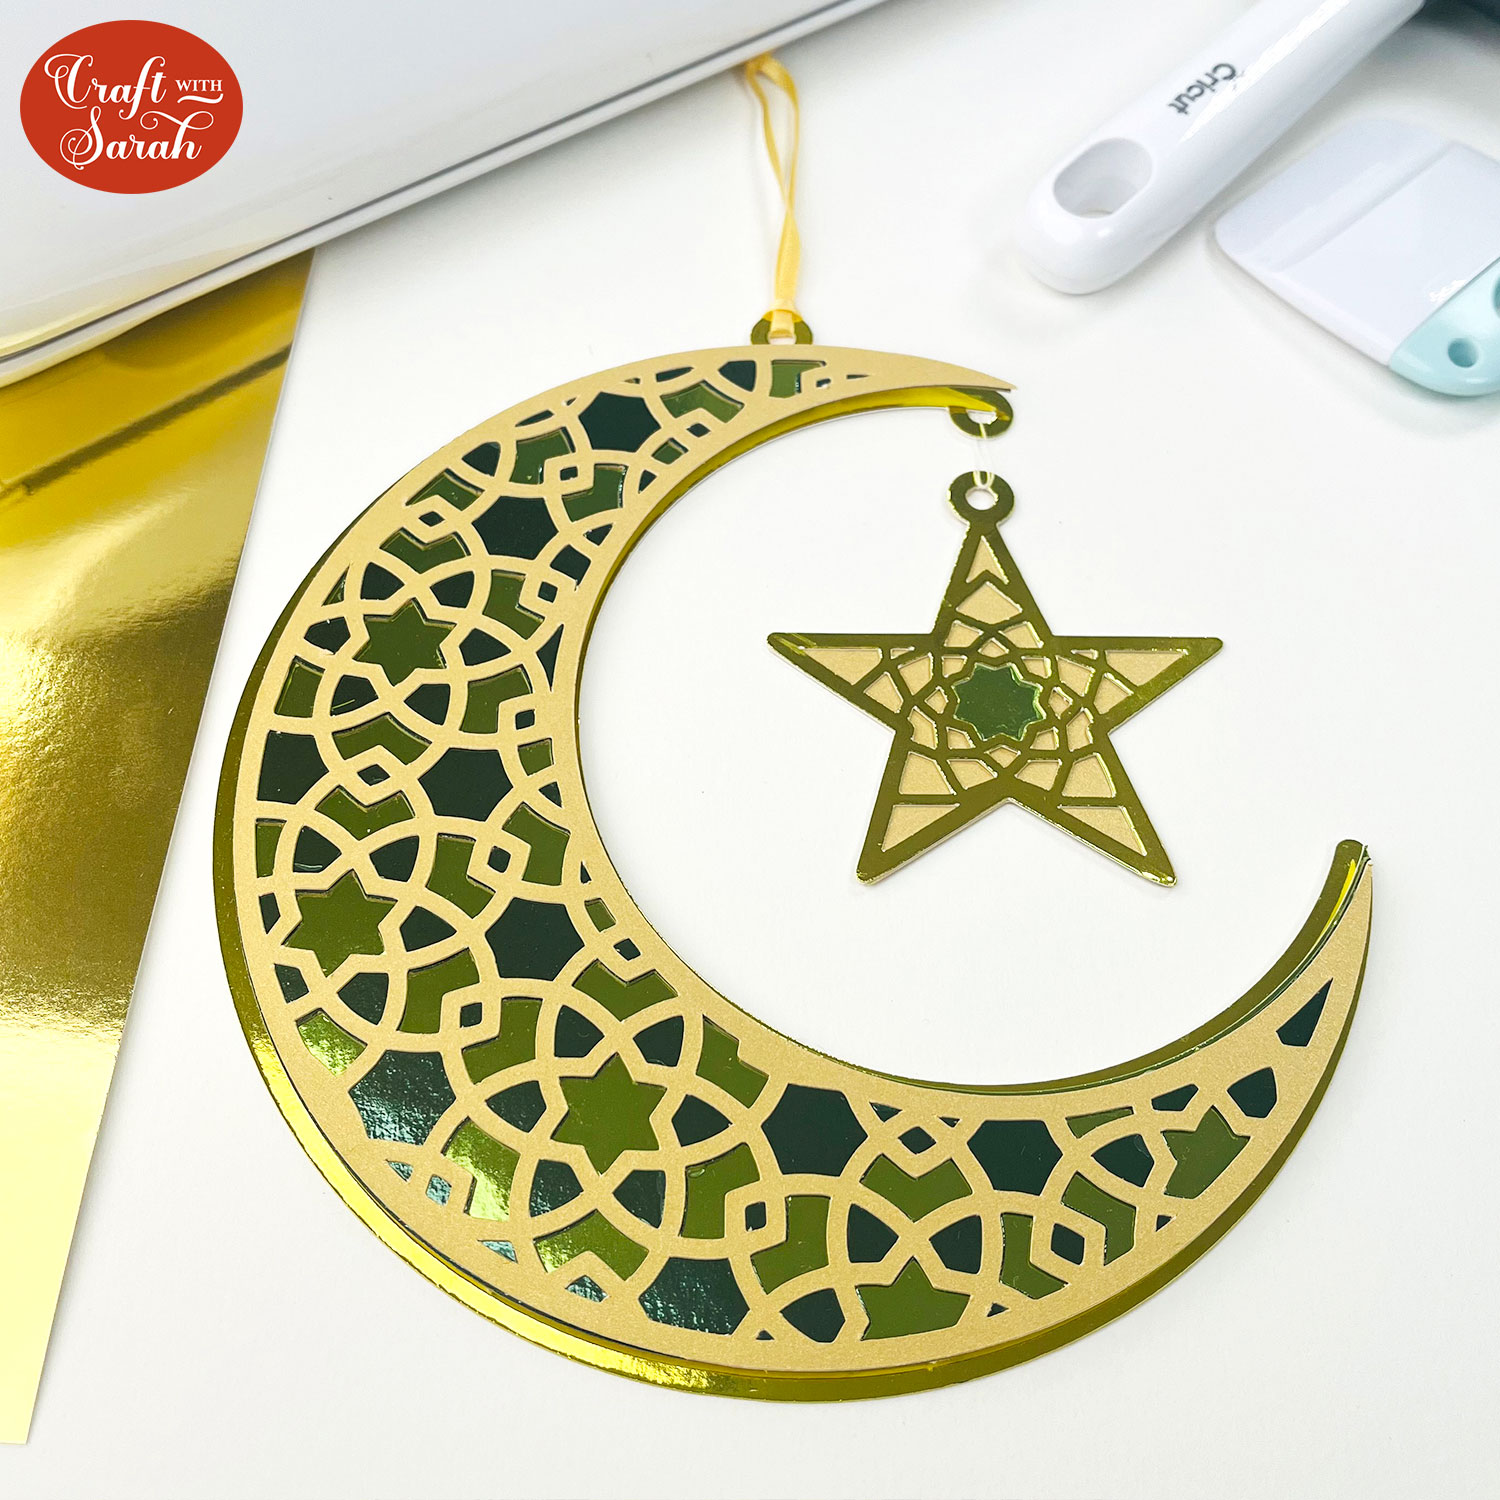
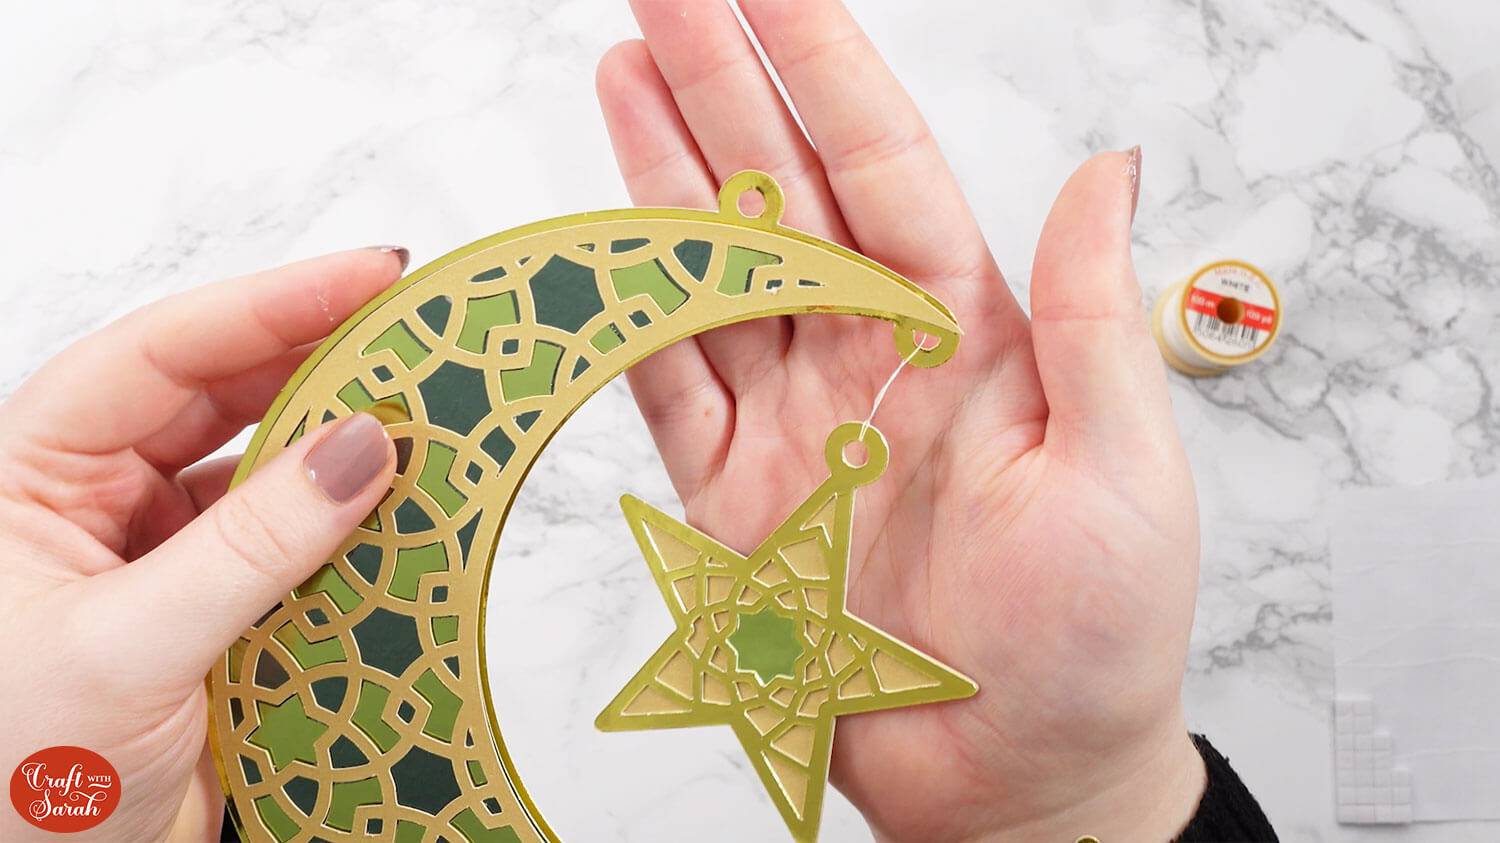
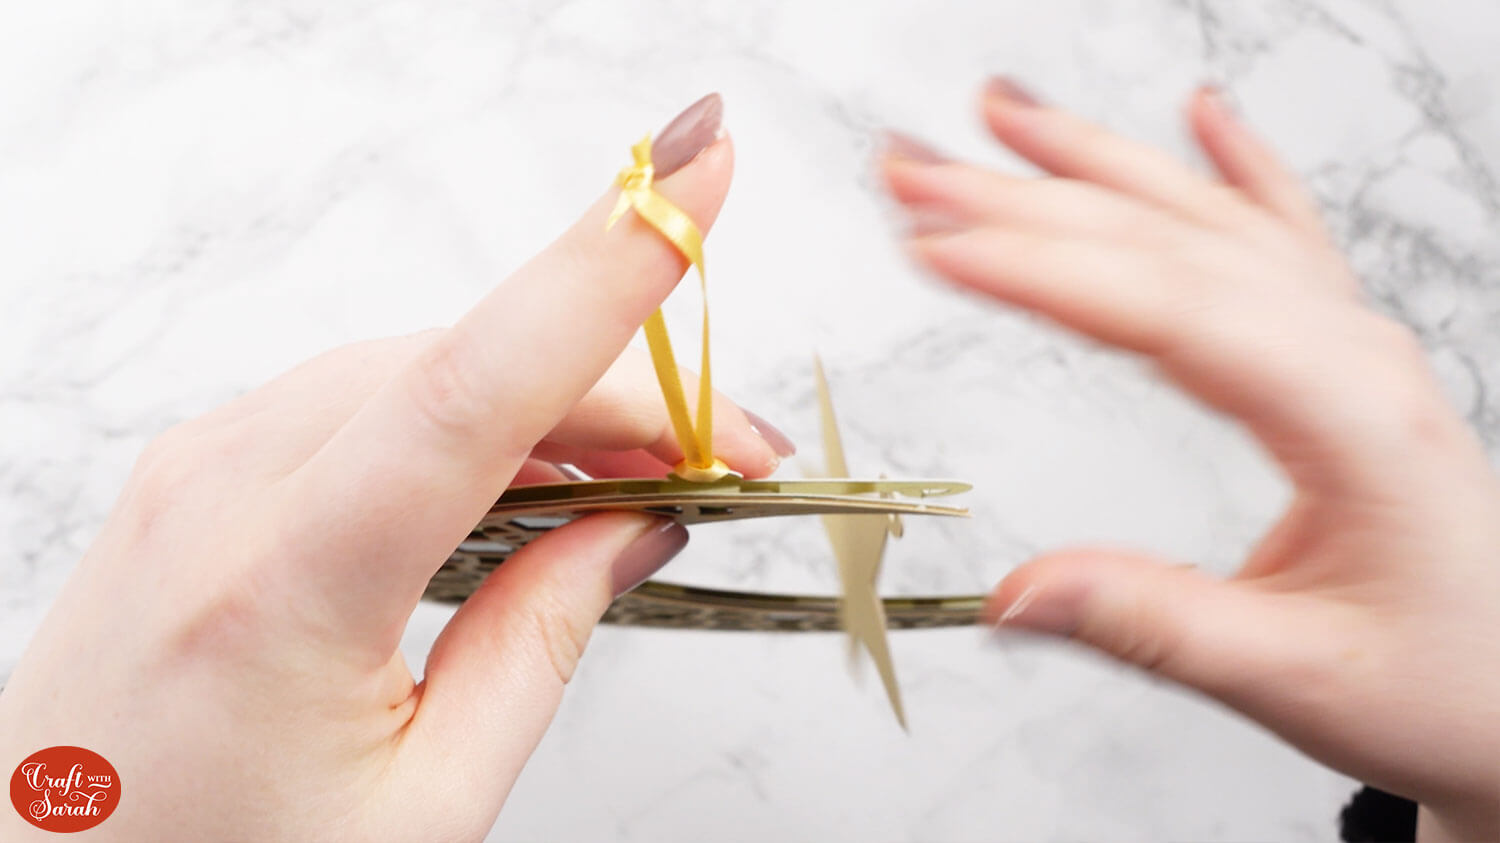
Once all the pieces are stuck together, use some string, thread or ribbon to tie the star onto the moon, then add some more to the top of the moon so that you can hang the project up.
I used white cotton for the star and a gold ribbon for the top.
Eid Mubarak Cricut project
I hope that you enjoy making this mandala moon and stars papercraft for Eid.
I love how shiny it looks with the different shades of metallic green and gold.
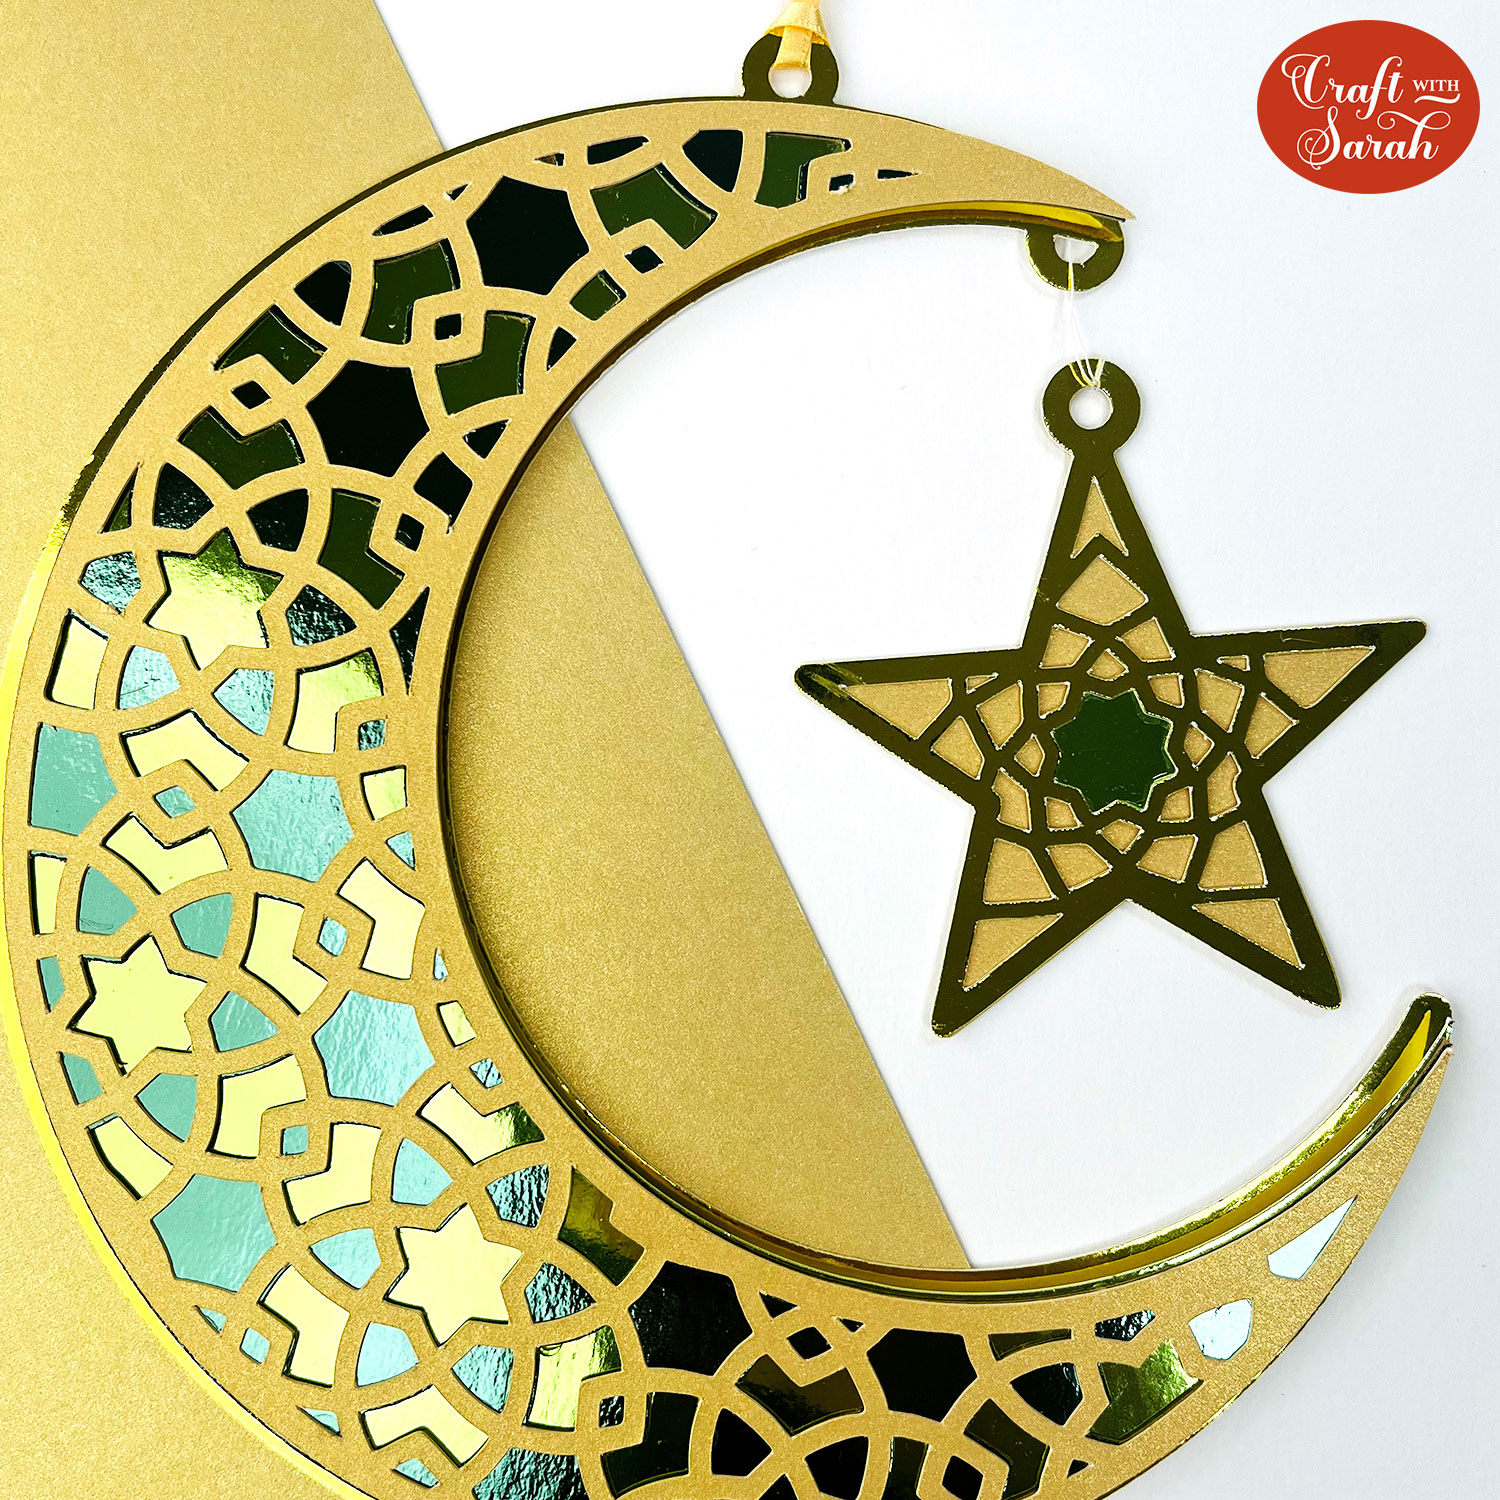
It looks especially beautiful when the sunlight catches on it and gives it even more sparkle.
Love layered SVGs? Check out my other free layered SVG files
Happy crafting,
Sarah x

