Easy Christmas Cards! Make Fun & Festive Side-Edge Cards
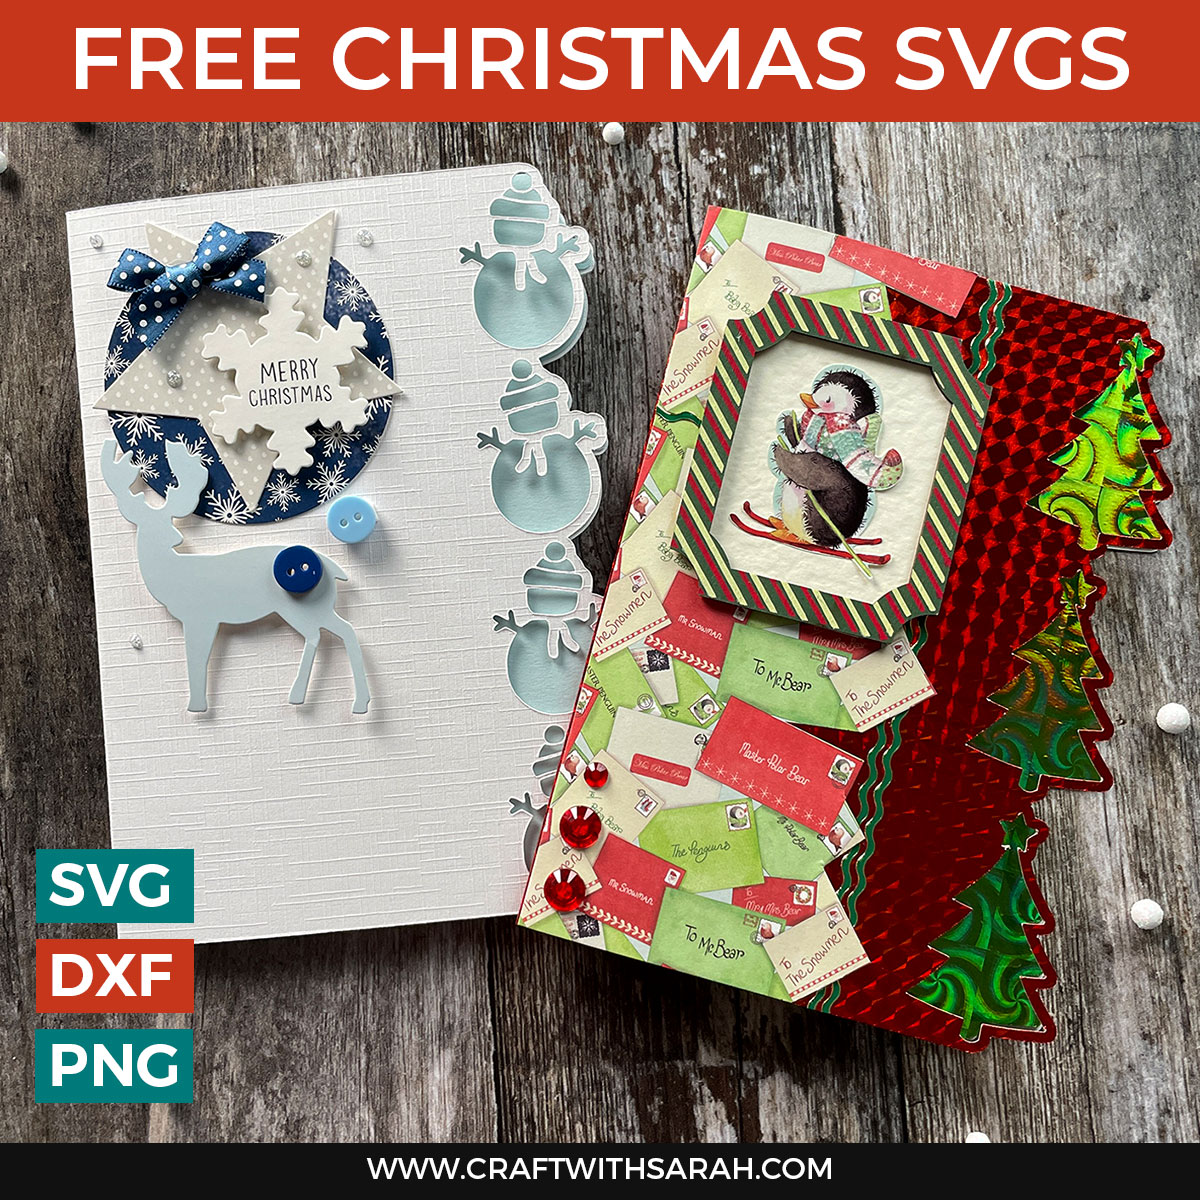
Make easy Christmas cards with these free side edge card SVGs that are PERFECT for using up your Christmas craft stash!
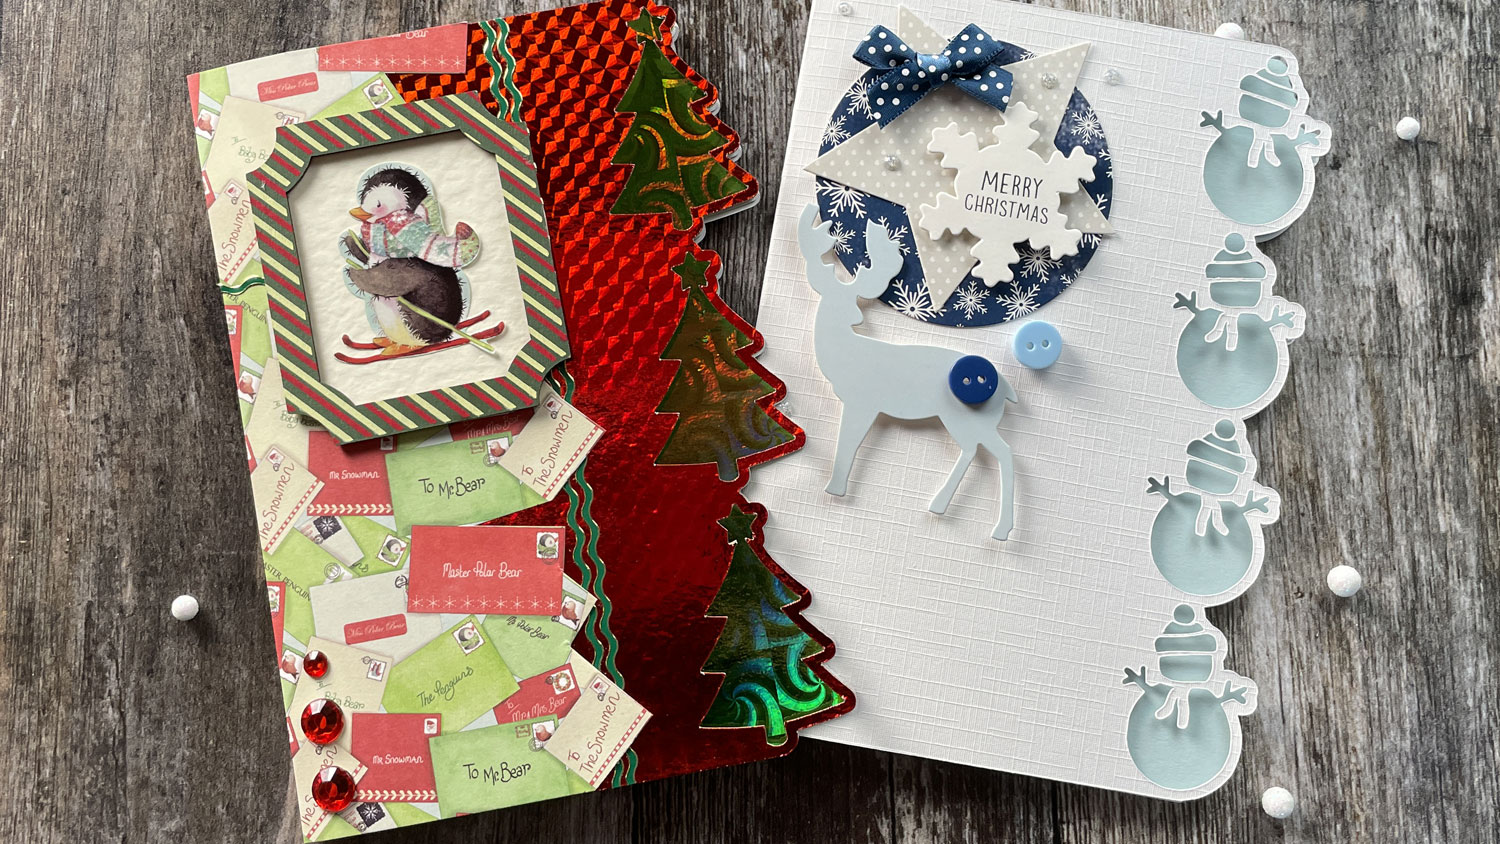
Choose from Christmas trees or snowmen… or make them both for a lovely matching pair of cards!
Use your Cricut or other electronic cutting machine to cut the cute Christmas pictures down the right side of the card. The left side is left blank for you to add your own design.
Easy Christmas Cards with a Cricut
I LOVED making these cards because they are so quick and simple to put together.
Then, you can spend as much time as you like on decorating the left side of the card. Keep it simple with a minimalist design or really go to town and ACCESSORIZE with all your Christmas themed craft supplies.
Watch the video below to see how to make these Christmas side-edge cards. Or, keep scrolling for a written tutorial.
Here is a list of the materials that I used to make this project:
Please note that some of the links included in this article are affiliate links, which means that if you click through and make a purchase I may receive a commission (at no additional cost to you). You can read my full disclosure at the bottom of the page.
- Cricut Maker
- Light blue Cricut cutting mat
- Cricut Maker Scoring Wheel
- Coloured Card (I used 160gsm weight of card and holographic card)
- Double-sided tape runner
- Collall All Purpose Glue
- Needle Tip Applicator Bottle
- 3D foam pads
- Christmas craft supplies from my craft stash
- Nuvo Glitter drops
How to make Christmas side edge cards
Read the tutorial below to see how to open the free Christmas card SVGs in Cricut Design Space, how to add the score lines down the middle and then how to assemble the cards once you have cut out the pieces.
Step 1) Download the free files & unzip the downloaded folder
Download the Free Cutting File
Please login to your account to download this file.
TERMS OF USE:
You may sell finished, handmade physical craft items that you have made using this product but must not sell or share the digital files. Read full terms of use
Before you upload the SVGs to Design Space, you need to unzip the download folder that they come in.
- How to unzip a folder on Windows computer
- How to unzip a folder on a Mac
- How to unzip a folder on an iPad/iPhone
- How to unzip a folder on an Android device
Step 2) Upload the SVG file into Design Space
Open up Cricut Design Space and choose which card you would like to make. I’ll show you with the Christmas tree version.
Make sure you upload the file which starts SVG_ in the filename!!
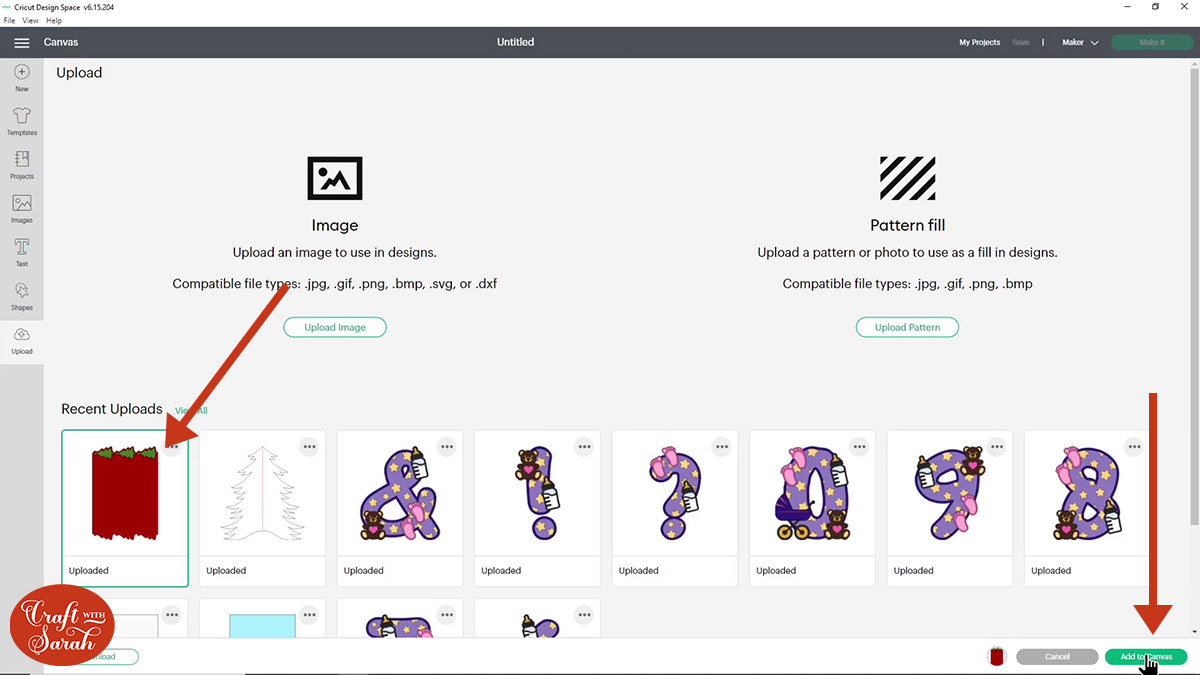
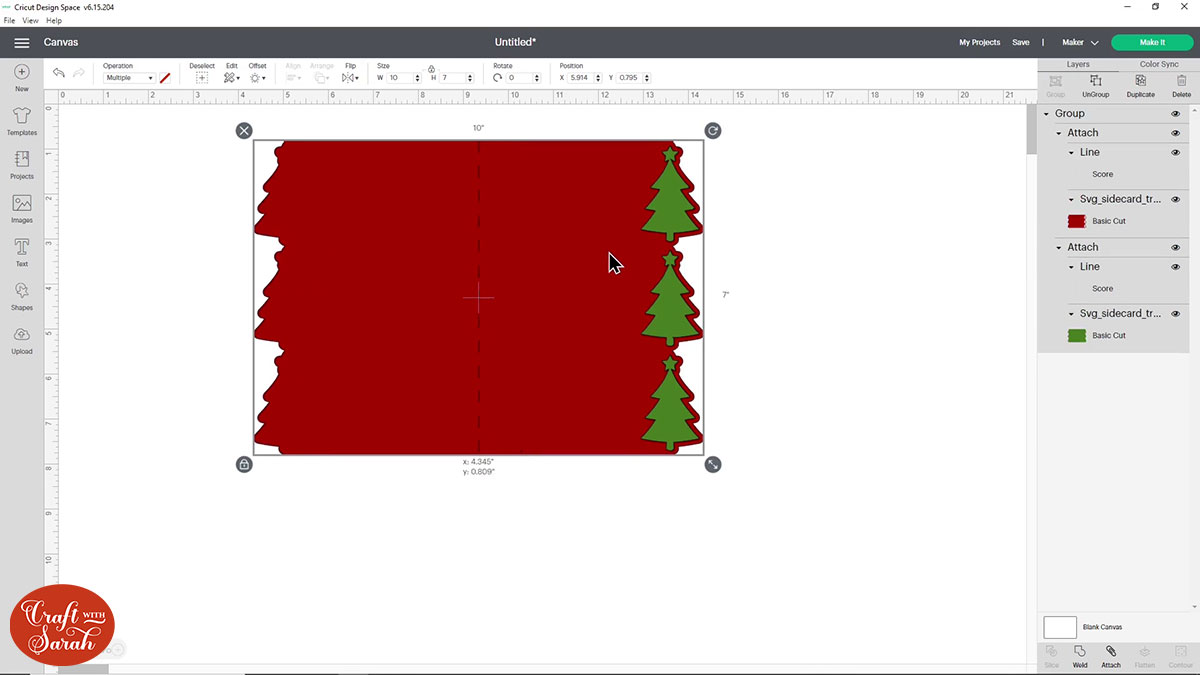
This is how it should look after you have uploaded the file:
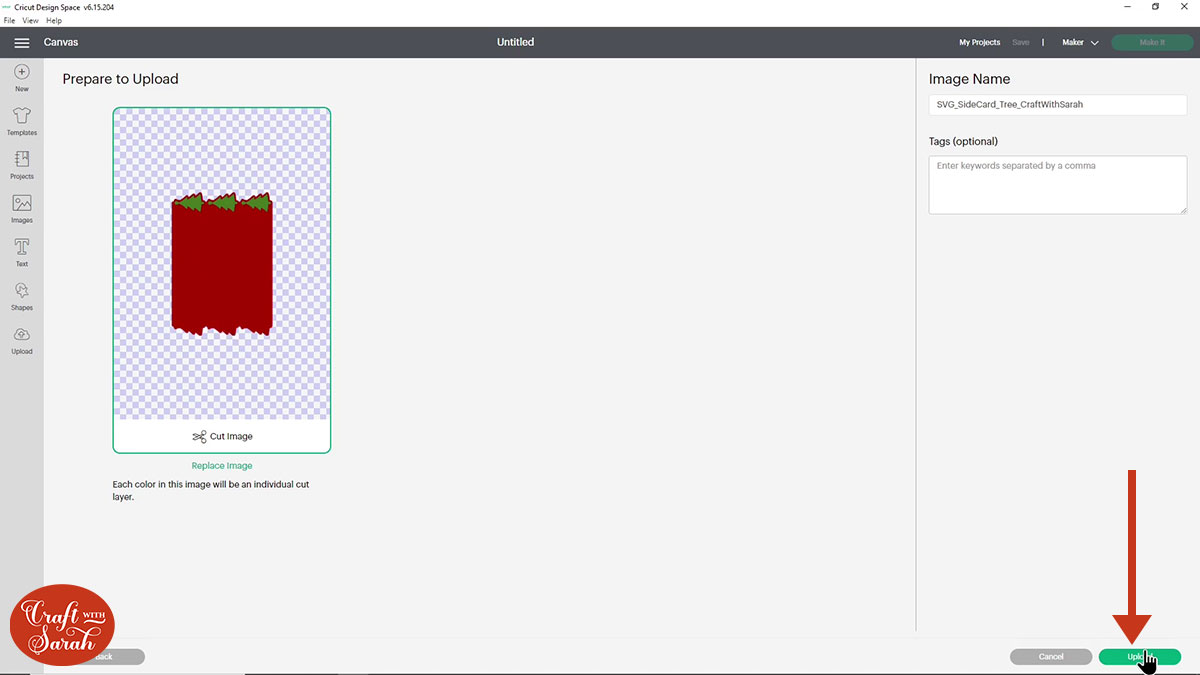
After uploading, the card design will show in your “Recently Uploaded Images”. Click on it and then press “Add to Canvas” to put it onto your Project.
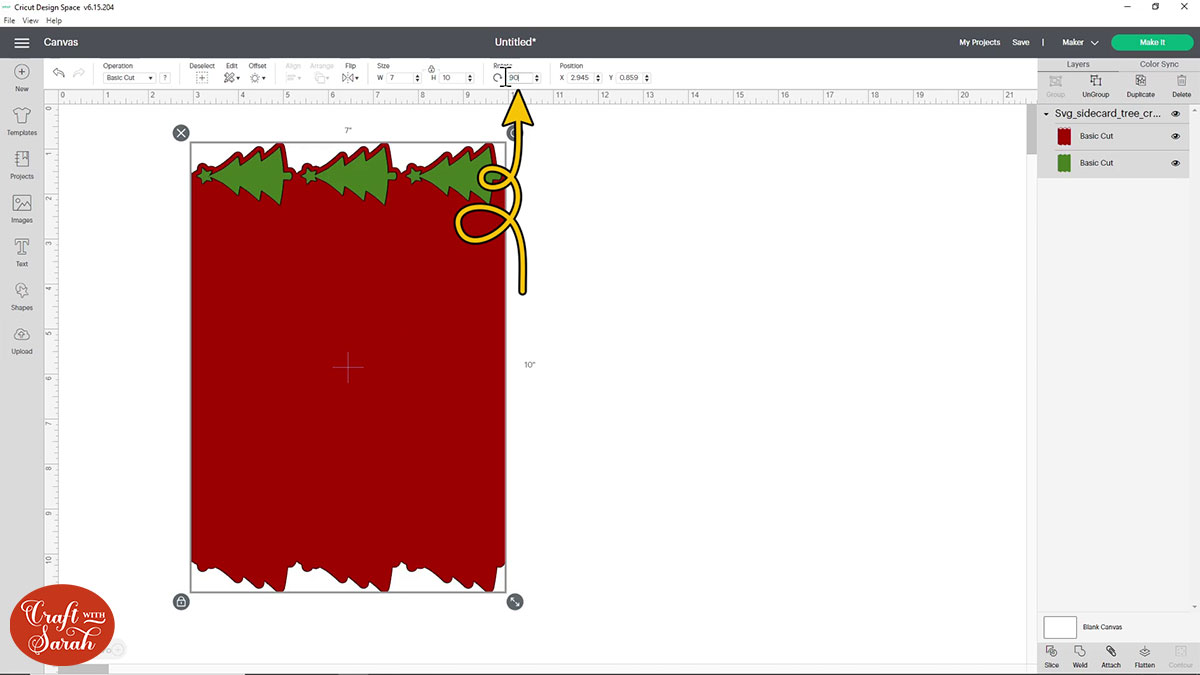
If you want to rotate the design to make it a little bit easier to see, just go up to the “rotate” box at the top, type 90 on your keyboard and hit enter.
Step 3) Add score lines
I haven’t added score lines to these SVGs because there is a little bug in Design Space at the moment where if I set something to a score line in my design software when it comes into Design Space it’s saved as a cut line instead of score.
I didn’t want you to accidentally cut a line down the middle of the cards, which is why I haven’t added the score lines to the SVGs.
BUT… I know you want score lines, right? Don’t worry – it’s really easy to add them in Design Space!
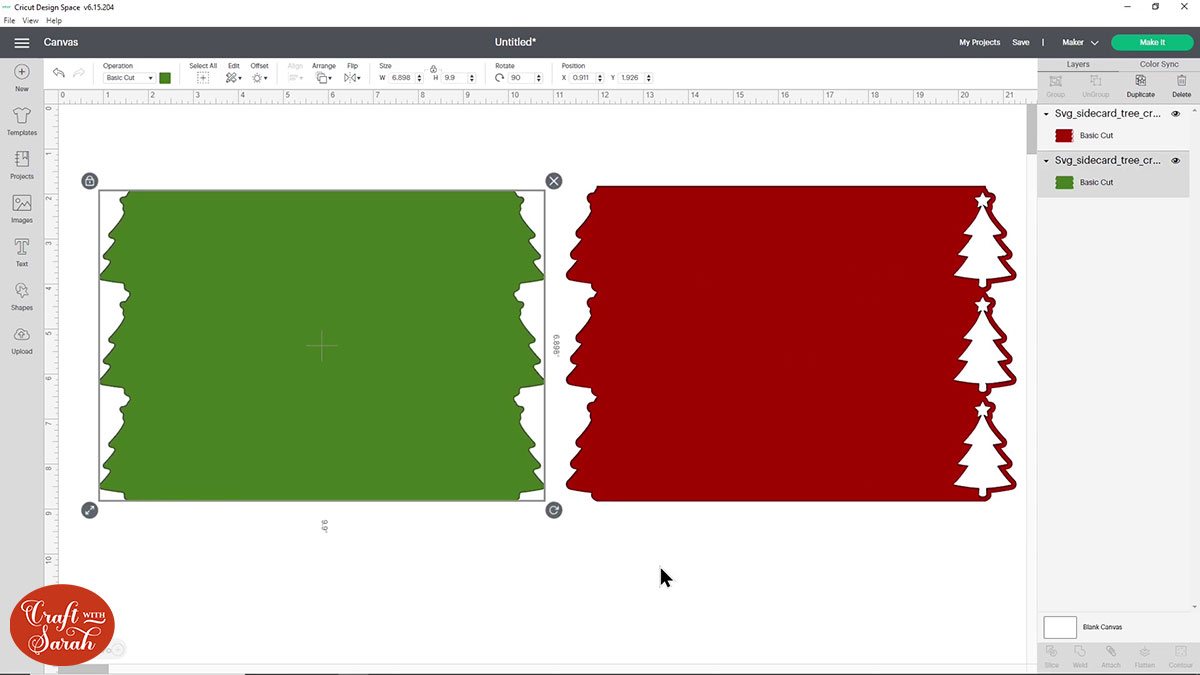
First we need to Ungroup the layers. Click the group name at the top of the layers panel and then click “Ungroup”. Drag the two colours of card apart from each other on the screen.

Go into “Shapes” and choose a score line. We need to make this the same height of the card and these cards are 5×7 inches, so the height is 7.

Change the height of the score line to 7 inches.
We need the score line to be exactly in the middle of the green piece so select the score line AND the green piece of the card.
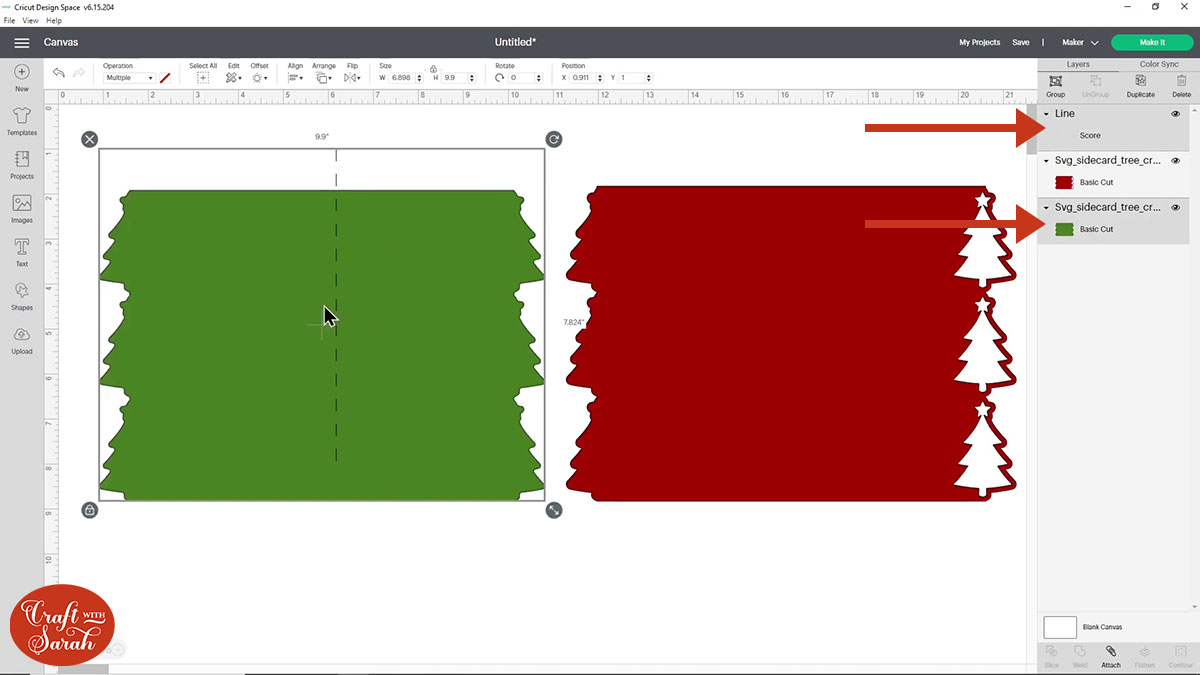
Click “Align” and then “Center”.
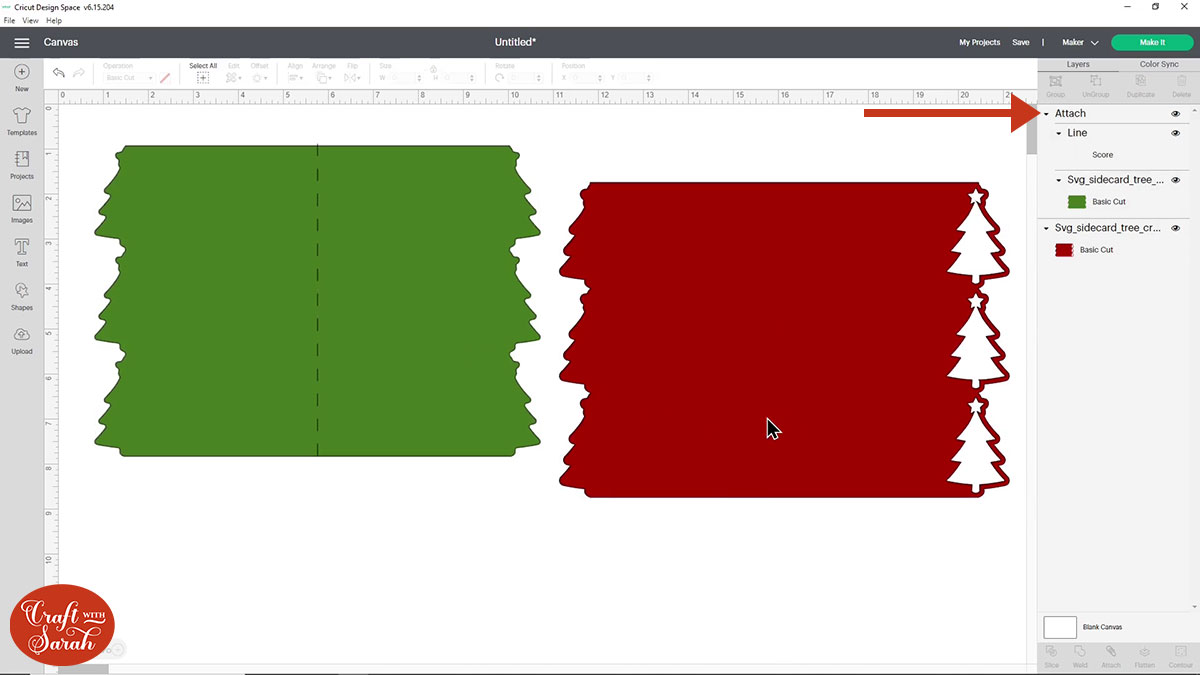
Now we need to “Attach” the score line to the card underneath. “Attach” is what tells the Cricut that we want to do the score line down the middle of the card underneath. If you didn’t attach it then your Cricut would cut the green piece and then it would do a score line next to it on the mat instead of over the top.
To Attach the score line and the green piece, select both the layers then go down to the bottom of the layers panel and press “Attach”.

The easiest way to add a matching score line to the red piece of card is to click the existing score line layer in the layers panel on the right of the screen and then click “Duplicate”.
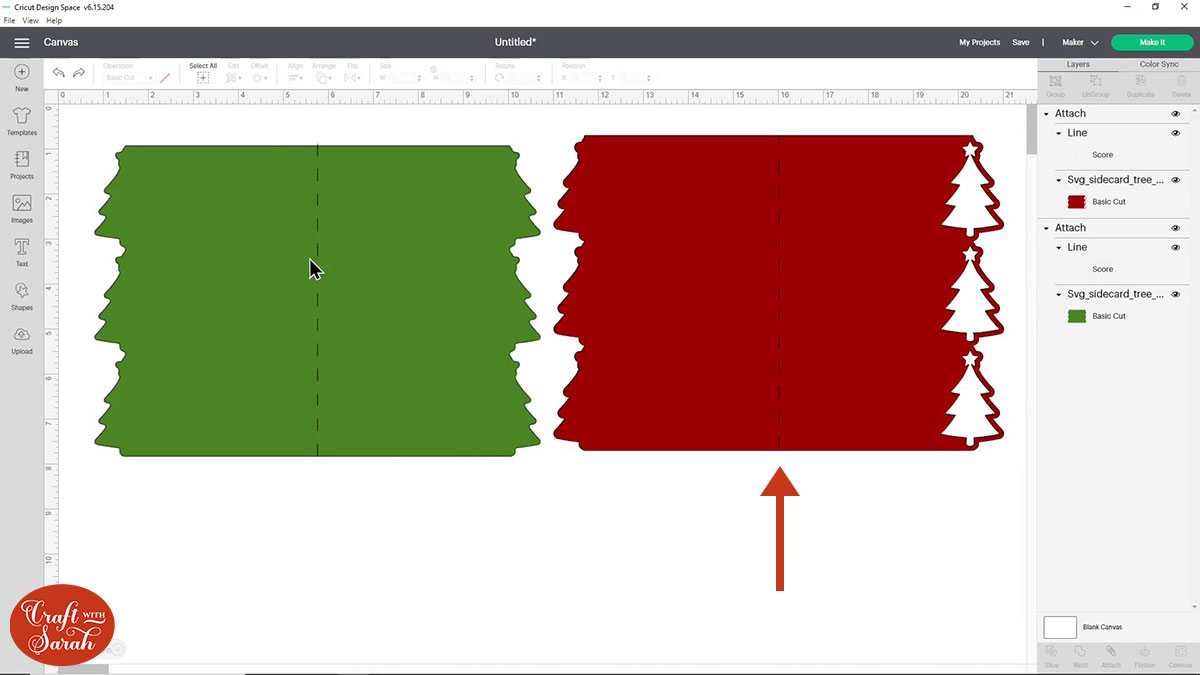
Select the new score line and the red card layer and then click “Align” and “Center.
Attach the new score line and red card layer, and that’s the score lines finished!
Step 4) Cut the card
The card is now ready to cut and it will make a 5×7 inch card.
If you want to resize the card before cutting it out, you need to put the colours back together.
Press “Select all” along the top and then go “Align” > “Center” once more and that’s put the green behind the red which is where it’s supposed to go and then at the top of the layers panel press “Group”.
Press “Select All” and then “Group” all the layers.

Once the layers are grouped, you can resize the whole card together.
When you’re happy with the size, click “Make It” on the top-right of the screen and follow the instructions on-screen to cut both colours of card out with your Cricut machine.
Step 5) Make the Christmas side-edge card
You’ll LOVE how easy these cards are to put together!!
Fold both pieces of card down the score line.
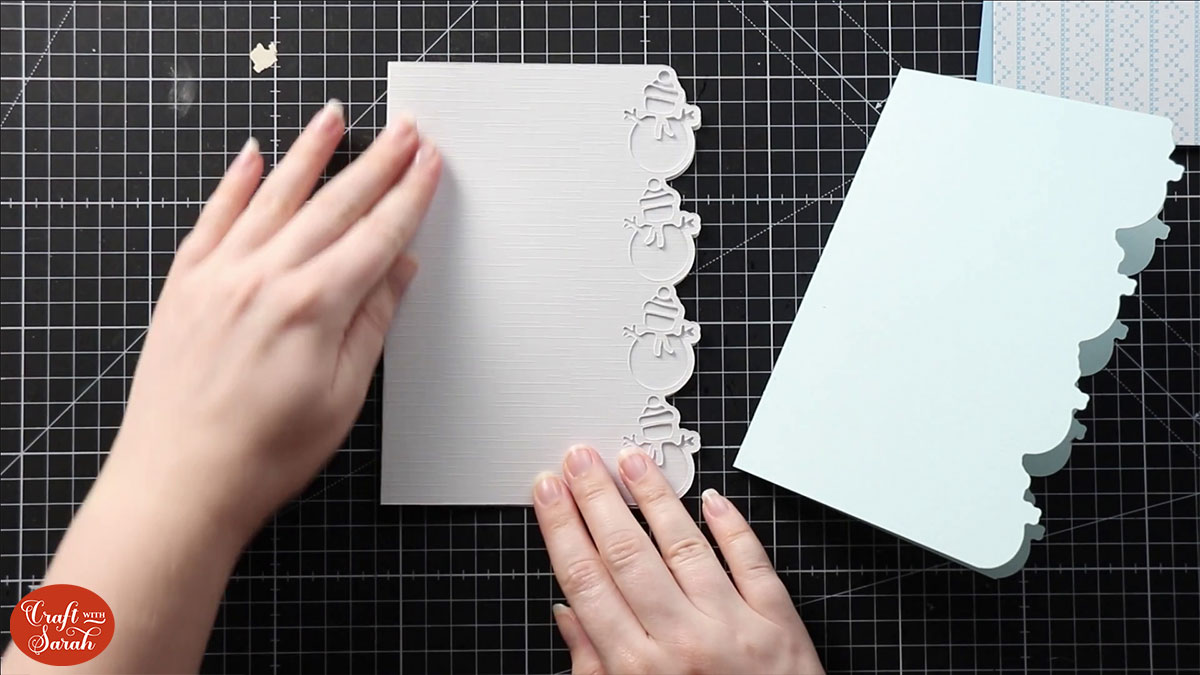
Add double-sided tape or glue to the back of the insert piece and then stick it inside the main card.
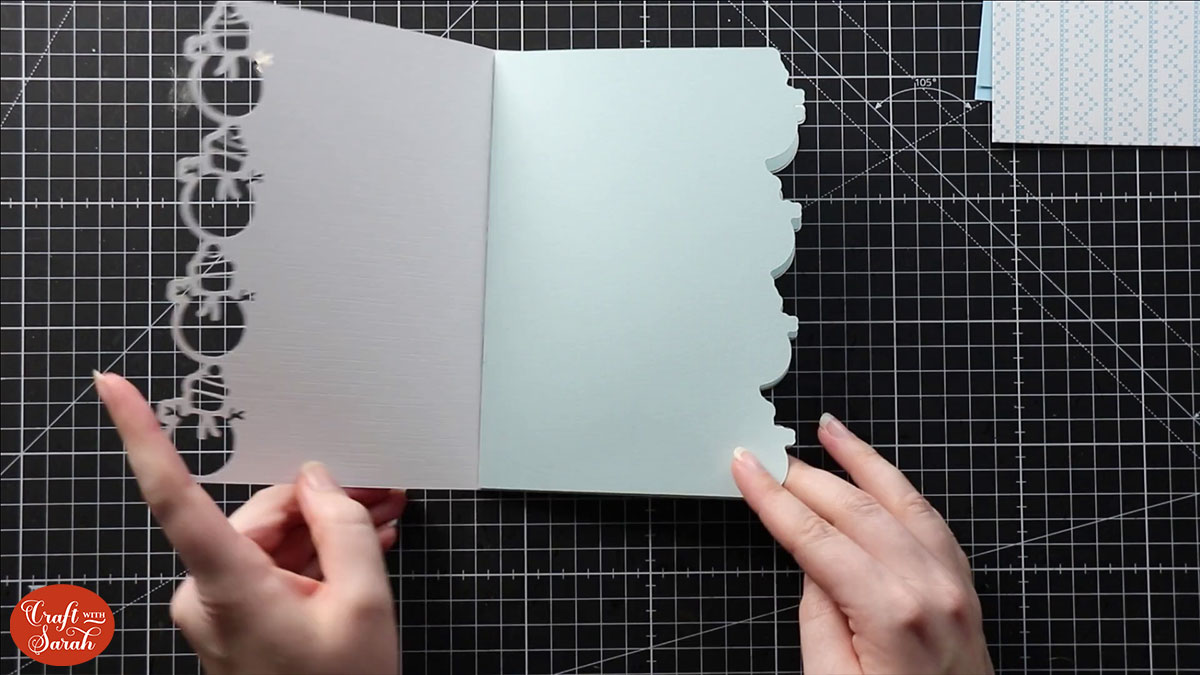
THAT’S IT!! Yes, really!!
You could leave the card as it is, but I like to decorate the left side of the card to add a bit more interest and to make the cards even more fun!
Side edge cards are great for using up some of your craft stash. I got all of the products I used in the photos in clearance last Christmas and I’ve been waiting for the perfect project to use them on… and this was it!
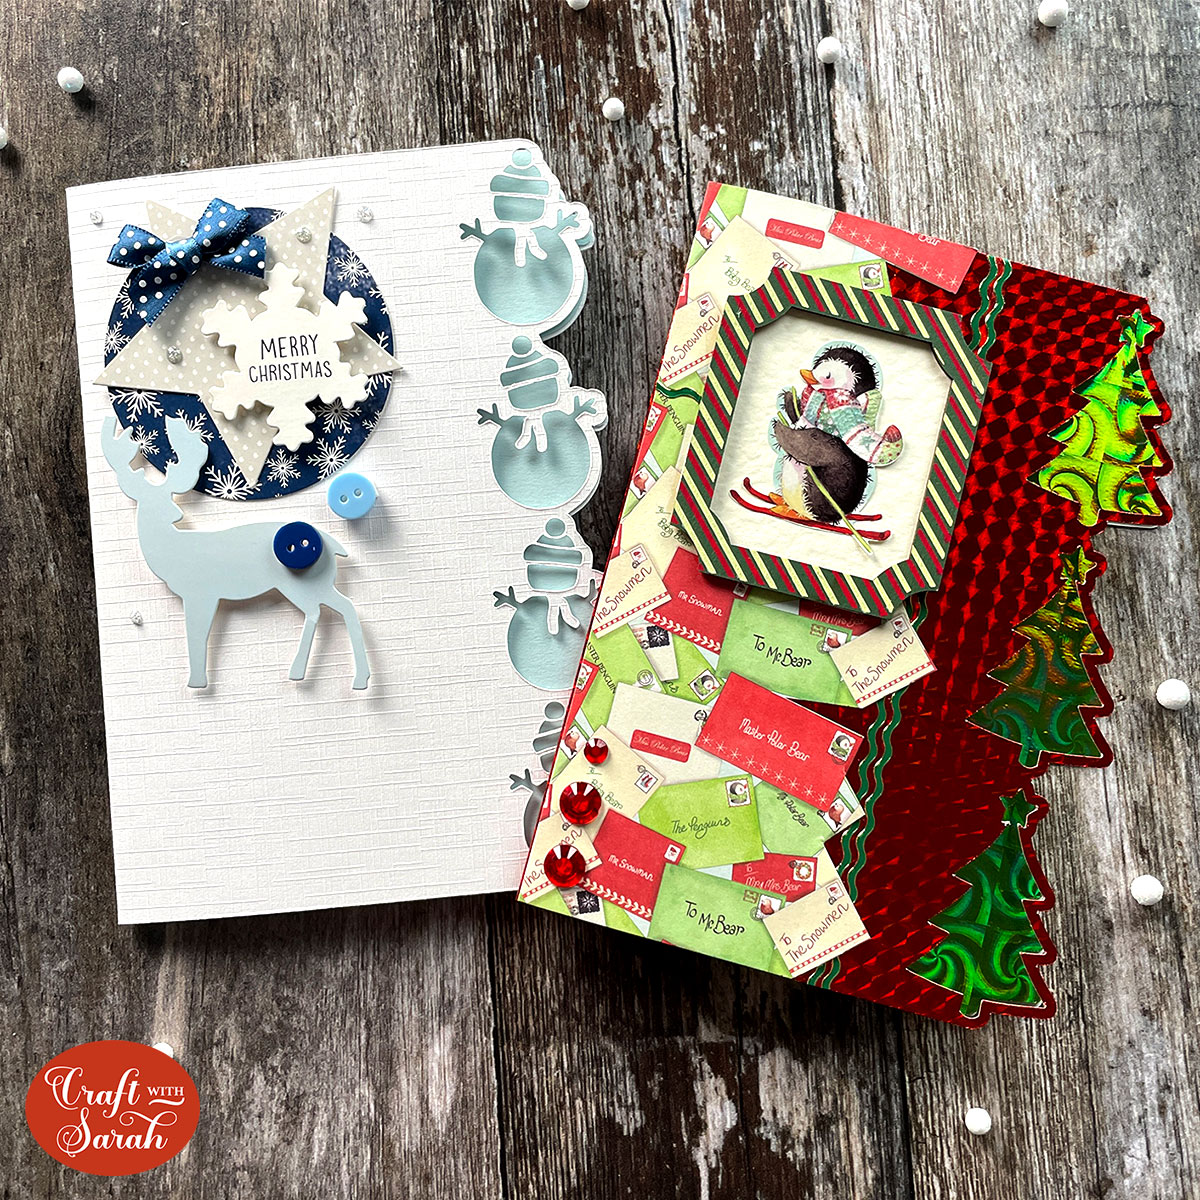
Here is how my cards looked when I finished decorating them:
I hope you enjoyed this tutorial on how to make easy Christmas cards with a Cricut machine!
Love layered SVGs? Check out my other free layered SVG files
Happy crafting,
Sarah x

