How to Make DIY Vinyl Nail Decals with a Cricut

Learn how to make your own nail decals using your Cricut machine in this fun Design Space tutorial.
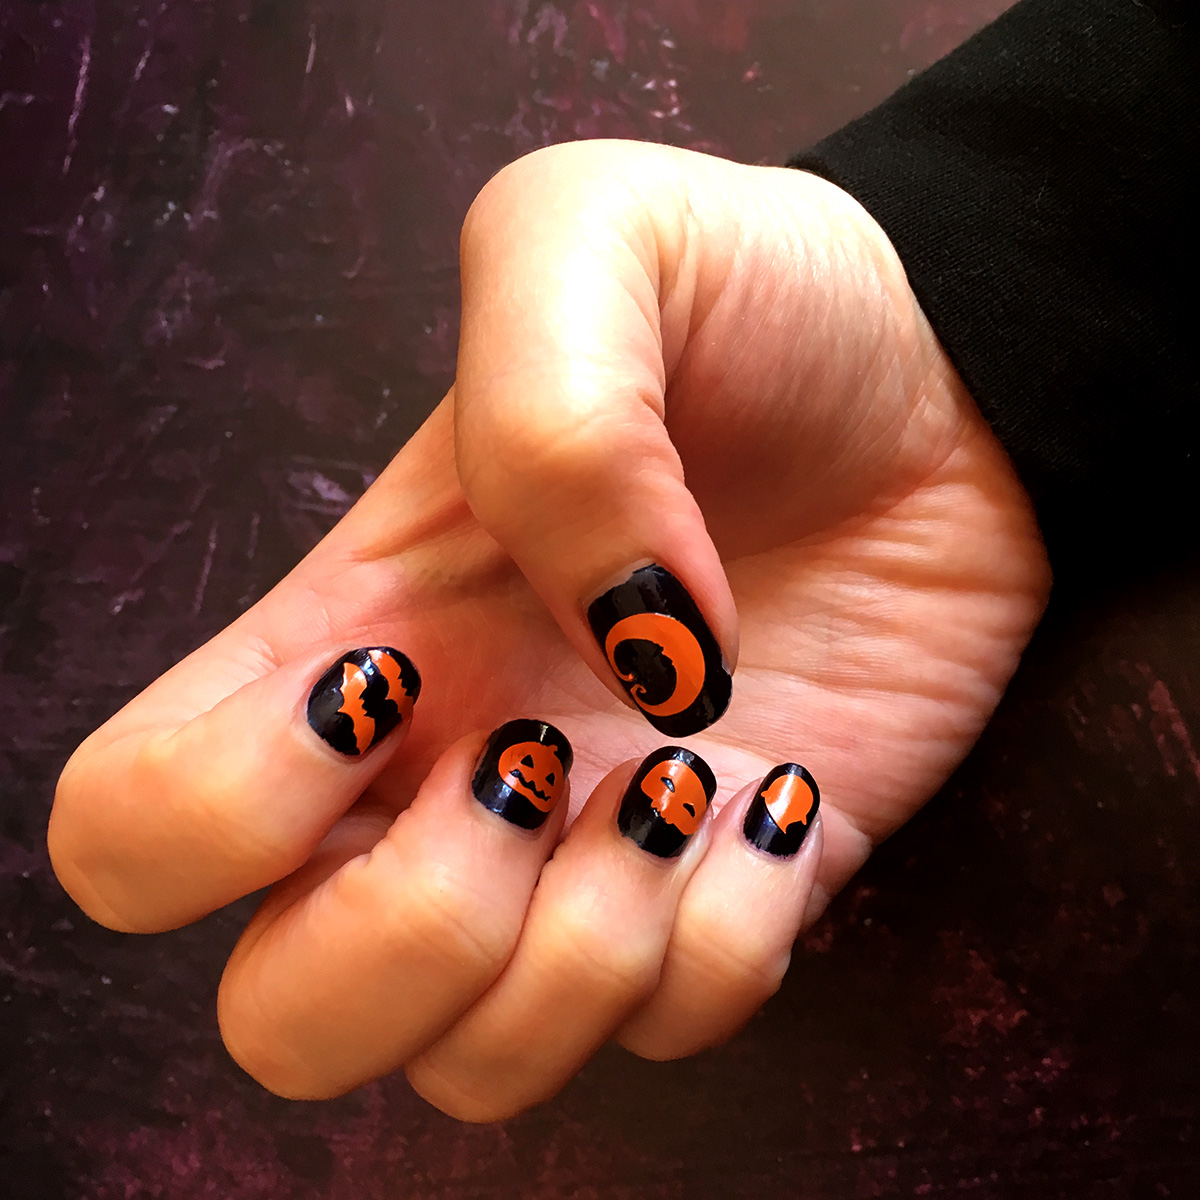
Decorate your nails for Halloween or use this technique for awesome DIY vinyl nail stickers for ANY occasion.

Please note that some of the links included in this article are affiliate links, which means that if you click through and make a purchase I may receive a commission (at no additional cost to you). You can read my full disclosure at the bottom of the page.
How to make DIY nail art for Halloween
Watch this video to find out how to design DIY nail art in Design Space and then apply it to your nails.
[cws_halloween2020]
How to make vinyl nail stickers
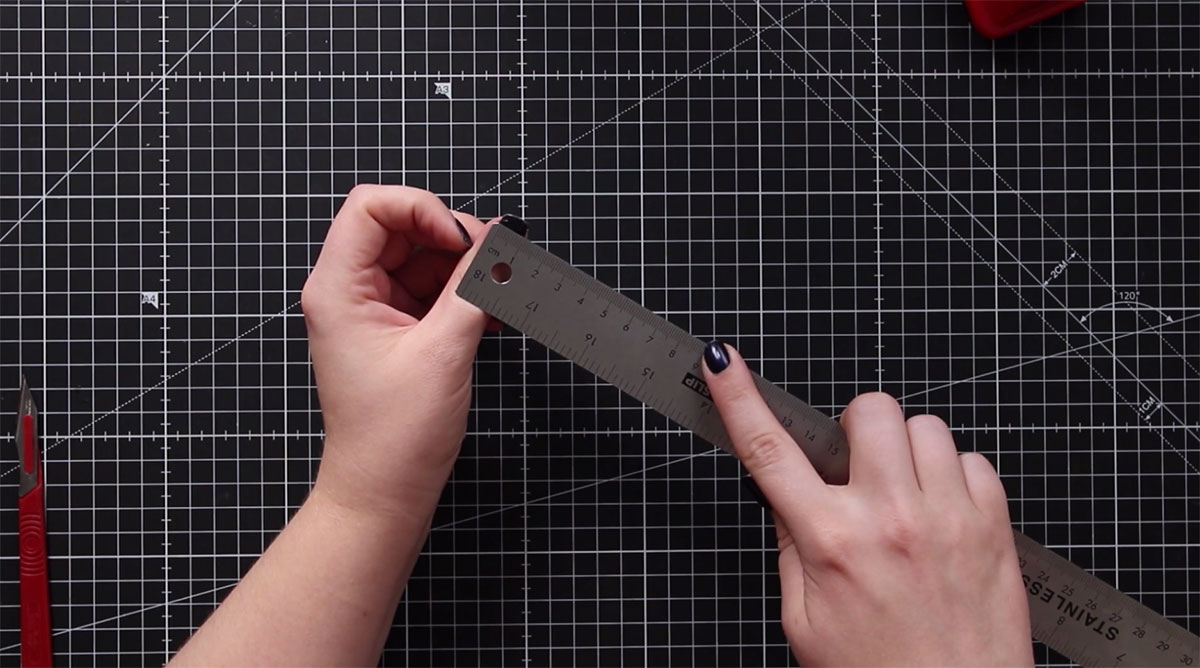
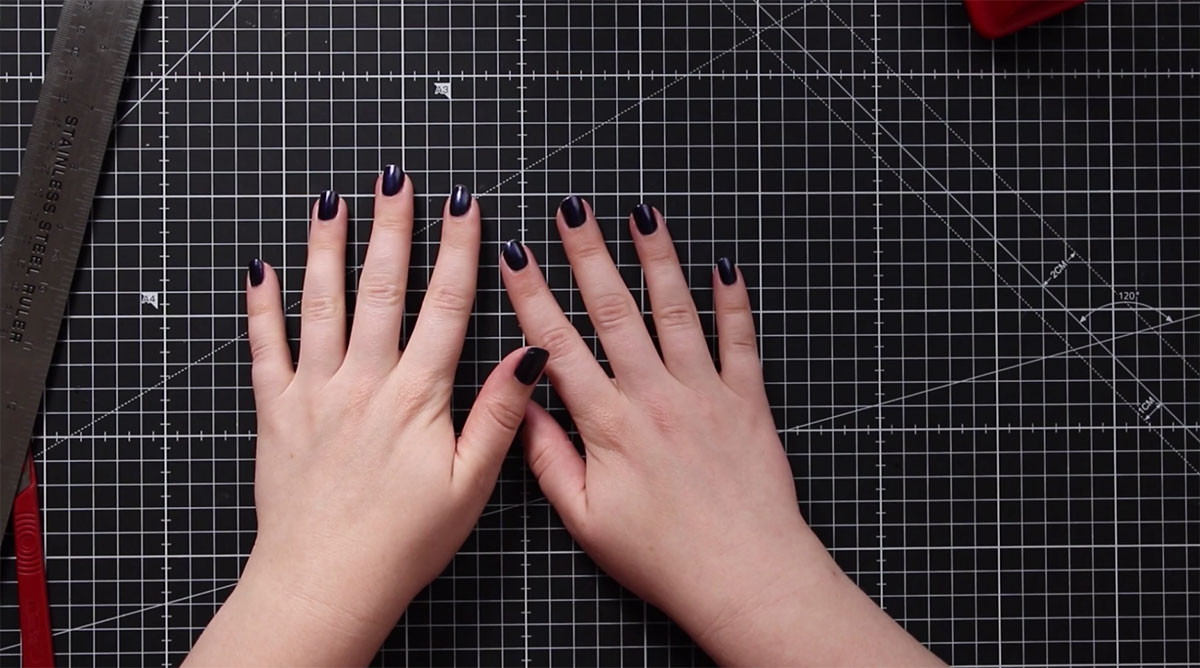
Step 1) Measure your nails
Measure your nails so that you know what size each decal design needs to be.
Make sure you leave a little bit of space either side so that the vinyl sticker doesn’t touch your skin on the sides of the nail.
Step 2) Create your nail art designs
Select your images in Design Space and resize them to the measurements of your nails.
You need to choose simple images that will be easy for your Cricut to cut out at such small sizes.
If your image has detail in it that you think will be too small, use the Contour tool to remove the details to give a simpler shape.
Duplicate the designs for your other hand (or use different images for the other hand!)
If you want to, you can use the “Flip” button to create a mirror image of all the designs for your other hand.

Step 3) Paint your nails
Paint your nails at least a couple of hours before applying the decals, but ideally the day before so that they are properly dry and hard.
I used a transparent base coat and then a deep blue shimmer-effect nail polish.
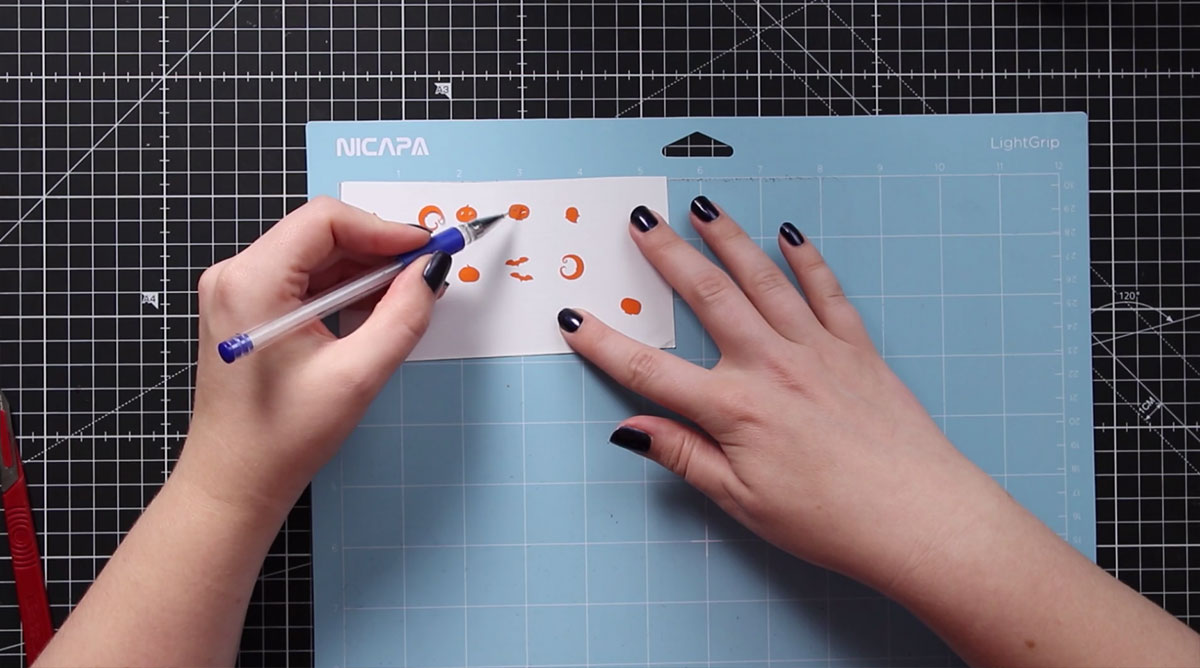
Step 4) Weed your nail art vinyl designs
Remove all of the excess vinyl from your decals.
You might need to use a weeding tool to hold the designs in place as you peel the excess vinyl away.
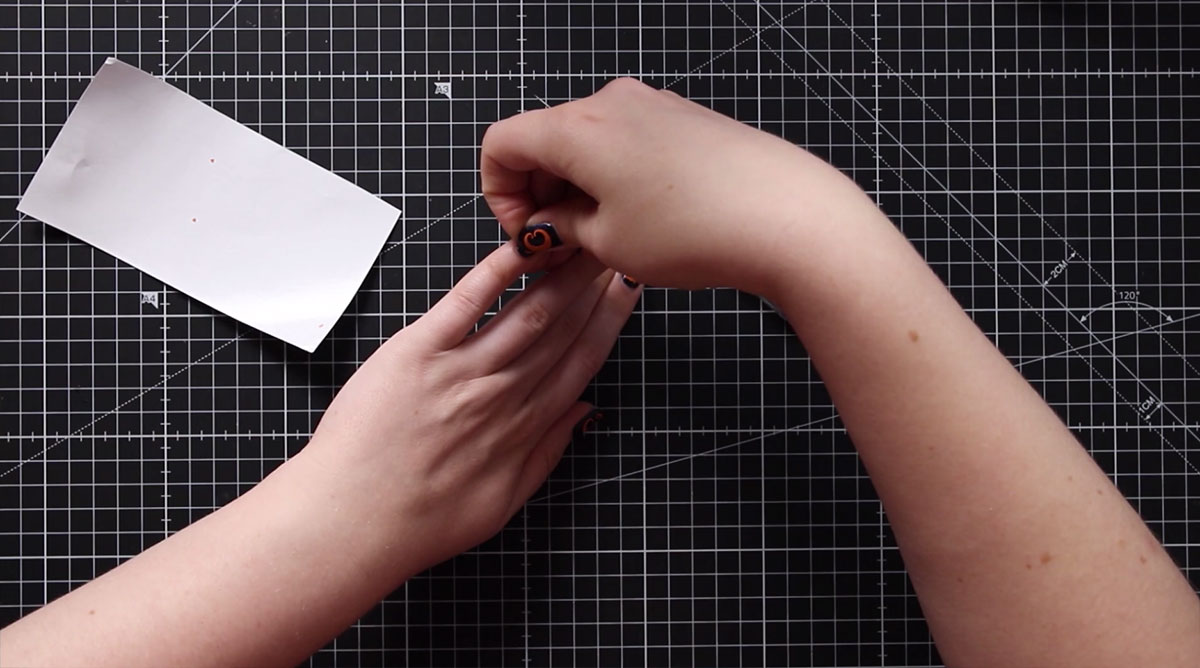
Step 5) Apply your nail art decals
Carefully pick up each decal, one at a time, and stick them to your nails.
I used a weeding tool to transfer each decal to my nails.
Press down firmly to make sure the artwork is stuck really well to your nail.
Step 6) Seal with clear nail polish
Add one or two coats of clear nail polish to help keep the decals stuck to your nails.
My nail art stayed on for around 3-4 days before some of the edges started peeling up.
After that, I applied a new coat of clear polish and then they lasted a few more days after that!
I hope you enjoyed this tutorial on how to make your nail decals.
If you make your own, I’d love to see a photo! Why not upload one to my Cricut Facebook group?
[cws_clubhouse design=’1096′]
Happy crafting,
Sarah x
[cws_halloween2020]

