Design Cut & Fold Cards in Cricut Design Space

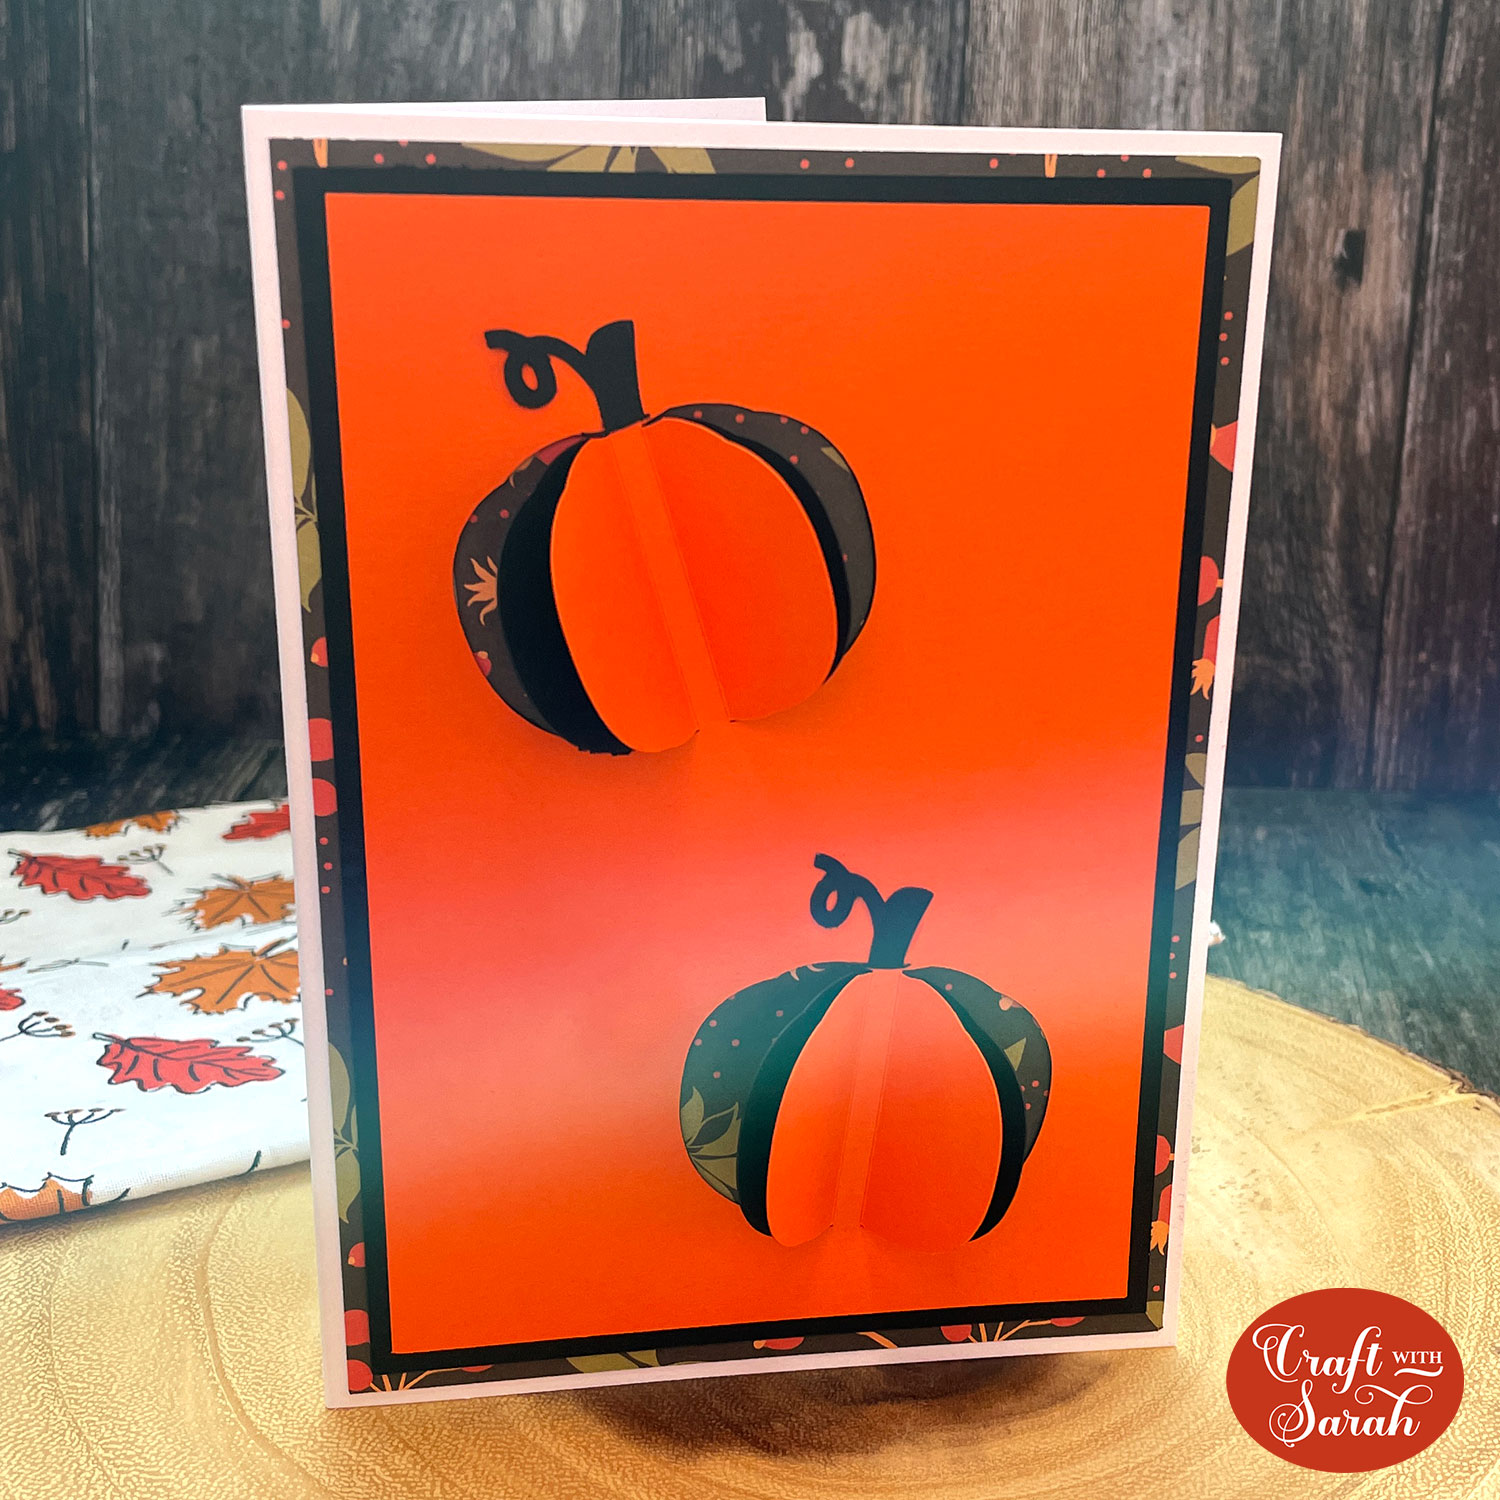
Design your own pop out cards with this fun “cut & fold” technique.
The Offset tool in Cricut Design Space is used to make the pop out effect which folds flat for posting.
I’ll show you how to choose the perfect images for your card and then how to transform them into a greeting card. Although I chose to make a card with pumpkins, you can choose any image for any occasion!
[cws_halloween2021]
How to design Cut & Fold cards
Watch the video to see how quick and simple it is to design these cards. In fact, it might take longer to choose the image you want to use than it does to turn it into a pop out card 😀
(Note: I called these “cut & tuck” cards in the video… but that was wrong! I should have said “cut & fold” – whoops!)
DIY Pop Out cards in Cricut Design Space
Here’s how to design your own cut & fold pop out cards in Cricut Design Space.
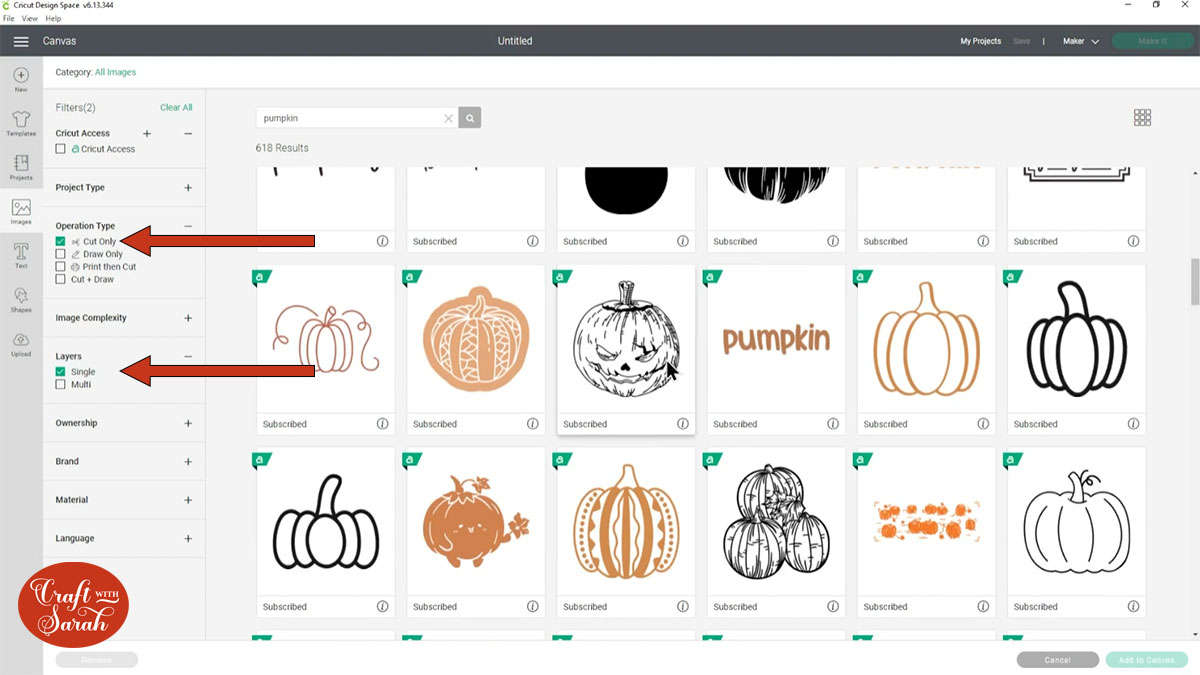
Step 1: Choose your image
Choose the image that you want to use for your cut & fold card.
You want to select a one-colour image that’s fairly simple in appearance and only one layer.
To help find an image, tick the filter boxes on the left of the screen to only show cut images and one-layer images.
Step 2: Edit the image if needed
We want the cut image to be fairly simple in nature without any “small” pieces that might not cut properly.
We will be cutting the image in half to make it perfectly symmetrical, so cut of any pieces that won’t make this possible.
For my pumpkin, this means that the stalk had to go!
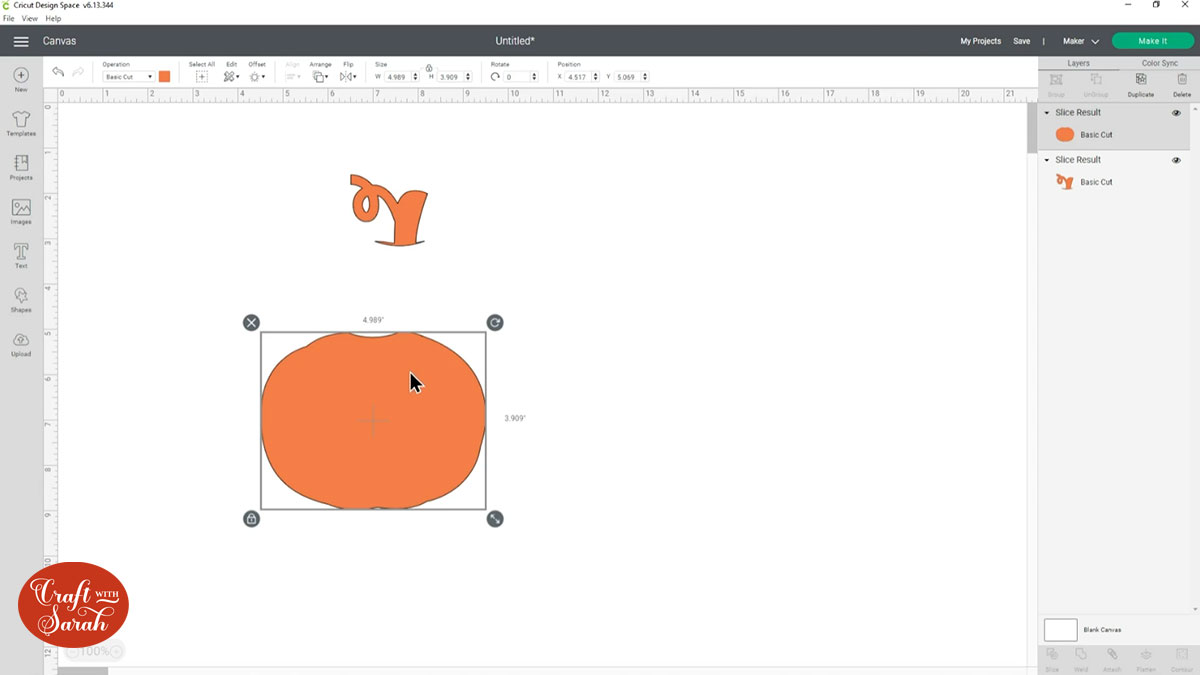
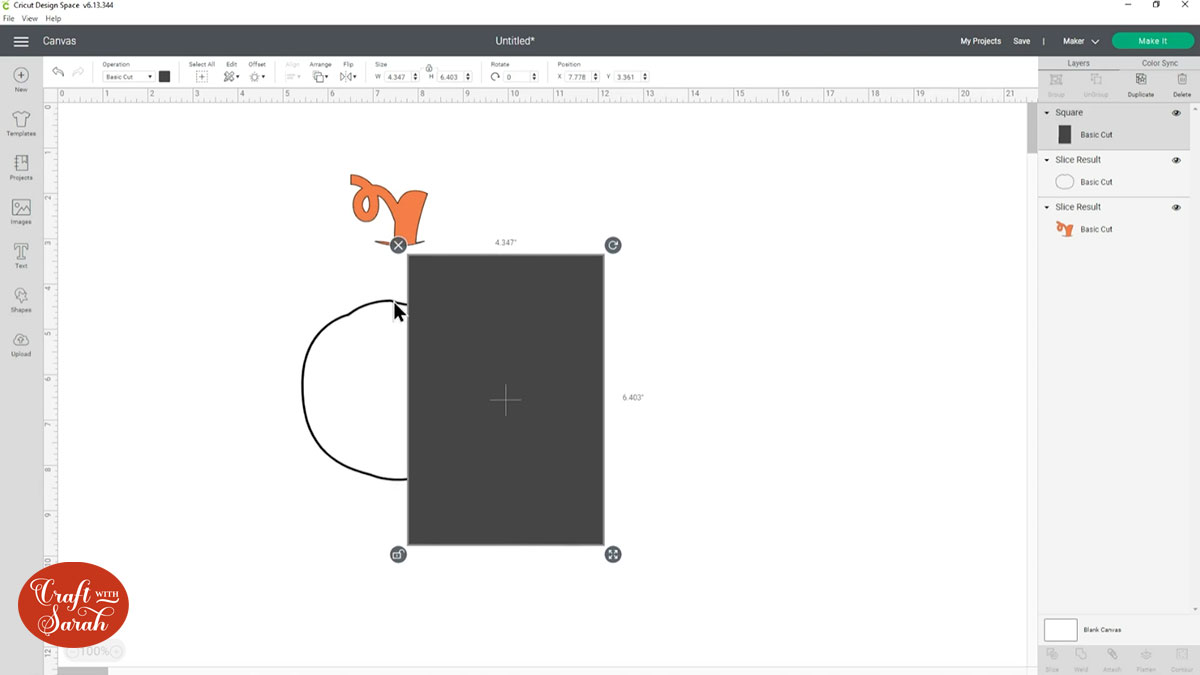
Go into “Shapes” and choose a circle.

Place it over the stalk on the pumpkin.
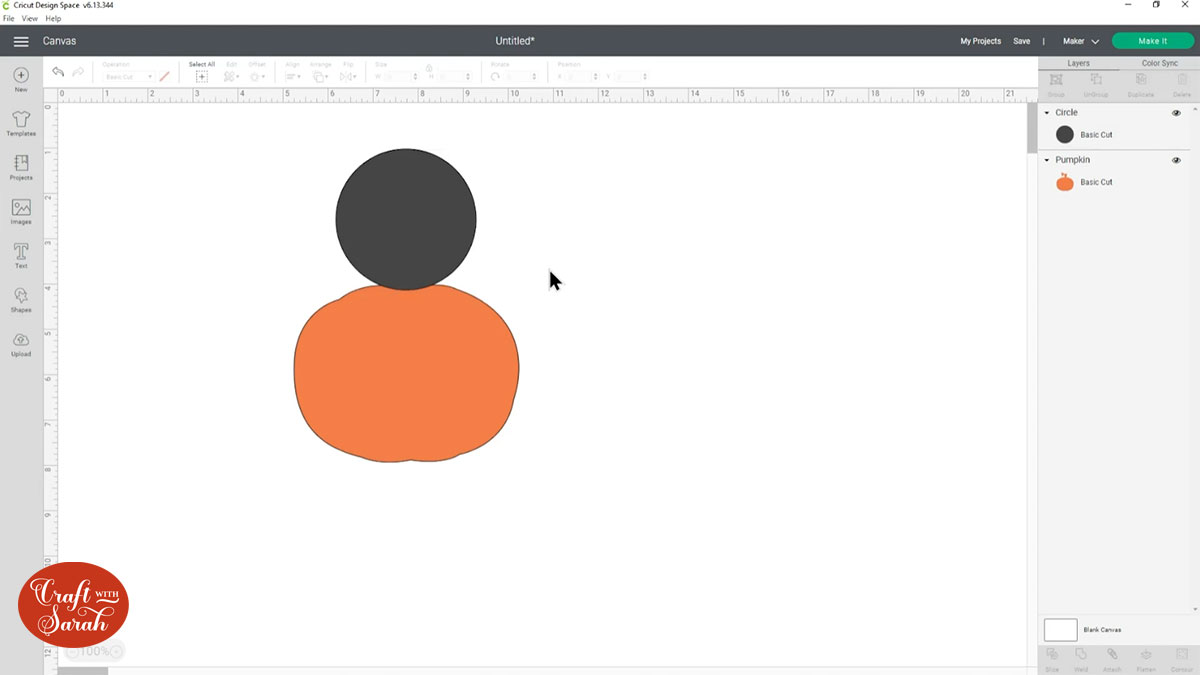
Drag a box around both the circle and pumpkin to select both layers, then press “Slice”.

This will cut the stalk off the pumpkin and create several “slice result” layers.
Delete the remaining parts of the circle until you are left with something like this:
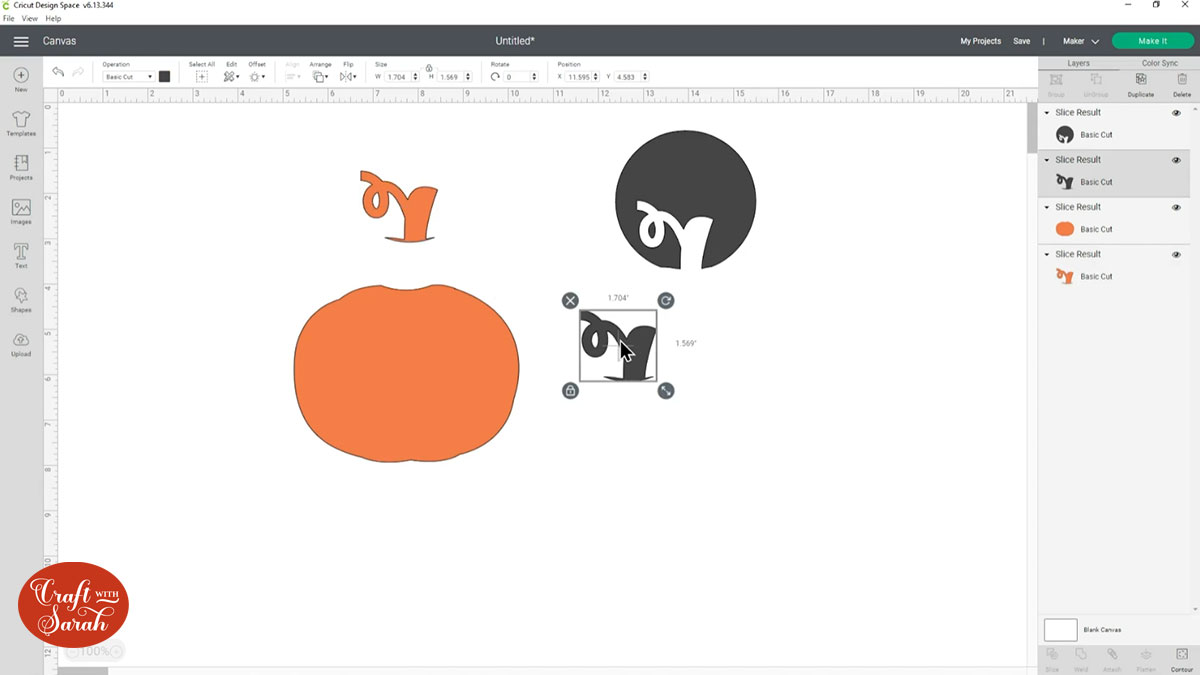
Step 3: Create an outline for the image
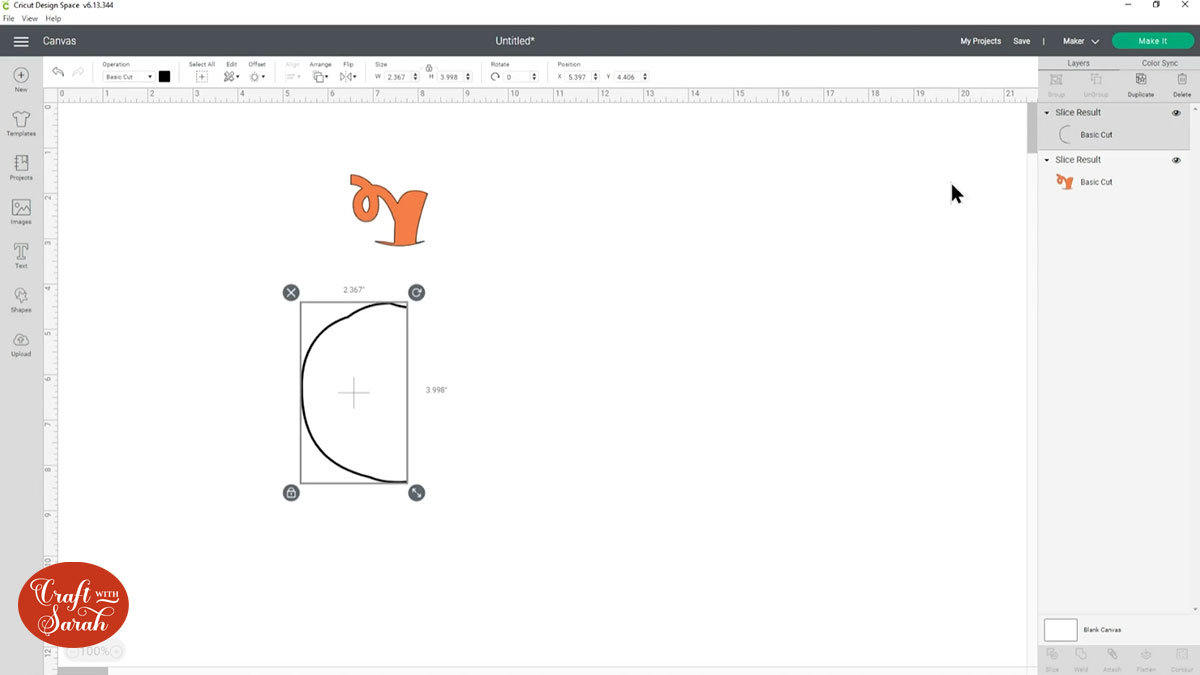
Click the pumpkin image layer and click “Offset”.
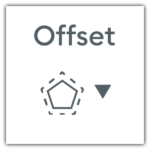
Type 0.05 into the offest box and click “Apply”.
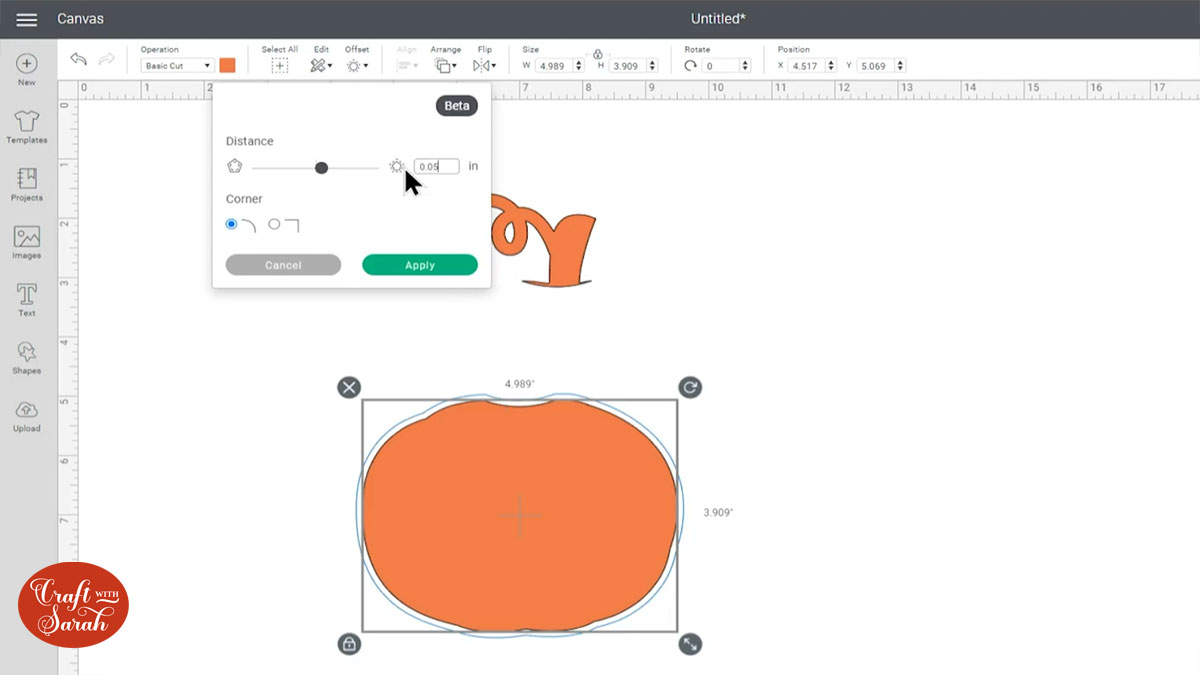
Select the offset layer and the pumpkin layer and click “Slice”.
This has cut the original pumpkin out of the offset layer.
Delete the two slice result layers that are still “filled in” until you just have the outline layer left.
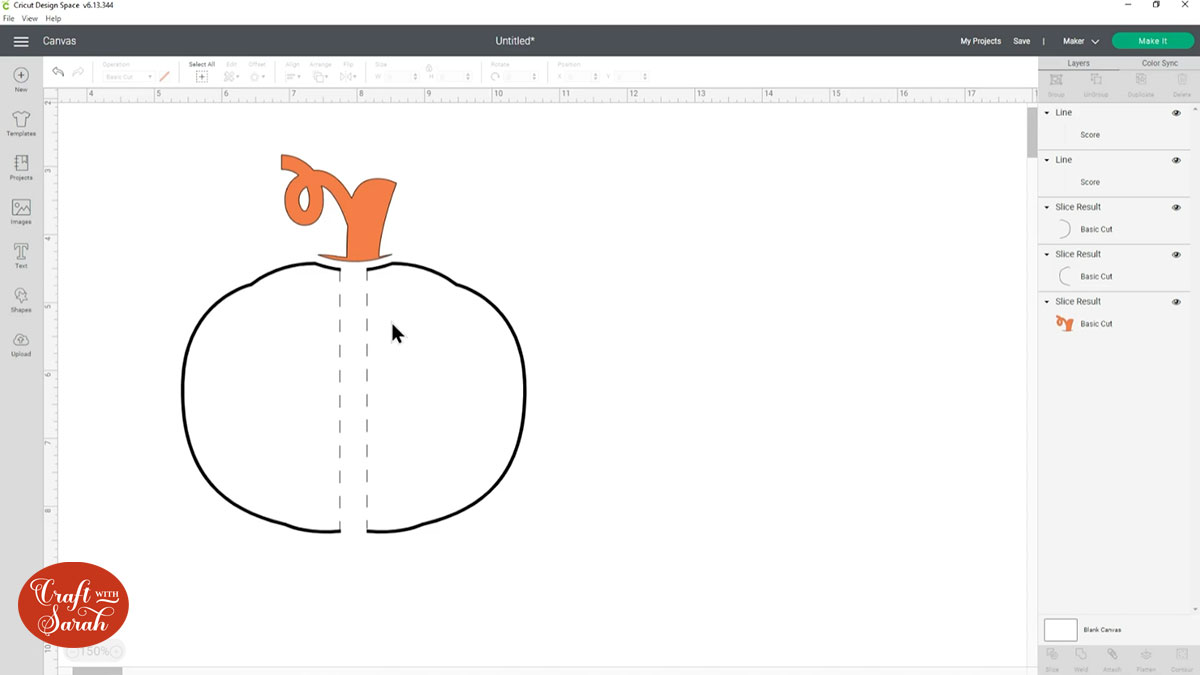
Step 4: Make the image symmetrical
Next we need to make our pumpkin outline symmetrical so it will look better as a cut & fold card.
Go into “Shapes” and choose a square.
Position it half-way across the outline layer.
Select both layers and click “Slice”.
Delete the square slice result layers and one half of the pumpkin.
Click the remaining piece of pumpkin and Duplicate it to make a copy.
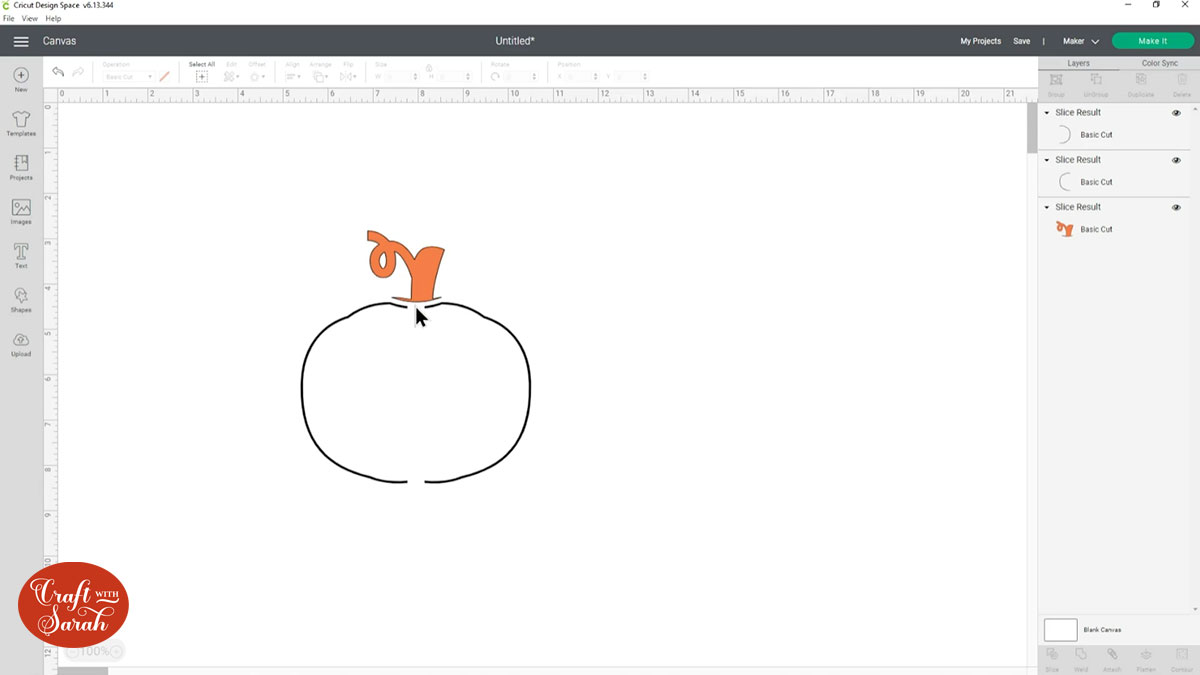
Click into the “Flip” button and then “Flip Horizontal”.

Move the flipped layer until it is next to the original one. You MUST leave a gap in the middle between them.
Step 5: Add score lines
Next we are going to add score lines to each side of the pumpkin to make it easier to fold the edges upwards.
If you don’t have a scoring wheel or stylus for your Cricut, skip this step.
Go into Shapes and choose a Score Line.
Drag it to the same height as the edge of the pumpkin and use it to “join” the top and bottom.
Do the same thing for the other side of the pumpkin.
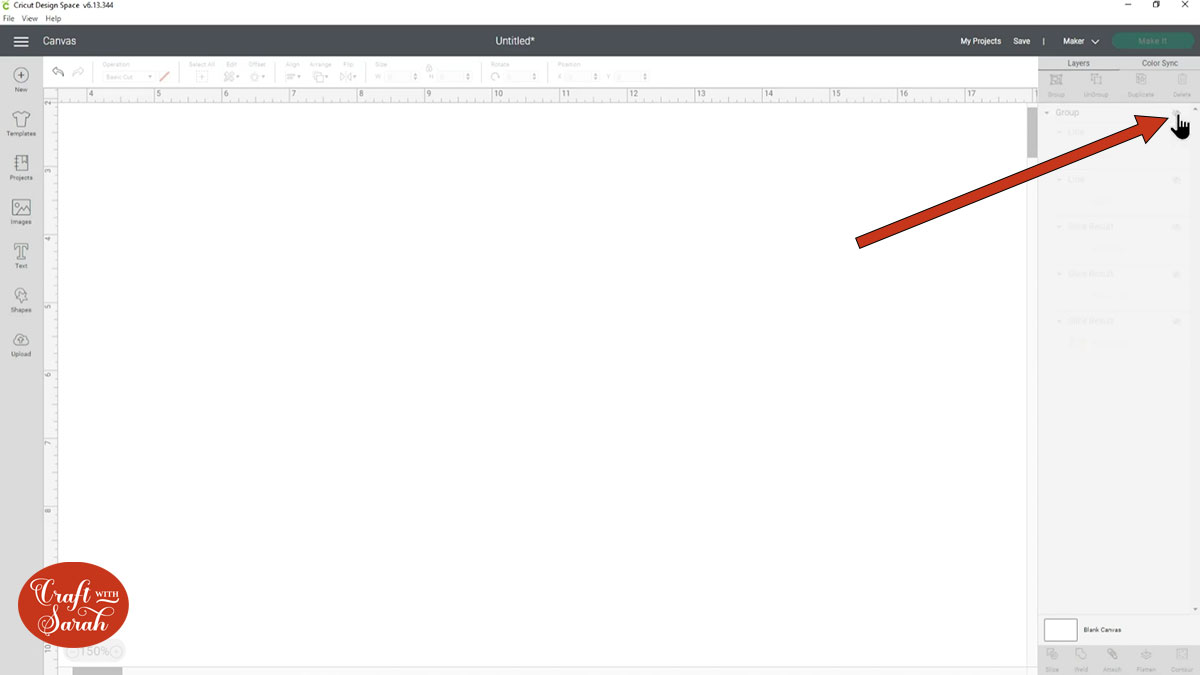
Click “Select All” to select all of the layers.

Click “Group” to put all the layers into a group.

Next, click the little eye icon next to the group heading in the layers panel to hide it from view. We’ll come back to it later.
Step 6: Create the card layers
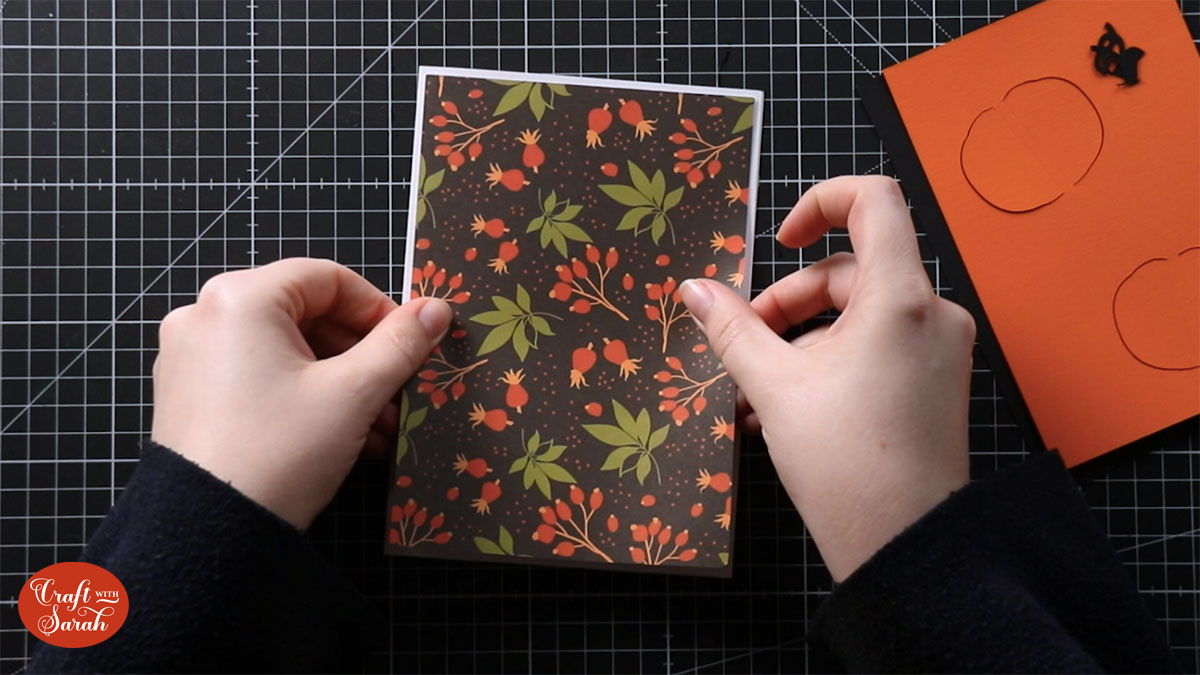
I am using a 5×7 inch pre-made card blank for my card, as I have LOADS of them in craft stash that need using!
Therefore, I’m only going to add the “layers” in Design Space and not the card blank itself.
If you’d like to cut your card blank/base with your Cricut, check out this tutorial for how to create one.
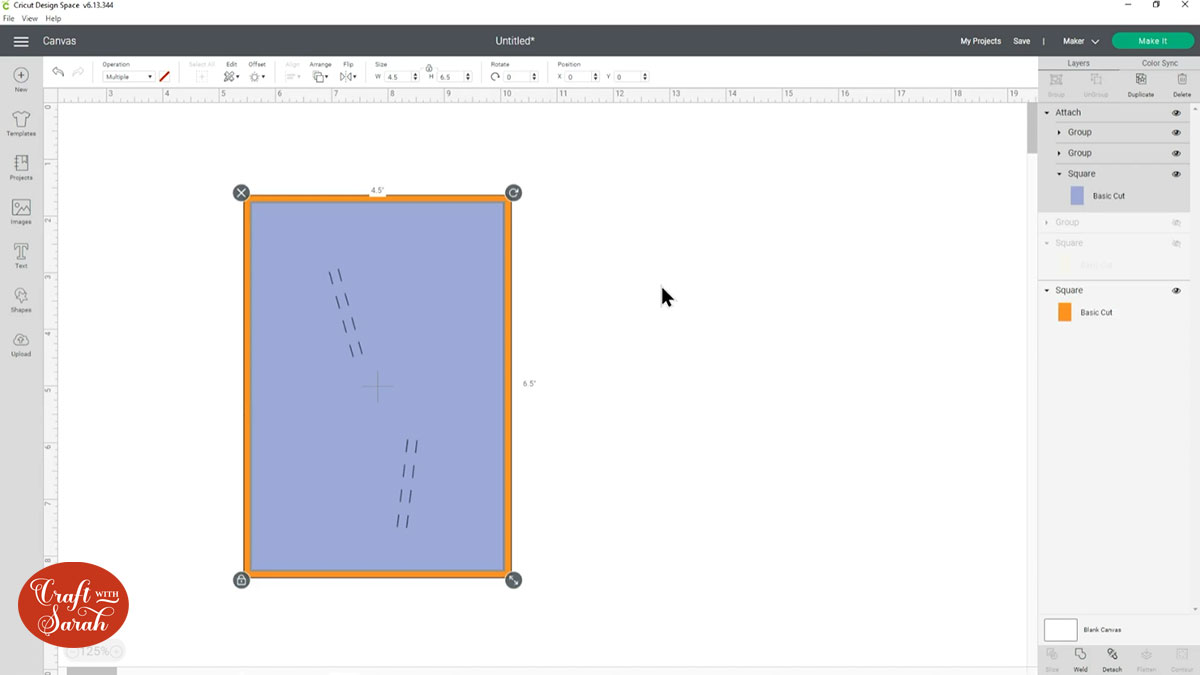
Create three rectangles, each slightly smaller than the last.
Click “Align” and then “Center” to put them in the middle of each other.

Step 7: Position the pumpkins
Click the eye icon on the pumpkins group to put it back on the Canvas.
Click “Arrange” and “Send to front” to move it to the front of the card layers.
Position it where you want it to go. If you want a second pumpkin cut out, Duplicate the group and move that down to nearer the bottom of the card.
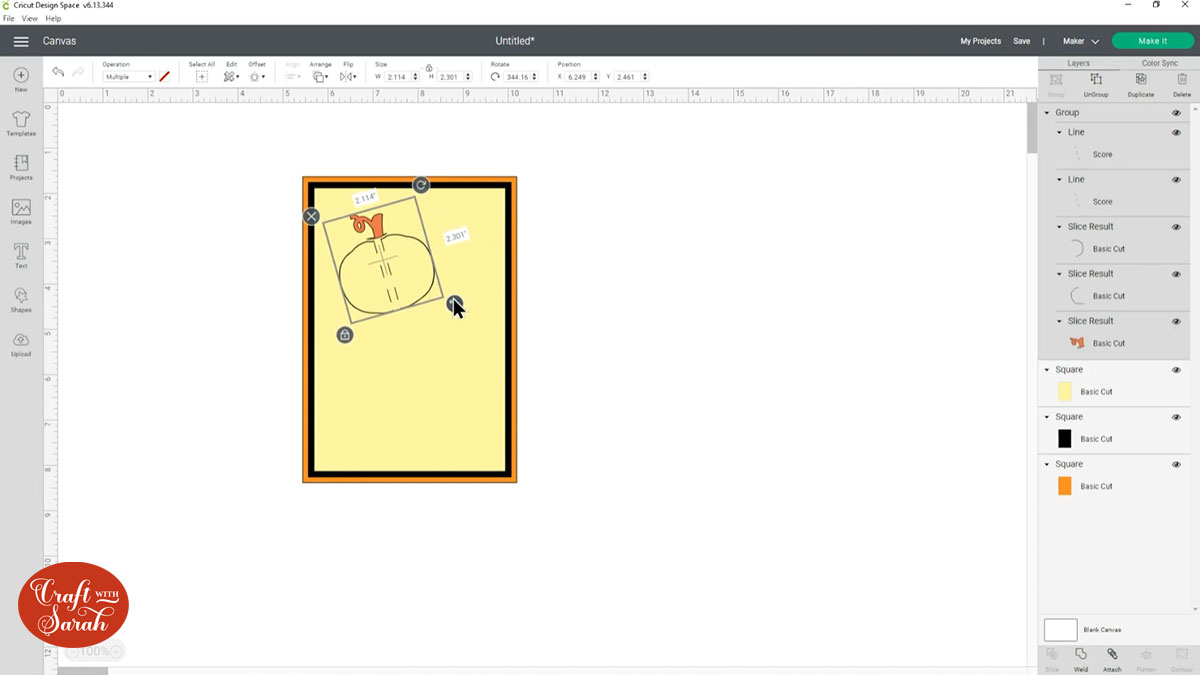
Click one of the pumpkin groups, press Shift on your keyboard and choose the other, then Group them.
Duplicate this new group to make a copy, then go to “Align” > “Center” to position them one-on-top the other. Drag them back into position on the card.
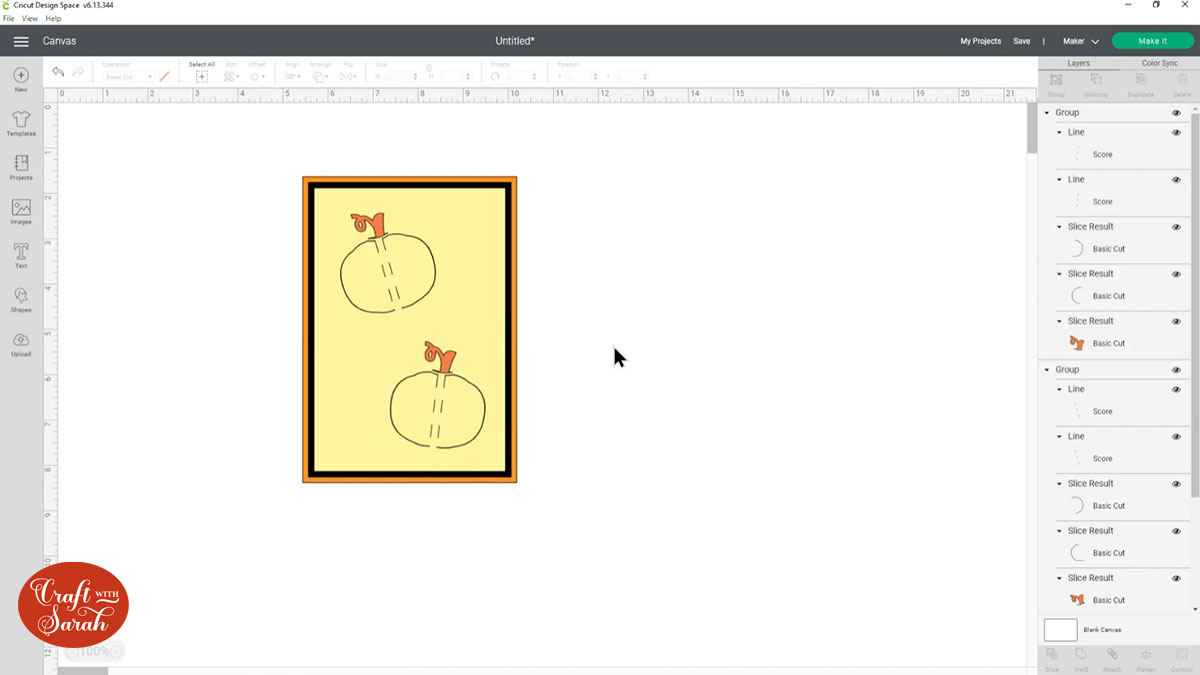
Delete the pumpkin stalks on one of the groups as we only need to cut them once.
Hide the pumpkin group that still has the stalks.

Select the remaining visible pumpkin group and the MIDDLE rectangle and press “Attach”.

This tells the Cricut that we want it to cut the pumpkins and do the score lines on this rectangle.
You MIGHT find that the pumpkin edges “disappear” after you click Attach. If that happens, don’t worry – this is a Design Space bug, but your layers are still there and will cut.
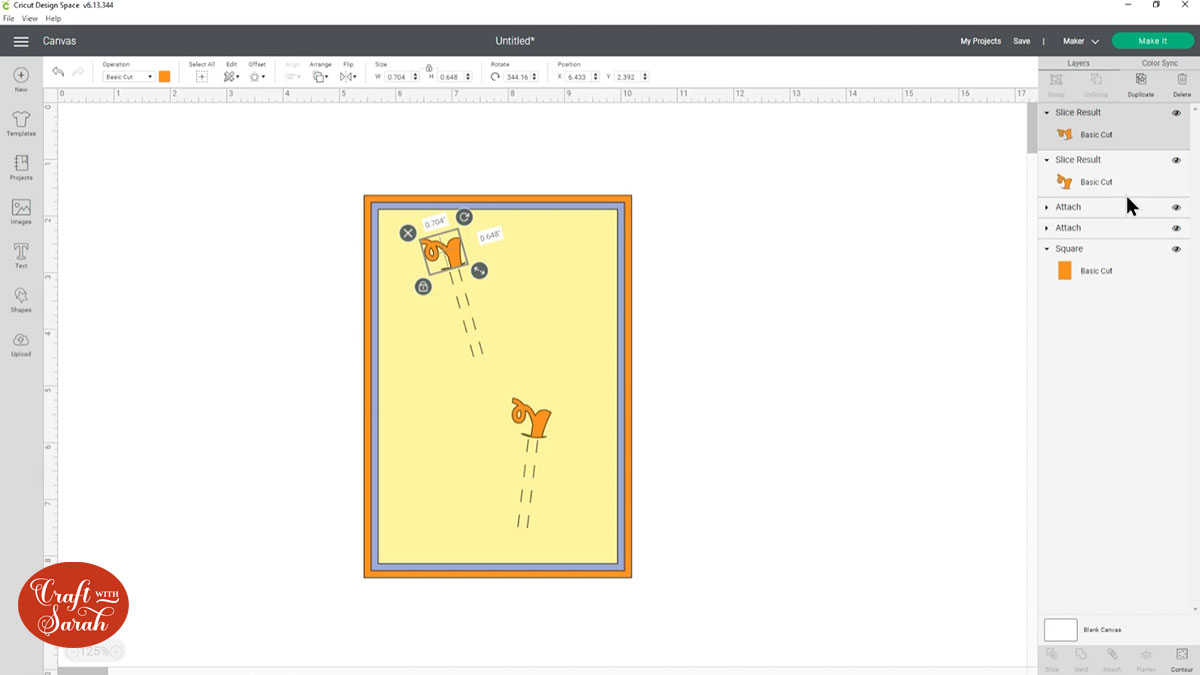
Click the eye icon on the layers panel next to the “Attached” selection of layers and then turn back on the other pumpkins layer and the front rectangle.
Click the pumpkin group and “Ungroup” it.

Select the score line layers, pumpkin outlines and the top rectangle and press “Attach”. Do NOT attach the pumpkin stalks – we want them to cut separately.
Step 8: Cut out the layers
Save your project and then click “Make it”.
Follow the on-screen instructions to cut out all the layers.
Step 9: Make the cut and fold cards
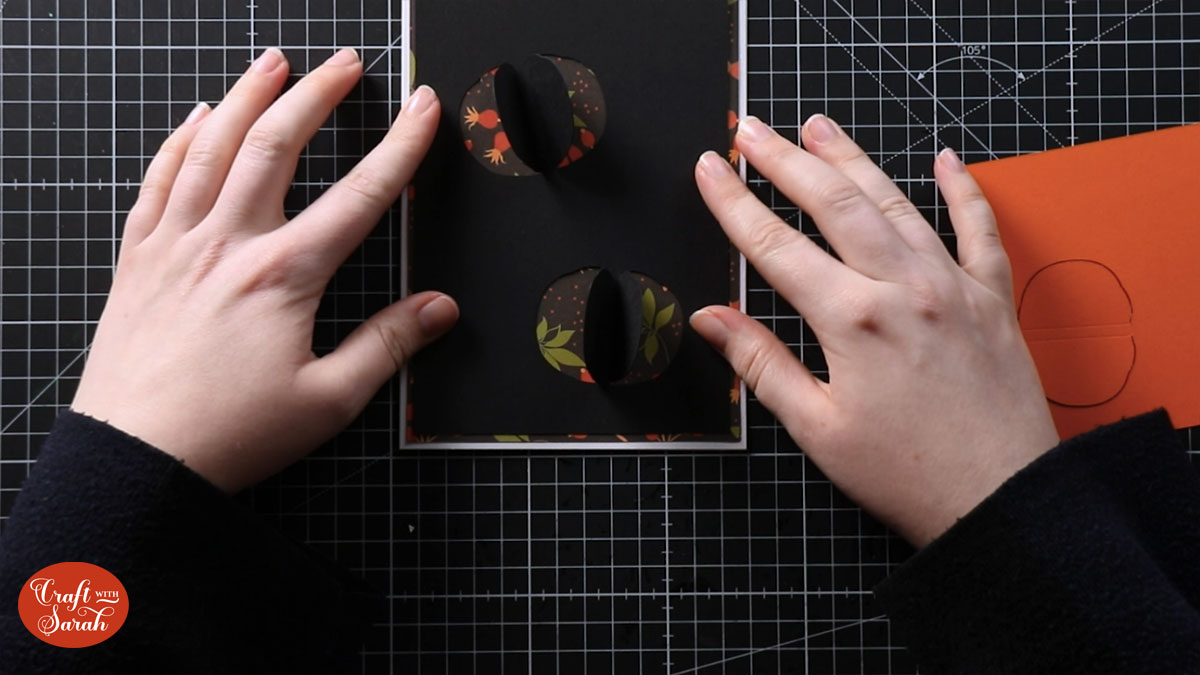
Start by sticking the bottom rectangle to your base card.
Next, take the middle rectangle and fold up the sides of the pumpkin along the score lines.
Stick this to the card.
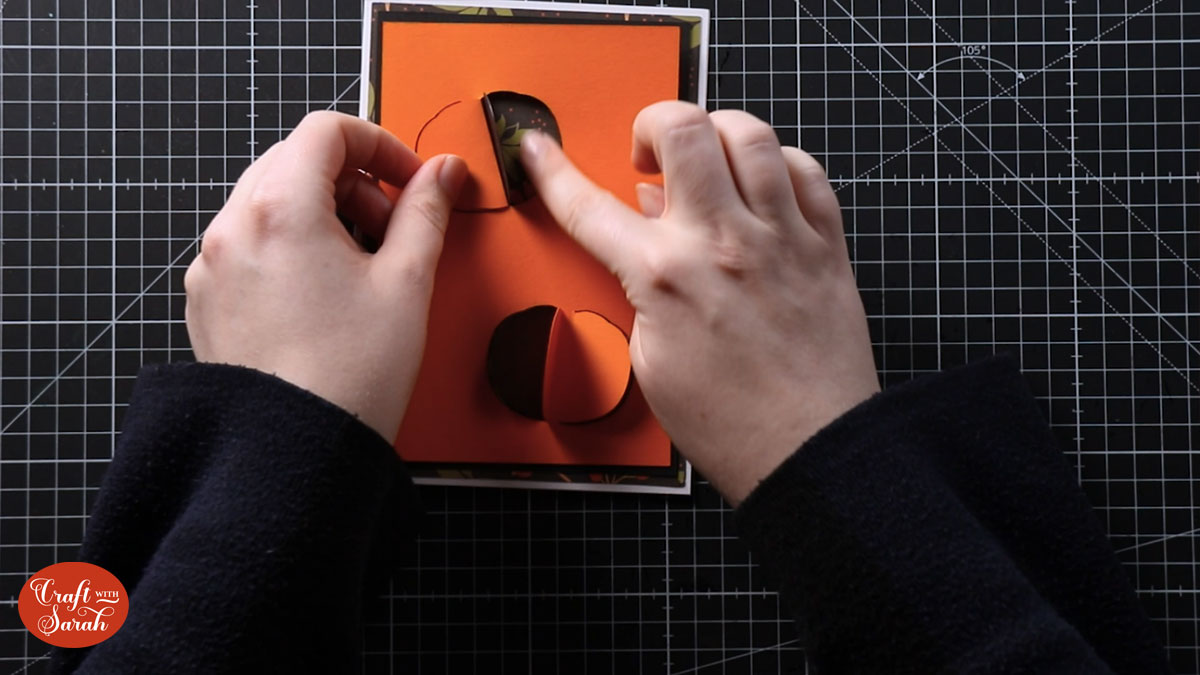
Fold up the pumpkin edges on the smallest rectangle and stick this over the middle one.
Finally, glue the stalks to the top of the pumpkins.
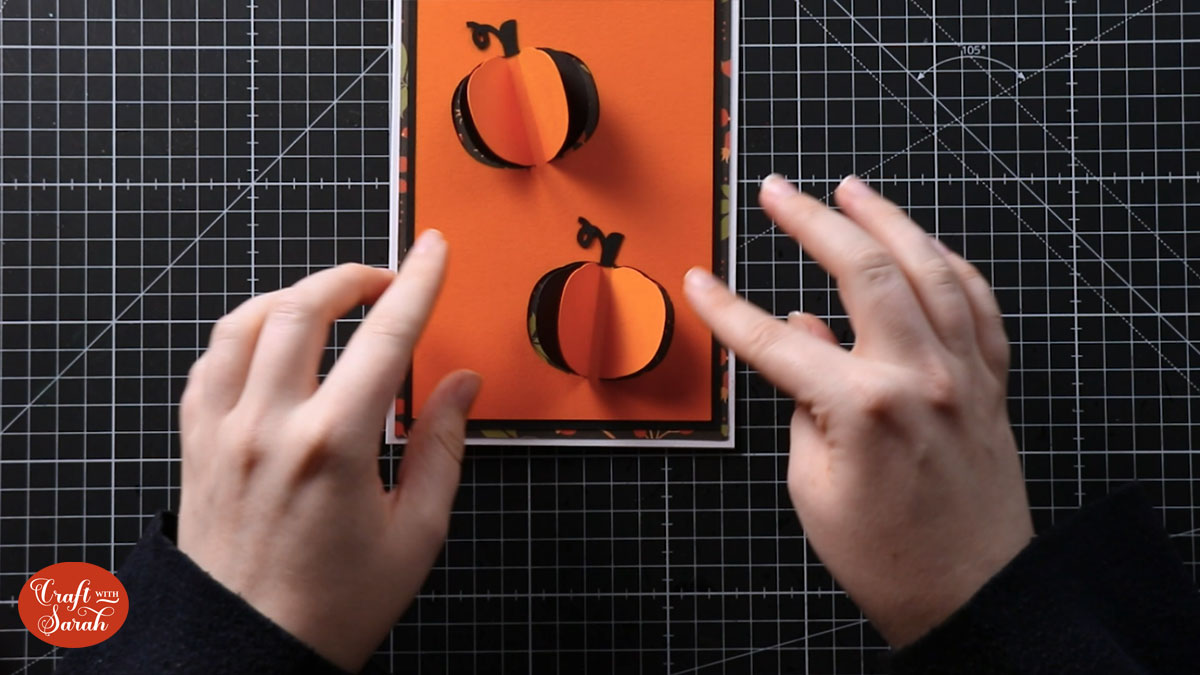
And that’s all there is to it!
I hope you enjoyed this tutorial on how to make cut & fold cards in Cricut Design Space.
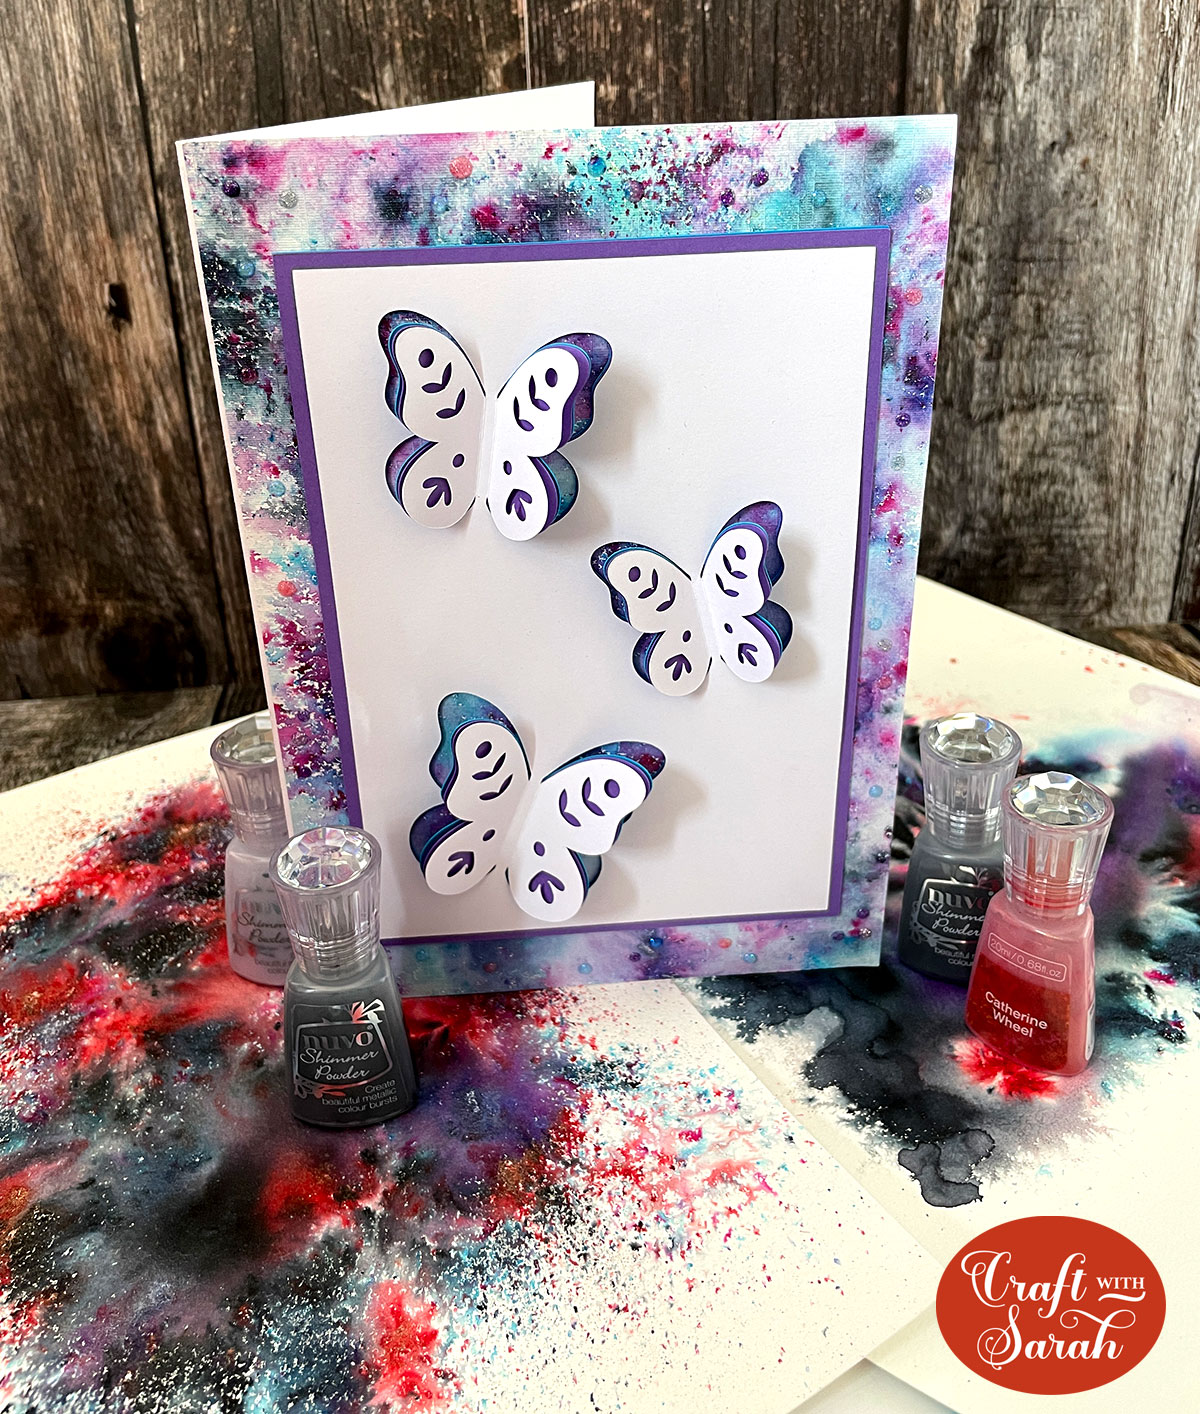
Here is a similar card I made using butterfly images instead of pumpkins:
If you’d like to make more Halloween projects, check out my free SVGs – there are loads to choose from and new designs are added regularly!
Happy crafting,
Sarah x

