Make Custom Pyramid Card Toppers in Cricut Design Space
Turn your favourite photos into custom pyramid card toppers using Cricut’s “print then cut” functionality. You’ll never be stuck for card making ideas again!
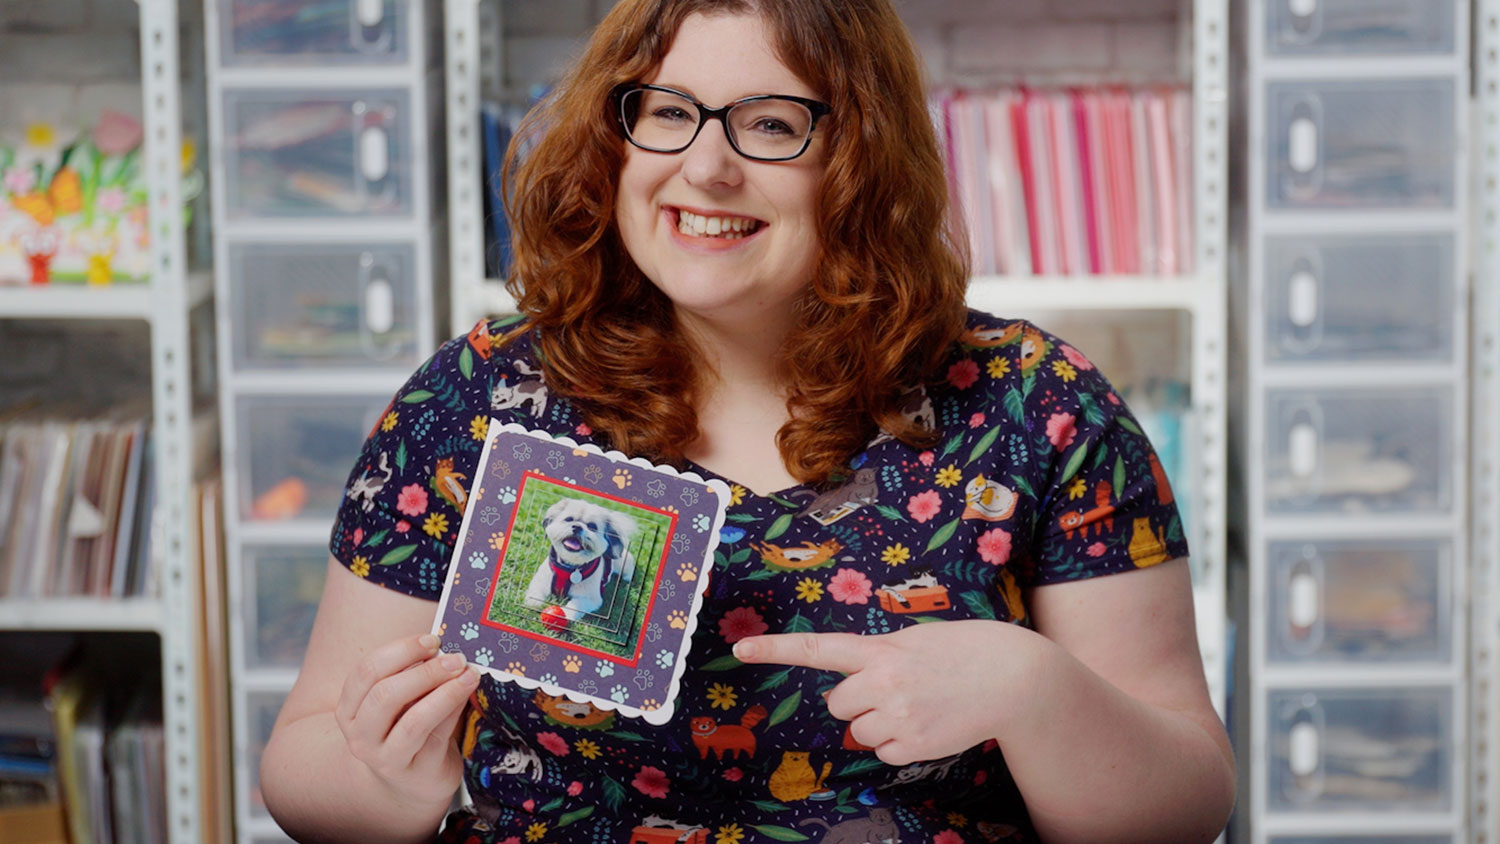
I’ve been experimenting with using my own photos for my cards recently and I can’t wait to show you how I made this pyramid card topper with a photo of my dog.
I’ll show you how to make the pyramid card topper template so that you can use any sort of photos you wish to go on your handmade cards.
Video: How to make custom pyramid card toppers
Pyramid cards are an easy way to upgrade your card, leaving them looking spectacular.
Create your own card making pyramid toppers (also known as pyramage toppers) from within Cricut Design Space, using your favorite photographs or images!
Watch the video below to see how to make custom pyramid card toppers.
If you prefer to read rather than watch, keep scrolling!
Custom pyramid card topper materials list
Here’s what you’ll need to make your own Cricut cards with print-then-cut pyramid toppers!
Please note that some of the links included in this article are affiliate links, which means that if you click through and make a purchase I may receive a commission (at no additional cost to you). You can read my full disclosure at the bottom of the page.
- Photograph, image or graphic of your choice
- Colour printer
- Cricut machine (Explore or Maker product lines)
- Light blue Cricut cutting mat
- Cricut scoring wheel or stylus (optional but helpful)
- Glossy photo paper
- Collall All Purpose Glue or similar
- Needle Tip Applicator Bottle
- 3D foam pads
- Card blank or white card to make your card
- Coloured card and/or patterned paper
How to make custom printable card toppers
We will be using print then cut to make our unique card toppers which can be done using a printer and Cricut machine (or you can cut by hand if you don’t have a Cricut).
Pyramid toppers are a fun and easy way to personalise your cards and once you learn how to make one, you’ll be wanting to make loads more!
Step 1) Choose your graphics, photograph or paper
First, choose your photo or graphic to turn into a pyramid topper.
I find this part the hardest of all, there are just so many options and what makes it more difficult is that you can use whatever you like, whether that’s photos, clipart graphics, watercolour graphics, pattern paper or something else!
I used one of my favourite pictures of my dog.
Once you’ve chosen, open up Cricut Design Space and start a new project.
Then upload your chosen image as a “Print then Cut” image.
Choose “Complex” as the image type and press “Continue”.
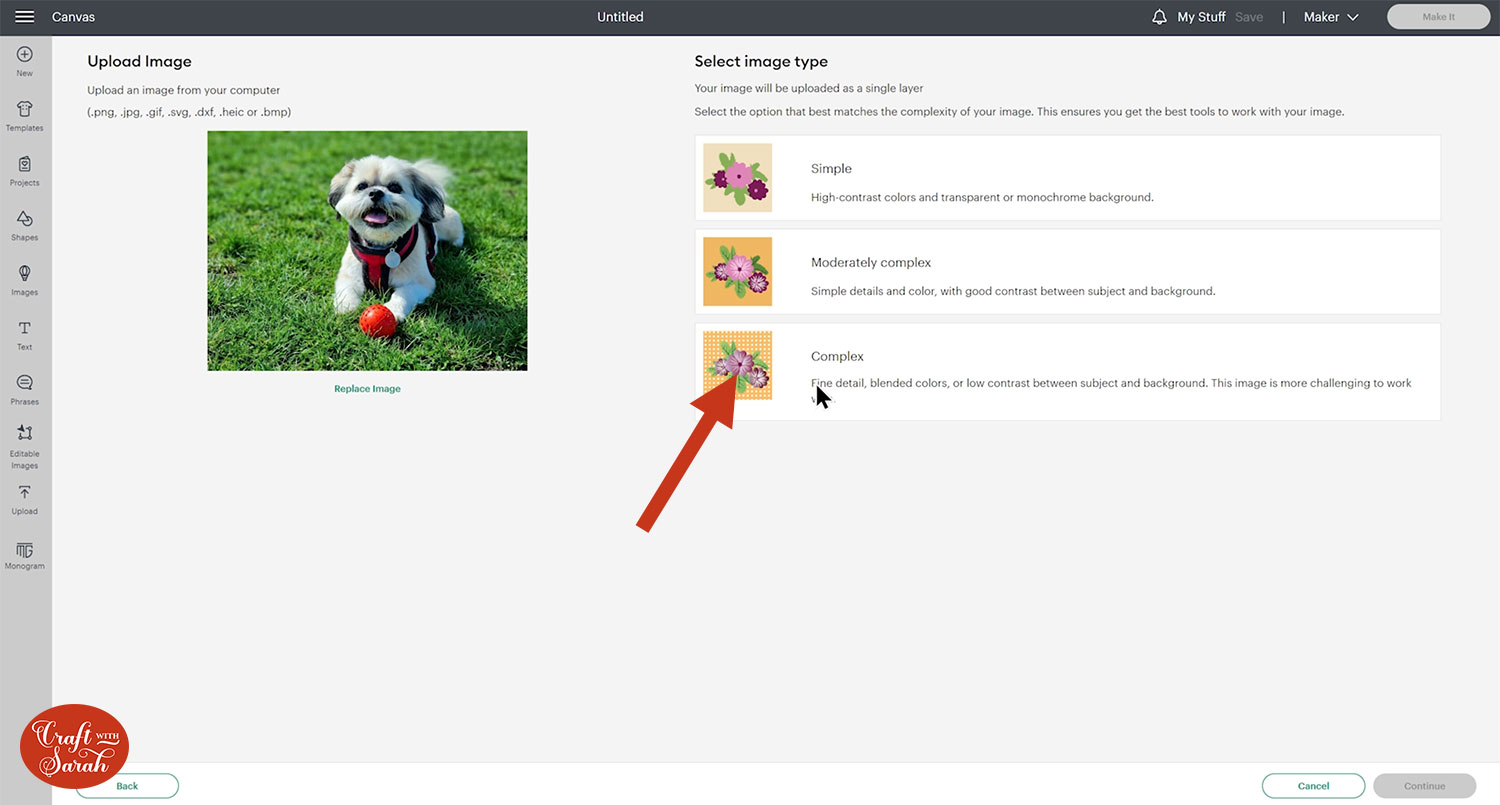
We don’t need to change anything on this screen, so just press “Apply and Continue”.
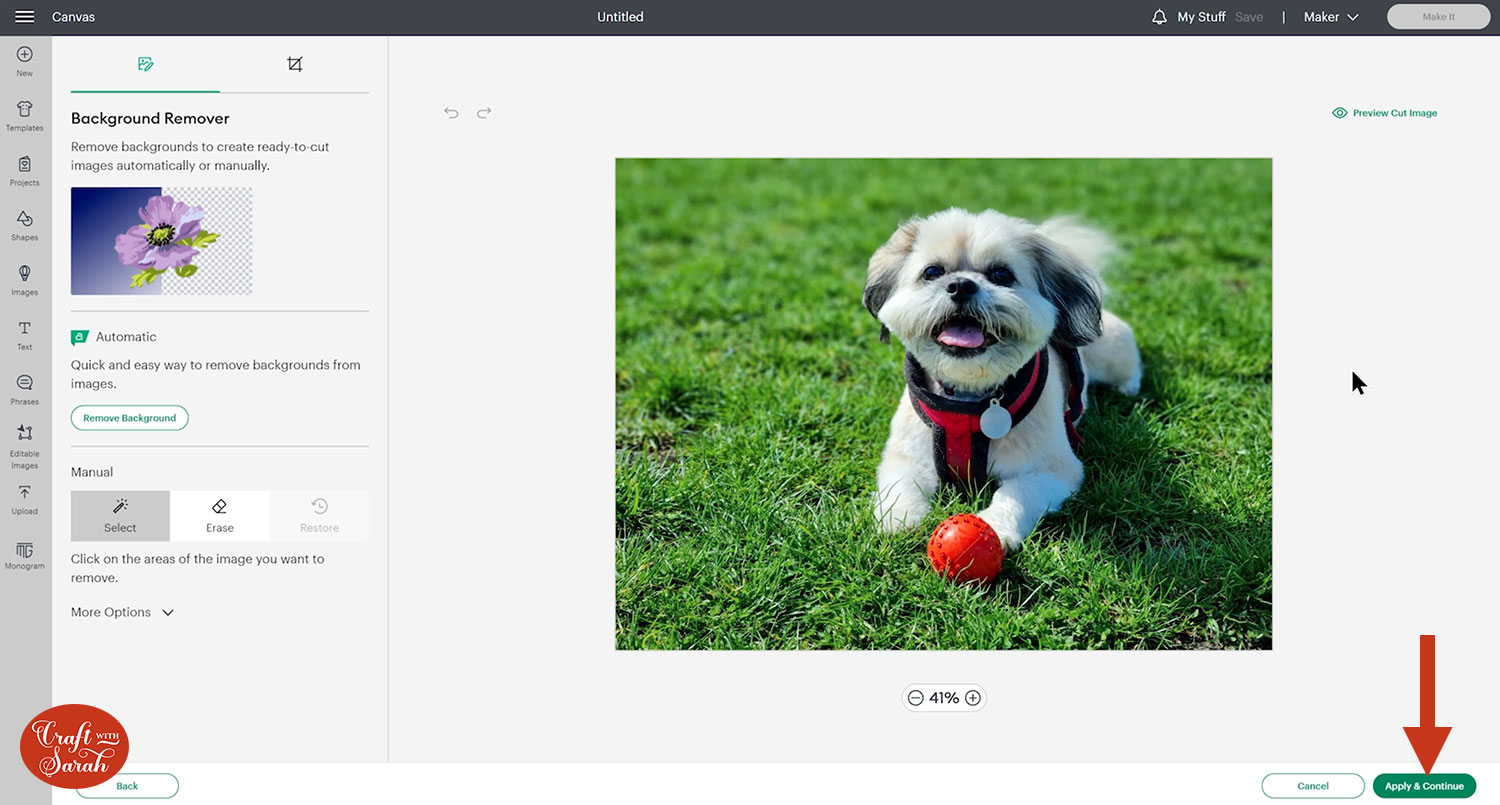
This will then give you the option to select print then cut which is what we will be doing today.
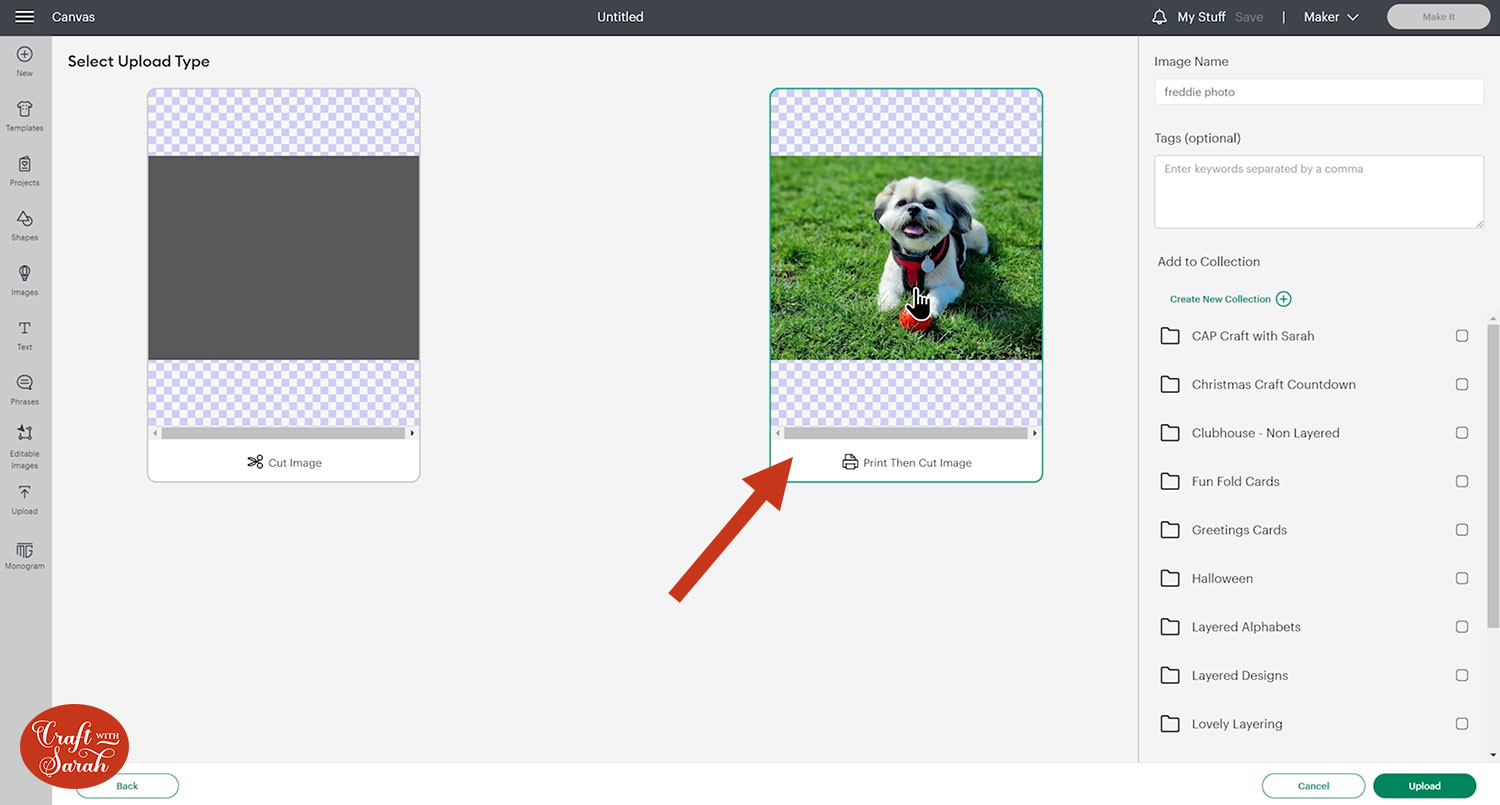
Finally, add your image to the canvas. It will probably load in really big, so make it smaller so that it’s easier to work with.
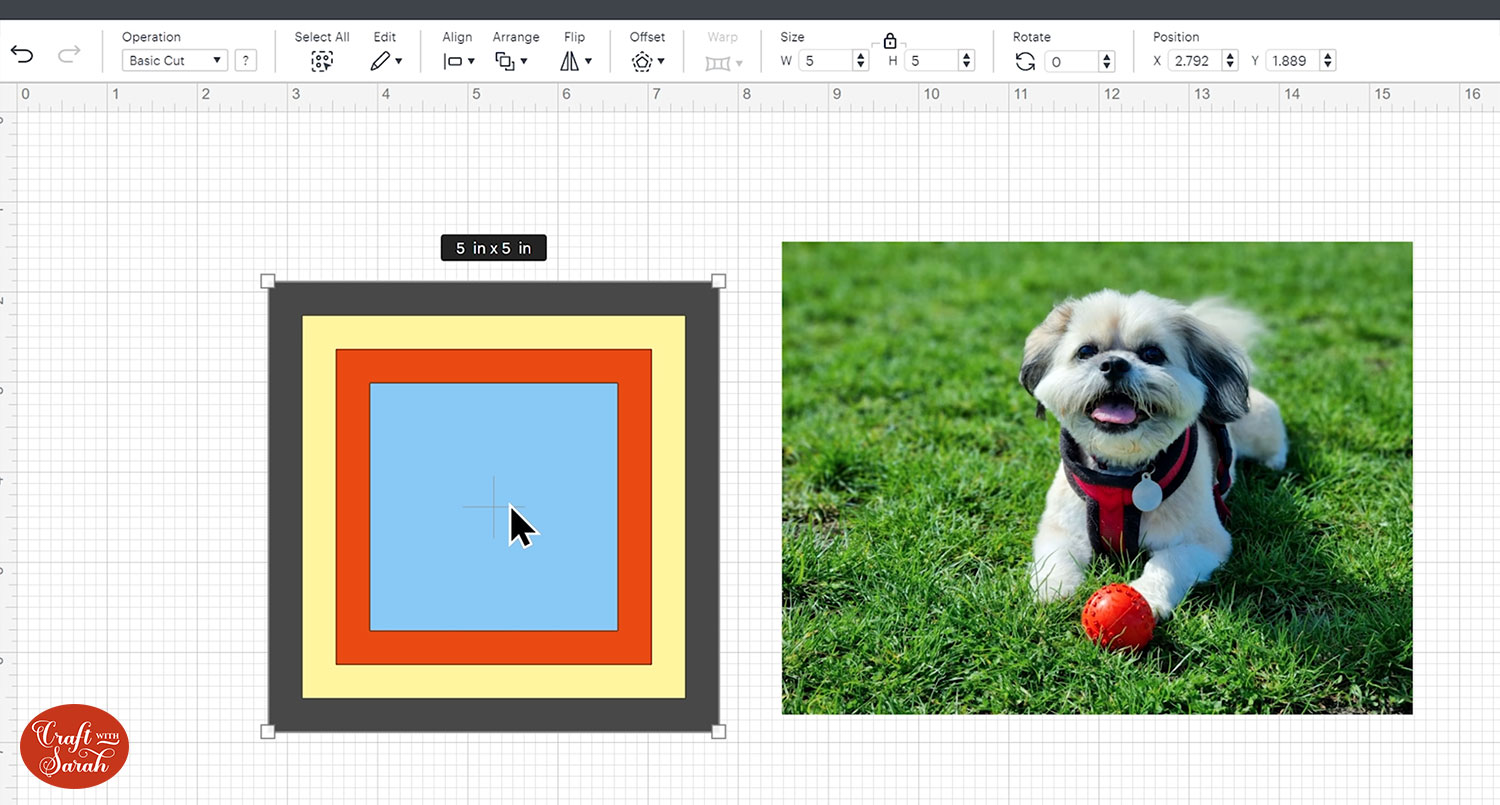
Step 2) Create a pyramid topper template
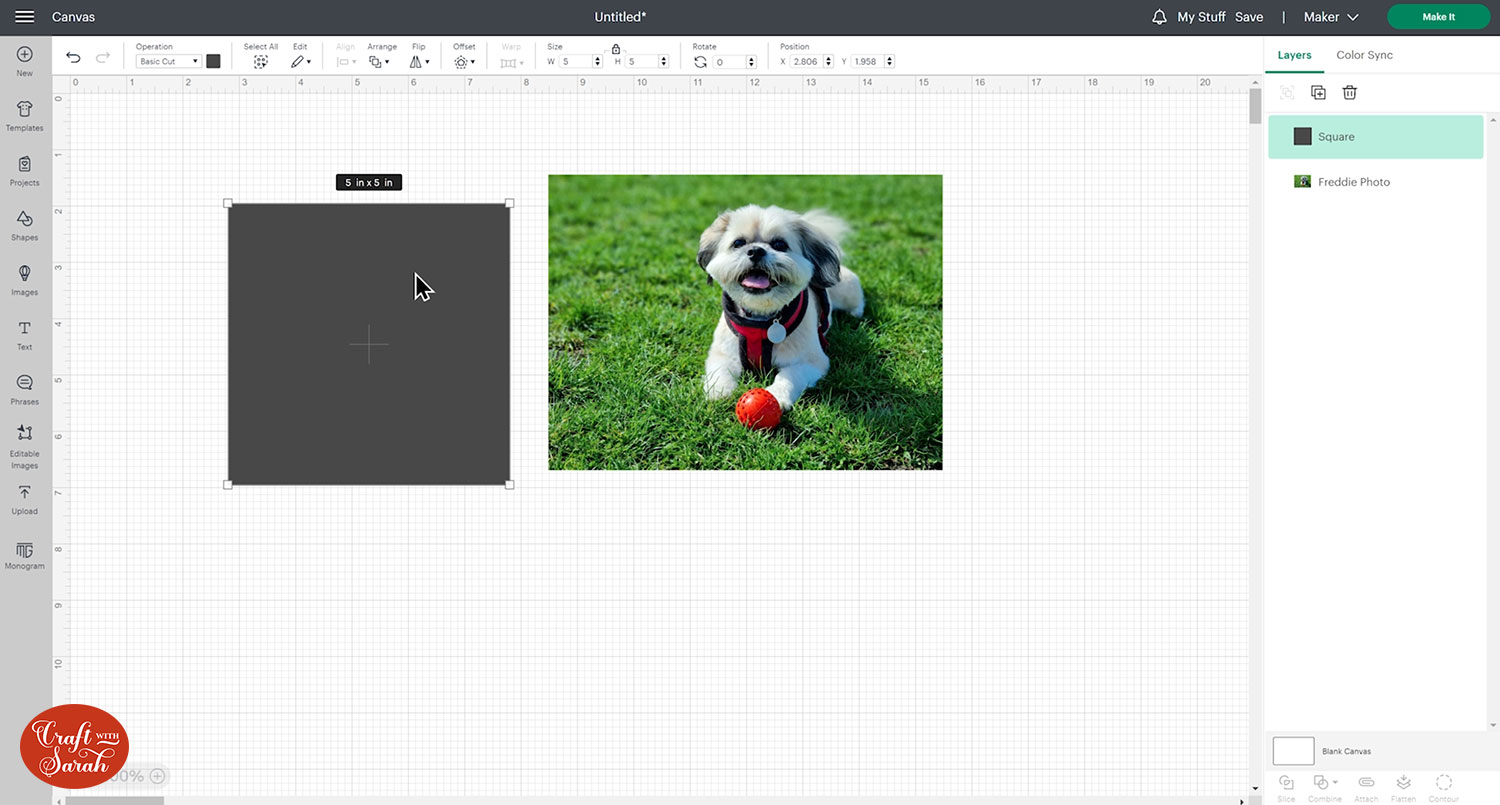
For this topper, I’m using a square. You can use other shapes like rectangles, ovals or circles but be careful with shapes like hearts and stars where you can end up with unequal gaps where it doesn’t resize in proportion.
Go into Shapes and select a square. It doesn’t matter what size you make it as we can resize it later but I’m going to go for 5 inches.
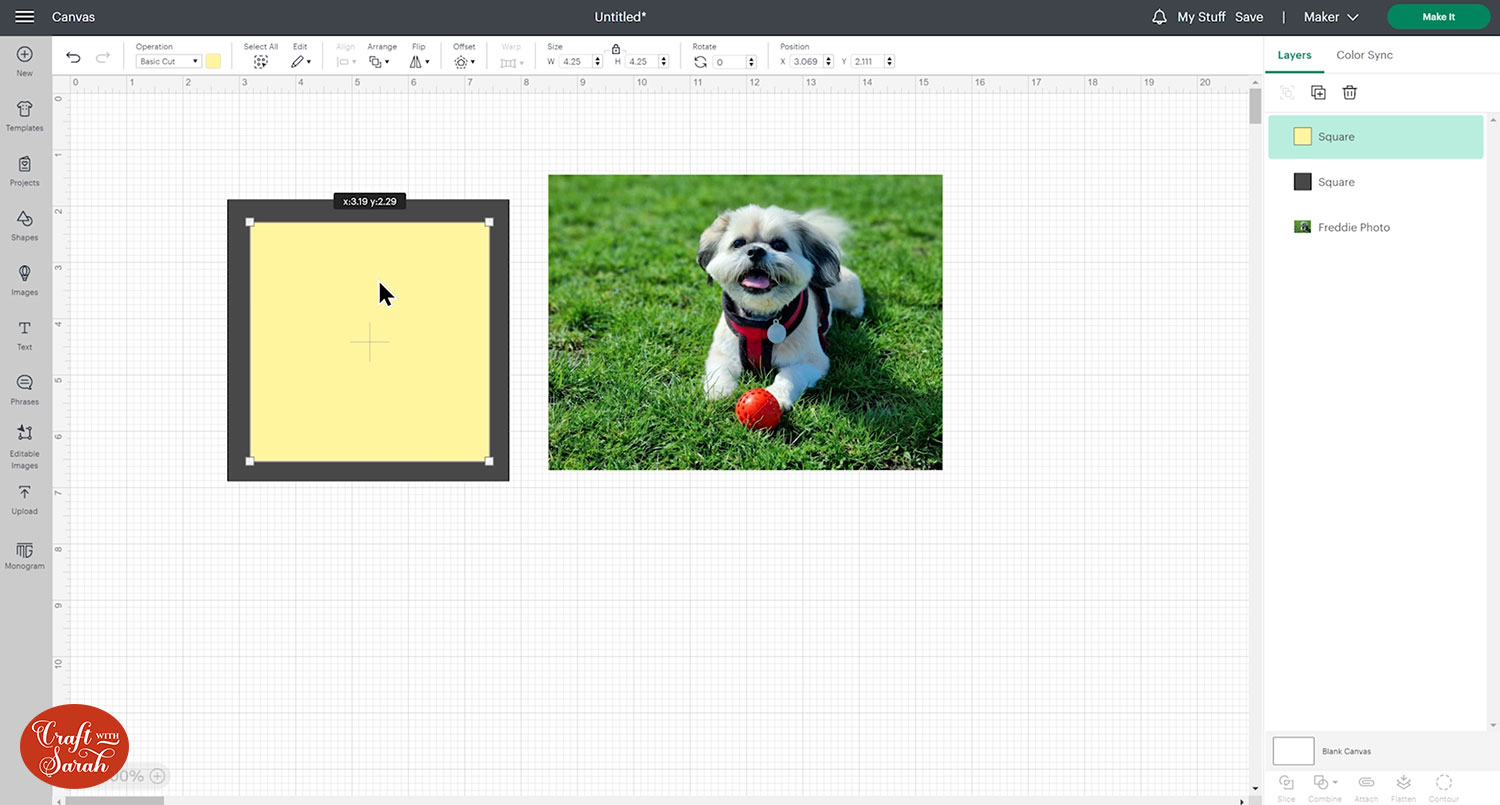
Make a duplicate of your square by pressing Ctrl C to copy and Ctrl V to paste. Change the colour of the square to make it easier to see as you work on it.
For each new square you will need to take the same amount off each side so that it decreases proportionally.
I took 0.75 inches off each side, making a 4.25 inch square in total.
Keep duplicating and resizing the shapes until you end up with the amount of layers that you wish to add to your card.
Step 3) Resize the photograph
Drag a box around all of your pyramid layers and click Align > Center to perfectly position them one-on-top of the other.
Now that you know they are perfectly aligned, take the biggest square and duplicate it so you have a copy which will be used to cut the photo into the right size.

In the Operations menu, change this new square to a Guide so that becomes just an outline.
Place it on top of your photo and resize your photo so that you like the part of it that is appearing within that outline.
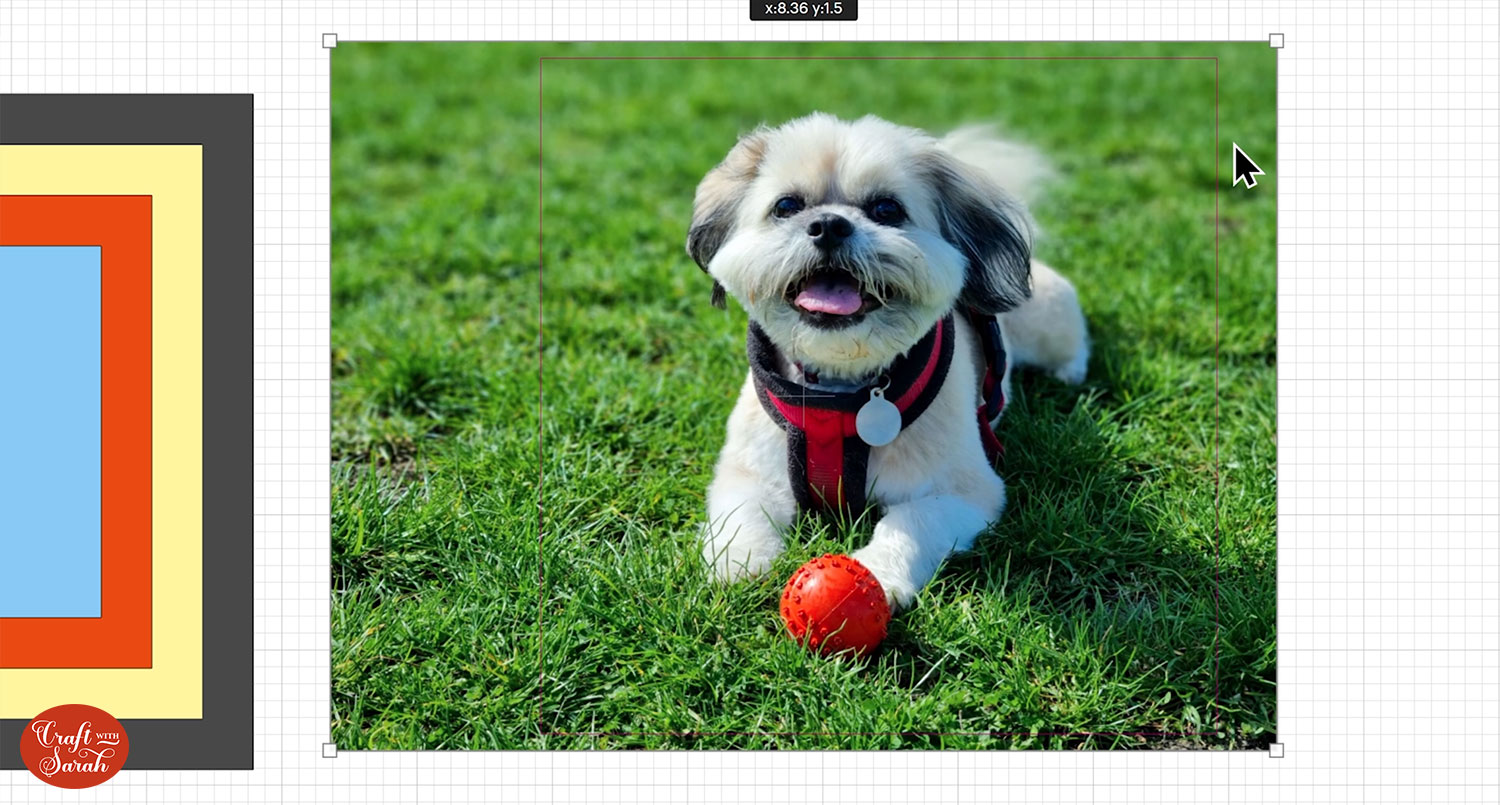
Once you’re happy, select both and then press Slice.
Delete your guide layer and the excess of the photo from around the outside.
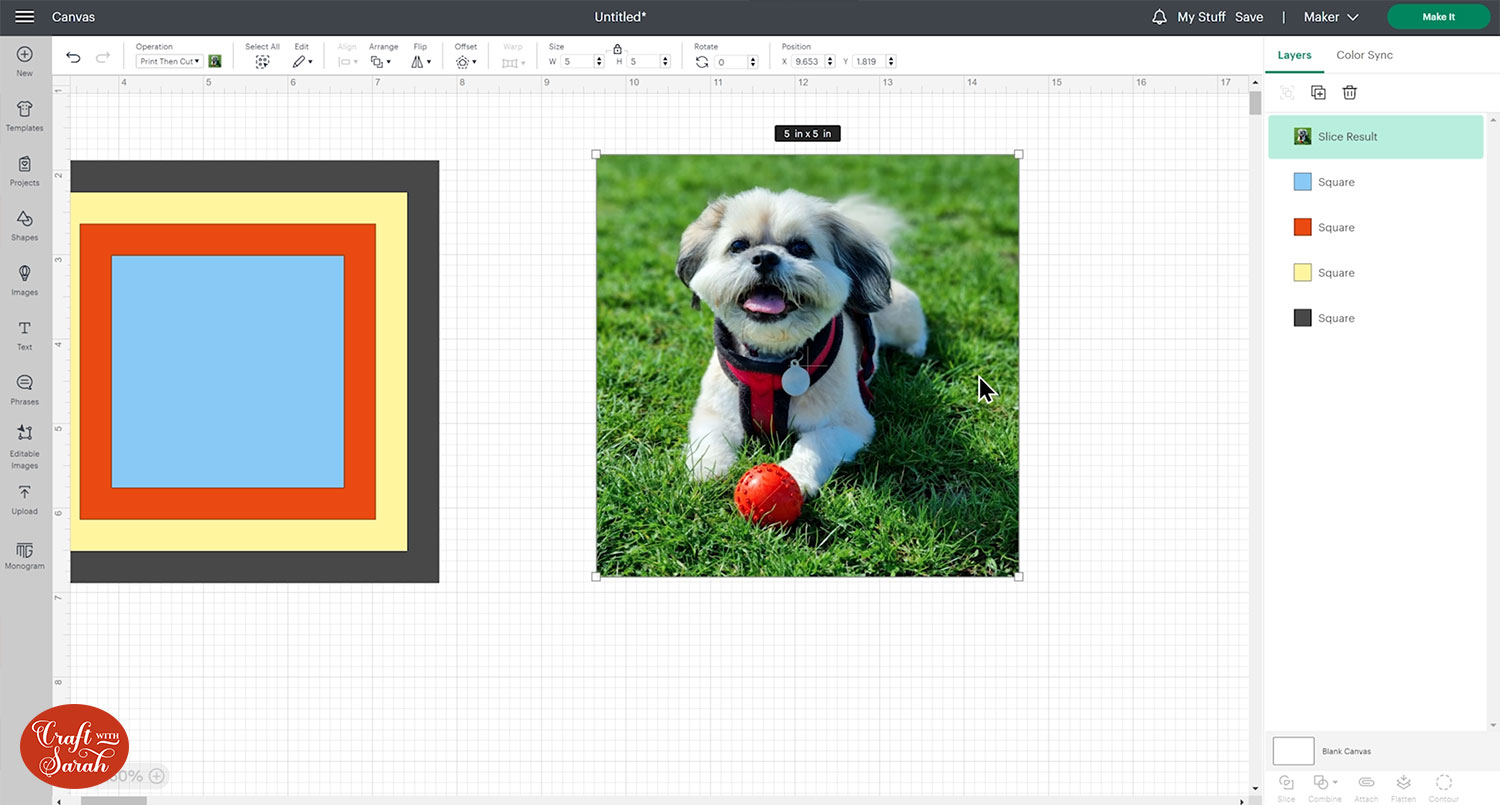
Step 4) Slice out the pyramid layers
Now we can start cutting the photo into all of the different layers of our pyramid topper.
I’ll need four copies of my photo in total as there are four layers. Use Duplicate to create copies of the photo.
Select All to select your photos and pyramid shapes and then click Align > Center so that everything is on top of itself.
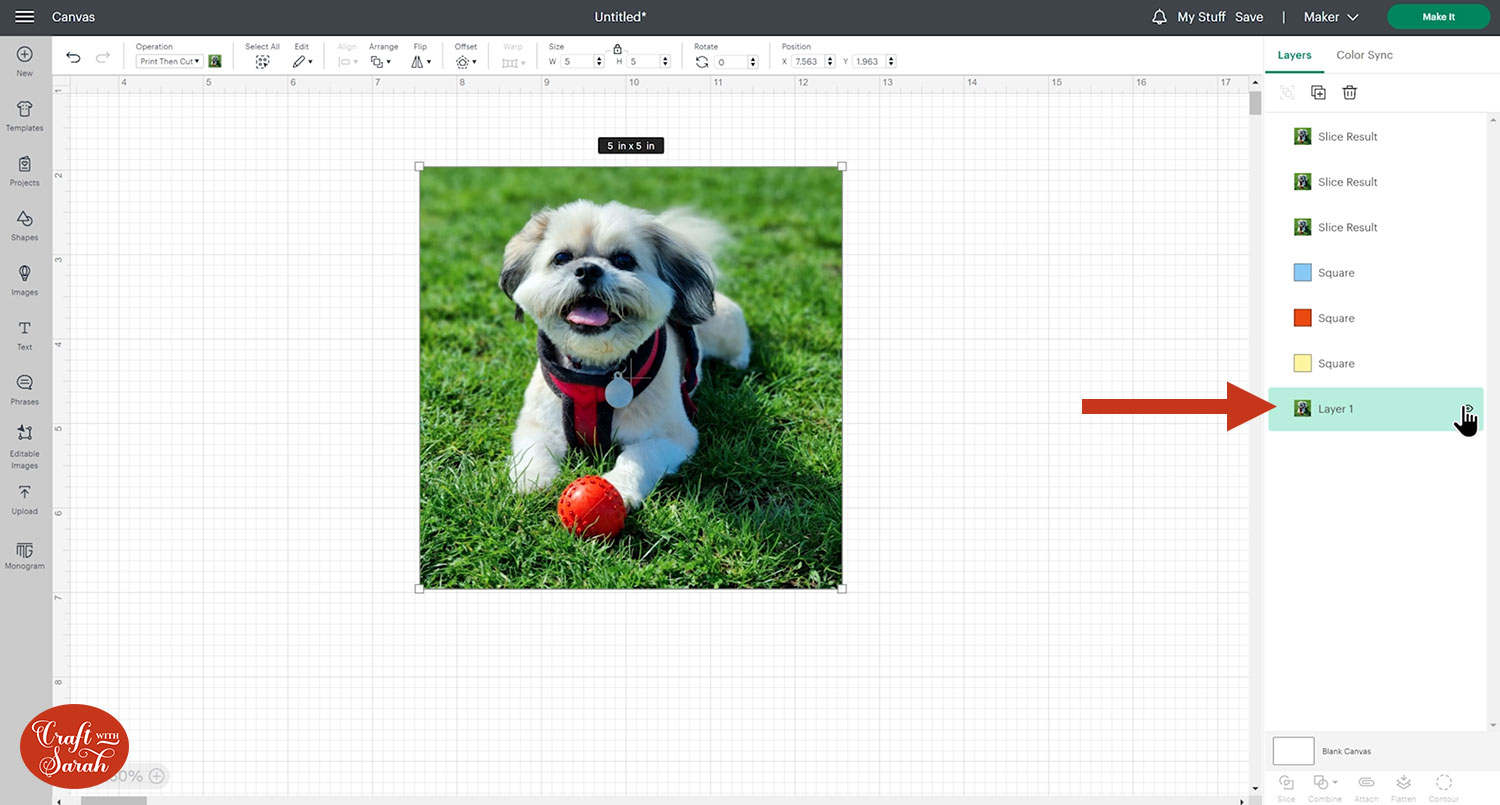
Find your very bottom square in the layers panel and delete it as you already have the photo cut into that perfect size.
Then rename your photo layer “Layer 1”, put it to the bottom of your layers panel and hide it.
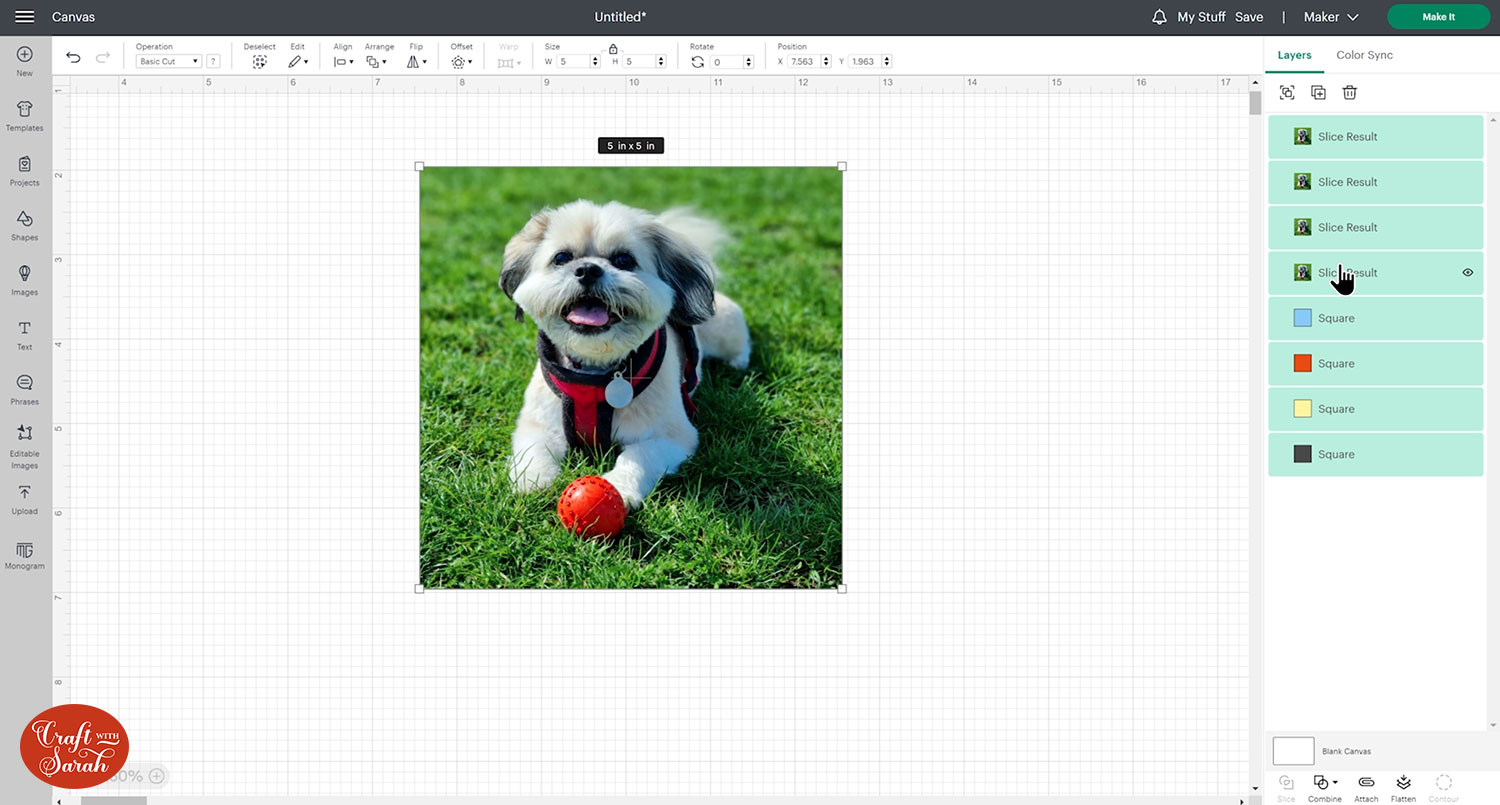
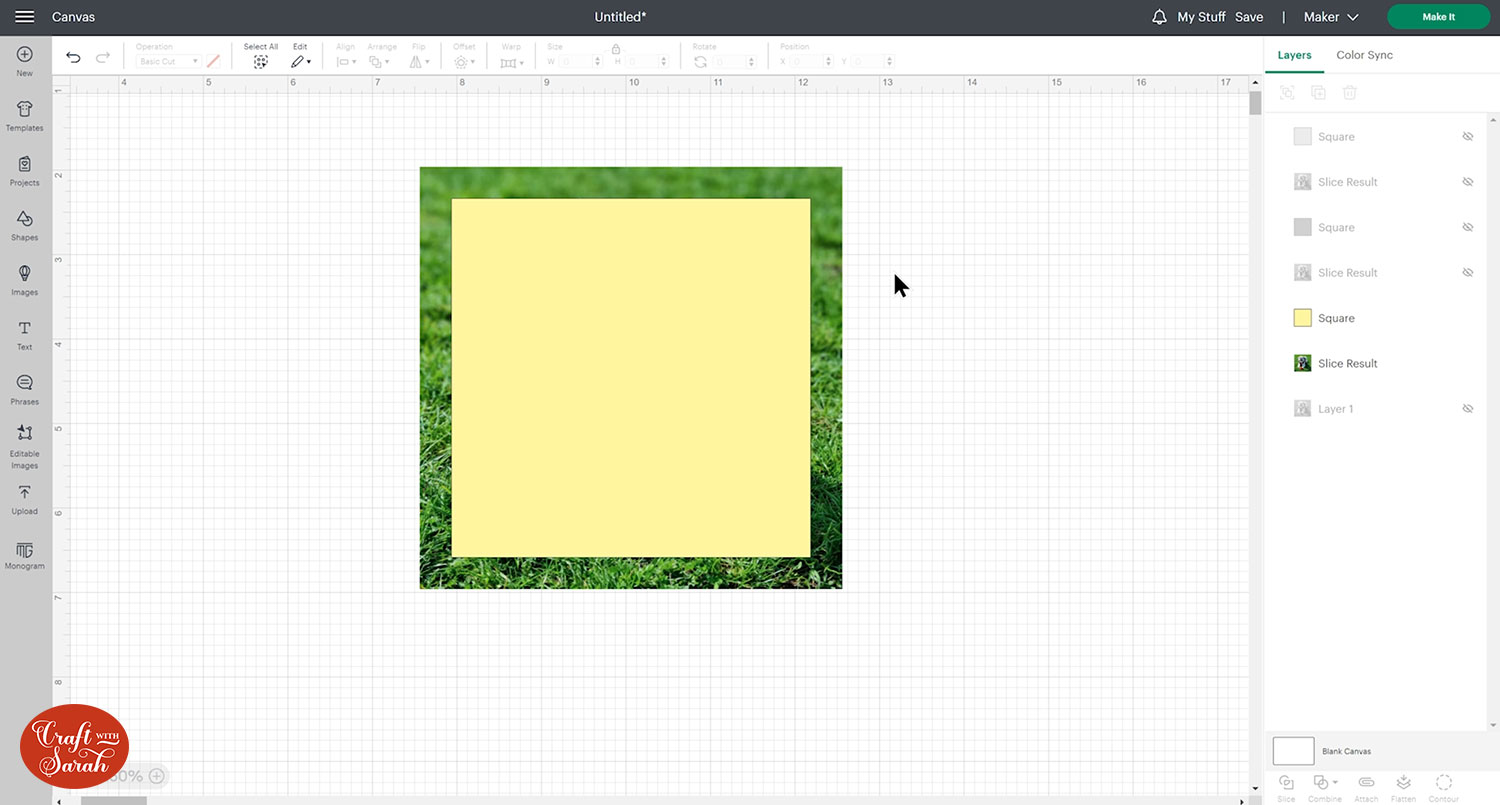
It helped me to rearrange my layers panel so that there is an image under each of the squares and then hide them so that you’re left with the next square and image ready to cut the next square out.
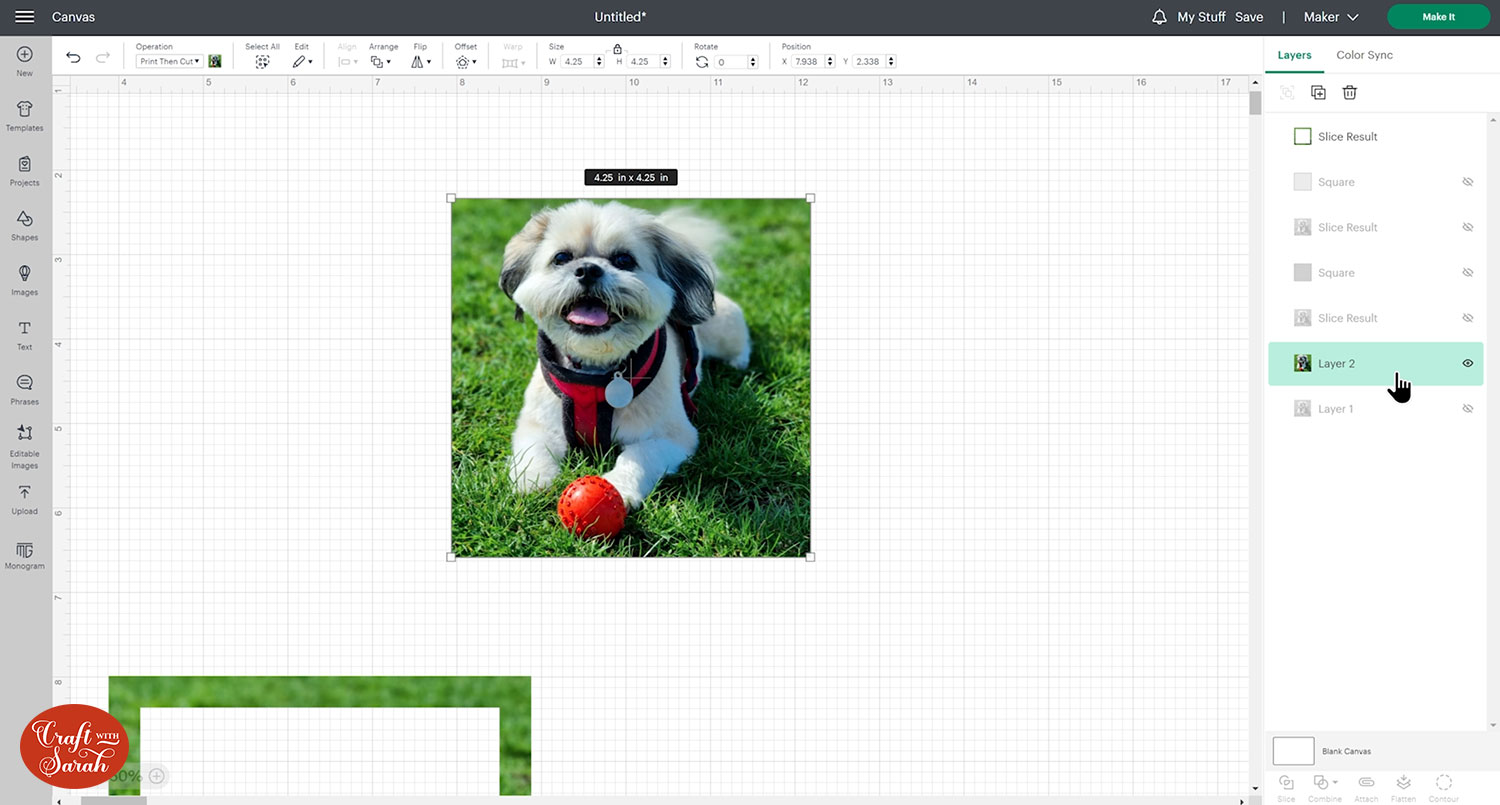
Select the next photograph layer and pyramid layer and click Slice. You can now delete the square that you have sliced from.
You can also delete the excess around the edge of the photo, OR you can use it to make a *different* type of card topper which I’ll talk about a bit later. For that, just move it over to the side of the screen so that it is out of your way.
Rename the new layer, drag it down above Layer 1 in the layers panel and then hide it.
Repeat this step for all your pyramid layers.
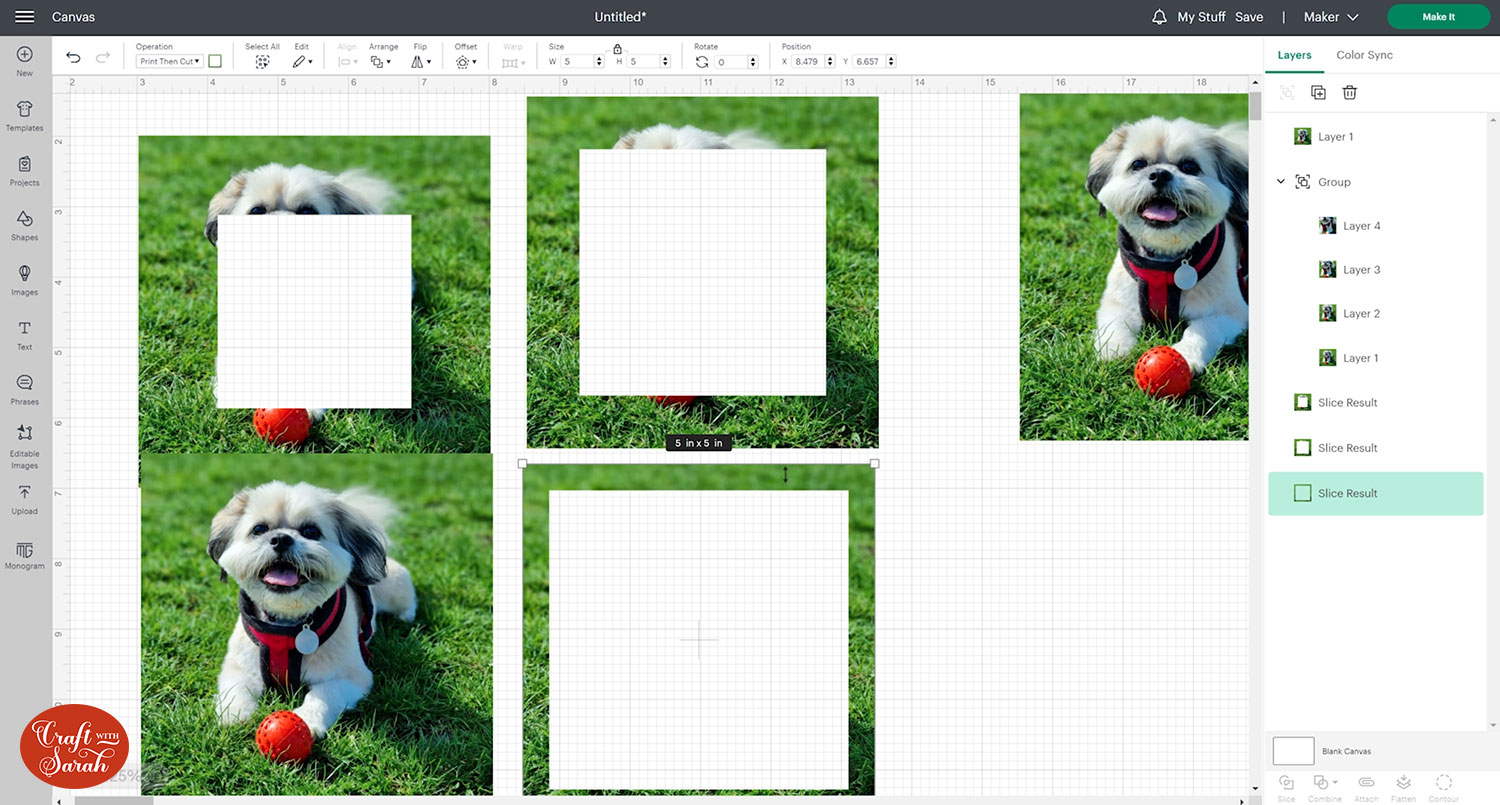
When it’s finished, you can drag the layers apart from each other if you want to see what you’ve created:

But ideally, the layers need to be stacked on top of each other, so select your finished layers and Press Align > Center and then Group them together.
Side Note: Tunnel Toppers
Have you heard of a tunnel topper? It’s the reverse of our pyramid topper, which appears as if you are looking down a tunnel.
You can use the excess of the photo layers to make one of these cards.
To stick this type of topper together when it’s printed, you would begin with the full photo on the bottom and work inwards rather than outwards.
Step 5) Create a card blank
For this project, I used a premade card blank from the craft store, but you can make one in Design Space if you prefer.
If you’d like to make your card blank then follow the next instructions. If you’ve got your card blank already made then you can skip this step.
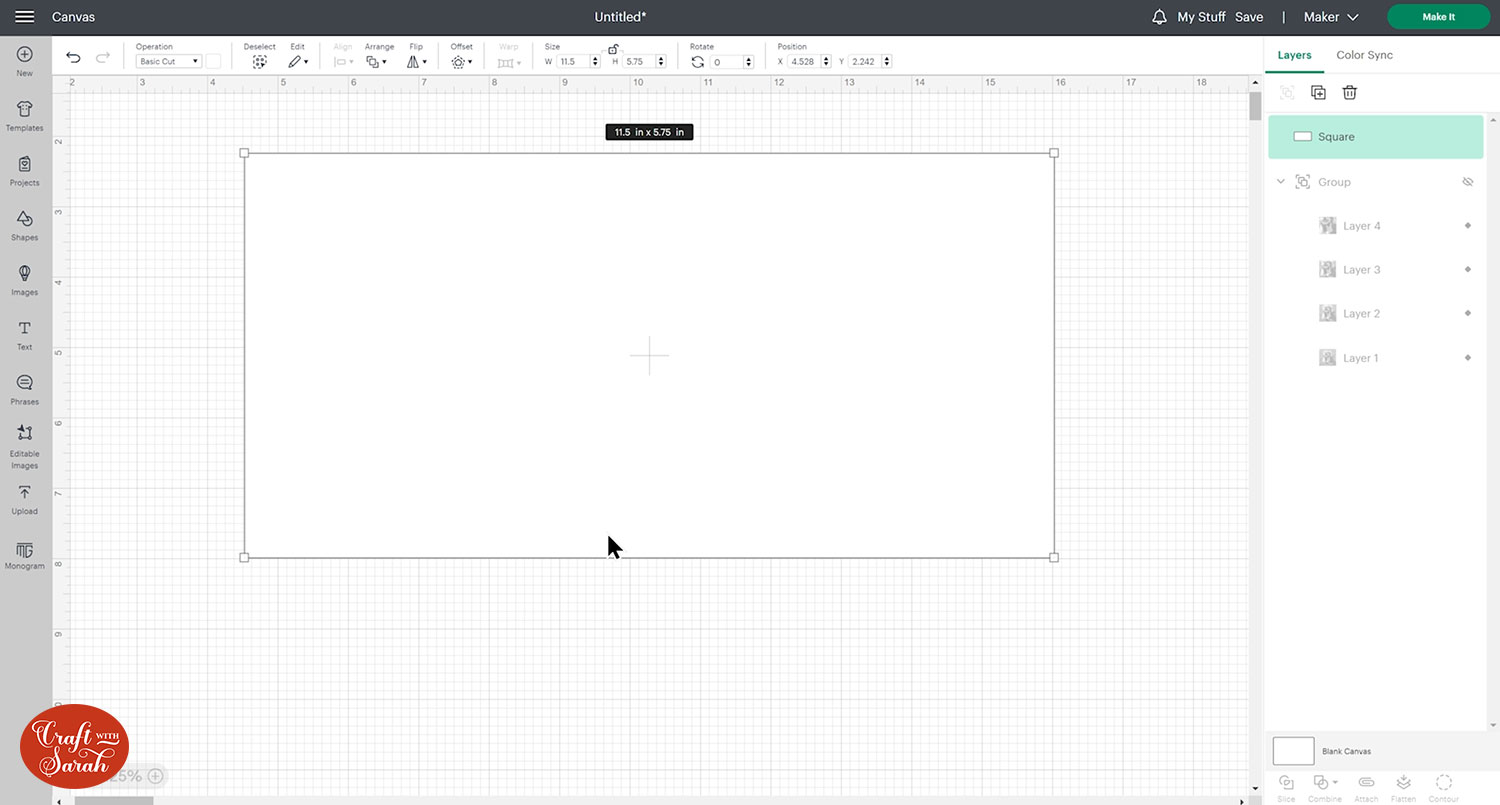
Select a square and resize it. I resized my height to 5.75 and my width to 11.5. This will make a 5.75 inch card.
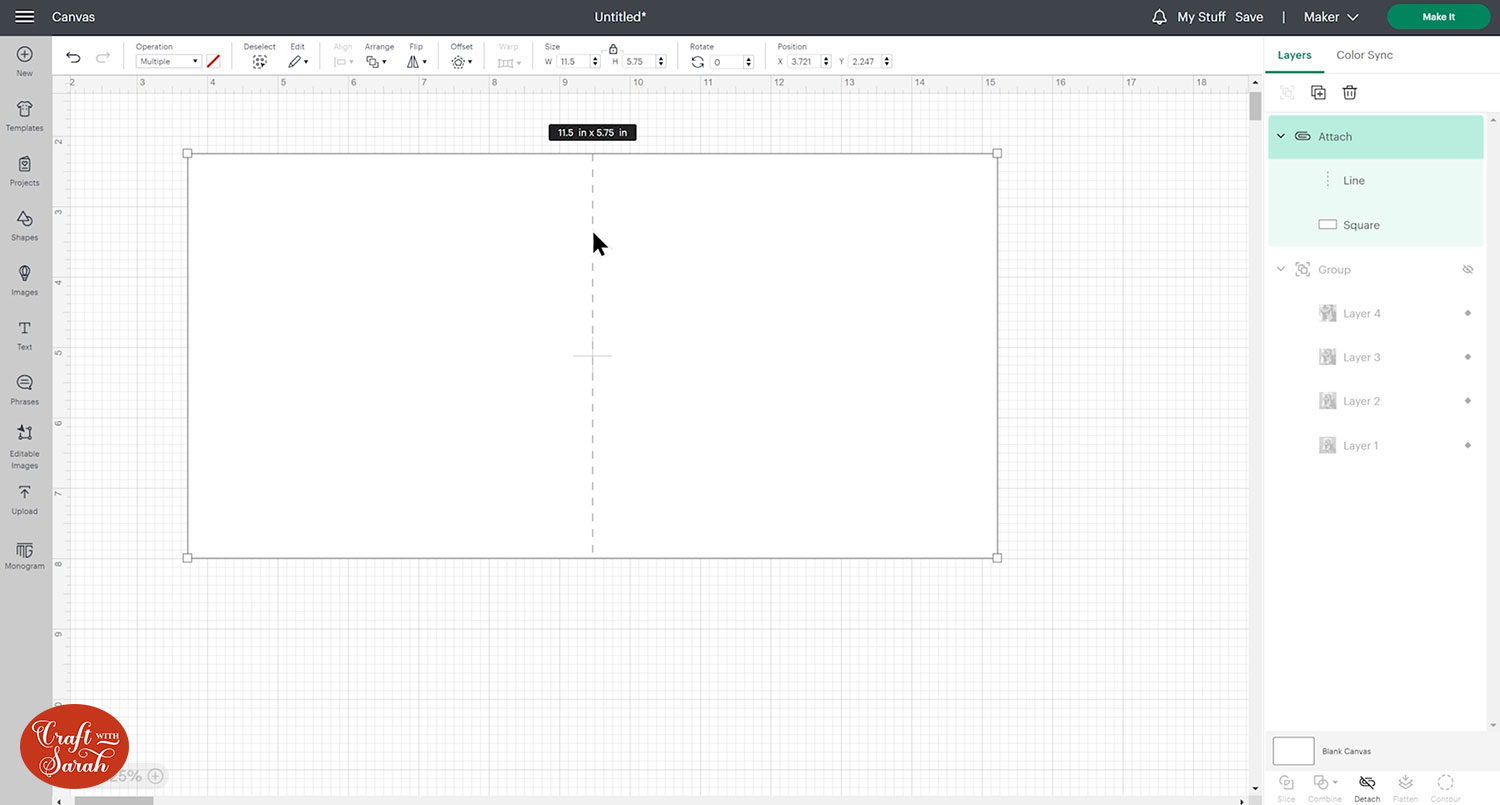
If you have a scoring tool or stylus then it’s helpful to add a score line to make an easy and accurate fold.
To do this, go into Shapes and select a score line and adjust the height so that it’s the same as your card (5.75).
Select both and go Align > Center and then press Attach.
Step 6) Finalising the card design
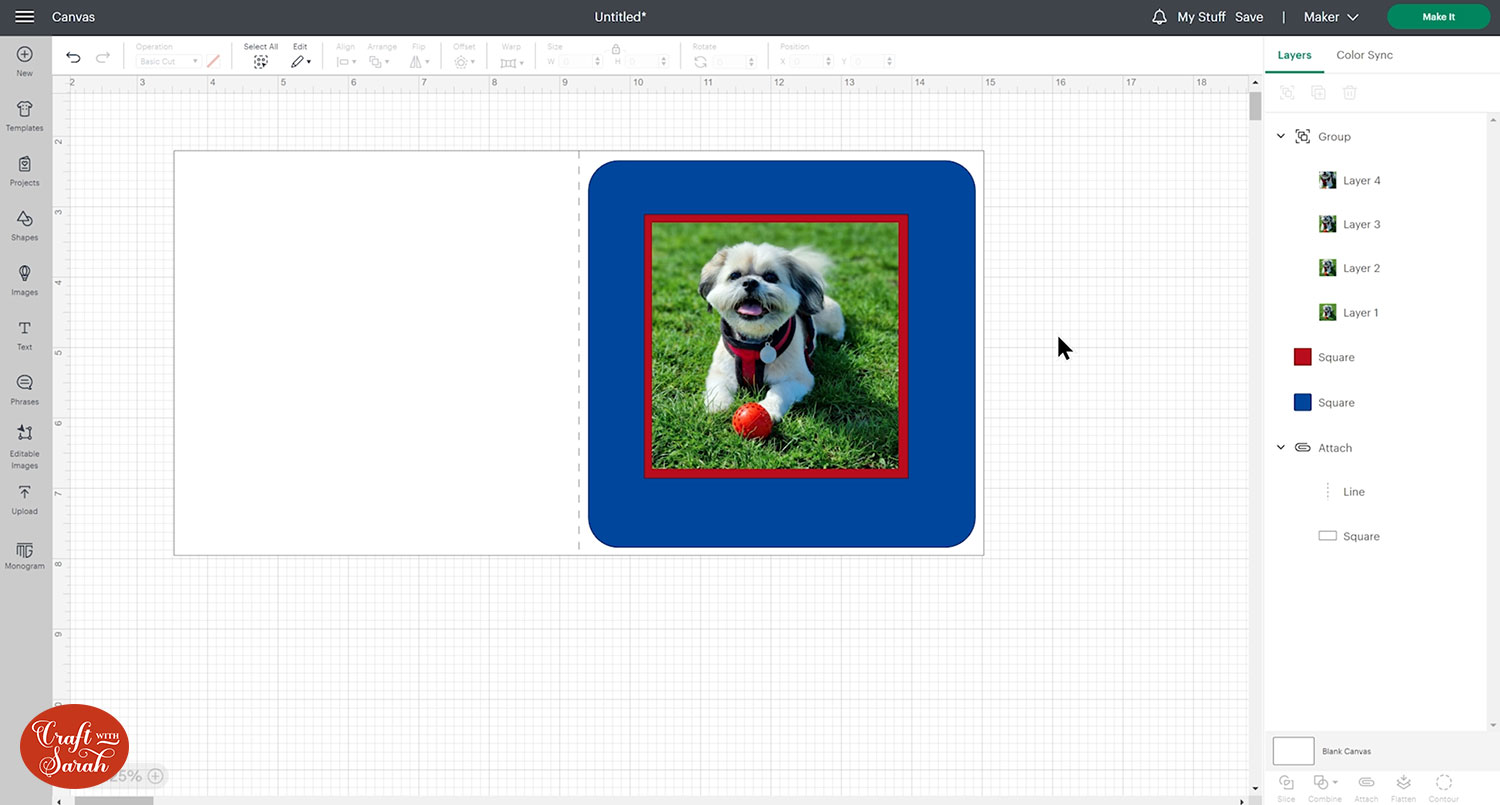
With both your card blank and pyramid topper on screen, bring your topper to the front and decide how big you would like it on your card.
I resized mine to 3.5 inches so that I could add some patterned paper behind the topper.
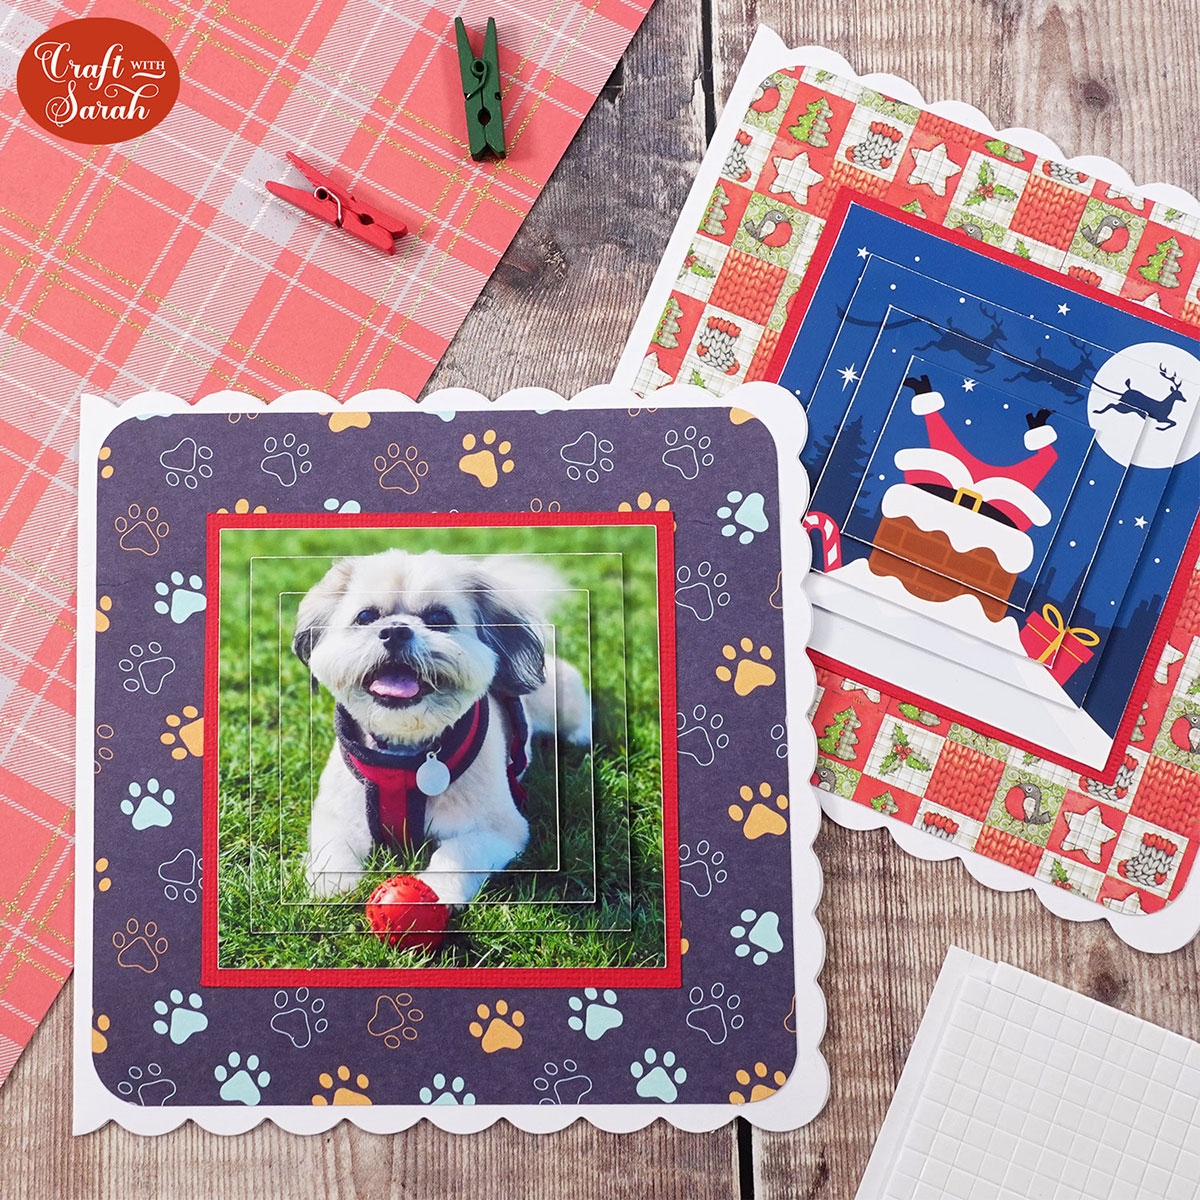
I like to add a pop of colour behind my topper so I added a red square, to match my dog’s harness and ball, which was slightly larger than my topper at 3.75 inches.
I added one final square which to cut from scrapbook paper to add a bit of extra visual interest to the card. This square sat behind the red one and sized at 5.5 inches.
Step 7) Print the card design
Once you’re ready, click Make It and you will see that your photo will be Print then cut. You will see the black corners around the edge of the paper. These are registration marks, so that your Cricut will know where to cut.
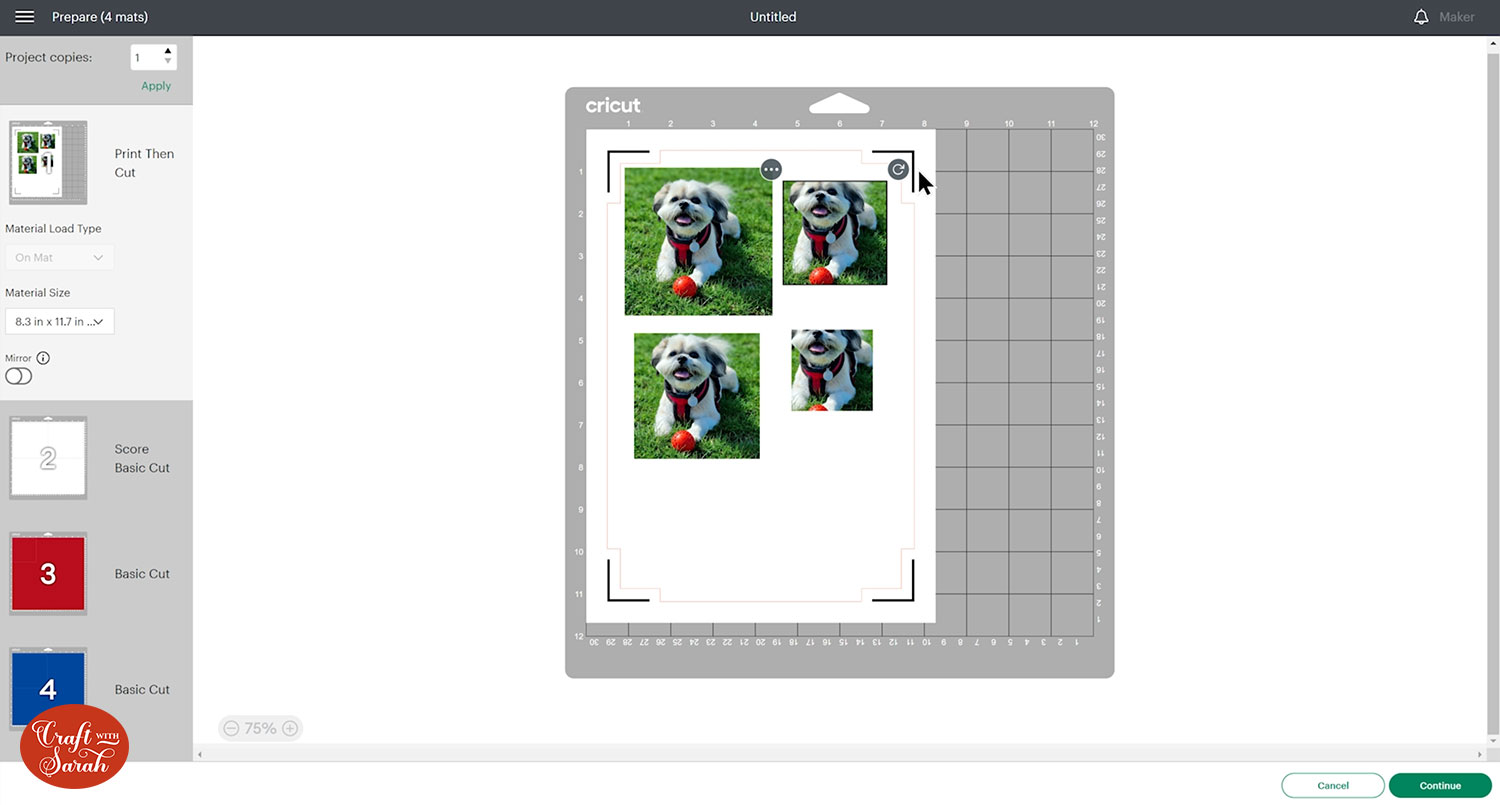
Press continue and click send to printer.
There are a few settings which will really help you to get a good quality print.
The first of these is to make sure ‘add bleed’ is turned on so that if the Cricut cuts slightly off, you won’t see the white there will be colour.
You also want to make sure that ‘use system dialogue’ is on so that you can access printer settings for a better quality print.
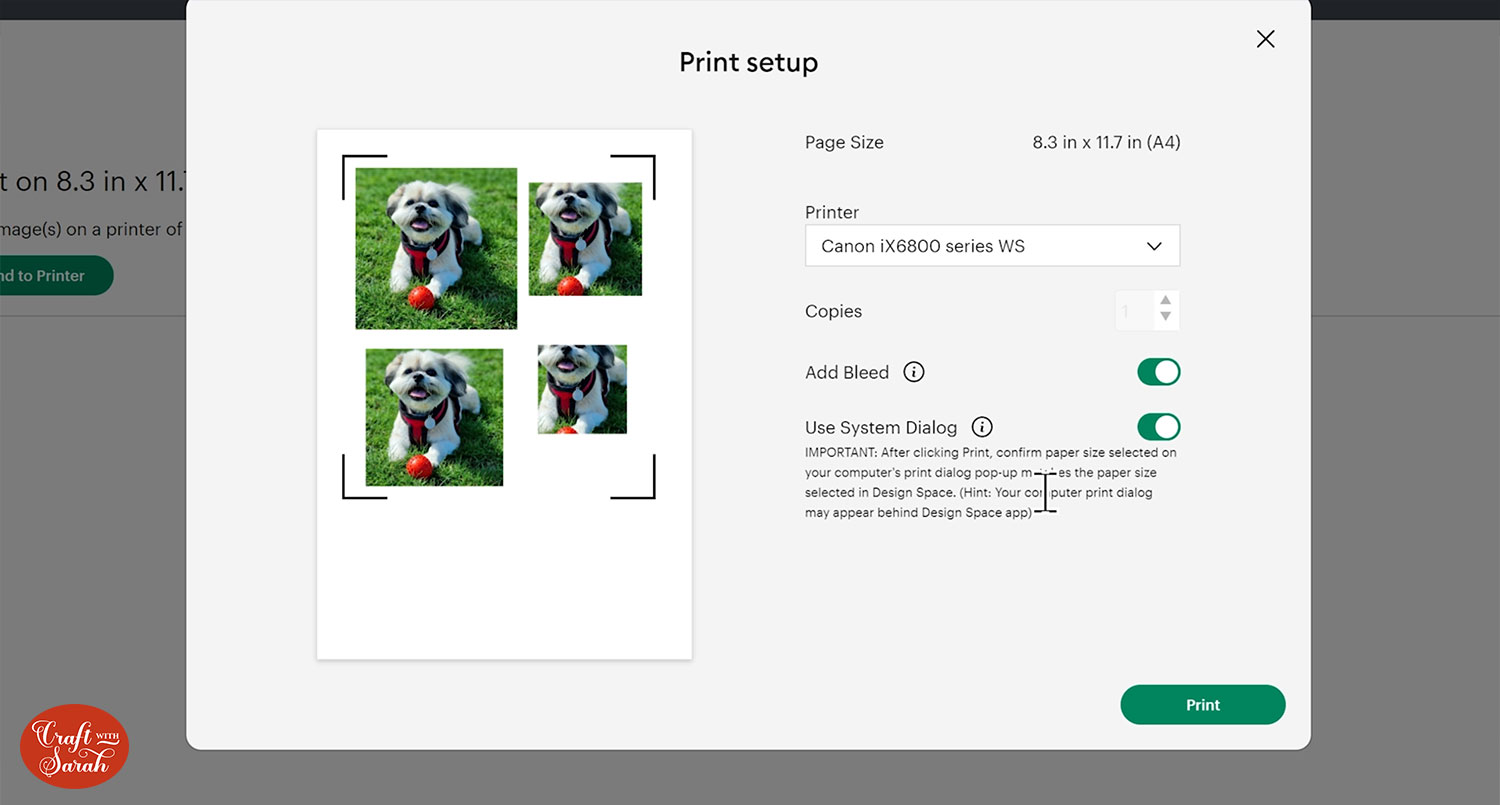
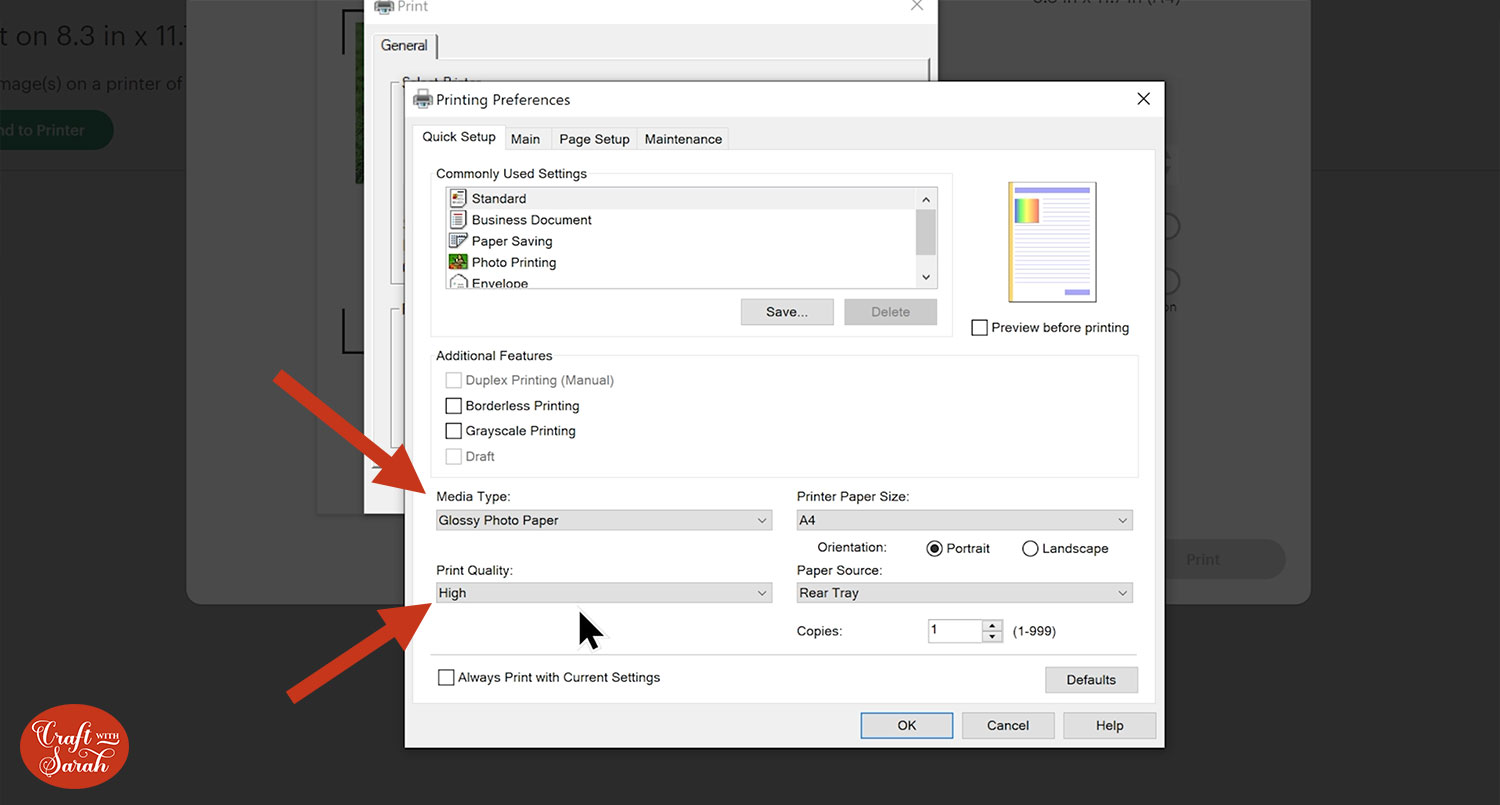
Press ‘print’ to load your printer settings. These will look different for each printer, but look for media type and change the settings to match the type of paper you’re using.
For me this was glossy photo paper.
The most important thing to look for is print quality. Look for a setting to allow a high quality print which may be ‘high’ or ‘best’.
If you’re struggling with printing from Design Space on your printer and you’re getting horizontal lines appearing in the printed image, this is probably because you’re not printing on that high quality setting.
Go ahead and print that out, following the on screen instructions in Design Space and cut out the other bits with your Cricut too (unless you don’t have a Cricut machine, then you can exit out of Design Space once you’ve printed your pyramid squares and cut the pieces by hand).
Step 8) Assemble your card
Once everything is cut out, you’re going to want to stick your squares together in size order with foam squares.
Then, stick the rest of the pieces of the card design together with a mixture of glue and more foam squares.
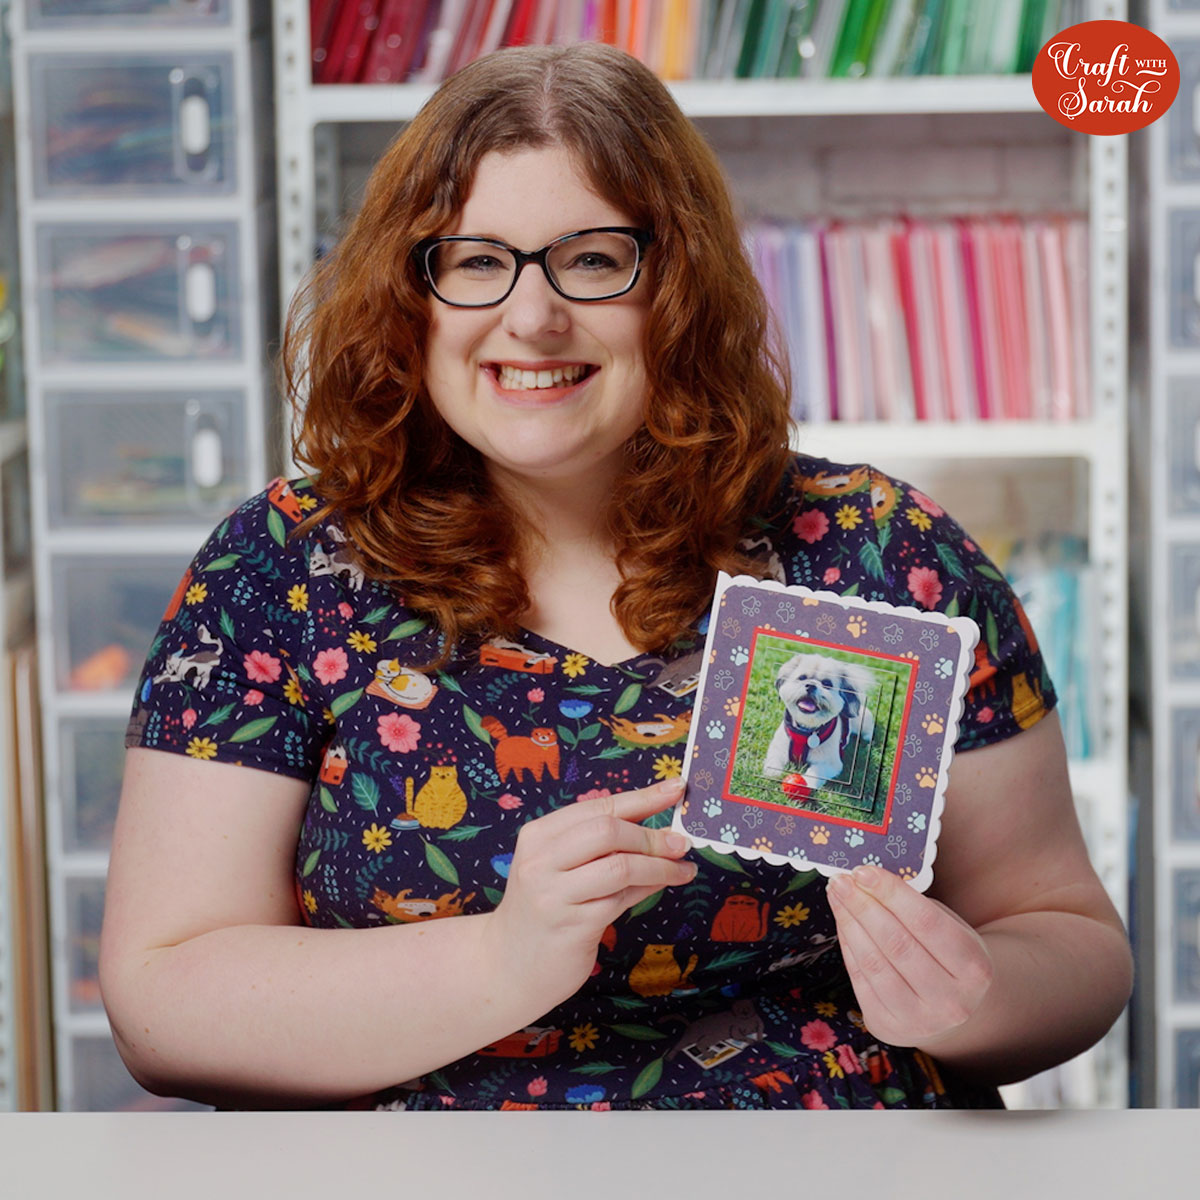
I hope you enjoyed this tutorial on how to make custom pyramid card toppers.
They make such beautiful personalised cards which family and friends are sure to treasure.
Happy crafting,
Sarah x

