How to Make a Complex Shaker Card with Cricut (Card 3 of 4)

Learn how to make a complex shaker card with your Cricut machine, including how to cut acetate with a Cricut.
This is part 3 of a 4-part series on how to make different types of shaker cards.
As each episode in the series is released, the shaker cards will get more complex and exciting – so let’s get started with Part 3!
Contents:
Please note that some of the links included in this article are affiliate links, which means that if you click through and make a purchase I may receive a commission (at no additional cost to you). You can read my full disclosure at the bottom of the page.
About this project
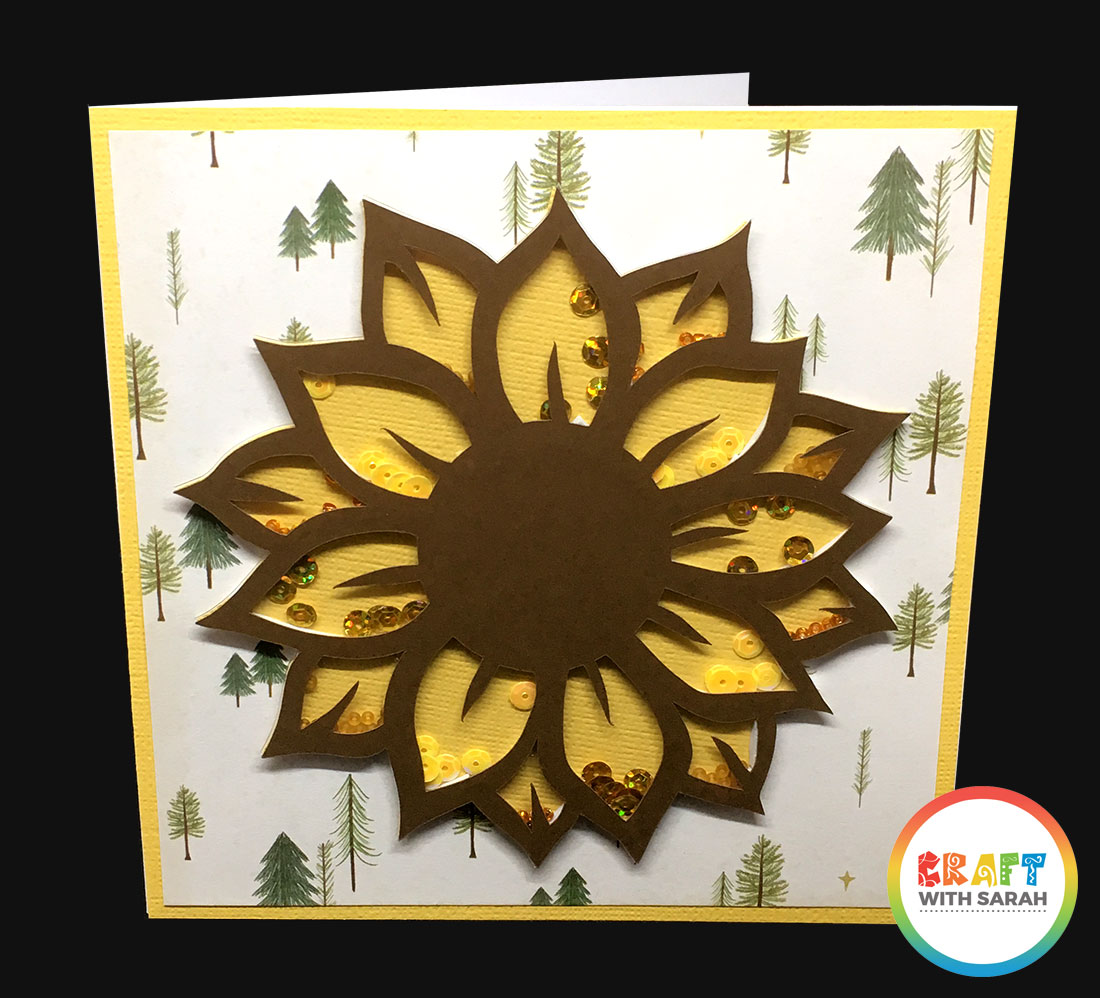
For this card we will be cutting the sunflower shape out of acetate using a Cricut machine.
Acetate cuts beautifully with a Cricut and it means that you can create complex shaped shaker cards where all the layers line up perfectly, with very little effort.
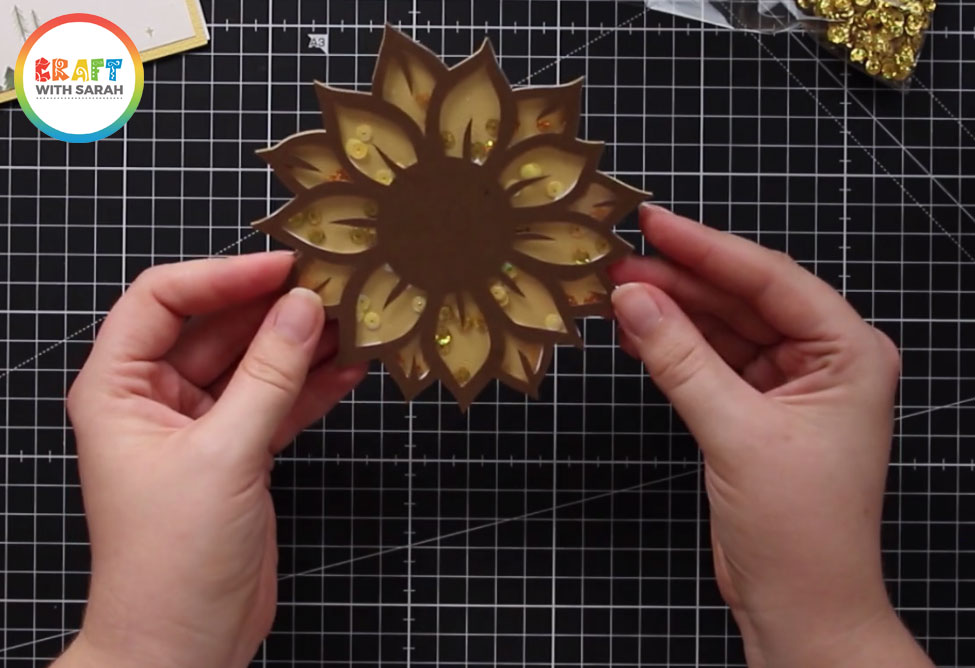
We’re going one step further with this card and making each petal its own individual shaker section.
This means we can add different embellishments into each of the petals, for an even more impressive appearance to our card!
Although I chose to make a sunflower shape, you can use any image you want! Keep reading for my top tips on choosing an image for the best shaker effect.
Video tutorial: How to make a complex shaker card
Watch the video below to find out how to make a complex shaker card with your Cricut.
This is part 3 in a 4-part series on Shaker Cards. Watch the other videos on YouTube now!
Sunflower shaker Card Materials list
Here is a list of materials of what I used to create this sunflower shaped shaker card.
- Cricut Maker
- 3D foam tape
- Tape runner
- 6×6 inch card base
- Acetate
- Textured coloured card
- Sequins
- Seed beads
- Pine tree scrapbook paper
[cws_clubhouse design=’1067′]
Part 1: Cricut Design Space tutorial
If you’re using a Cricut machine then follow these instructions to cut the window of your shaker card using your Cricut.
1) Choose your image
Choose the image that you want to use for your shaker topper.
I chose this sunflower image, but you can choose whatever you want.
The BEST images to choose are those with a thick border around all of the sections, because you need to stick foam tape to the bottom of those borders, so if it’s too thin then you won’t be able to cut the foam pad thick enough to stick the layers together properly.
This sunflower image works well because it has a thick border.
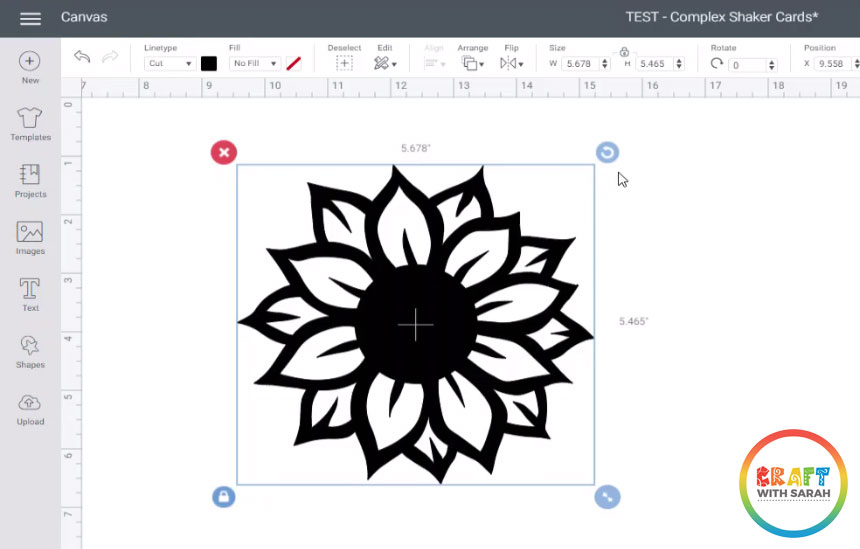
2) Size your image
Use the width and height boxes in the top menu to make your image the correct size for your card.
I’m using a 6×6 inch card as my base, so I resized the sunflower to be 5 inches wide.
The larger you make your image, the easier it will be to make the shaker card.
Once you’ve resized the image, right-click on it and press “Duplicate” to make a copy of it.

3) Remove the gaps in your duplicate image
Click on your duplicated image and press the “Contour” button in the bottom-right of your screen.
This will bring up a popup window. Click “Hide all contours” and then close the popup window.
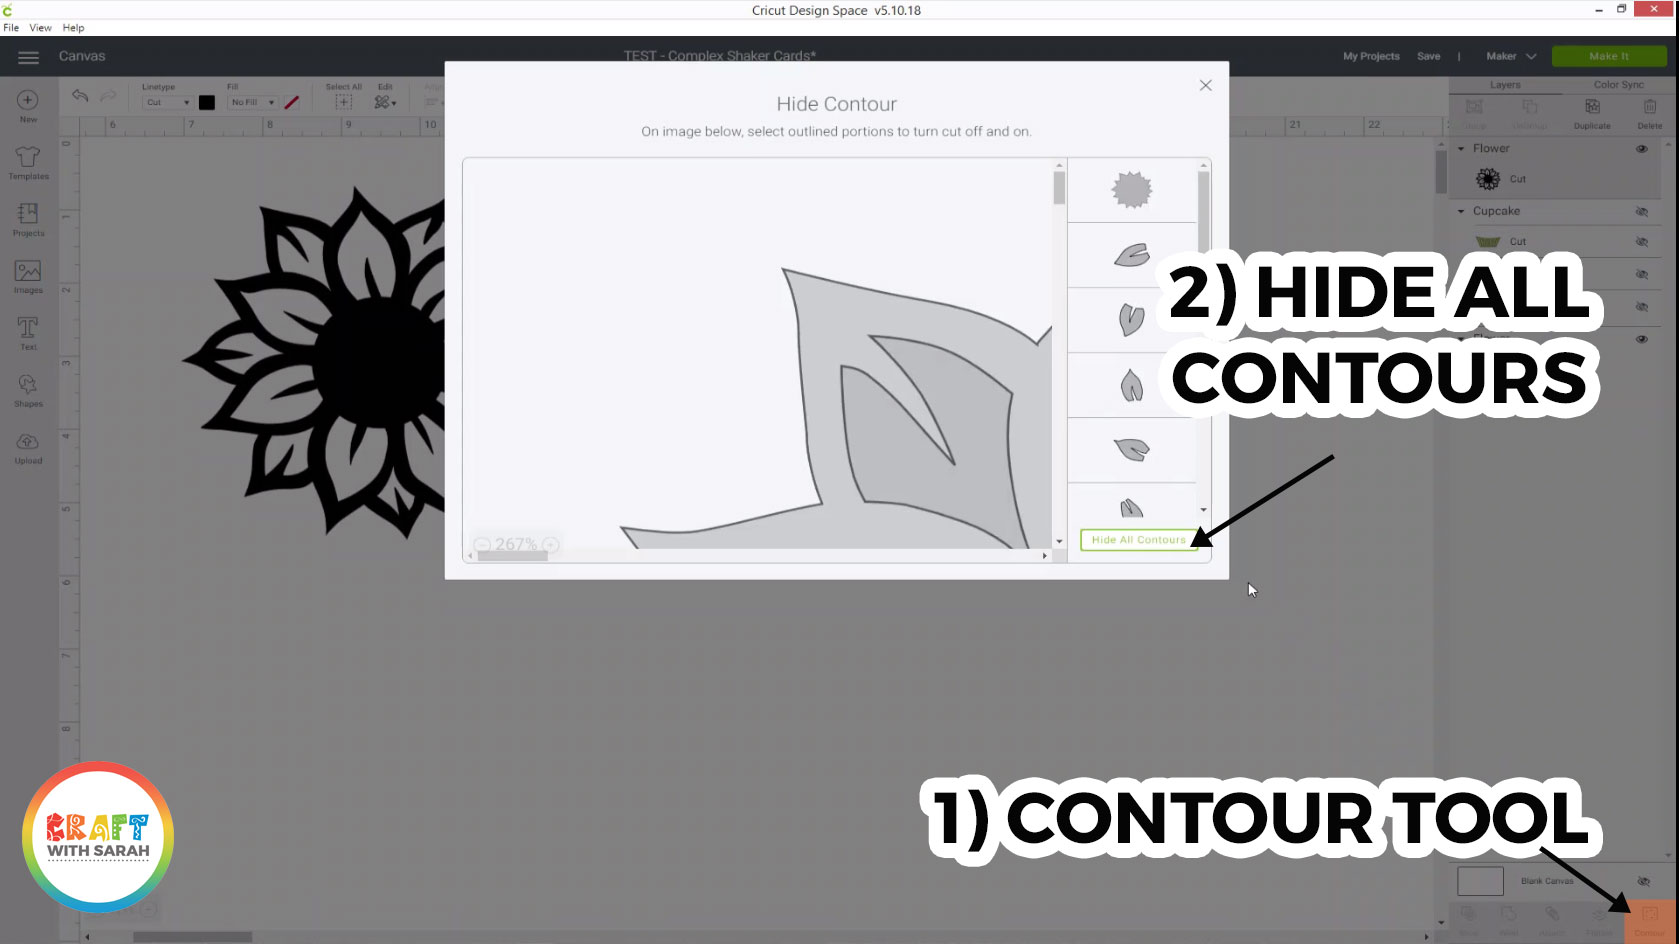
The contour tool in Design Space hides cut lines within a design. In this case, we are using it to create a “silhouette” version of the sunflower. This will be the base of our shaker topper, and it’s also the shape that we’ll be cutting out of acetate.
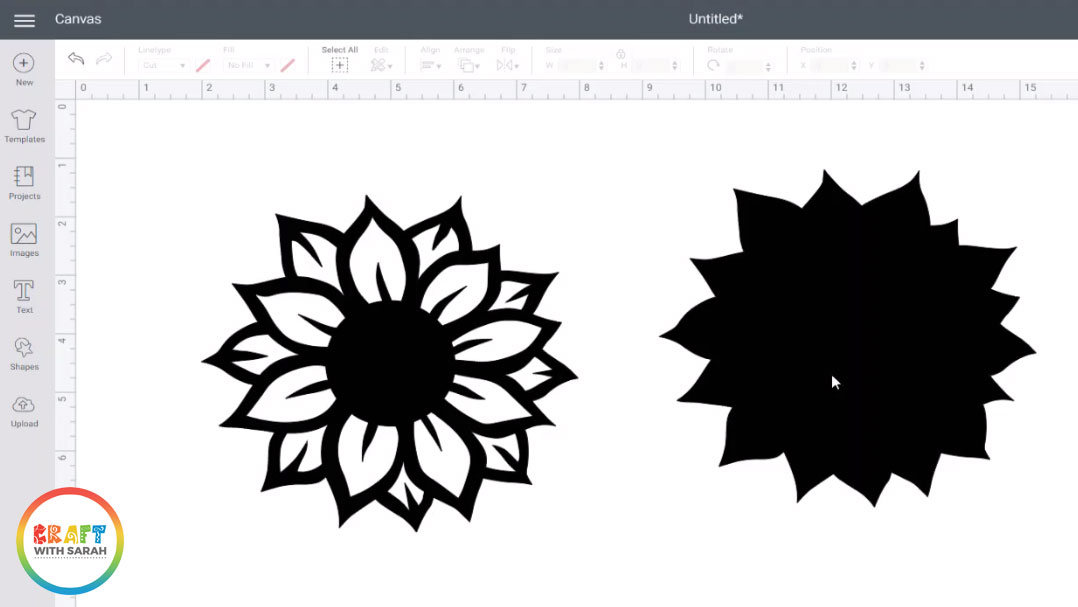
4) Cut with your Cricut
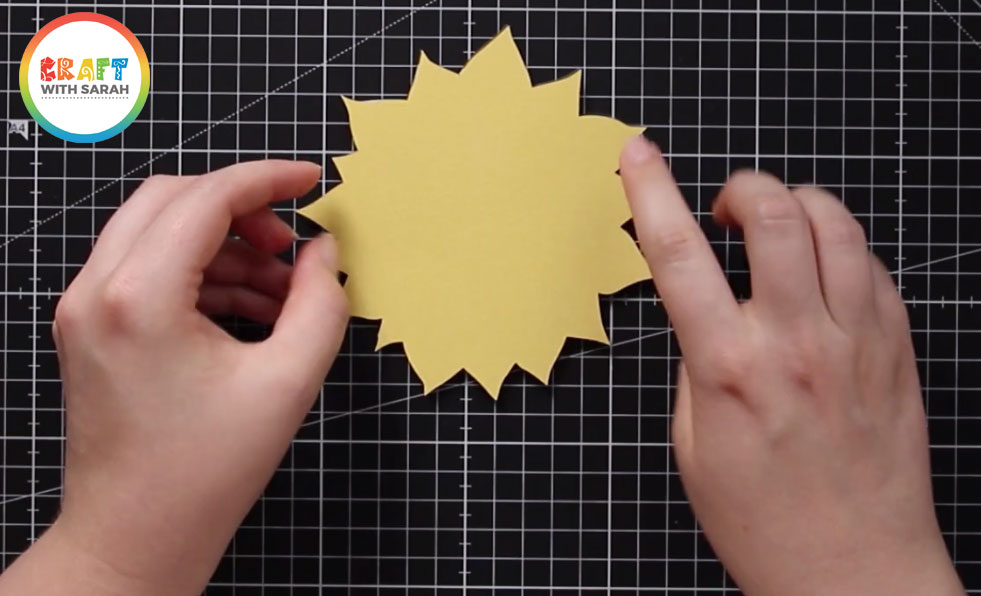
Cut each shape out of card with your Cricut machine.
I cut the outline shape from brown textured cardstock and the silhouette piece from yellow textured card.
Part 2: How to cut acetate with a Cricut
As we are making a “shaped” topper to sit on top of our card, we need to cut the sunflower shape out of acetate.
For this project, I’m just using standard acetate which you can get from most craft shops, or online retailers such as Amazon.
5) Cut the silhouette image from acetate
Click on the little eye icon next to to the outline version of your image in the layers panel to hide it, and then when you only have the silhouette version showing, click “Make It” again.
On the “Set material” screen, click the link which says “Browse All Materials”.
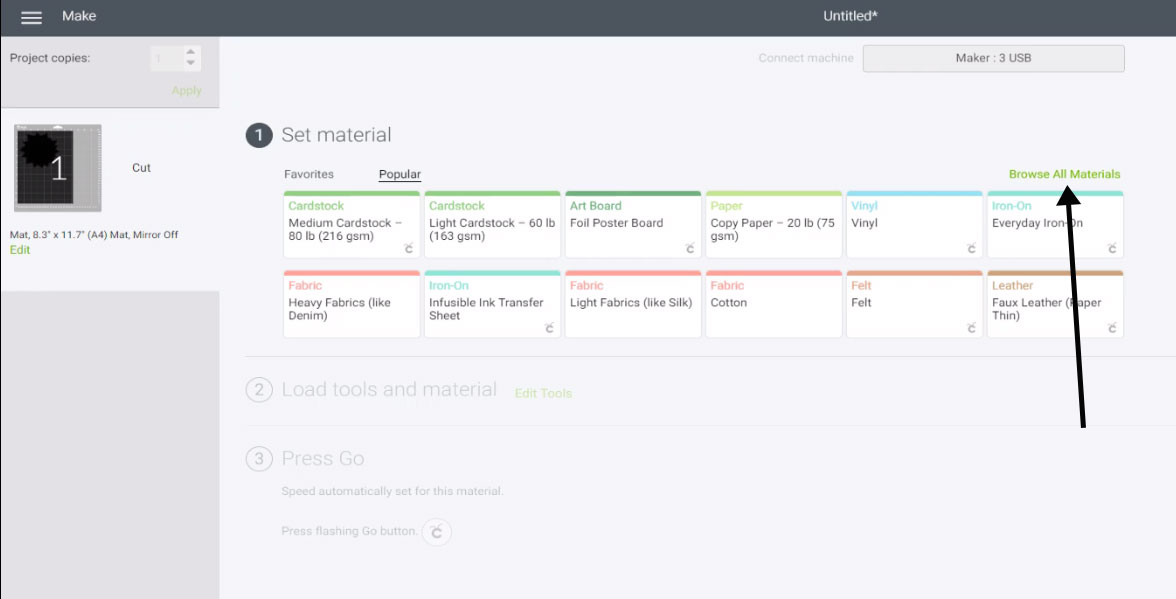
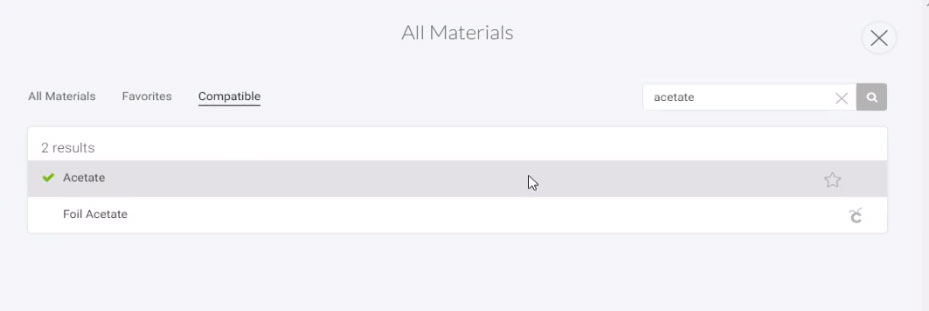
Type “Acetate” into the search box and then choose the “Acetate” option.
Follow the on-screen instructions to cut the acetate with your Cricut.
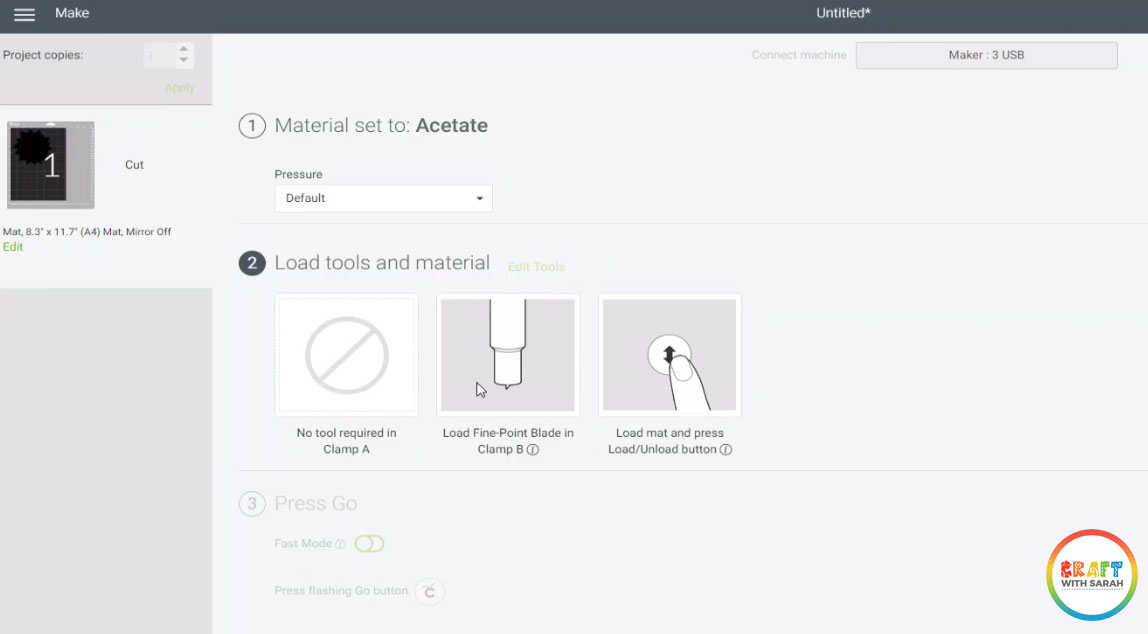
I used the light grip mat (pale blue) for the acetate which worked perfectly.
Note: I used a Cricut Maker for this project. If you are using a different machine version then your screen may look slightly different.
Part 3: How to assemble a complex shaker card
Now that everything is cut out, it’s time to start making the card – yay!
6) Decorate your base card
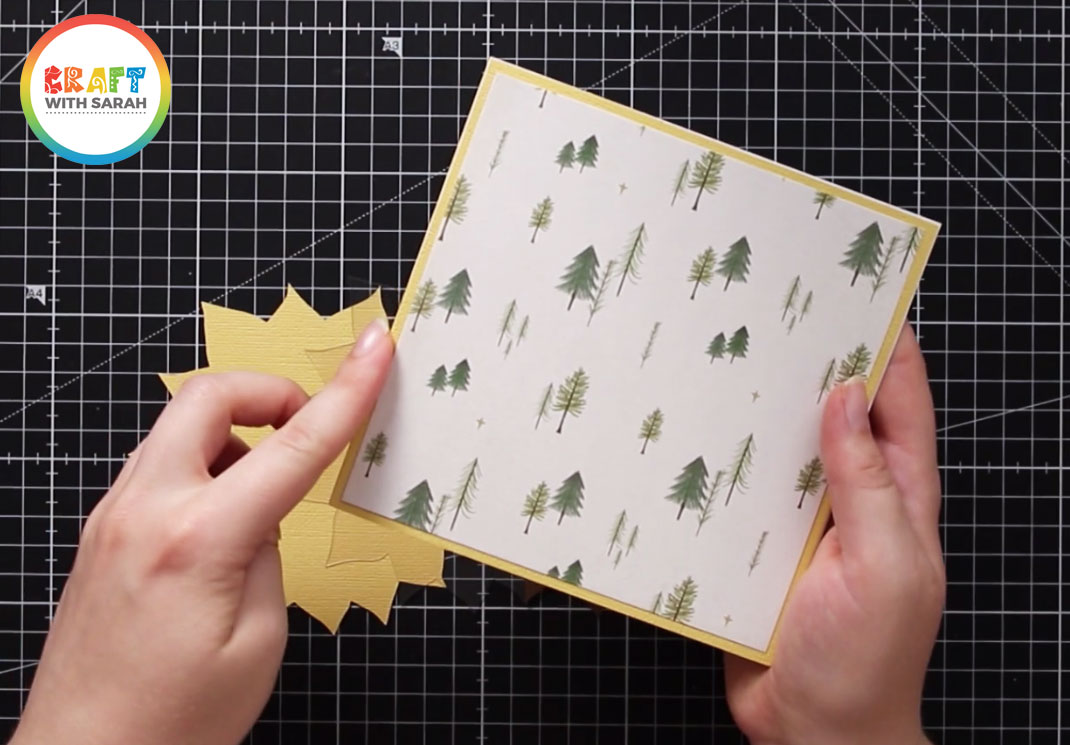
Decorate your base card with coloured or patterned card.
I cut a piece of yellow card from the same material that I used for the sunflower base and stuck that to my card, and then added a slightly smaller piece of pine tree patterned paper.
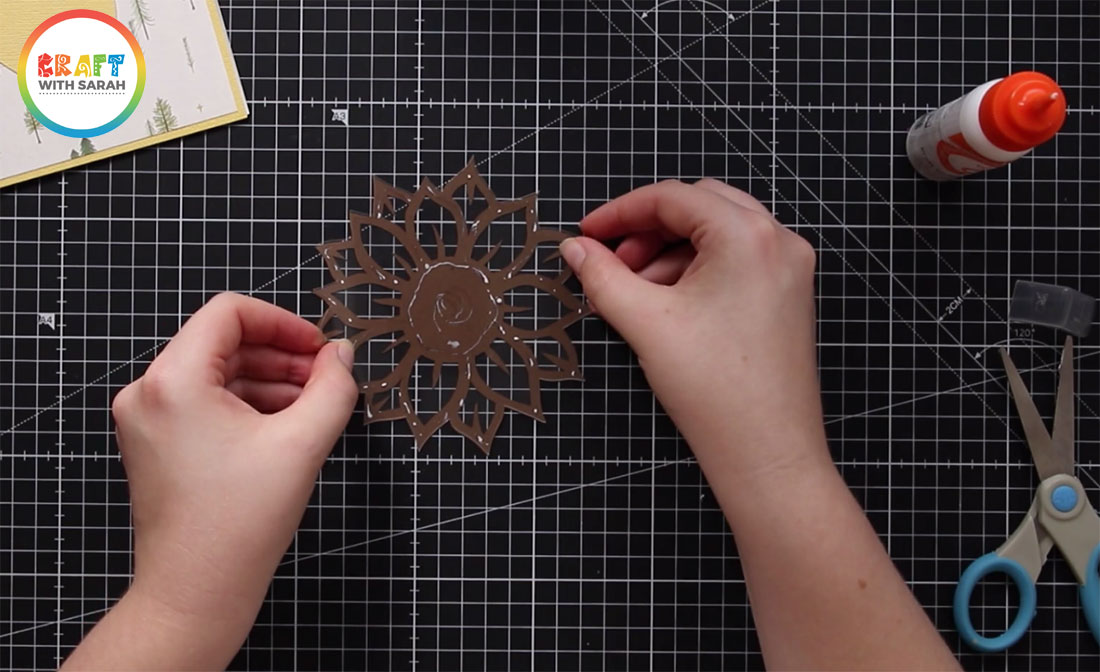
7) Glue to acetate to the back of your outline image
Turn the outline image (border of the sunflower) upside down and glue the acetate to the back of the piece.
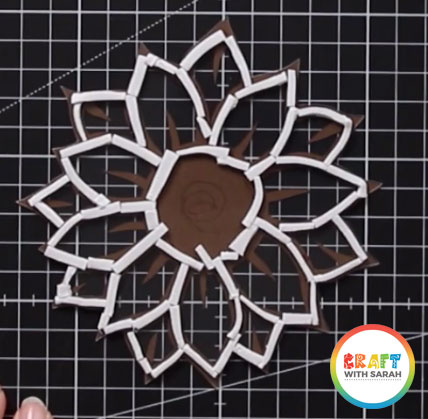
8) Add foam tape to the entire shape
Cover all sections of the image in 3D foam tape.
You will probably need to cut it fairly thin and in small pieces to get it to fit.
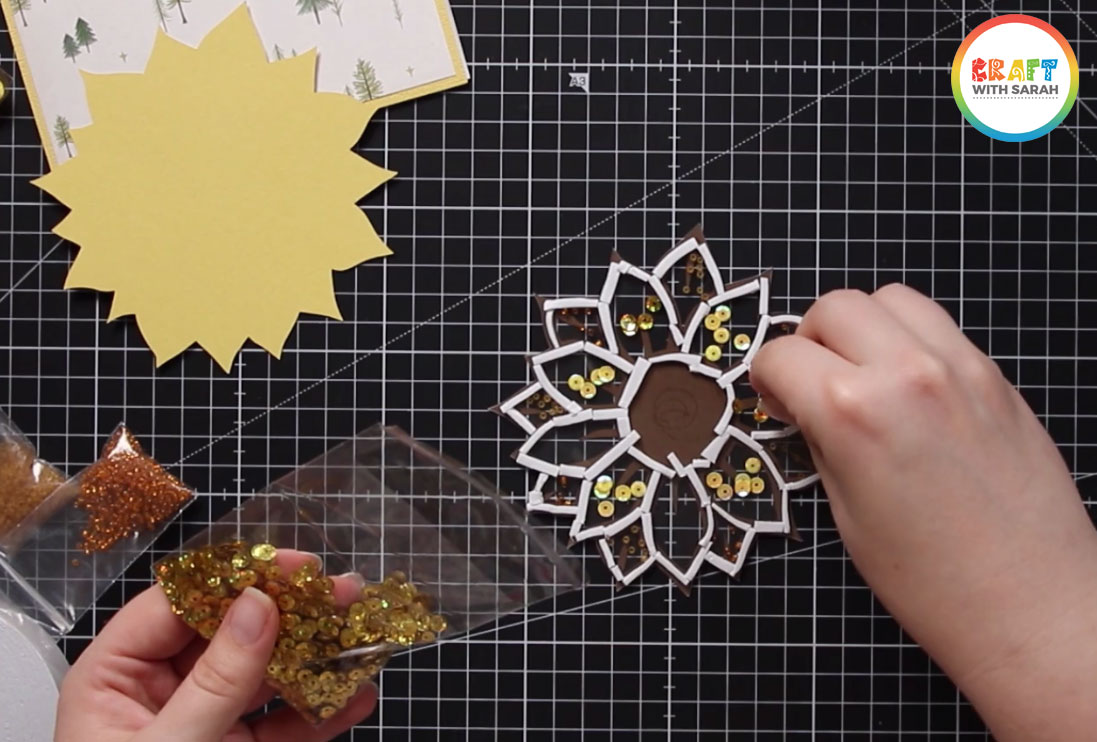
9) Add your embellishments
Add the shaker embellishments to each of the sections of the sunflower.
I used two types of seed beads, and two types of seqins.
I alternated the colours between the petals of the sunflower to create a repeating pattern throughout the design.
10) Stick on the shaker base
Peel off the backing paper from the 3D foam tape so that it becomes sticky.
Stick on the base of the shaker topper.
Make sure you press down firmly to ensure the foam tape is stuck down really well, otherwise your shaker embellishments may fall out.
11) Glue the shaker topper to your card
The last step is to glue the shaker topper to your card base.
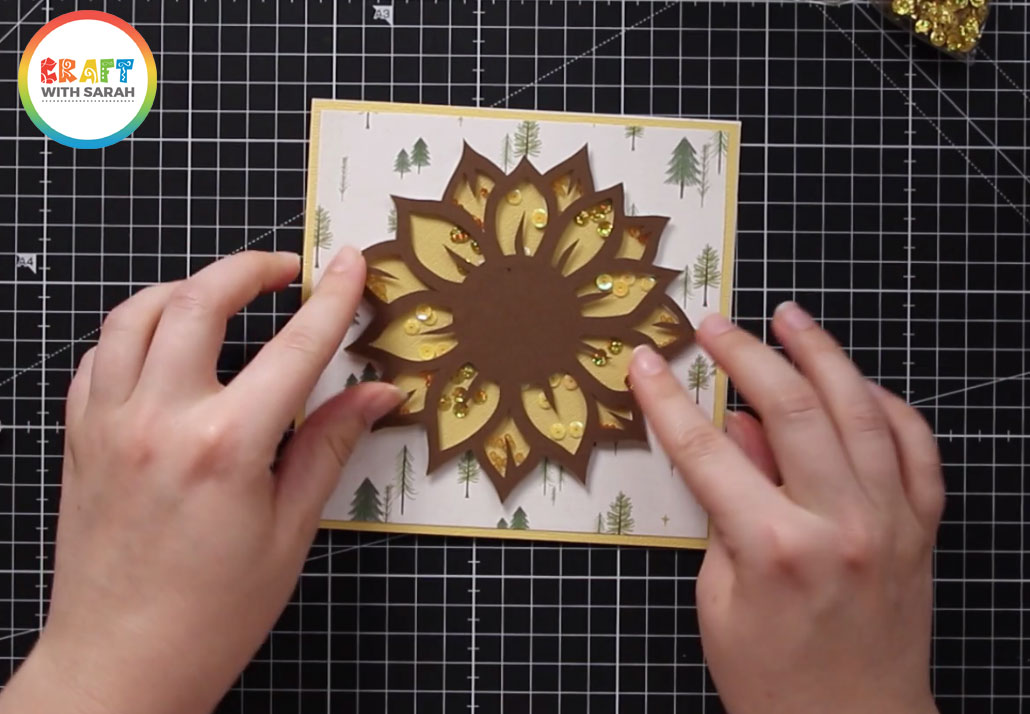
And there you have it, your complex sunflower shaker card is finished!
I hope that you enjoyed this tutorial on how to make a complex shaker card.
Don’t forget, this is only Part 3 in a 4-part series on shaker cards. Check out the other tutorials below:
- Part 1: Simple shaker cards
- Part 2: Shaped shaker cards
- Part 3: Complex shaker cards
- Part 4: Rainbow Shaker Card
Once you have done this technique once, it becomes much easier.
There are endless possibilities at creating shaped shaker cards using the images in Design Space and Cricut Access.
For example, here’s another shaped shaker card I made for Christmas using a fun multi-shape cutout image from Cricut Access:

Happy crafting,
Sarah x

