Easy Cricut Gift Card Holders with FREE SVG!

Make a gift card holder with a Cricut!
This present-shaped papercraft is great for holding gift cards and works well for lots of different occasions and celebrations.
It’s super-quick to make for those last-minute birthday surprises.

Video tutorial for free gift card holder SVG file
Watch the video below to see how to make this gift card holder. Keep scrolling for a written tutorial.
Materials needed to make a gift card holder
Here is a list of the materials that I used to make this project.
Please note that some of the links included in this article are affiliate links, which means that if you click through and make a purchase I may receive a commission (at no additional cost to you). You can read my full disclosure at the bottom of the page.
- Cricut machine
- Light blue Cricut cutting mat
- Cricut scoring stylus or scoring wheel (optional)
- Coloured Card
- Glue or double-sided tape
- 3D foam pads
How to make a gift card holder
Here’s how to make your very own DIY gift card holder using a Cricut machine!
Step 1) Download the free file & unzip the downloaded folder
Download the Free Cutting File
Please login to your account to download this file.
TERMS OF USE:
You may sell finished, handmade physical craft items that you have made using this product but must not sell or share the digital files. Read full terms of use
Before you upload the SVG to Design Space, you need to unzip the download folder that it comes in.
- How to unzip a folder on Windows computer
- How to unzip a folder on a Mac
- How to unzip a folder on an iPad/iPhone
- How to unzip a folder on an Android device
Step 2) Upload the SVG file into Design Space
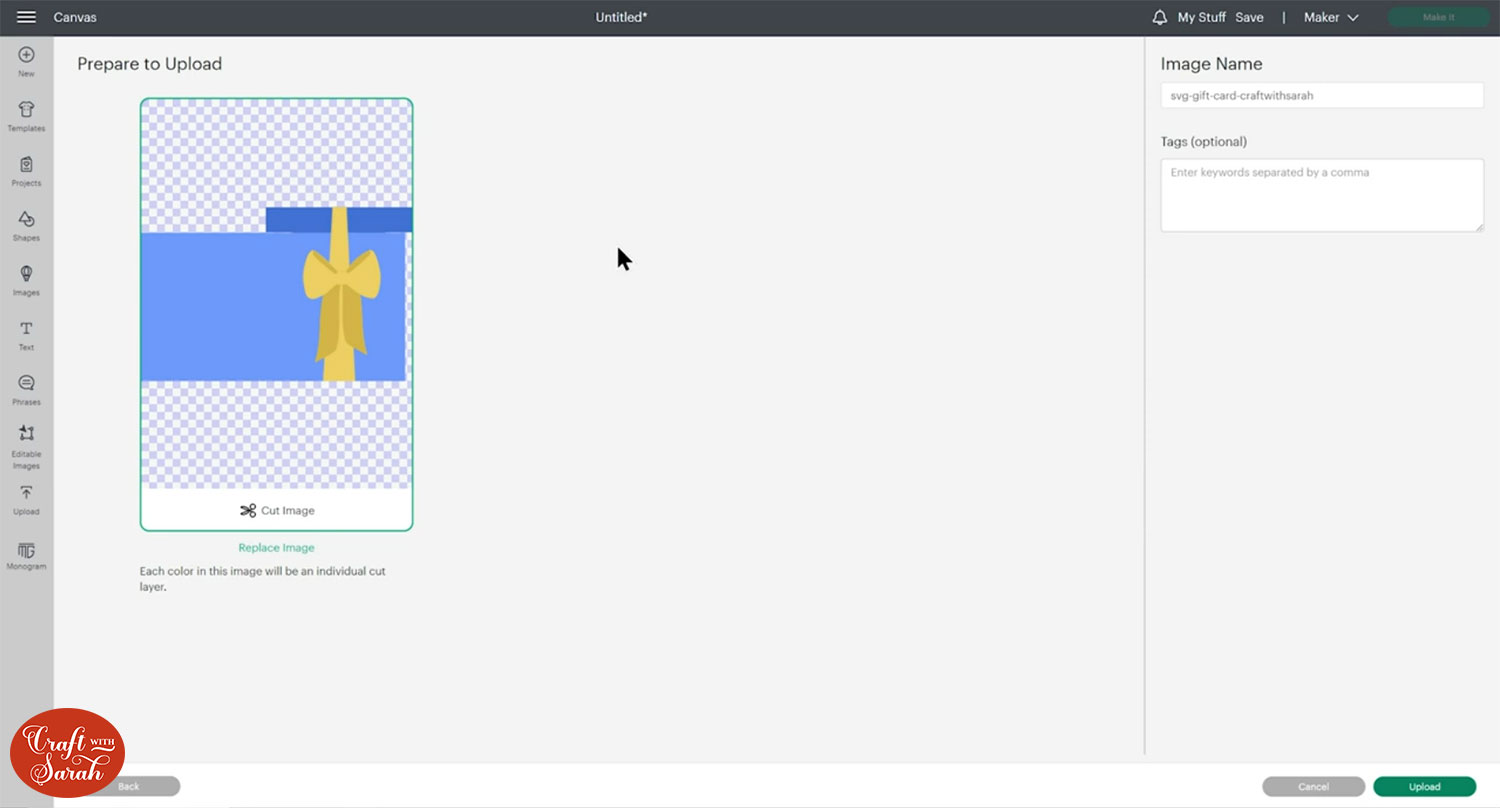
Open up Cricut Design Space and upload the file called svg-gift-card-craftwithsarah.svg
Make sure you upload the file which starts svg- in the filename!!
This is how it should look after you have uploaded the file:
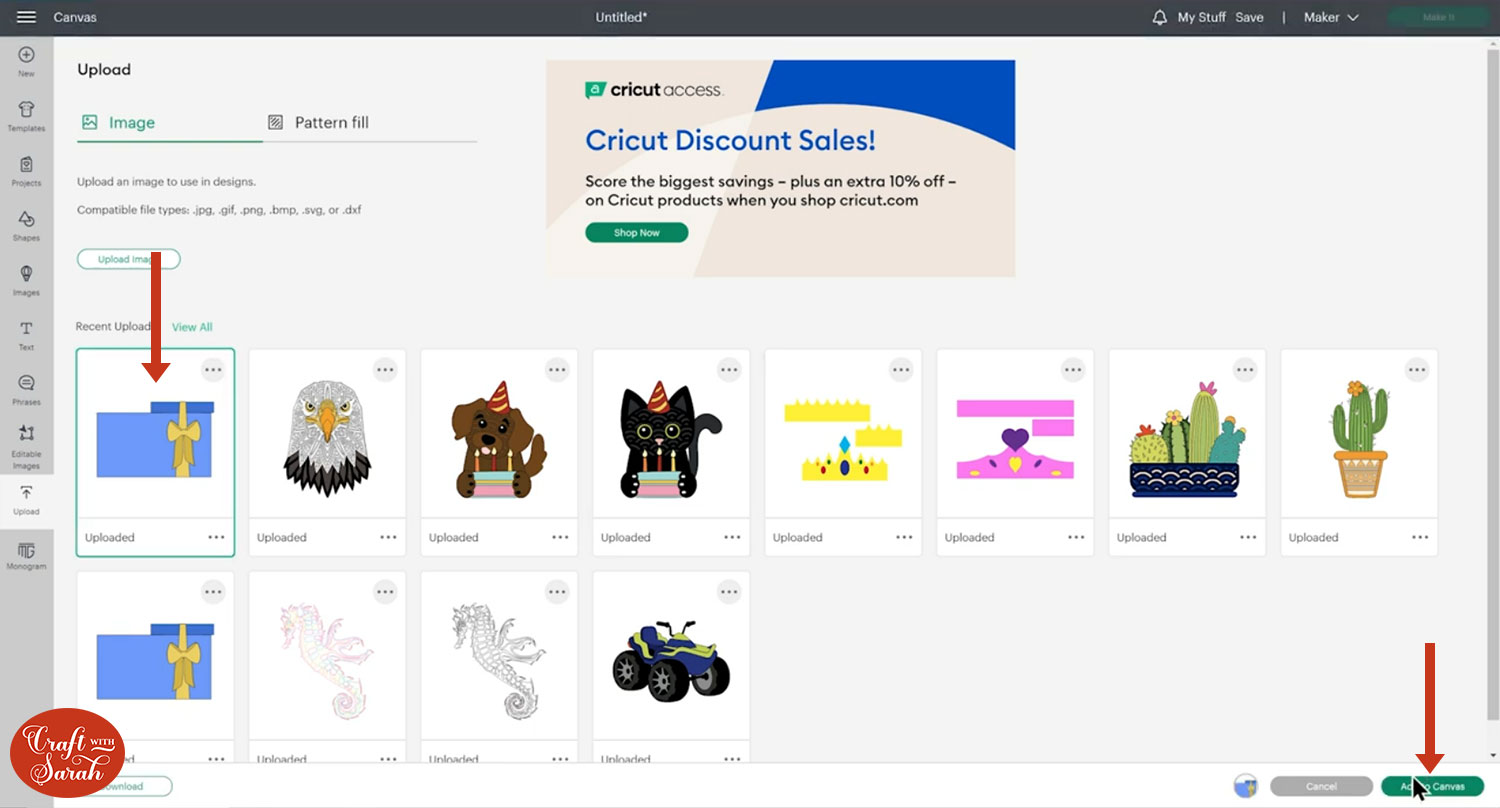
After uploading, the design will show in your “Recently Uploaded Images”. Click on it and then press “Add to Canvas” to put it onto your Project.
Step 3) Check the size and re-size if needed
The design should load in at 8 inches wide and 5.15 inches tall.
This will fit a standard sized gift card of 3.375 inches tall and 2.125 inches wide.

If your gift card is a different size, you may need to resize the gift card holder so that it will fit.
Go to “Shapes” and insert a square. Make this the size of your gift card.
In the layers panel, drag the bottom layer of the gift card holder (the one that shows the top of the present with the little slits to hold the gift card) so that it’s above all the other layers.
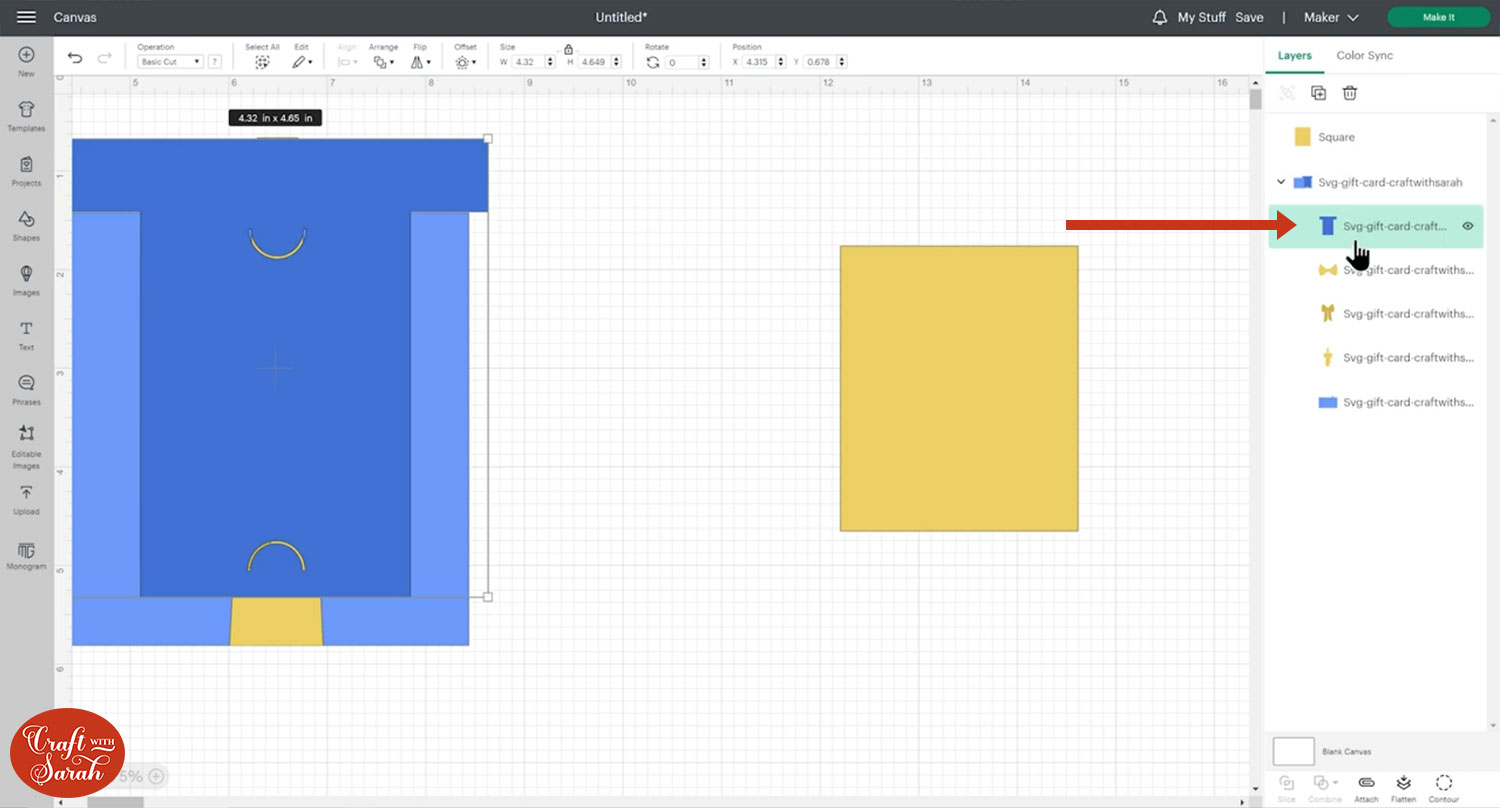
Place the square over the gift card holder and resize the gift card holder until the slits in the layer you just moved on top of the others is just larger than your square.
Important – make sure you are resizing ALL layers of the gift card holder so that everything stay in proportion, otherwise it won’t stick together properly once cut.
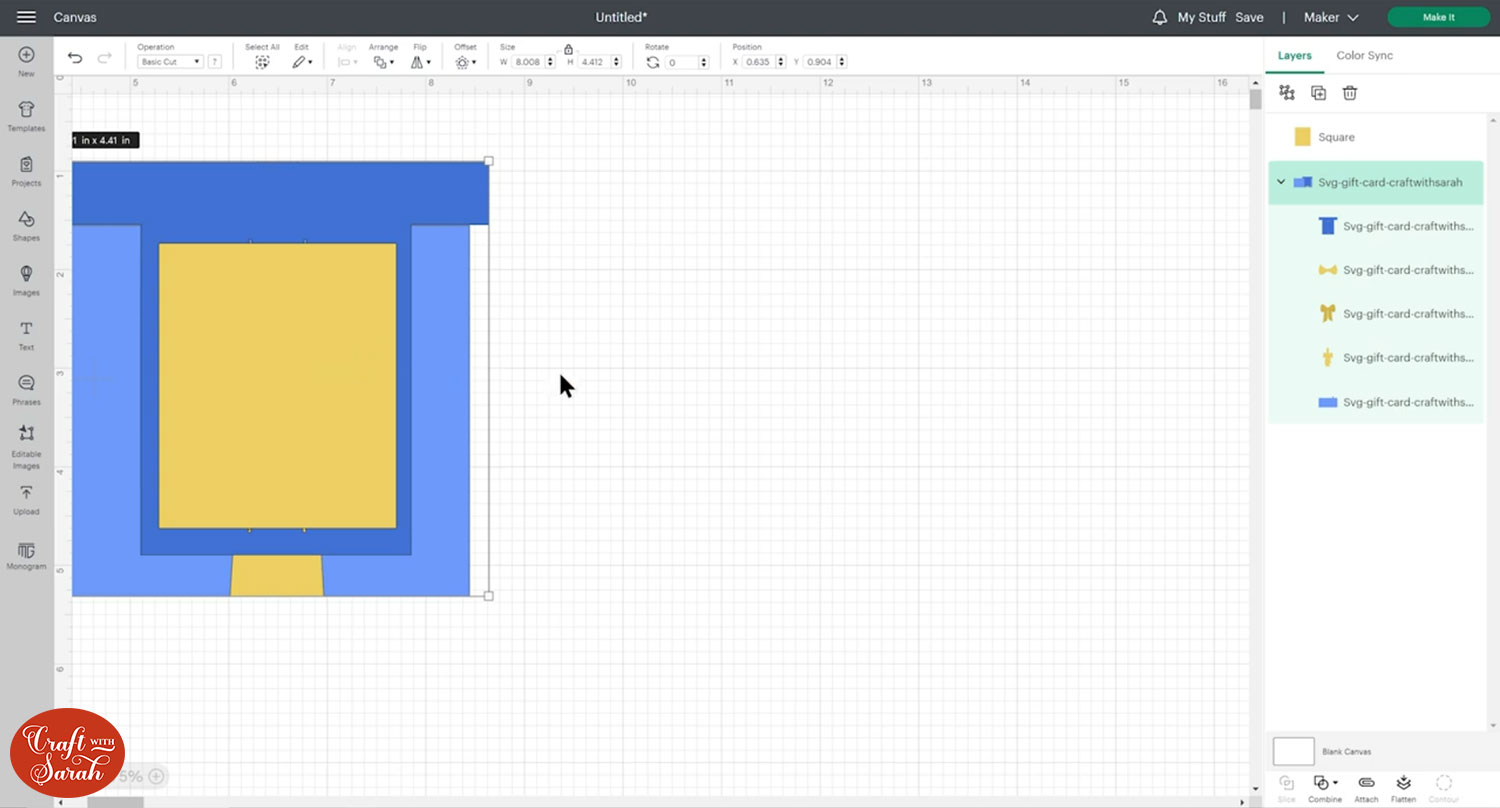
Delete the square and drag the layer with the slits in back to the bottom of the Group.
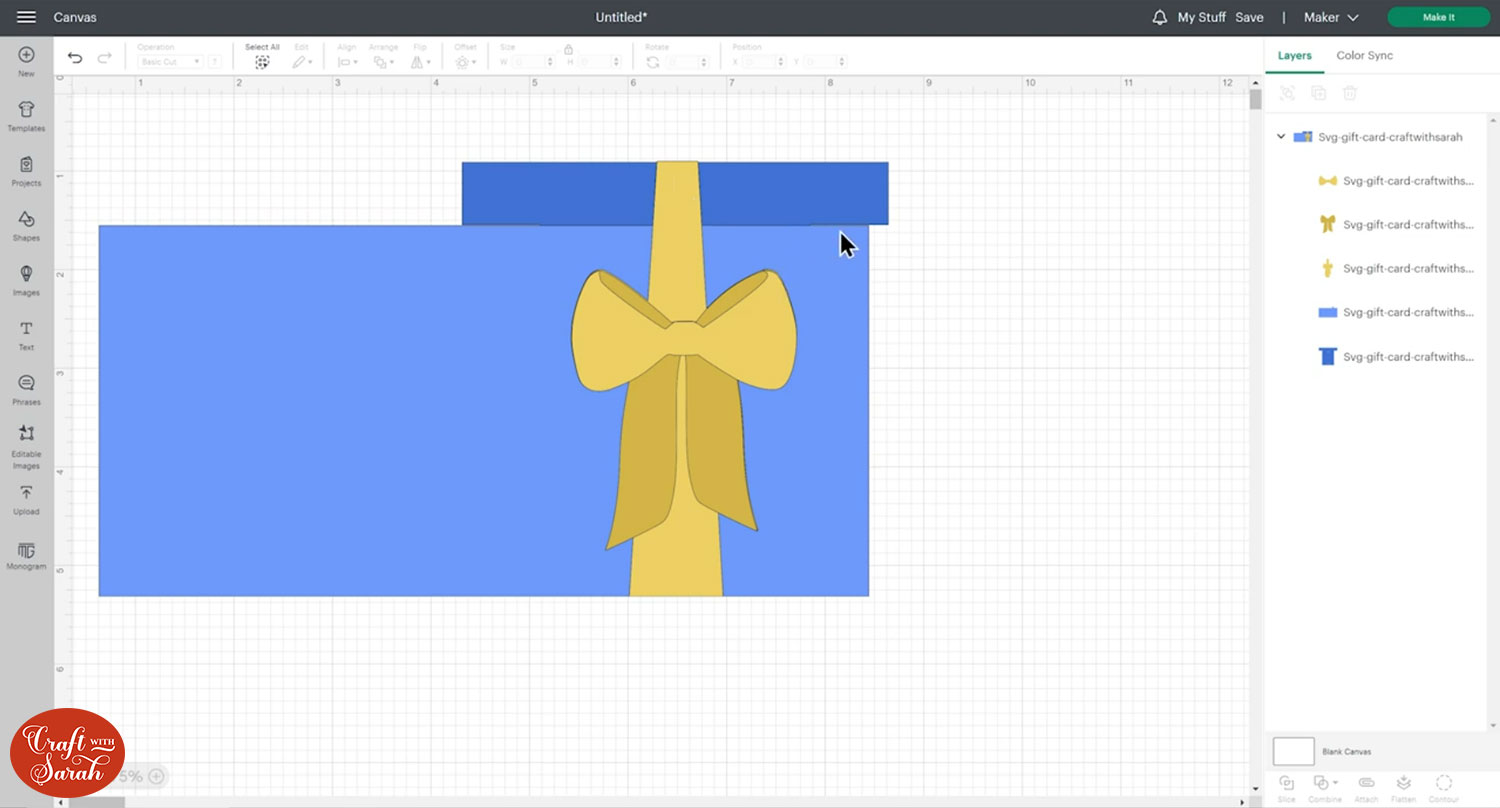
Step 4) Add a score line (optional)
If you have a Cricut scoring tool or scoring wheel then you can add a score line to the gift card holder to make it easier to fold in half.
Click the design and then press “Ungroup” to separate out the layers.

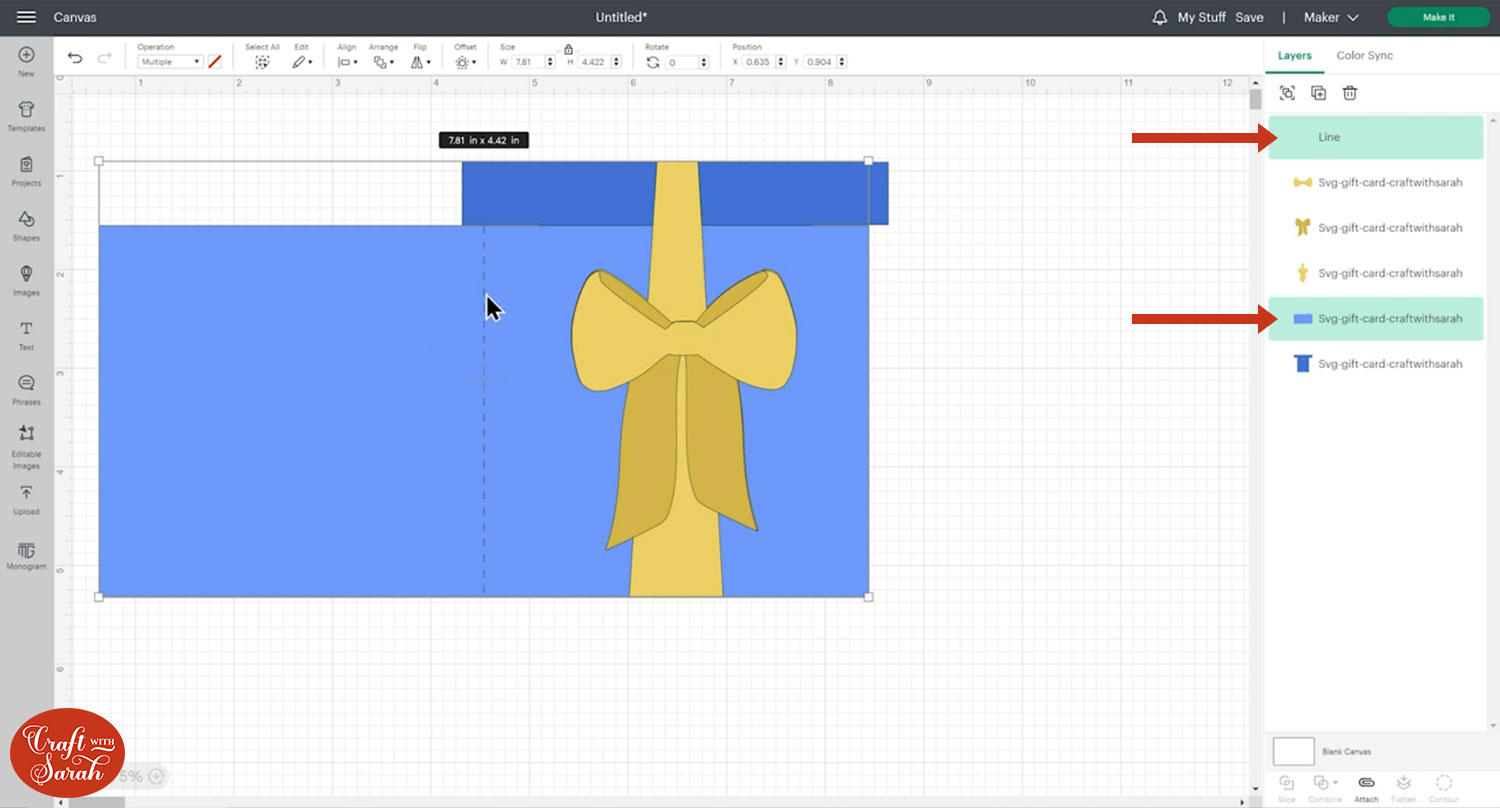
Click “Shapes” and choose a score line.
Drag it to the same height as the main section of the gift card holder.
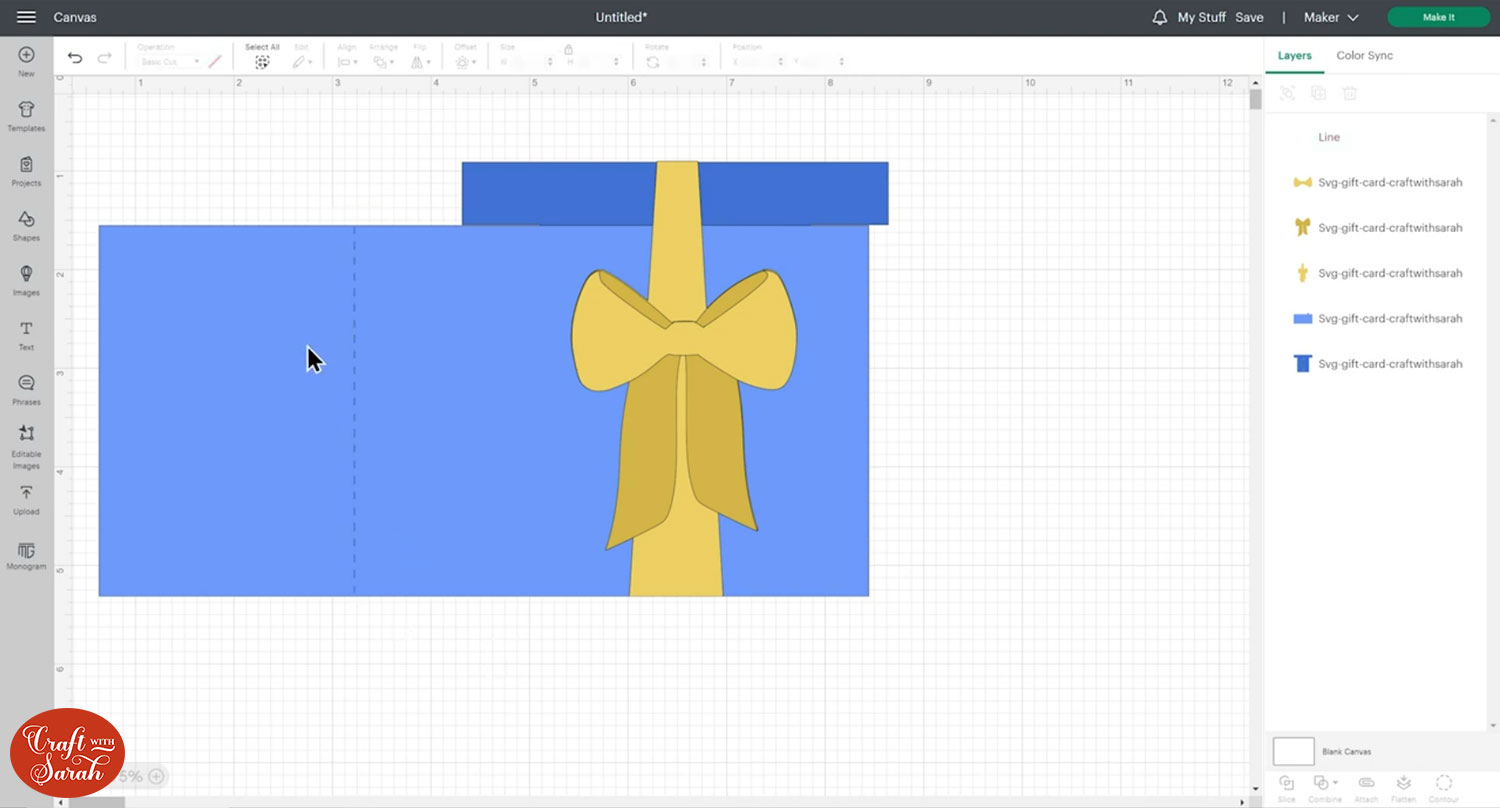
Click the score line then press “Shift” on your keyboard and select the main piece of the holder to get both of those layers selected.
Click “Align” and “Center Horizontally” to put the score line in the middle.
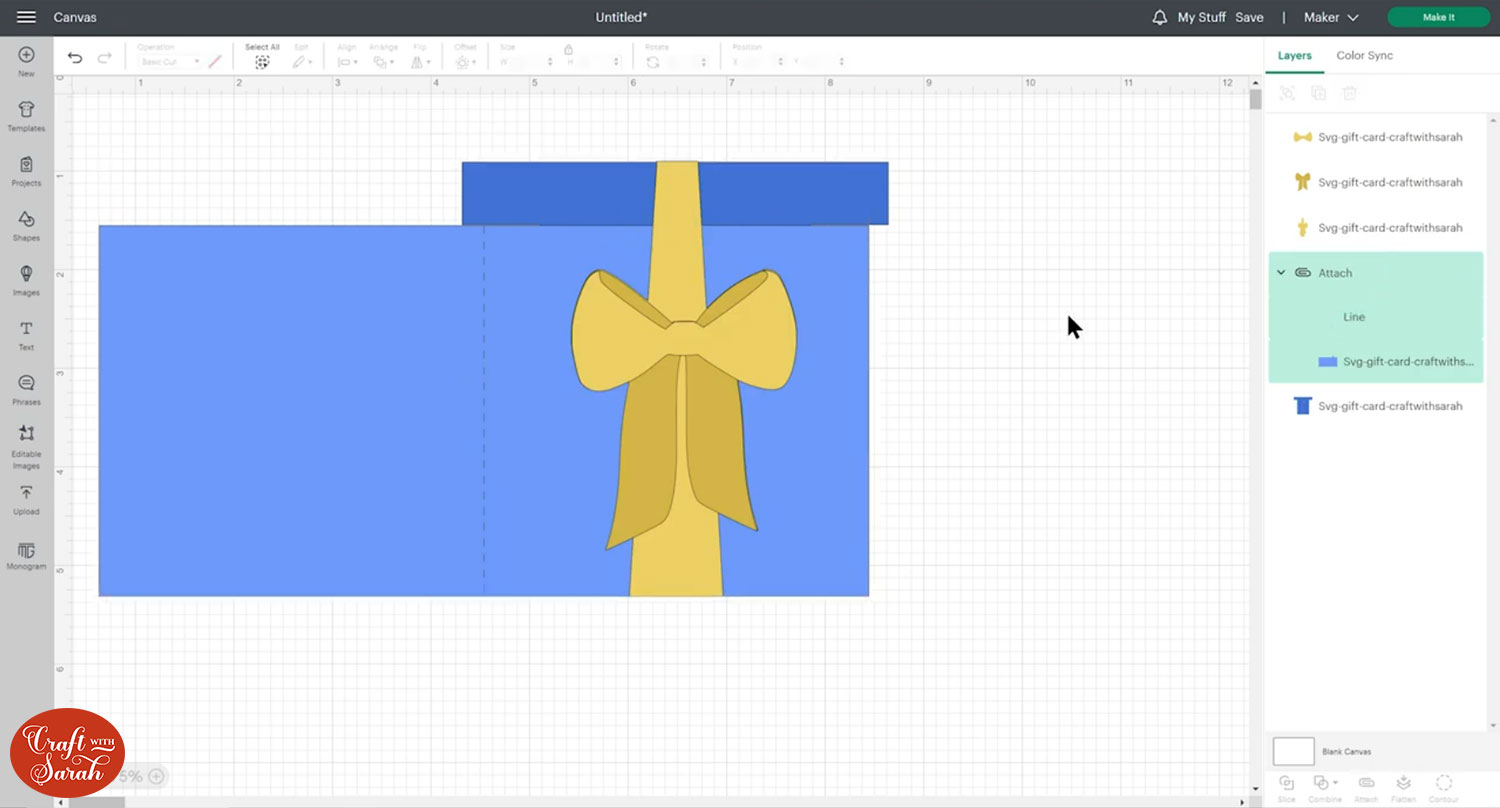
With both layers still selected, press “Attach” at the bottom of the layers panel.
Attach is what tells the Cricut that we want it to perform the score line on top of the cardstock piece.
After clicking “Attach”, it will move those layers to the top of the layers panel.
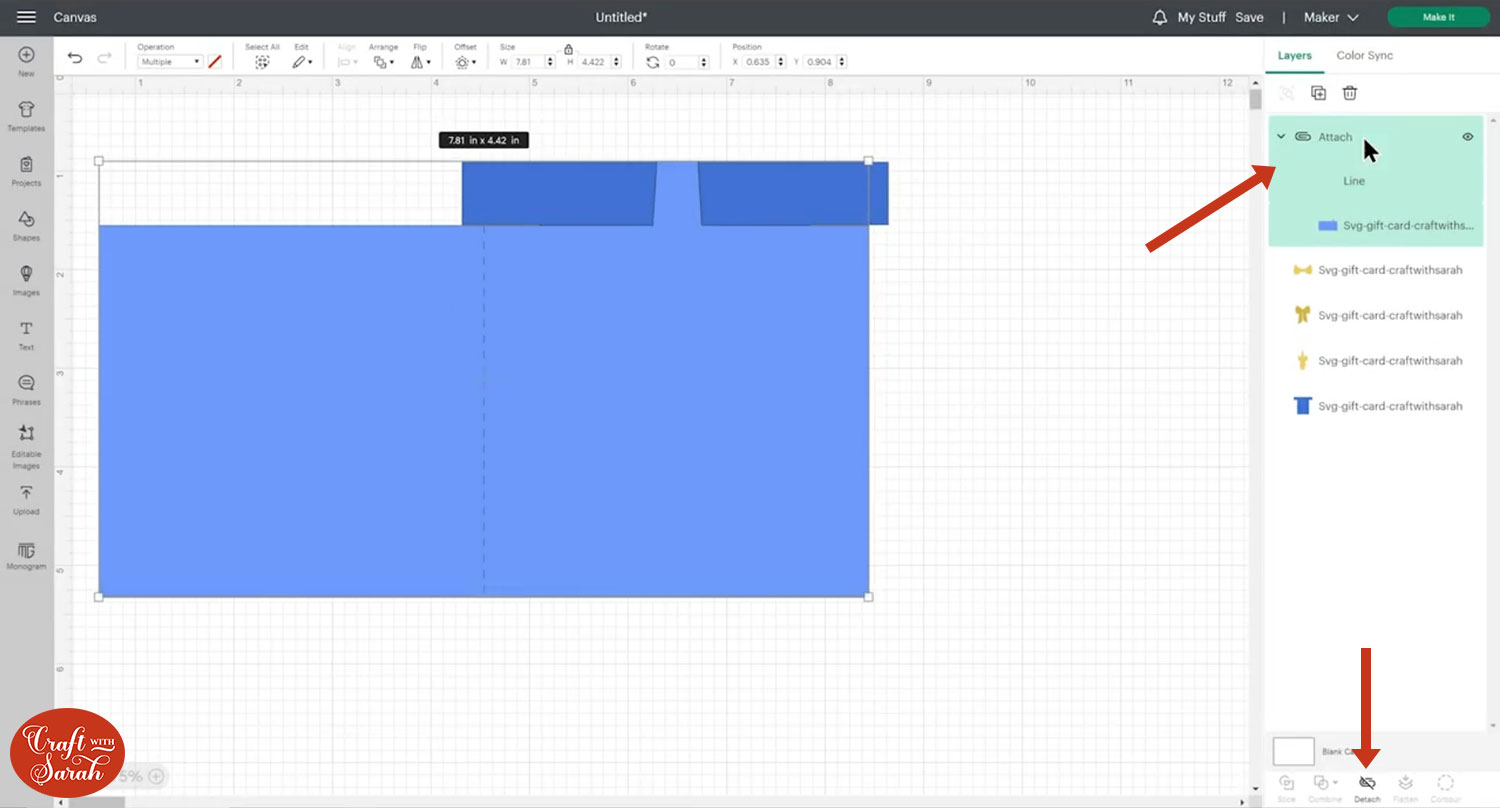
Click-and-drag them in the layers panel to move back to the correct position.
Step 5) Cut the gift card holder from cardstock
When you’re happy with how everything is looking in Design Space, save your project then click “Make It” and follow the instructions on-screen to cut out all the layers.
Change the paper size with the dropdowns on the left of the screen. You need to change it for every colour.
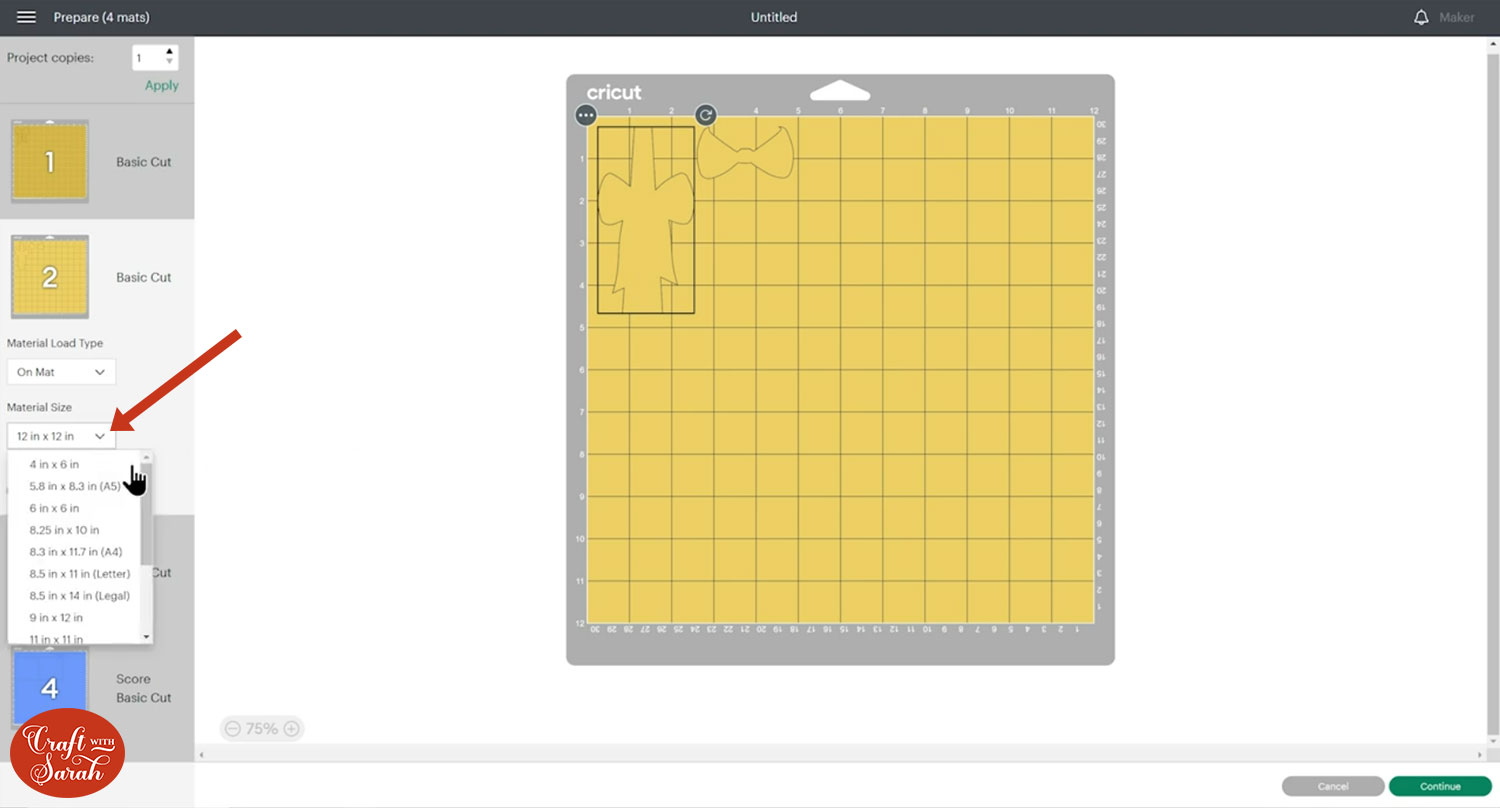
You can drag-and-drop the pieces on the screen to move them about to take up less space on your cardstock.

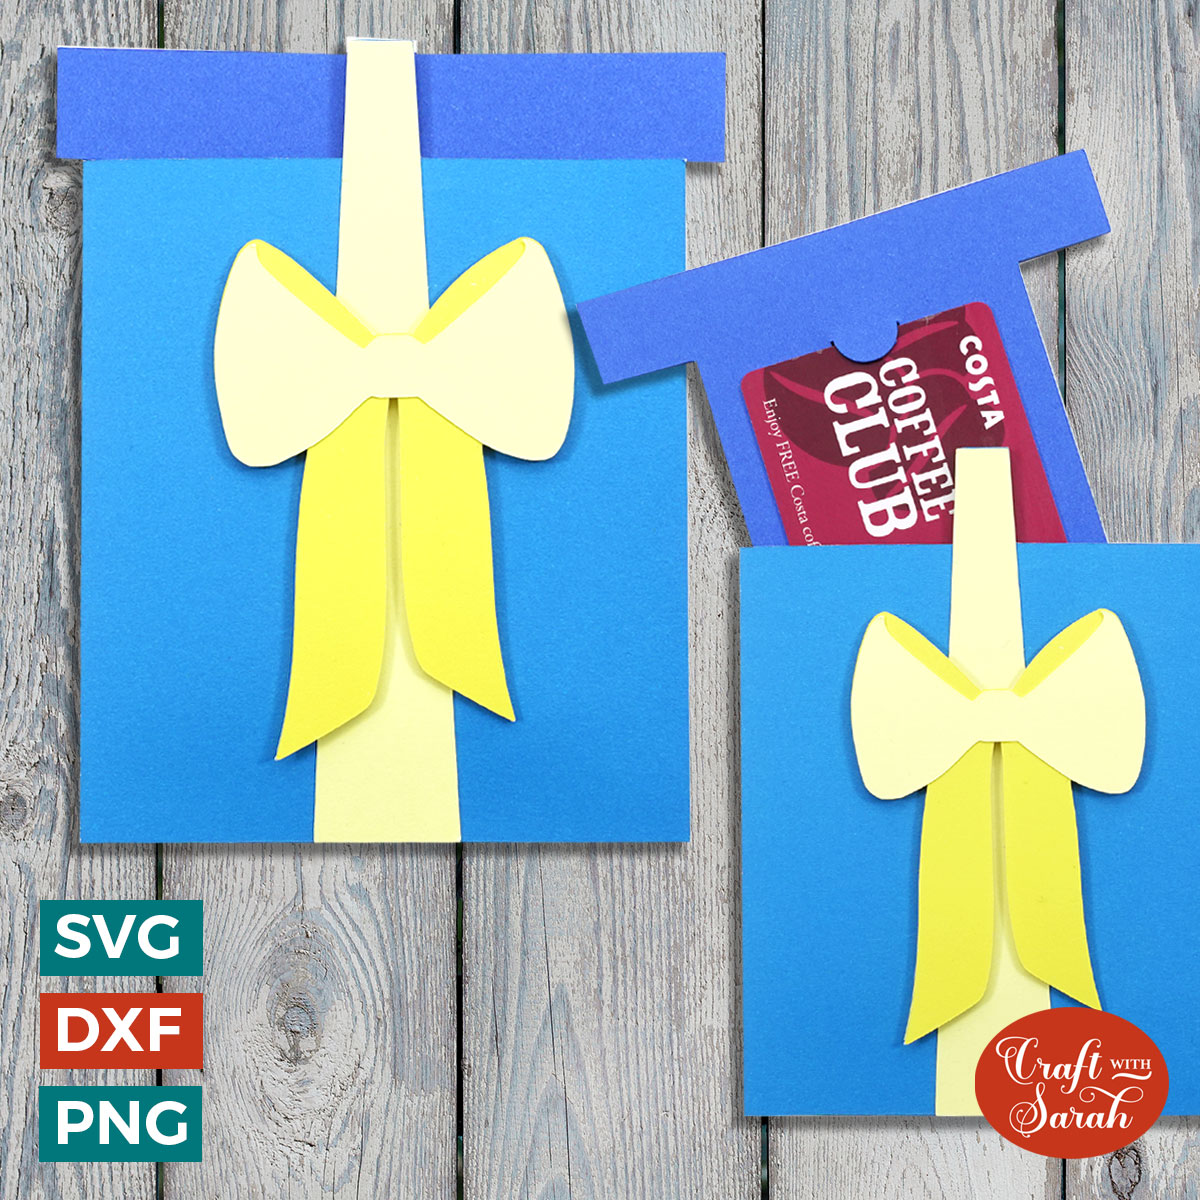
Step 6) Stick the gift card holder together
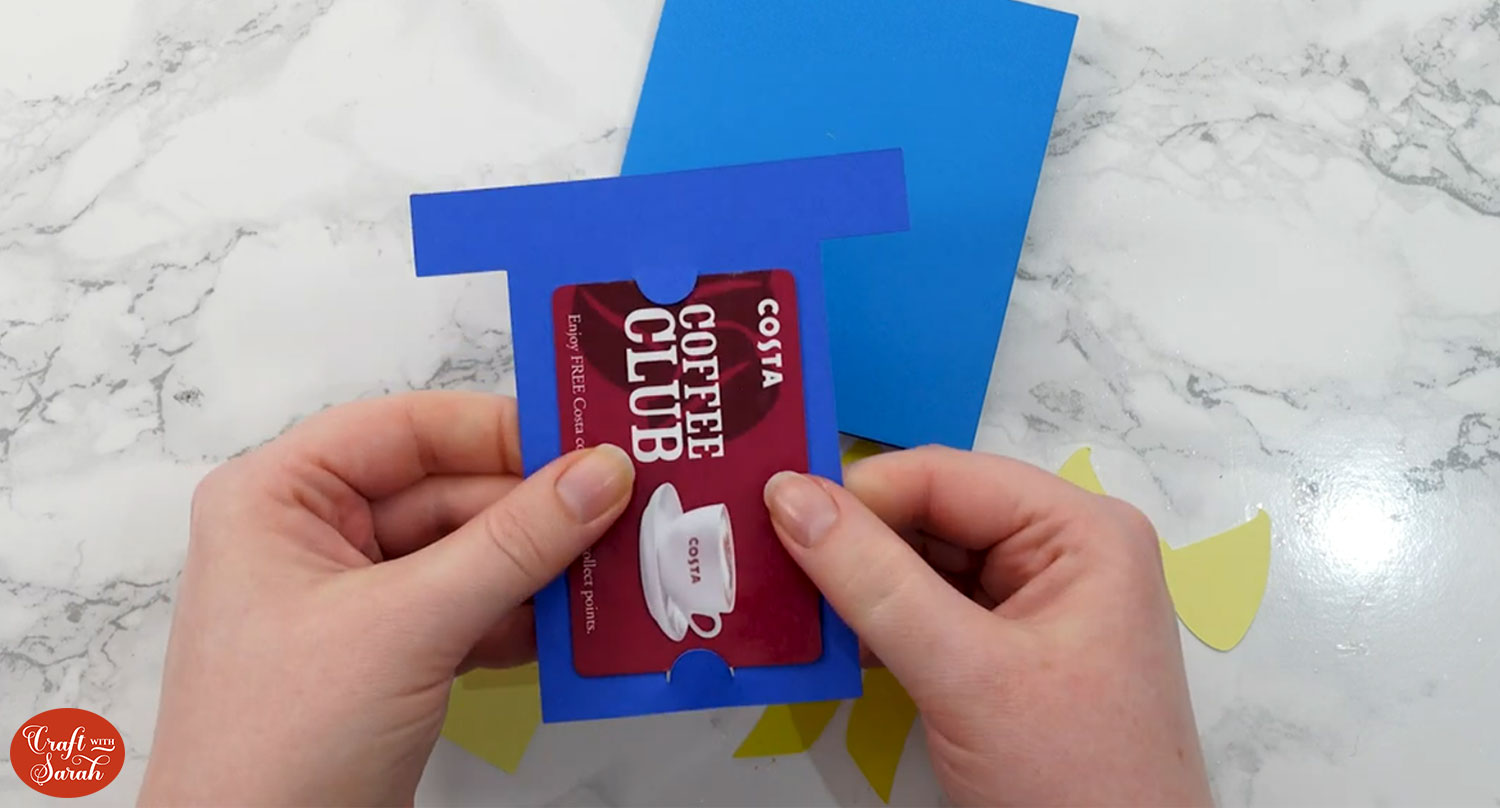
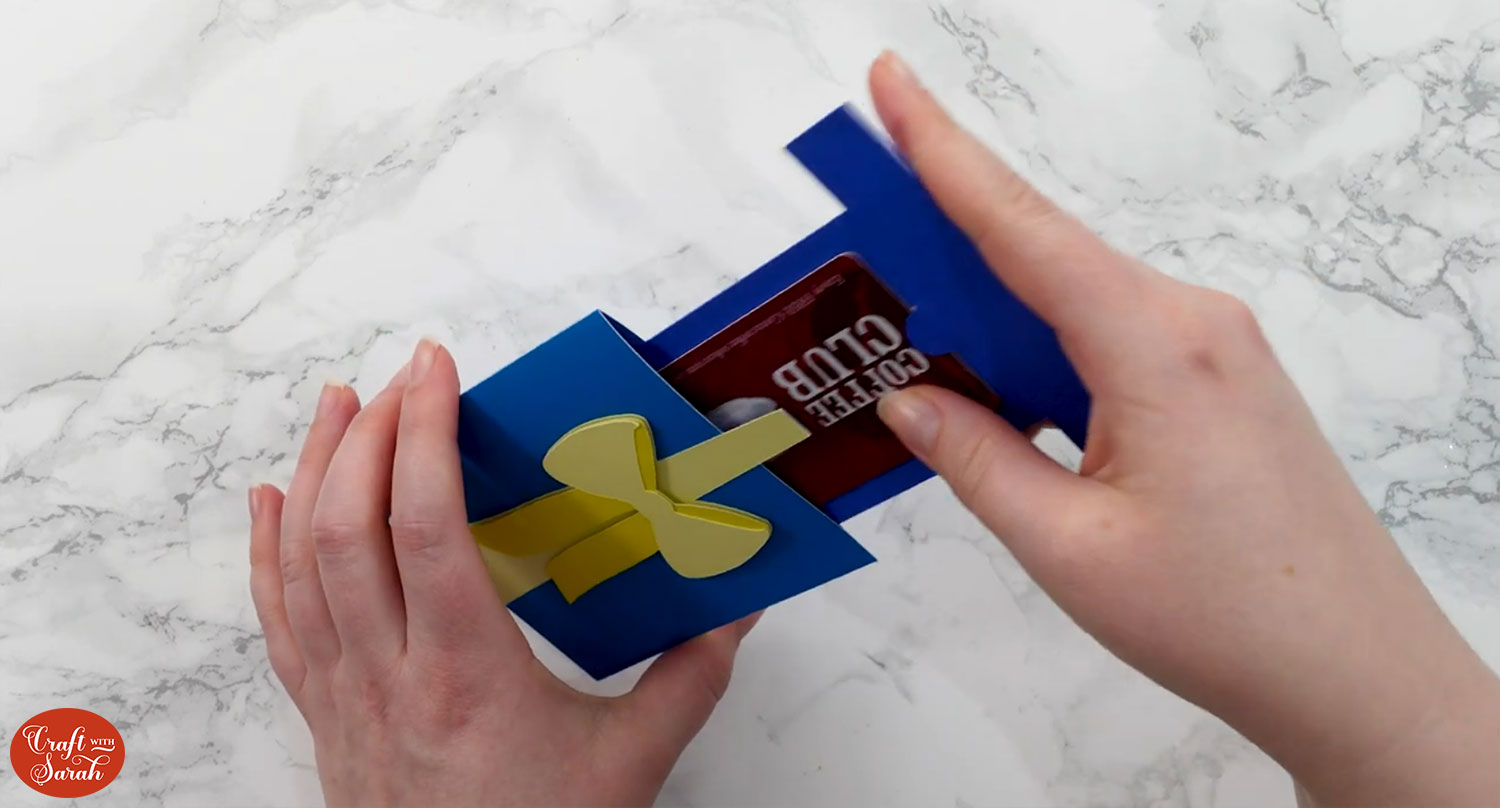
Slot your gift card into position. You might need to wiggle it about a bit to get it to fit.
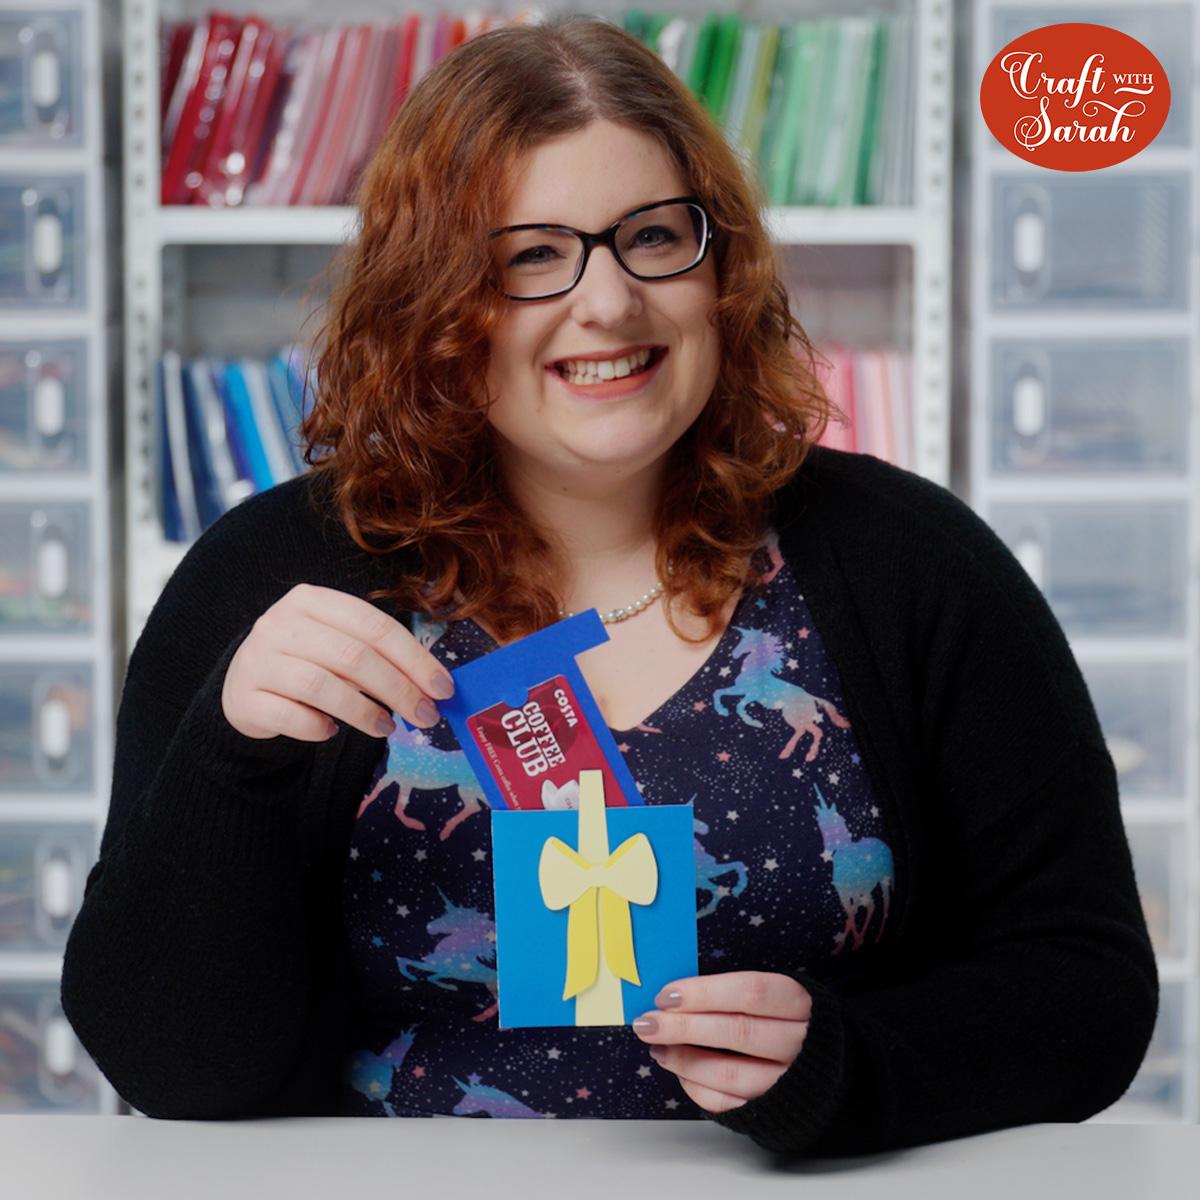
I didn’t have a gift card to use, so I’ve used my Costa Coffee card!
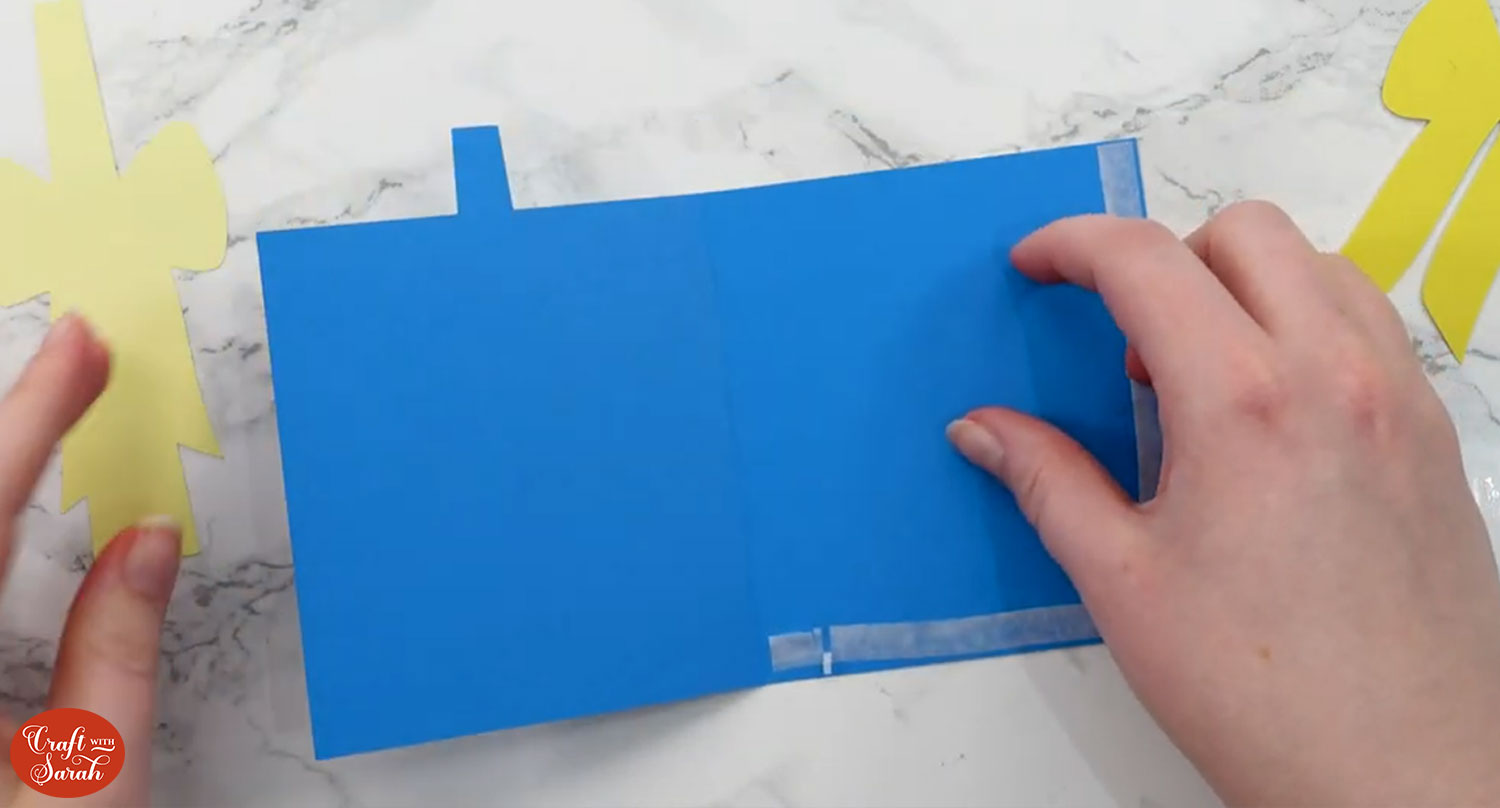
Fold the big piece of cardstock in half.
Use glue or double-sided tape down the bottom and right-side to stick it together to form a pocked.
ONLY put a thin strip of adhesive down and do NOT put any along the top, otherwise your gift card won’t fit!
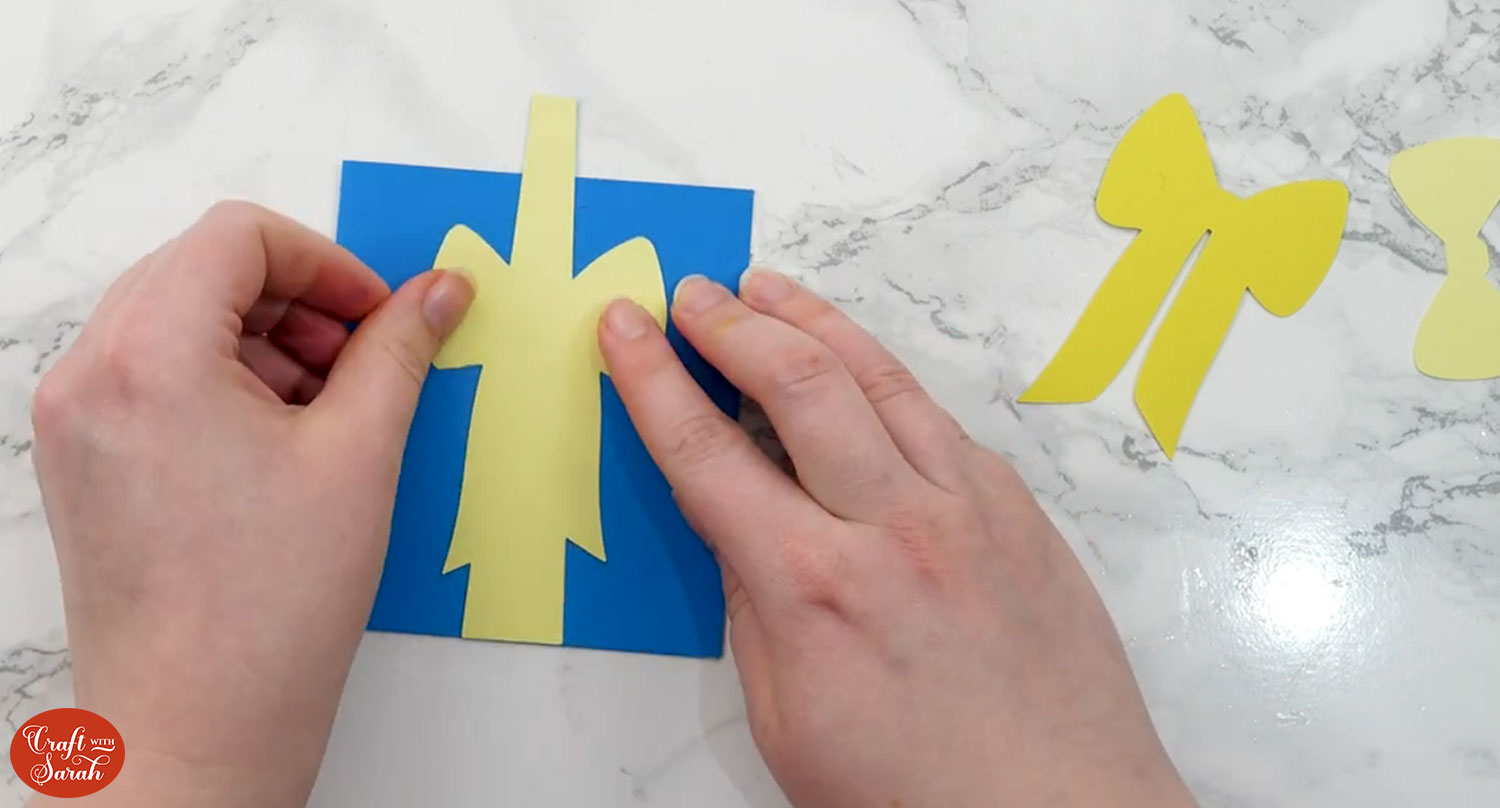
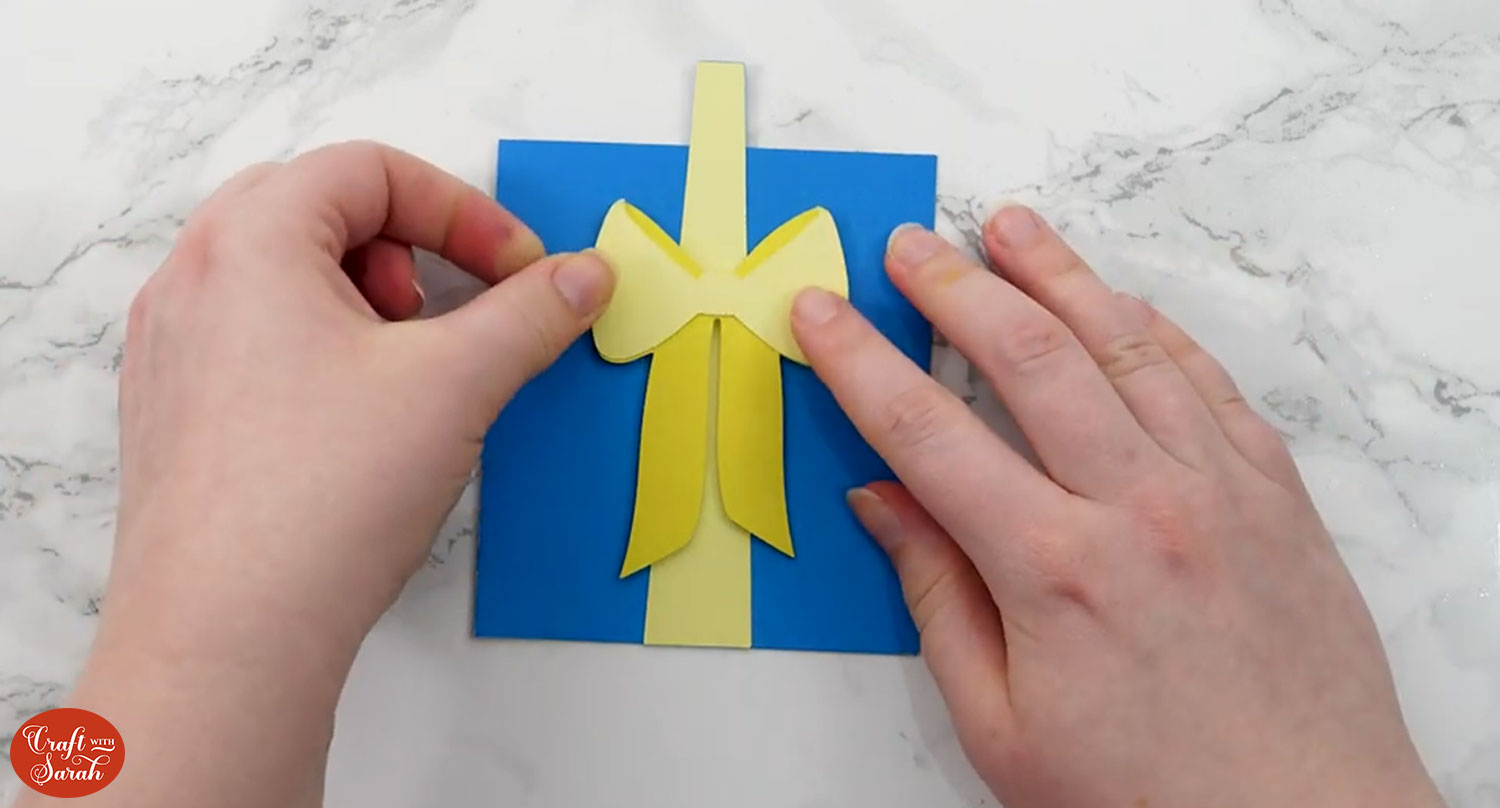
Glue the largest ribbon piece on top.
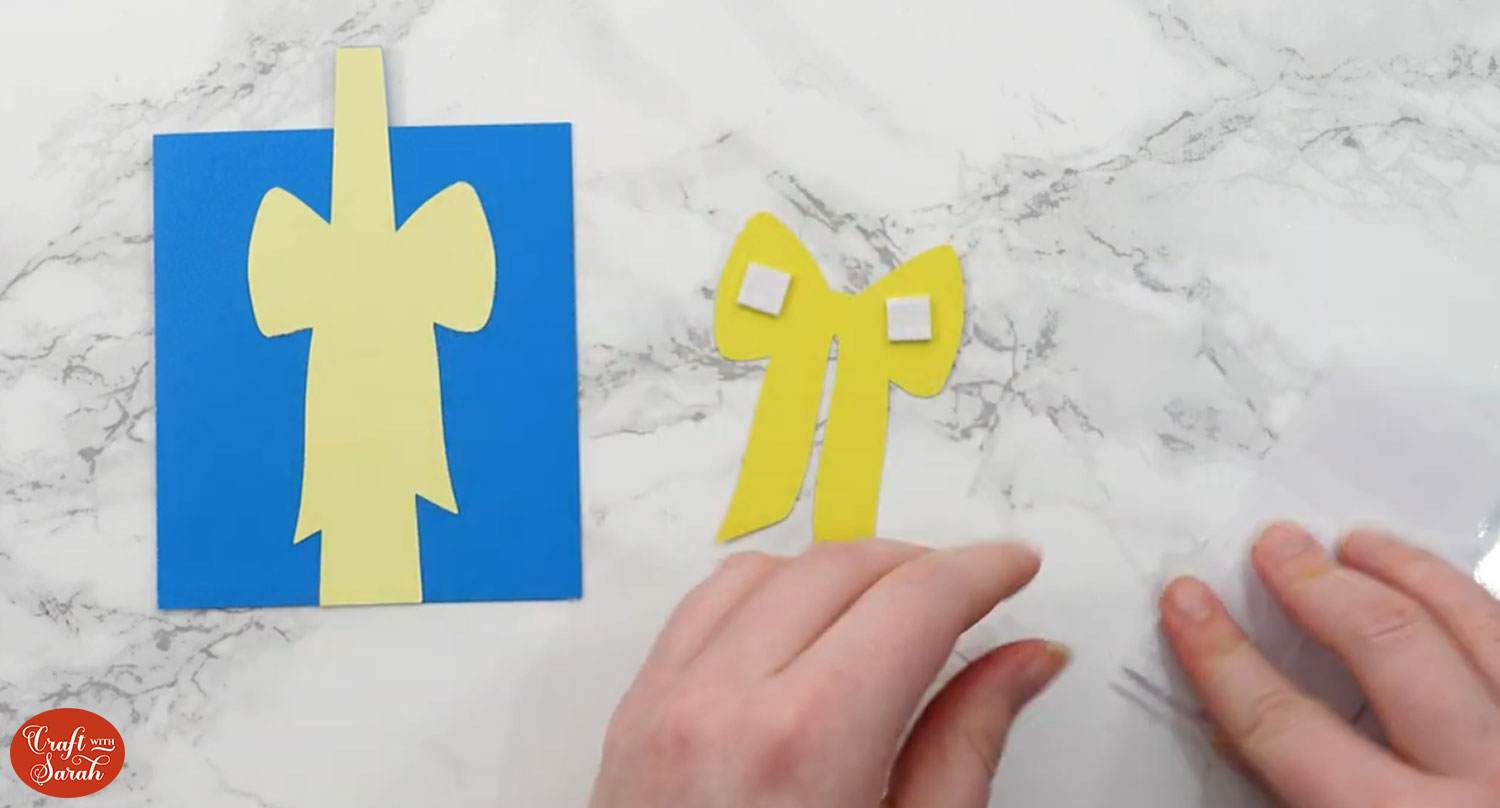
Use 3D foam squares to stick on the next ribbon piece.
Finally, glue or foam the last bit of ribbon on.
Wait for all the glue to dry and then slide in the top piece of the present that contain the gift card holder.
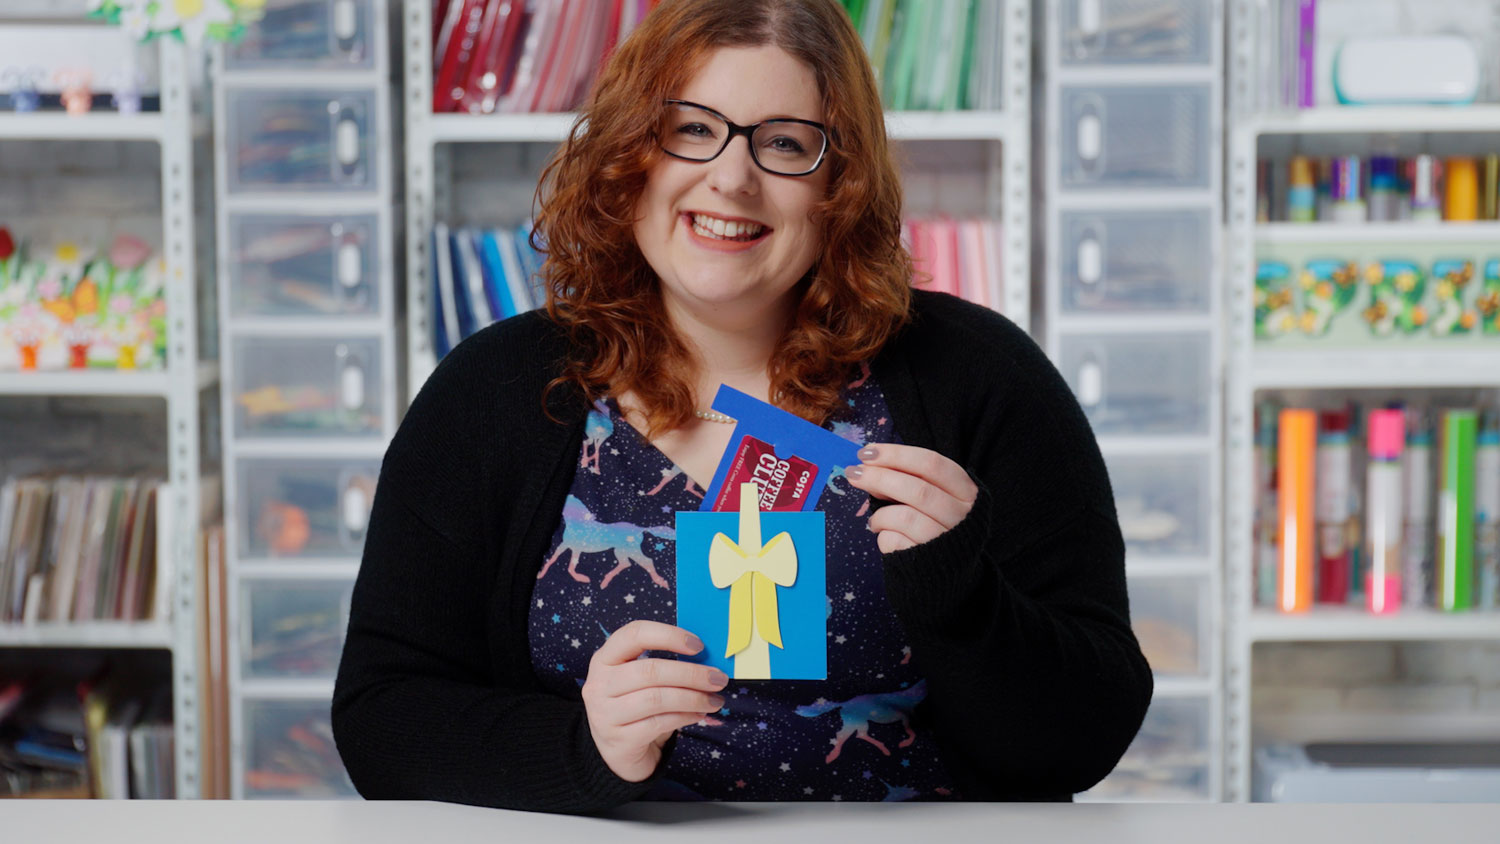
I hope you enjoyed this tutorial on how to make a gift card holder with a Cricut!
There is space on the back of the holder to write a message.
If you’d like to make an envelope for it to go in, check out these free envelope SVGs.
Happy crafting,
Sarah x

