How to Make a Bat Wall for Halloween
Learn how to make this fun bat wall to decorate your home for Halloween. This is an inexpensive and quick was to turn your home into something truly spooky this October!
All you need to cut out the bats is some black card and some blu tack to stick it on the wall.
The bat shapes can be found in Cricut Access, or you could use any bat outlines that you find online.

Please note that some of the links included in this article are affiliate links, which means that if you click through and make a purchase I may receive a commission (at no additional cost to you). You can read my full disclosure at the bottom of the page.
How to make DIY bat wall Halloween
Watch this video to find out how to make a bat wall for your home this Halloween.
Links mentioned in video:
- Free “Happy Halloween” layered SVG
- Free “I’ll put a spell on you” layered SVG
- Free flying witch SVG
- Get more layered Halloween SVGs
[cws_halloween2020]
How to make a bat wall for Halloween
Follow these steps to make your own bat flock!
Step 1) Find your bat images
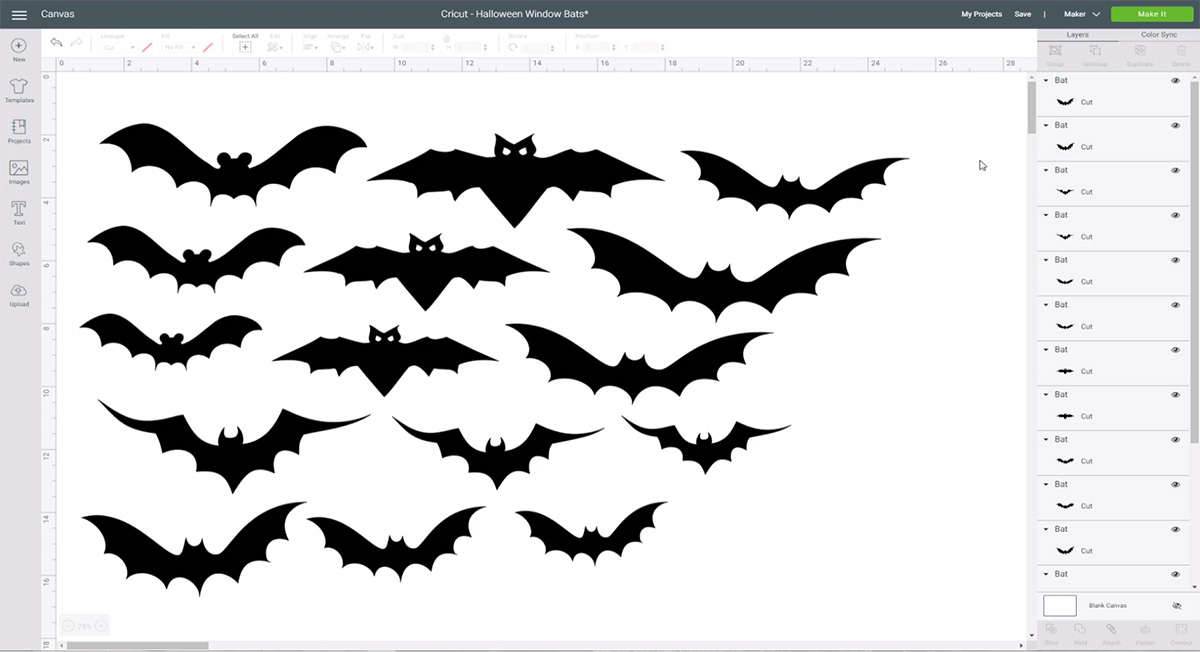
Find and size some bat images to cut out with your Cricut.
You can either use a pre-existing project (search for “bat window” to find some) OR make a new file, click into “Images” and then search for “bat” to choose your own bats.
Make a wide selection of bats in different sizes.

Step 2) Cut out the bats and prepare them for the wall
Cut out all of your bats. When cutting, you might decide that you need more than you originally thought.
I ended up cutting around 30-40 bats in total, from two different shades of black card for a bit of variety.
To prepare each bat to go on the wall, fold the wings up towards you for a 3D effect, then place a bit of blu tack on the underside of the bat’s belly.
This is how you will stick them to the wall.

Step 3) Stick to the wall
Stick your bats to the wall – this is the fun part!
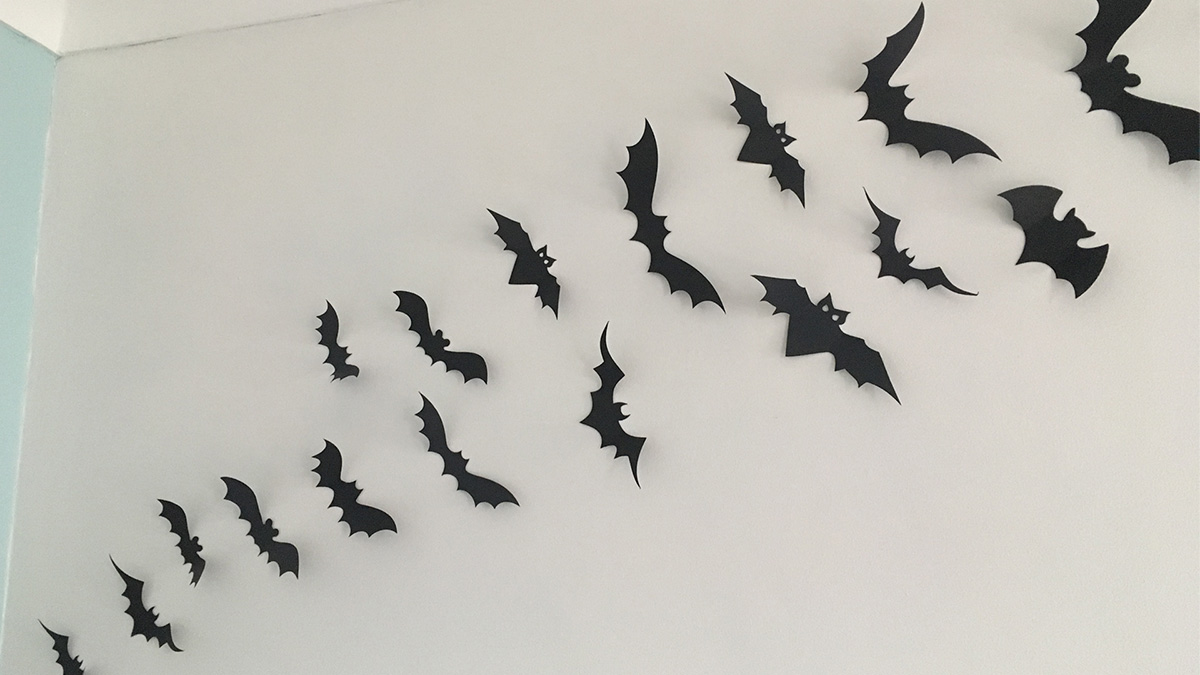
I started with the smallest bats in the bottom corner and then arranged them diagonally to look like a flock of bats coming out from the edge of the wall.
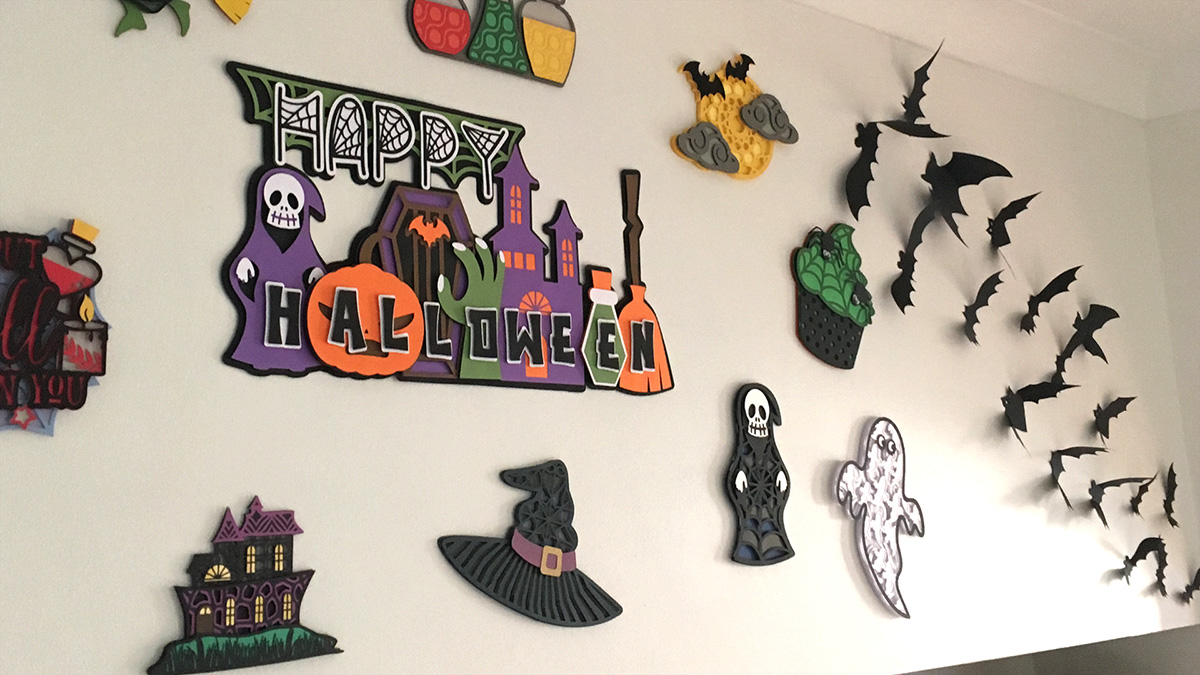
Here’s how it ended up:

I did one “swarm” of bats either side of the wall, so there is a matching one that you can’t see in the photo.
I hope you enjoyed this tutorial on how to make your own bat wall.
Happy crafting,
Sarah x
[cws_halloween2020]

