Easy 3D Paper Pumpkins for Fall
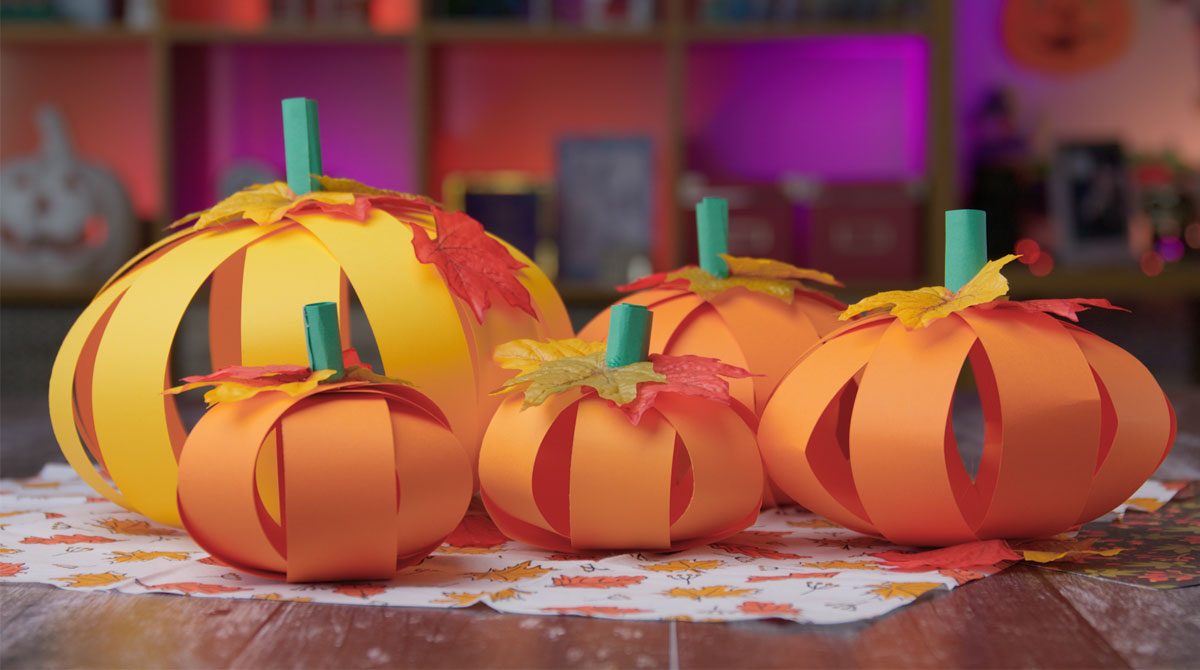
These 3D paper pumpkins are PERFECT for decorating your home for Fall. Best of all, they are super simple to make and can be done in a range of sizes and colours for a wonderful Autumn collection!
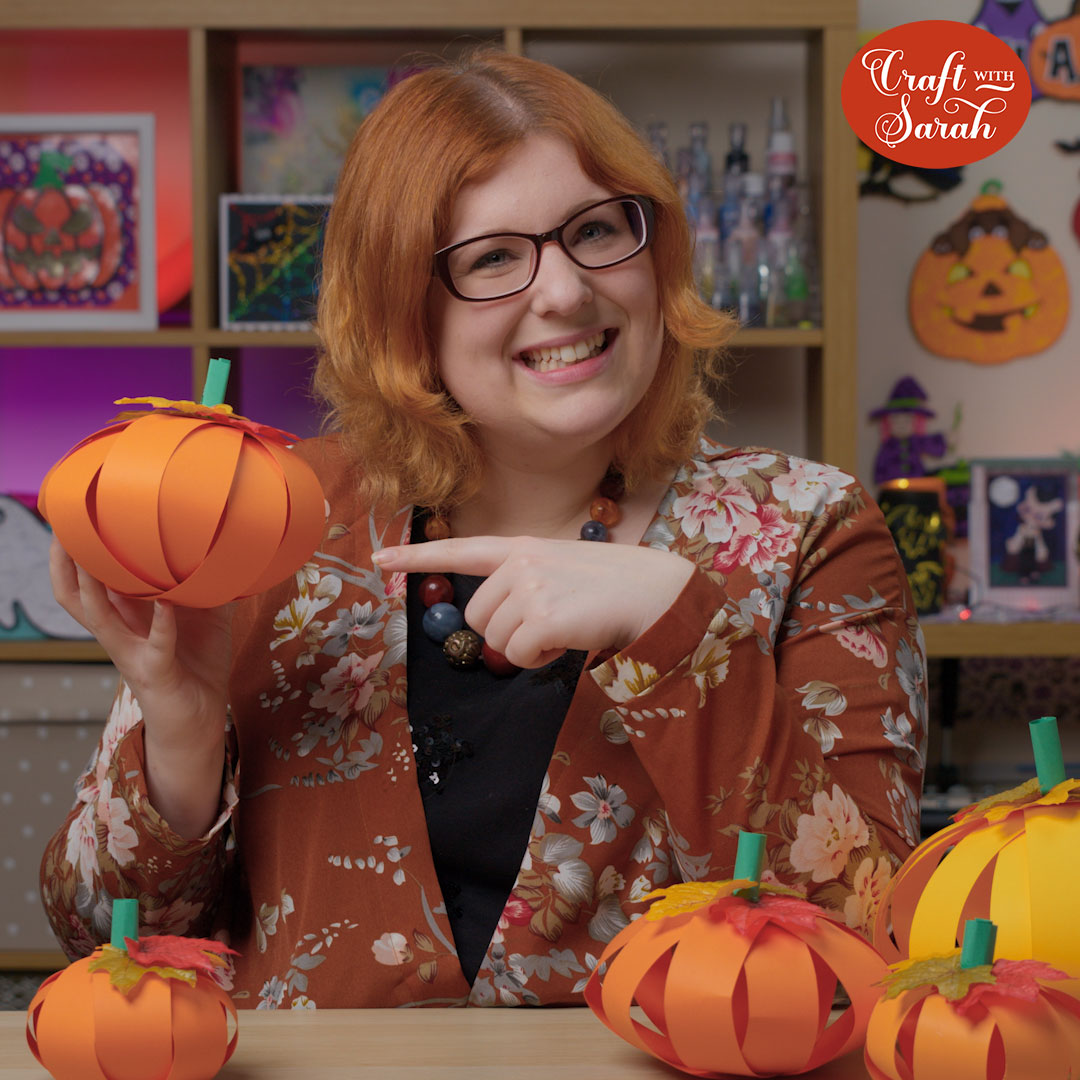
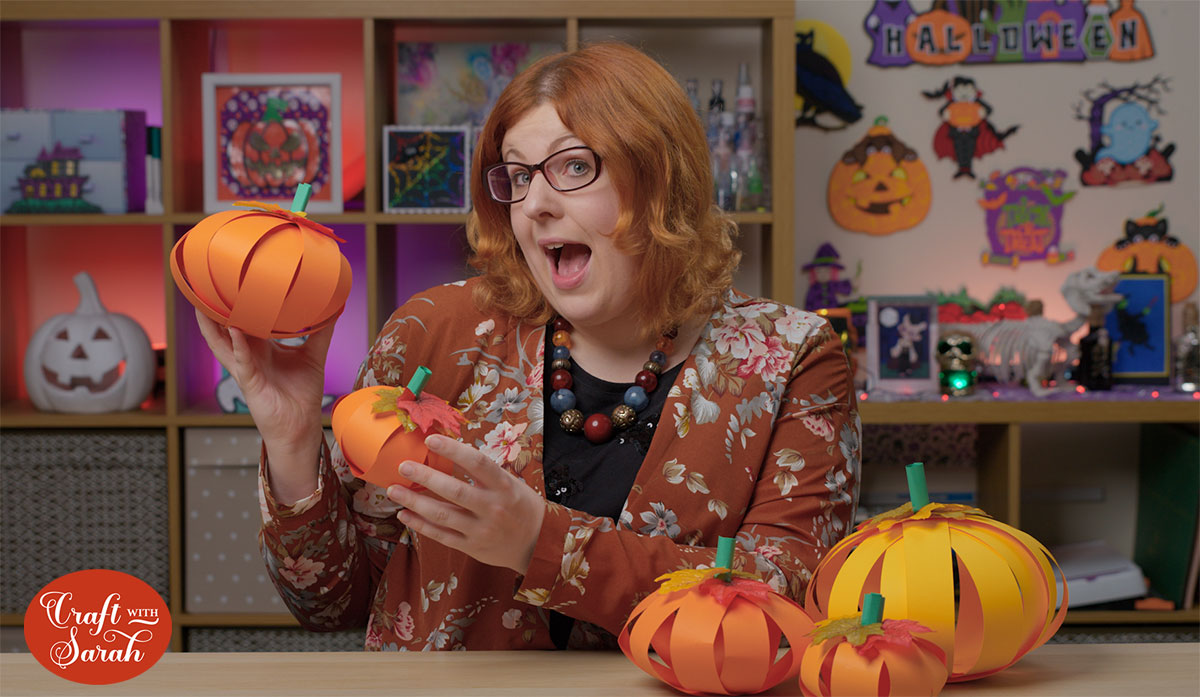
I love my little pumpkin collection; they are sitting in pride of place on the shelves in my craft room. I’m not sure I will be able to bring myself to put them away once Halloween has passed… I’ll need to find a Christmas alternative to replace them with!
These pumpkins are made from strips of orange paper or card. No cutting machine is needed – just a paper trimmer (or even a pair of scissors would be fine)!
[cws_halloween2021]
How to make 3D paper pumpkins
Watch the video below to find out how make 3D paper pumpkins from strips of paper. Or, keep scrolling for a written tutorial.
Paper pumpkin craft project & materials
Here is a list of the materials that I used to make this project.
Please note that some of the links included in this article are affiliate links, which means that if you click through and make a purchase I may receive a commission (at no additional cost to you). You can read my full disclosure at the bottom of the page.
- Orange card in various sizes and colours (A4 and A3)
- Metal brads
- Glue gun and glue sticks
- Scraps of green card
- Autumn leaf embellishments
- A pricking tool/weeding tool and something to protect your work surface (I used an old piece of packaging foam)
How to make a pumpkin out of strips of paper
These paper pumpkins are quick and simple to make. They would be a good project for children to make, but perhaps use a different type of glue instead of a hot glue gun (or maybe you do that bit for them!!) for safety reasons.
Step 1: Cut the paper strips
Cut your orange card into strips that are all the same width and length.
The amount of strips you will need depends on the width and length you are making them.
I cut A3 card lengthways and 1.5 inch in width, and used 6 strips for a medium-sized pumpkin.
For smaller card, e.g. A4 or US letter, try cutting it at 1 inch in width instead to make it a little easier to put together.
Step 2: Prick holes in the ends of the paper strips
Use a pricking tool, weeding tool or similar to put a small hold in both ends of each strip of card.
I did this on a piece of old packaging foam to protect my work surface and to have a “squidgy” surface to help the weeding tool pierce the card easier.

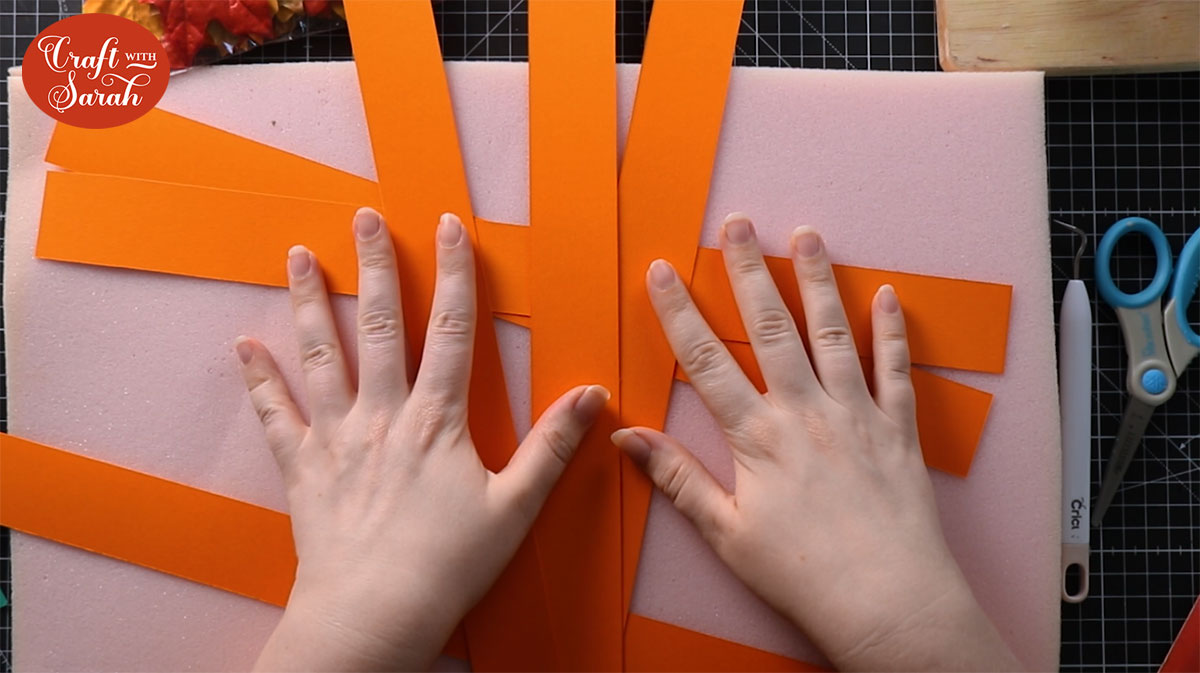
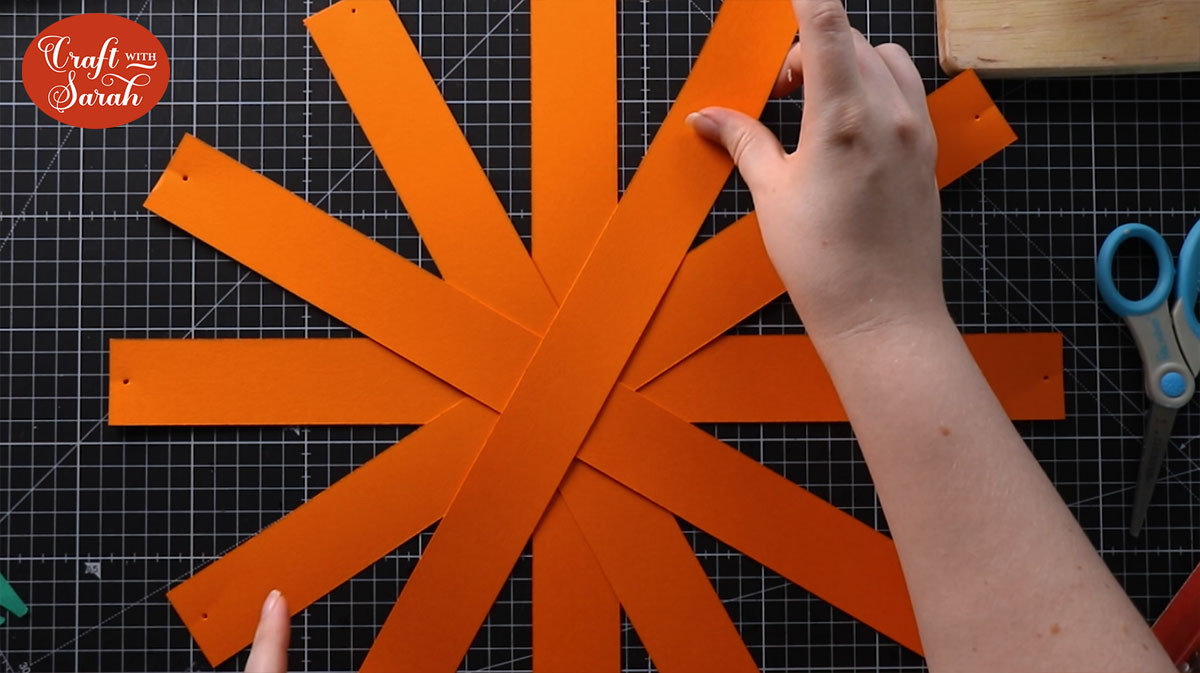
Step 3: Position the card strips
Place your strips of card in a “star” position where they are all overlapping.
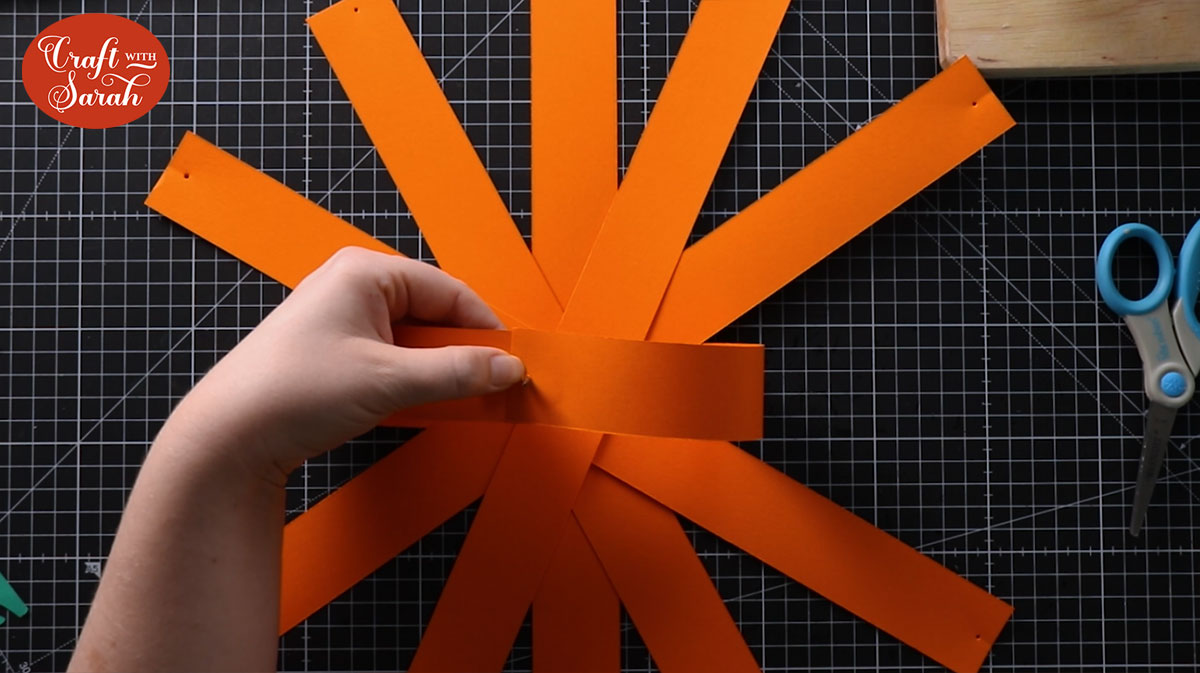
Step 4: Create the paper pumpkin shape
Starting with one of the strips at the bottom of the pile, pull up each of the edges and thread a brad through the holes.
The “circular” head part of the brad should be at the bottom, so you are poking the end bits up through the paper strips.
Take the next strip of paper and thread each of the sides of that one onto the brad.
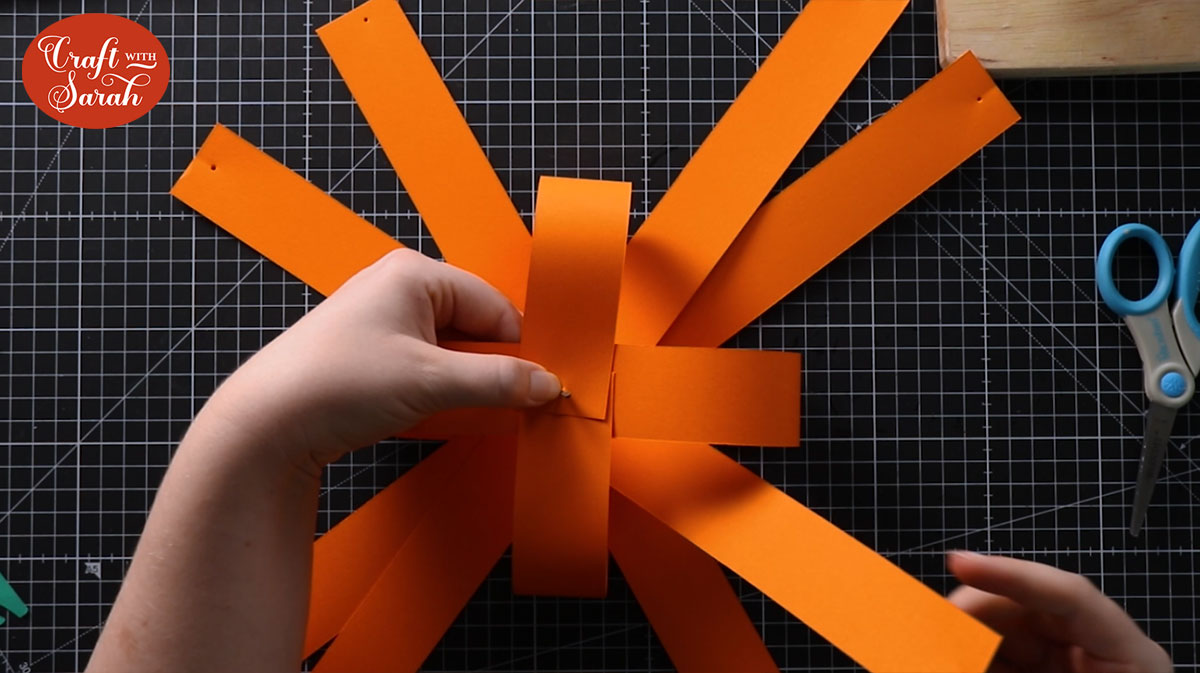
Continue until all the strips are threaded onto the brad, then close up the brad to seal all the strips in place.
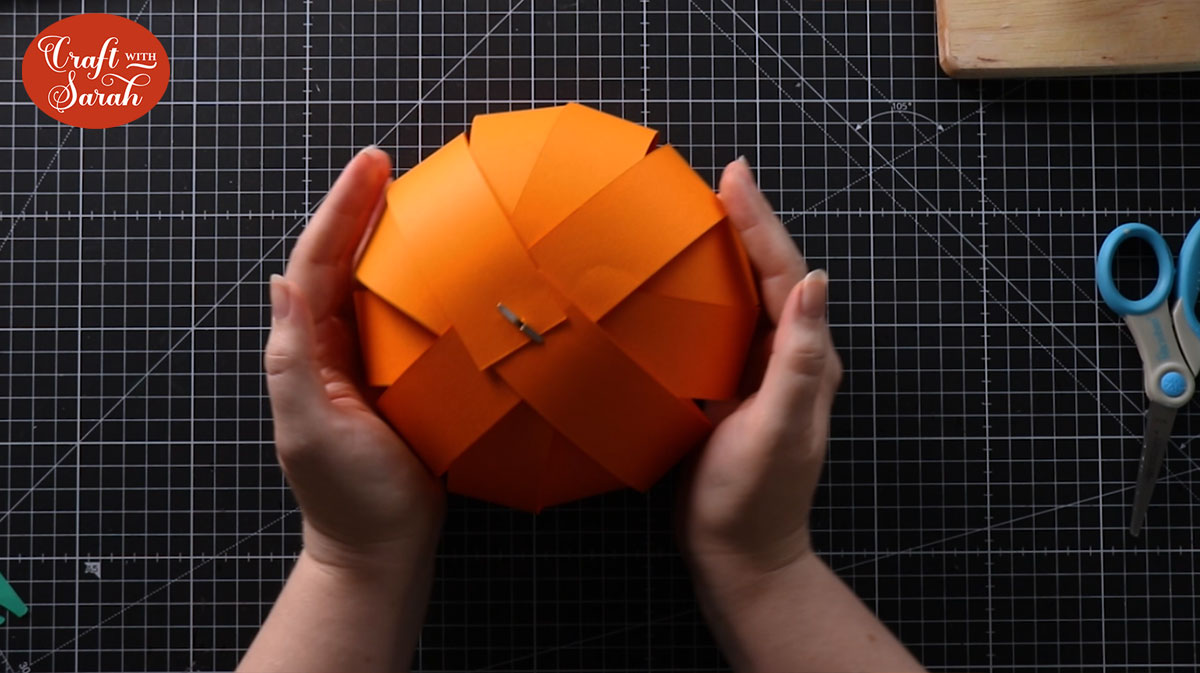
You may need to move the strips around a bit to get them into the correct position.
Step 5: Add the pumpkin stalk
Cut a small rectangle of green card.
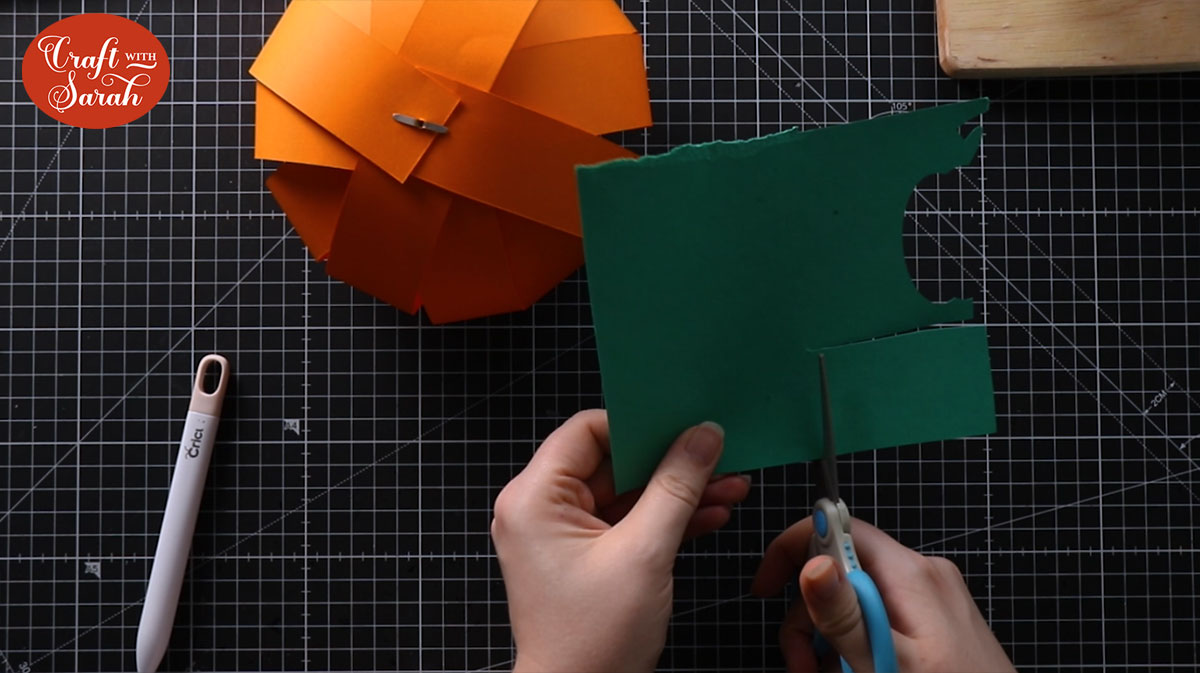
Roll it up into a “stalk” shape and use a glue gun to stick the edge down.
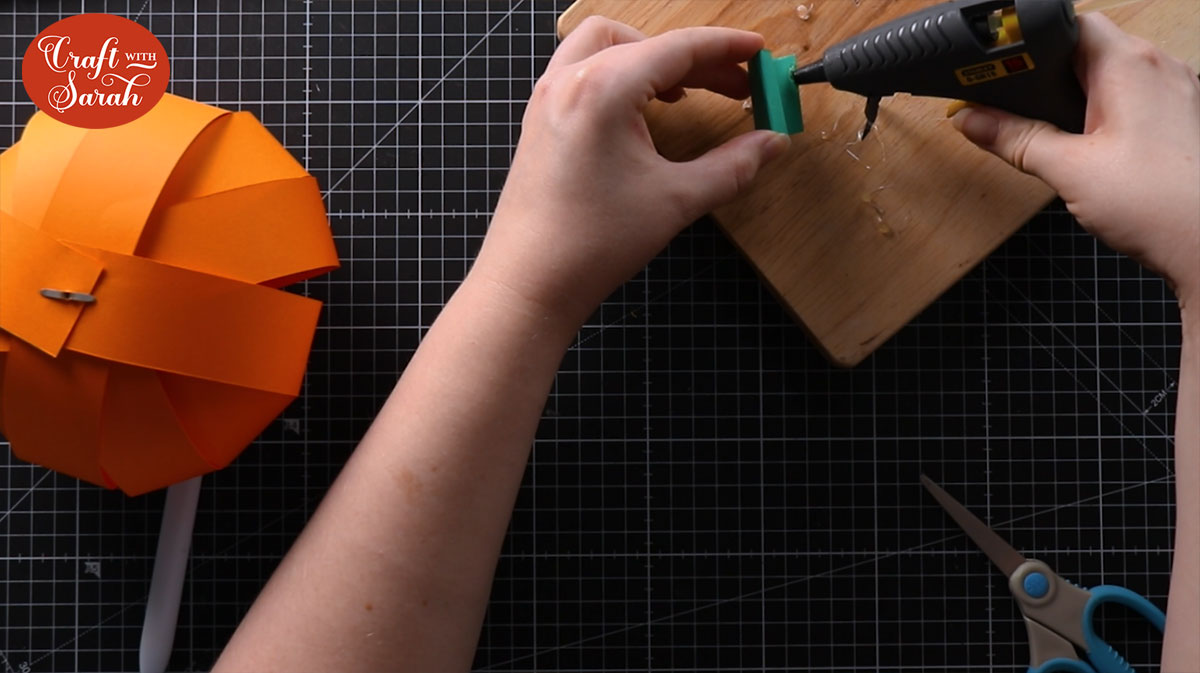
Put some glue on the top of the pumpkin, over the brad, and stick the stalk on top.
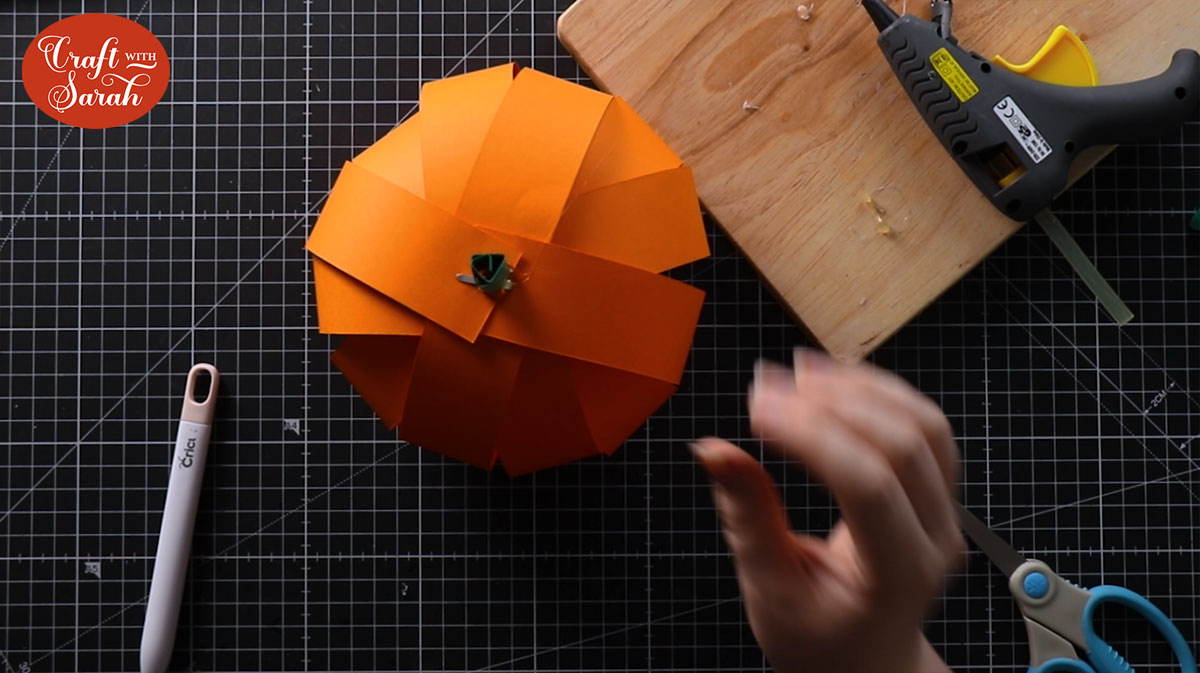
Step 6: Decorate the pumpkin
Stick on material leaves or other embellishments to decorate the pumpkin.
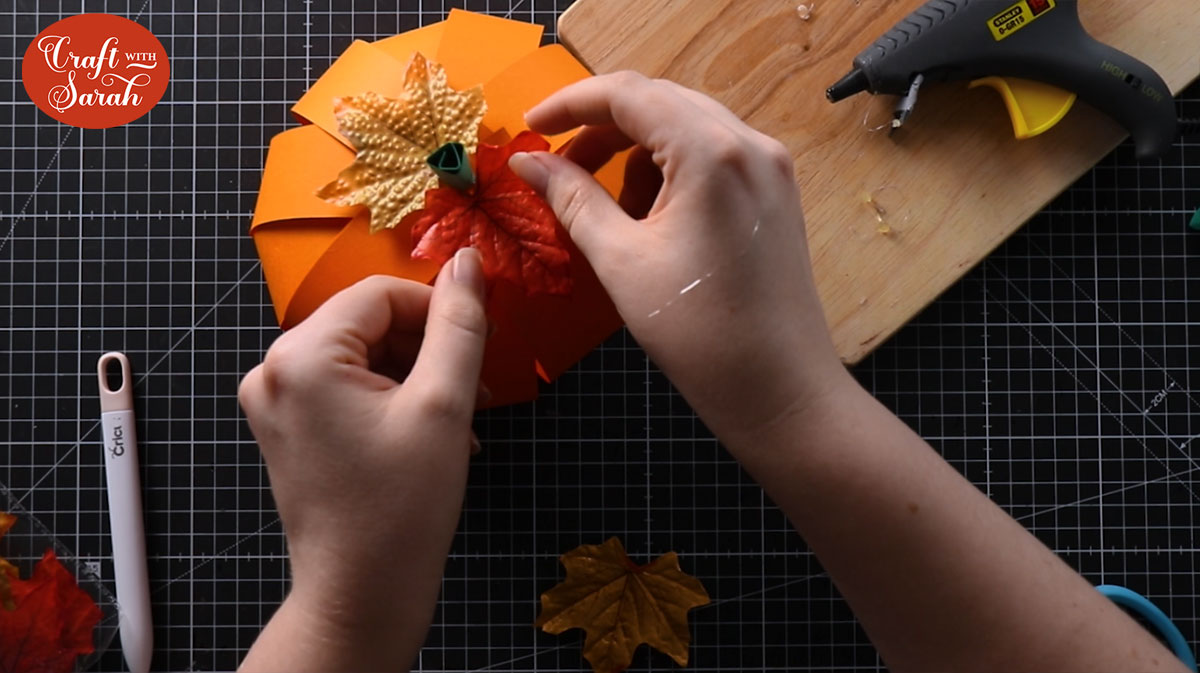
If you can’t find premade leaves then you could cut some with a Cricut machine or other digital cutting machine, or perhaps find some leaf images on the computer and print them out then cut around the edges.
Once the glue is dry, your paper pumpkin is finished!!
I made several different ones from different sizes and colours of card to make a “pumpkin patch” collection to decorate my craft room.
For the largest size, I glued two strips of card together to make “extra long” strips 😀

I hope you enjoyed this tutorial on how to make giant paper pumpkins from strips of paper.
If you love pumpkin crafts as much as me, you might also like these projects:
- Pumpkin and sunflowers layered paper art
- Giant off-the-mat pumpkin sign
- Pop-out pumpkin greetings cards
- Pumpkin face candles
- Filigree Fall card with watercolour pumpkins
Happy crafting,
Sarah x

