Craft Room Tour 🤩 My Top Craft Room Organisation Tips!
Glimpse into my craft studio and discover some of my favourite ways to store and organise craft supplies.
I often get asked how to store craft supplies, or the best ways to keep a craft room organised.
So… here are some of my tips for keeping your craft room tidy, whilst keeping it beautiful and functional at the same time!
Please note that some of the links included in this article are affiliate links, which means that if you click through and make a purchase I may receive a commission (at no additional cost to you). You can read my full disclosure at the bottom of the page.
Craft room tour
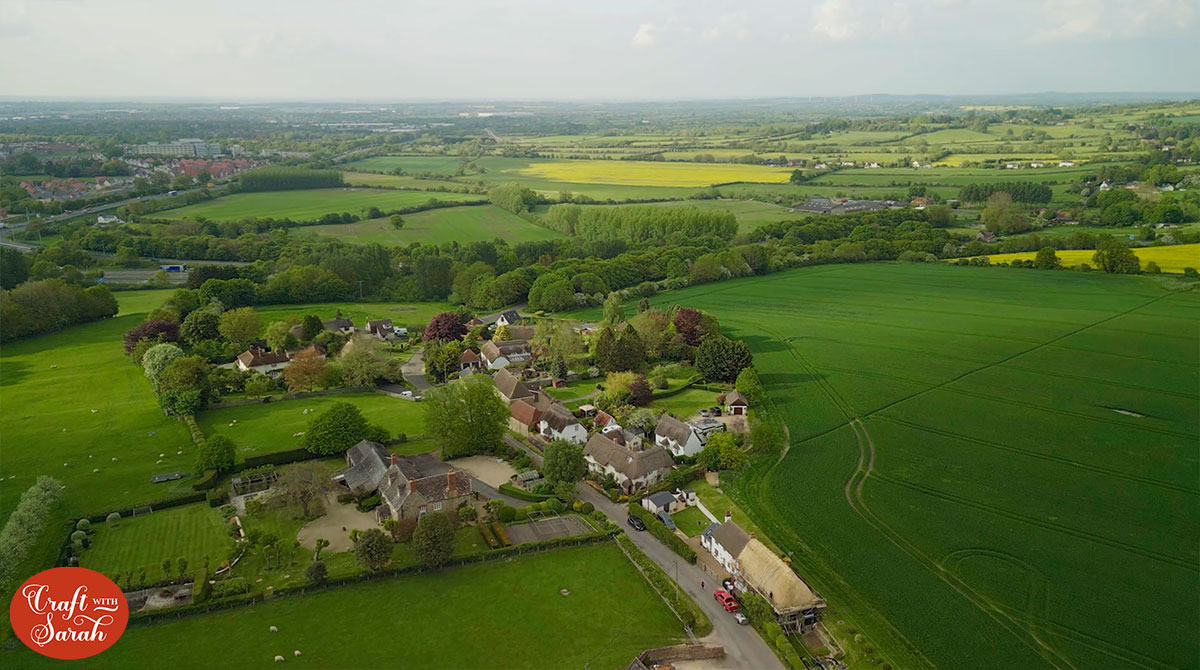
This is the office where my team and I work from. It’s in a beautiful converted farm building in the countryside, with high ceilings and a lovely light and airy atmosphere.

As well as a large workspace for our computers, there’s a kitchen area, a bathroom and a smaller office space at the back which I use for recording my craft tutorials.
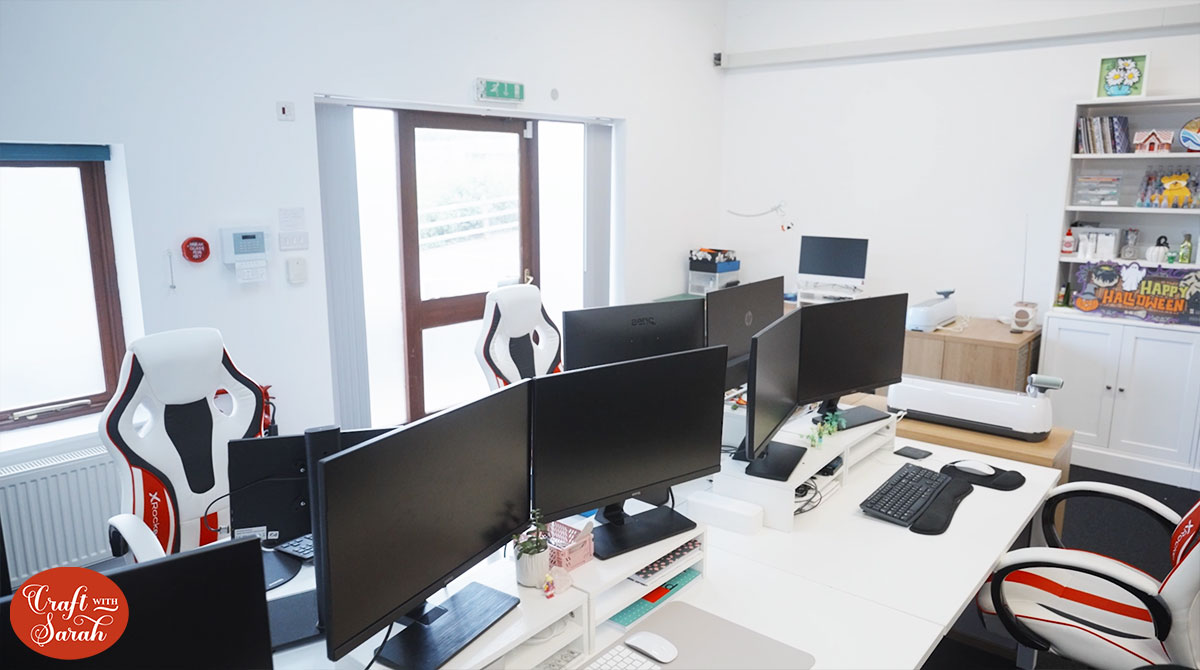
We’ve been here for about 18 months, and I’m really happy here.
There is lots of room for storage and craft supplies, and it’s great to be able to step outside the door and be in the countryside for lunchtime walks and getting some fresh air.
How to store cardstock
One of the things you may have noticed is the big shelf of cardstock!
As we get through LOTS of card when testing new designs, I like to have it all on display so it’s easy to look through and to find the perfect shade of card.
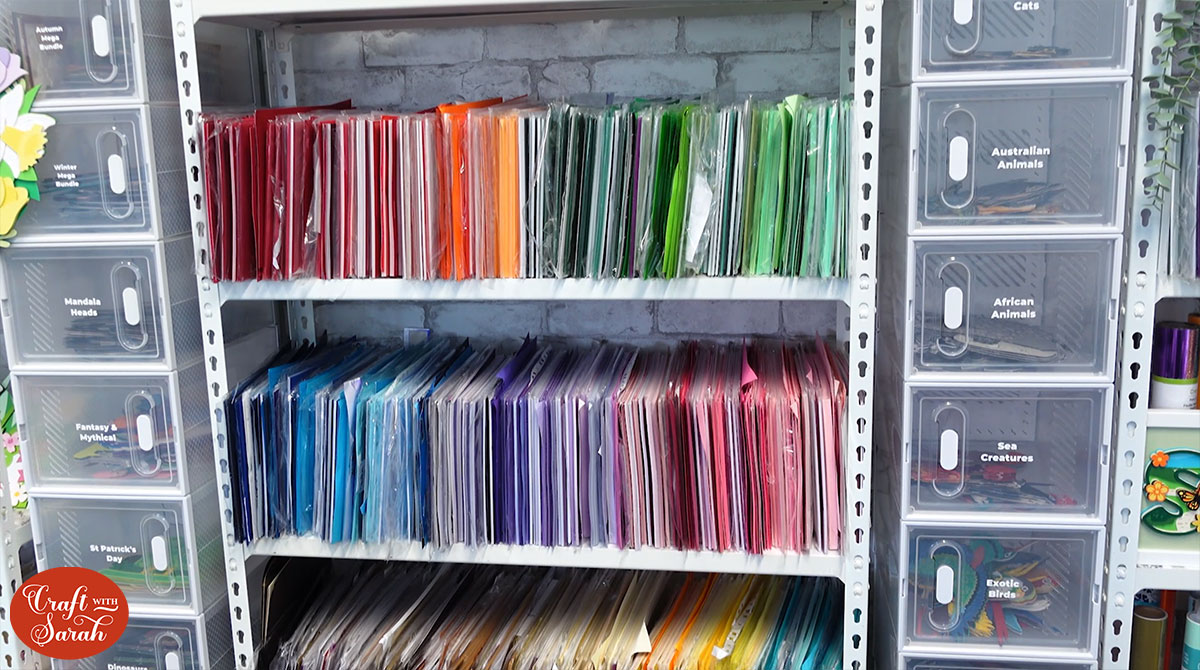
These metal shelves are from a hardware store (similar to these from B&Q), and they originally had brown shelves but I covered them in marble effect peel-and-stick wallpaper to make them a bit prettier.
I also covered the glass at the back of the shelves with more sticky wallpaper to block off the smaller room behind and to match in with the white-and-grey theme.
Heavy-duty shelves are recommended for this much card, as it weighs a lot.
If you are storing cardstock on display like this, make sure it is out of any direct sunlight, otherwise it may bleach or discolour the card.
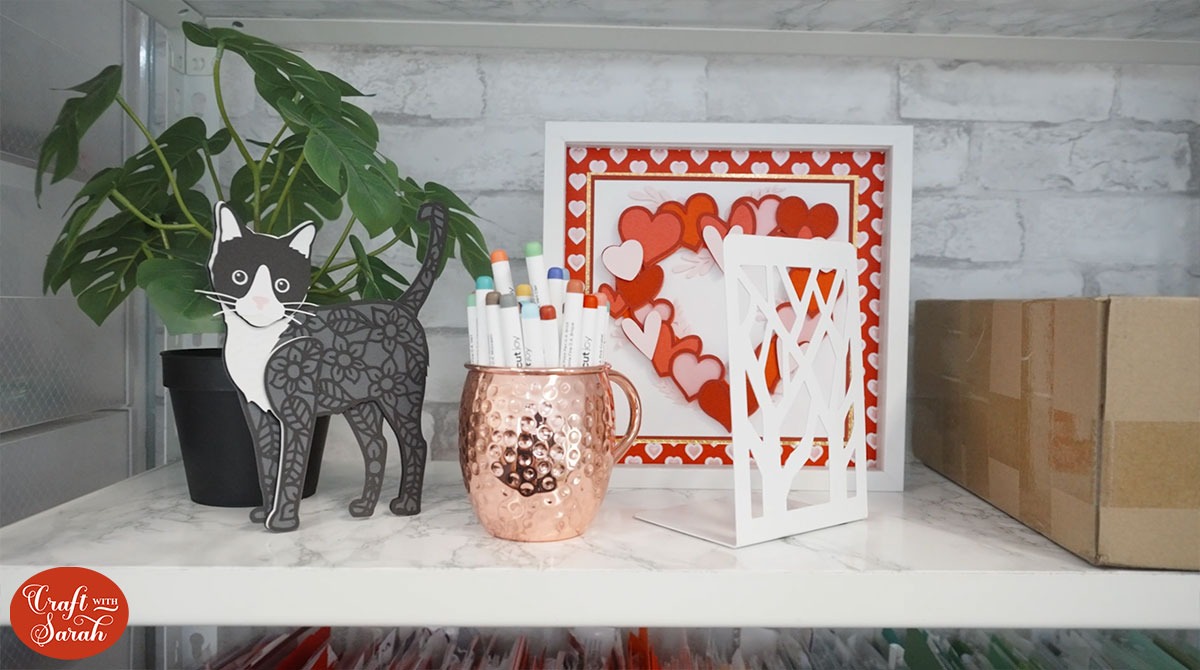
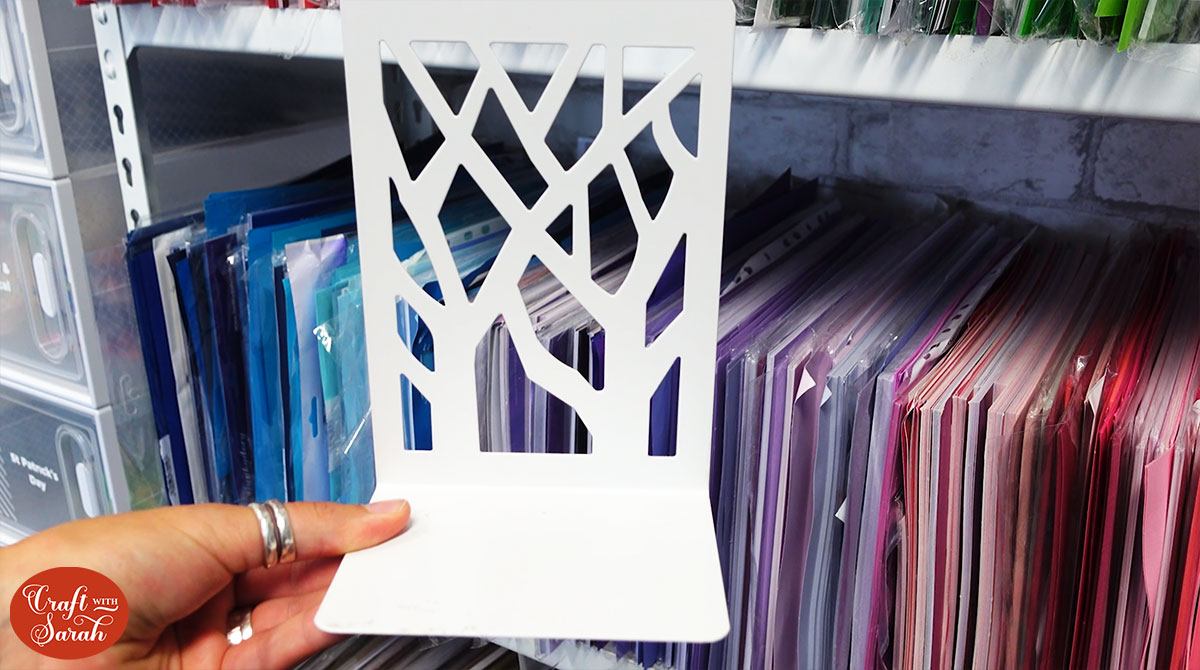
To make it easy to search through the different colours of card, I use these white metal bookends in between them. They are sturdy enough to keep the card upright between colours, and to force some gaps between the colours to help separate them.
I’ve only recently done a cardstock order so the shelves are rather full at the moment!
The BEST way to store card scraps
That’s how I store new card… but what about scraps?
It’s been quite a bit of trial and error finding the perfect card scrap solution, but what works really well for use are these rolling trolleys that can hold lots of suspension files.
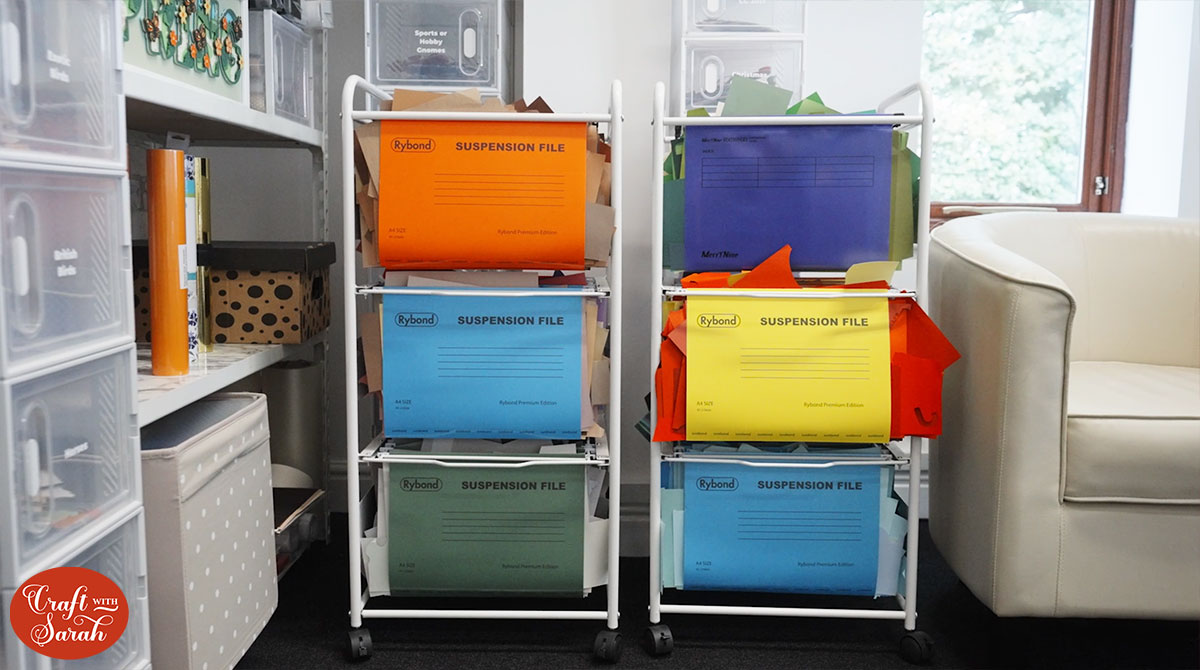
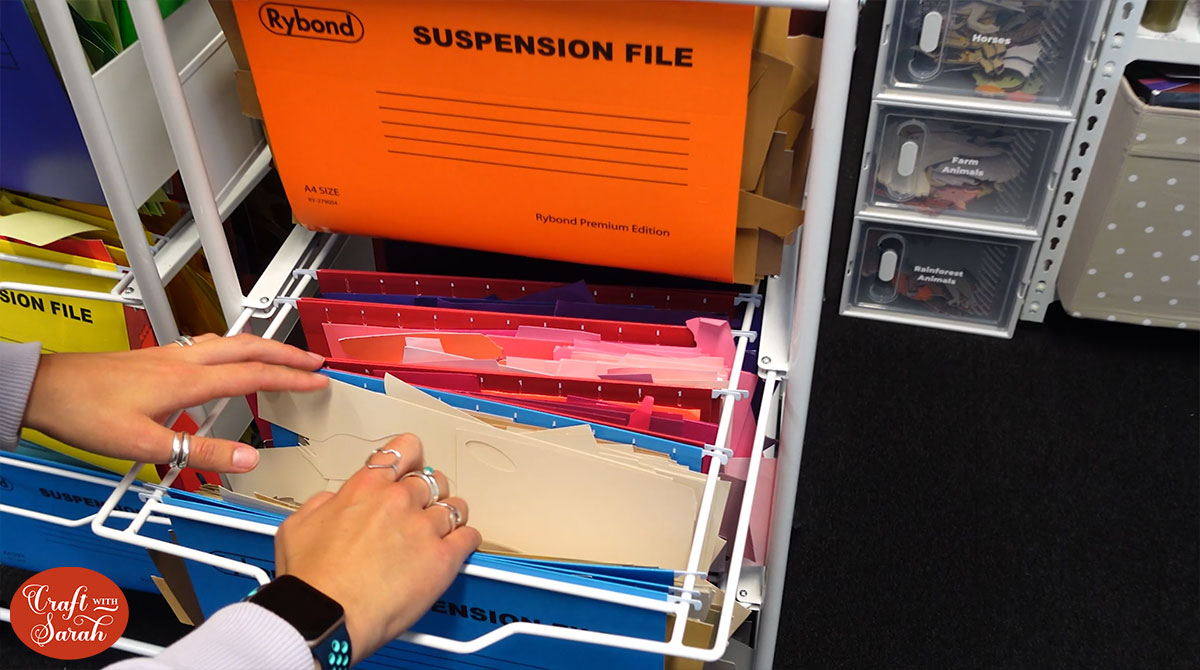
We separate scraps out by colour and store them in these suspension folders.
The shelves pull out to make it easier to find what we are looking for.
The shelves are on wheels, so we can move them around the office to wherever we are crafting at the time.
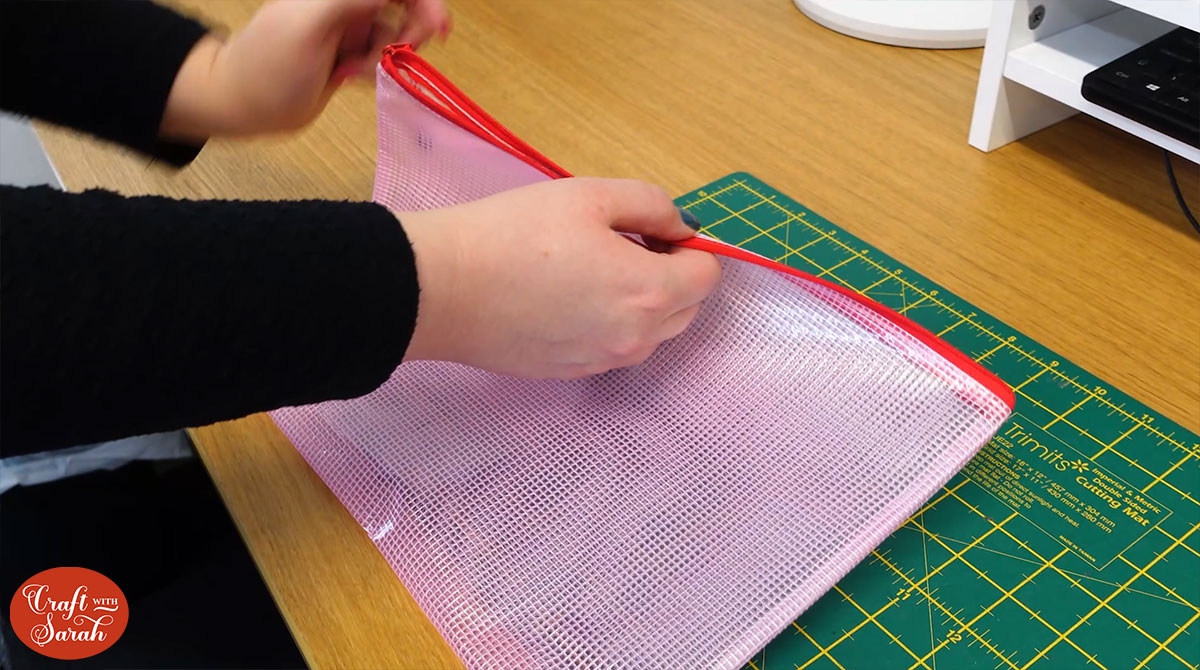
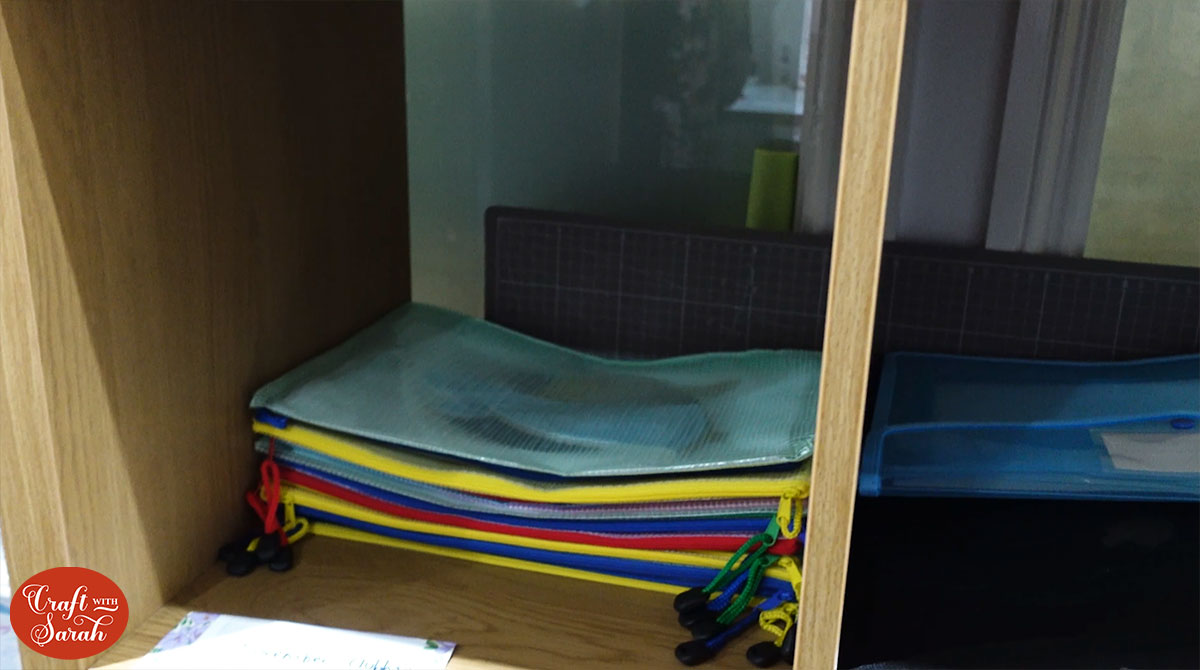
Previously, we used to store card scraps in zip-up folders like this.
They were then placed in IKEA Kallax boxes.
This worked well for about 2 years, until we got too many scraps to fit into the boxes! It was also getting difficult to move the boxes about with so much card in it.
Easy project storage to keep the pieces safe
The folders now have a much better use instead! We tend to test-cut new designs and then stick them together on a later day.
This was causing issues as we were quickly running out of desk space to store them all without moving any of the little pieces around.
Then, we had the idea to use the folders!
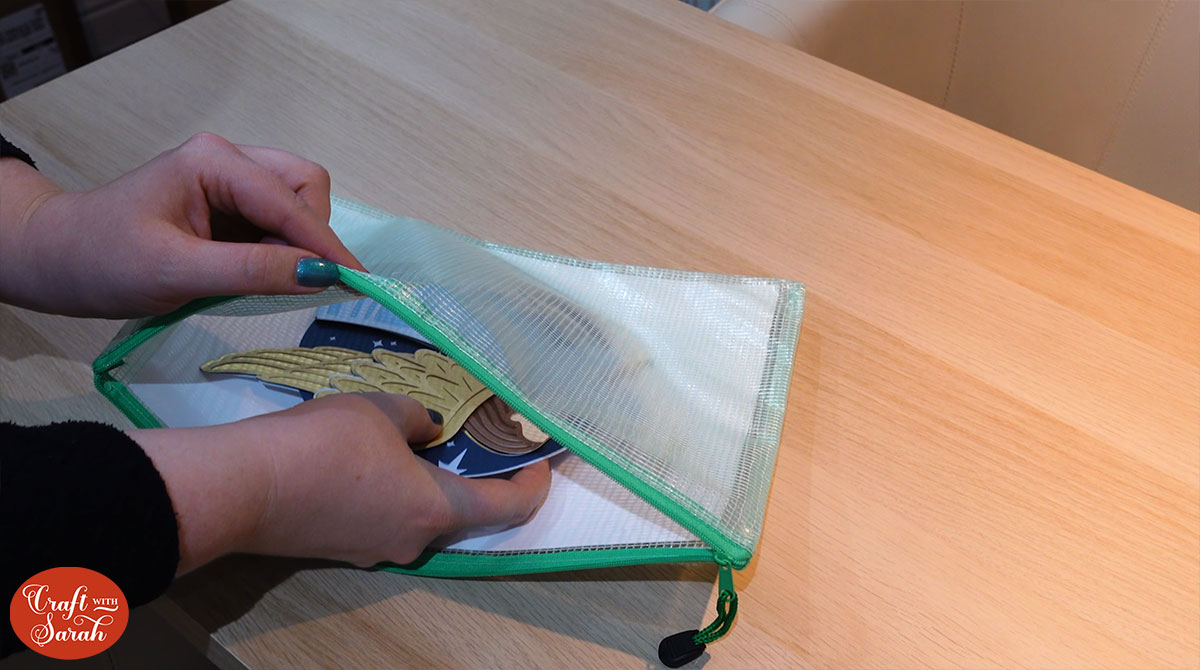
Because they open a long way and they don’t have any static electricity in them, the layered designs slip in easily and the tops of the folders don’t touch against it, meaning that not only can we store multiple designs in one place by piling the folders up, but we can take them out again and not have to put all the pieces back in place!
Storing completed cardstock crafts
One of the biggest storage challenges was where to keep all the layered cardstock Cricut crafts that we have made. There are hundreds… maybe even over a thousand.
The solution was these shoe display boxes!
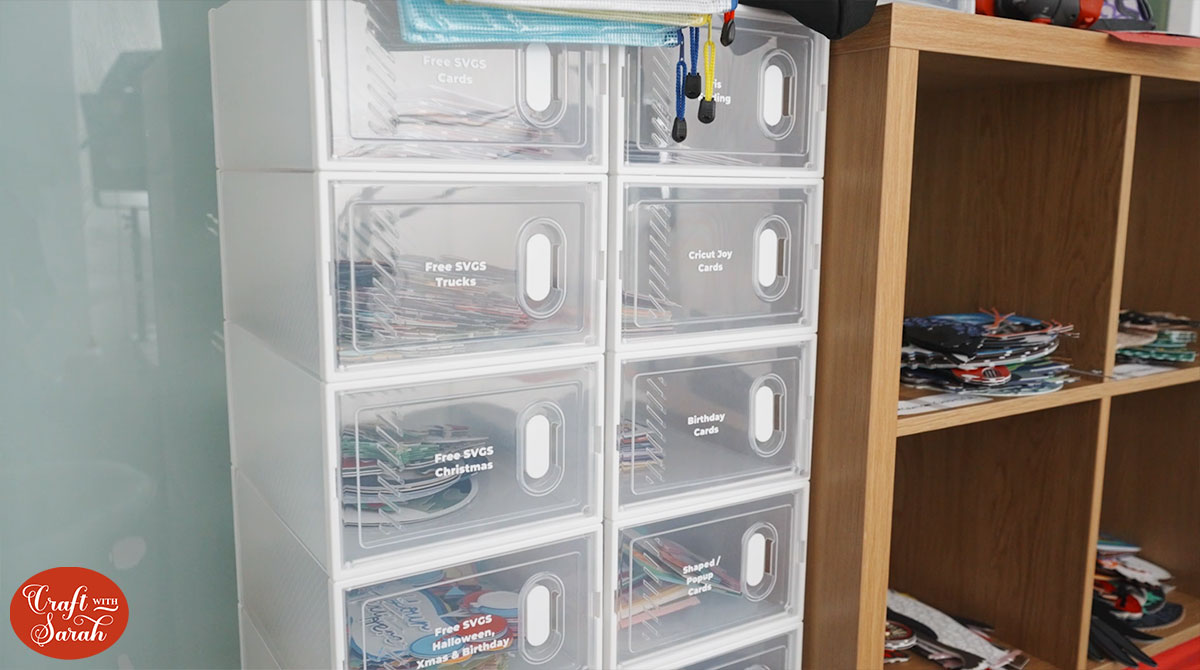
They come flat-packed but they are easy to make, and they are stackable.
We cut white vinyl labels with a Cricut to say what theme of designs is in each box.
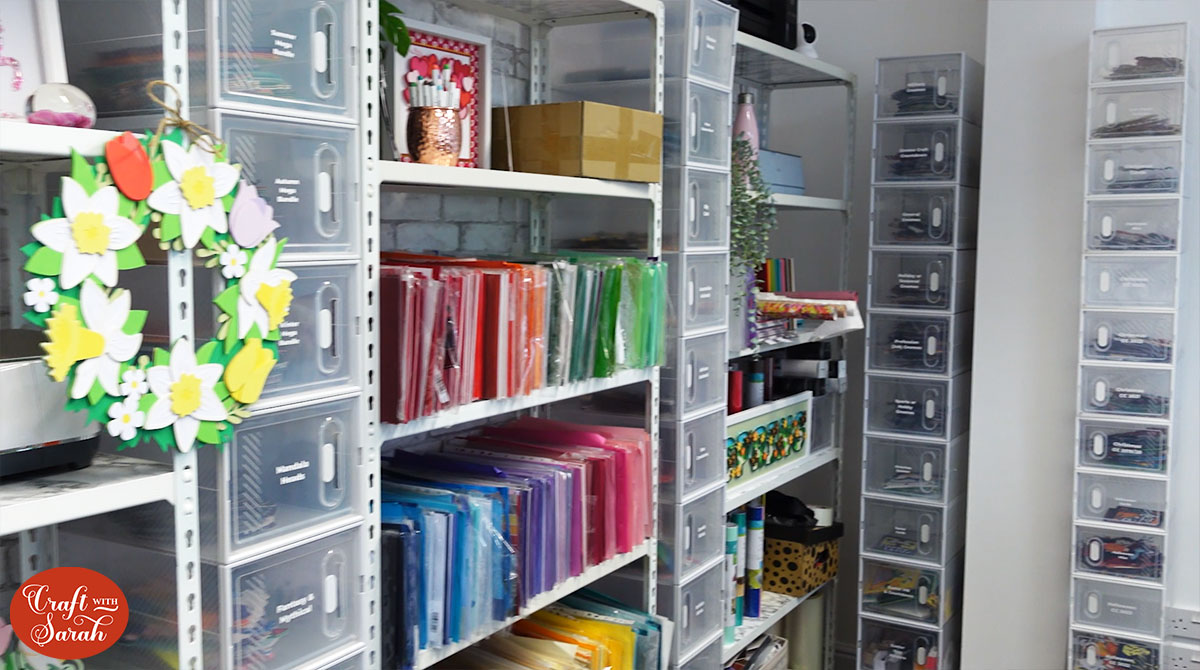
The boxes are also great for storing craft supplies, particularly rolls of vinyl.
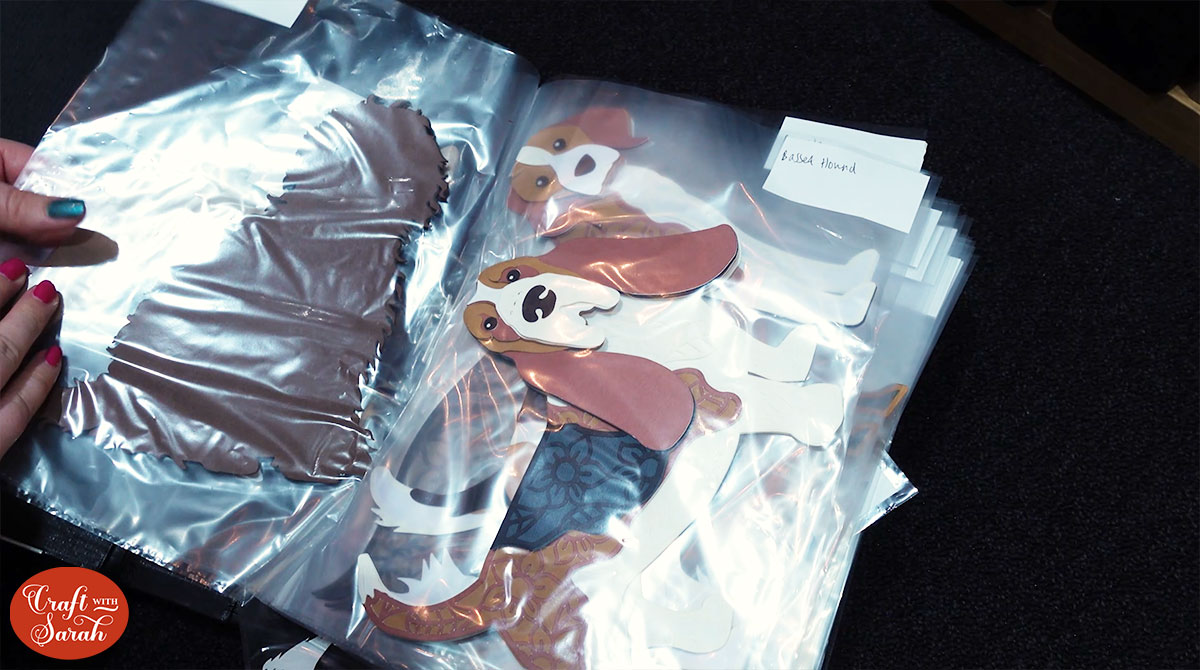
The only designs we store differently are the layered dogs.
These go in ring binder folders and plastic wallets so that we can easily find a specific dog breed when we are creating videos for TikTok or Instagram.
There are over 250 dogs in total, so it was important to find a way to label them!
Craft room storage ideas
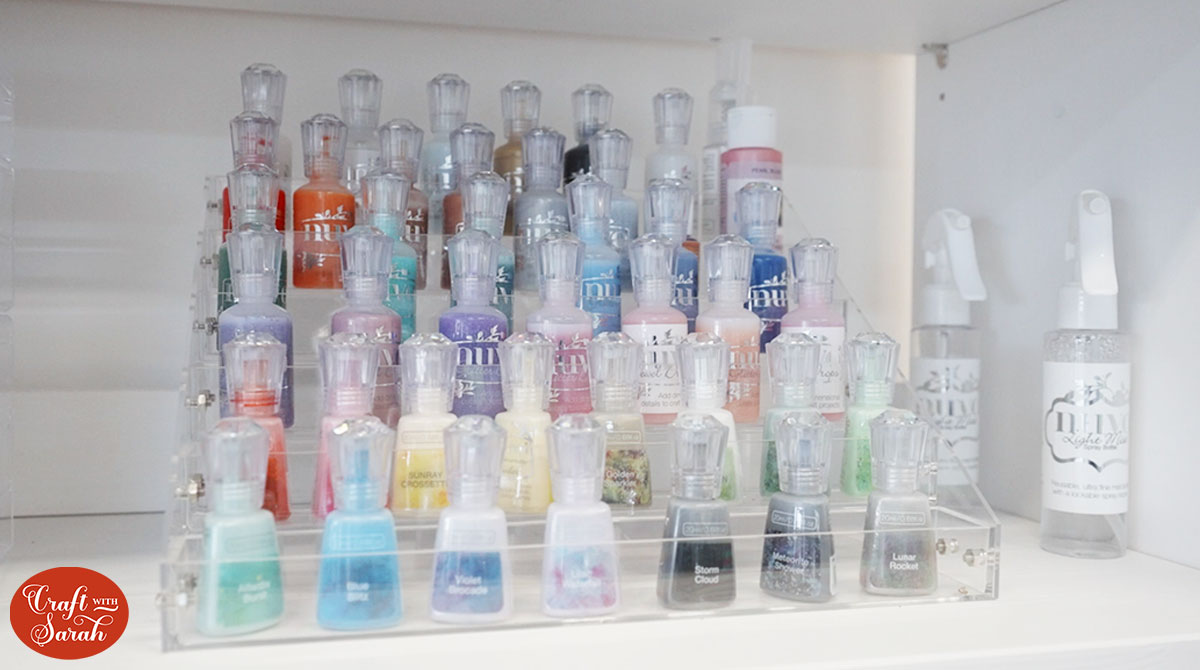
One thing I love is to re-purpose storage solutions for my crafts.
I have a slight Nuvo drop and shimmer powder obsession, and was struggling to see all the colours when they were stored flat.
This nail varnish holder display is perfect for keeping them all organised.
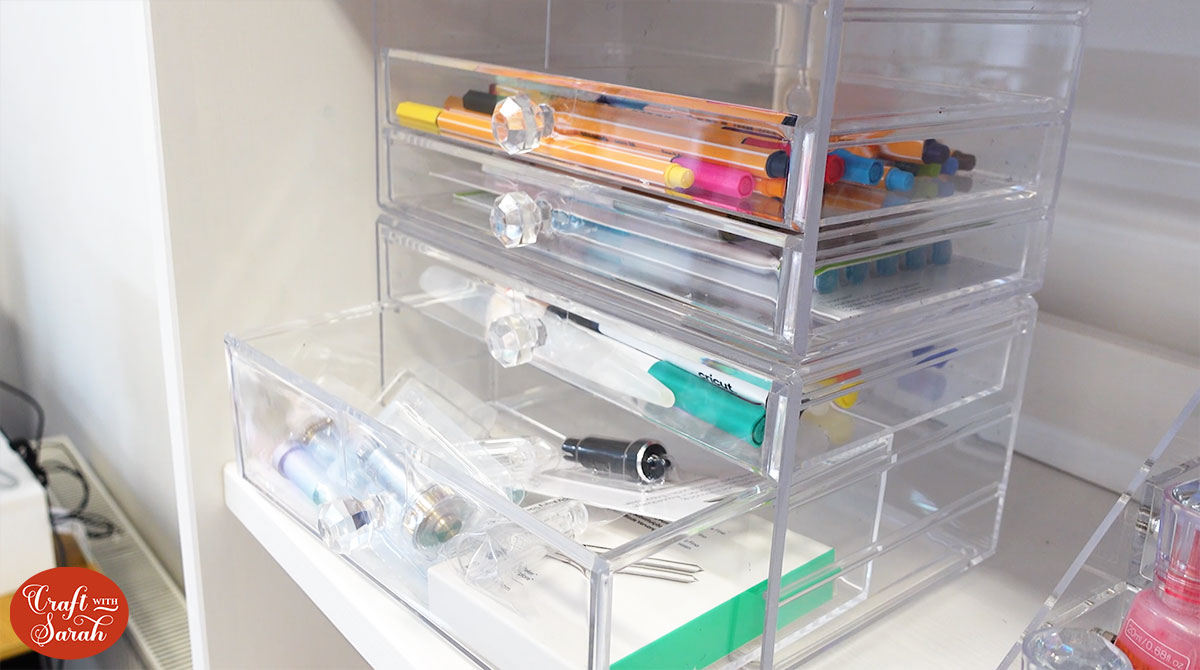
The trays next to it were also sold as make up boxes, but they work great for my Cricut blades, pens and other small accessories.
How to film craft videos
Saving space is also important to me, especially as my team grows and we need more computer space in the main room.
This filming room was originally really cramped because I had my lights mounted onto big, bulky tripods that required lots of floor space.
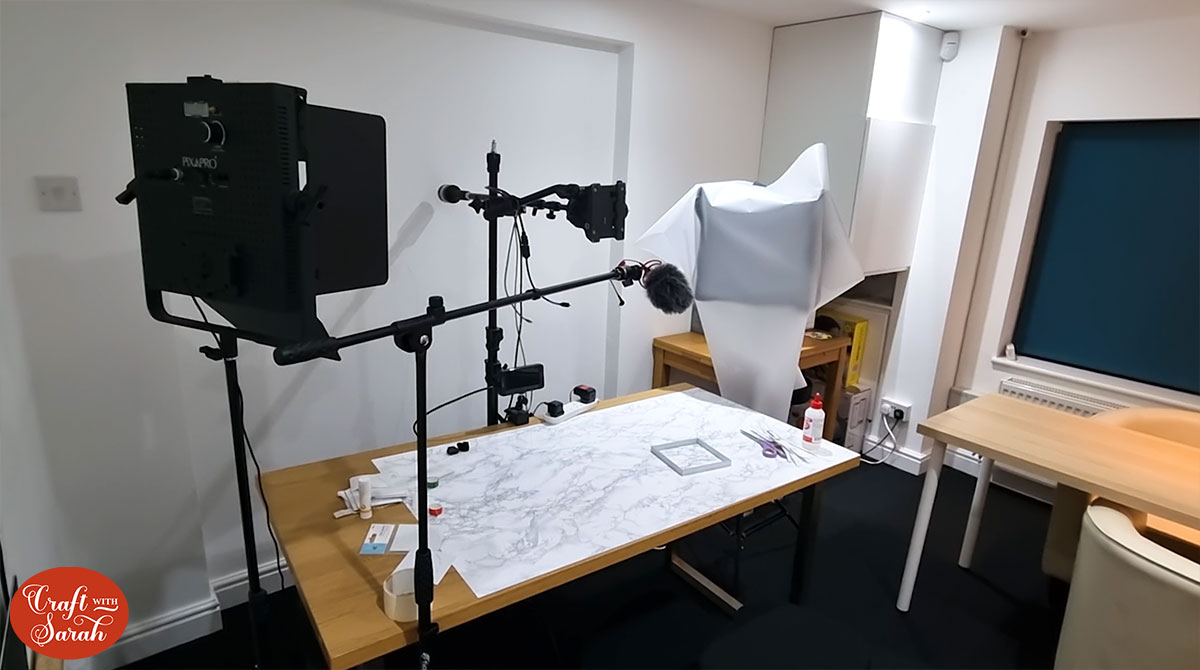
It was hard to move around the room and it felt really crowded.
Switching to table-mounted stands was a real gamechanger!
I was able to move the desk much closer to the wall and there are now no big tripod legs to trip over whenever someone comes in the room!
It looks much neater too.
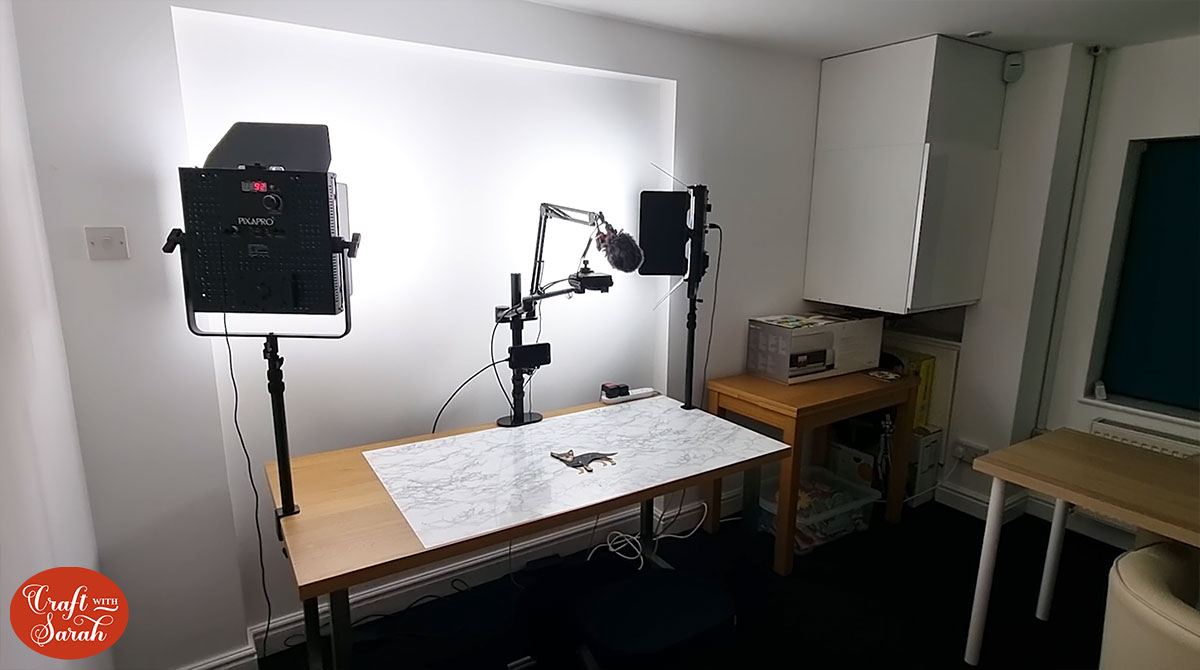
For filming, I use the following equipment:
- Sony Vlog camera
- Camera monitor
- Manfrotto Super Clamp
- Camera mount arms
- Neewer Desktop Light Stands
- Pixapro VNIX LED panels (lights)
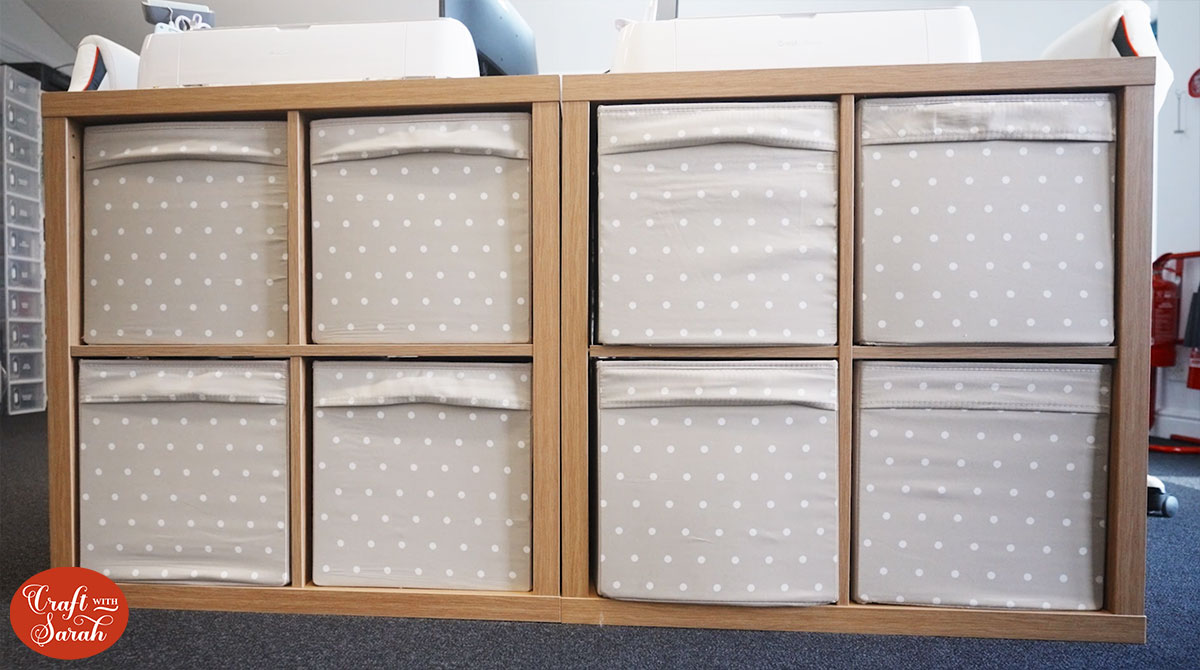
Craft room cabinets and shelving
I’ve left the biggest of our storage solutions until last.
IKEA KALLAX boxes are my absolute go-to for storing craft supplies. I love how large and deep the boxes are.
They can fit so much in them, and everything looks so neat and tidy when it’s all put away and the boxes are slid into the gaps.
The most expensive storage in my craft studio are IKEA HAVSTA cabinets. I fell in love with them when I saw them, and knew that they would look beautiful.
I keep the shelves mostly for display purposes only, which is why it’s currently extremely covered in Halloween decorations.
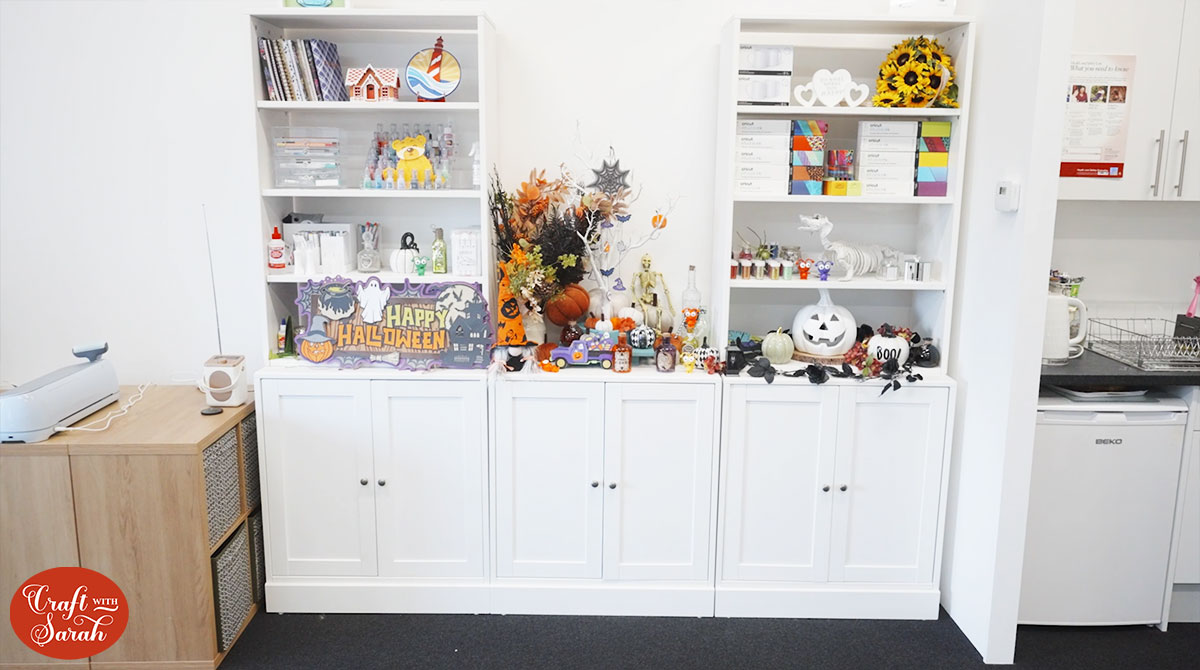
The cupboards are full of all my crafting blanks, shadow boxes, stationary, card making toppers and embellishments, laser cutting accessories and more.
They might not be the neatest cupboards ever when you look inside, but I know where everything is, and once the door are closed, you’d never know that there is so much hiding in there!

Get more craft room and home organization ideas!
So there you have it – a little overview of where I come to work every day, and how I organise all of my craft supplies.
I hope that you enjoyed taking a look around my craft studio with me and seeing some of my organisation tricks and tips.
If this has inspired you to get organising your craft supplies, or even your entire home, I’ve got something special for you that’s happening very soon.
If you’ve been wondering how you can better simplify your schedule, streamline your family’s routines, manage your budget, or take back control of your time – Get Organized Virtual has you covered!
Over 100 smart, friendly, and expert women are sharing their tips, tricks, advice, and secrets on everything from budgeting and meal planning to decorating and decluttering… and there is a whole section on crafting too!
Some of my favourite crafters are also taking part, including Jennifer Maker, Abbi Kirsten, Brandi Mahon, Justine Hovey and more.
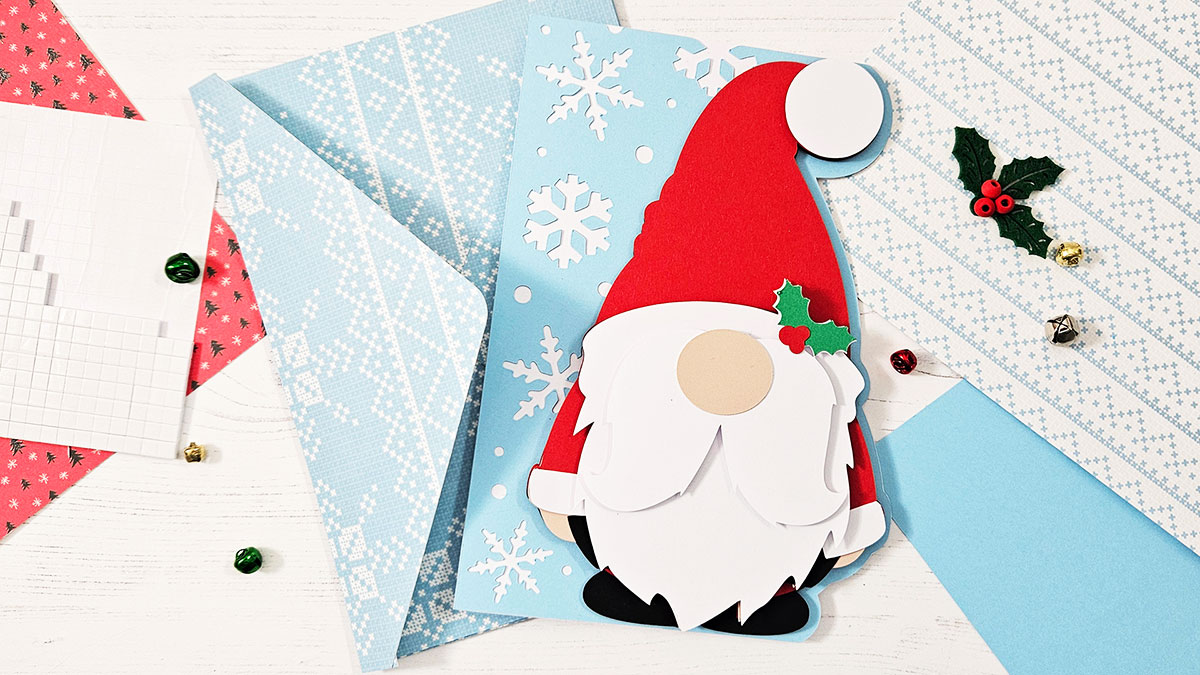
My class is on simplifying your Holiday crafting by creating repeatable and quick-to-make cards on a Cricut machine.
I’ll be showing you how to make this cute little Santa gnome side-edge card – and yes, the free SVG file is included!
You can see exactly who is speaking and claim your FREE TICKET here.
Get Organized HQ All Access Pass
After signing up for a free ticket, you’ll be given the option to upgrade to the All Access Pass.
The All Access Pass gives you immediate access to all classes, videos and tutorials from the event, which means you can get started straight away.
Projects in the All Access Pass do not expire, so you can access them whenever you want, as many times as you want.
You’ll also get exclusive bonuses from many of the speakers, including printables, organisation help, e-courses, craft tutorials and – of course – even more side-edge greetings cards from me.
These 10 side-edge cards are ALL included at no extra cost if you purchase the All Access Pass for Get Organized HQ.
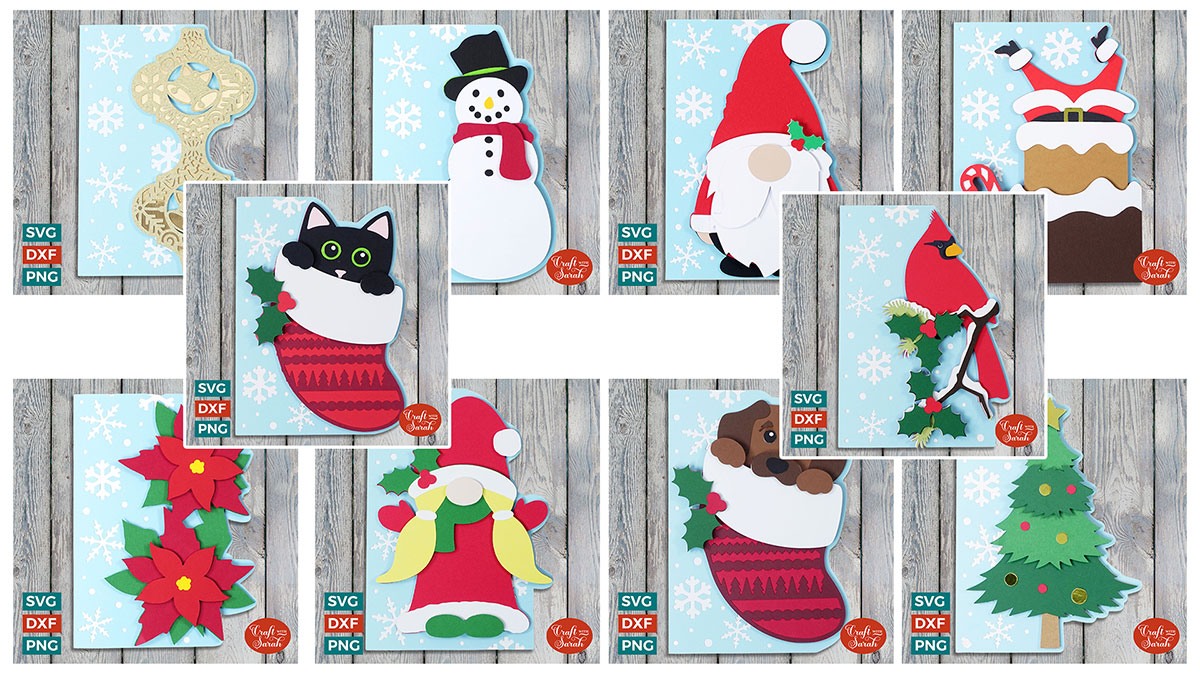
But first, you need a free ticket, so click here to get registered!
I hope you to see you there for Get Organised Virtual!
Happy crafting,
Sarah

