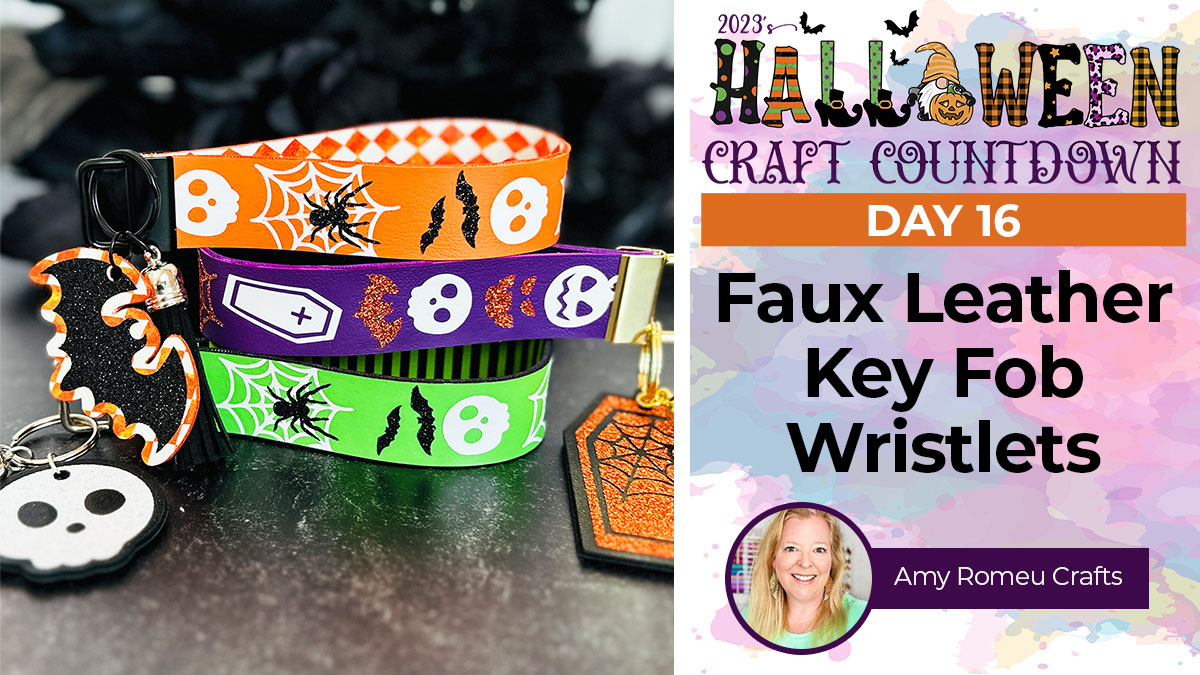
HCC 2023 Day 16 🦇 Faux Leather Key Fob Wristlets
Have you used your Cricut to cut faux leather before? Here’s how it’s done!
It’s Day 16 of the Halloween Craft Countdown and Amy from Amy Romeu Crafts is making these fun Halloween Faux Leather Wristlets.
Amy is a crafter and jewellery maker who loves to share her designs with the crafting community. Join her in making these spooky wristlets.
If you’re new to cutting faux leather with a Cricut, keep reading to find out how it works!
This Project was part of the Halloween Craft Countdown 2023
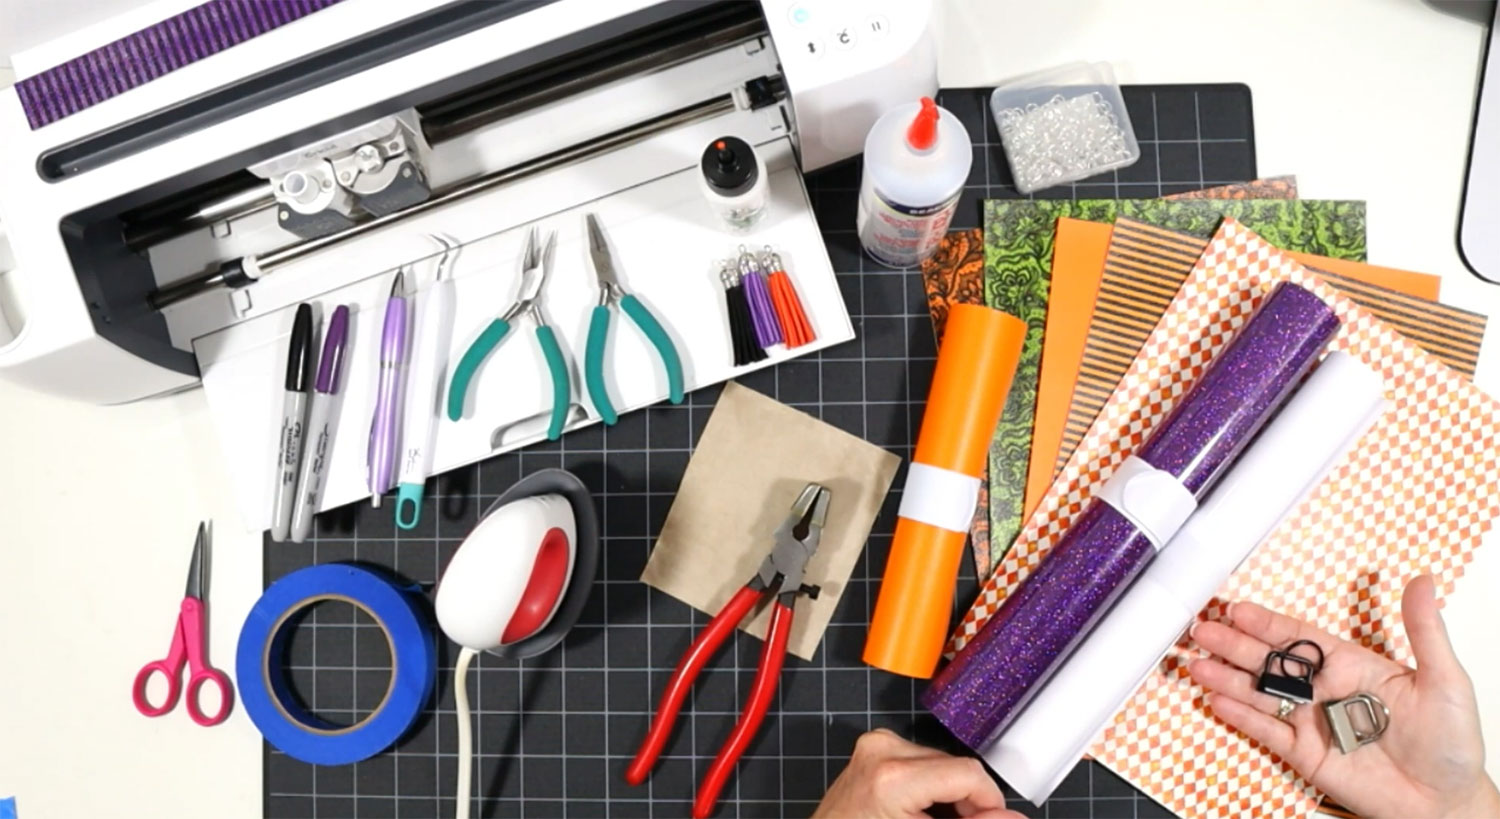
Materials supply list
Here is a list of the materials that are required to make this project.
Please note that some of the links included in this article are affiliate links, which means that if you click through and make a purchase I may receive a commission (at no additional cost to you). You can read my full disclosure at the bottom of the page.
- Cricut Machine (You can make this on the Joy as long as you have the 12 inch long mat)
- Faux leather
- Heat transfer vinyl
- Strong grip mat
- Standard grip mat
- Painter’s tape
- Heat press
- Glue
- Scissors
- Jewellery making pliers
- Tassels (optional)
- 10mm jump rings
- Sharpie markers
- 1 inch key fob wristlet pieces
- Rubber tipped pliers
- Teflon sheet
This project is suitable for the following types of Cricut machine: Explore Air 2, Explore Air 3, Maker, Maker 3, Joy Xtra, Joy
Video tutorial for Halloween faux leather wristlets
Watch the video below to see how to make these Halloween keyfob wristlets with a Cricut.
If you prefer to read rather than watch, keep scrolling!
Get matching earring designs!
Amy has kindly created some extra matching earring designs which you can get for free by signing up to her email list below.
This project was created by Amy Romeu Crafts
Amy is a lifelong crafter and jewelry maker who loves to create and share her original designs, projects and tutorials with the worldwide crafting community. Amy has dabbled in many creative pursuits over the years, but her current favorites are Cricut crafting, laser cutting, and sublimation.
Her passion for teaching and sharing is evident on her crafting blog, amyromeu.com, and her YouTube channel, Amy Romeu.
Faux Leather Wristlets Tutorial
Making faux leather wristlets with your Cricut is so much fun! You can get really creative with the customizations. Here’s how to make them!
Step 1) Upload the design into Cricut Design Space
Download the project using the box below.
Open up Design Space and start a new project. Go into Upload, Upload Image and Browse to load in your downloaded SVG files.
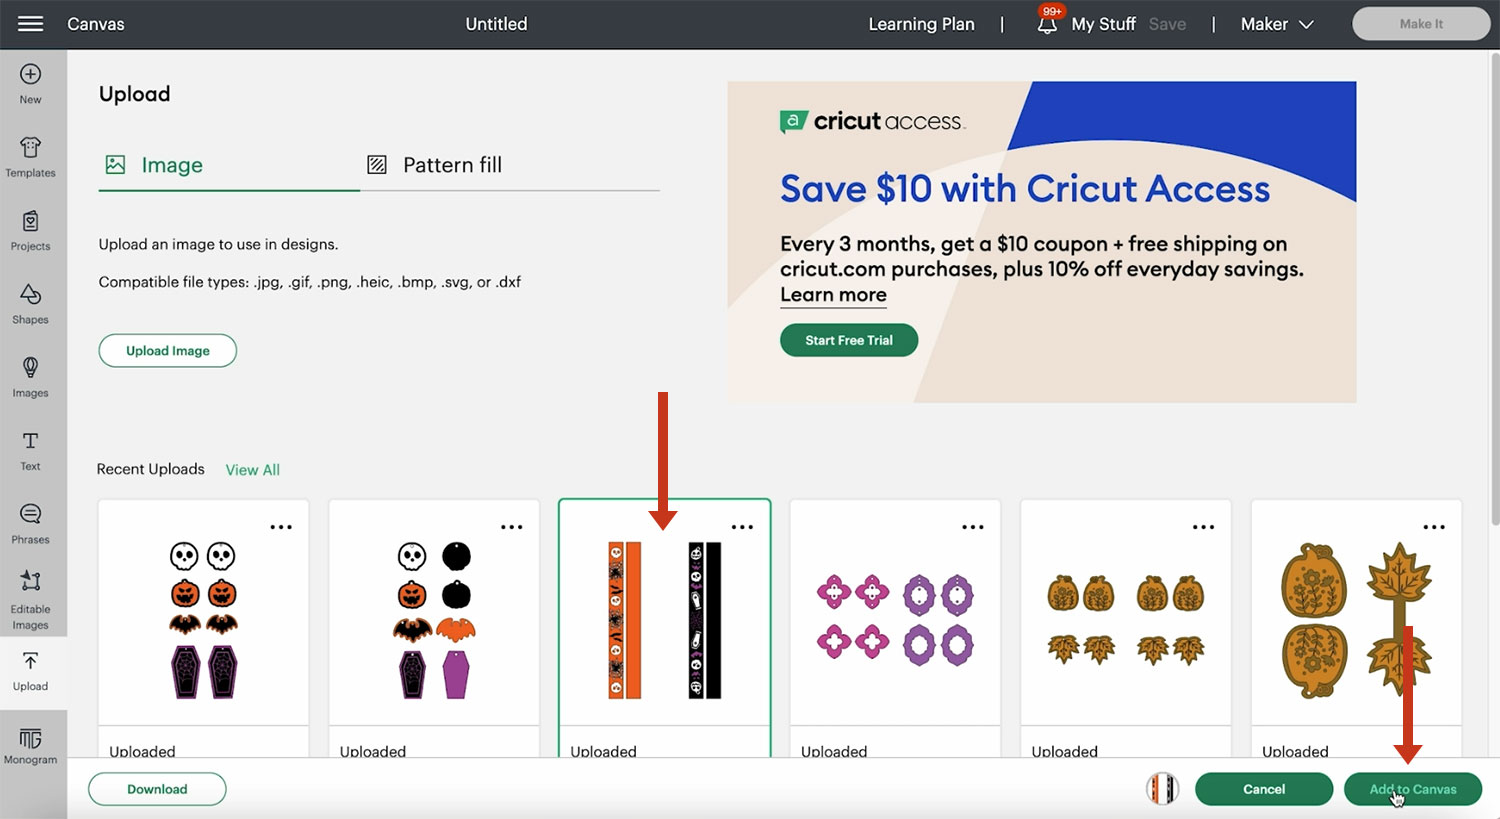
You will see two different designs which Amy has kindly included for you. You can play around with the colours and change them as you wish.

Choose a design to start with and delete the other (you can load it back in later. Follow the same instructions to cut it out).
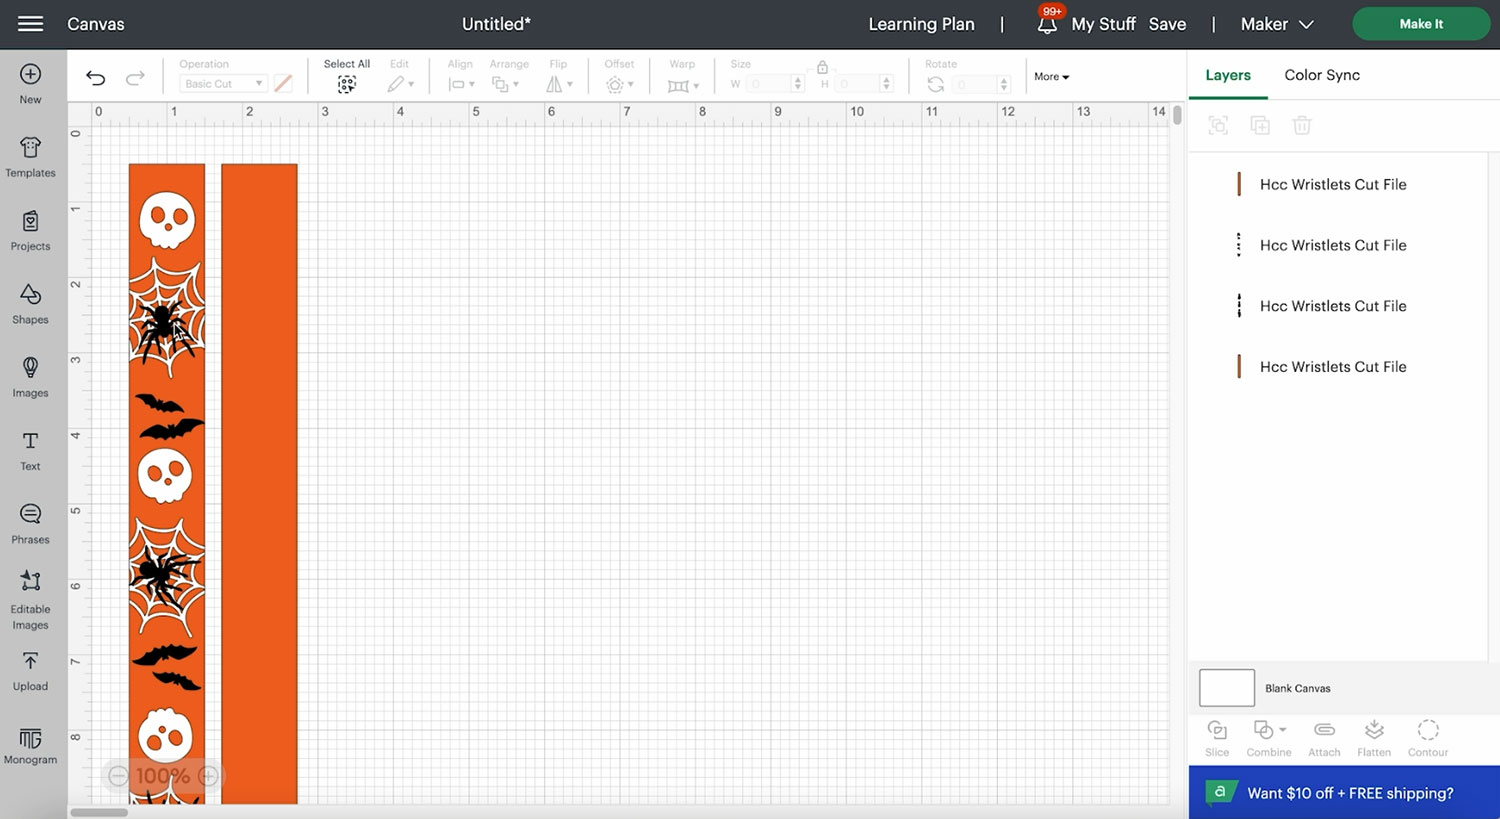
Delete the second design by clicking Ungroup, selecting the design and pressing delete on your keyboard.
You will see there are four layers to cut: two are faux leather, one is white heat transfer vinyl and one is black.
Step 2) Cut the faux leather and HTV
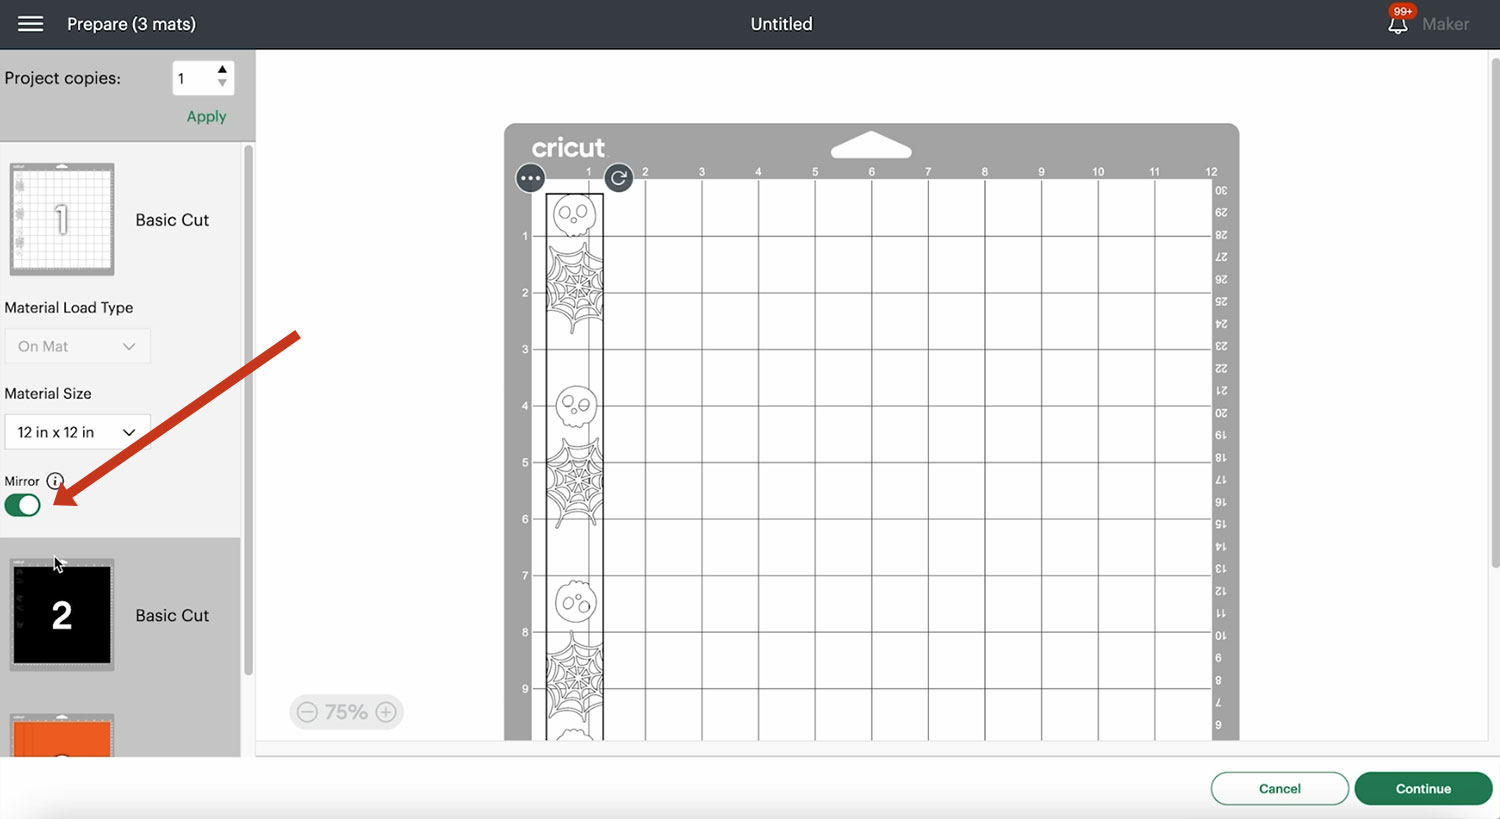
Click Make It to begin the cut process. Design Space will automatically separate the layers out onto three different mats.
Mirror each mat as both faux leather and heat transfer vinyl cut in reverse.
Important – you need to scroll down the left side and click “mirror” for each individual colour of the design.
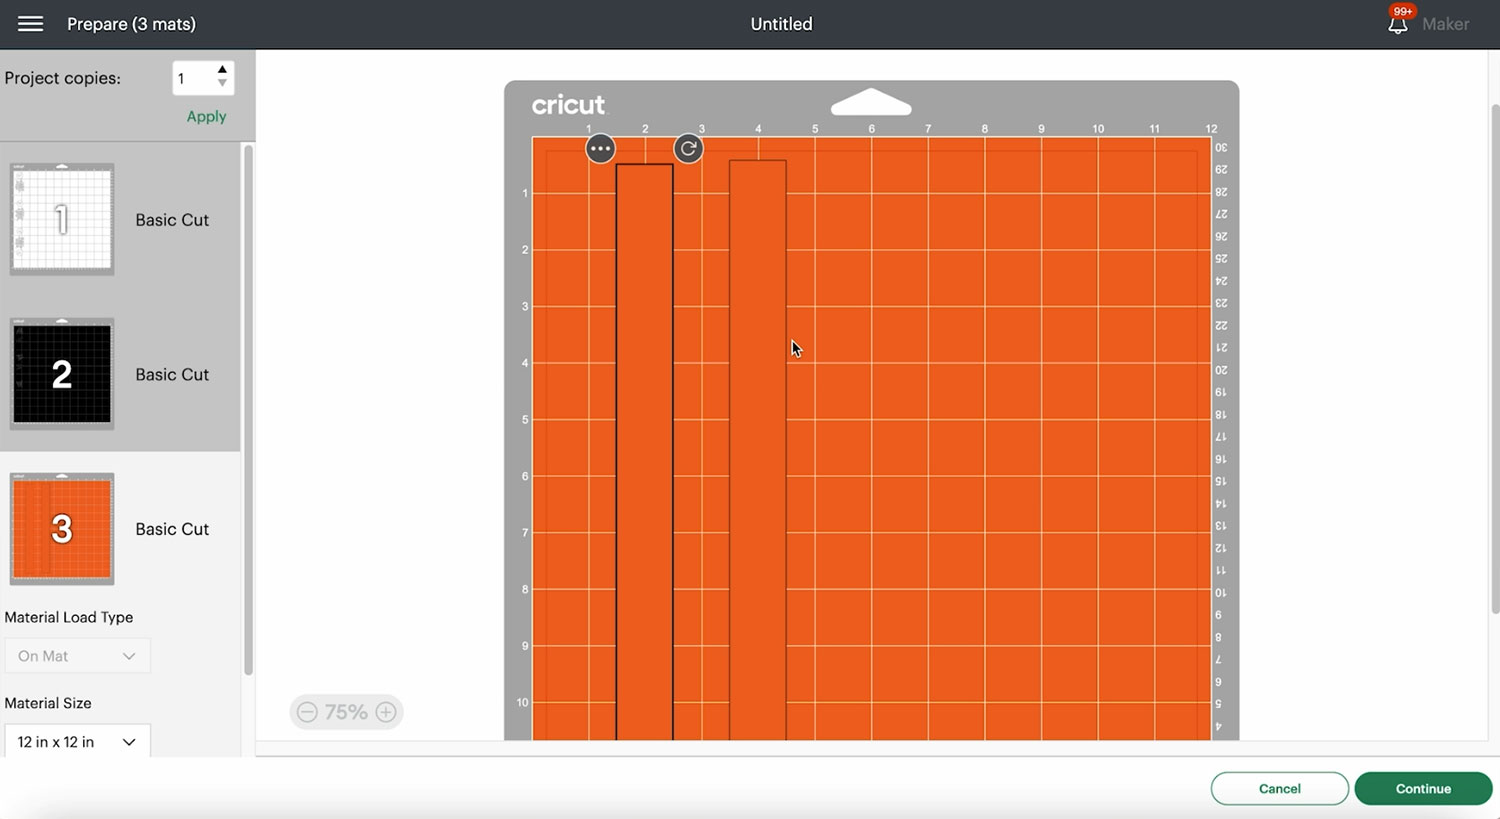
Drag the faux leather shapes slightly away from the edges and away each other if you are cutting different colours like Amy.
You can use one larger strip of your faux leather to cover both cuts if you’re using the same colour.
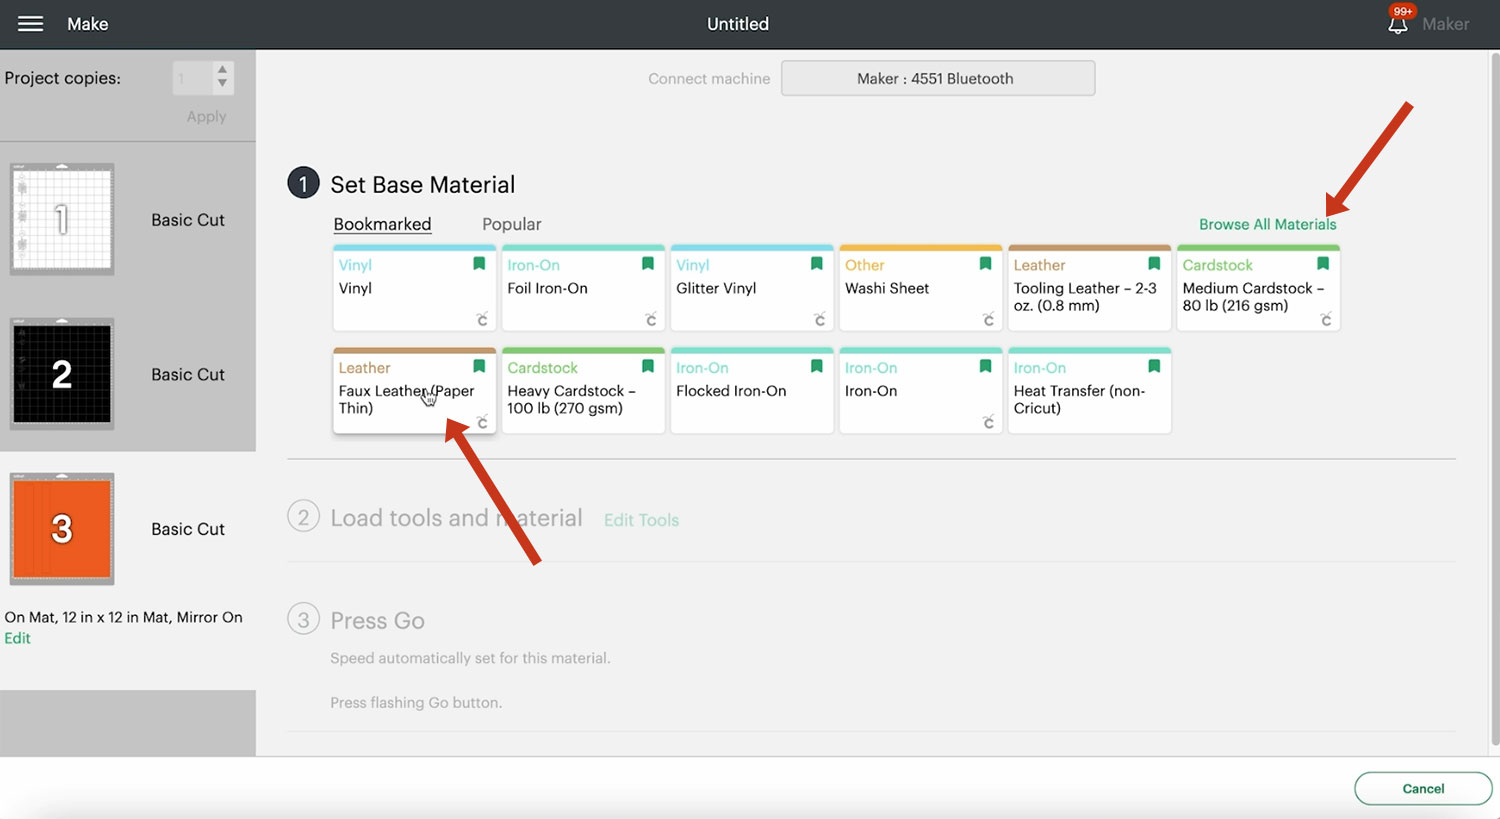
Click Continue and select Faux Leather/Paper Thin for the faux leather setting and choose More under the pressure setting.
You may have to click the “Browse all Materials” link to find this setting.
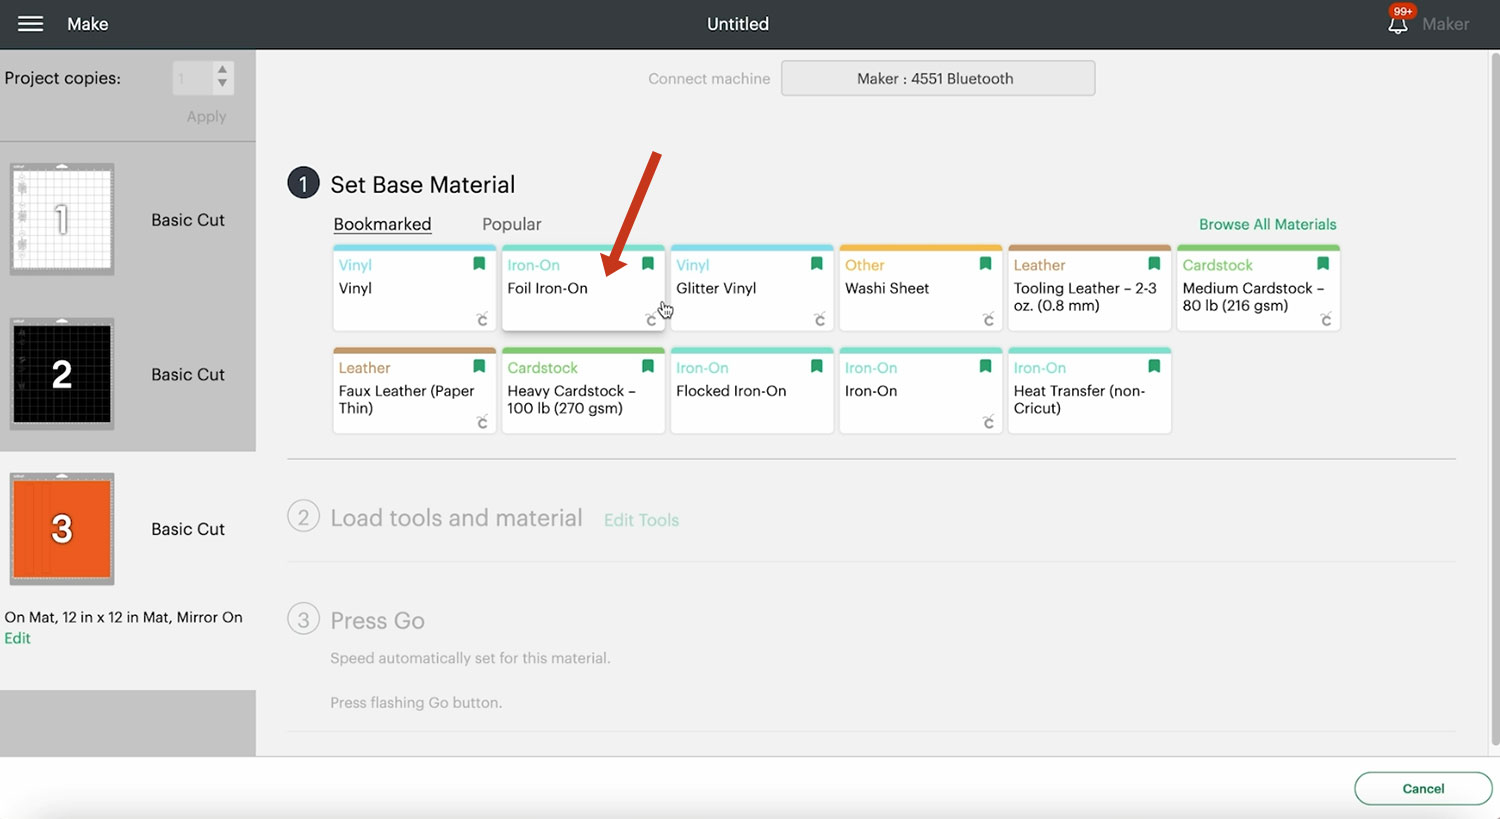
When it comes to cutting the HTV, you need to select the correct setting for the type of vinyl you are using. E.g. Glitter Vinyl, Foil Iron-On or Everyday Iron-On.
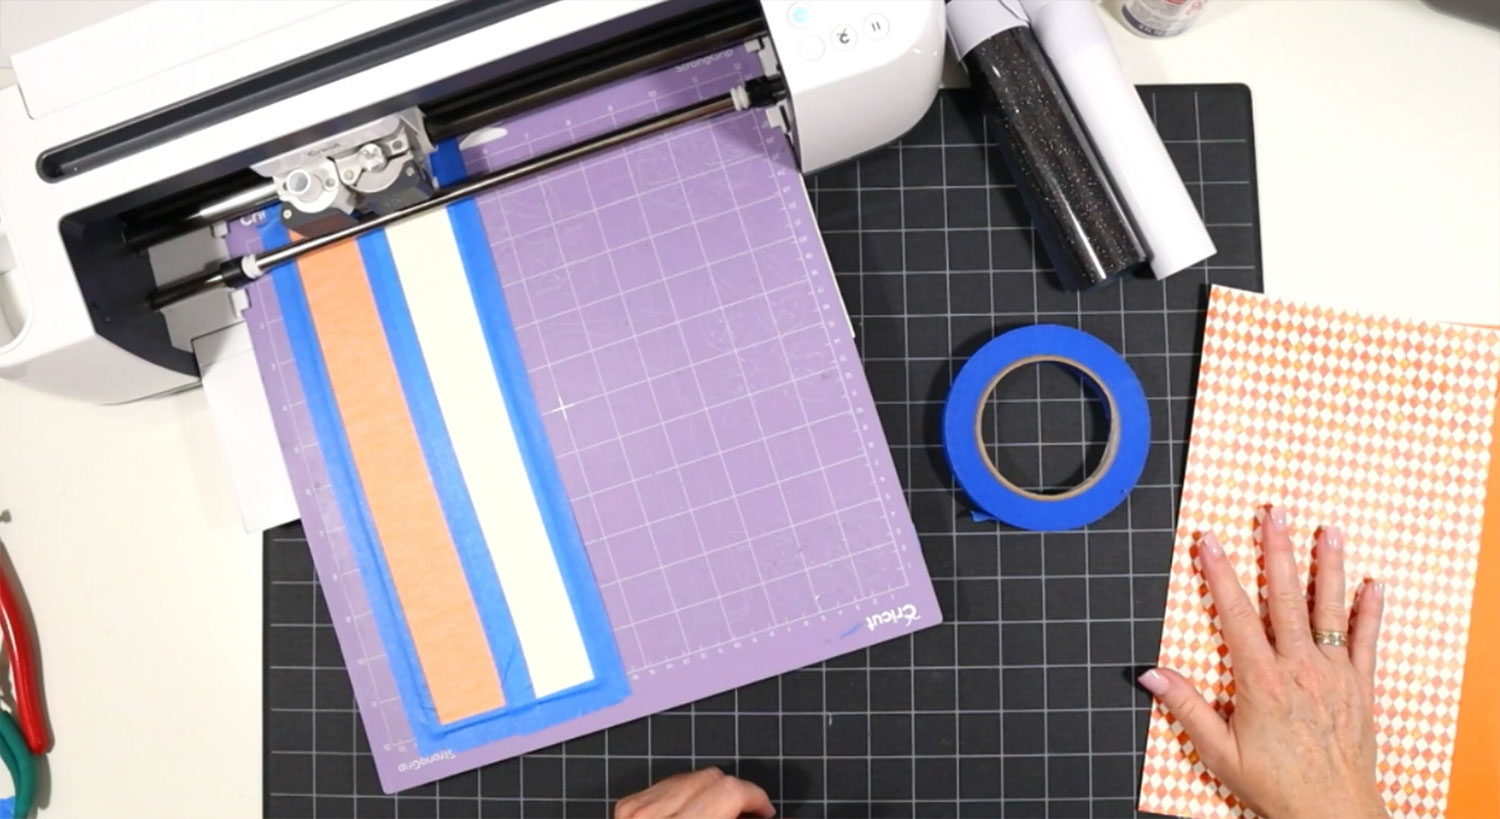
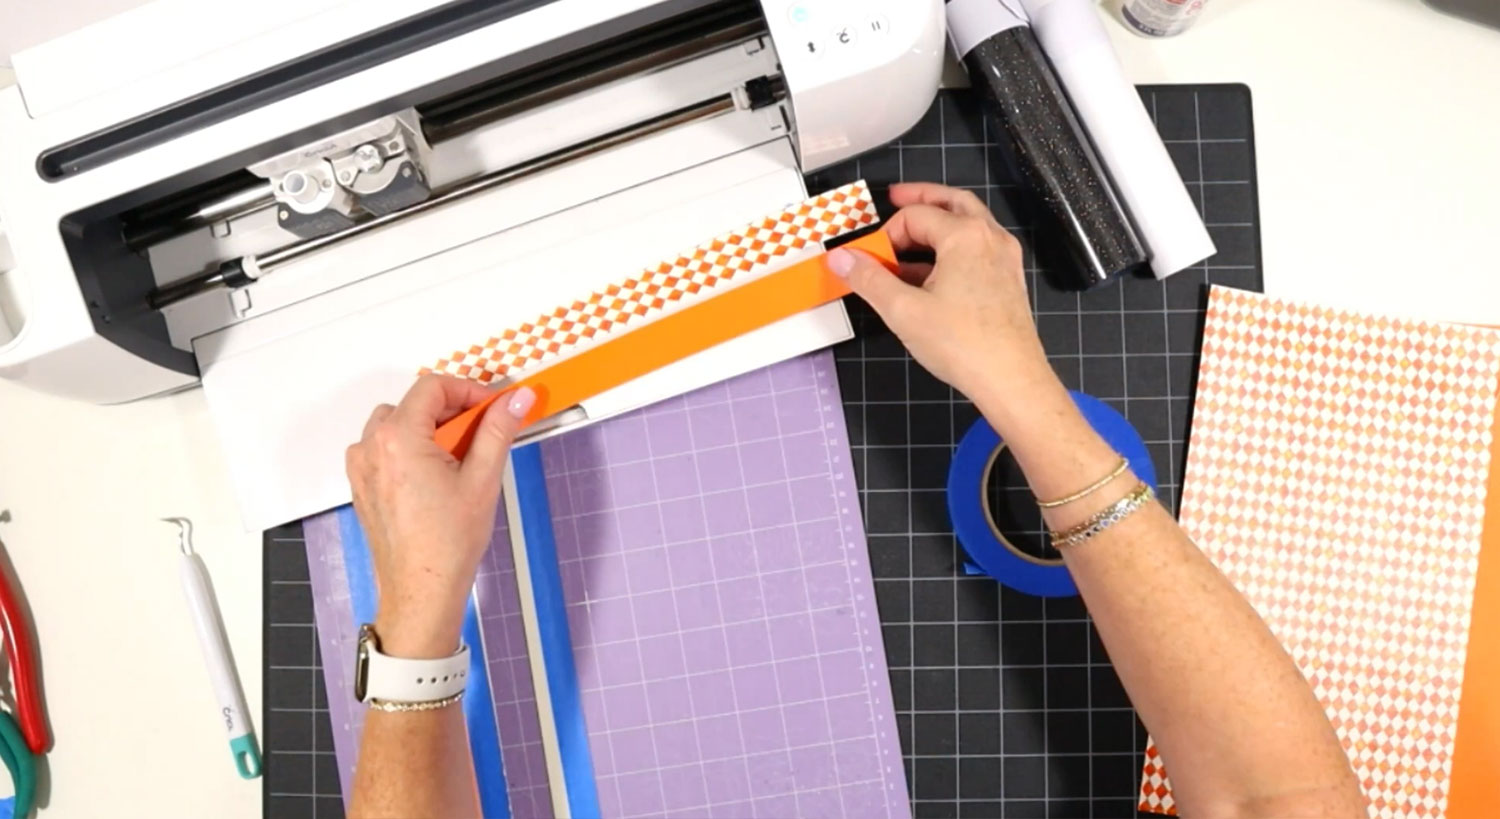
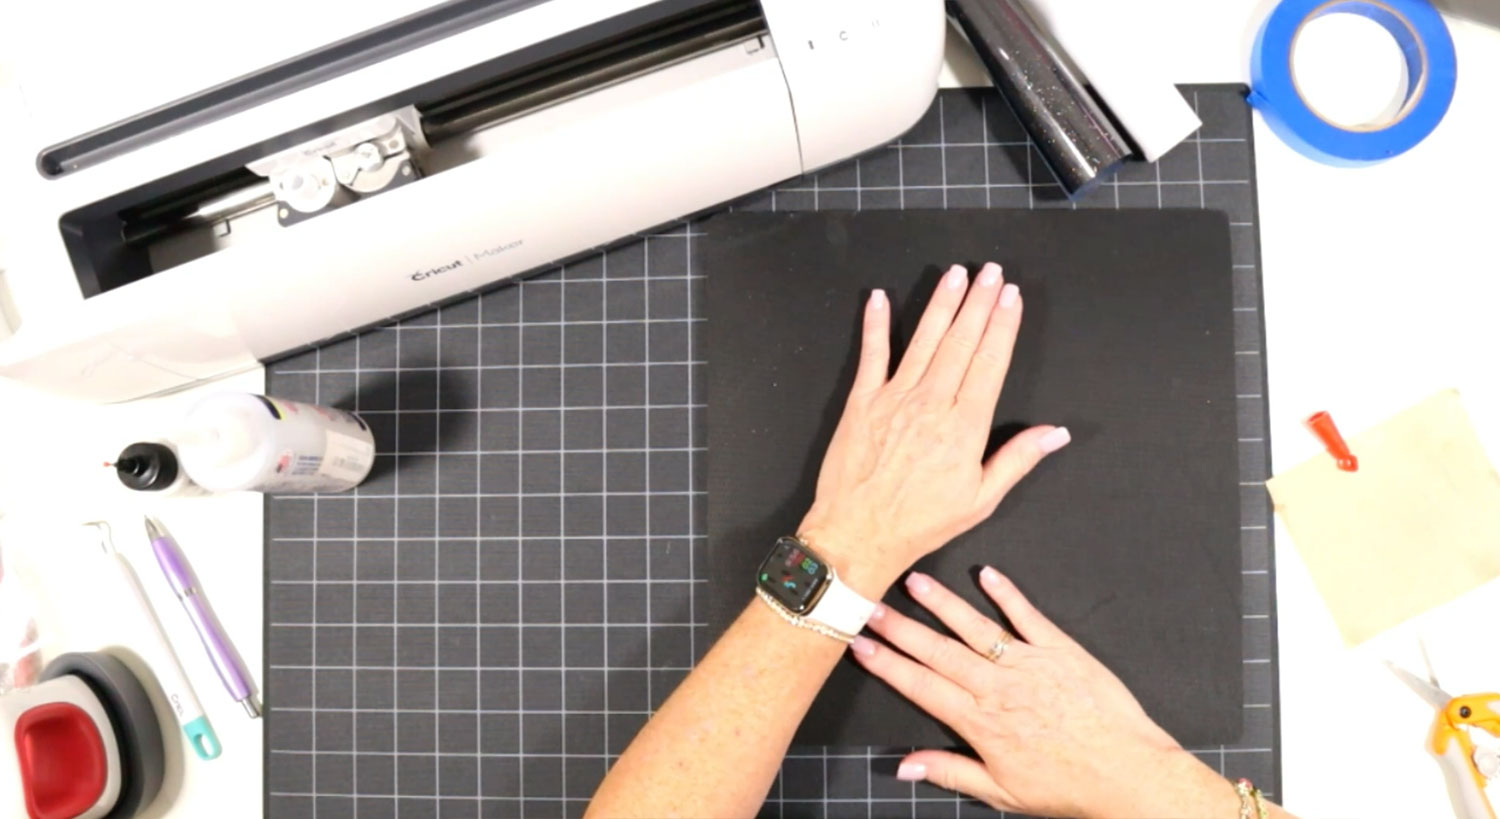
Place your faux leather pretty side down on a strong grip mat and use painters tape to hold it down when cutting.
Before ejecting the mat after the cut, use your weeding tool to lift up an edge and see if it has cut through.
If it has, eject the mat. If not, press the Go button without touching anything else and it will cut again in exactly the same place.
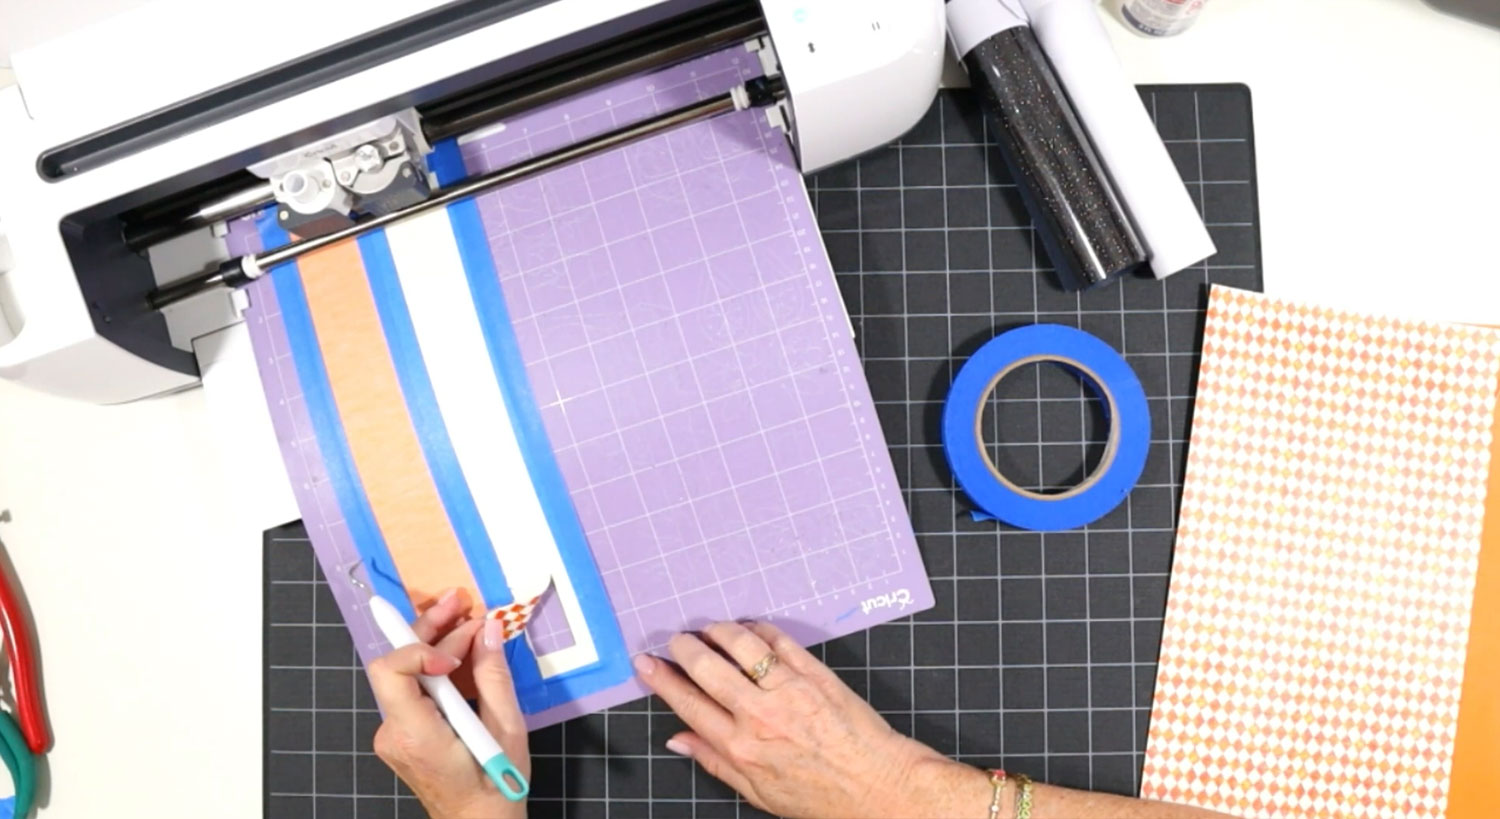
Remove the cuts from the mat and use your scissors to tidy up the edges if needed.
Put your faux leather cuts aside and place your first vinyl piece onto a standard grip mat faced down and cut.
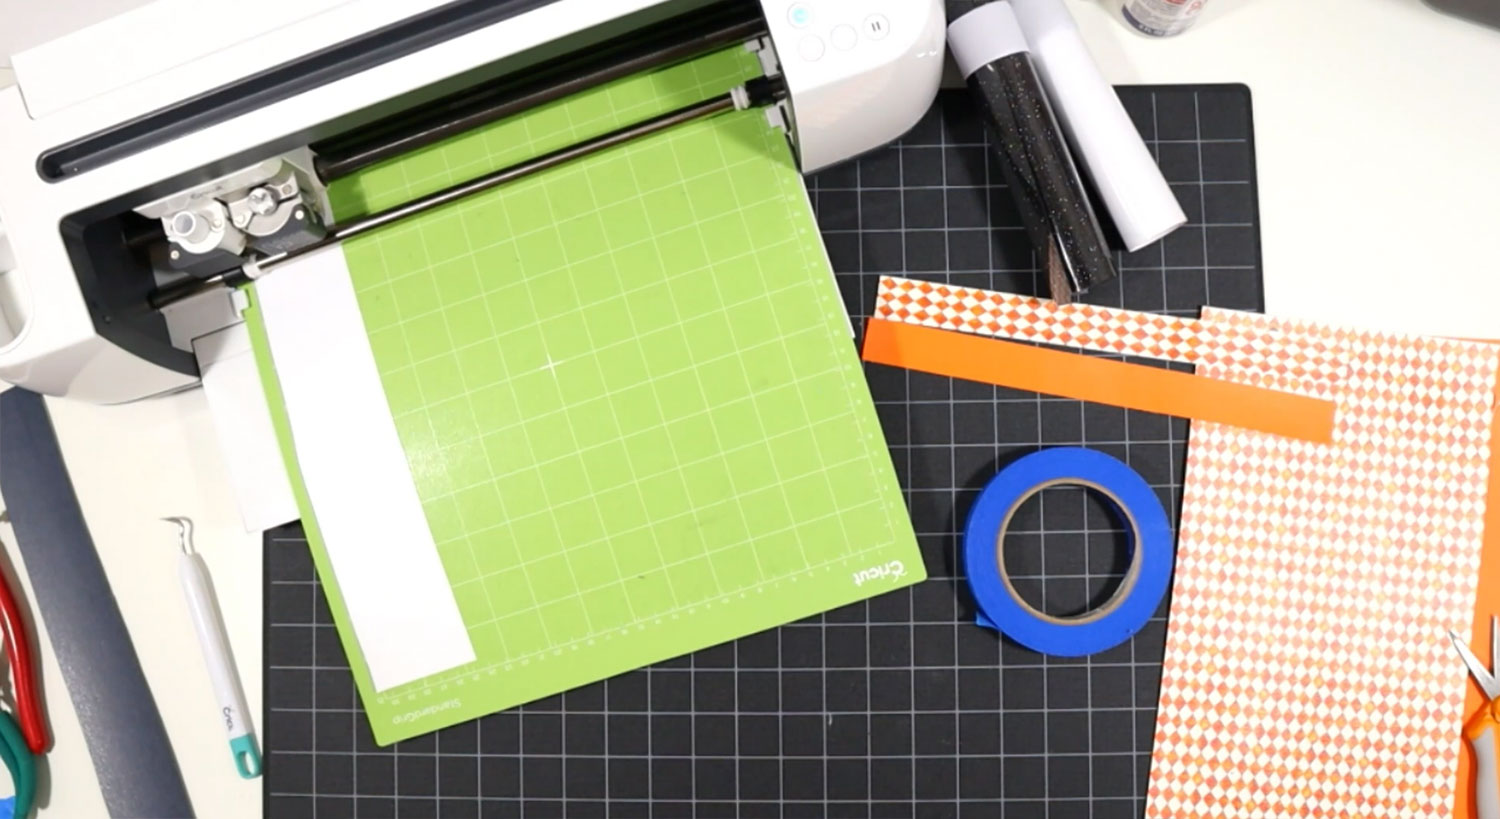
Set it aside to weed whilst the next piece of vinyl is cutting.
Amy used glitter vinyl for this piece which she cut using the glitter vinyl setting with default pressure, but she repeated the cut once as this was a thicker vinyl.
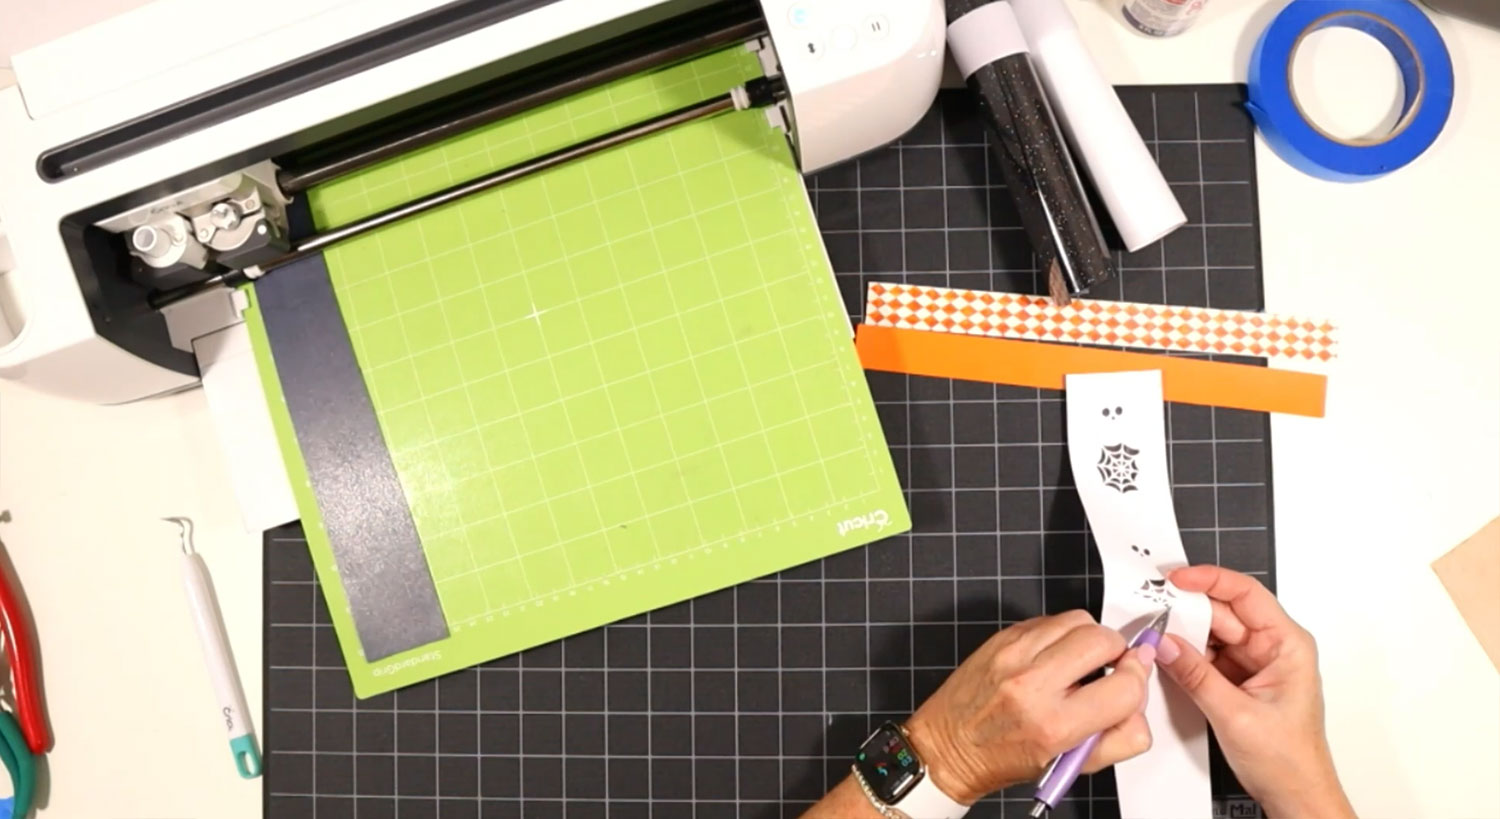
After the cutting is done, weed your vinyl layers to remove all the excess pieces and only leave the parts needed for the wristlets.
Step 3) Press the heat transfer vinyl
Heat your Easy Press to low or begin at 265 degrees with a regular Easy Press.
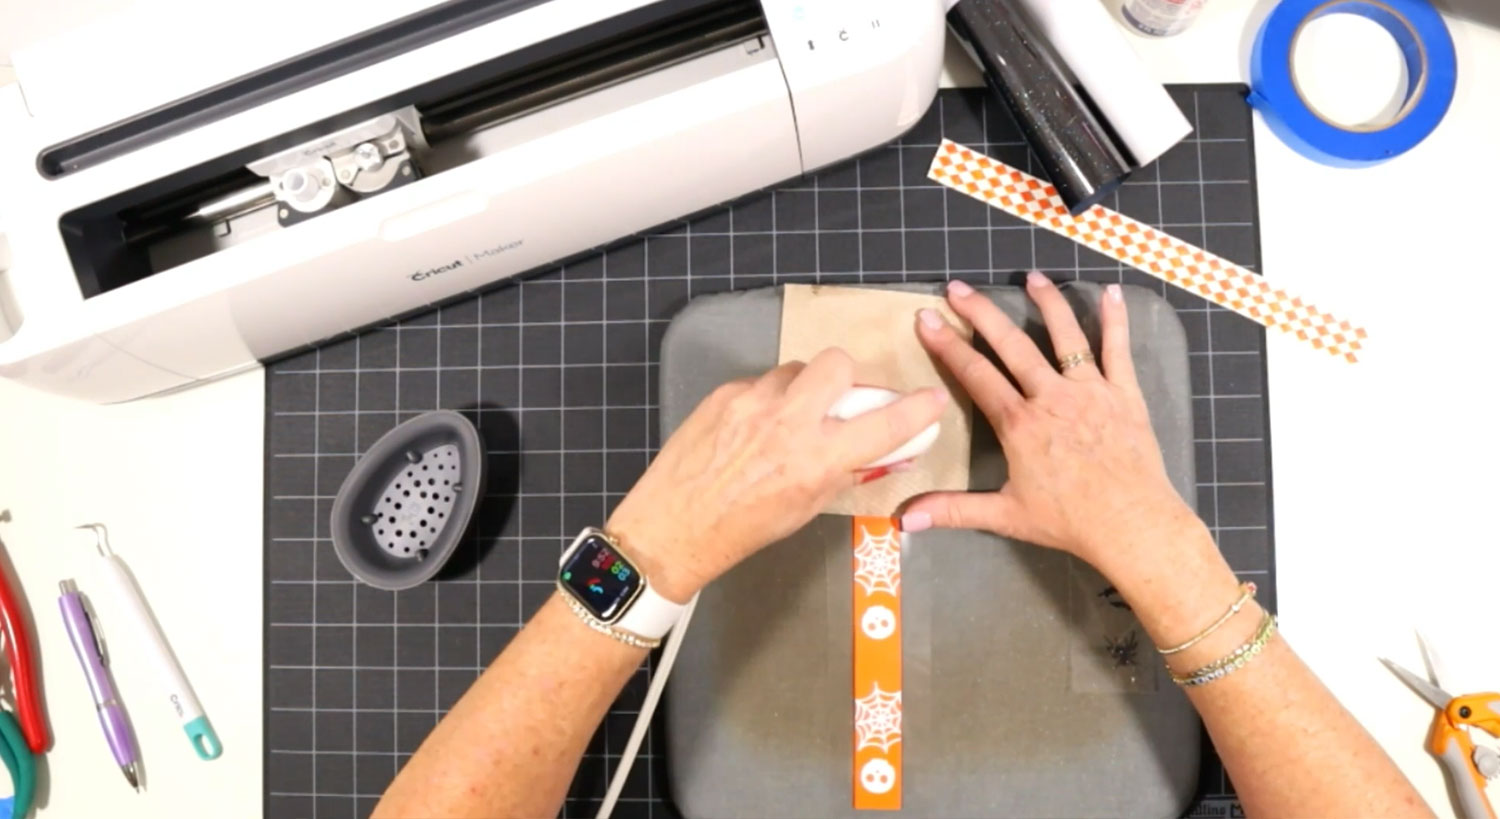
Place and position the spider web layer onto the faux leather strip.
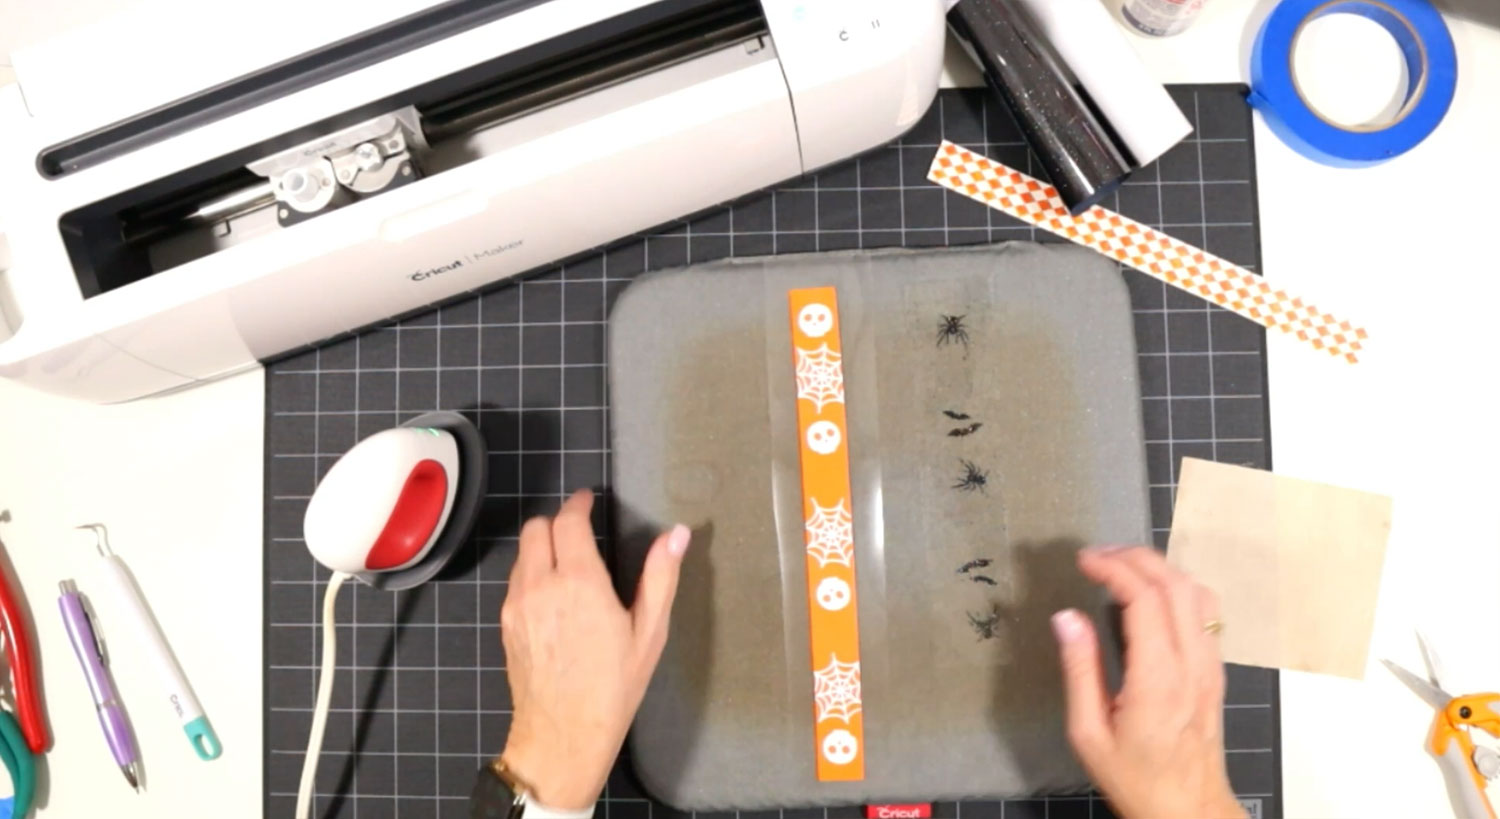
Use a Teflon sheet over the top of your faux leather and vinyl.
Use your heat press for 7-10 seconds over each vinyl image. If you are using a regular sized heat press (not the mini), you won’t need to move it around.
Remove the cover sheet. If your vinyl begins peeling up, use your heat press again in 5 second increments.
Line up your second vinyl sheet by matching up the spiders on the webs and the bats in the gaps of the previous vinyl layer.
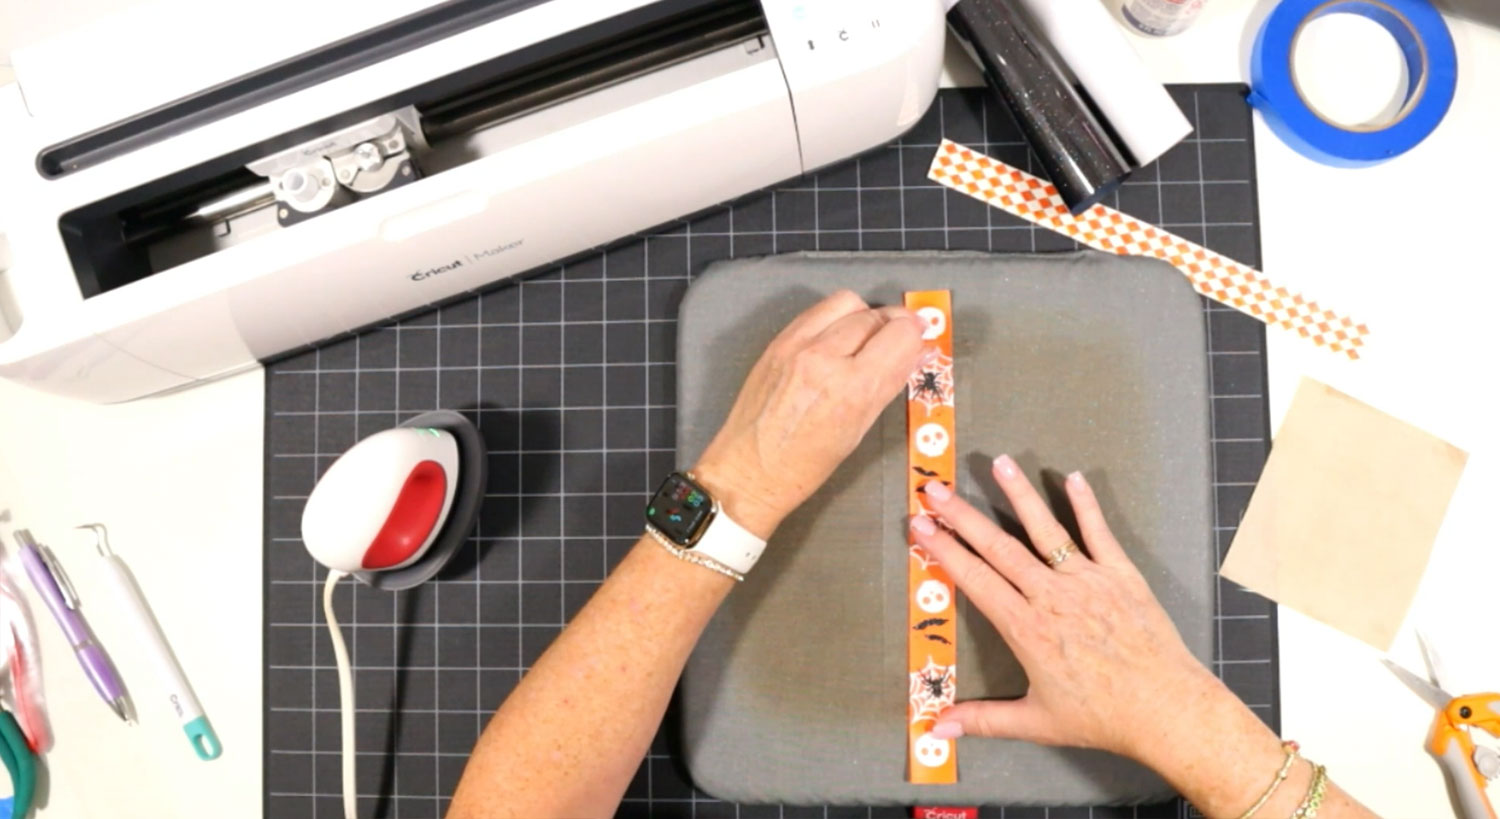
Cover again with your Teflon sheet and repeat pressing.
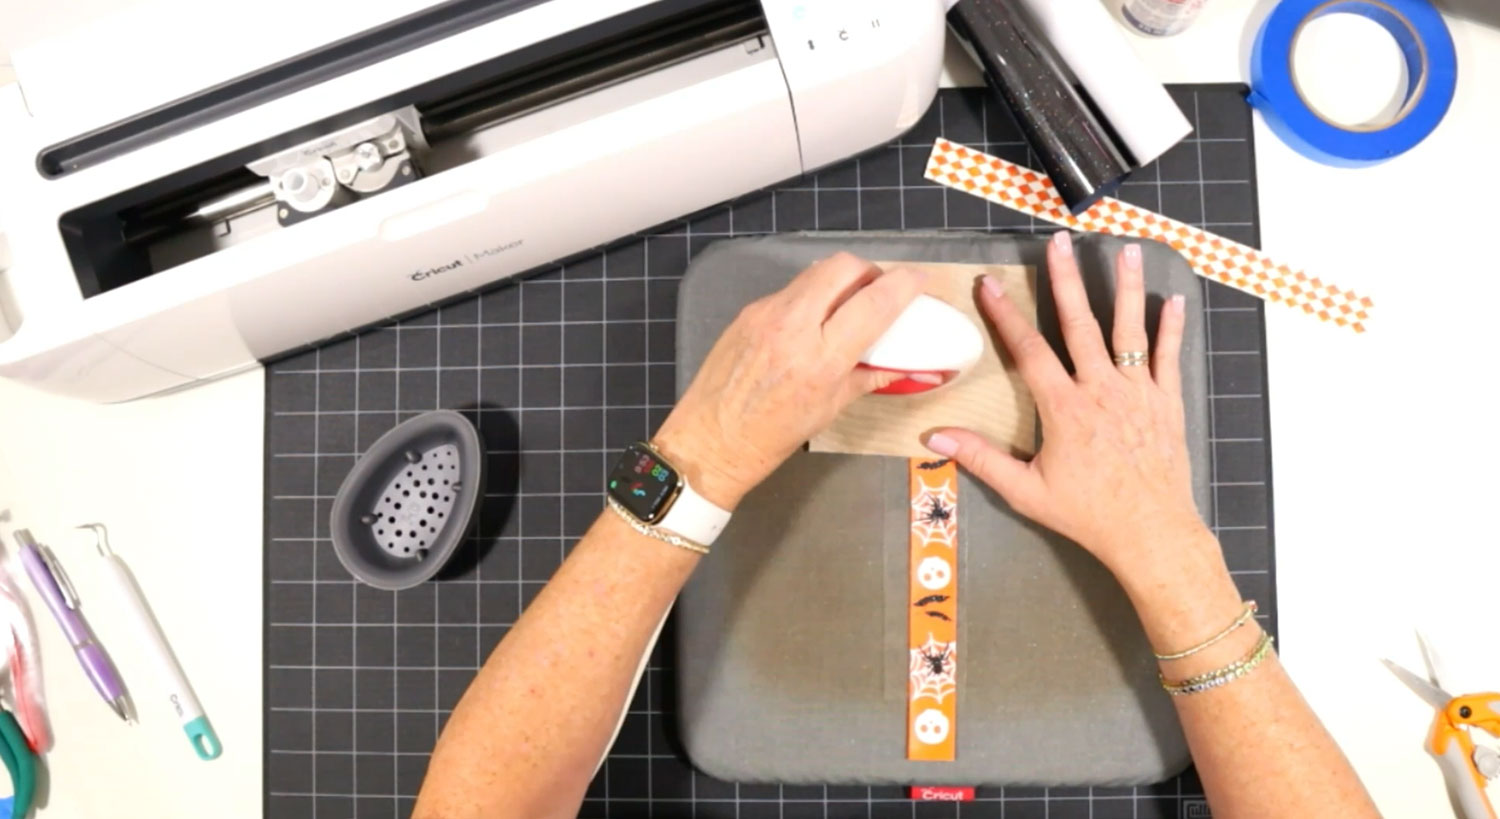
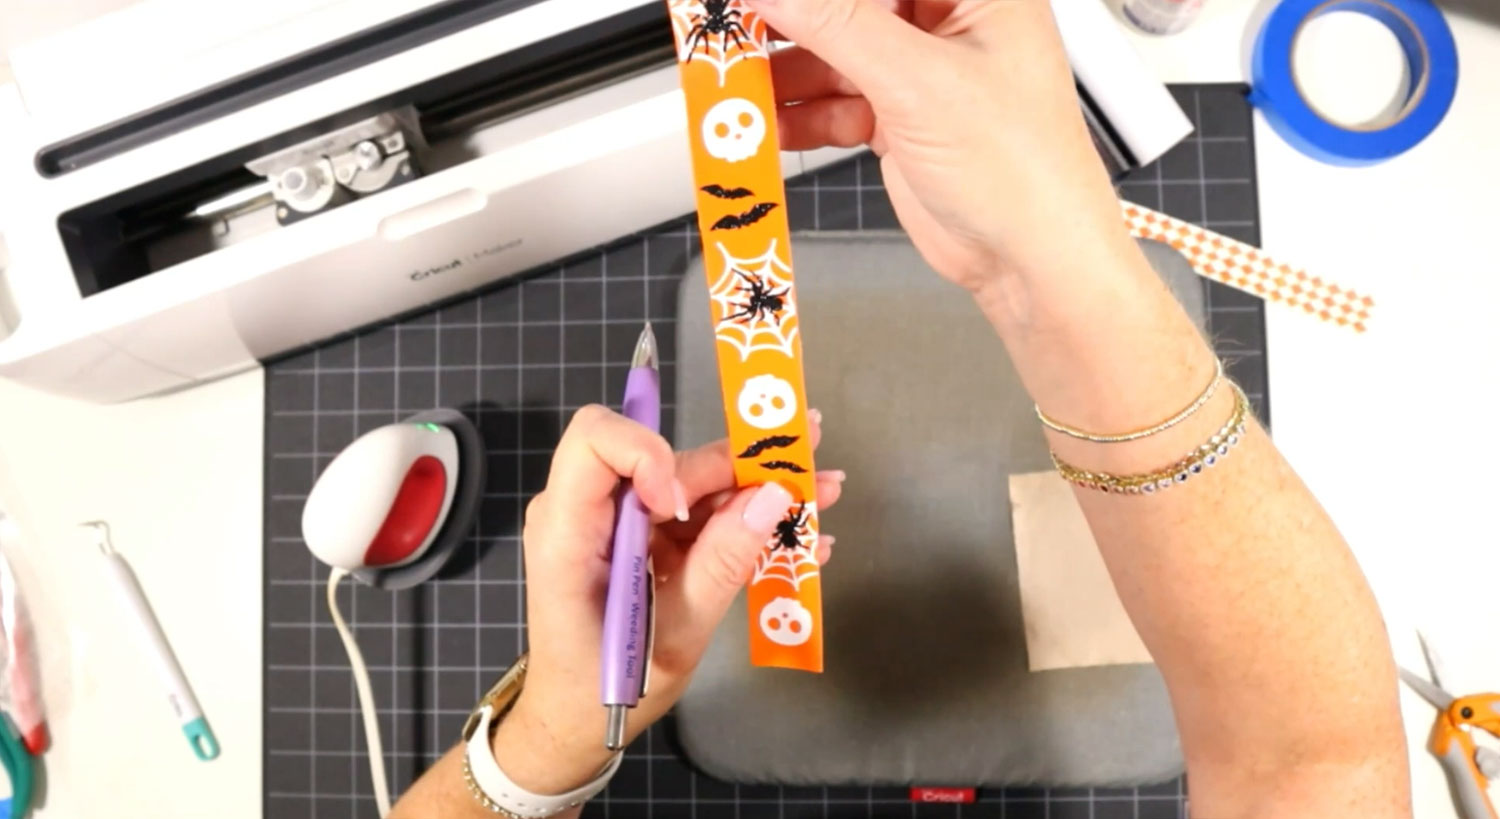
Carefully peel back the cover sheet to reveal the finished design!
Step 4) Stick the faux leather pieces together
Using a fabric glue, apply glue to the entire back side of your faux leather strip and stick the two strips together with the pretty sides now both on display.
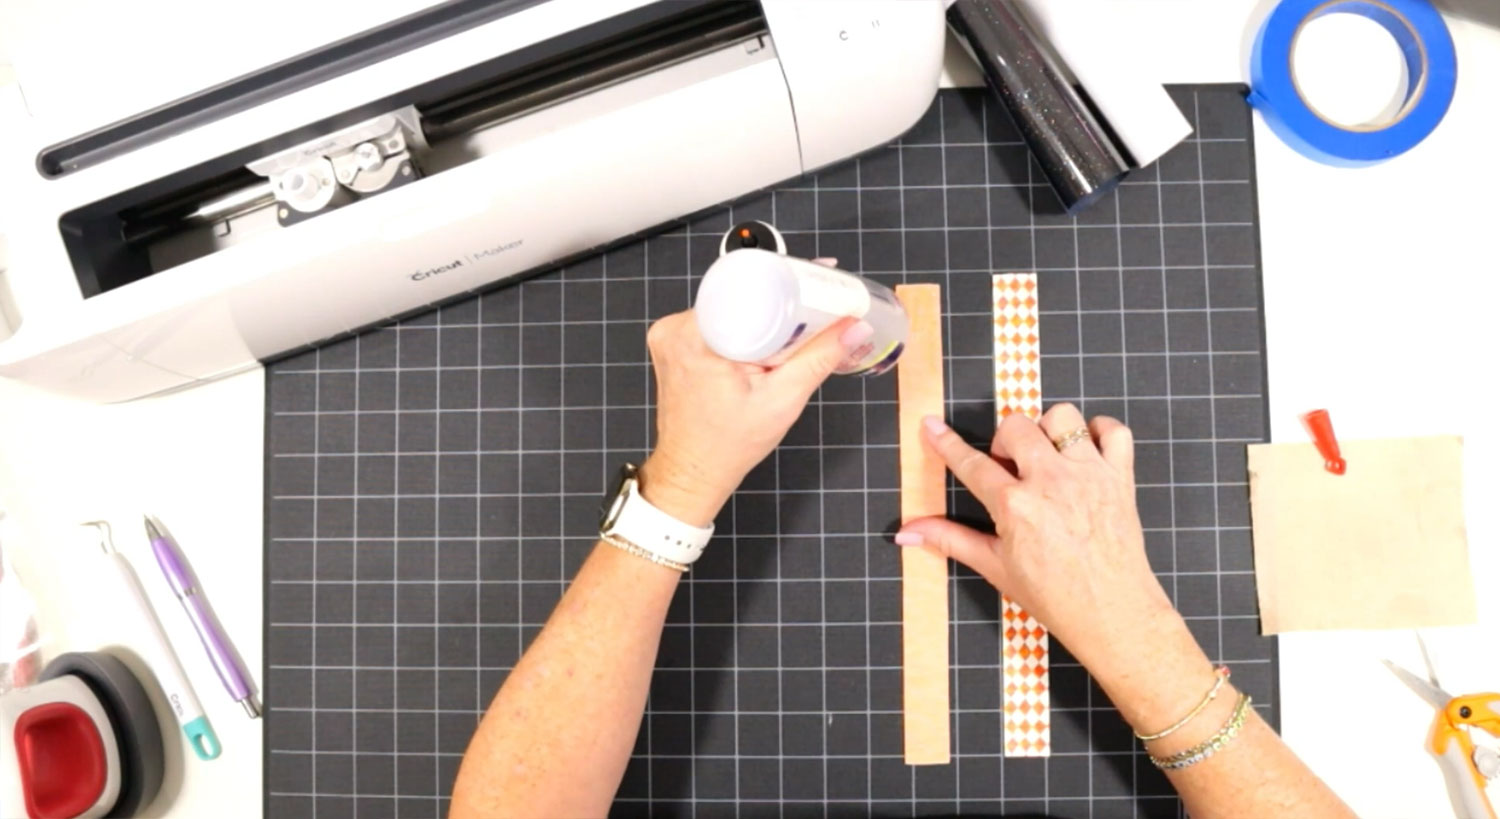
Allow it to dry under something heavy to give it a tight seal.
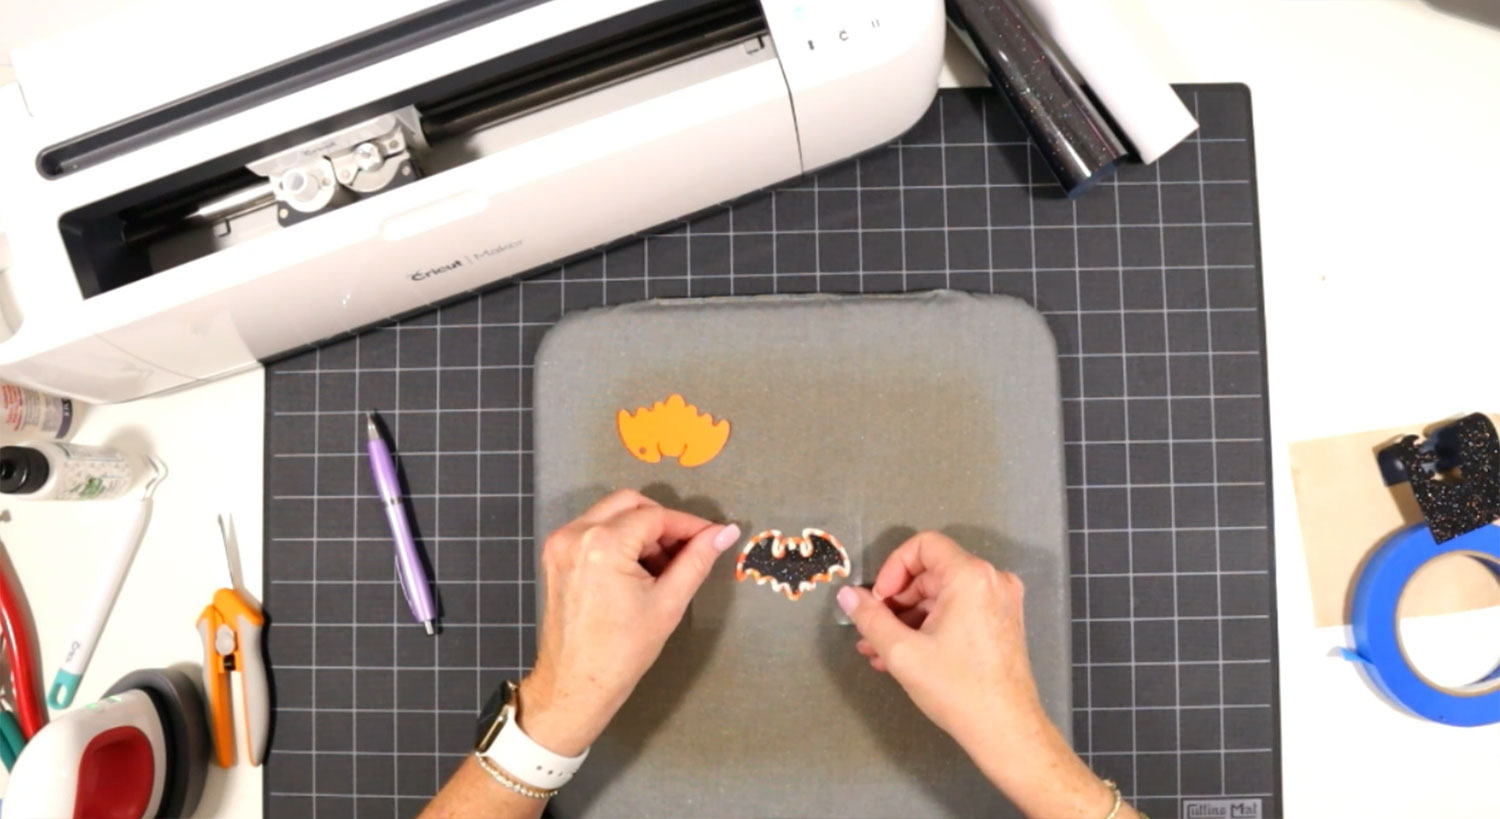
Step 5) Create faux leather charms
Return to Design Space and load in and cut the charm file (just as you did with the wristlets file).
There will be a faux leather shape on the bottom and a vinyl shape on the top.
For the bat charm, you will have two faux leather shapes which we will glue together at the end, just like we did for the wristlets.
Match up your vinyl bat with one piece of the faux leather, noticing the circle cut out of both of them to attach it later on.
Press to transfer the vinyl.
Glue your faux leather bats together, again, lining up the hole which will be used to attach your charm.
Note: Always press the vinyl before glueing the faux leather together, otherwise your glue will bubble with the heat and it may cause your vinyl to lift.
Leave your charm to dry under a heavy item and when both pieces are dry you can move on to attach the wristlet hardware.
Step 6) Assemble the wristlet and add the finishing touches
Check the edges of the faux leather and check they have a tight seam so the glue is really well sealed.
Use a colour-coordinated Sharpie to colour in the edges to give the edges a finished and professional look.
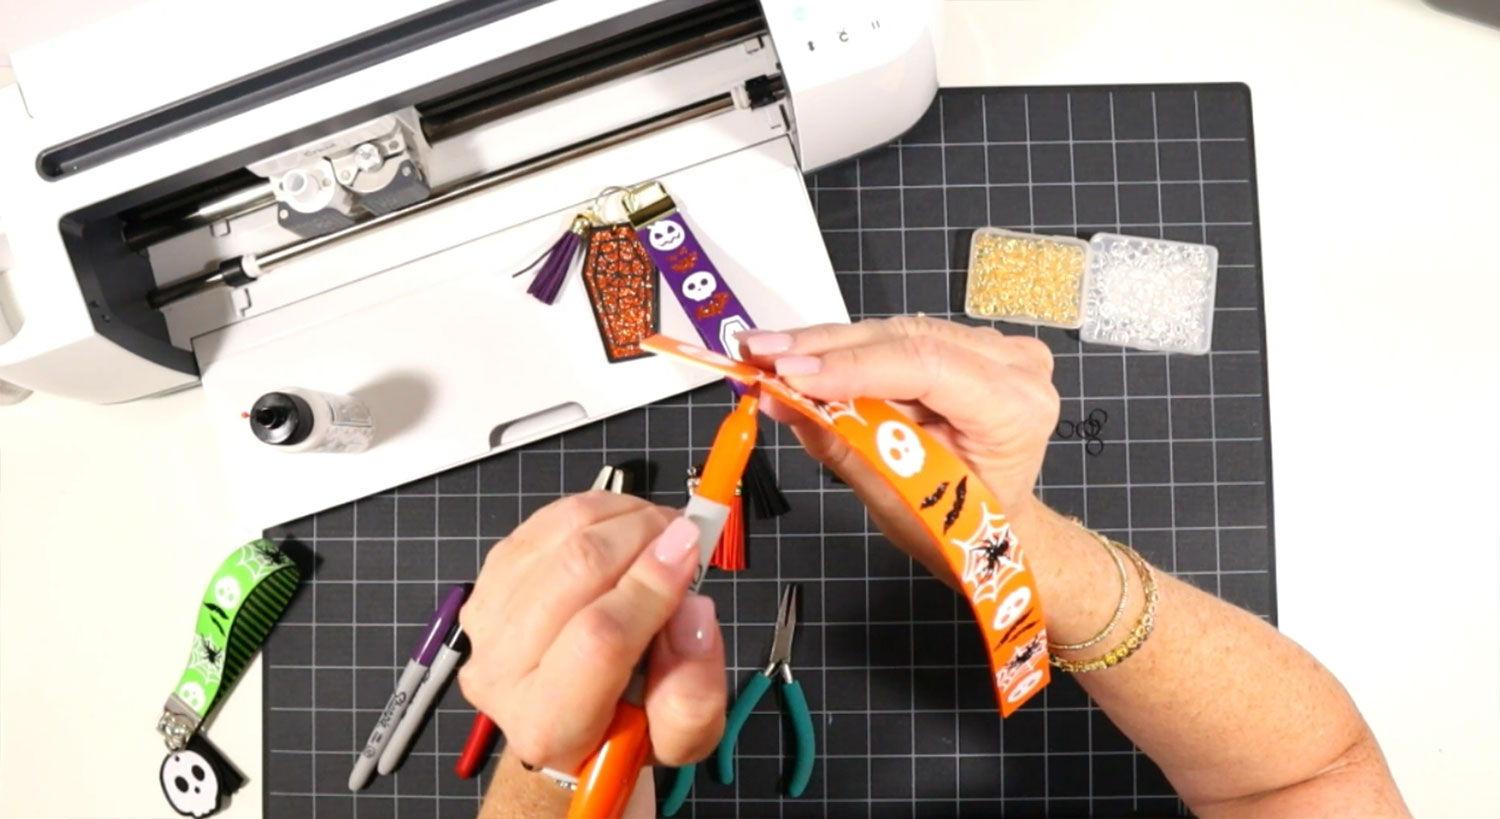
Using the 1 inch key fob hardware, fold over your faux leather so that the ends meet equally and slide them into the hardware.
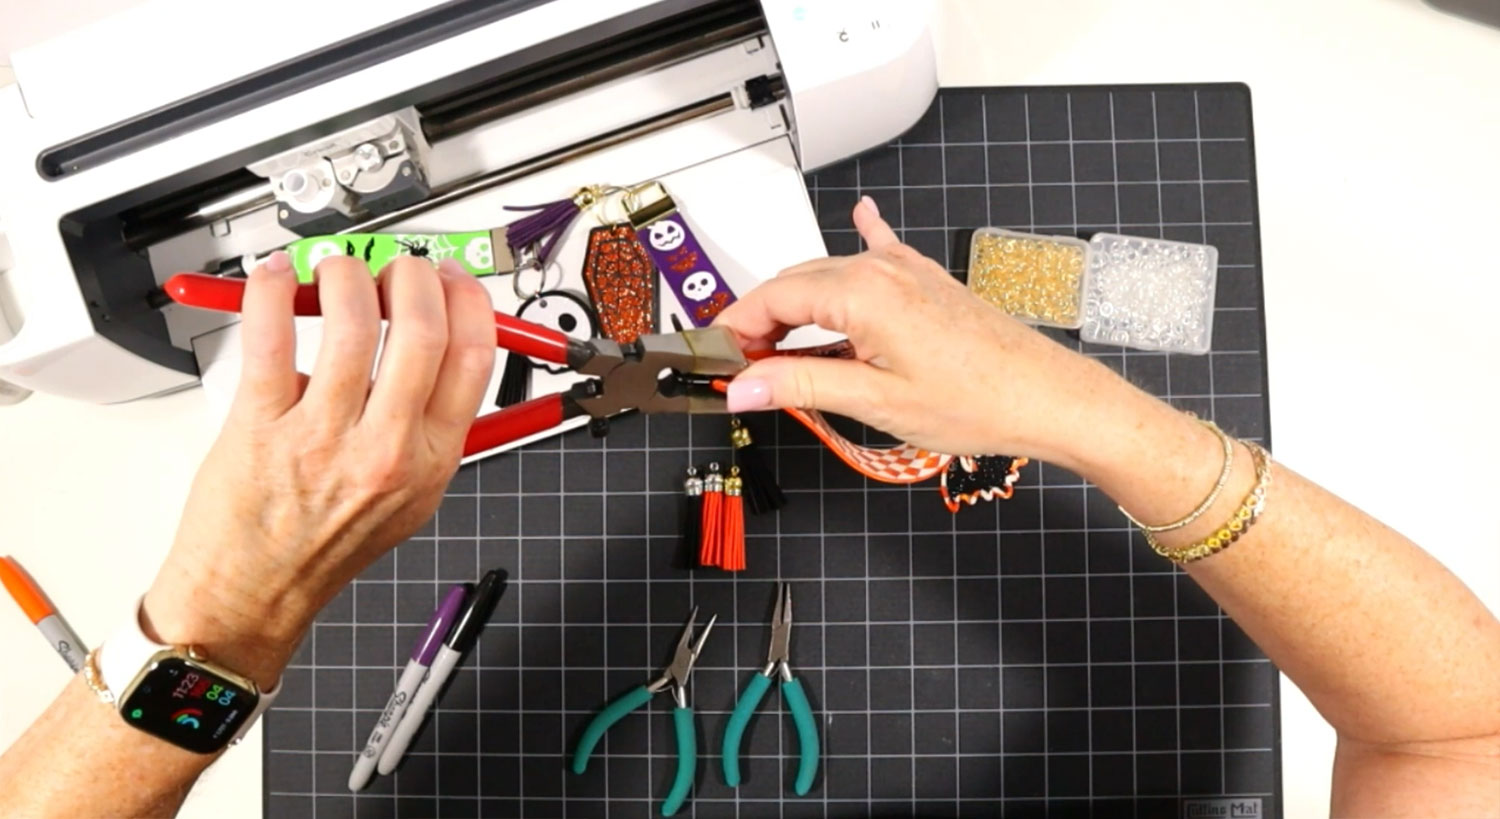
Use large pliers with a rubber tip to squeeze the clasp shut.
If you have regular pliers without the rubber tip, use a wash cloth or paper towel in between the hardware and the pliers to prevent them from scratching the metal. Otherwise, the teeth will grip the faux leather.
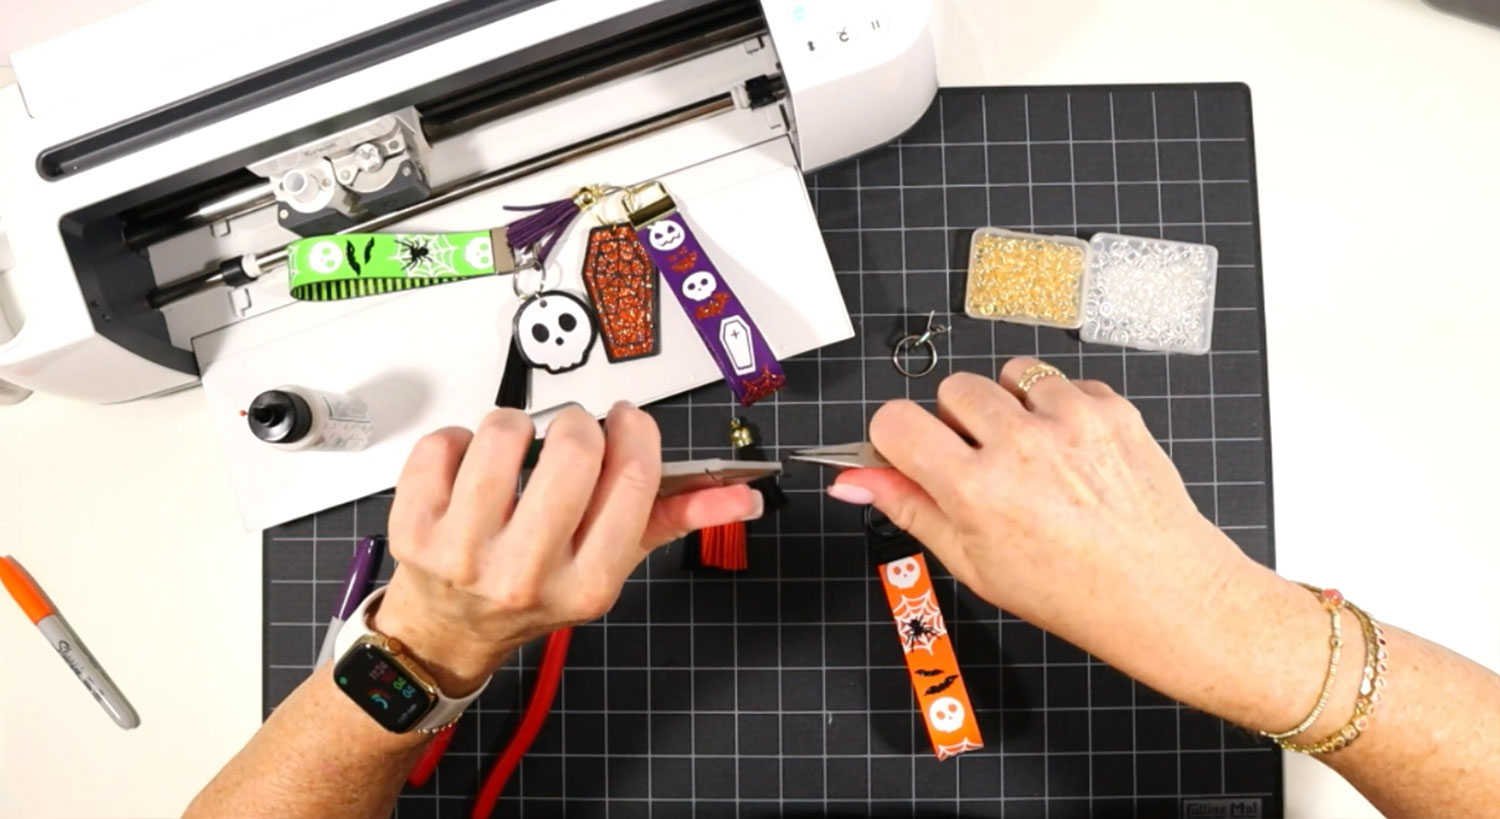
Use a jump ring to attach your charm to the key ring.
Using two pliers to open and close the jump ring will be helpful.
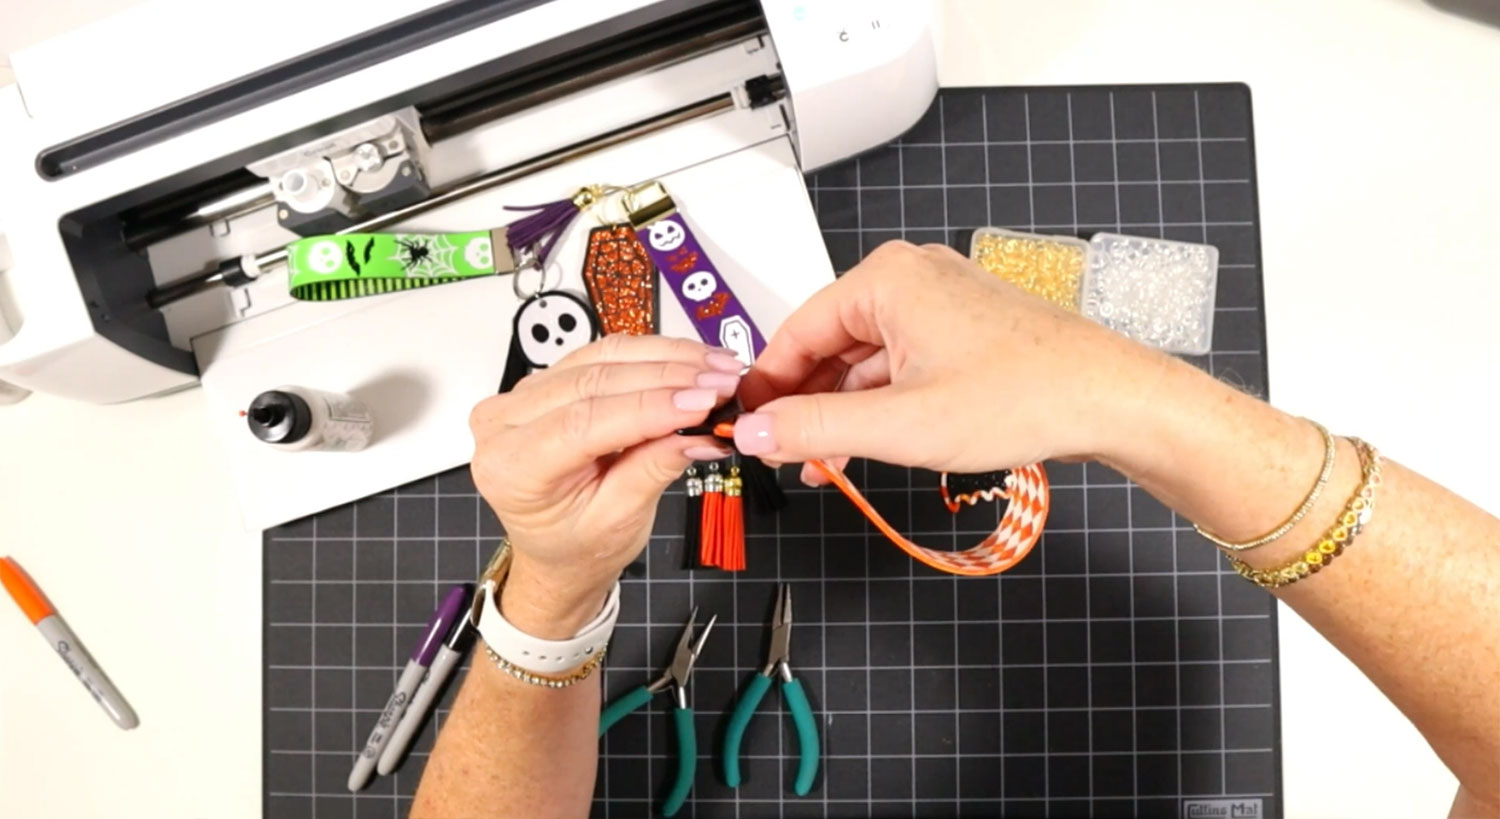
To attach your optional tassel, use a jump ring and follow the same process.
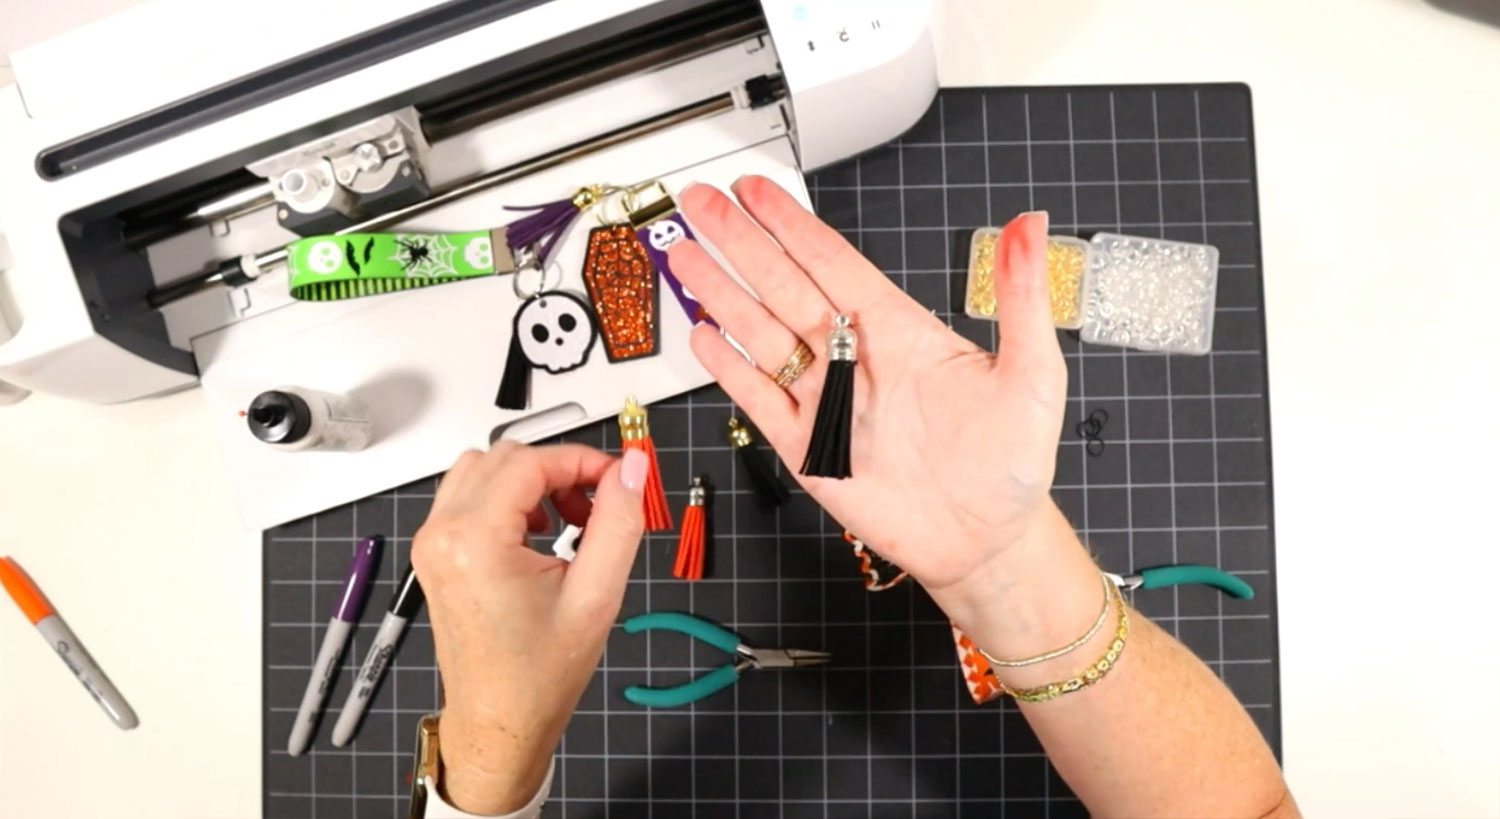
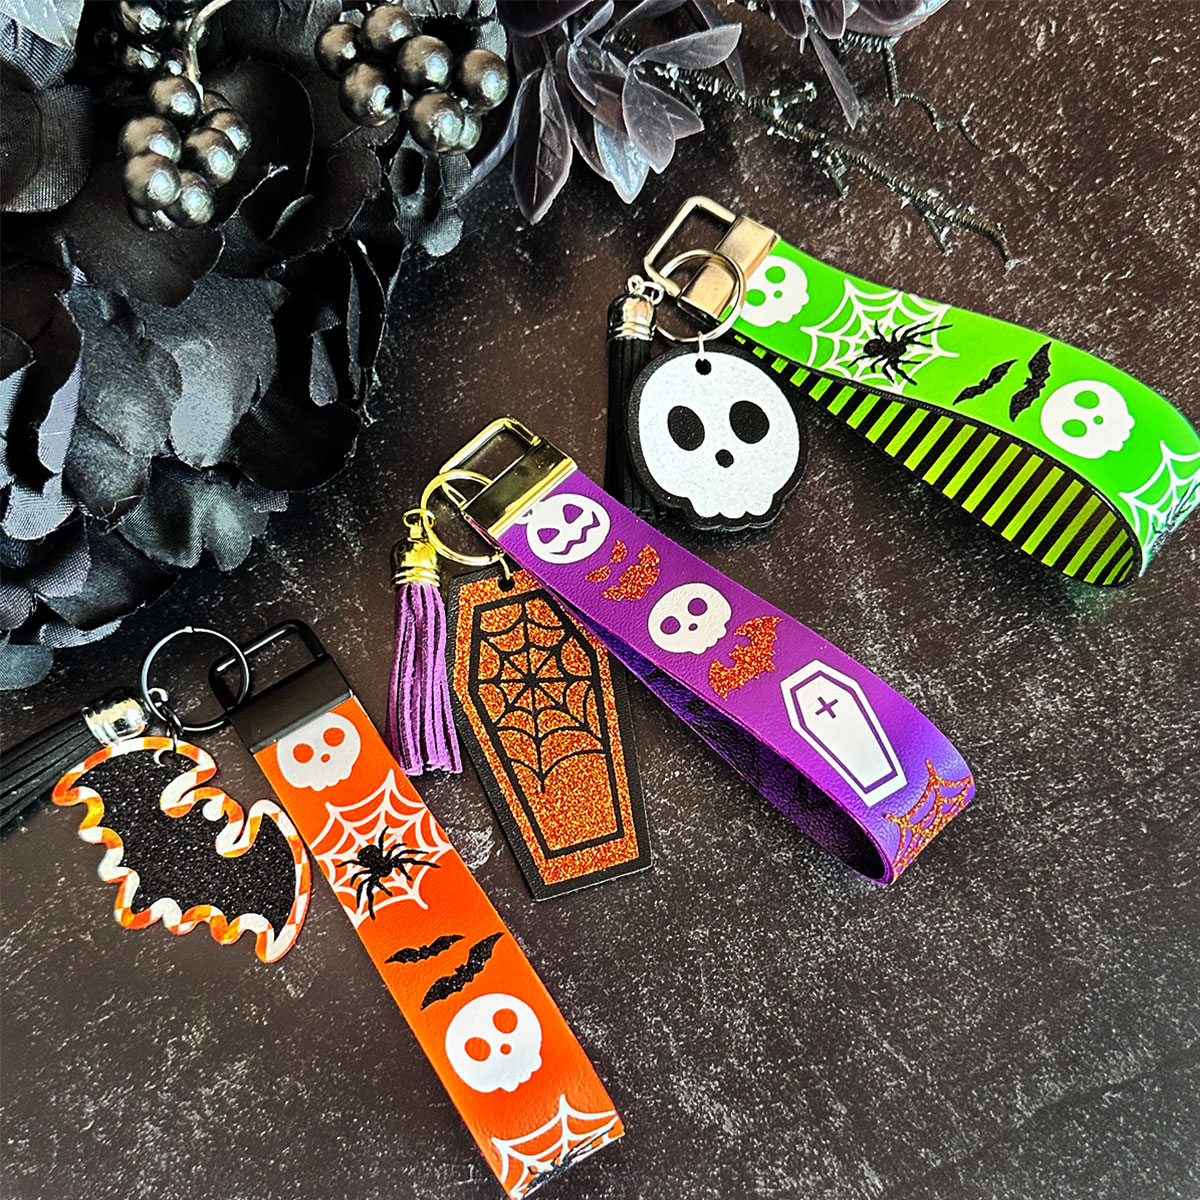
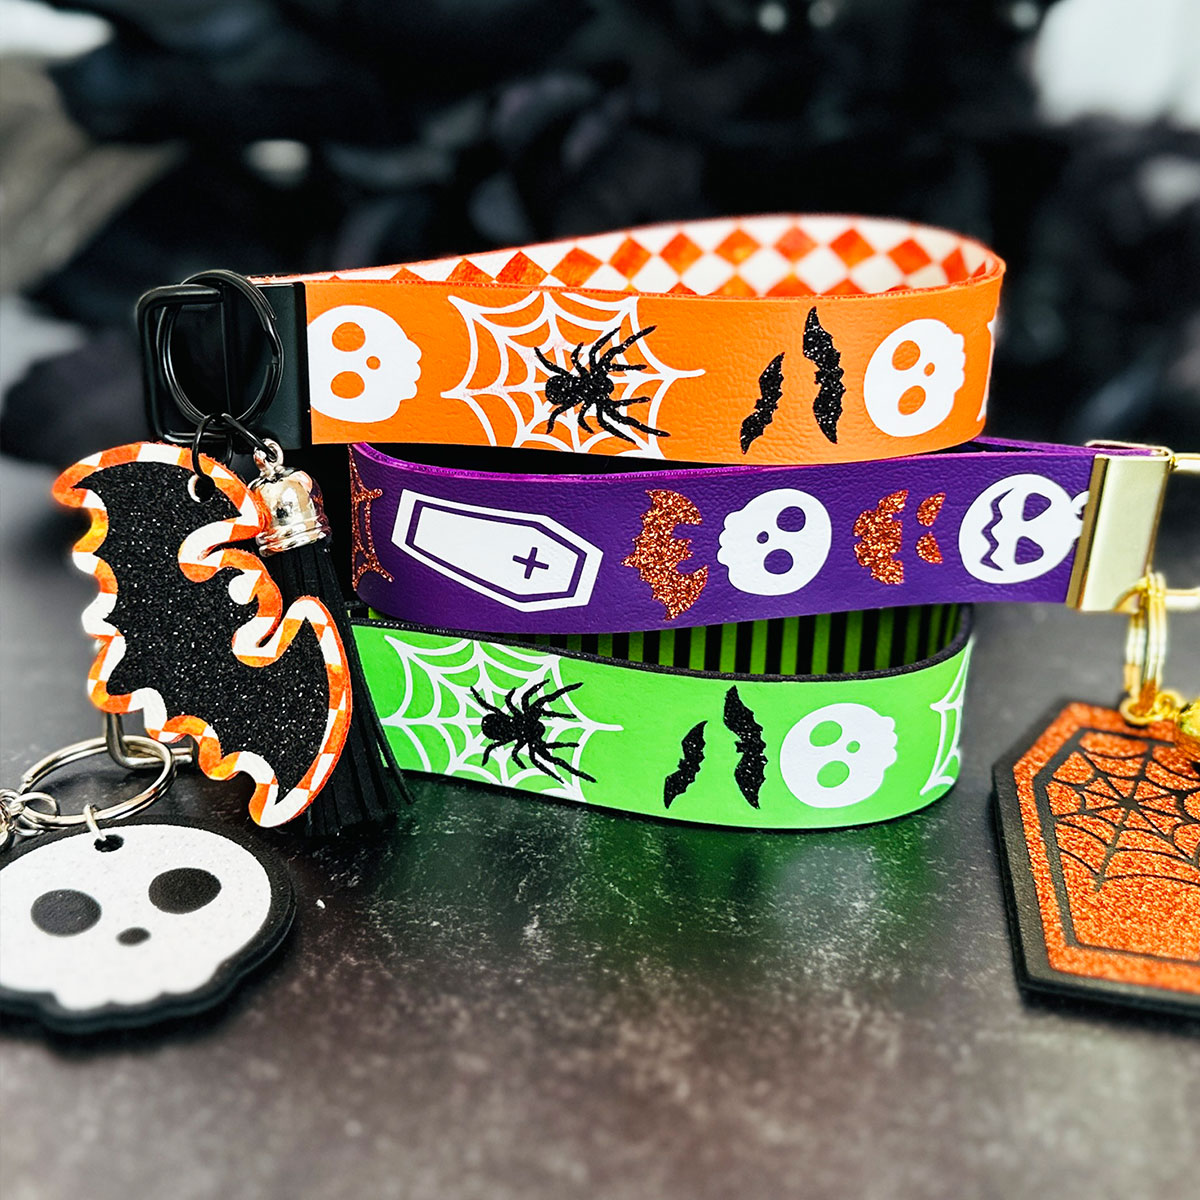
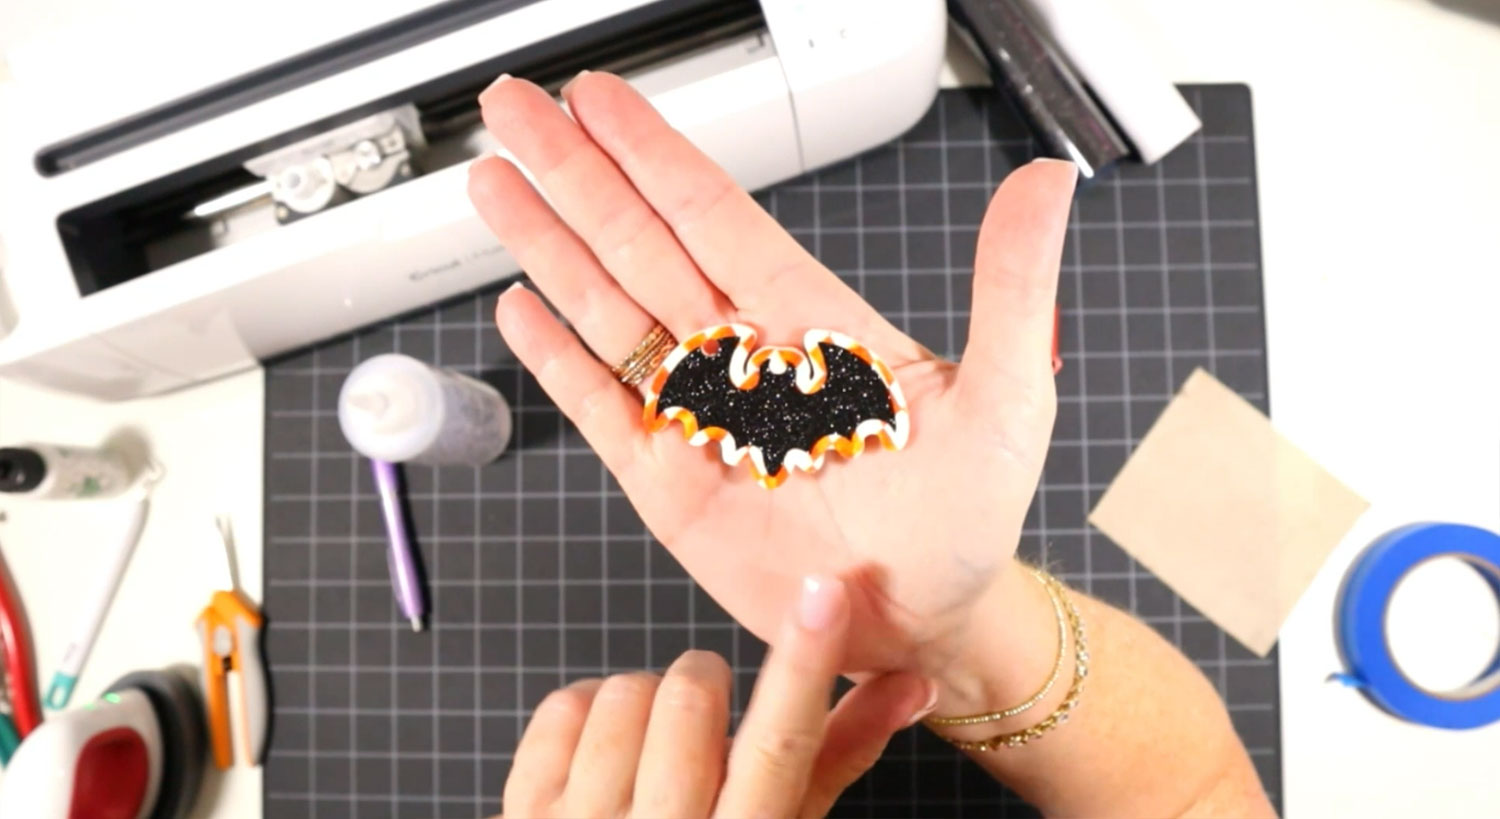
And there we have it! Your faux leather wristlet is complete.
Faux leather wristlets with a Cricut
I hope you enjoyed this tutorial on how to make faux leather wrislets with a Cricut machine, with heat transfer vinyl detailing.

The finished result is both beautiful and spooky, what a great mix!
This will be perfect to attach to your keys and show off this Halloween.
Happy Halloween,
Sarah x

