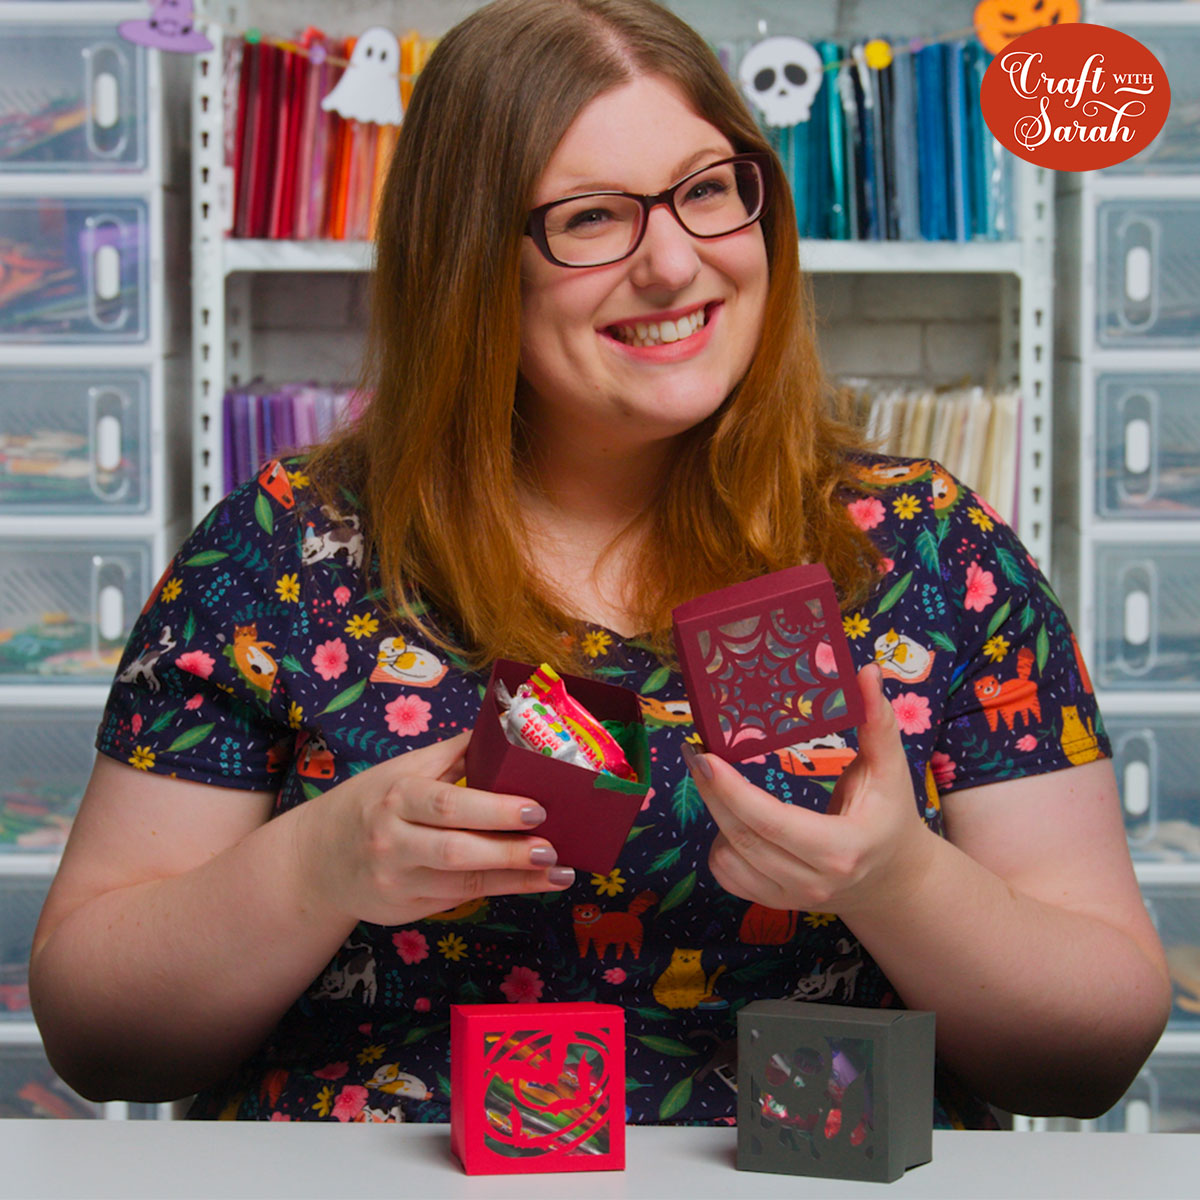
HCC 2022 Day 09 🎃 Spooky Treat Boxes
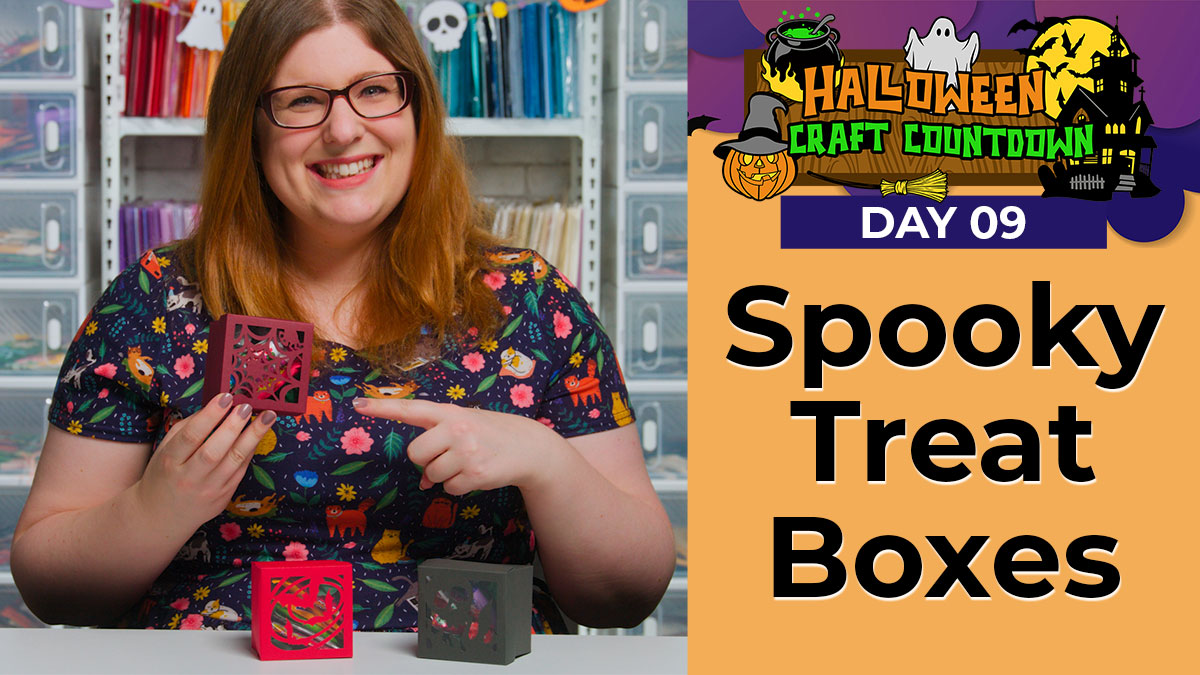
For Project 09 of the Halloween Craft Countdown, we’re making these quick and easy treat boxes.
Three different SVGs are included and each one has a different pattern on the top of the box.
The tops lift off to easily get at all of the sweets inside.
This Project was part of the Halloween Craft Countdown 2022
Materials supply list
Here is a list of the materials that I used to make this project.
Please note that some of the links included in this article are affiliate links, which means that if you click through and make a purchase I may receive a commission (at no additional cost to you). You can read my full disclosure at the bottom of the page.
- Cricut machine
- Light blue Cricut cutting mat
- Coloured cardstock (thicker card works better as it leads to a sturdier box)
- Acetate
- Glue, double-sided tape or a glue gun
- Cricut scoring stylus or scoring wheel (optional)
- Tissue paper to line the box (optional)
- Sweets / treats / candy to fill the box with

Video tutorial
Watch the video below to see how to make this project. Keep scrolling for a written tutorial.
Written tutorial (with photos!)
Here’s how to make your very own treat boxes using a Cricut machine!
Step 1) Download the cutting file(s) & unzip the downloaded folder
Error: No countdown timestamp set.
Before you upload the SVGs to Design Space, you need to unzip the download folder that they come in.
- How to unzip a folder on Windows computer
- How to unzip a folder on a Mac
- How to unzip a folder on an iPad/iPhone
- How to unzip a folder on an Android device
Step 2) Upload the SVG file into Design Space
Open up Cricut Design Space and start a new Project.
Click “Upload” and then find your unzipped version of the downloaded files for this project.

Go into the “Cut Files” subfolder and then “SVG Files” and then select your chosen card design from the “SVG” folder.
For this tutorial, I’ll show you how to make the spiderweb treat boxes which is SVG_Treat_Box_Spiderweb_CraftWithSarah.svg, but it’s exactly the same for any of these designs.
Make sure you upload the file which starts SVG_ in the filename!!
This is how it should look after you have uploaded the file:
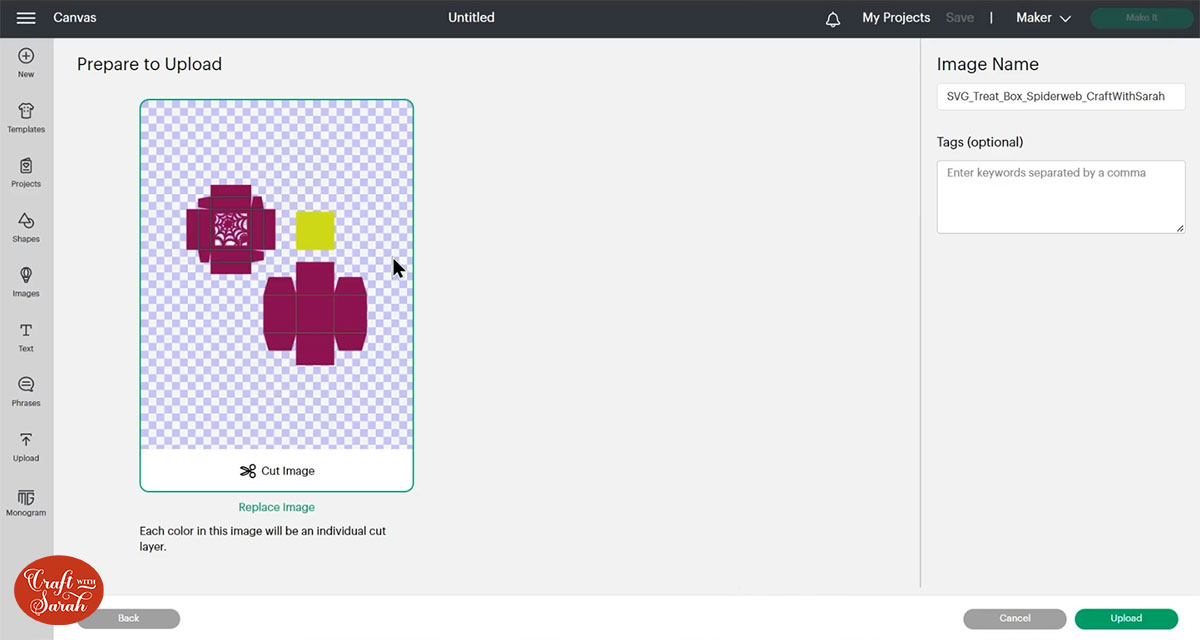
All the layers and sections of the treat boxes will appear separate on the upload screen.
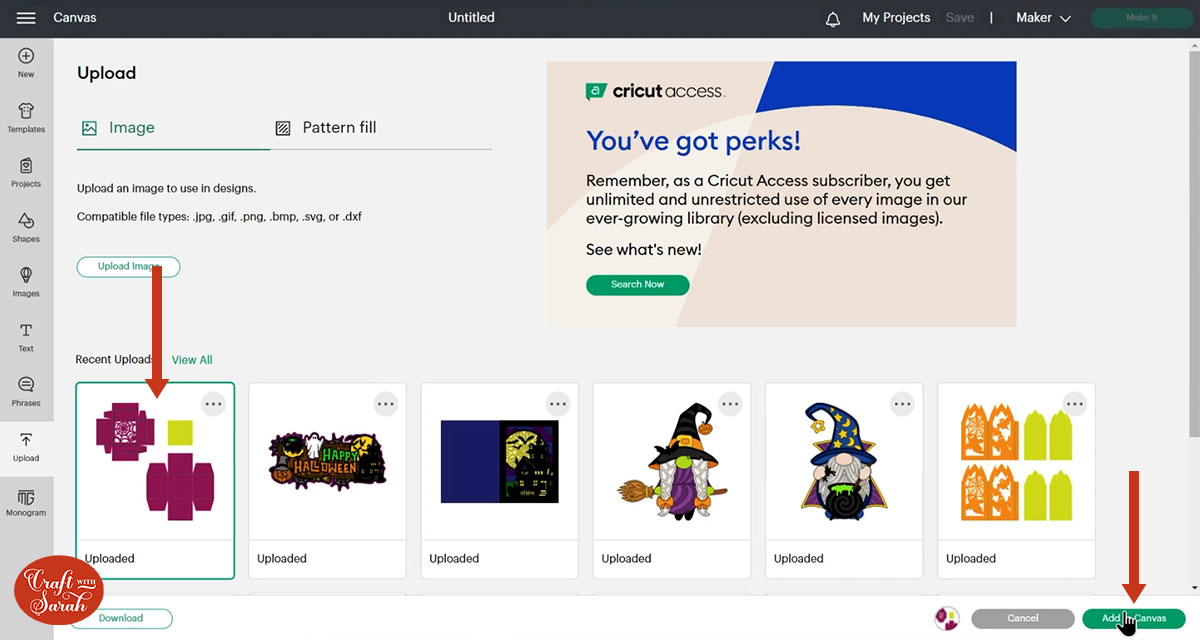
After uploading, the design will show in your “Recently Uploaded Images”.
Click on it and then press “Add to Canvas” to put it onto your Project.
Step 3) Resize the design if desired
By default, the SVG files make treat boxes that are approximately 2.75 inches square.
This is a great size for adding small treats such as lollipops, chocolates, small bags of Haribo, etc.
Sometimes Design Space changes file sizes when you upload them, so it’s a good idea to check the size before proceeding.
To make them at the size listed above, make sure the files are showing in Design Space as:
- Bats design – 13.39 inches wide, 13.389 inches tall
- Skull design – 13.39 inches wide, 13.389 inches tall
- Spiderweb design – 13.39 inches wide, 13.389 inches tall
If you would like to resize the design, do so now as it’s easiest to resize it before making the rest of the changes from the next part of this tutorial.
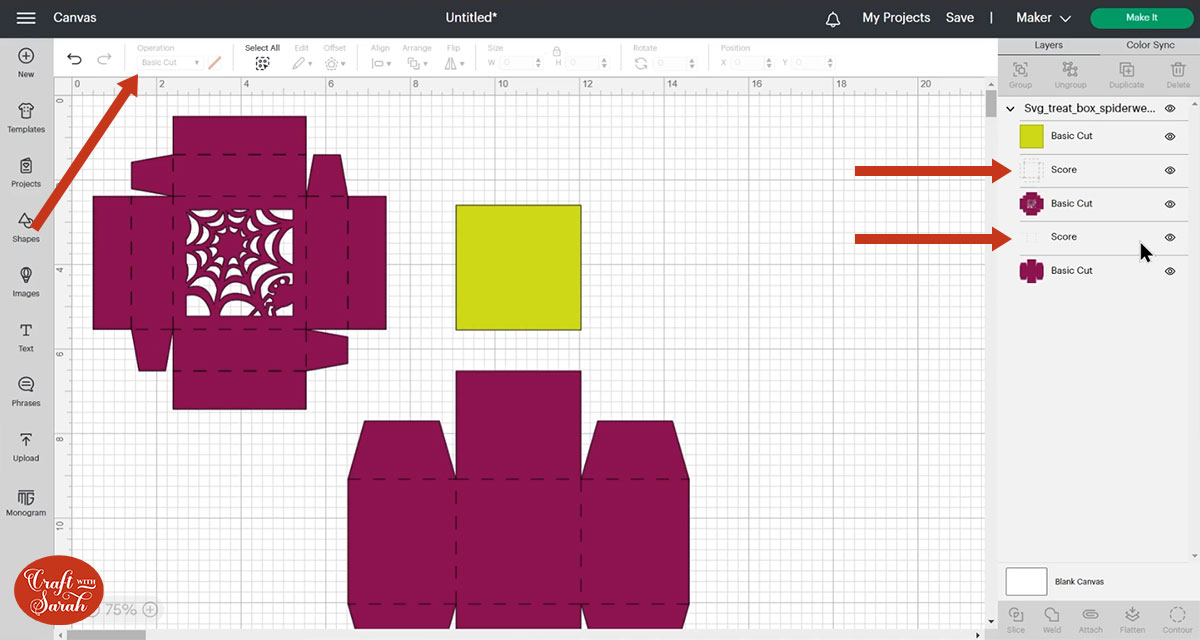
Step 4) Format the score lines
If you have a Cricut scoring wheel or a scoring stylus then change the vertical lines to score lines so that you will know exactly where to fold the treat boxes.
Click on the layers in the layers panel that show the single lines and change them to “Score” in the operations dropdown.
TIP: If you don’t have a scoring tool then you could change them to a “Pen” layer and draw the lines on instead, that way you can manually score them once it’s all been cut out.
Next, click the design and press “Ungroup” to separate out all of the layers.

If you don’t have a scoring tool and don’t want to draw the lines on then you can delete them. To do this, click on one of the two line layers and press delete on your keyboard. Then, repeat for the other one.
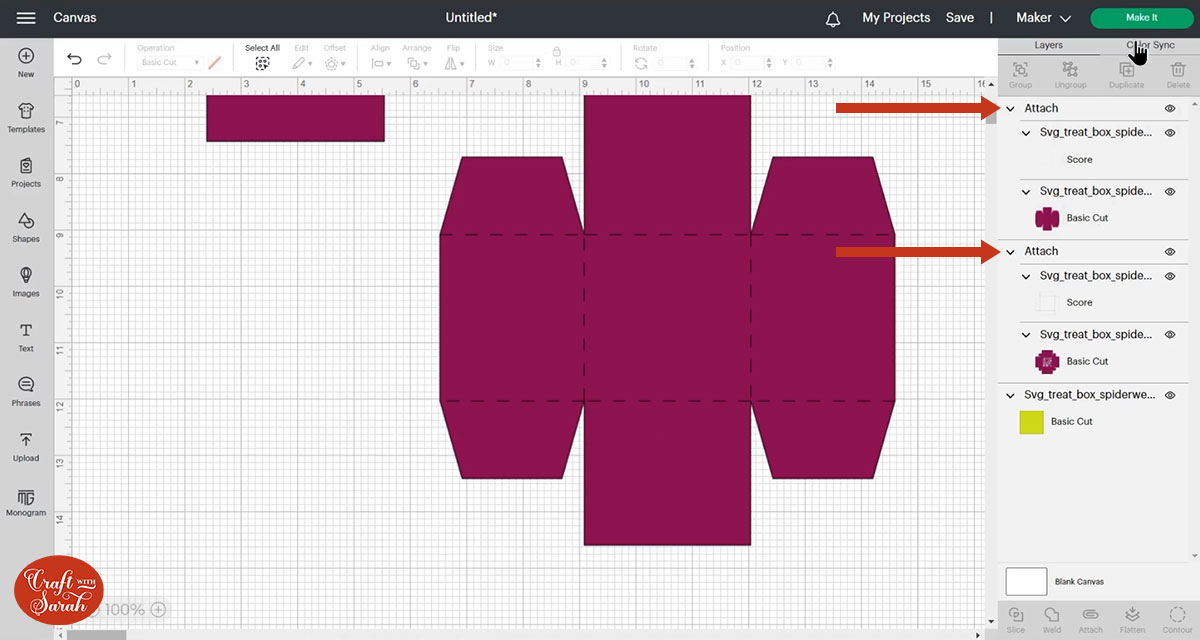
If you are using score or pen layers, you need to “Attach” them to the treat box layer underneath. Attach is what tells the Cricut where we want it to score or draw.
Select one of the vertical line layers and the treat box template layer underneath it.
Click “Attach” down at the bottom of the layers panel.
Then, repeat that for the other set of score lines and its matching treat box template layer.
Your layers panel should now be looking like this:
Step 5) Cut the treat box with your Cricut
Save your Project and then click “Make It” and follow the instructions on-screen to get everything cut out with your Cricut machine.
Check that everything is look correct on the cut screens and make sure the score lines are showing upon the right pieces.

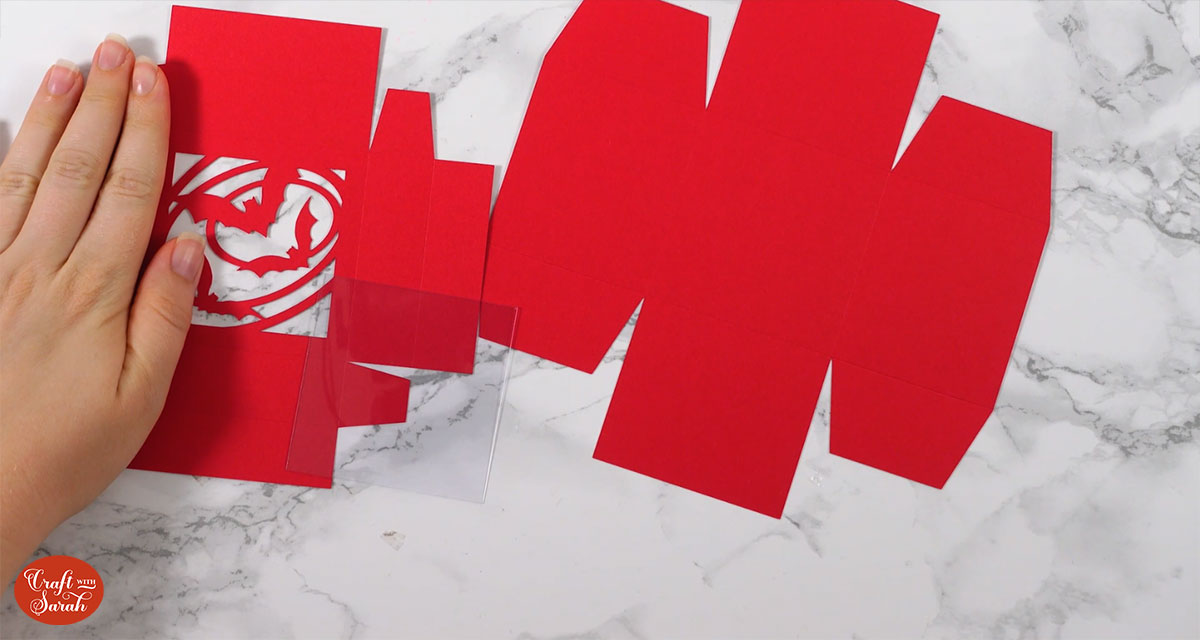
Cut the “inside” square from acetate or some other kind of transparent material as that will be going inside the lid to cover the gaps in the design.
I recommend using quite a thick cardstock for the main pieces as it will lead to a sturdier treat box.
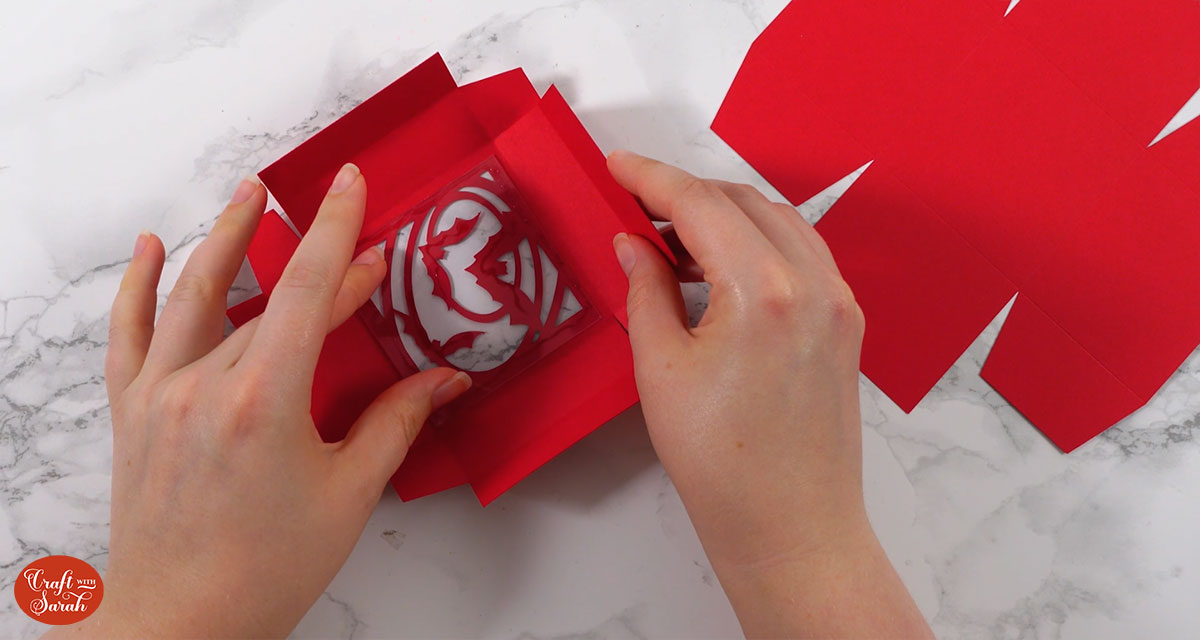
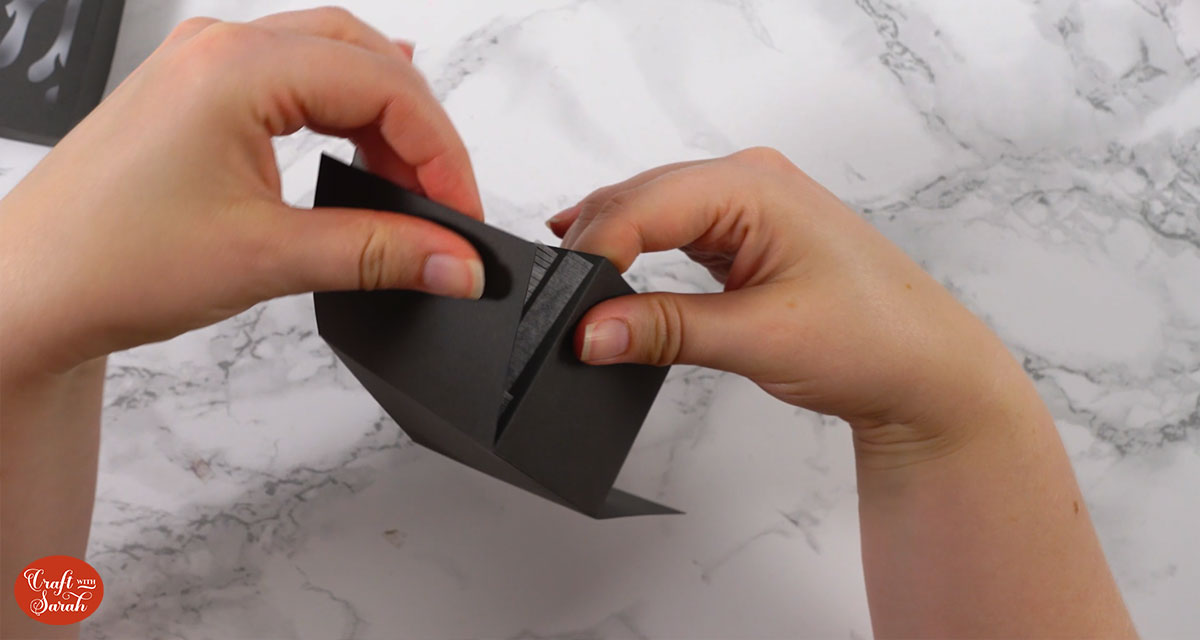
Step 6) Assemble the lid of the treat box
Turn the lid piece of the treat box upside down so you are viewing the back of the card.
Fold upwards/inwards along all of the score lines on both pieces of the treat boxes (valley folds).
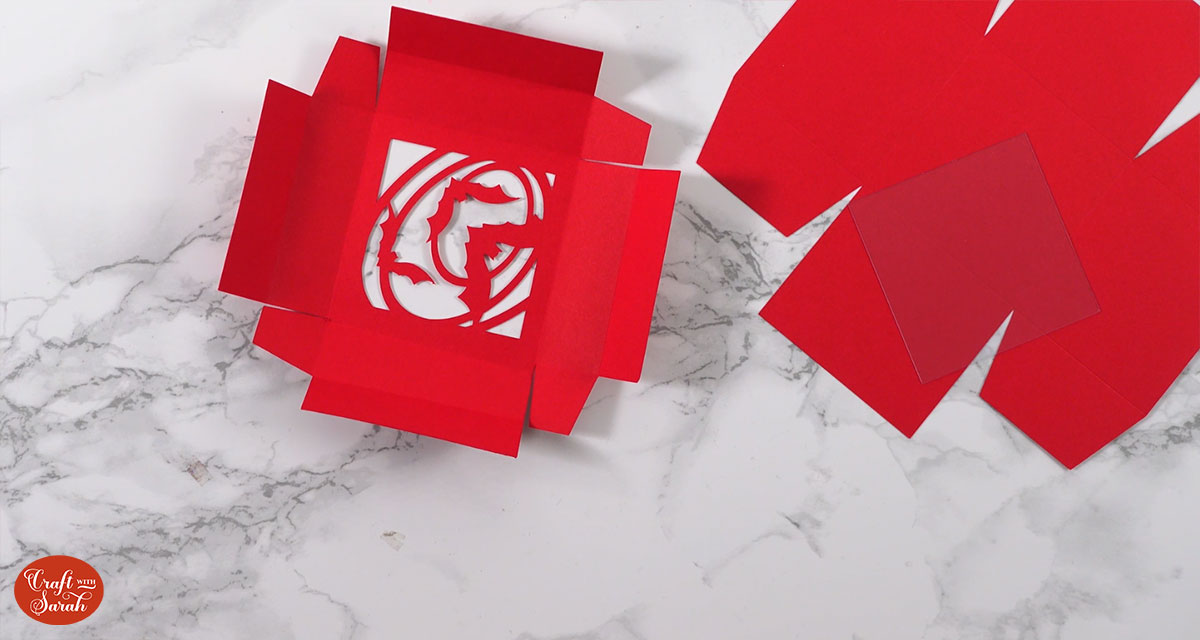
Glue the acetate square into the inside of the lid.
Wait for the glue to completely dry before moving on to the next step.
Use double-sided tape to stick the lid together. It’s easiest to watch the video near the top of the page to see how to do this.
Add tape to the four “rectangle” shapes that are touching the middle piece of the lid.
Fold each side up and stick the tab to the inside of the side next to it.
Once all four sides are done, fold down the remaining rectangular tabs and stuck inside the lid. This adds stability to the lid.
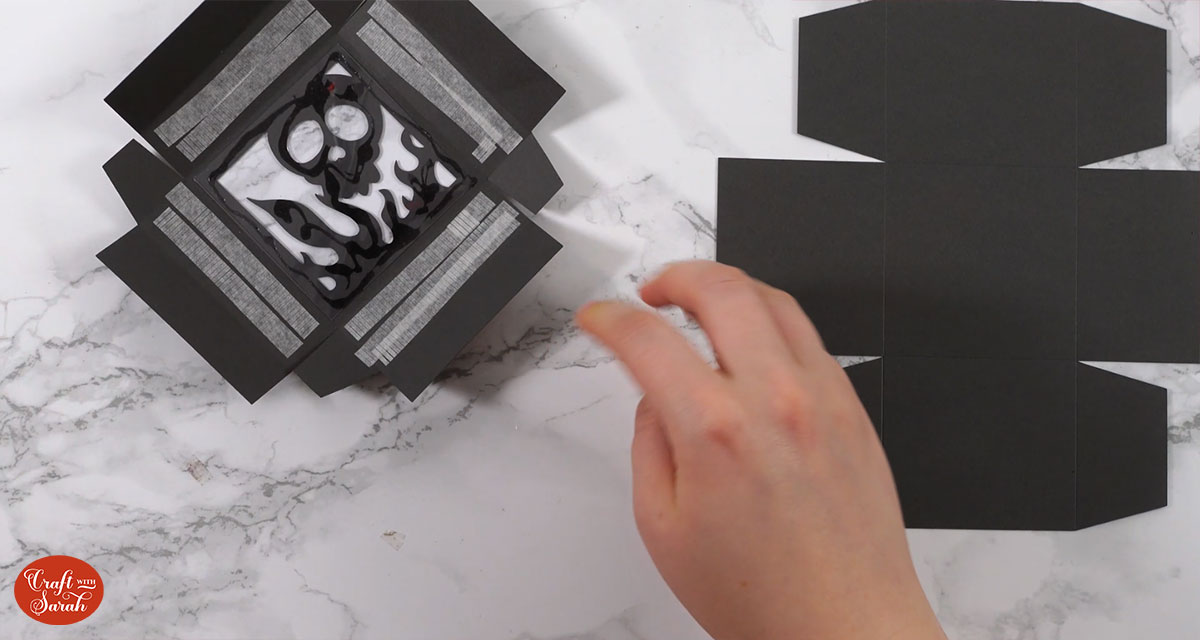
Step 7) Make the main part of the treat box
Turn the main piece of the treat box upside down so you are viewing the back of the card.
Fold upwards/inwards along all of the score lines on both pieces of the treat boxes (valley folds).

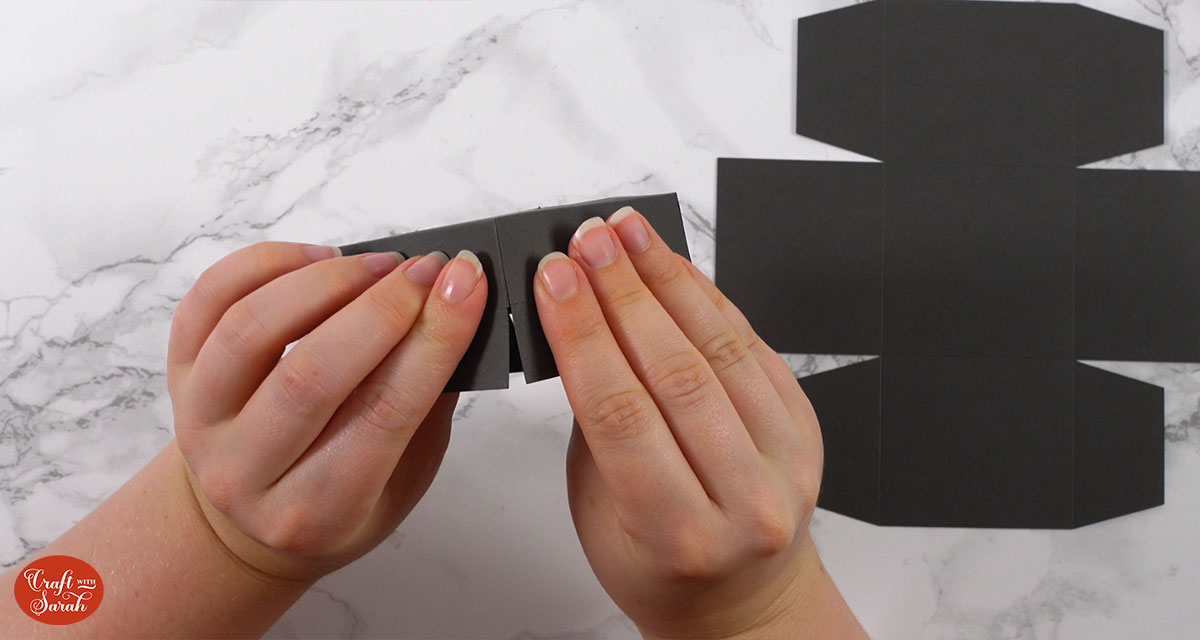
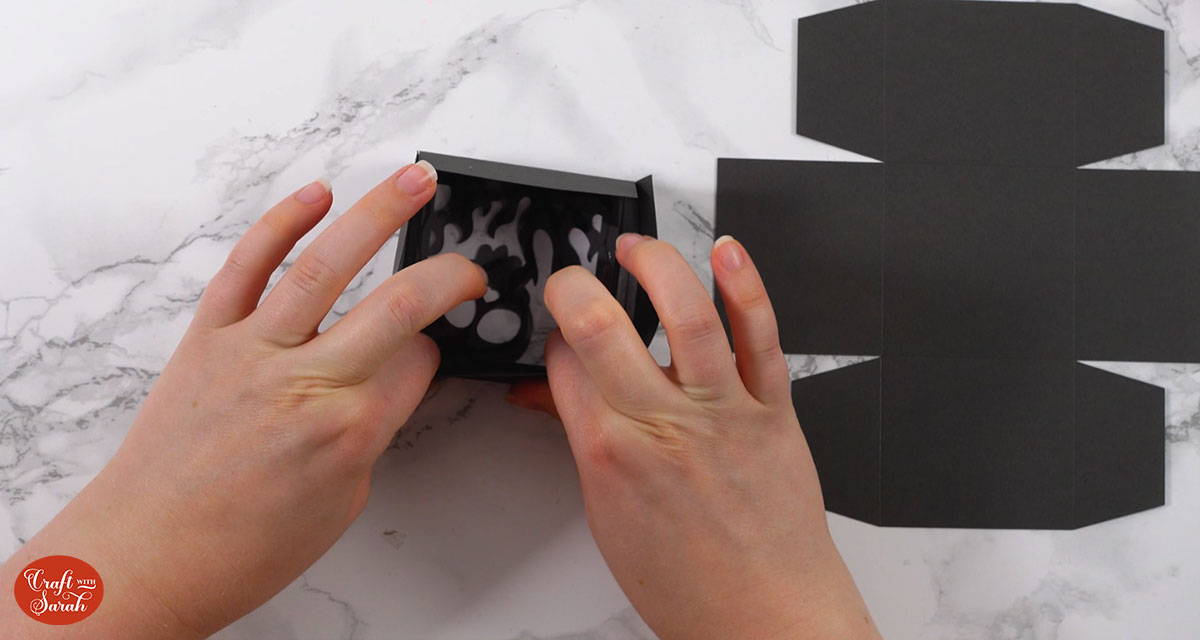
Turn it over and then add double sided tape or glue to the four “three-sided” tabs as shown below.
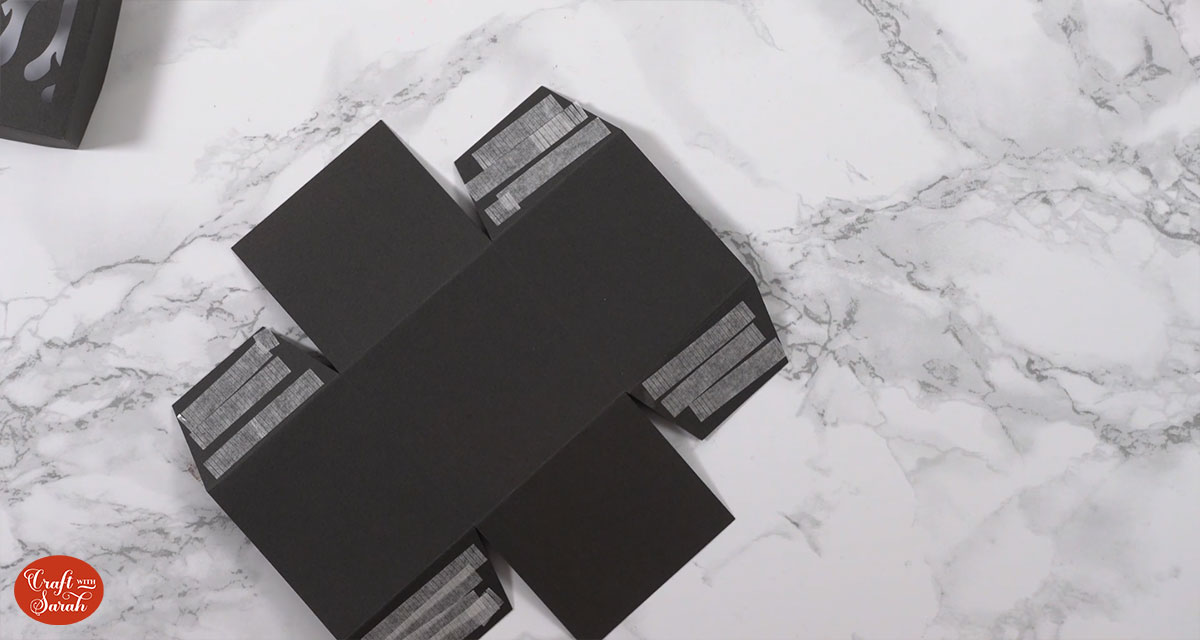
Fold the sides up and stick the tabs to the inside of the corresponding edge.
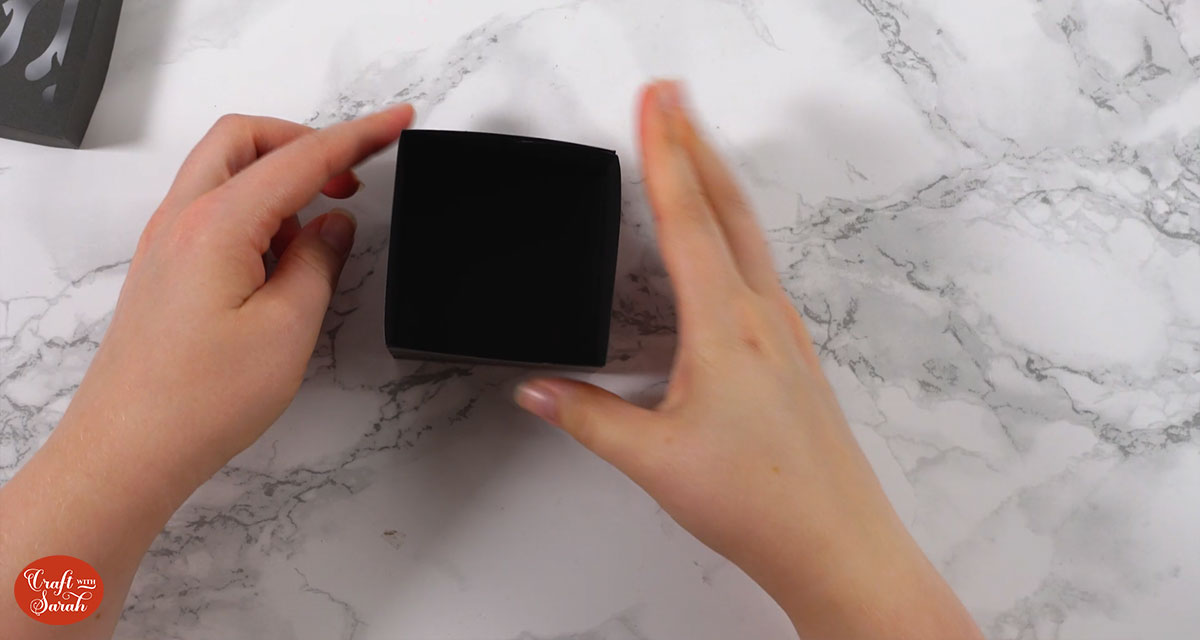
You’ll end up with a square shaped box.
Halloween treat boxes
After sticking your treat box together, it’s ready to be filled with tasty treats!
I like to add some tissue paper inside before the treats to give it a bit more visual interest and to help bulk out the box a little bit.
Happy crafting,
Sarah x

