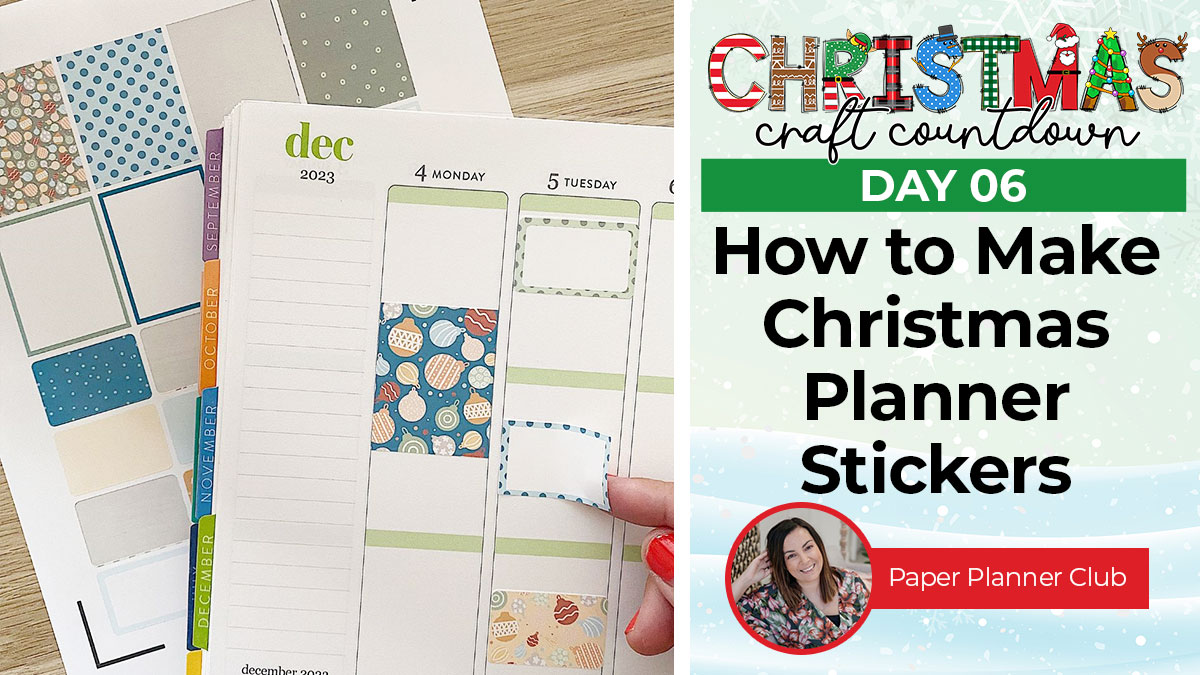
CCC 2023 Day 06 ☃️ Christmas Planner Stickers
Love staying organised with planner stickers? Here’s how to make your own!
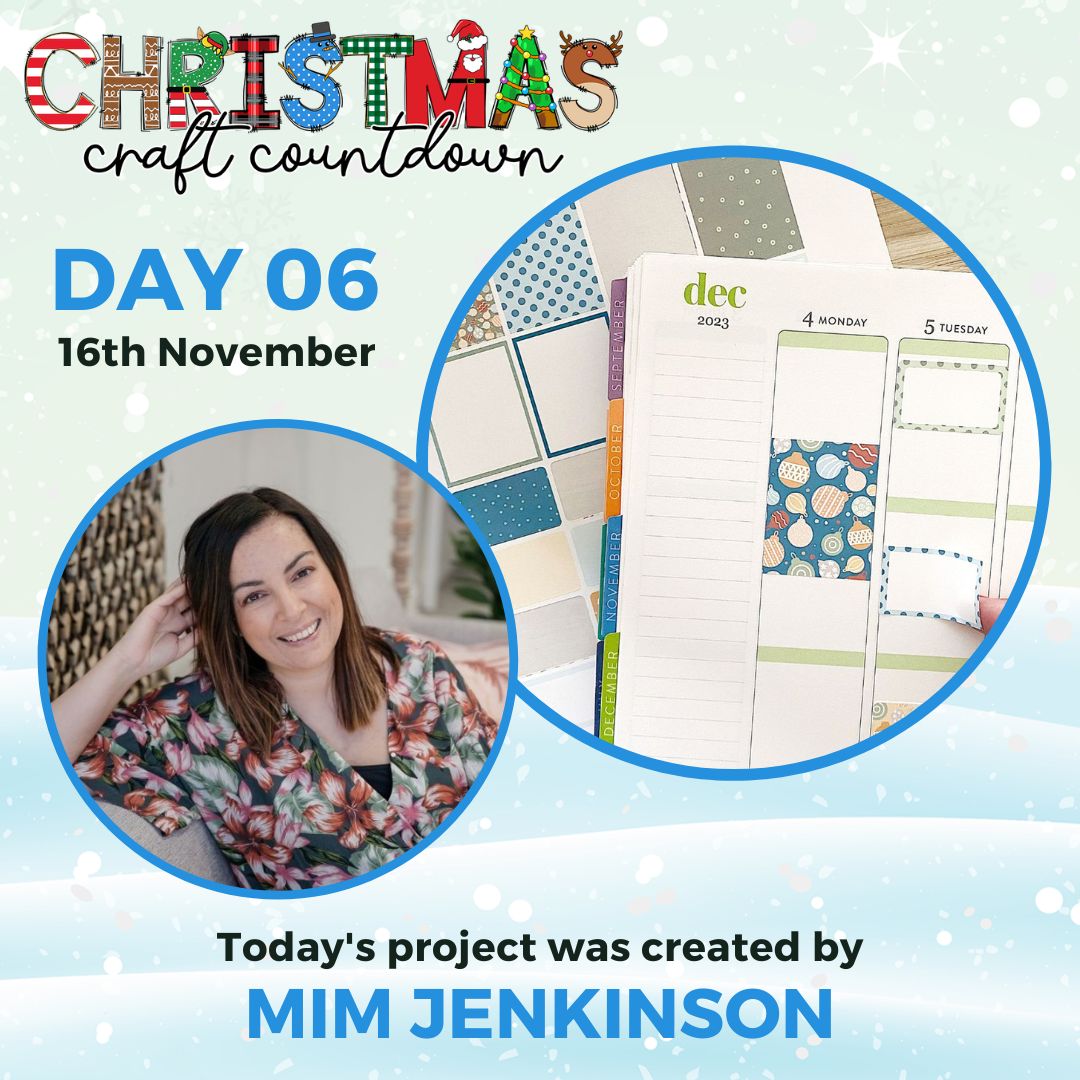
It’s Day 6 of the Christmas Craft Countdown and Mim Jenkinson from Paper Planner Club is sharing these adorable, and so useful, planner stickers.
You can use the same techniques which Mim uses to make your own planner stickers too. She will take you through each step so that you can make a variety of different stickers.
You can size the stickers so that they perfectly fit your planner or make them a standard size to make a lovely gift for someone you know.
This Project was part of the Christmas Craft Countdown 2023
Materials supply list
Here is a list of the materials that Mim used to make this project.
Please note that some of the links included in this article are affiliate links, which means that if you click through and make a purchase I may receive a commission (at no additional cost to you). You can read my full disclosure at the bottom of the page.
- Cricut machine
- Light grip cutting mat
- Colour printer
- Sticker paper
This project is suitable for the following types of Cricut machine: Explore Air 2, Explore Air 3, Maker, Maker 3 and Joy Xtra.
Video tutorial
I love the patterns that Mim uses to make such gorgeous stickers.
Watch the video below to see how to make these planner stickers.
If you prefer to read rather than watch, keep scrolling!
This project was created by Paper Planner Club
Mim Jenkinson is a planner-obsessed sticker-maker, online business coach, 5-star Etsy seller and host of "The Planner Podcast”.
She's taught over 10,000 people worldwide how to create perfect planner stickers from scratch with Cricut, Silhouette and Canva. Many of her students have gone on to start their own profit-focused sticker shop, selling the stickers people actually WANT to buy!
If you're ready to get creative with planning and stickers (even if you’re not a designer!), Mim is your person.
Written tutorial (with photos!)
Here’s how to make your very own Christmas paper planner stickers using a Cricut machine!
Step 1) Download the printable file & unzip the downloaded folder
Download the files using the box below.
Before you upload the PNG file to Design Space, you need to unzip the download folder that it comes in.
- How to unzip a folder on Windows computer
- How to unzip a folder on a Mac
- How to unzip a folder on an iPad/iPhone
- How to unzip a folder on an Android device
Step 2) Upload the PNG file into Design Space
Open up Cricut Design Space and start a new Project.
Click “Upload” and then find your unzipped version of the downloaded files for this project.

Upload the file called Mim-Jenkinson-Christmas-Planner-Stickers(Change Width to 6.534 inches).png
Please note that this is a PNG file as it’s a print then cut design, it is not a SVG file
This is what it looks like:
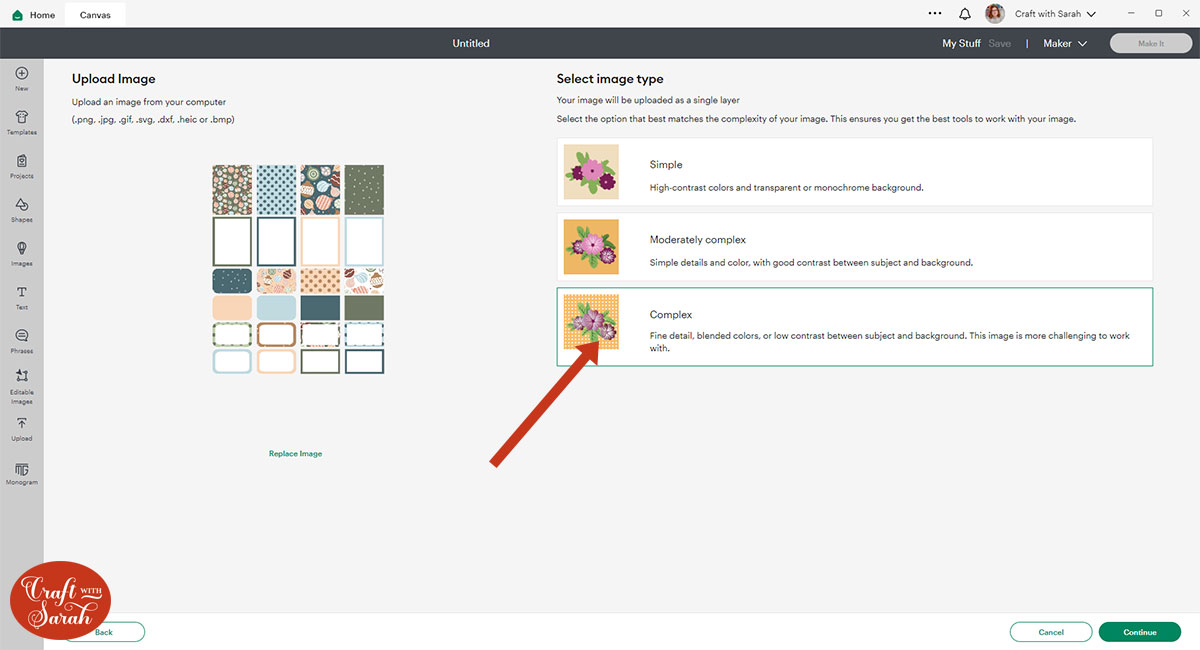
Choose “Complex” as the image type.
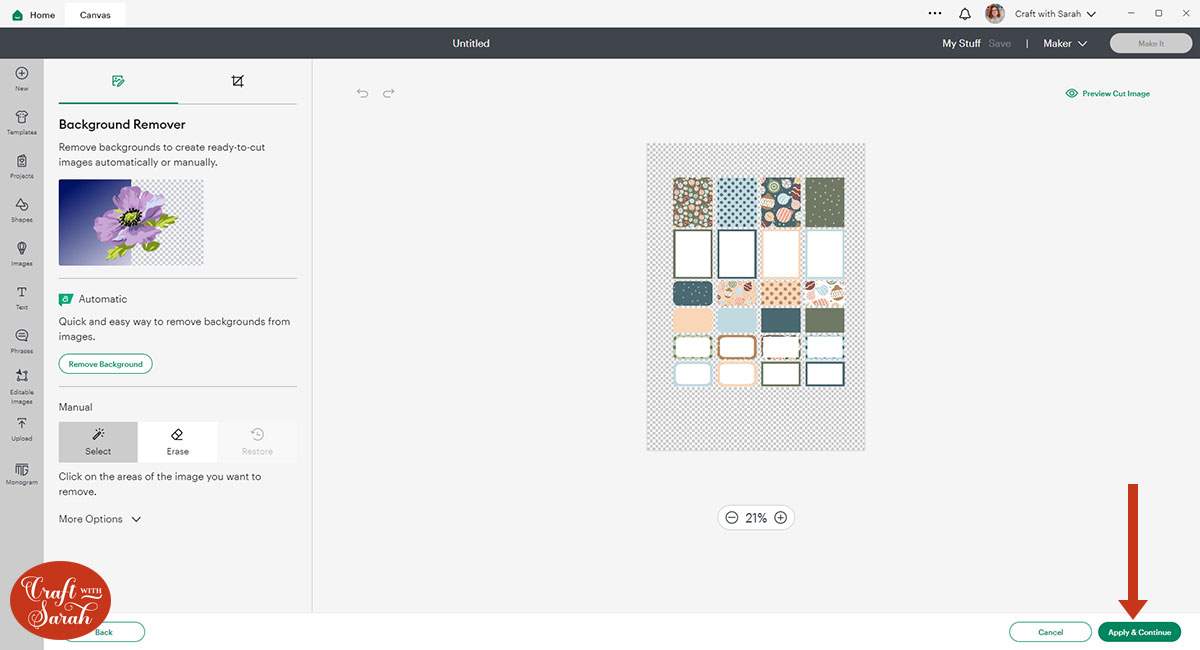
You don’t need to change anything on the next screen; just press “Apply & Continue”.
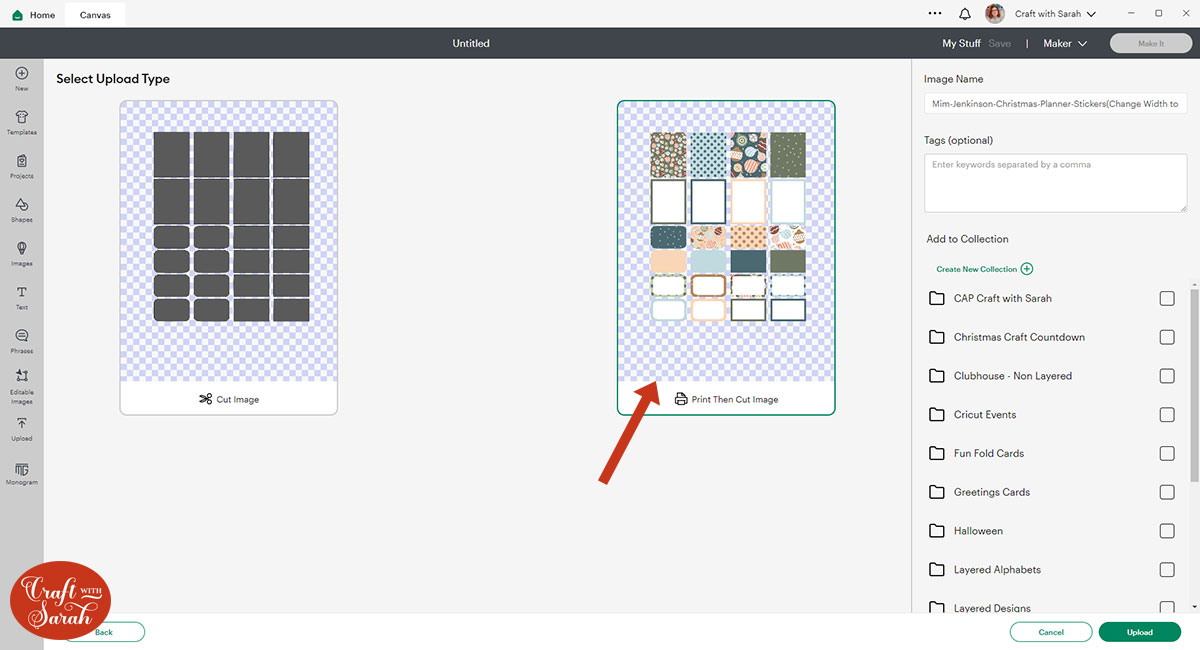
Select “Print then Cut” and then press “Upload”.
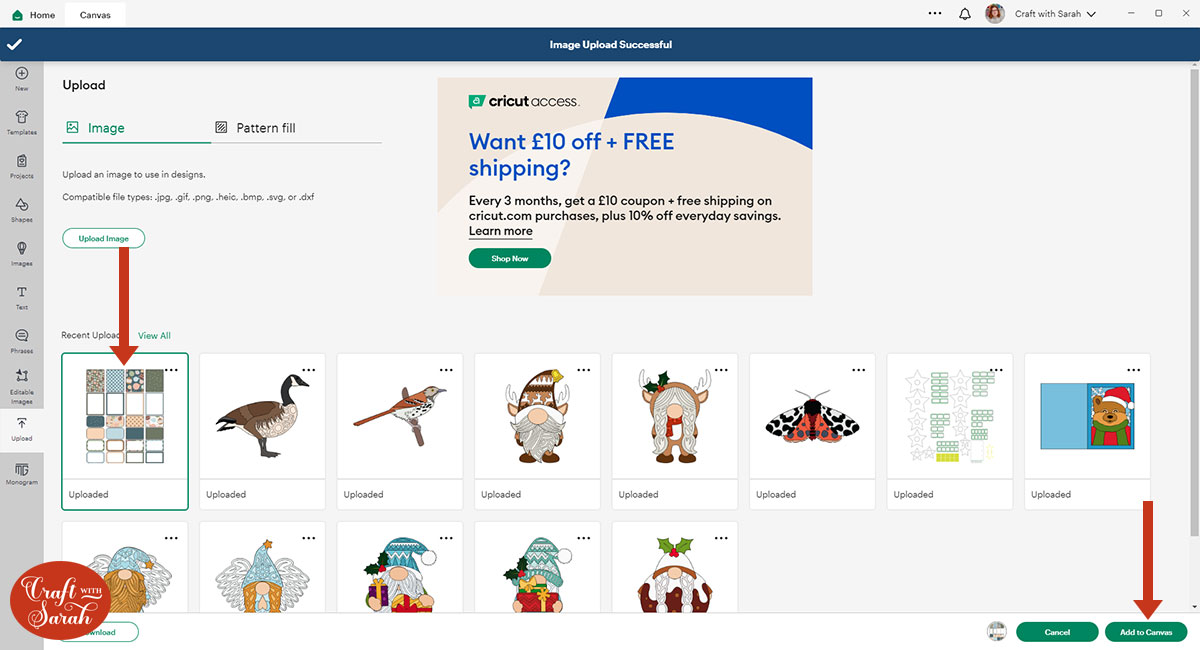
After uploading, the design will show in your “Recently Uploaded Images”.
Click on it and then press “Add to Canvas” to put it onto your Project.
Resize the design to 6.534 inches wide.

If you would like to use your own patterns for the stickers, see how to do that further down this page.
Step 3) Print then Cut the planner stickers
Click Make It and make sure that everything is within the Print then Cut lines.
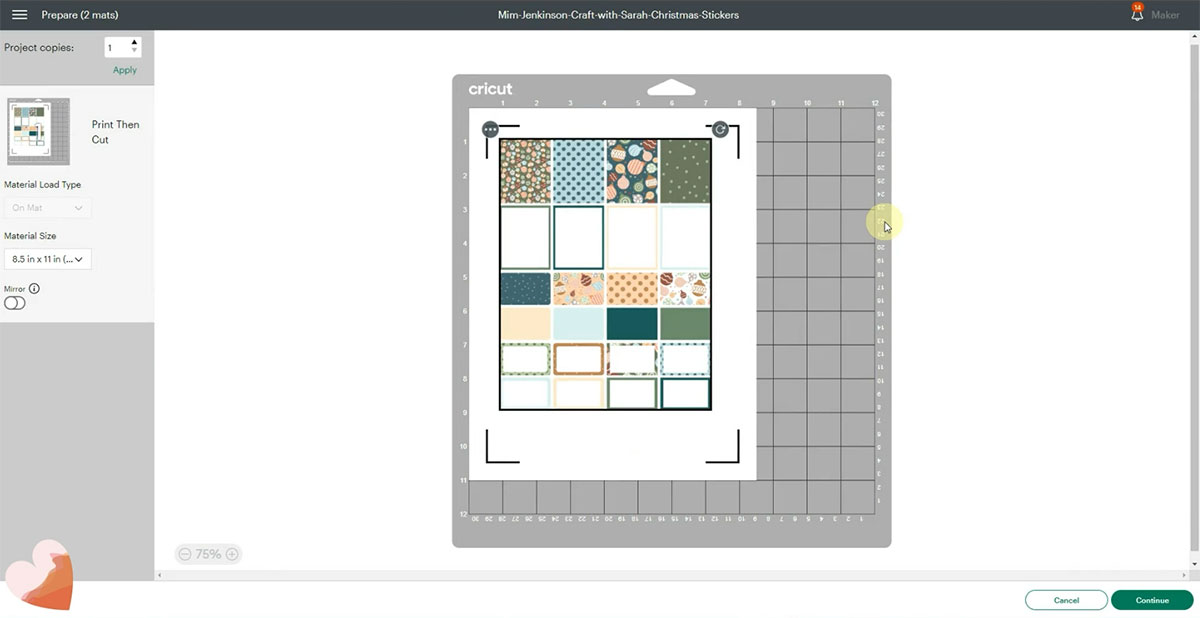
Click Continue and Send to Printer.
Note: If you haven’t used print then cut before, or if it’s been a long time since you last used it, you may need to calibrate your machine before you can print.
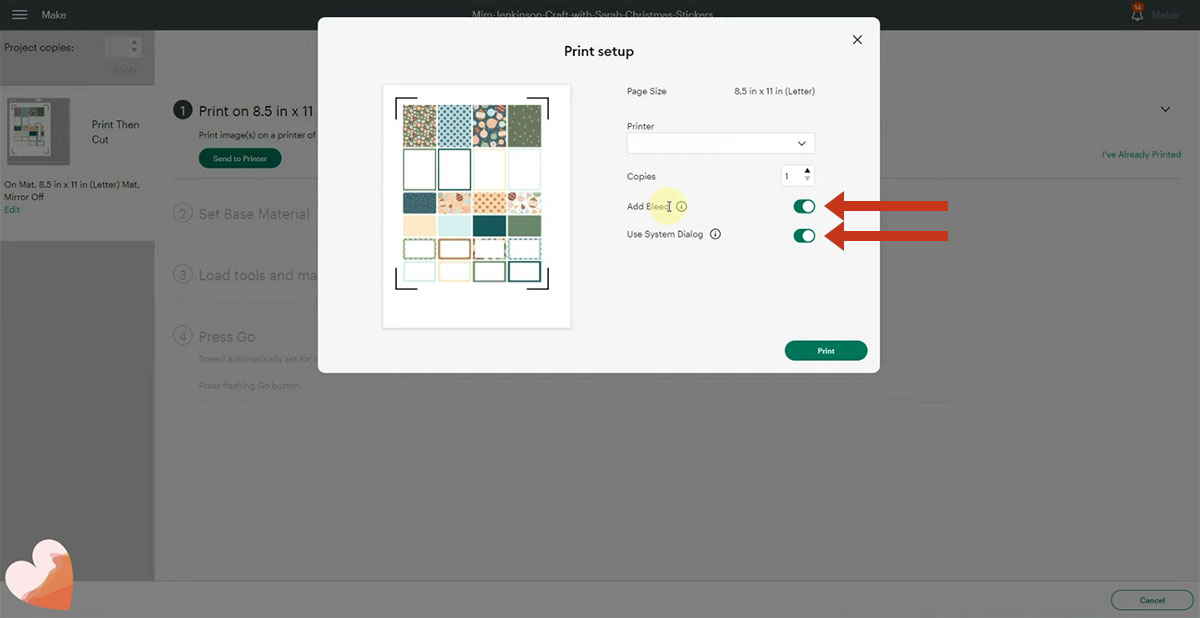
Click the printer drop down and select your printer. You may want to turn on Add Bleed to add a little bit of extra colour around the edge of each sticker. This means that if the Cricut cuts slightly off-centre, you will still see colour on the edges of your stickers.
Turn System Dialog on too. This means your printer settings box will load when you send the design to print, so you can make sure you are printing on the highest quality settings.
These are the cut settings that Mim used:
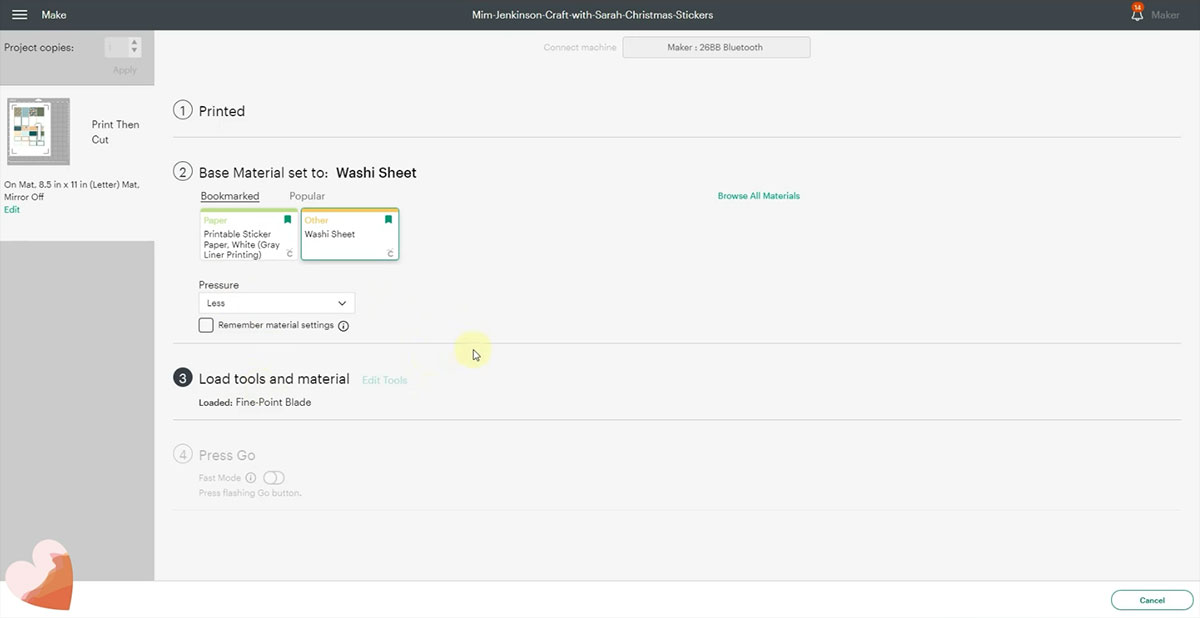
You may have to do a test cut beforehand to see what works best for your sticker paper.
Once your stickers have been printed, place the sticker sheet onto your cutting mat.
Load it into your Cricut machine and follow the instructions in Design Space to get the stickers cut.

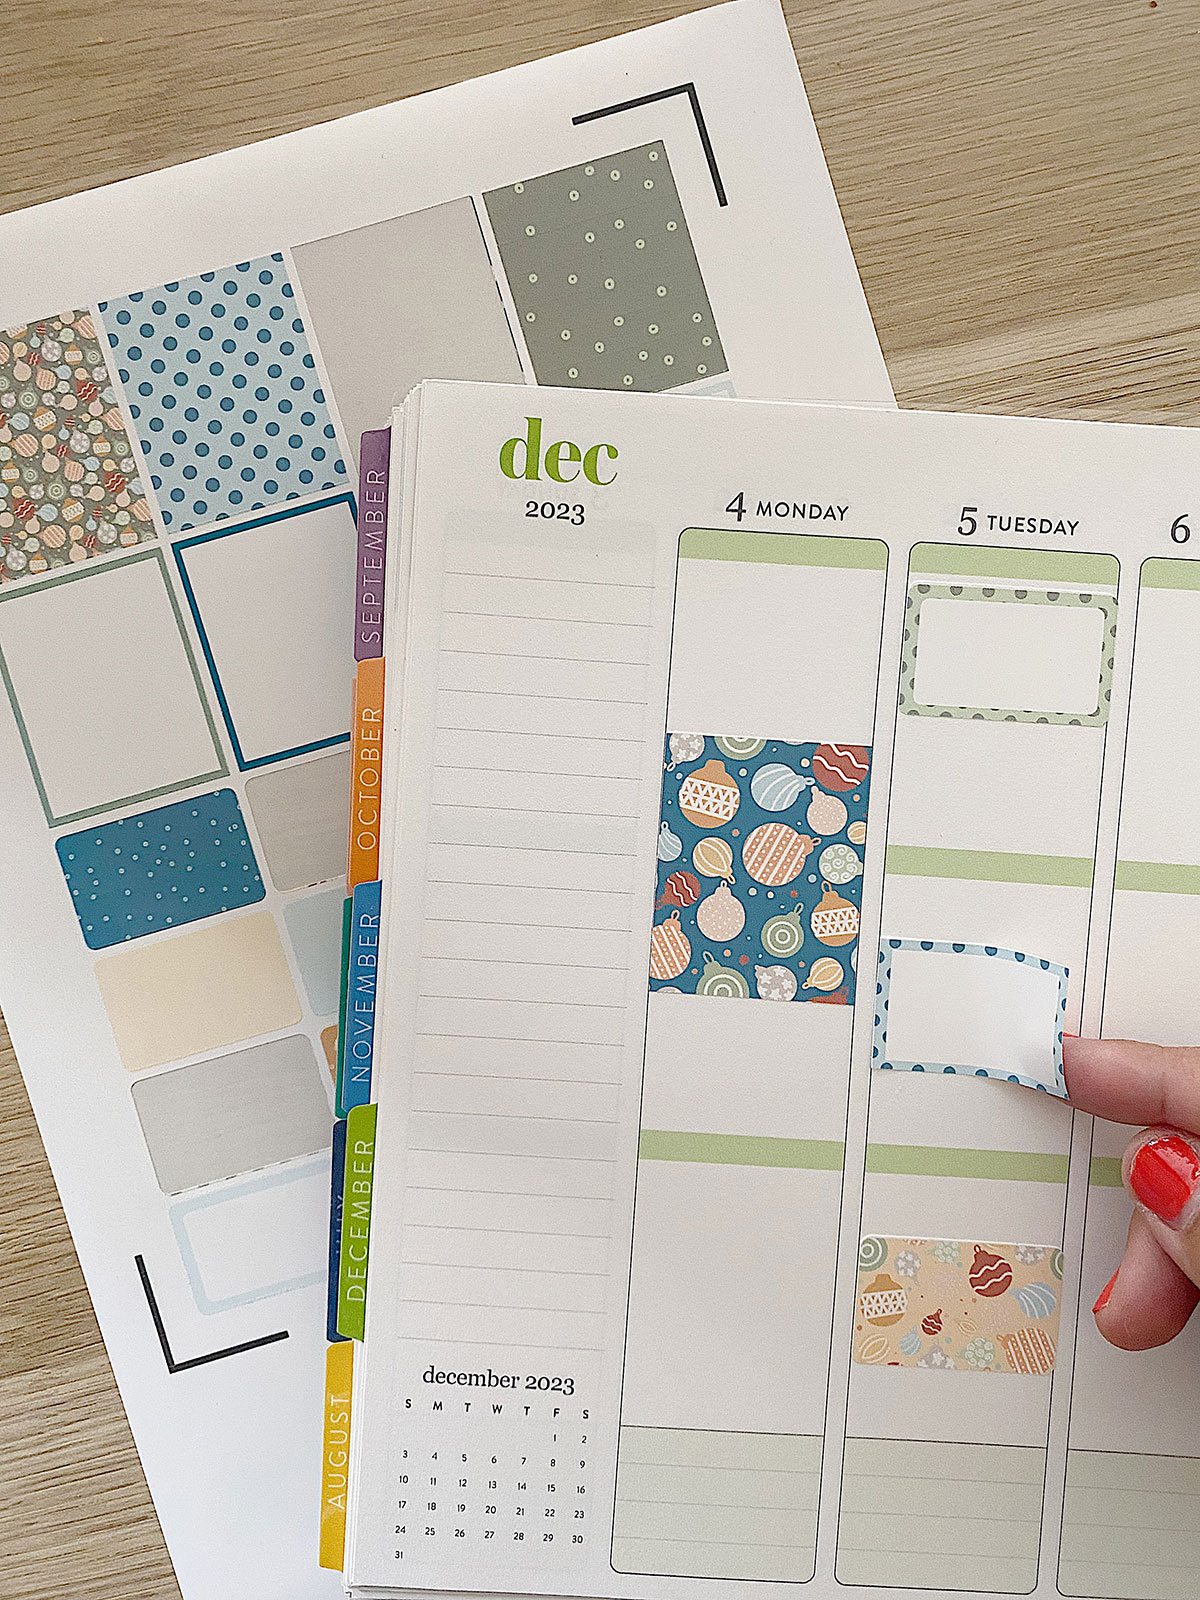
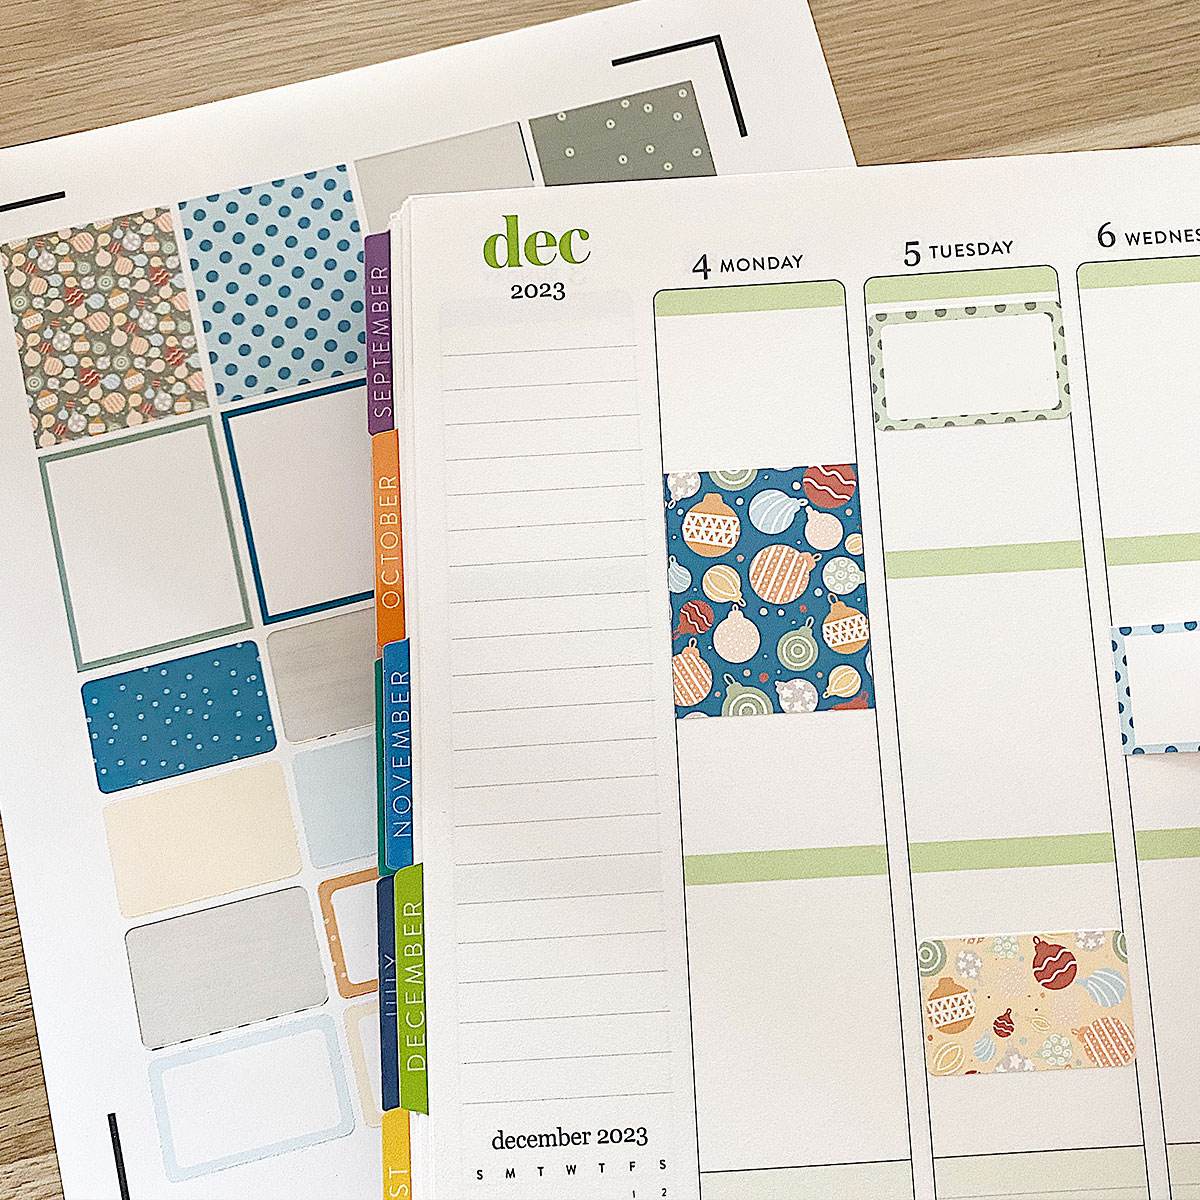
Now your beautiful stickers are finished and ready to be used in your planner!
Design your own planner stickers
If you have your own patterns or want to use the ones from within Design Space you can create your own stickers following the steps below.
There are lots of patterns to choose from on Creative Fabrica, for all different occasions.
Upload patterns by going Upload > Pattern Fill > Upload Pattern.
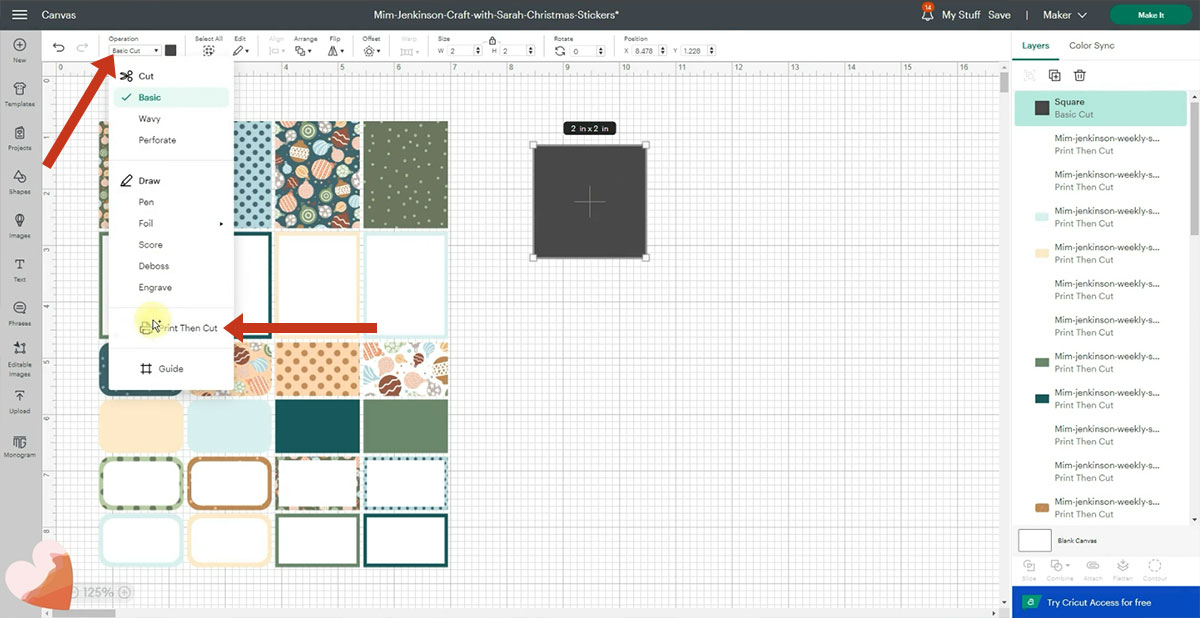
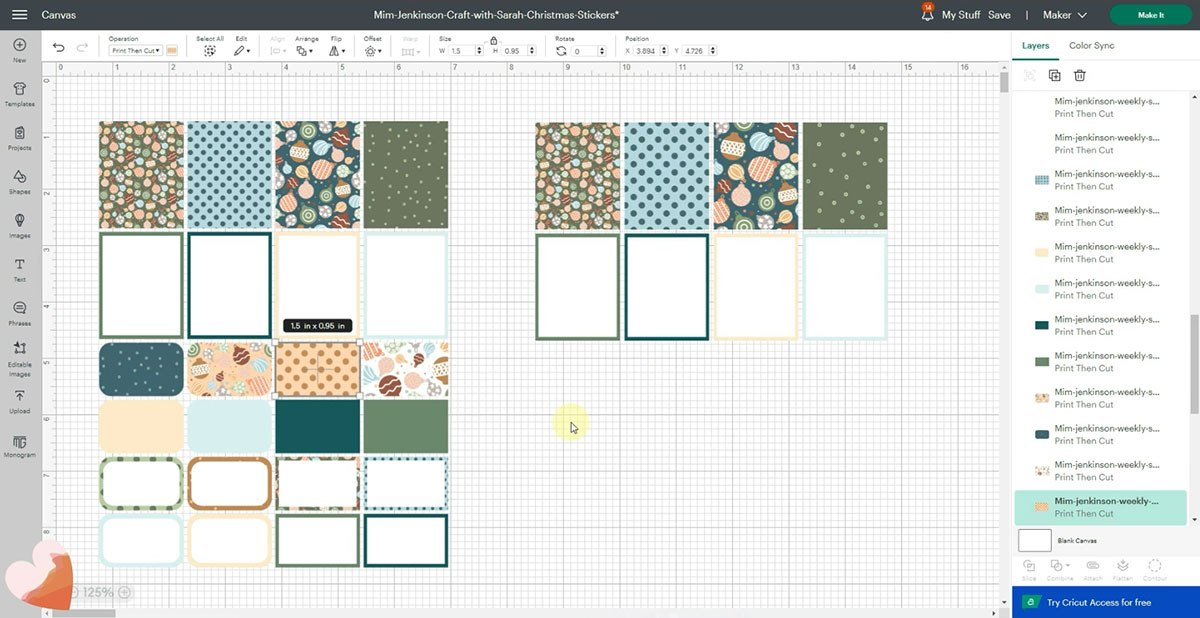
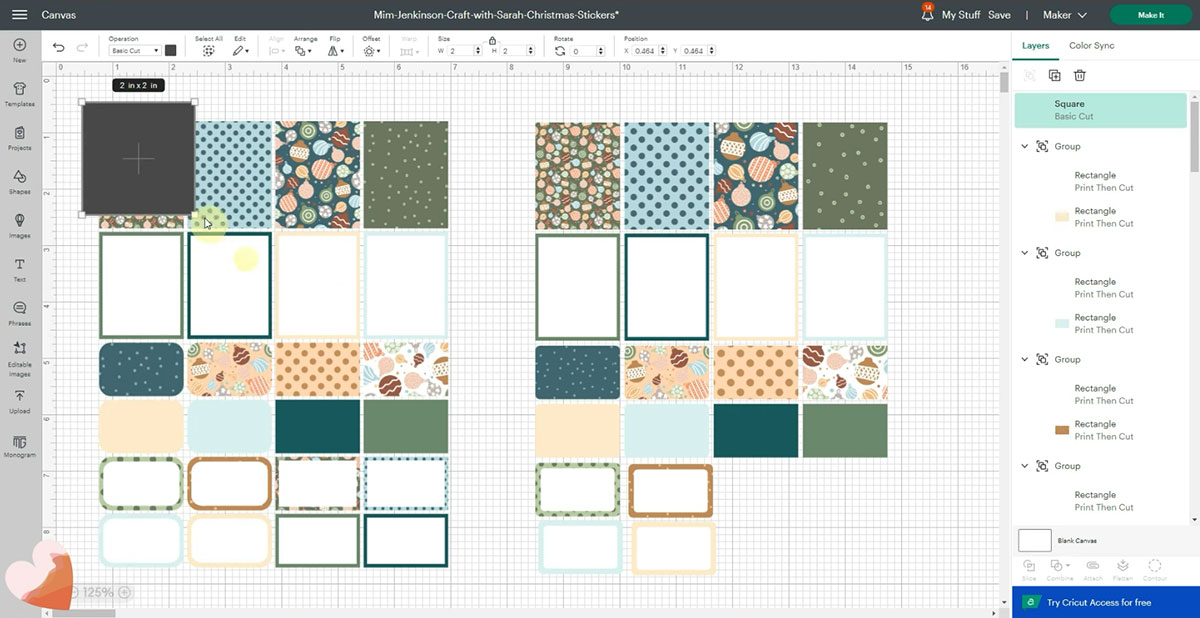
To create the stickers, go into Shapes and select a square.
Change the Operations dropdown from Basic Cut to Print then Cut.
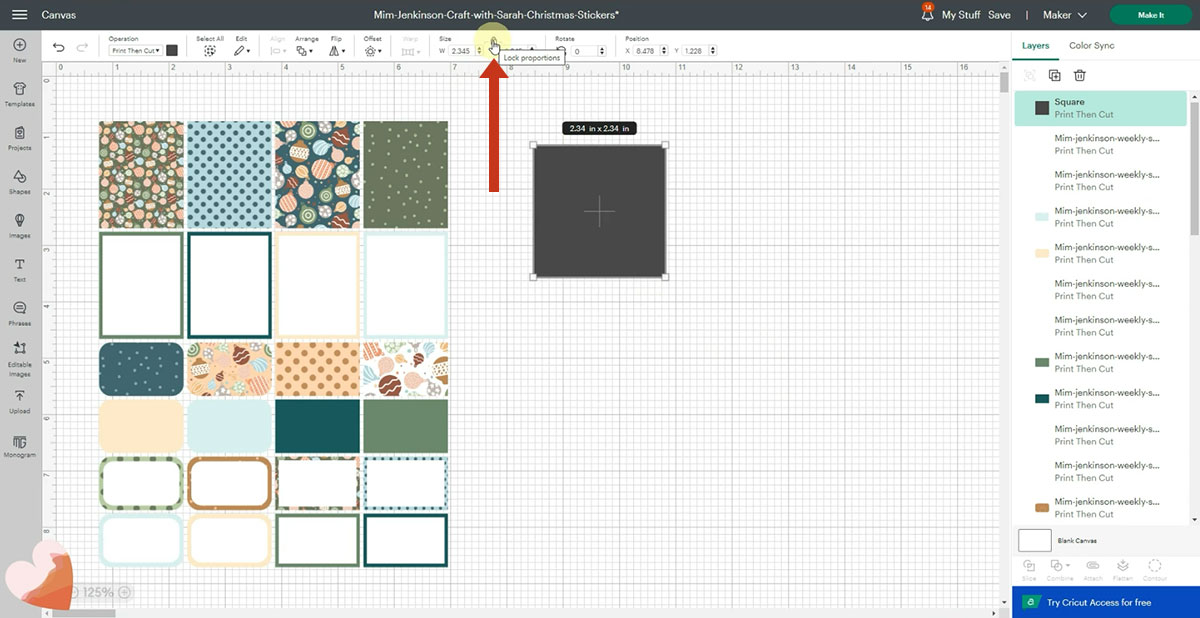
To change the size and make it a rectangle, click on the padlock icon above the width/height boxes to unlock it.
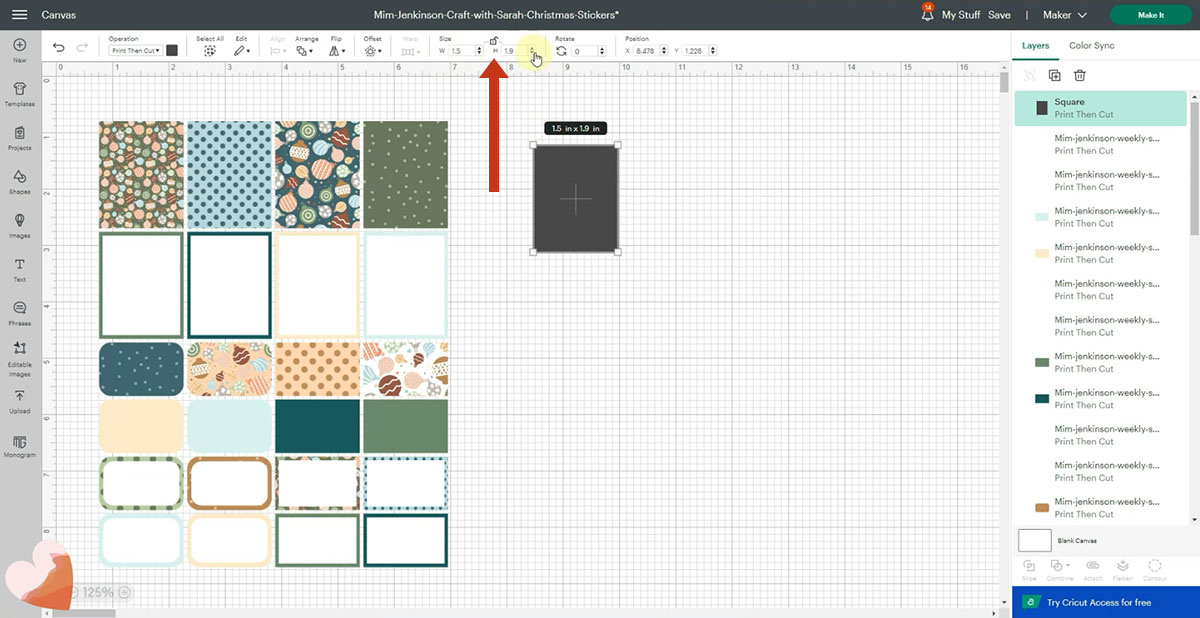
To make it a standard planner sticker size, you want a width of 1.5 inches and a height of 1.9 inches but you can make it whatever size you want.
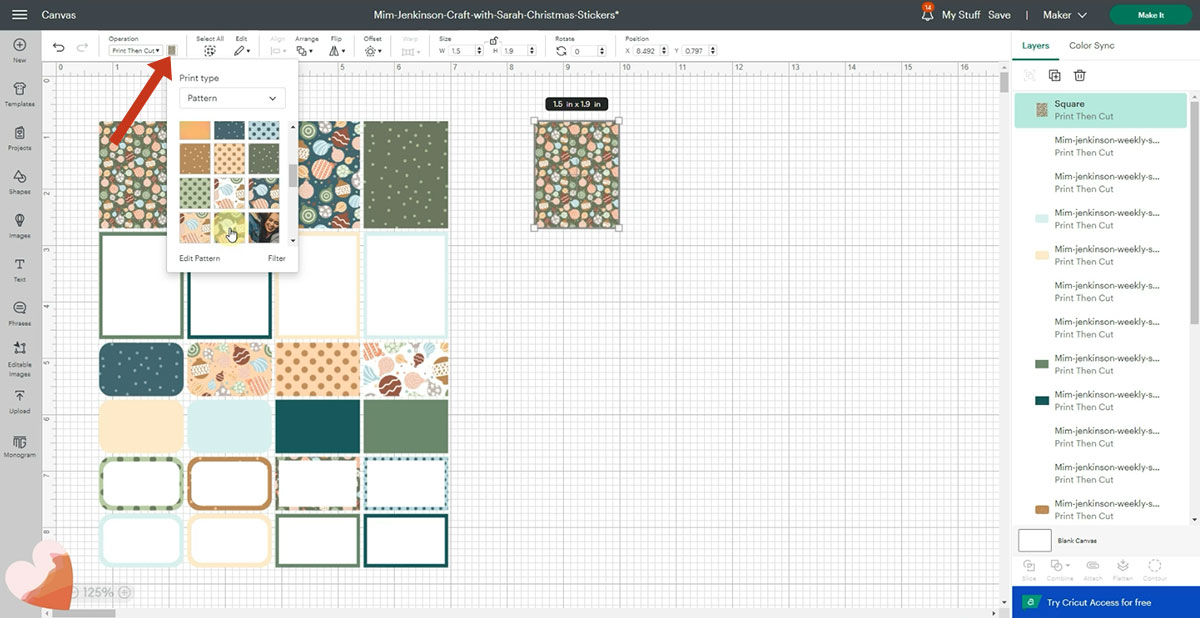
To give your sticker a pattern, change it from colour to pattern in the colour drop down. Select the pattern that you want to use.
The quickest way to make additional stickers is to duplicate the one you just made.

Change the other stickers to different patterns using the pattern drop down.
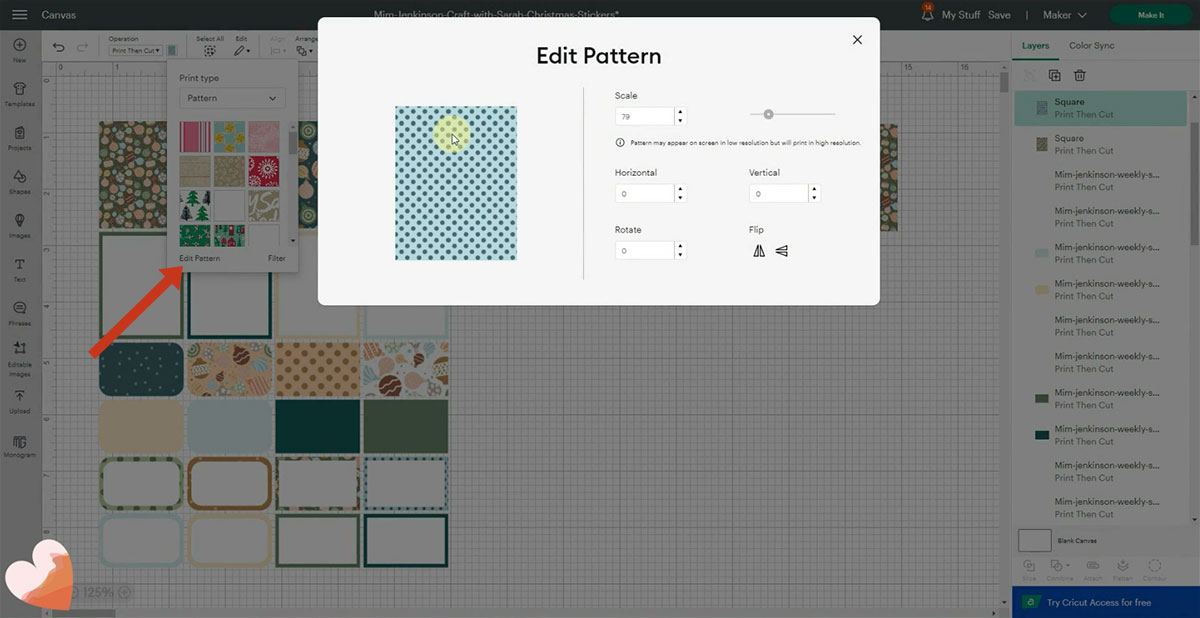
You can go into Edit Pattern and scale up the percentage to zoom in and give the pattern a different feel.
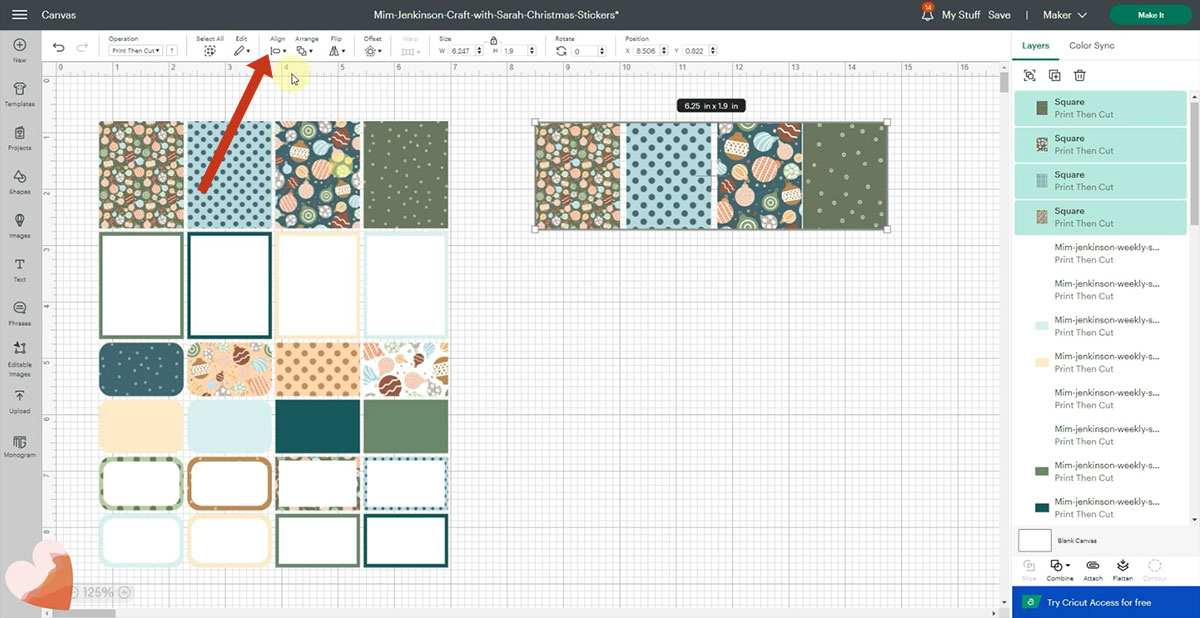
Select the 4 stickers and press Align > Align Top to get them all neat.
You can then go into Align again and distribute them horizontally to make them even tidier.
To make the gaps smaller between them, bring one of the edge stickers closer to the next one and go Align > Top and Align > Distribute Horizontally with them all selected again.
Select your sticker and group them. Right click and duplicate so that you can use them to work on the next stickers.
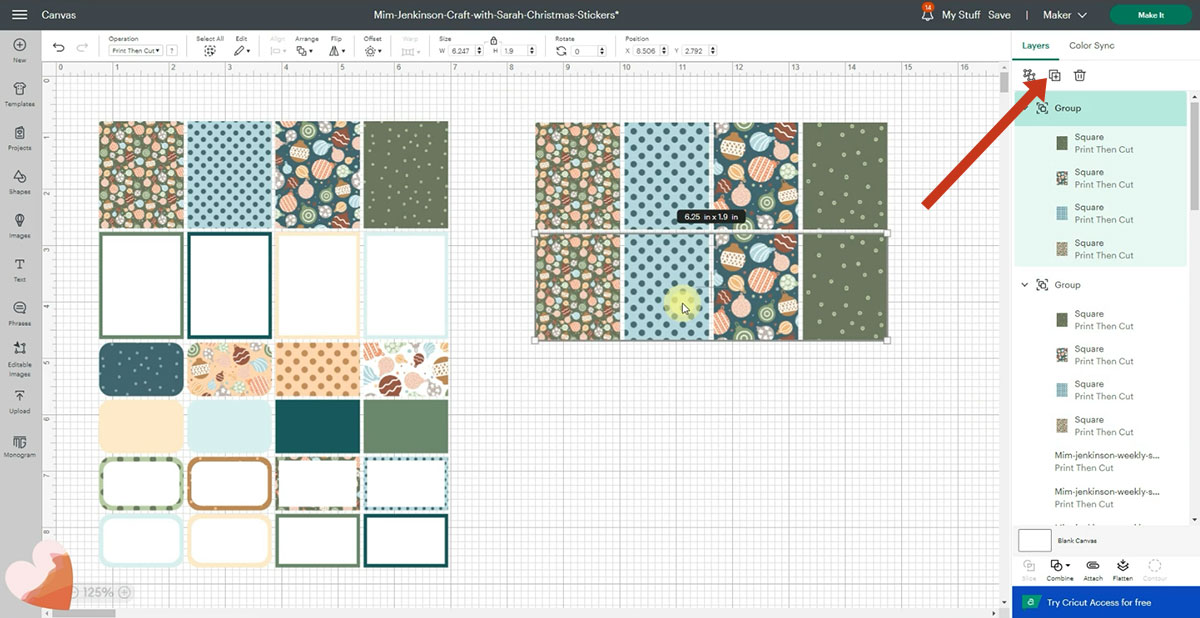
Select both groups and align them to the left.
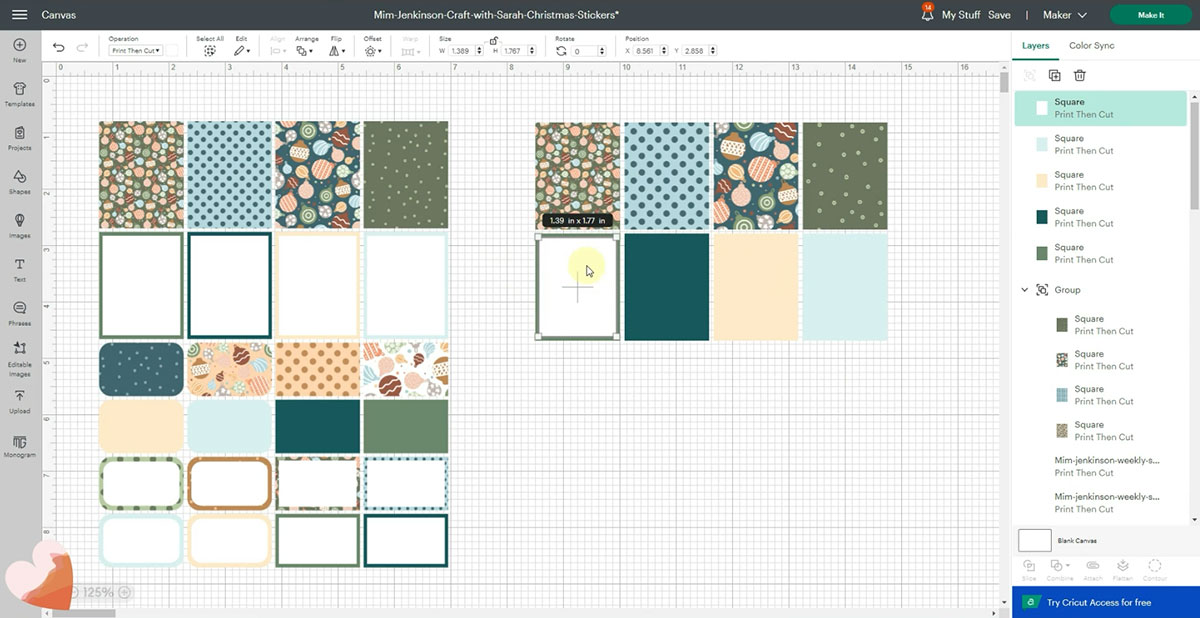
Ungroup your second row of stickers, select one, go into the Colour selector and use the advanced section to get a colour that matches the colour in the pattern above.
Select the colour and repeat the same process for the following 3 stickers.
Duplicate one of the rectangles and change the colour to white.
Position it in the rectangular full box and change the size until you’re happy with the border of colour around the edge.
Select the two rectangles and press Align > Center.
Duplicate the white rectangle 3 times and place them inside the other three coloured rectangles. Align them all centrally as you go.
Select the second row of stickers and Group them.
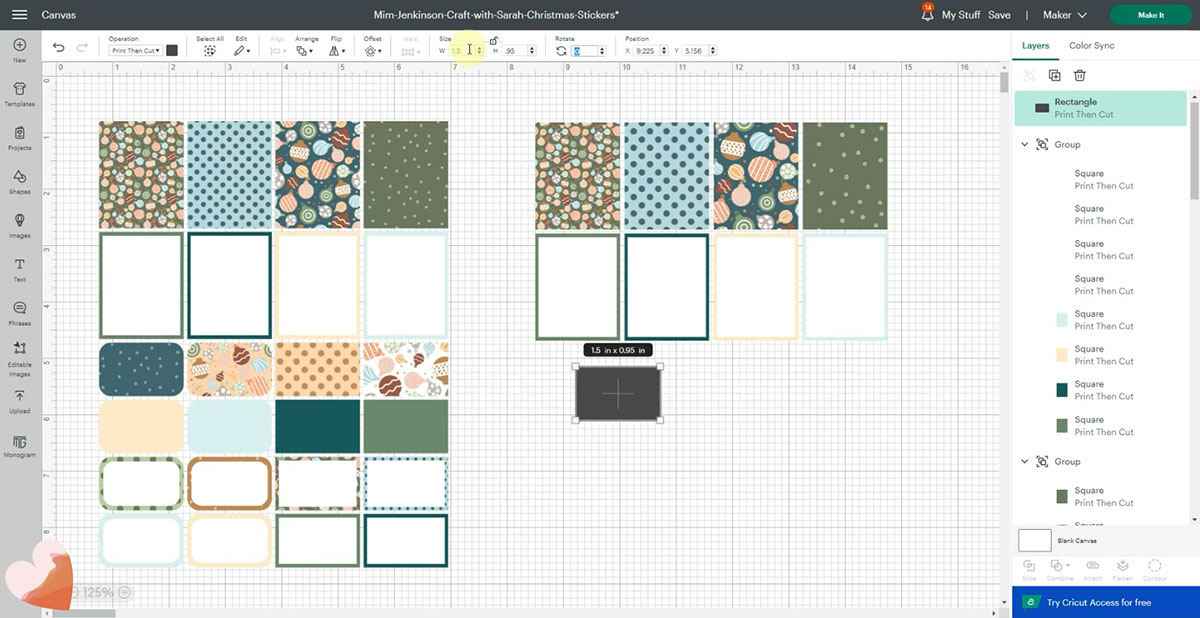
To create the half box stickers, go to Shapes and choose a rounded rectangle.
Change it from Basic Cut to Print then Cut.
Unlock the padlock so that you can change the size to a width of 1.5 and the height 0.95.
Move the rectangle into position by pressing Align > Left with both the new rounded rectangle and the other rows selected.
Duplicate the rounded rectangle and then select the two rounded rectangles and duplicate them so that you have 4.
Align them all to the left.
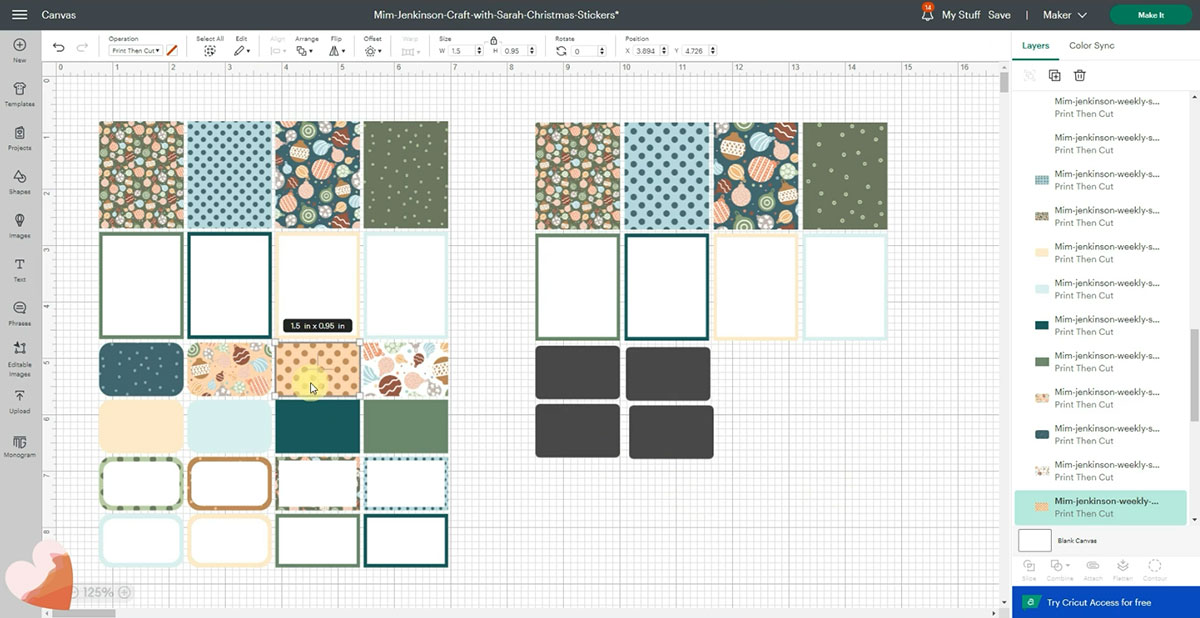
Go into Shapes again, select a square and untick the padlock.
Change the width to 1.5 and the height to 0.95.
Change it to a Print then Cut shape and duplicate it. Now you have your pointed corner stickers.
Select them both and duplicate them so that you have 4.
Select the two right rectangles and the one above and align them to the right. Select the first row of smaller rectangles and align them to the top. Distribute them horizontally and do the same to the row below.

You can now change all the rectangles to the patterns you want.
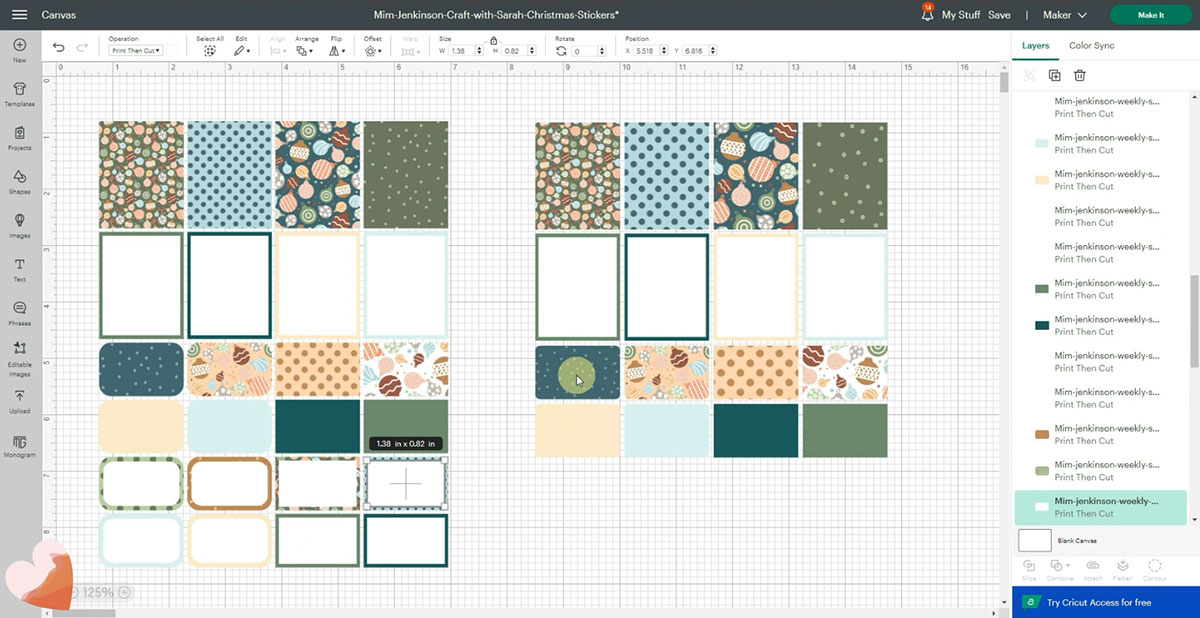
To make the next row, duplicate one of the rounded corner rectangle half boxes.
Duplicate it again and change the colour to white.
Position it inside the rectangle, unlock the padlock icon and reduce the size.
Select both and align them in the center.
Group the two layers together and then duplicate them.
Ungroup them and change the patterns as you wish, just as you did previously.
Repeat the process using the pointed corner rectangles.
Align your stickers by selecting the left two rectangles and the one in the row above, Align, left. Do the same on the right hand side.
Select the second to last row, Align, Top and distribute horizontally. Group them together as a row.
Repeat the same for the bottom row.
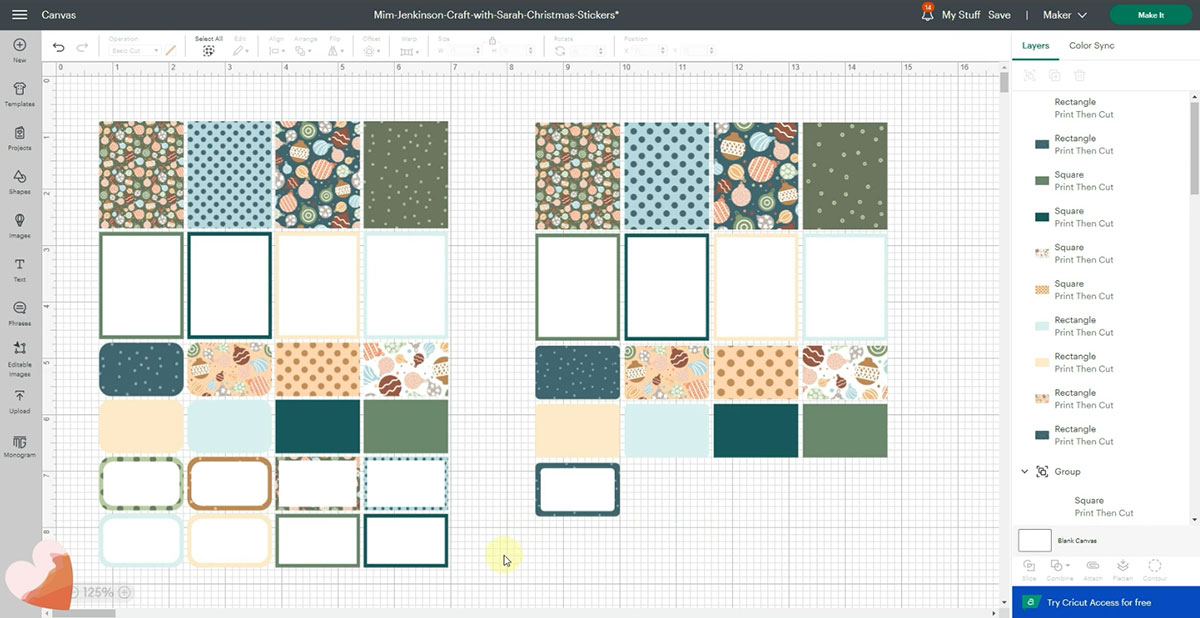
You now have all your stickers created:
Finally, select all the stickers and press “Attach”. This will keep them in position on your printout.
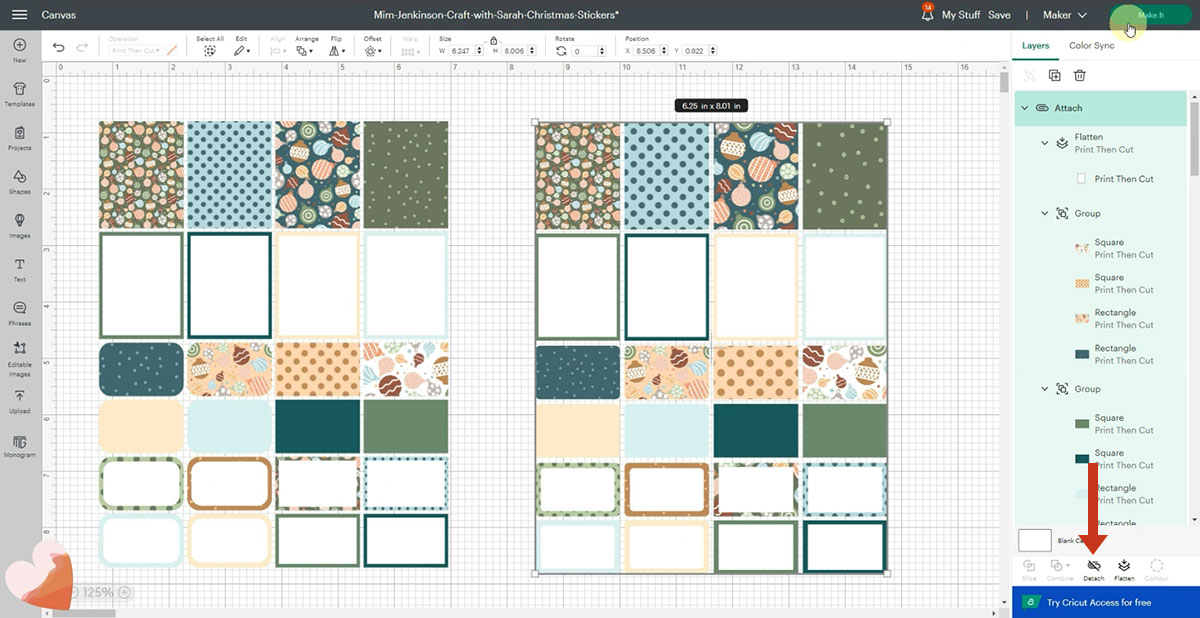
Save your project, then click “Make It” to start the print and cut process.
Handmade paper planner stickers for Christmas
These planner stickers are so adorable I think they are going to keep me super organised as I’m going to love using them!
I love all the different patterns used and how they look on the page altogether.

You can use the same technique to make all sorts of different stickers! My planner, and probably my whole house, is going to be covered in them!
Get more FREE training from Mim! She has created a free class just for you, all about how to create the perfect plan for perfect planner stickers and some of the really big mistakes that she want you to avoid. Whether you have a Cricut or a different cutting machine such as a Silhouette or a Brother, or no cutting machine at all, this is going to be a perfect starting class for you. Click here to register for the free class
Happy crafting,
Sarah x

