HCC 2023 Day 17 🦇 Print then Cut Pyramid Cards
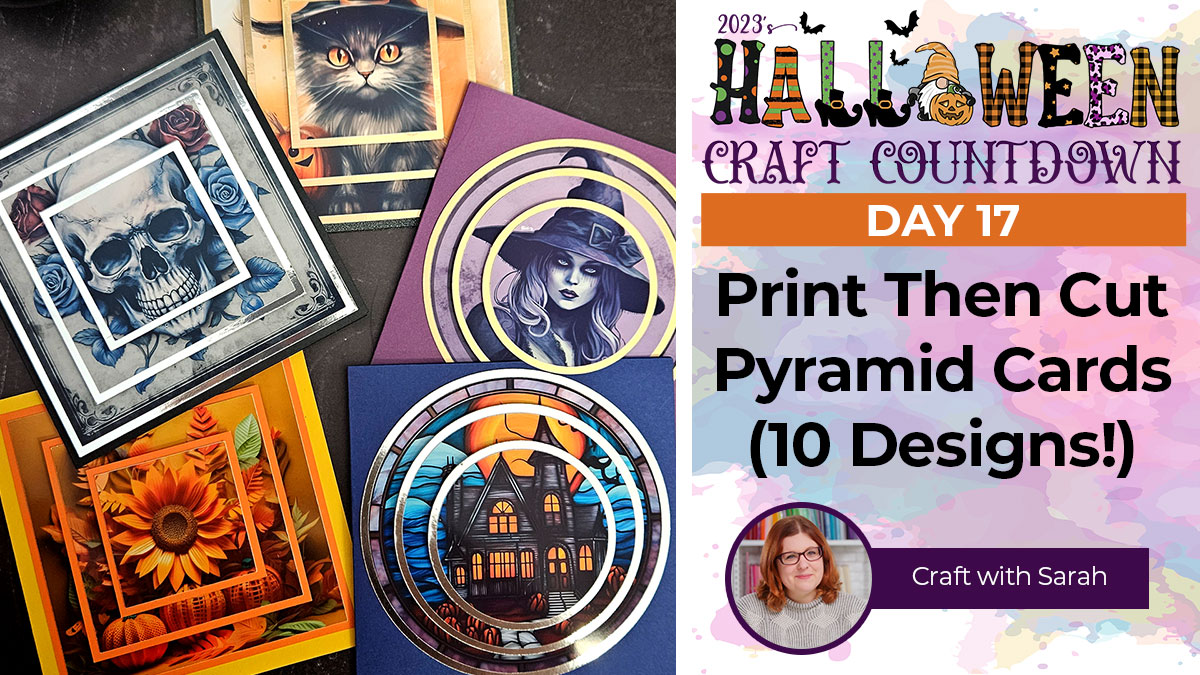
Make quick and easy cards that REALLY stand out with these Print then Cut pyramid cards!
It’s Day 17 of the Halloween Craft Countdown, and I have these Print the Cut pyramid cards to share with you.
I’m tapping into one of the very popular crafting trends which has been going viral over the past few months, which is using artificial intelligence to create printable graphics to use in card making.
It’s hard to believe that all the images on these greetings cards were created with AI!!

I’m still not entirely sure how I feel about artificial intelligence, BUT I was really impressed at how these images came out.
For this tutorial, we’re turning the graphics into layered pyramid cards using Cricut Design Space. These designs are a bit different to a standard pyramid card as they use coloured borders to separate out all of the layers. This emphasizes the “stepped” effect and looks especially beautiful with metallic or glitted card.
Don’t worry if you’re new to Print then Cut or pyramid cards, we will take it step by step.
There are 10 different card designs to choose from, plus a square AND circular pyramid template.
This Project was part of the Halloween Craft Countdown 2023
Materials supply list
Here is a list of the materials that are required to make this project.
Please note that some of the links included in this article are affiliate links, which means that if you click through and make a purchase I may receive a commission (at no additional cost to you). You can read my full disclosure at the bottom of the page.
- Cricut Machine
- Standard grip cutting mat
- Printer
- Photo paper
- Cardstock
- Premade card blank or black card to make one
- Glue/ double sided tape
- Foam Squares
This project is suitable for the following types of Cricut machine: Explore Air 2, Explore Air 3, Maker, Maker 3, Venture, Joy Xtra. It cannot be used on the original Joy machine as it requires print-then-cut functionality.
Video tutorial for Halloween pyramid cards
Watch the video below to see how to make these border pyramid cards with a Cricut.
If you prefer to read rather than watch, keep scrolling!
Resources mentioned in video
Written tutorial (with photos!)
Here’s how to make your very own Halloween pyramid cards using a Cricut machine!
Step 1) Download the cutting file(s) & unzip the downloaded folder
Download the files using the box below.
Purchase the File(s)
This cut file is available as part of the Instant Access Bundle.
Or, purchase this design individually here
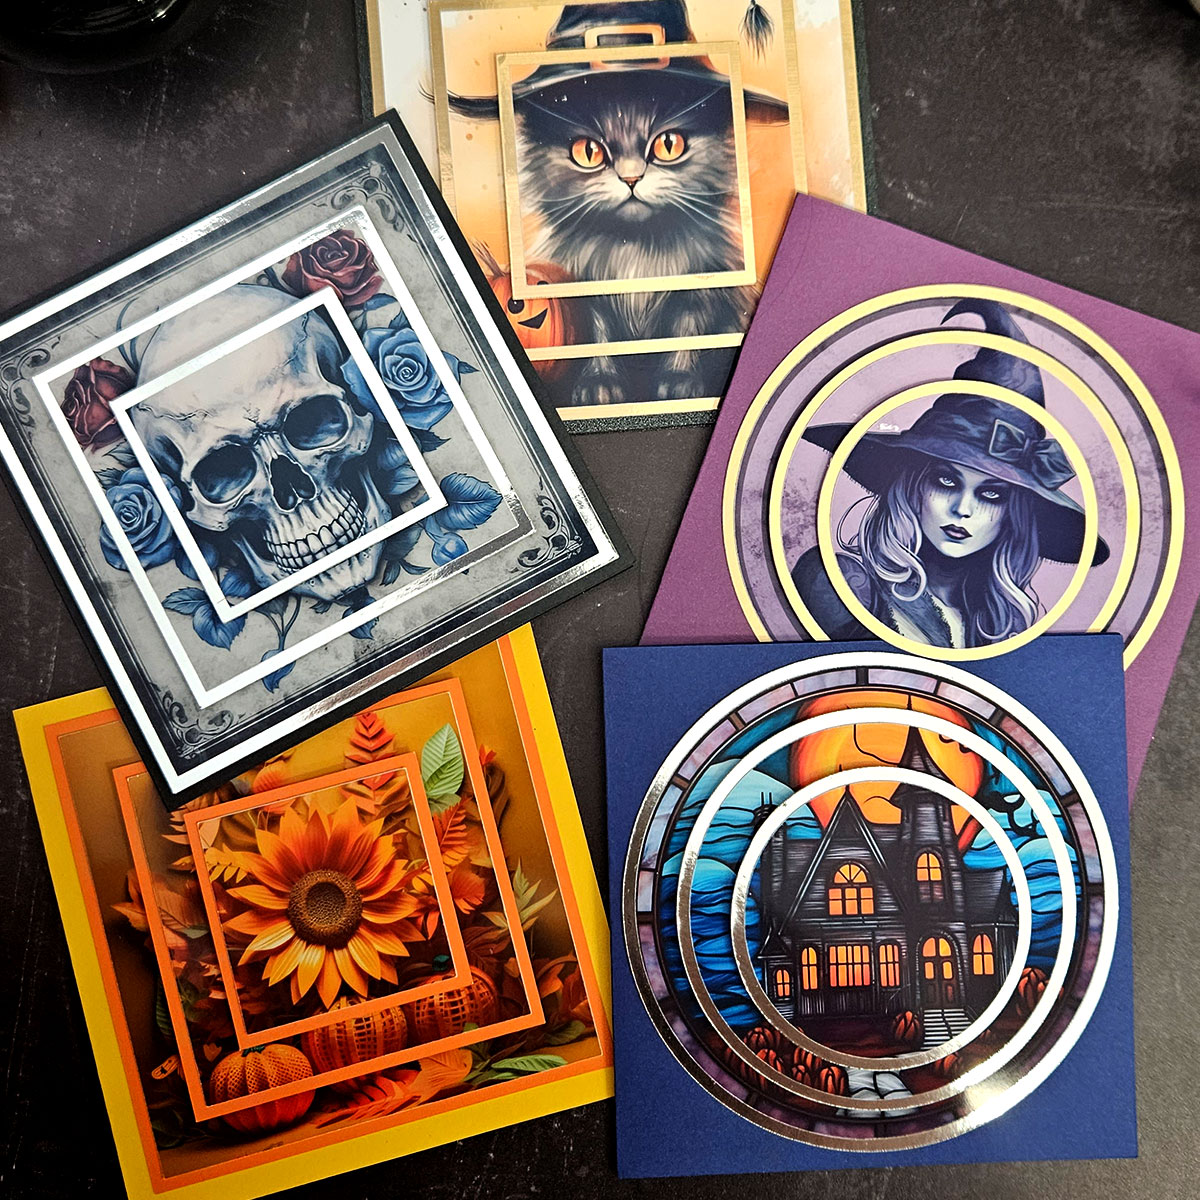
Once you’ve downloaded and unzipped the folder, take a look inside and you’ll see that there are two different border pyramid templates to choose from: a square template and a circular one.
For this tutorial, I will be using the square but it works exactly the same for the circle so you can choose which one you prefer.
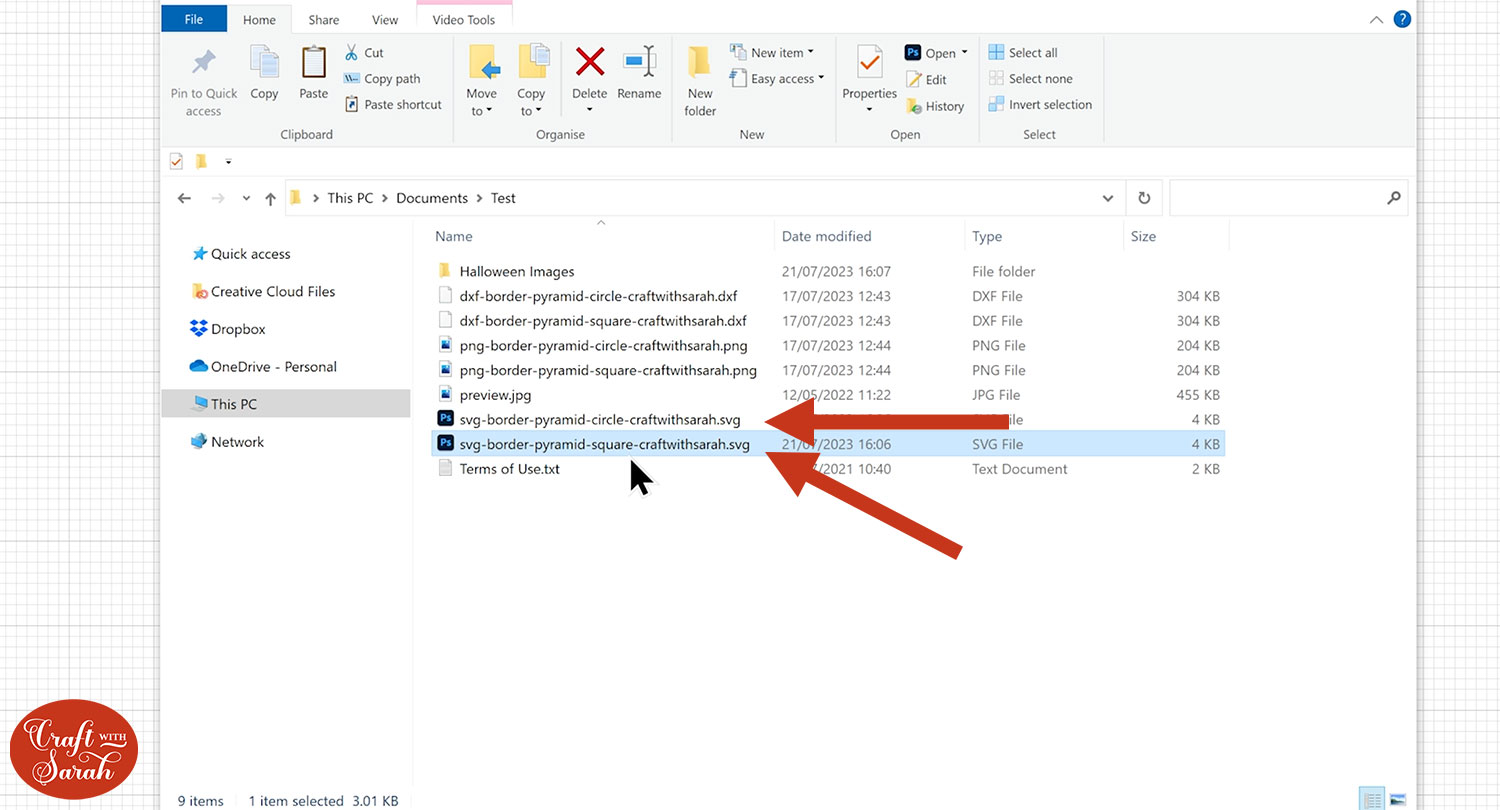
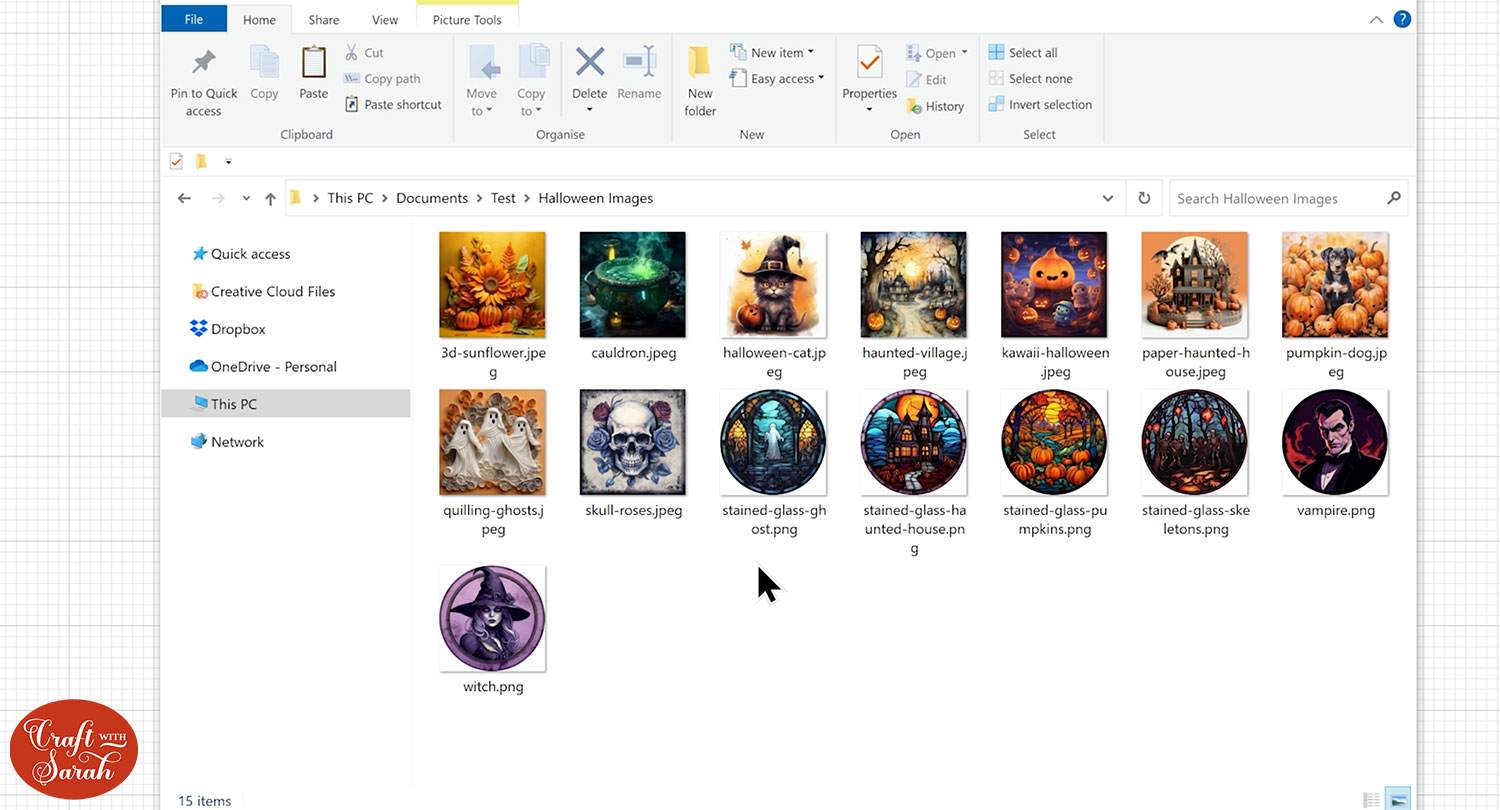
Within the “Halloween Images” folder, you will see the different images that I have created for you to use to make your card.
Alternatively, you can use any image or photo as it will work using the same technique.
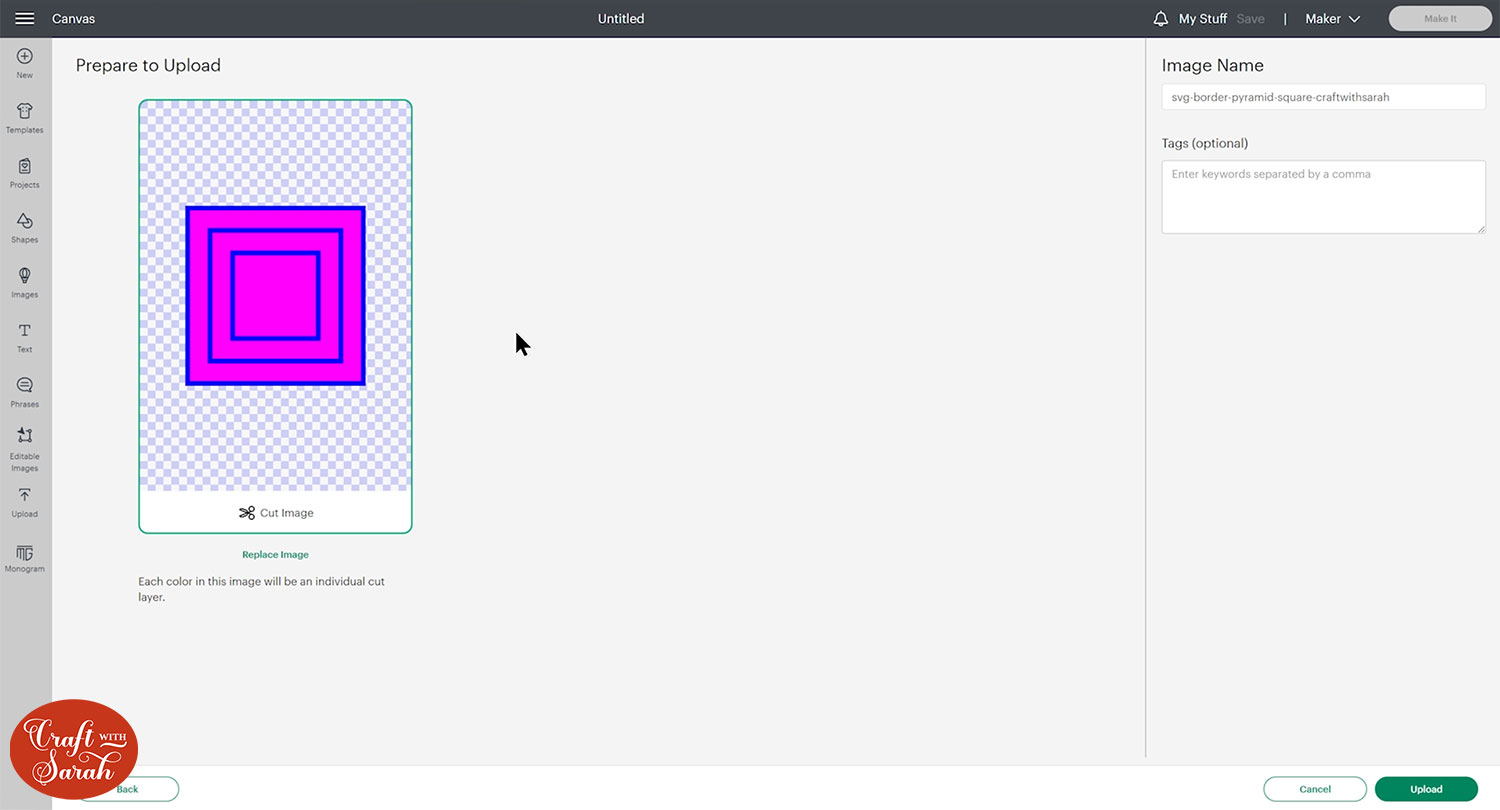
Open up Design Space and start a new project. Go to Upload and Upload Image. Drag and drop your chosen SVG template.
Important – make sure you choose the template files which start svg- in the filename.
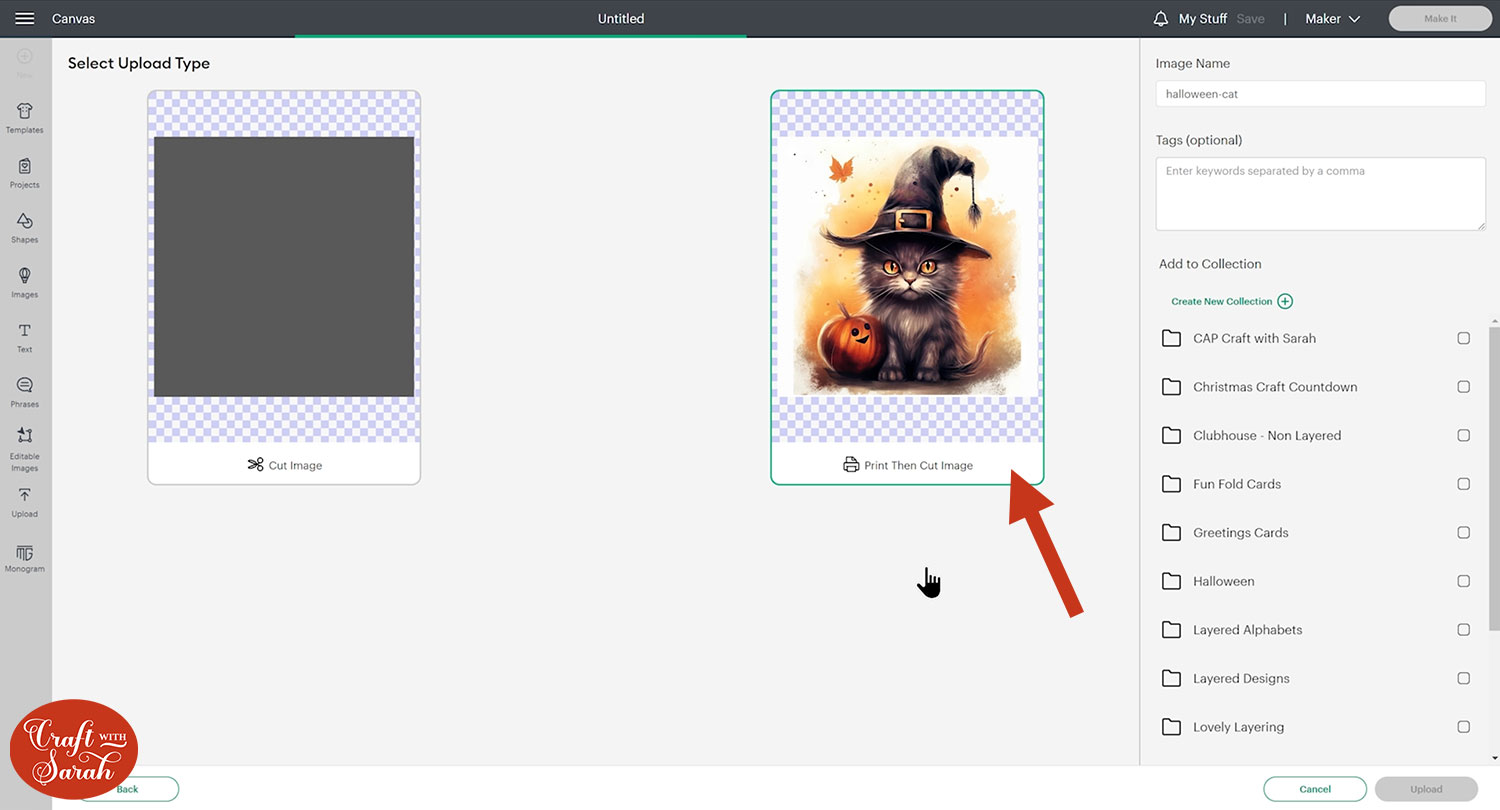
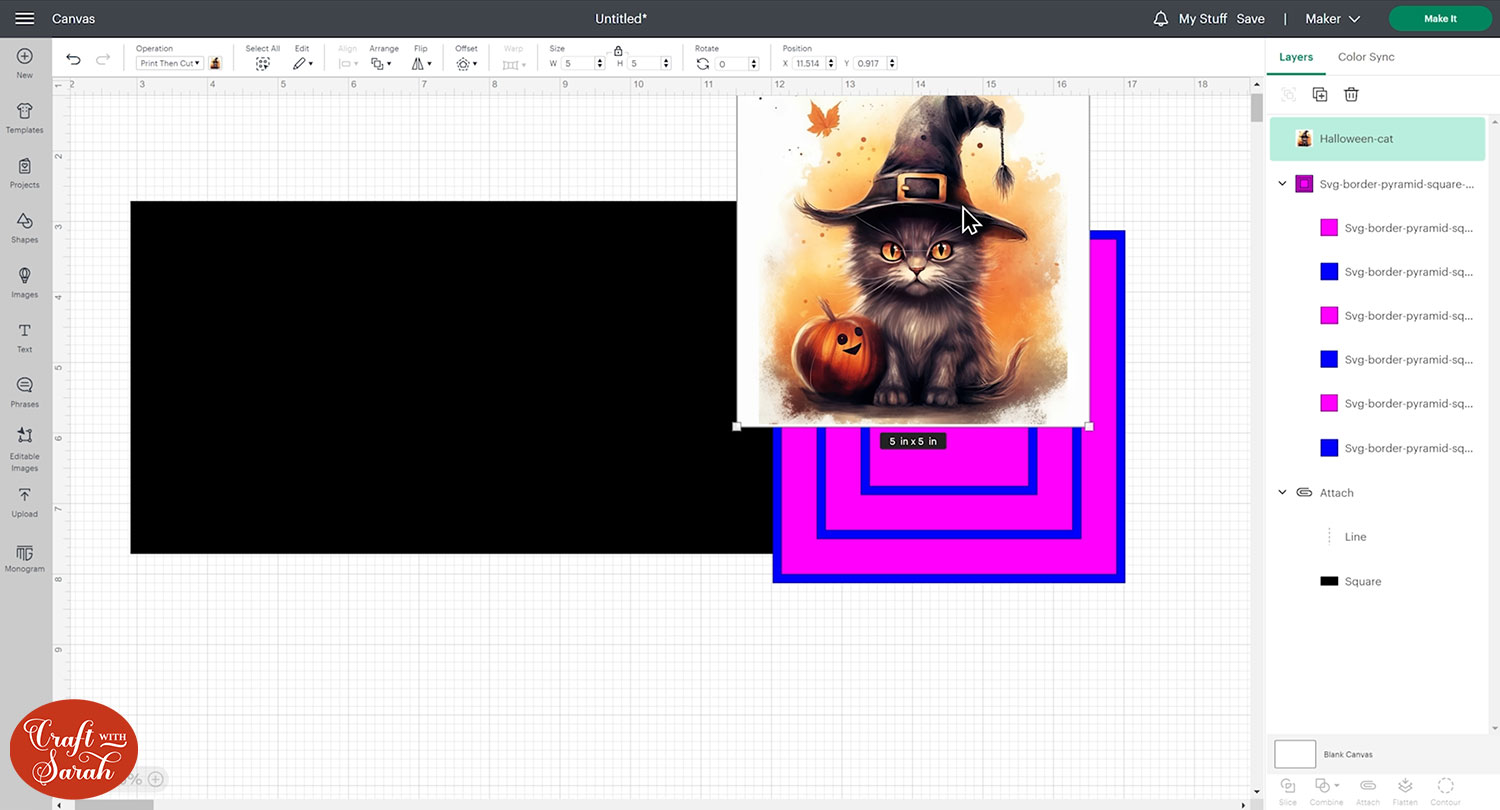
Click Upload again and choose one of the Halloween pictures (or your own picture/photo) to use for your card.
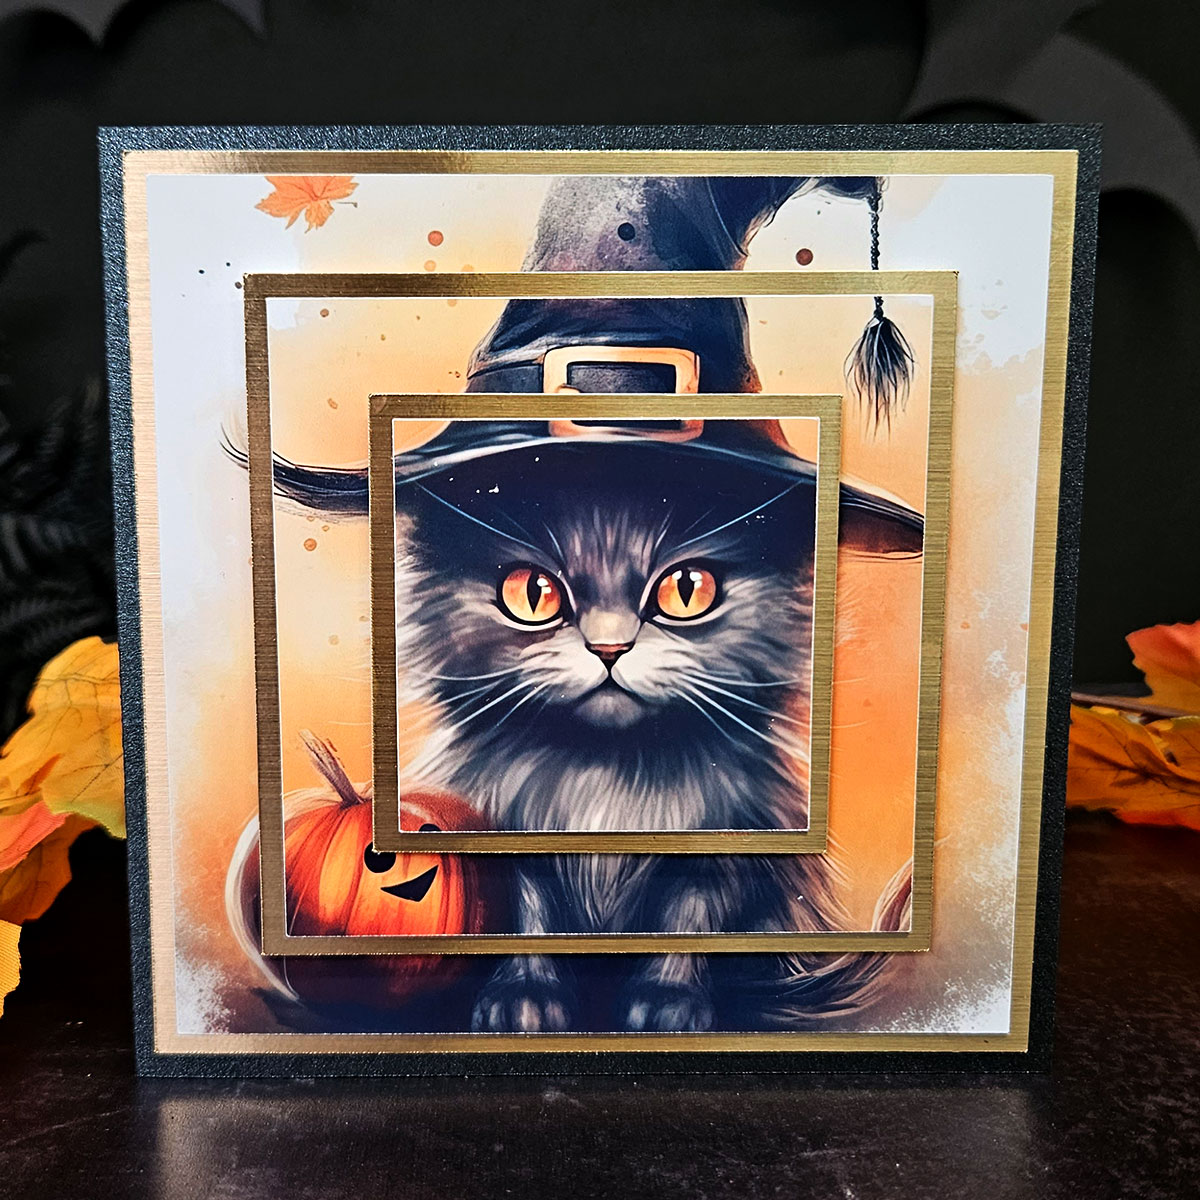
I’m using the Halloween cat.
Choose “Complex” as the image type.
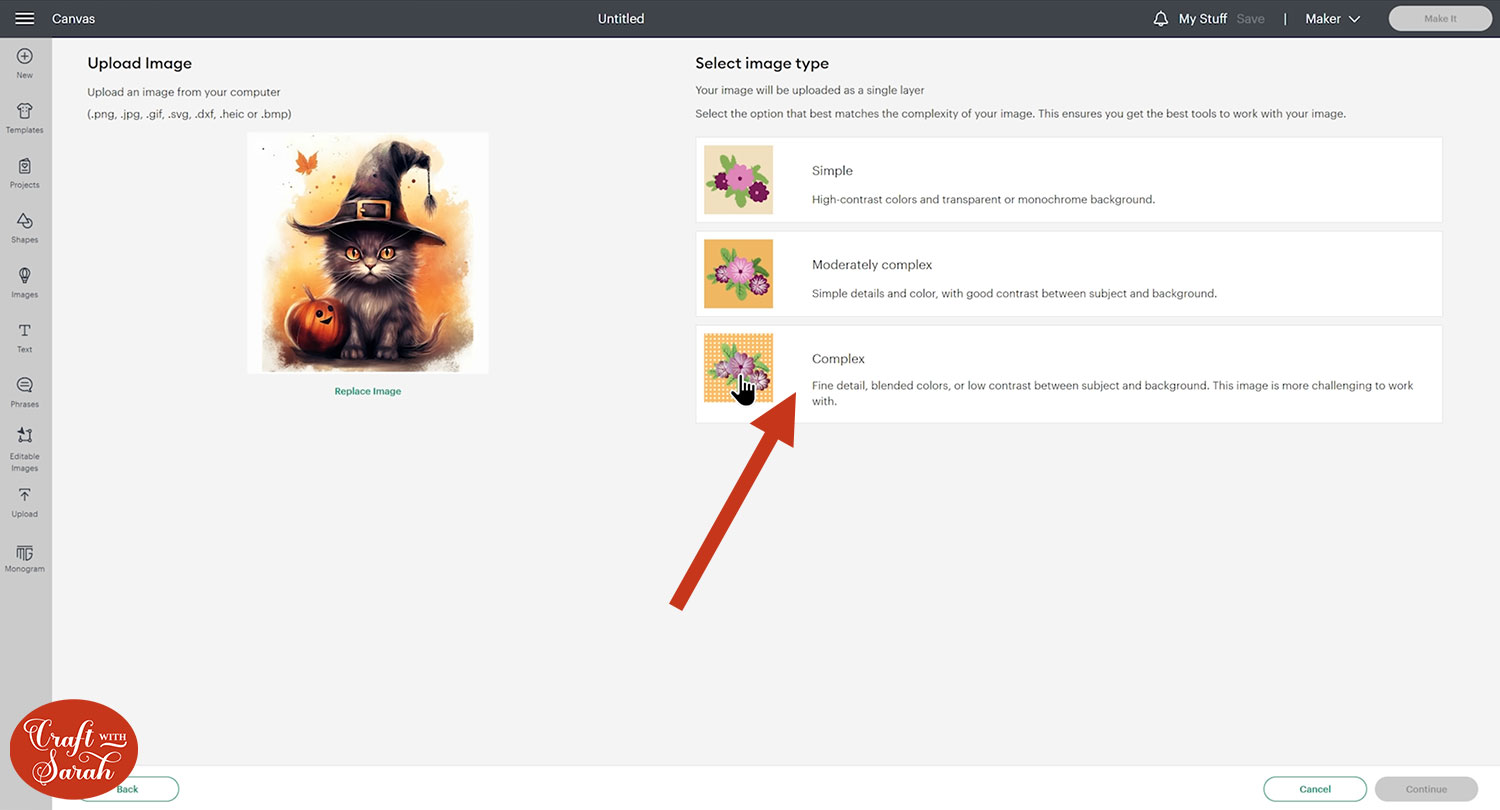
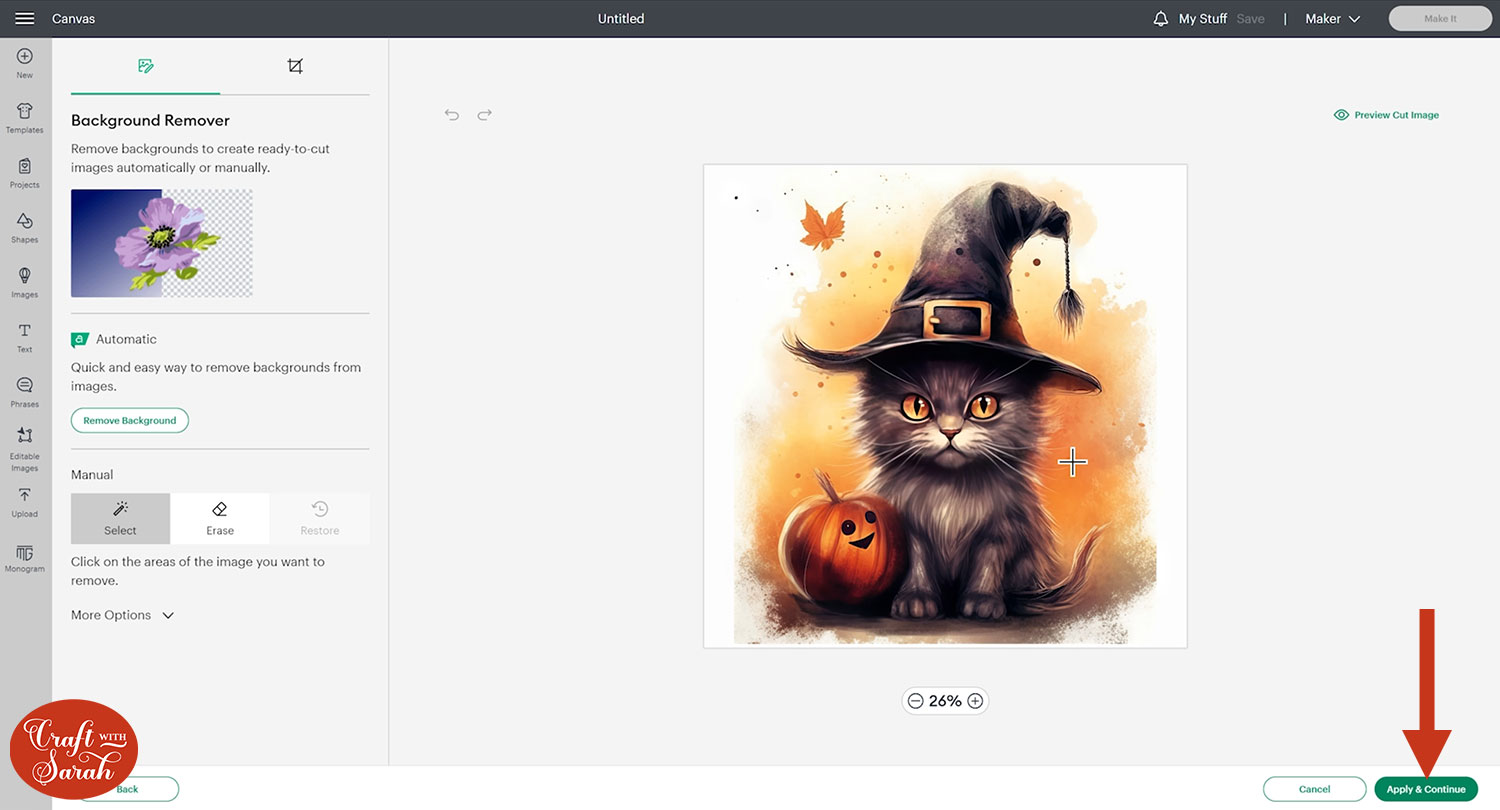
You don’t need to change anything on the next page – just click “Apply and Continue”.
Save the design as a Print then Cut image.
Add the pyramid template and the image to your project.
The picture will probably load in rather large, so resize it to 5 inches so that it’s easier to work with.
Step 2) Create a card blank
If you have a pre-made card blank then you can skip this step, but if you need to make your card blank, keep reading.
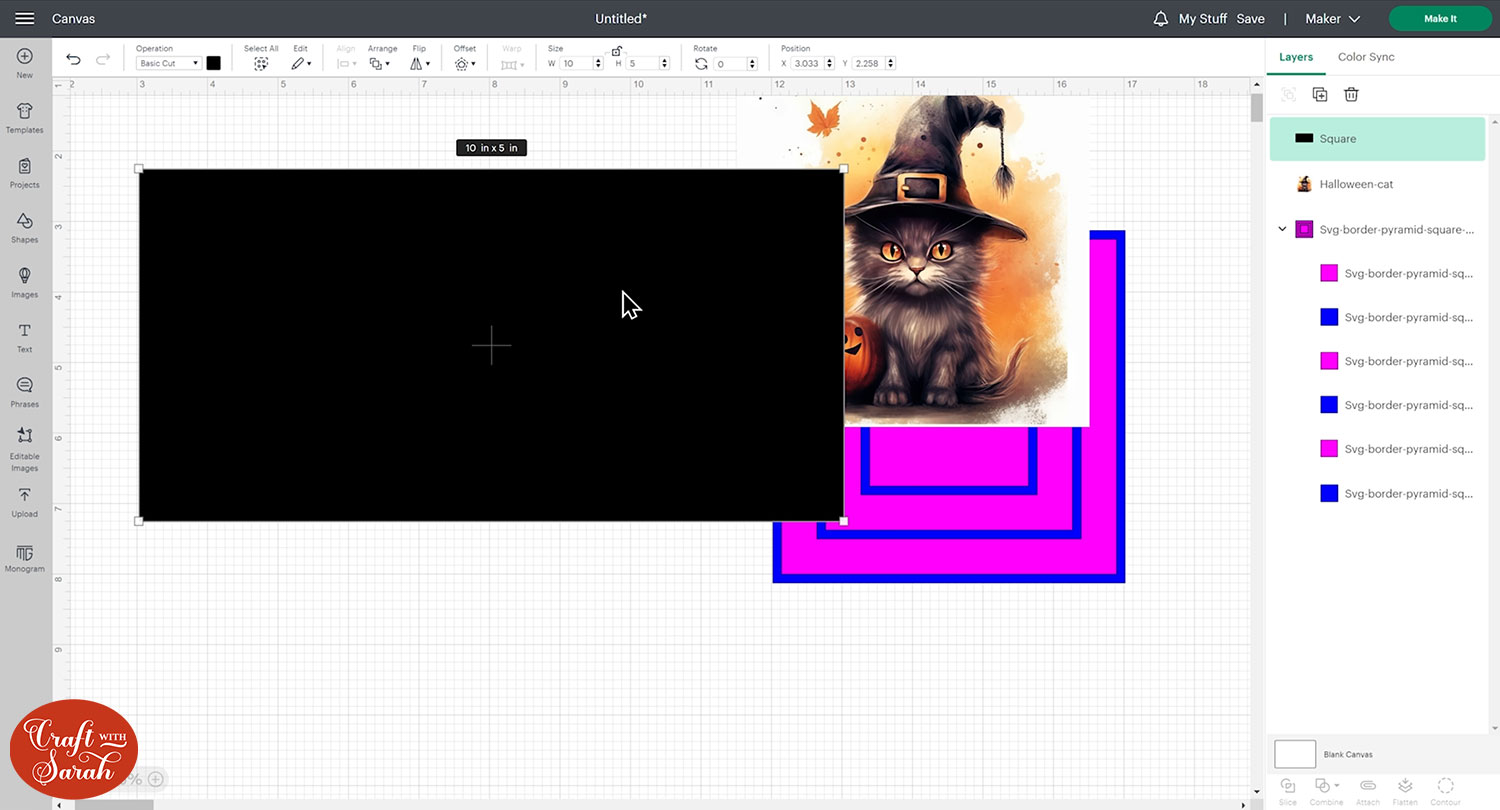
Go into Shapes and choose a Square.
To make a 5×5 inch card, make the shape 5 inches tall and the width will need to be doubled at 10 inches.
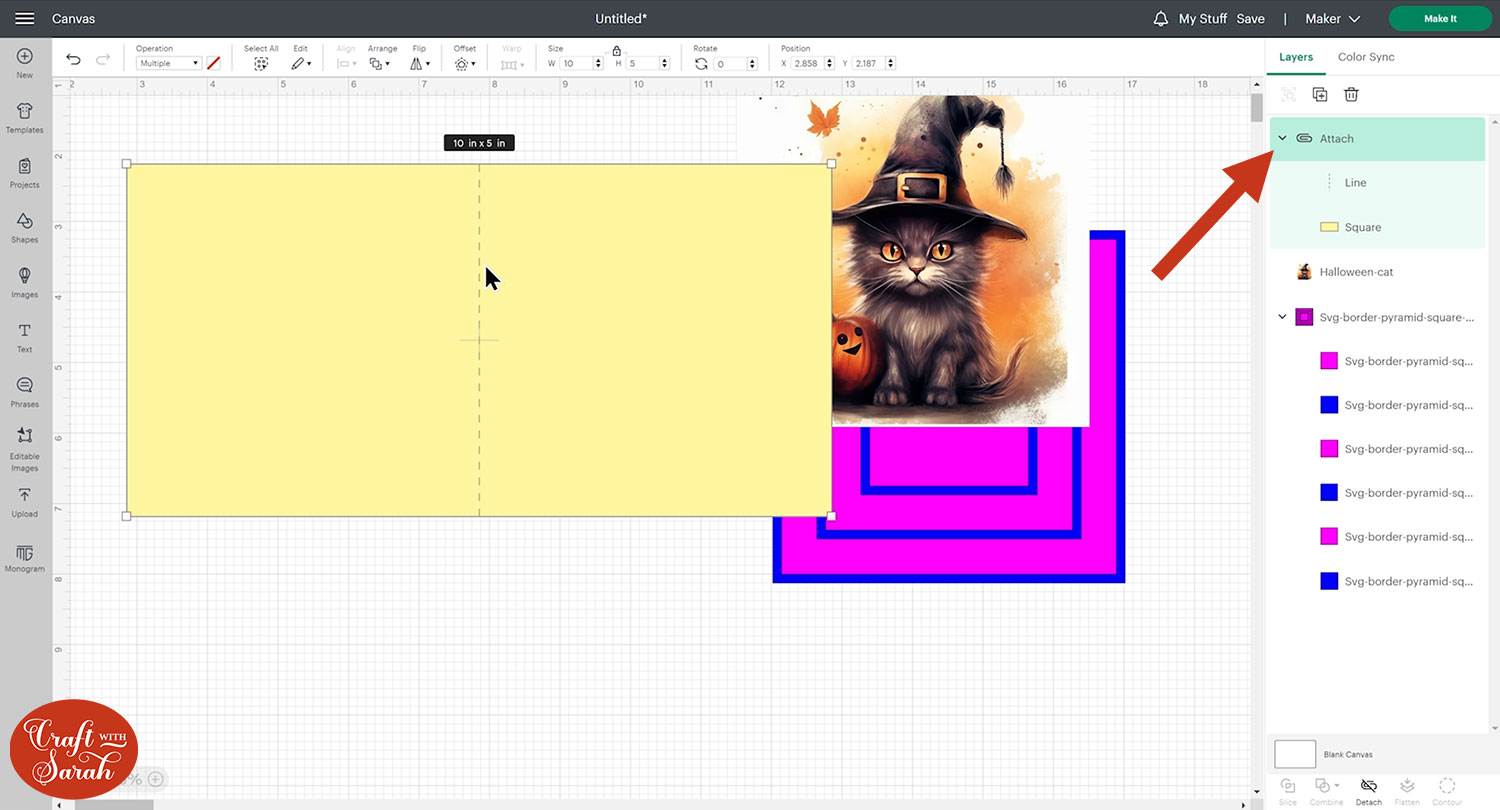
Add a score line by going into Shapes and choosing a Score Line. Make it the same height as your card which is 5 inches and select them both and click Align > Center to put the score line exactly in the middle of the card.
Press Attach so that the Cricut knows where to score.
I changed the card colour to yellow for the image below so it’s easier to see the score line.
Go Arrange, Send to Back to move the card down to the bottom of the Layers panel.
Change the colour to black. You may not see your score line after this step is still there.
Step 3) Create the pyramid Card layers
At this point you need to decide whether you would like your image to go all the way up to the edge, leaving a small amount of your card colour around the image or whether you would like to border your image with a different colour card.
To border it with the outside of the card, click on the bottom blue layer of the pyramid template and delete it. That layer will then be made up of your base card and the pink would become your first printable layer.
I would like to add a different colour for my border so I will still be including that layer for my card.
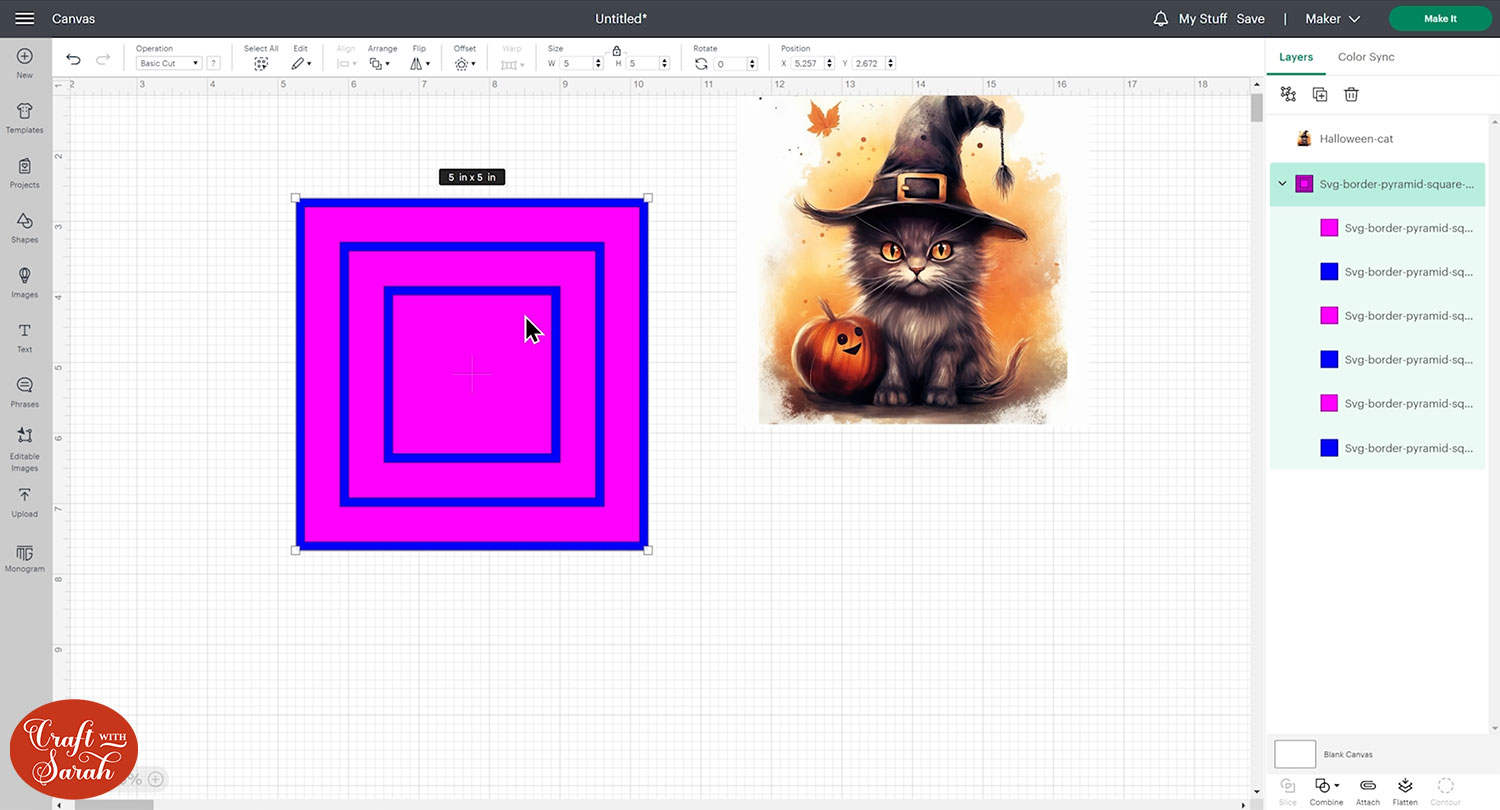
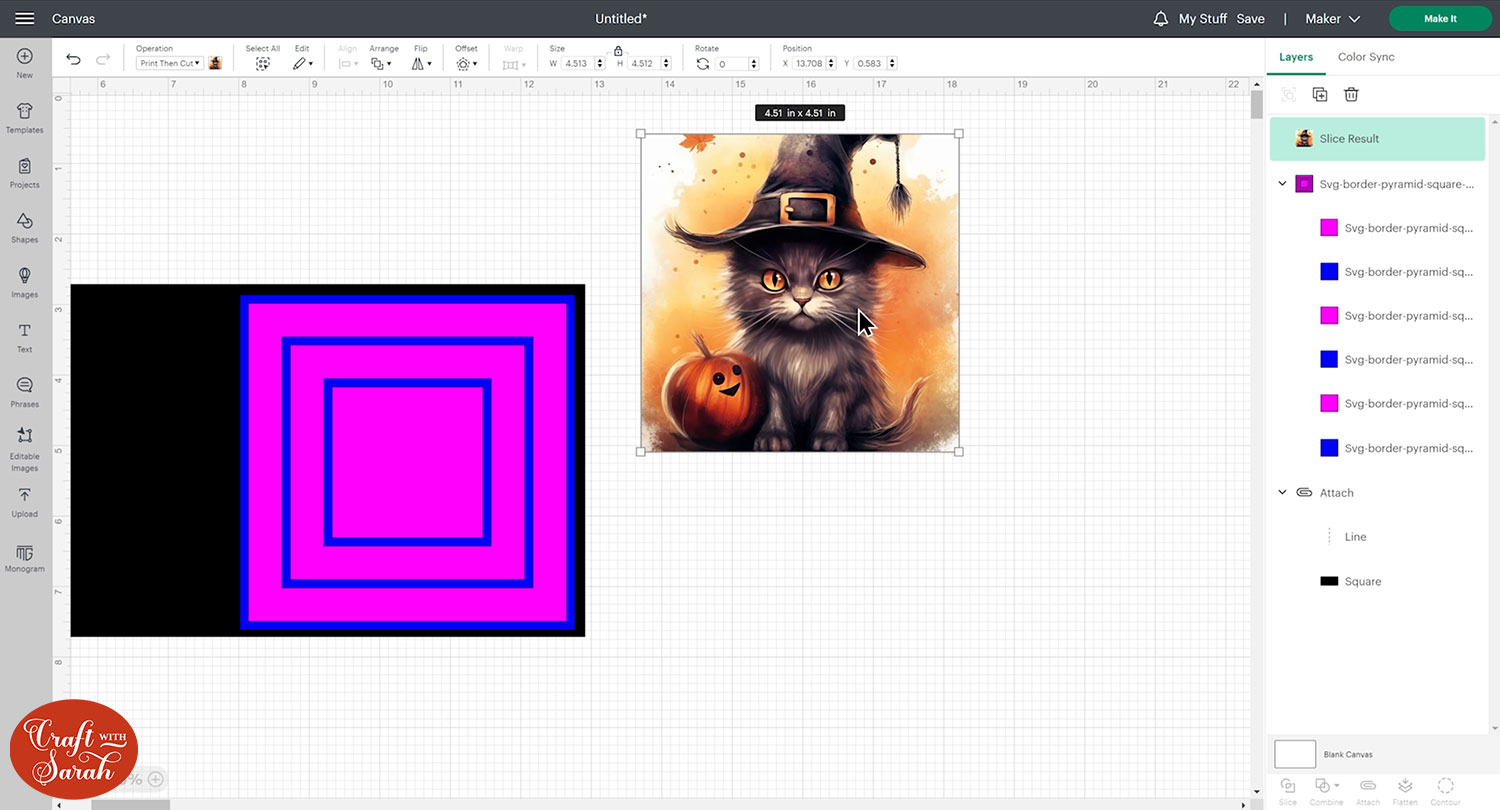
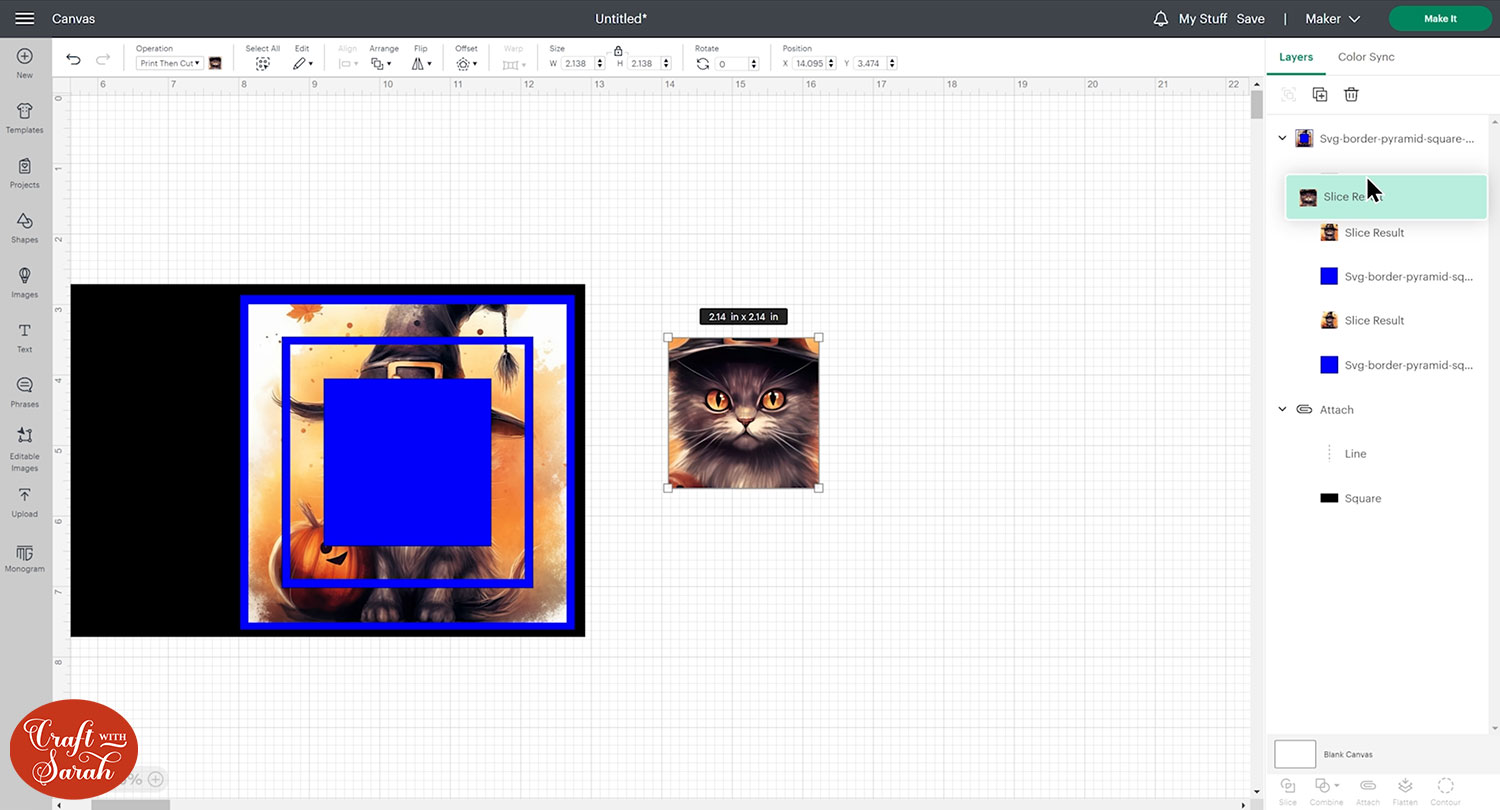
The layers are purposely coloured to help you remember which layer is which. Blue is border, magenta is middle. Middle means it will be a printable picture.
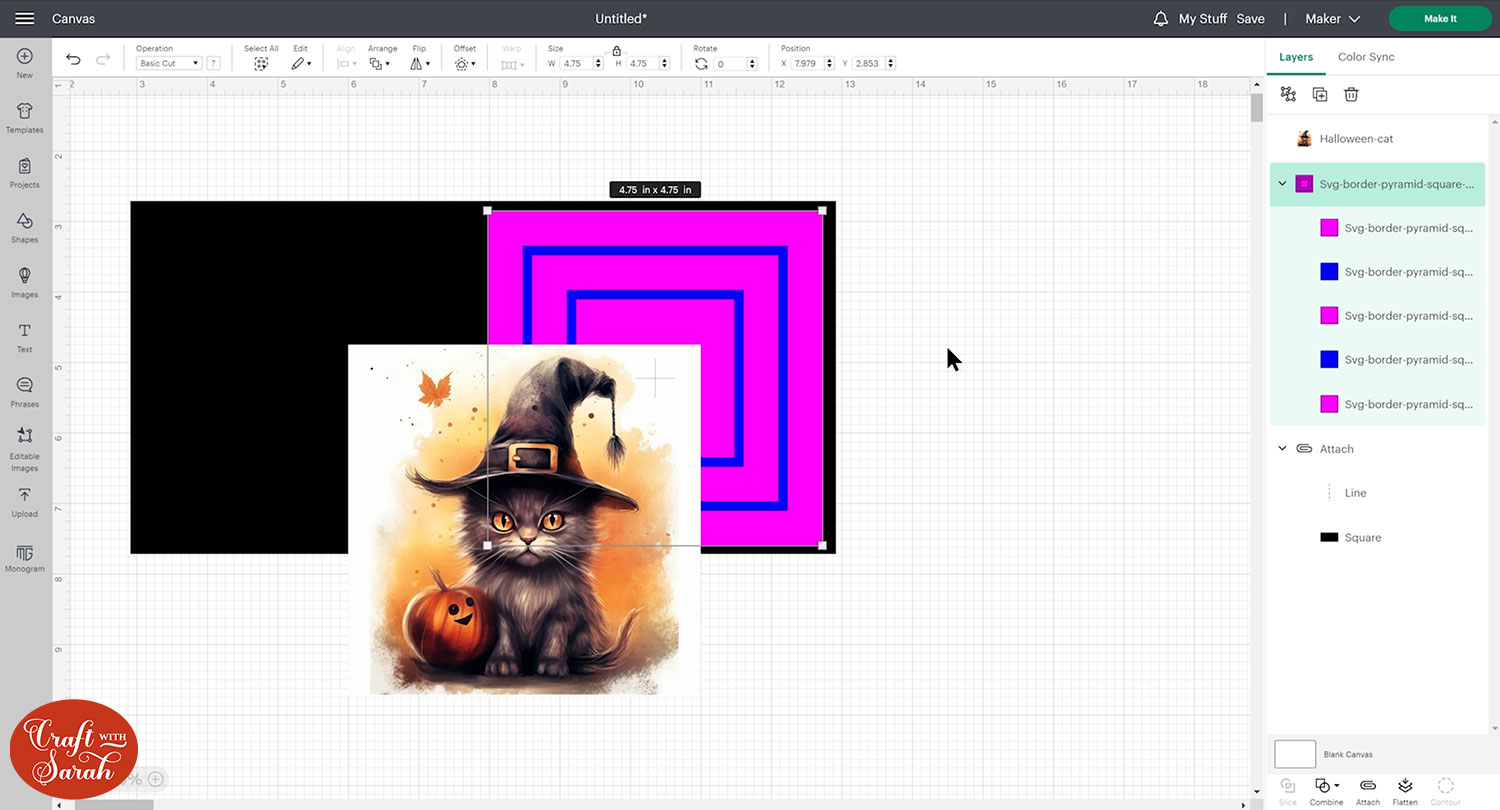
First we need to resize our pyramid template to 4.75 inches so that it fits the card. You will still see a little of your base card but you will have your printable layers nice and big.
Duplicate the bottom magenta layer and change it to a Guide in the Operations drop down.

You will see the pink guide lines which allow you to position and resize your Print then Cut Image so that you can choose how you would like it to fit.
When you’re happy, select both the guide square and the image and press Slice and that will cut the guide out of your photo.
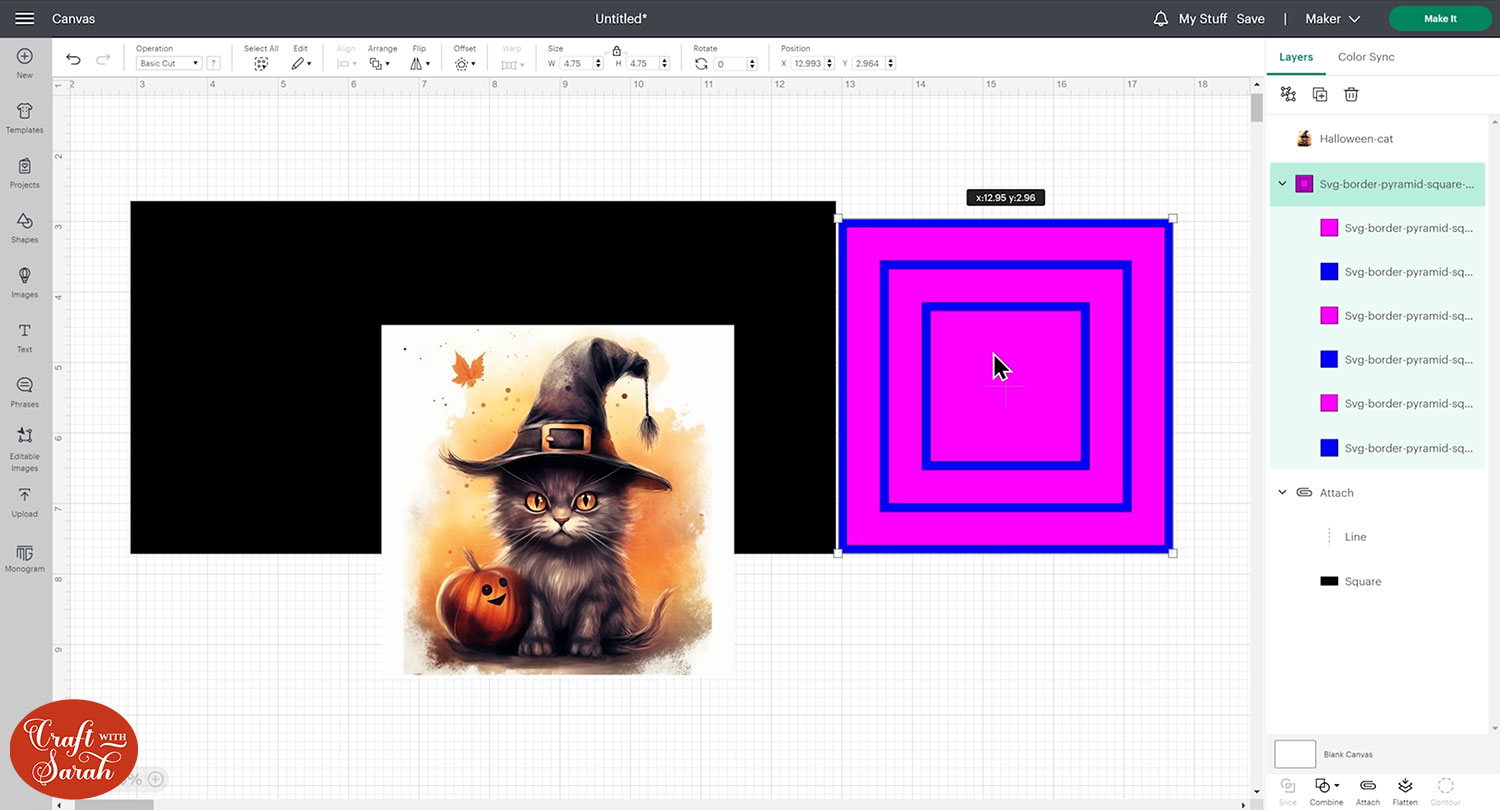
Delete the guide and the remaining image around the edge. Your first layer is complete.
You will need two more of this exact piece at the same size so Duplicate so that you have 3.
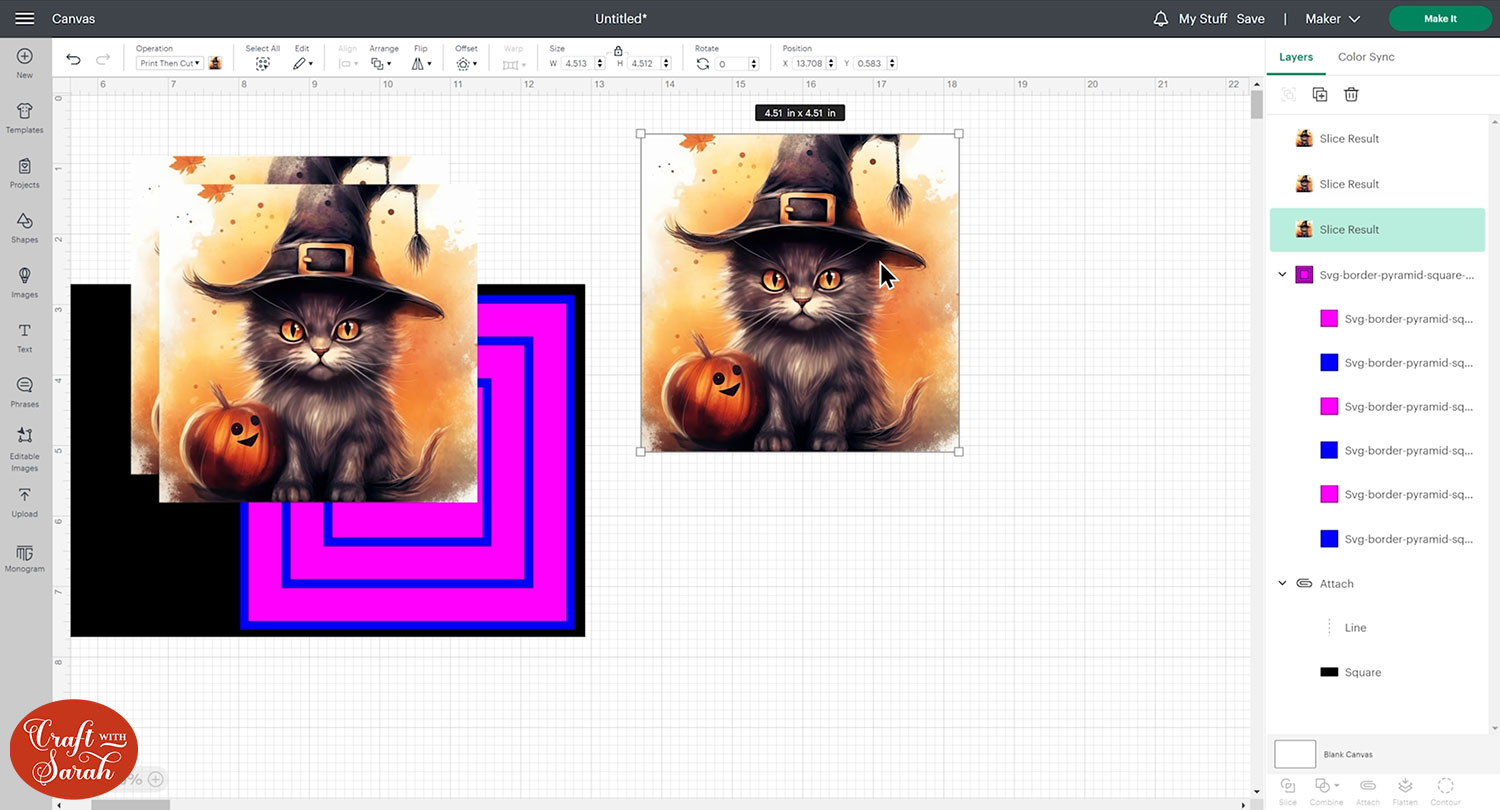
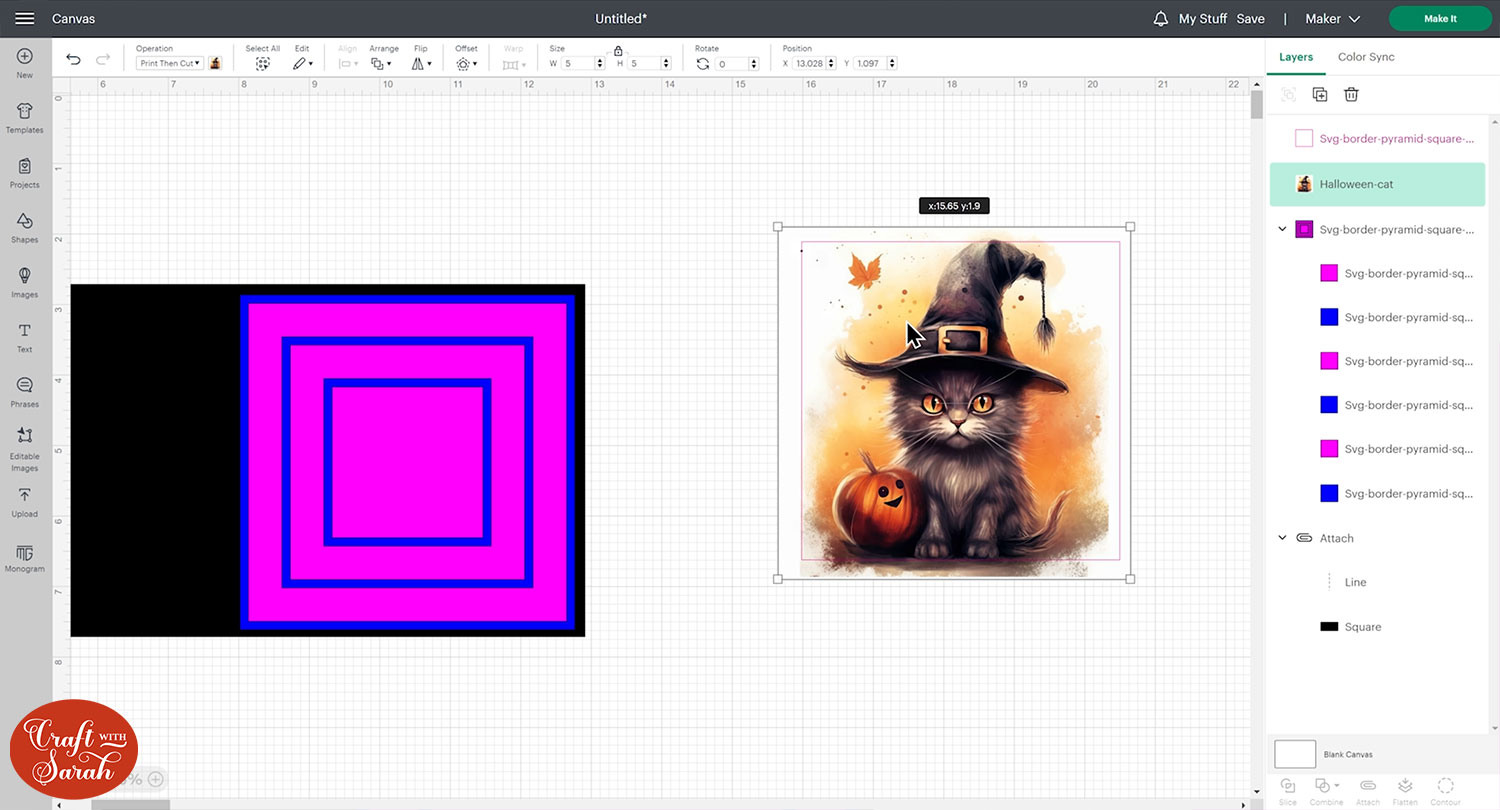
Move your first layer onto the card, drag the layer down so that it appears above the magenta equivalent layer and delete the magenta layer.

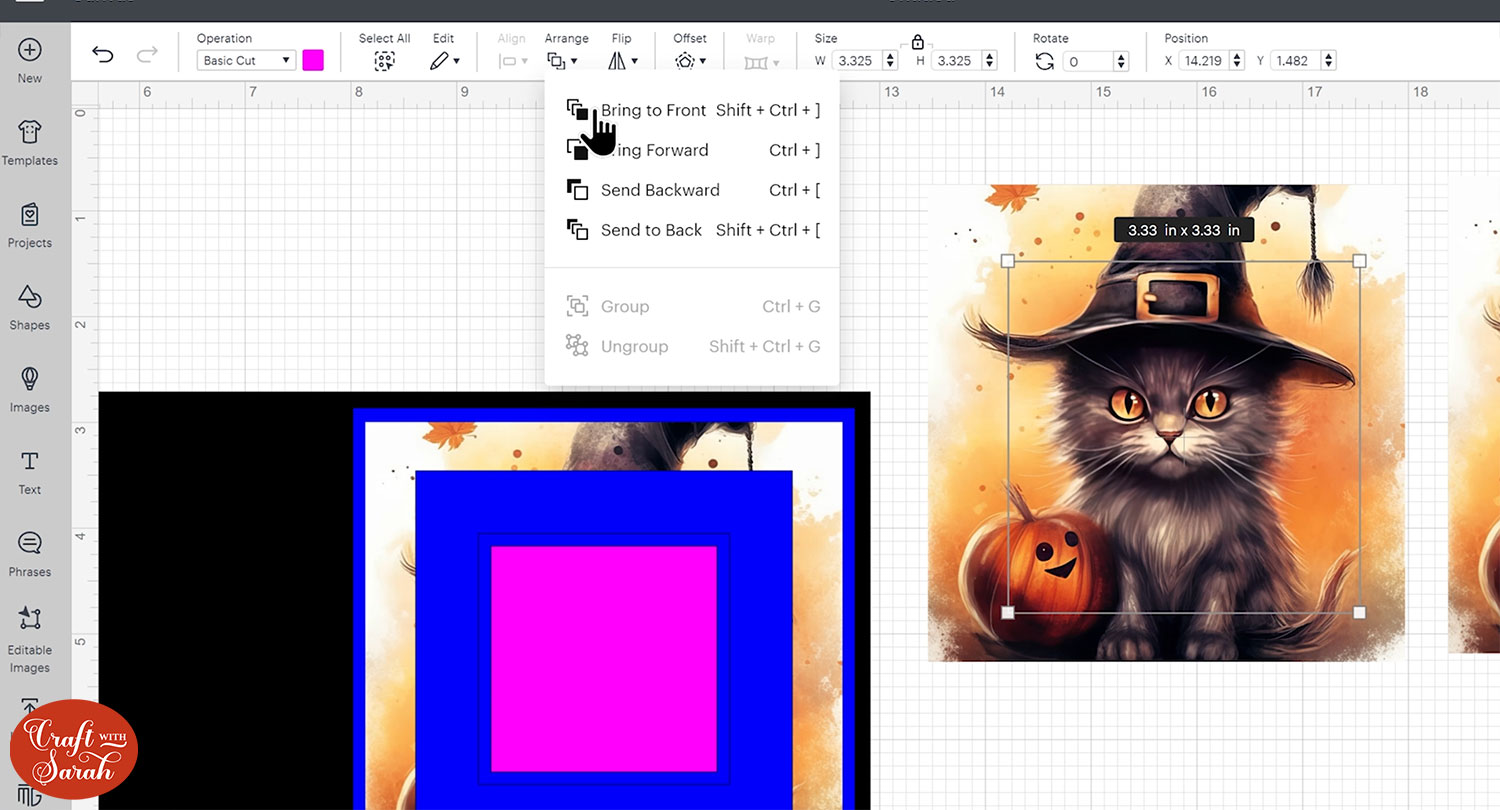
Drag the next magenta layer over to the side. Go Arrange, Bring to Front.
Drag it out of the pyramid Group in the Layers panel.
Select the magenta square and one of the duplicated images and press “Align > “Center”.

Click Slice with the two layers selected and delete the magenta and the bit around the edge.
Drag the layer back into the Group in the Layers panel and drag it across and onto your card.

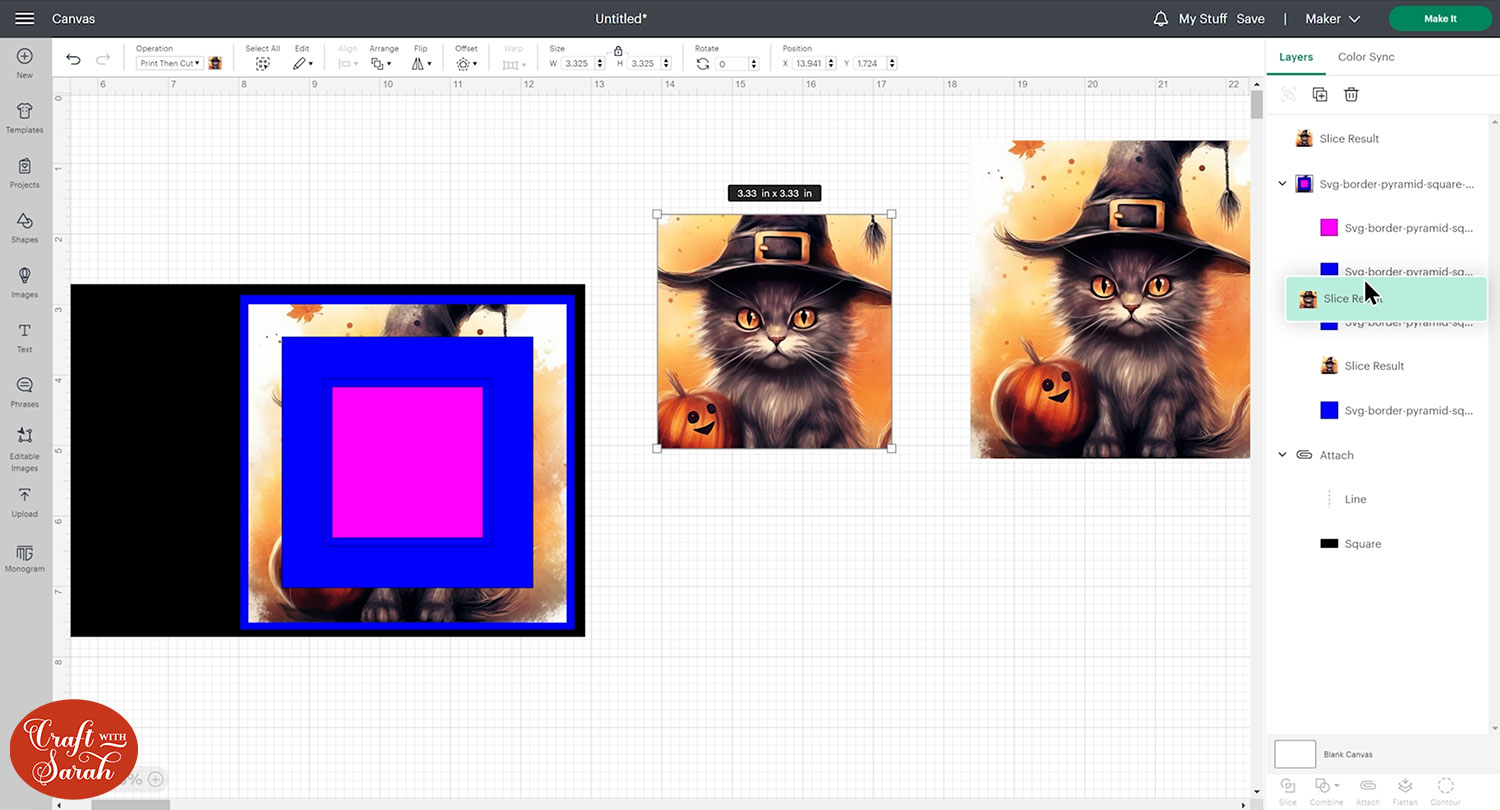
Finally, take the last magenta layer and duplicate the same steps to cut out the square from the final remaining image layer.
Change the colour of your border layers to the colour of the cardstock you plan to use so that you can get an idea of how it will look on screen before cutting.

Step 4) Cut the card
Save your project and click Make It to begin the cut process.
The graphic layers will be “print then cut” layers which means you print it on your printer and then the Cricut cuts it out.
Check out this Cricut print then cut tutorial if you are new to this technique.

Get everything printed and cut and we will see how to assemble the card next.
Step 5) Make your pyramid card
Put all the layers of the card in order, starting with the biggest pieces at the bottom, to make sure you have all the pieces and know which order to stick them.
Take your base card and fold down the score line. You can choose which way round you would like the fold of the card to be: either at the top to make a tent card, or down the left for a more traditional look.
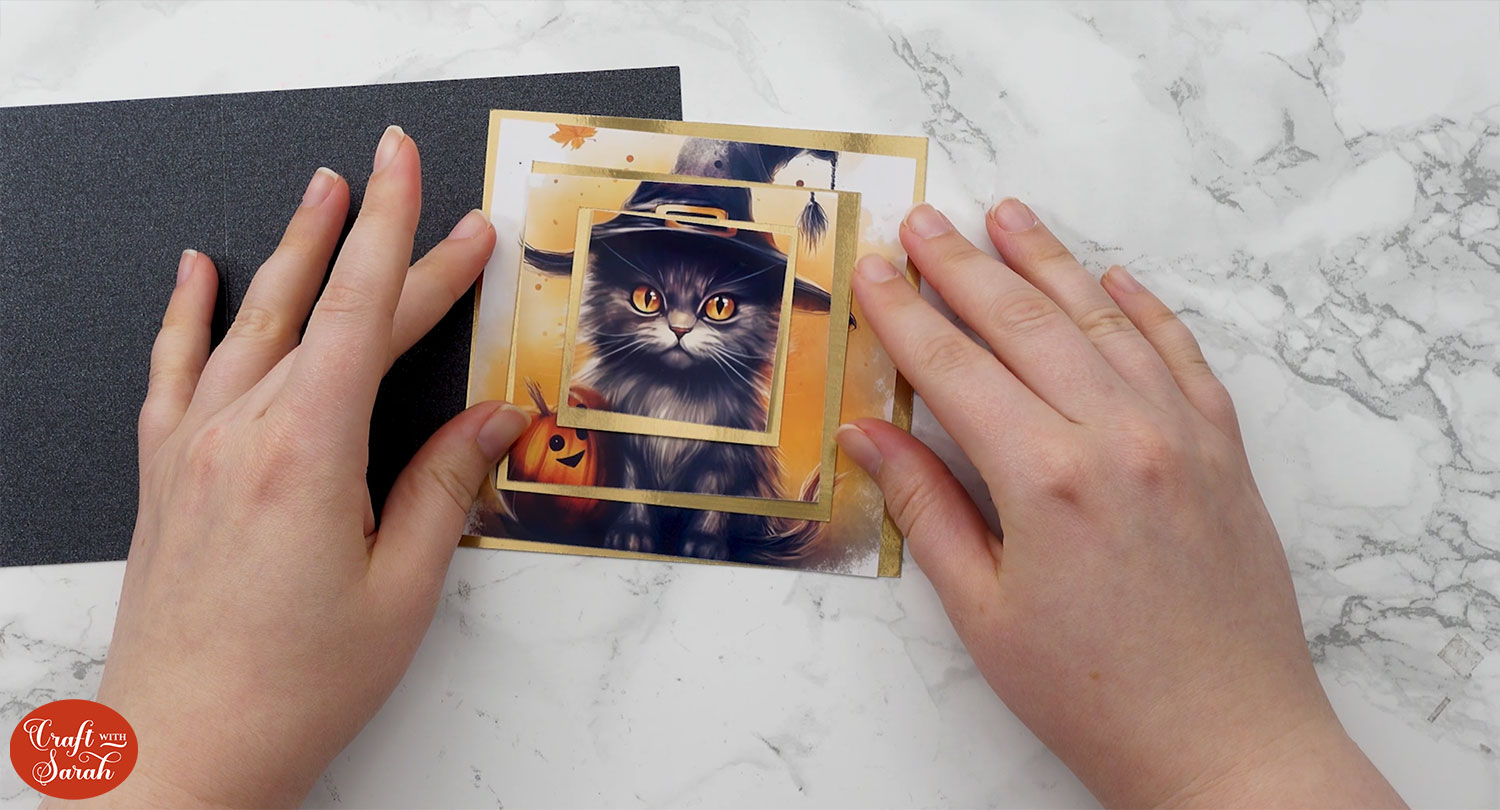
Glue or tape your largest border layer centrally on your base card.

Glue or tape the largest of your printed images centrally on top of the previous layer on your card.
Add foam squares to the next border layer.

To make these steps easier, you may want to glue each printed photo layer to the border beneath it before foaming the border to the base. This may help you as you line up the layers on top of each other.
Stick the piece centrally onto the card.

Glue your final printed image onto the remaining border layer.
Apply foam squares to the border layer and place centrally on the card.
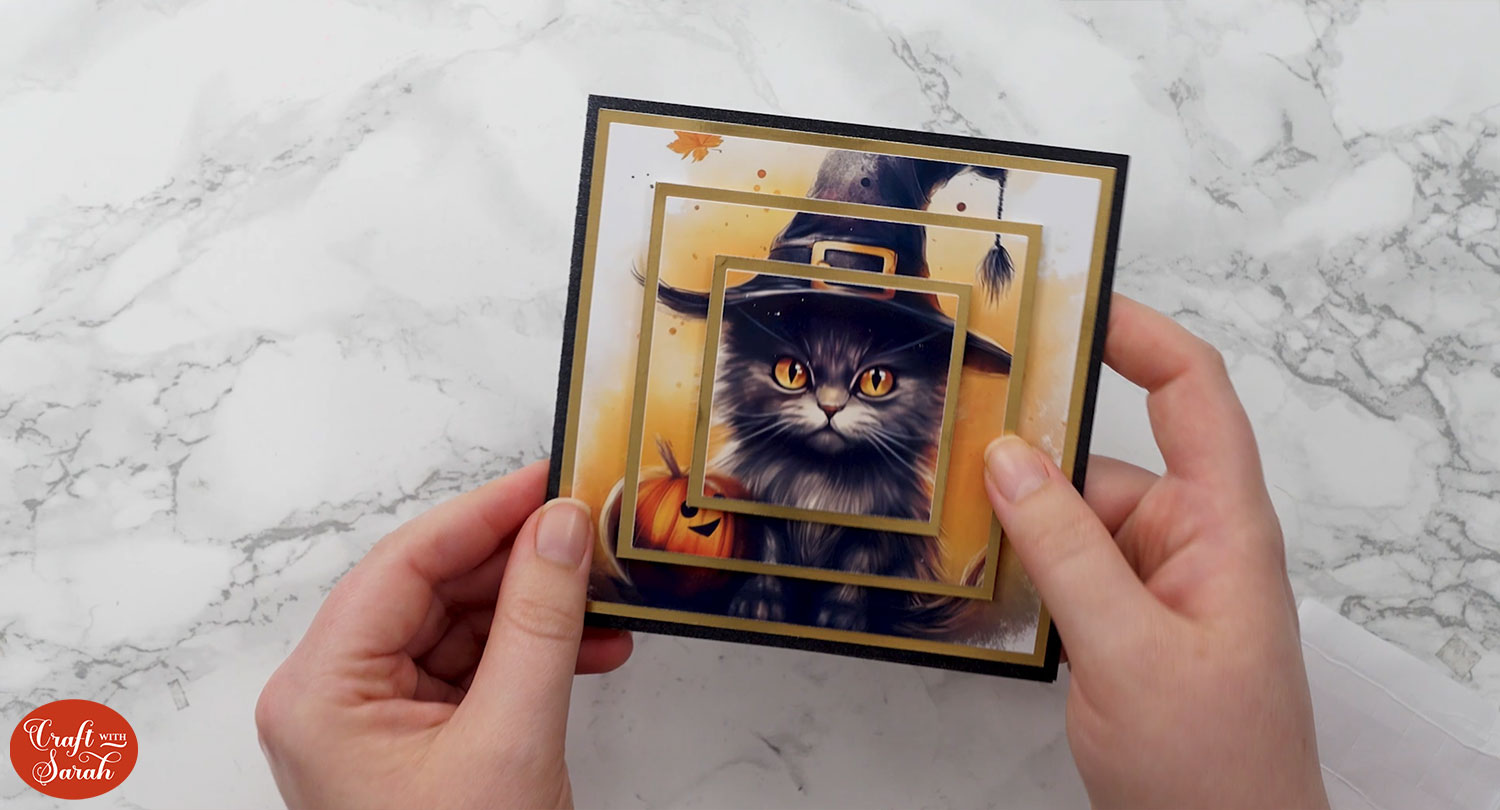
Now your Print then Cut pyramid card is complete!
Printable pyramid cards for Halloween
I hope that you enjoyed this tutorial on how to make print then cut pyramid border cards with a Cricut machine.
Check out these extra tutorials on how to make an envelope and how to write on the inside of cards to finish off your project.
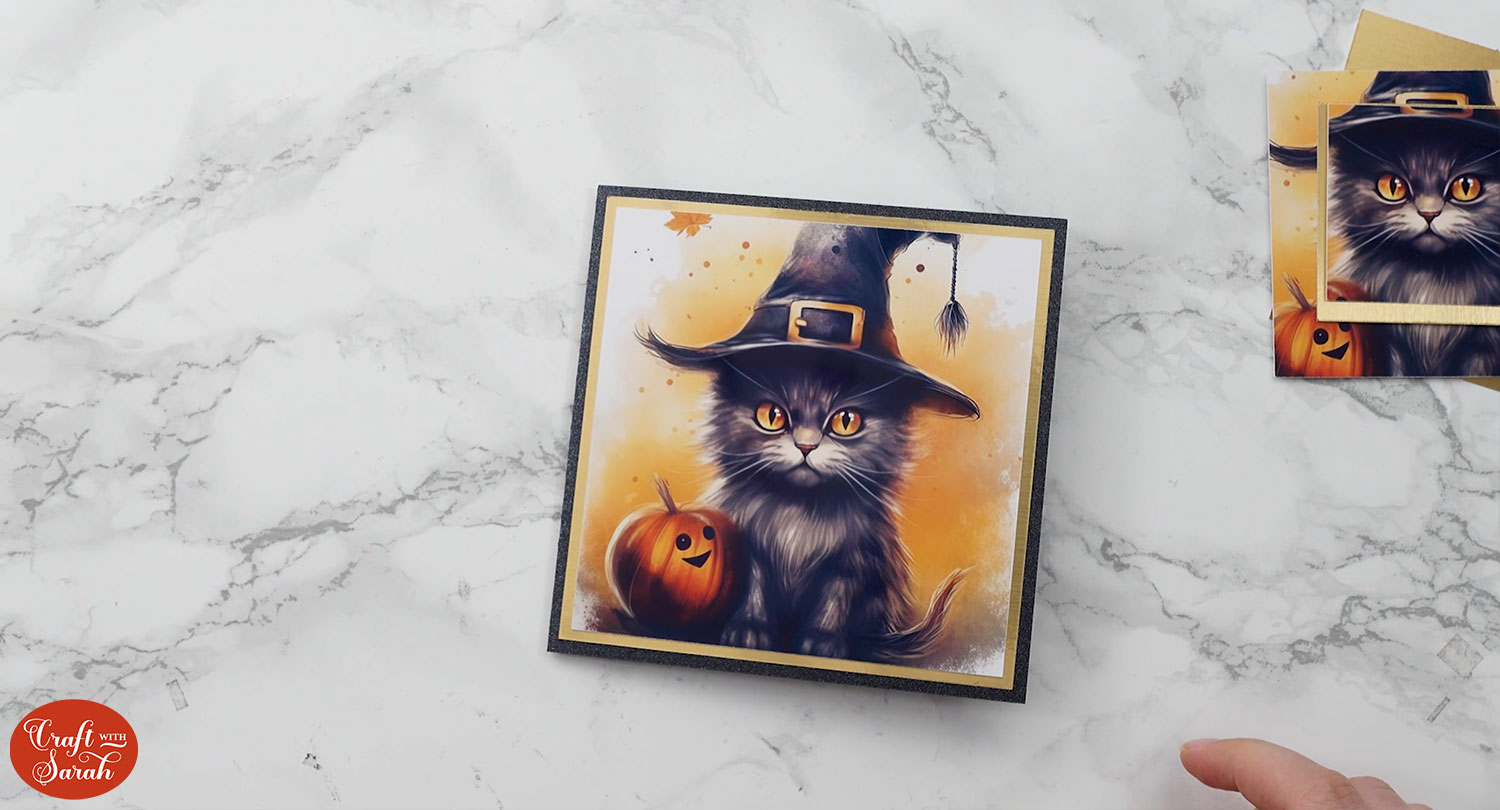
This has got to be one of the cutest Halloween cards, I love the little grumpy face on the cat.
The gold ties in really nicely with the rest of the card too..
I love how easy it is, you can make them surprisingly quickly!
Happy Halloween,
Sarah x

