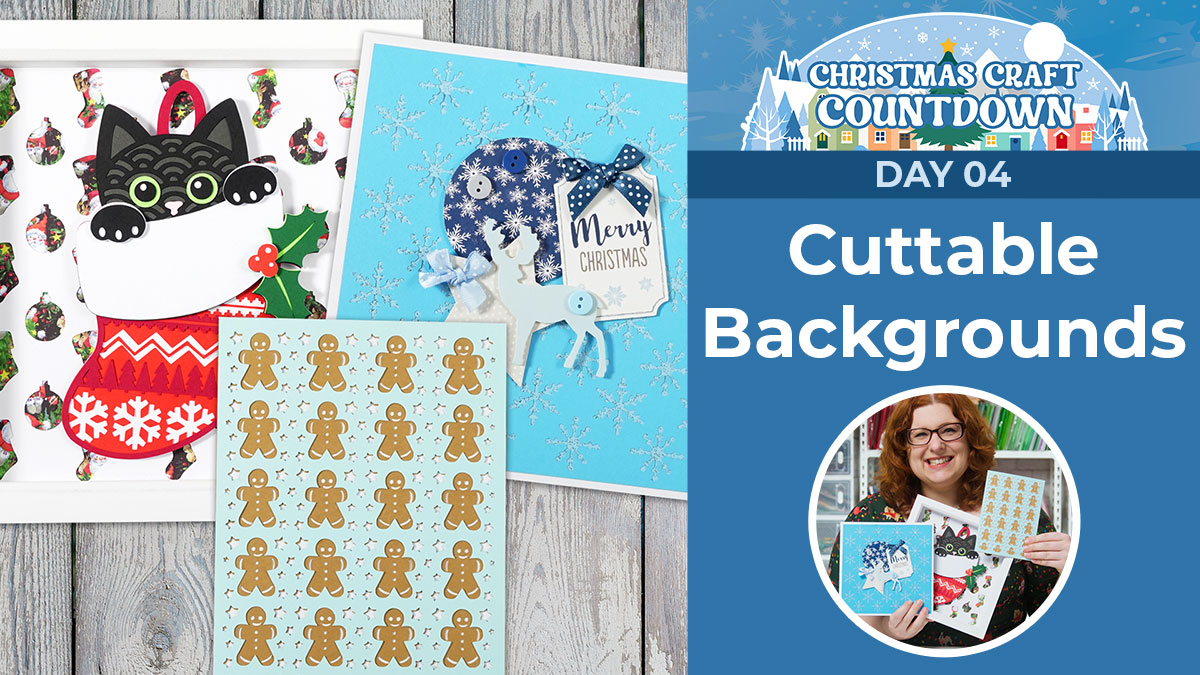
CCC Day 04 ❄️ Cuttable Background Papers
Do you get stuck for ideas of how to decorate the backgrounds of your greetings cards or shadow boxes?
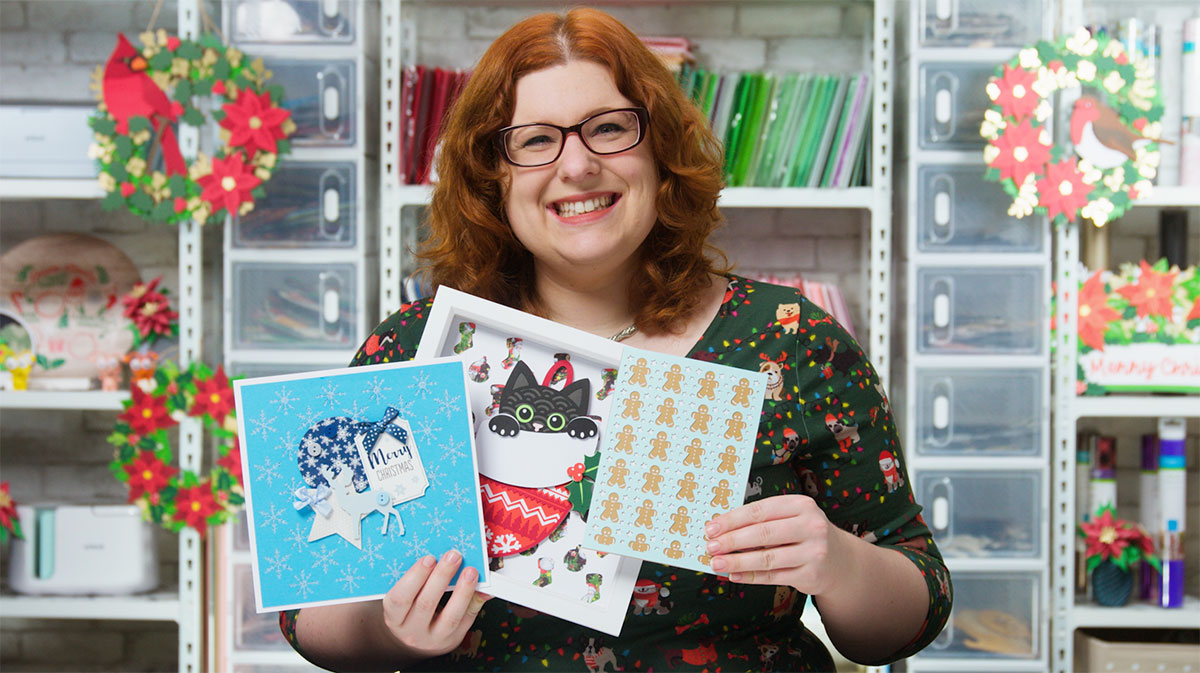
These Christmas-themed cuttable background papers are just what you need!
Choose from three different designs (each in three sizes) to spice up your papercraft projects this festive season!
This Project was part of the Christmas Craft Countdown 2022
Materials supply list
Here is a list of the materials that I used to make this project.
Please note that some of the links included in this article are affiliate links, which means that if you click through and make a purchase I may receive a commission (at no additional cost to you). You can read my full disclosure at the bottom of the page.
- Cricut machine
- Light blue Cricut cutting mat
- Coloured cardstock
- Craft supplies for your shadow box, greetings cards, or whatever you want to add the cuttable background papers too!
Video tutorial
Watch the video below to see how to make this project. Keep scrolling for a written tutorial.
Written tutorial (with photos!)
Here’s how to make your very own Christmas cards using a Cricut Joy machine!
Step 1) Download the cutting file(s) & unzip the downloaded folder
Purchase the File(s)
This cut file is available as part of the Instant Access Bundle.
Or, purchase this design individually here

Before you upload the SVGs to Design Space, you need to unzip the download folder that they come in.
- How to unzip a folder on Windows computer
- How to unzip a folder on a Mac
- How to unzip a folder on an iPad/iPhone
- How to unzip a folder on an Android device
Step 2) Upload the SVG files into Design Space
Open up Cricut Design Space and start a new Project.
Click “Upload” and then find your unzipped version of the downloaded files for this project.

Go into the “svg files” subfolder and choose your design.
Make sure you upload the file which starts svg- in the filename!!
This is how it should look after you have uploaded the file:
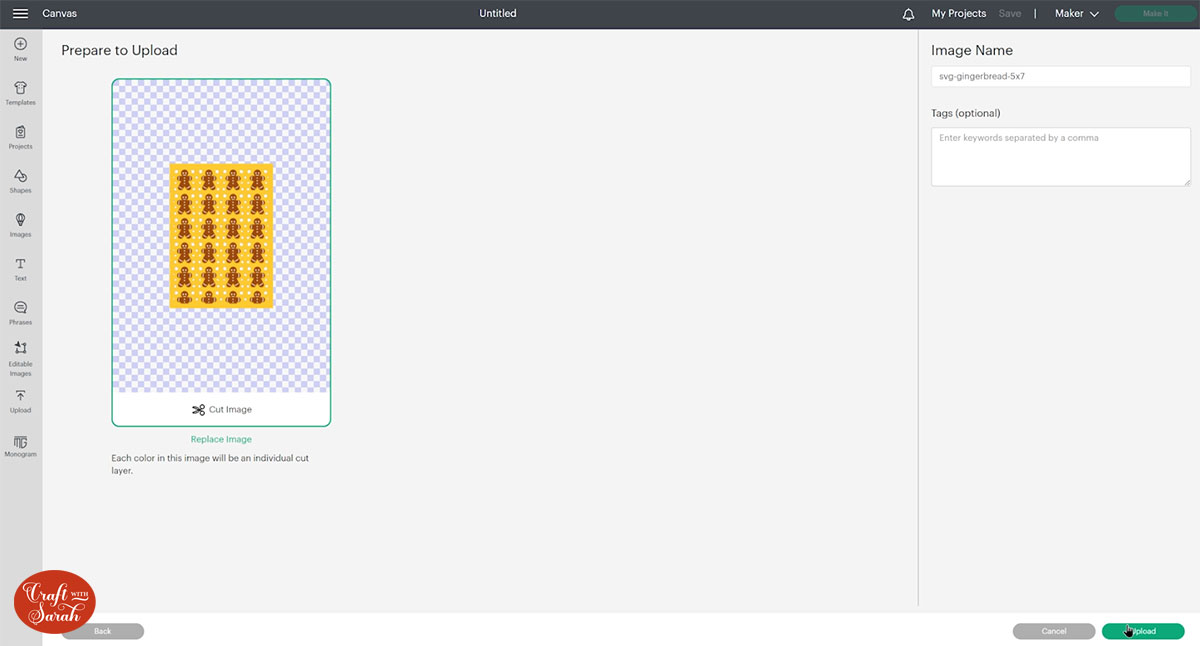
After uploading, the design will show in your “Recently Uploaded Images”.
Click on it and then press “Add to Canvas” to put it onto your Project.
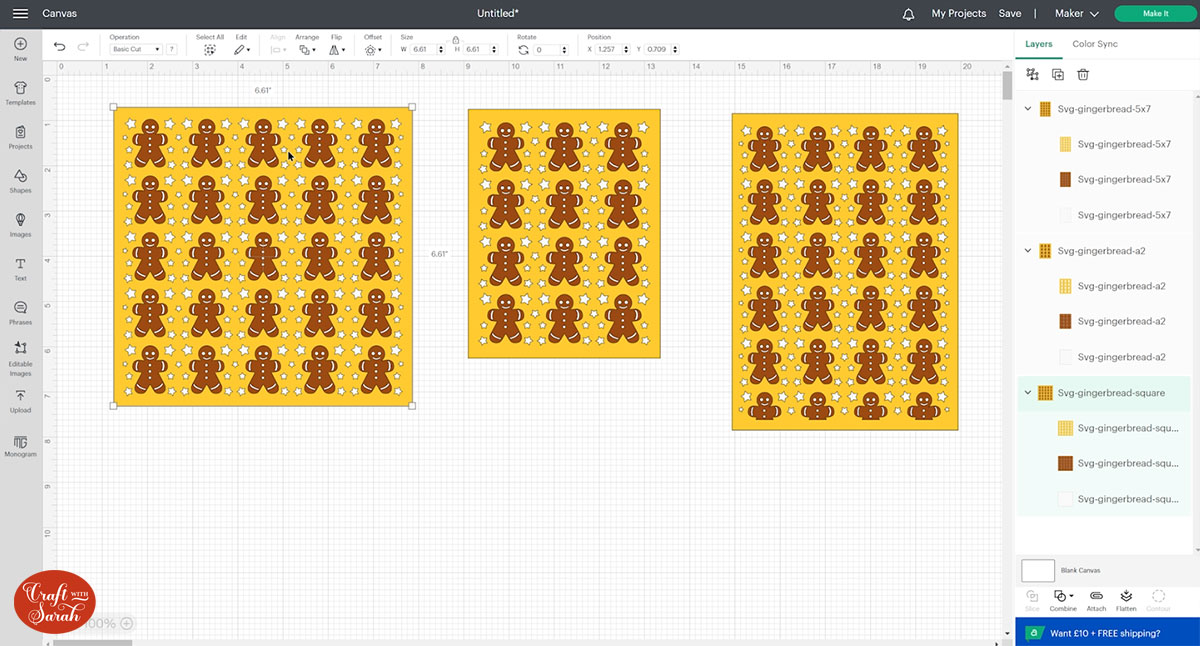
I’ve added all three sizes of the gingerbread design so that you can see the differences.
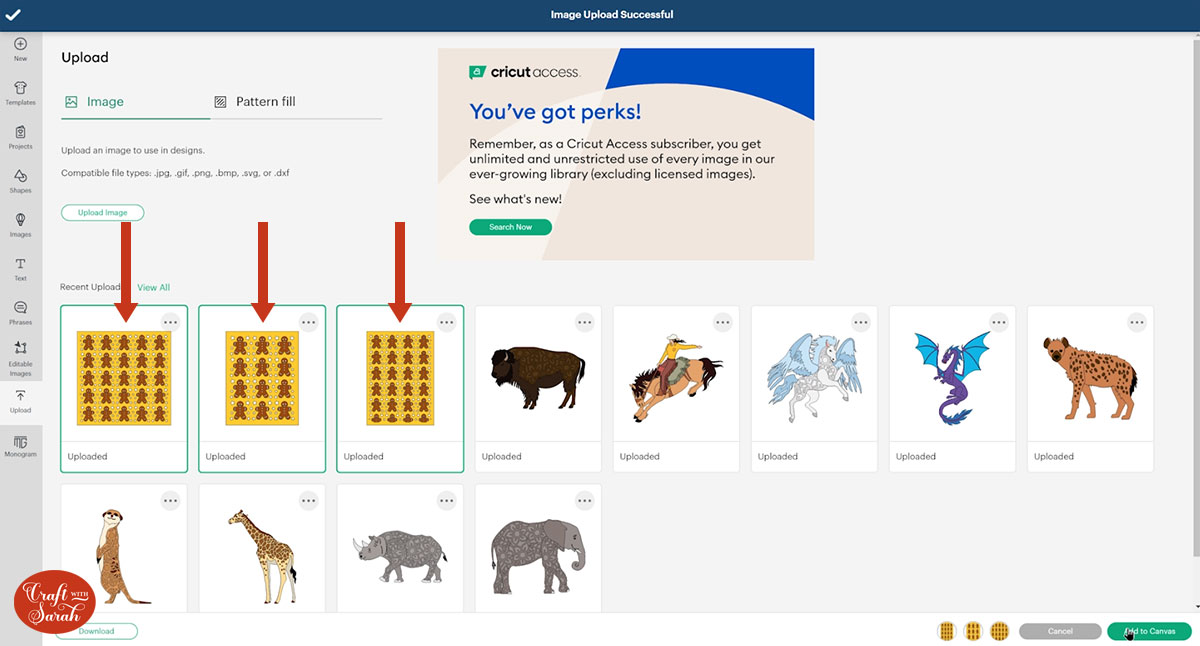
Each of the three designs comes in three sizes: square, A2 and 5×7 inches.
Step 3) Resize the designs if needed
You may need to resize the designs to suit your project.
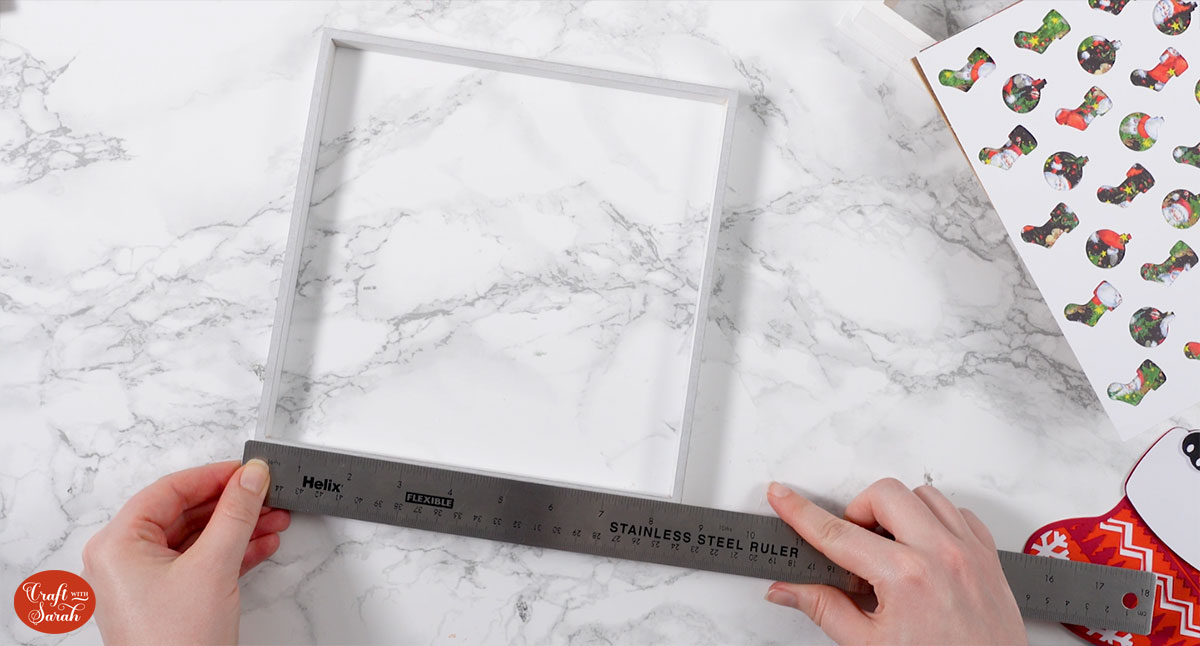
For example, I needed to size the square bauble and stocking design to fit inside my shadow box.
First, I measured the spaces inside my shadow box to get the size, which was 8.5 inches.
Then, I changed the design in Design Space to match.
Step 4) Cut the designs and make your projects!
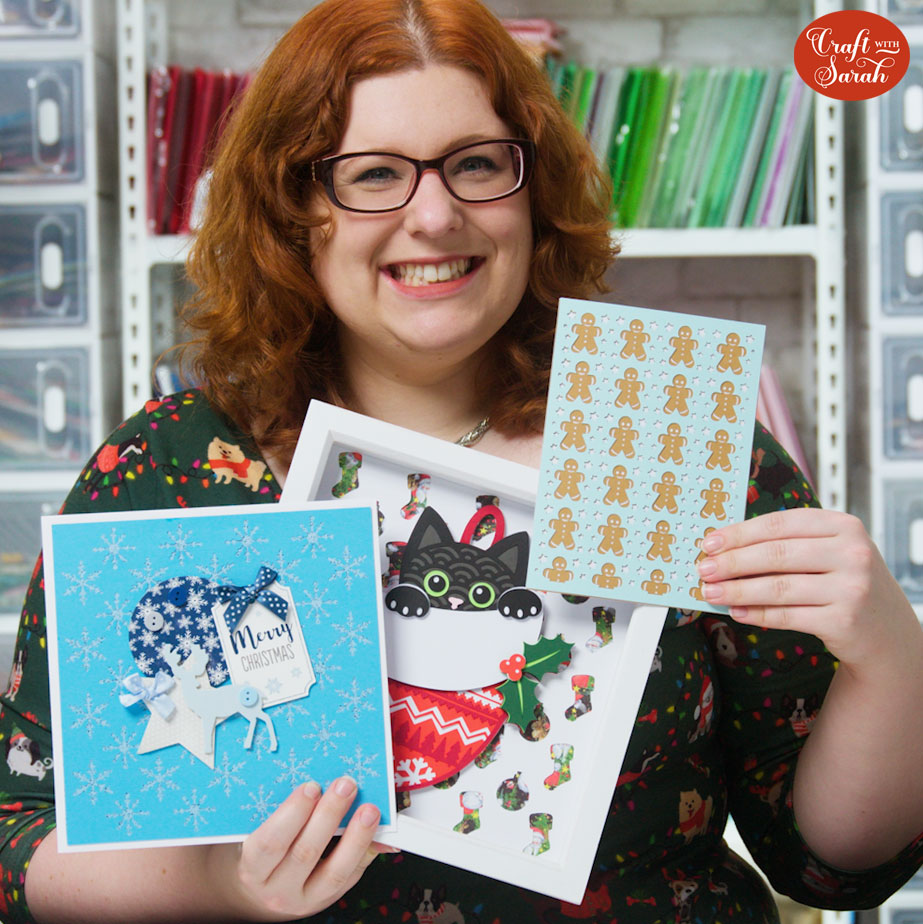
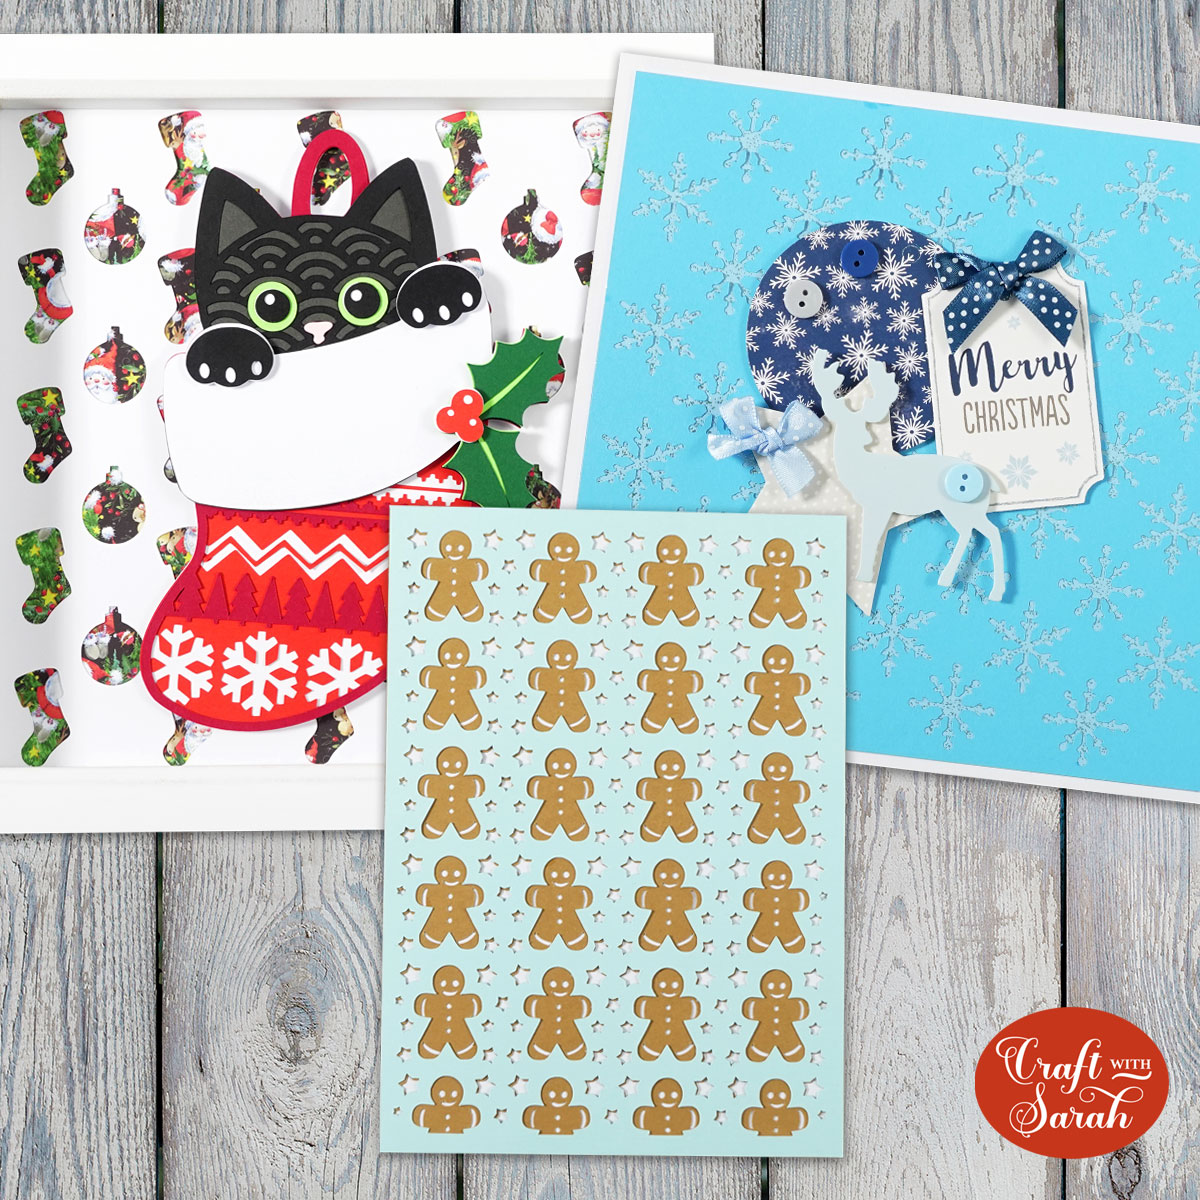
As these cuttable card backgrounds are a bit ambiguous in terms of what you can do with them (so many possibilities!), I thought I’d show you one craft idea for each of the three designs.
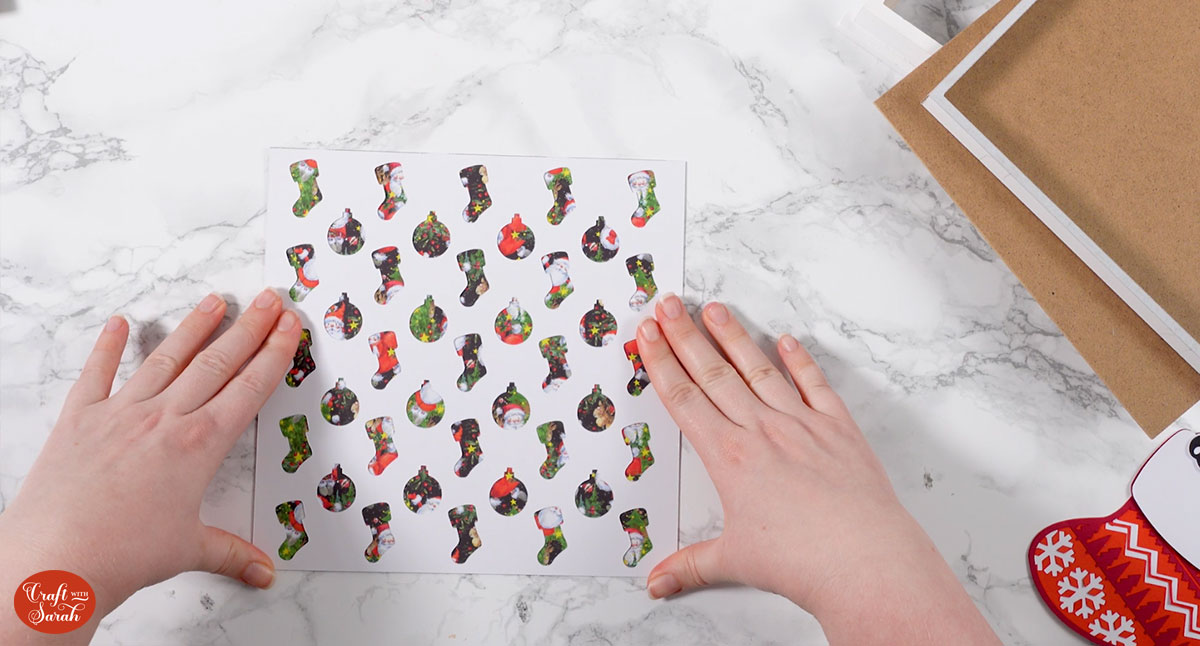
Project 1 – Shadow box
I cut the two layers of the stocking design and glued them together.
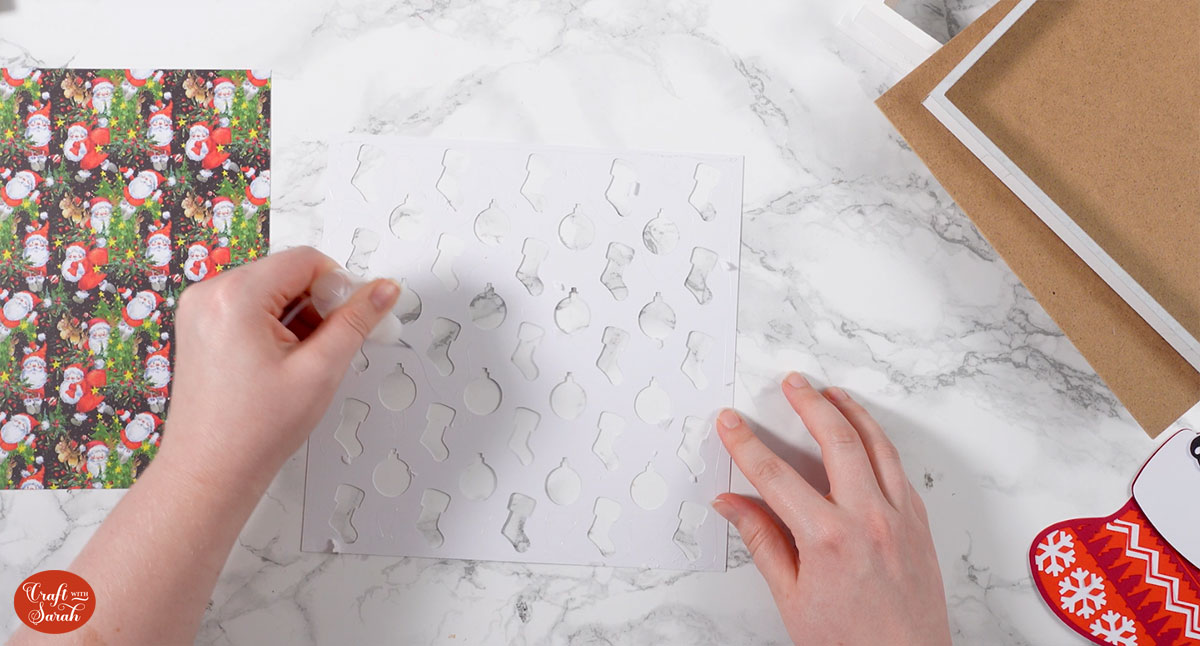
Here’s how they look when placed together. I think the patterned paper I used is probably a bit too “busy” in the pattern – something simpler may have been better.
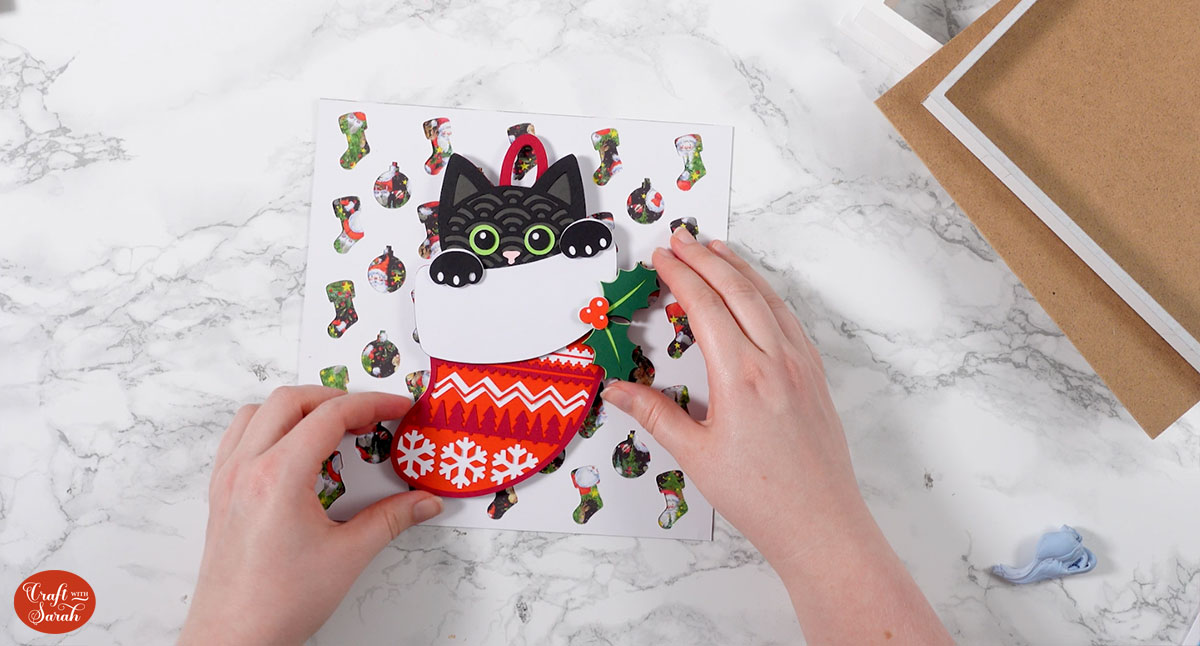
Stick a layered design on top. This layered cat will be added to my SVG shop on Friday 25th November
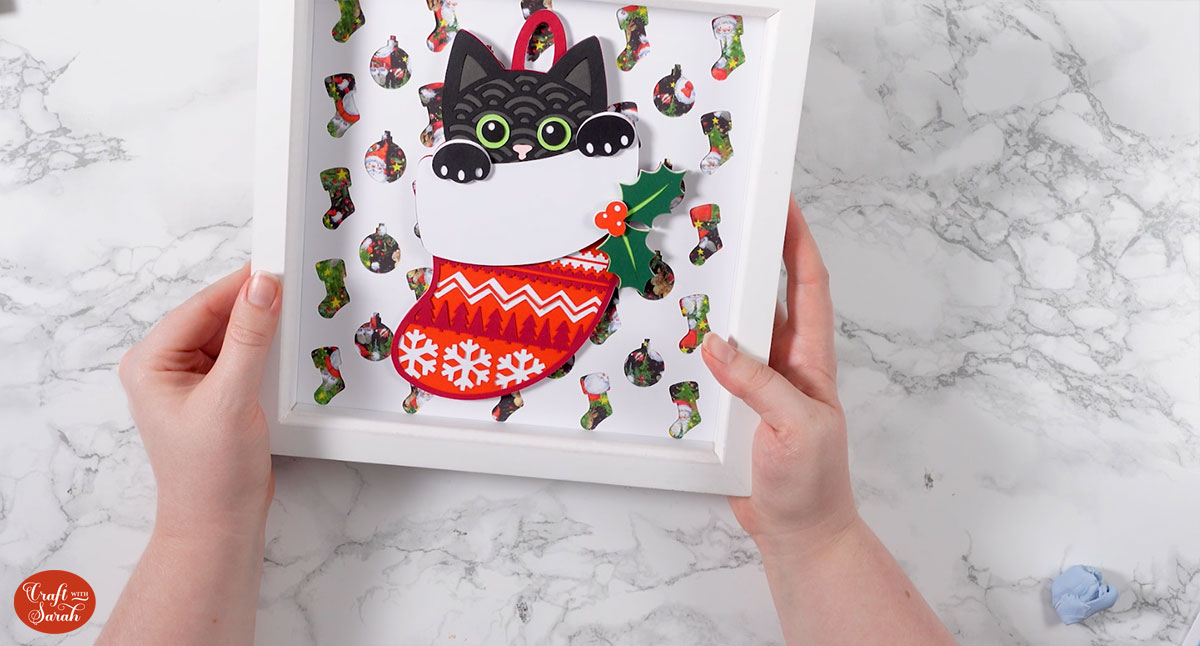
Add the design into a shadow box frame.
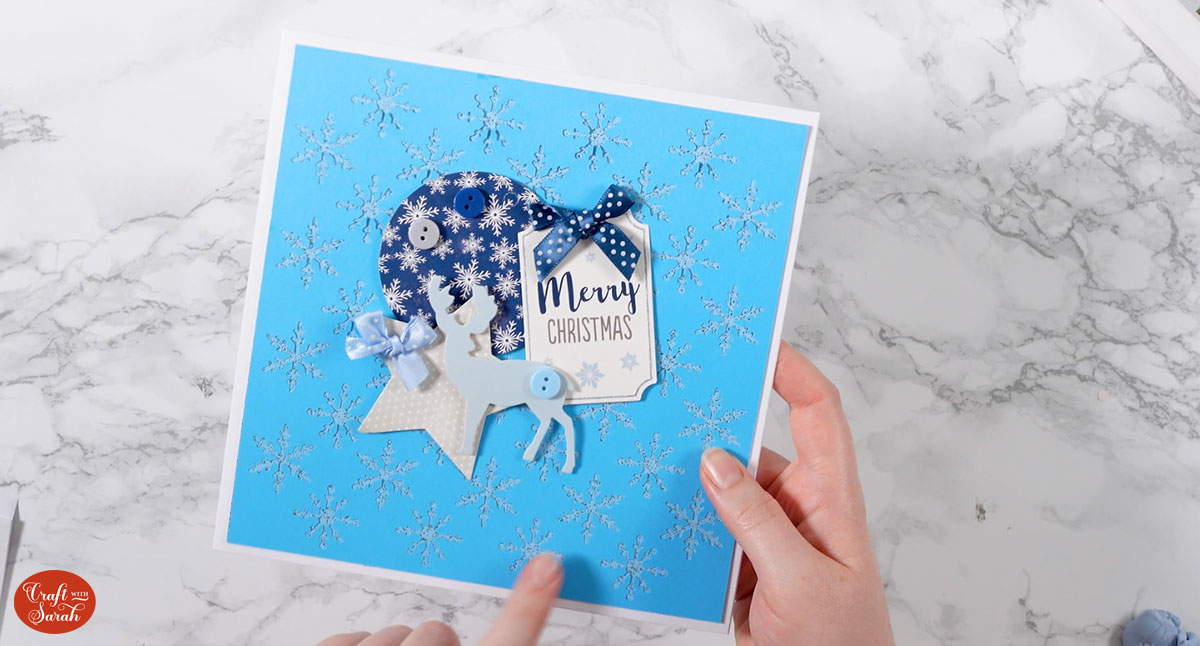
Snowflake card with embellishments
These card backgrounds are perfect for using up those craft supplies you’ve had in your stash for aagggeessss and weren’t sure what to do with them!
I’ve had this selection of embellishments for a few years now.
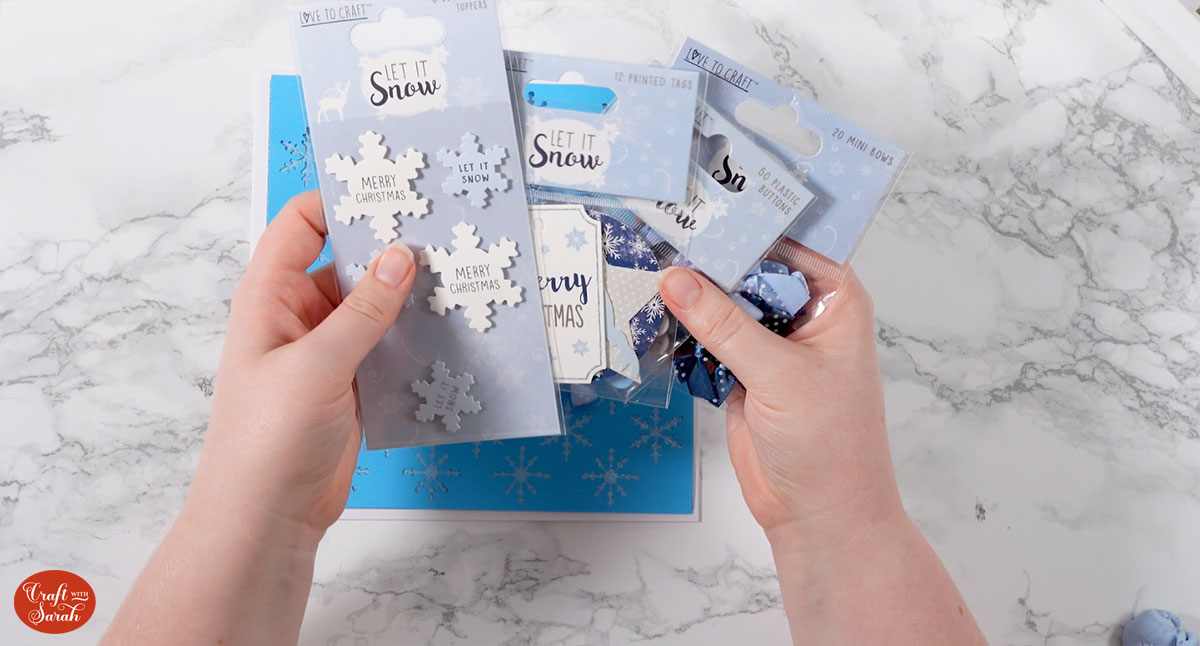
I chose a few of them and starting sticking them on top of the snowflake background.
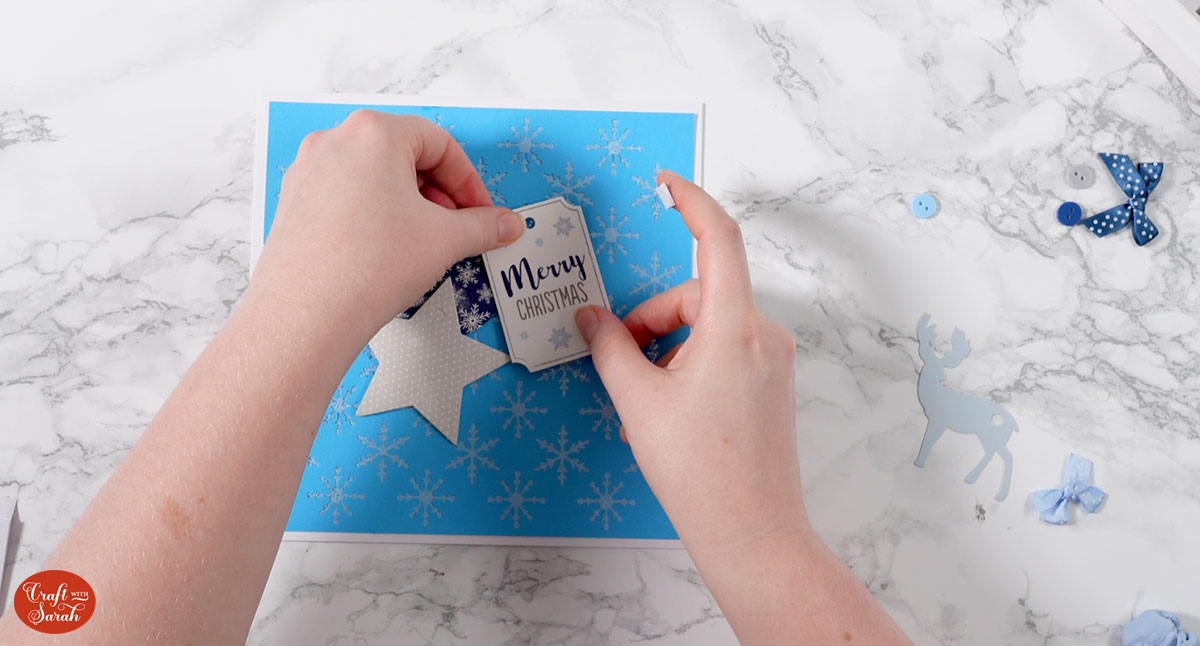
Here’s how it ended up!
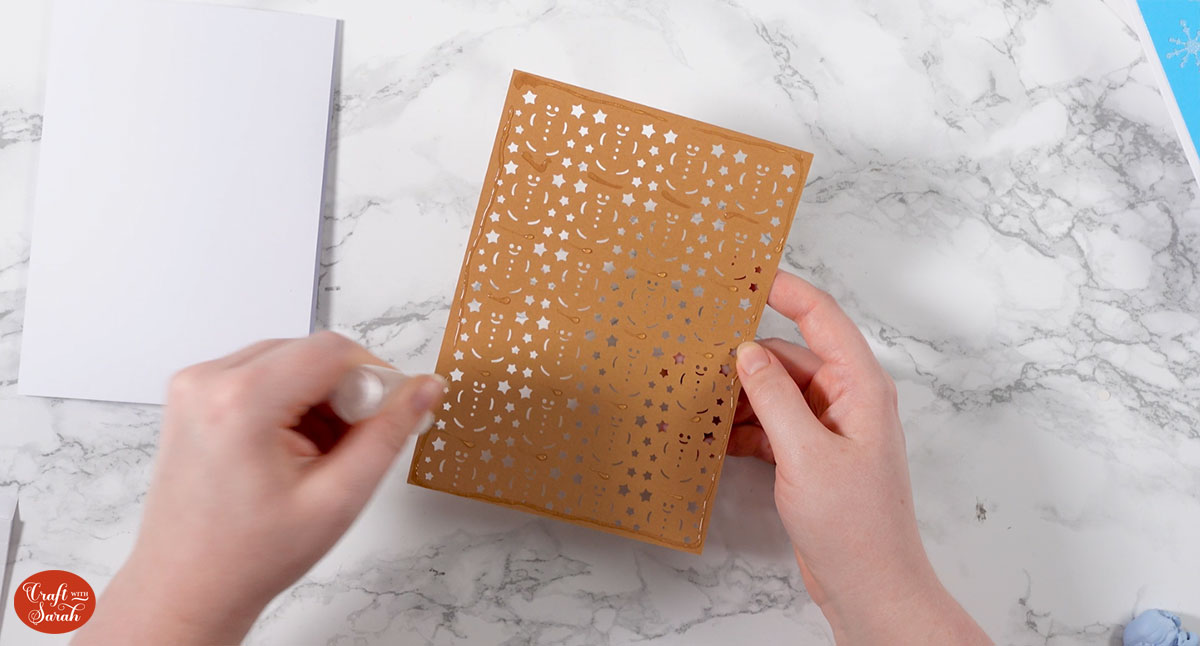
Gingerbread card
The gingerbread man card was the simplest of the lot!
I cut the brown and blue layers but left off the white one as I would be sticking it to a white base card.
I glued the brown gingerbread layer onto the front of my card.
And then the blue layer on top.
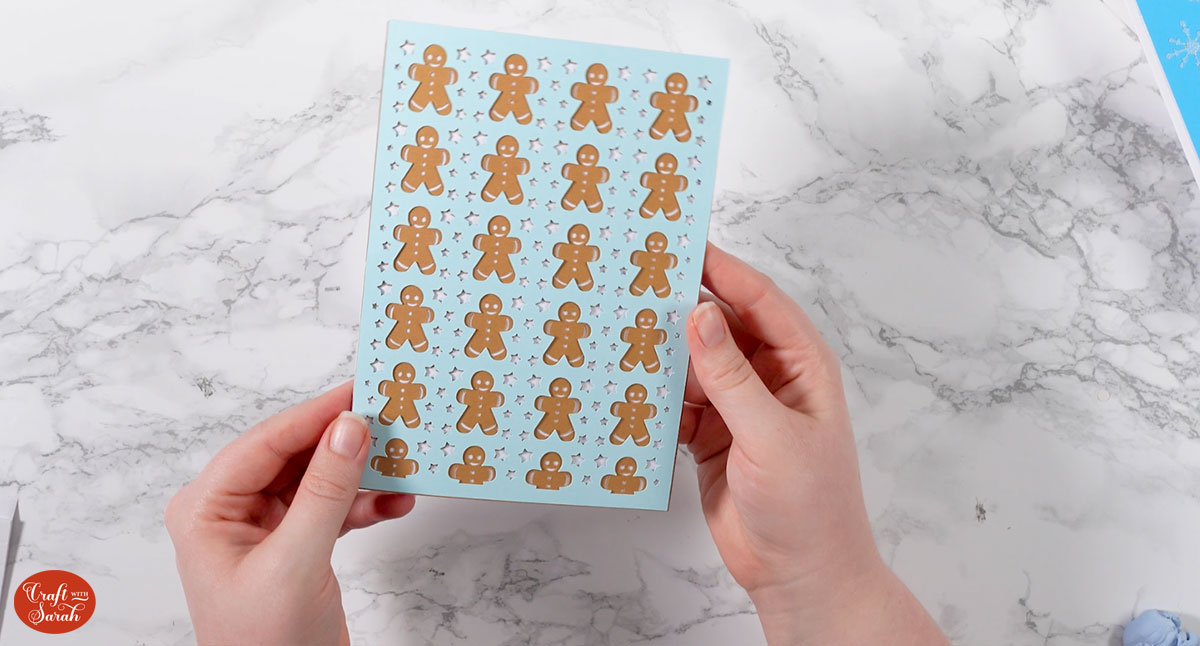
I was going to add some extra embellishments on top, but I ended up liking it just as it was, so I kept it simple!
I hope you enjoy making Christmas crafts with the cuttable backgrounds.
I’d love to see a photo of what you make with them!
Happy crafting,
Sarah

