CCC Day 10 ❄️ 3D Christmas Ornaments
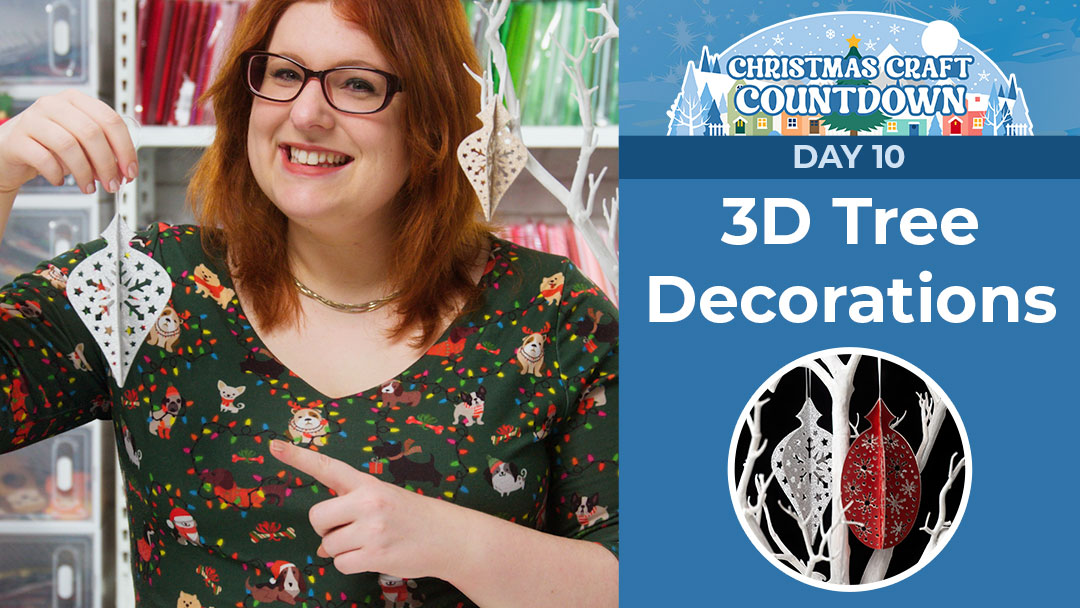
Make beautiful handmade decorations for your Christmas tree with these 3D papercraft ornaments.
They look especially beautiful when cut from glitter or holographic card for a bit of extra sparkle!
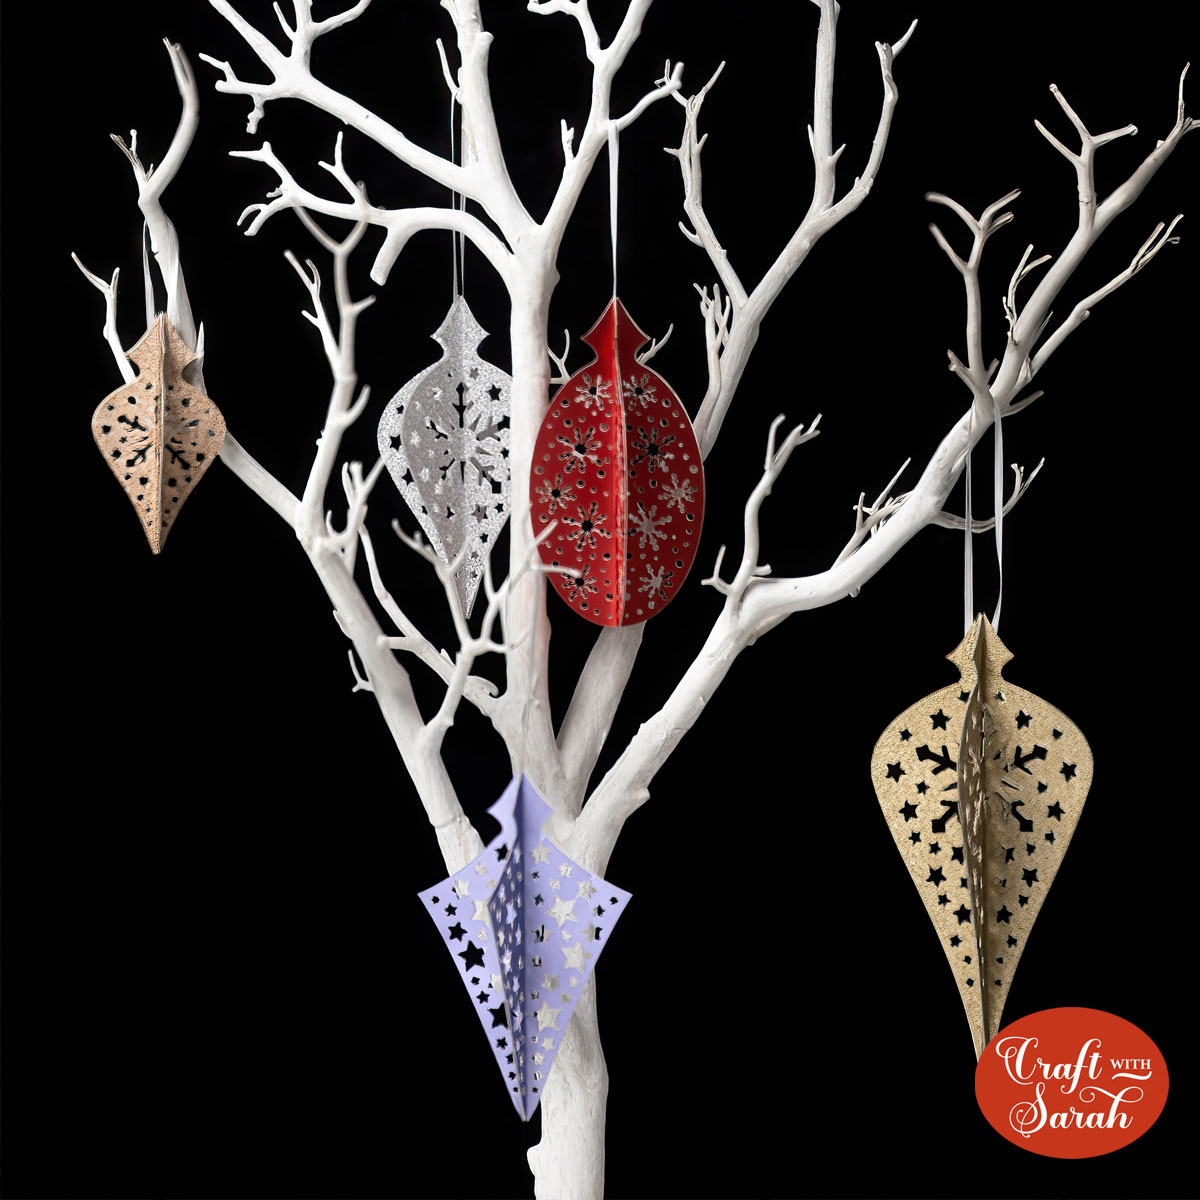
Choose from three different designs: a traditional teardrop bauble shape, a diamond shape and a circular shape.
This Project was part of the Christmas Craft Countdown 2022
Materials supply list
Here is a list of the materials that I used to make this project.
Please note that some of the links included in this article are affiliate links, which means that if you click through and make a purchase I may receive a commission (at no additional cost to you). You can read my full disclosure at the bottom of the page.
- Cricut machine
- Light blue or green Cricut cutting mat
- Glitter card, holographic card or metallic card
- Collall All Purpose Glue
- Needle Tip Applicator Bottle
- Cricut scoring wheel or scoring stylus
- Paperclips (optional but helpful for holding the pieces together whilst the glue dries)
- Ribbon, twine or thread
- Double-sided tape
- Brayer tool (optional)
Video tutorial
Watch the video below to see how to make this project. Keep scrolling for a written tutorial.
Written tutorial (with photos!)
Here’s how to make your very own Christmas ornaments or baubles using a Cricut machine!
Step 1) Download the cutting file(s) & unzip the downloaded folder
Purchase the File(s)
This cut file is available as part of the Instant Access Bundle.
Or, purchase this design individually here
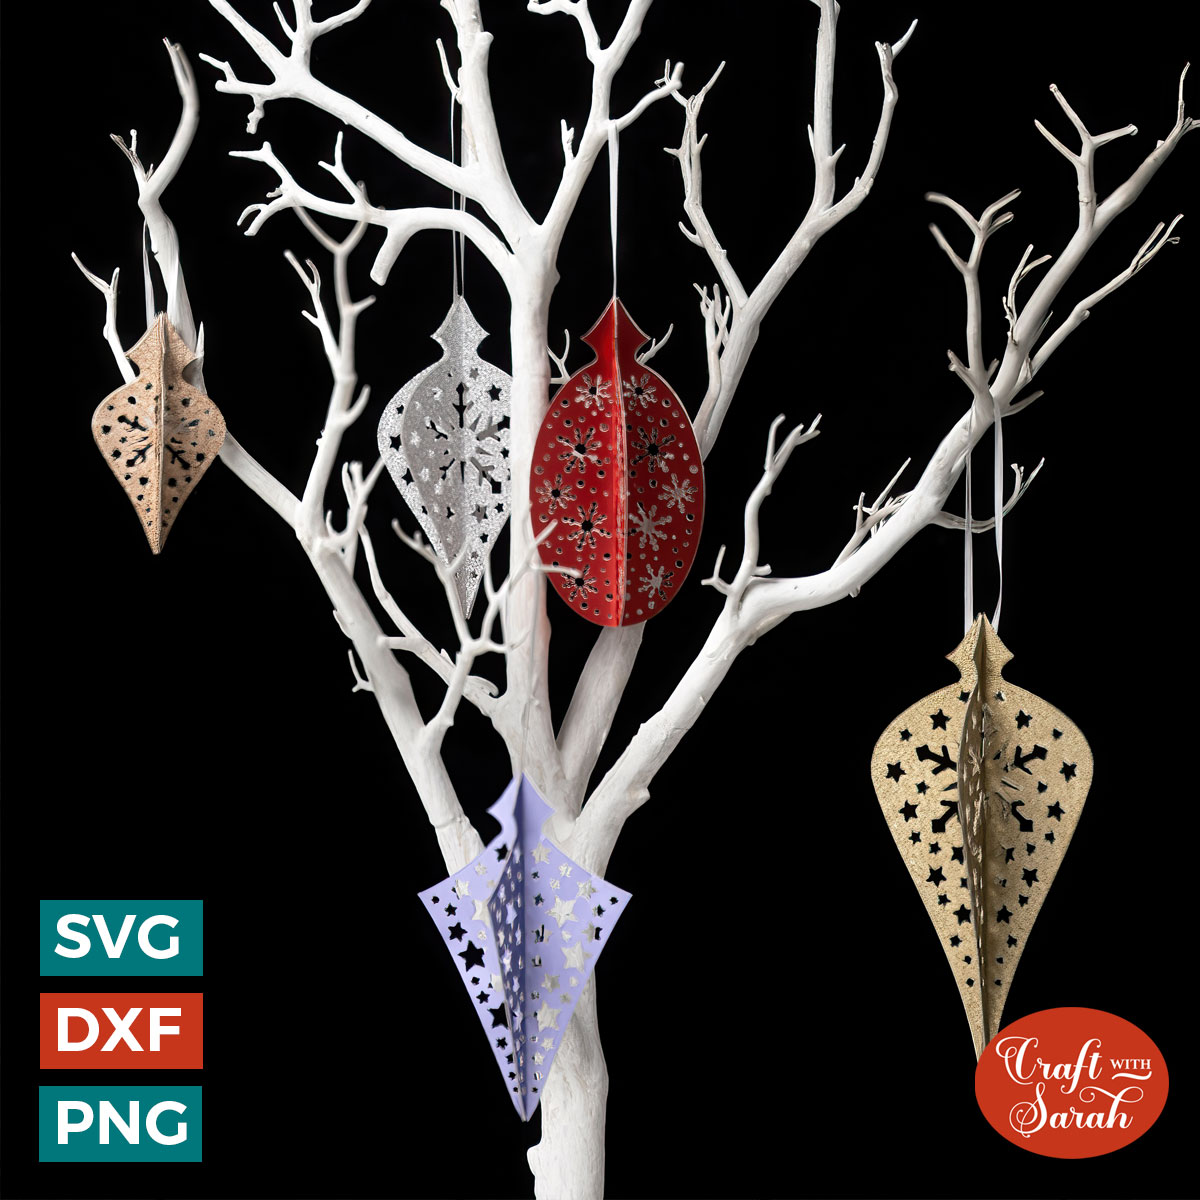
Before you upload the SVGs to Design Space, you need to unzip the download folder that they come in.
- How to unzip a folder on Windows computer
- How to unzip a folder on a Mac
- How to unzip a folder on an iPad/iPhone
- How to unzip a folder on an Android device
Step 2) Upload the SVG file into Design Space
Open up Cricut Design Space and start a new Project.
Click “Upload” and then find your unzipped version of the downloaded files for this project.

Go into the “svg files” subfolder and then select the file you want to use.
Make sure you upload the filed which start svg- in the filename!!
This is how it should look after you have uploaded the file:
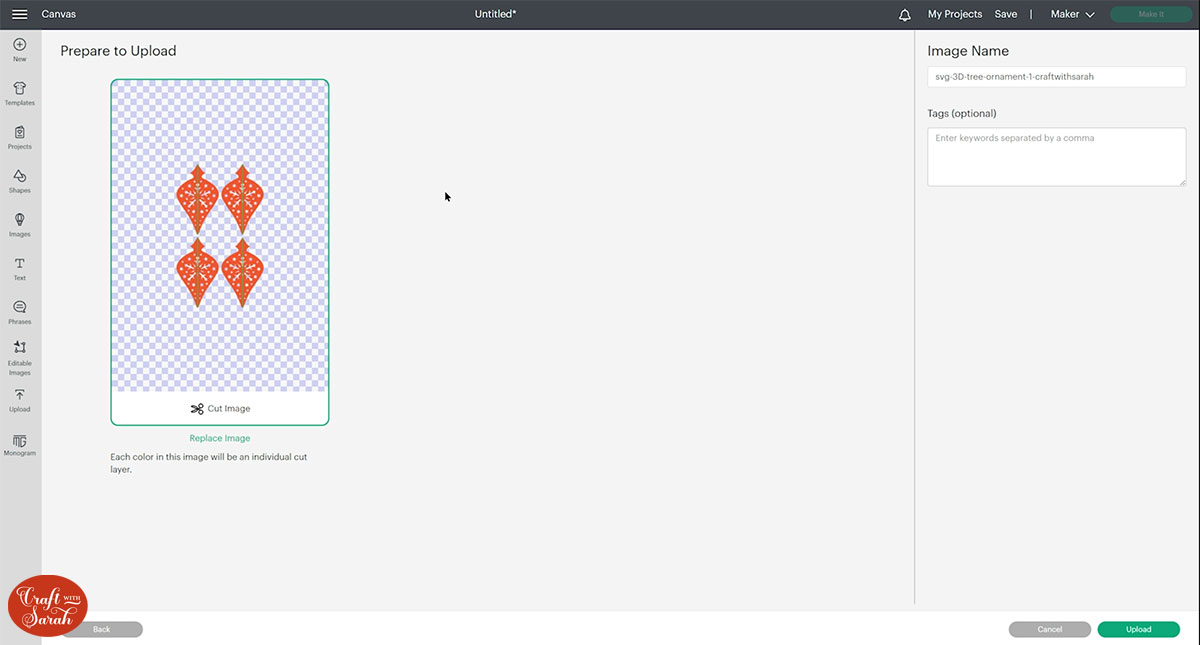
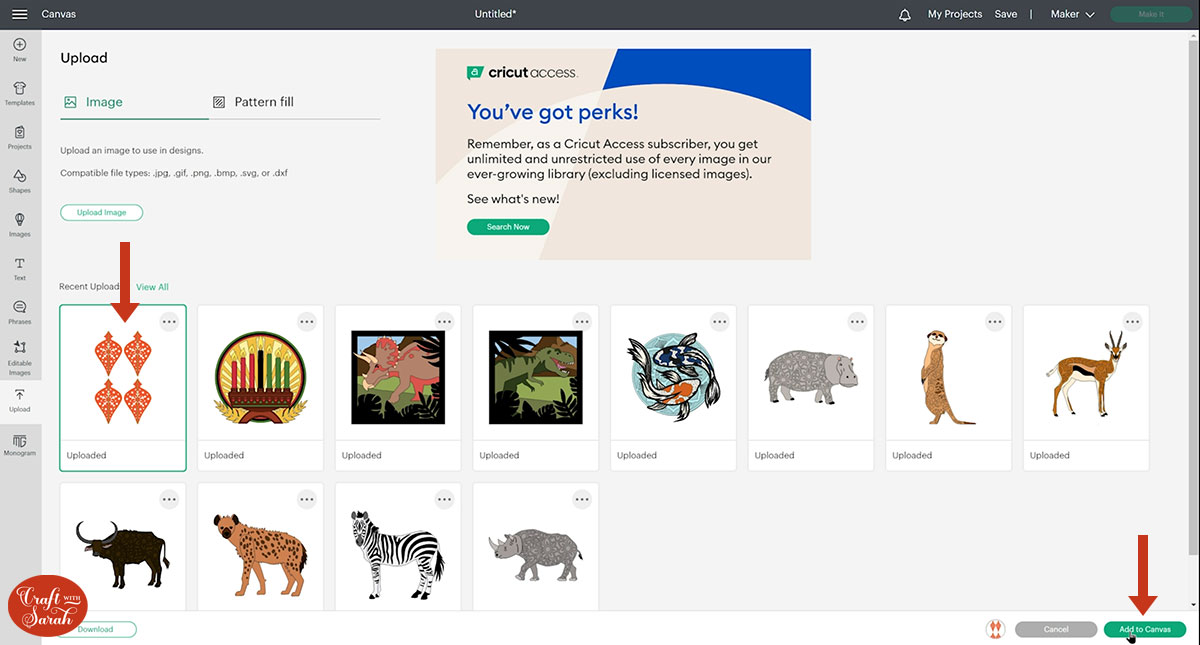
After uploading, the design will show in your “Recently Uploaded Images”.
Click on it and then press “Add to Canvas” to put it onto your Project.
Step 3) Format the score lines
For the rest of this tutorial I’ll be using the purple bauble.
There are a couple of steps that need to be done in Design Space before the baubles are ready to cut.
We need to turn the vertical line down the middle of the shapes to a score line.
You can either do this individually for all four sides of the bauble, OR cheat a little bit and just do one of them, then duplicate the one you did three times to get all four sides.
This is the way I’m going to do it as it’s much quicker!
Click the ornaments and Ungroup the layers by clicking the button at the top of the layers panel.

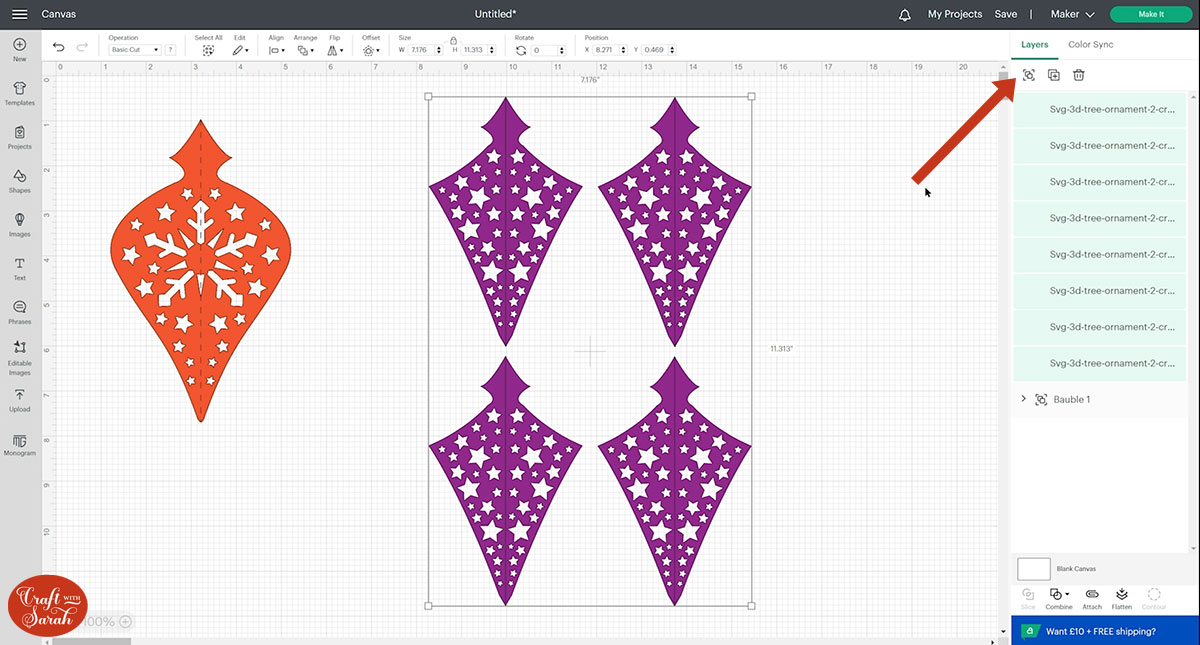
Click three of the shapes and delete them so you are just left with one (look at the purple one in the image below).

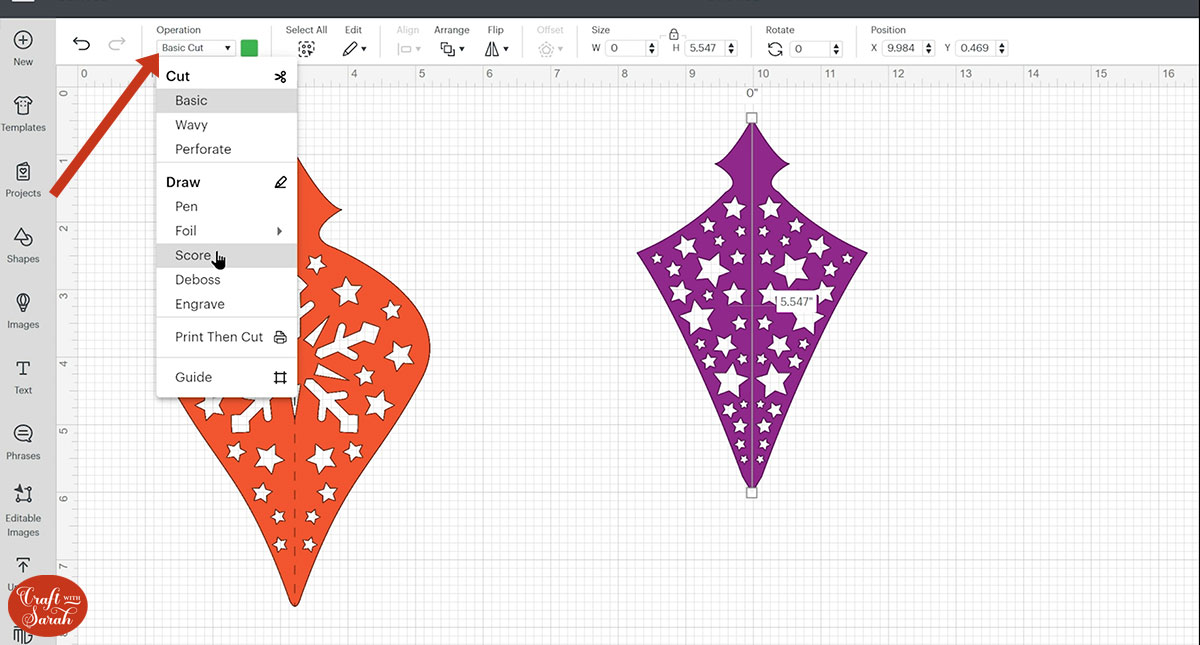
Click on the vertical line layer in the layers panel.
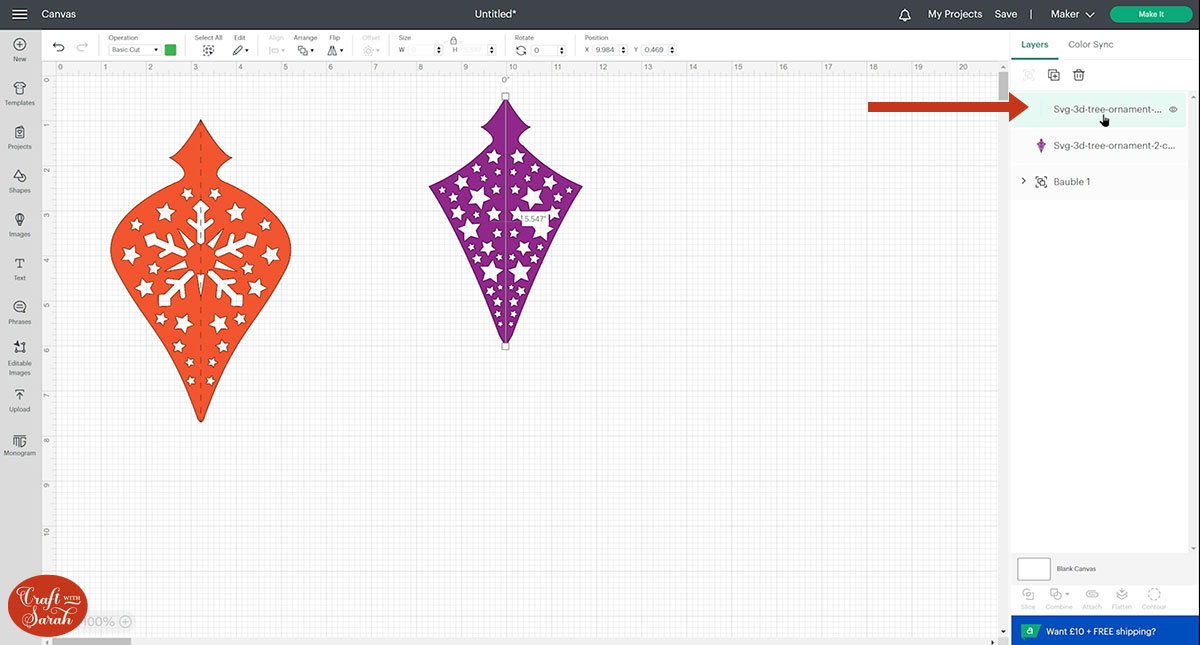
Change it to a “Score” line in the Operations dropdown menu.
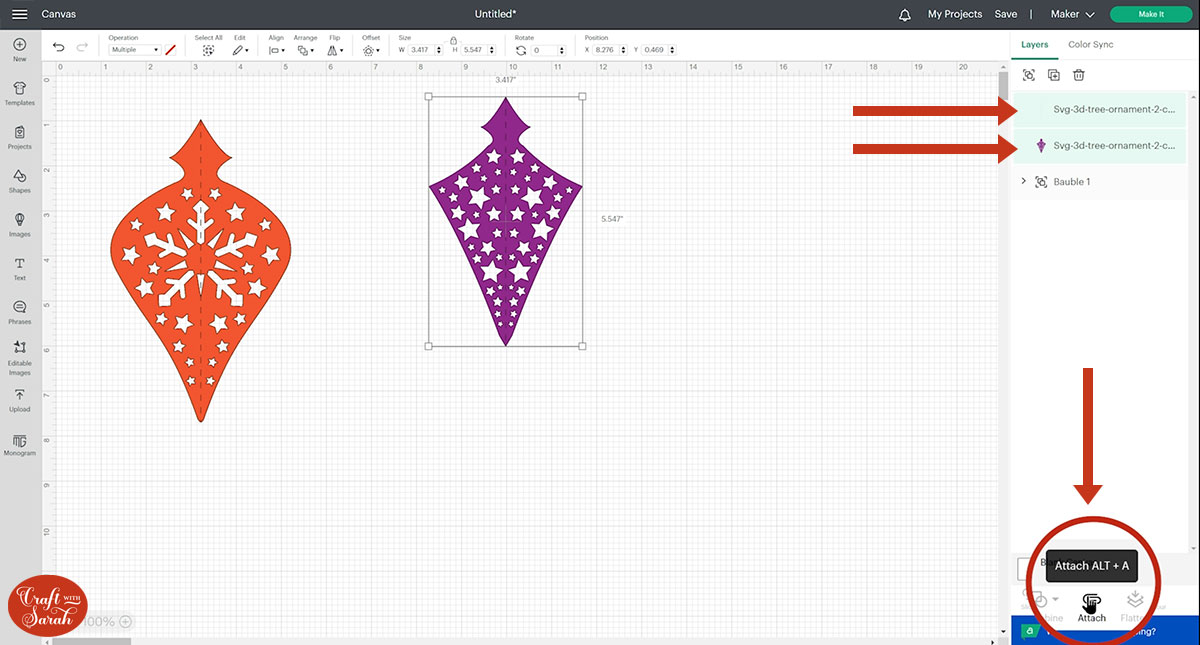
Select the score line layer and the coloured layer underneath and press “Attach”.
Attach is what tells the Cricut that we want to do the score line down the middle of the bauble shape.
Click your attached layers and press “Duplicate” three times so that you have four in total.
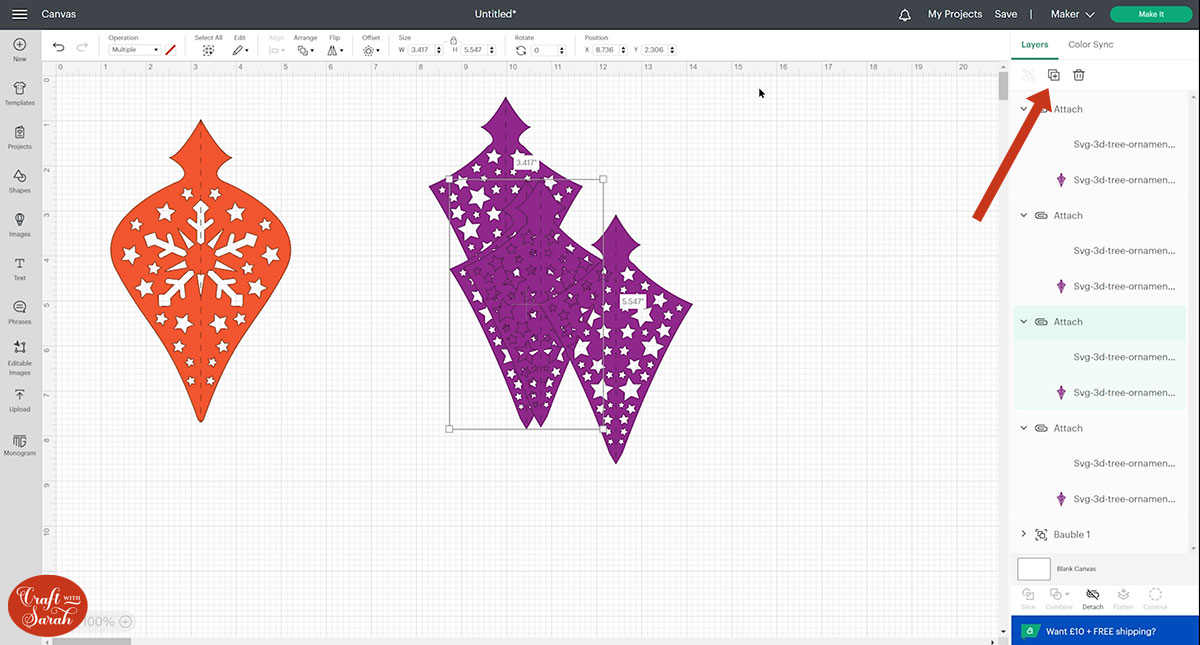
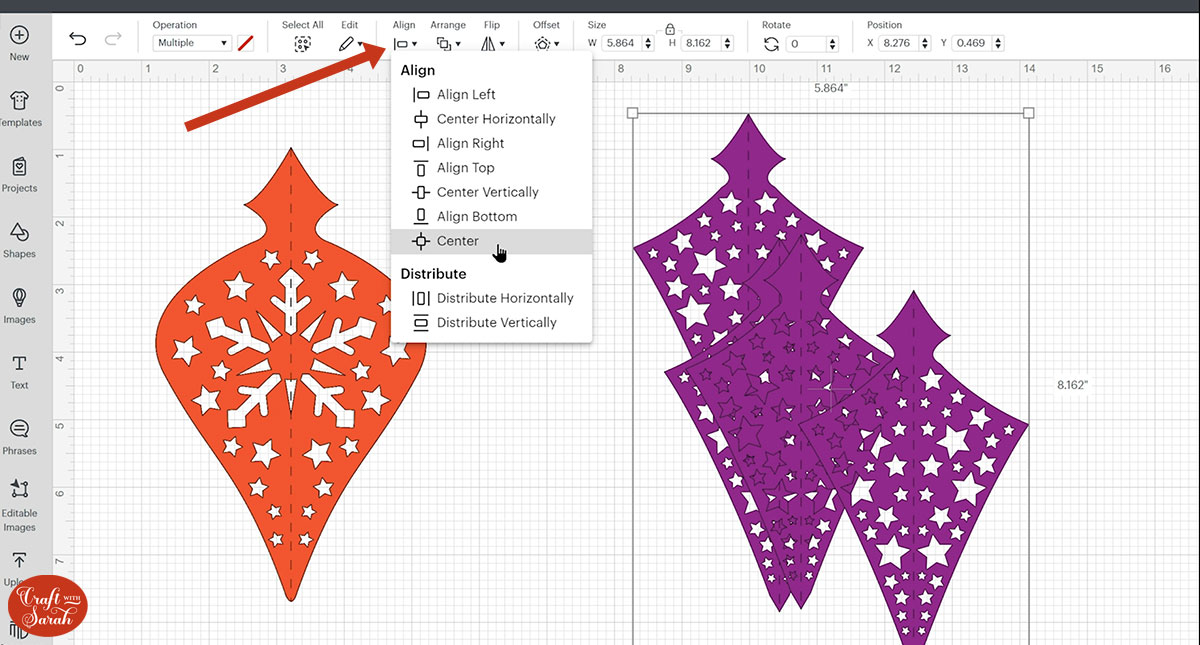
Select all four pieces of the ornament and then press “Align” and “Center” to put them one-on-top of each other.
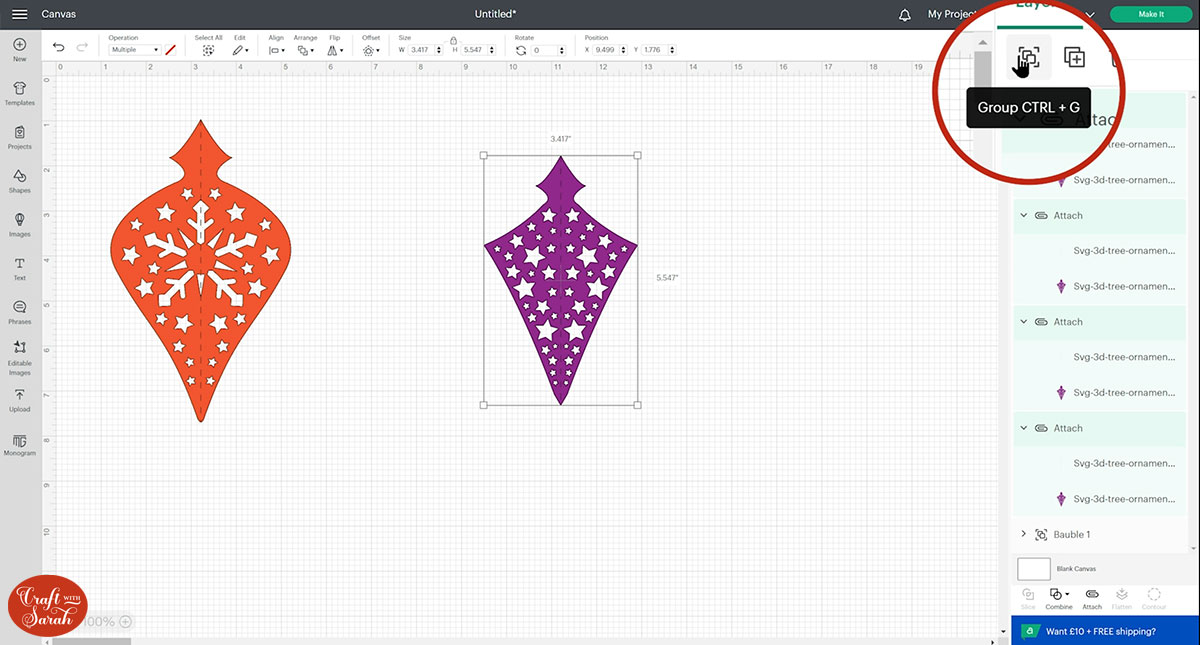
Group the four pieces.
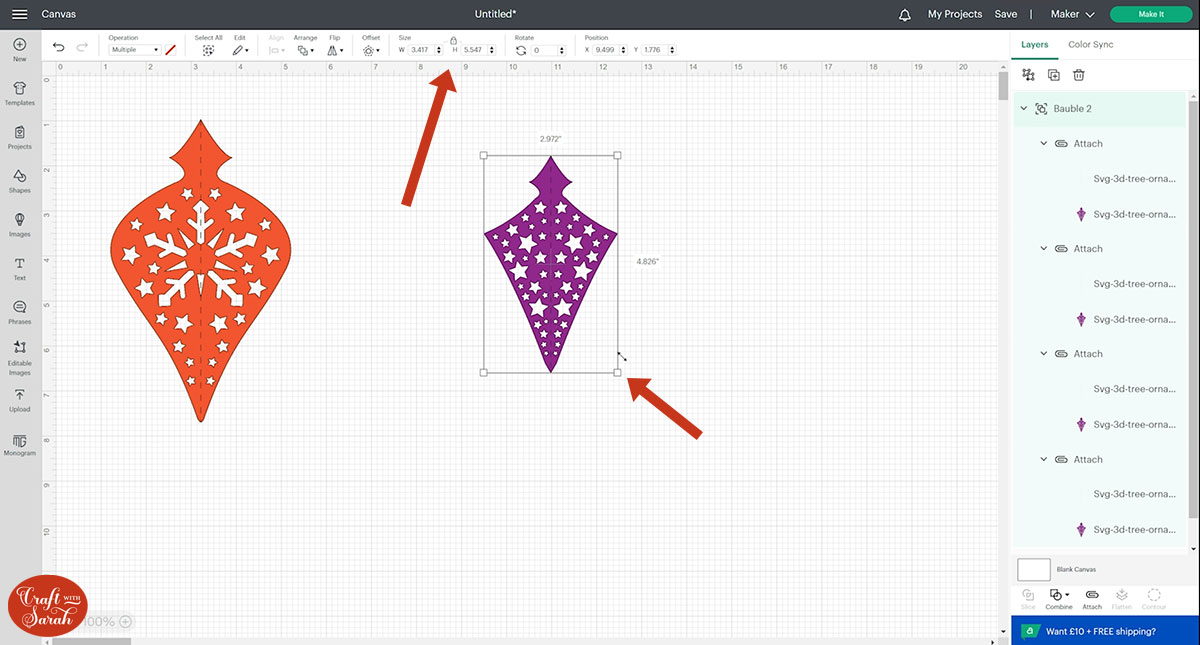
Step 4) Resize if desired
Now that all the sides are showing on top of each other, you can resize the bauble if there is a specific size that you’d like to make.
Because we’ve grouped the sides, resizing the group will resize all four sides in proportion with each other.
Step 5) Cut out the ornaments
When you’re happy with how the ornaments are looking on the screen, click “Make It” and follow the on-screen instructions to get everything cut out with your Cricut machine.
These designs work best when cut from glitter, metallic or holographic card because they tend to be thicker than normal card – and prettier!!
You may need to cut your cardstock on a heavier setting than usual to get the Cricut to cut all the way through the card cleanly.
I used the “Kraft Board” setting on my Cricut Maker.
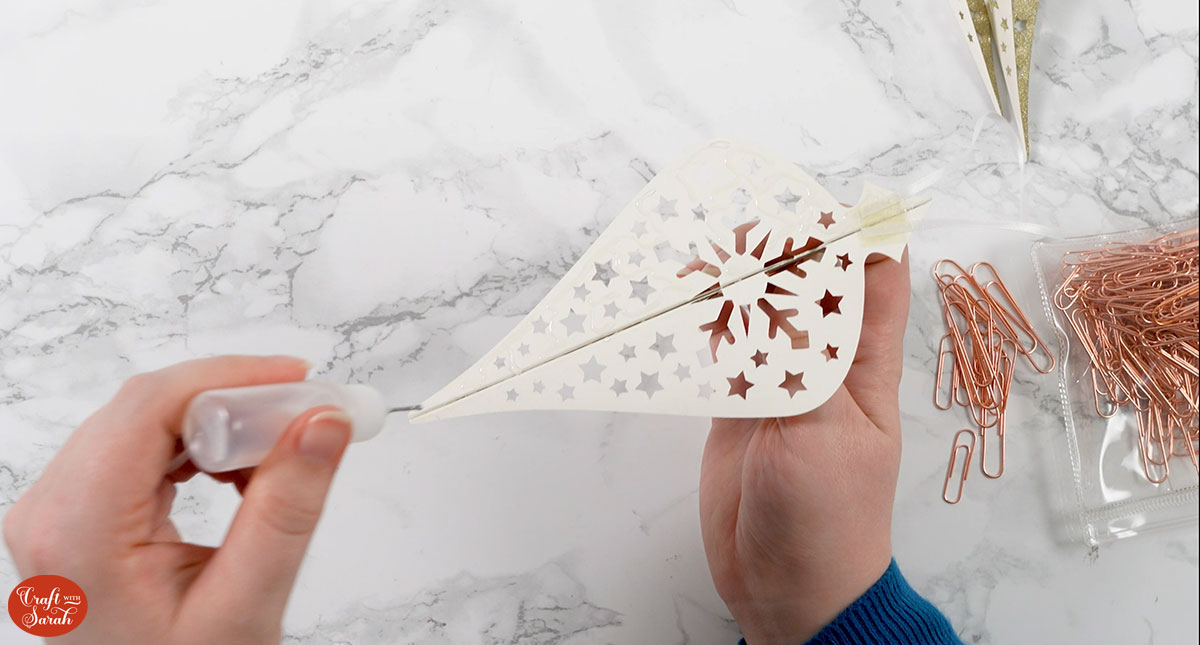
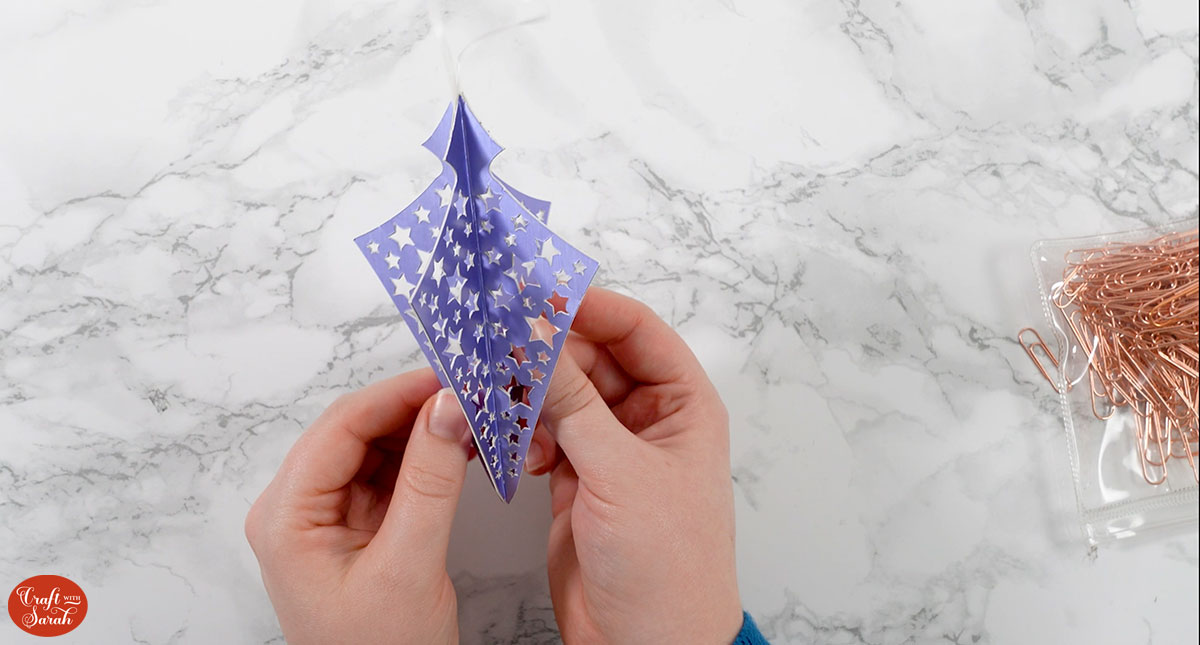
Step 6) Glue the ornaments together
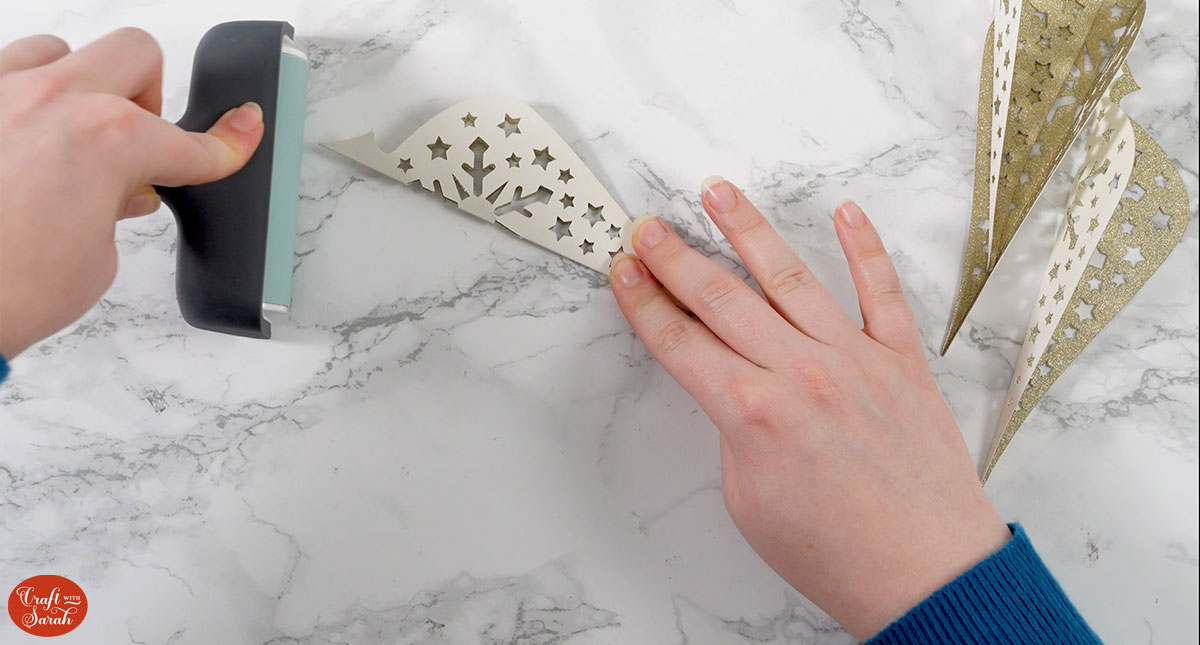
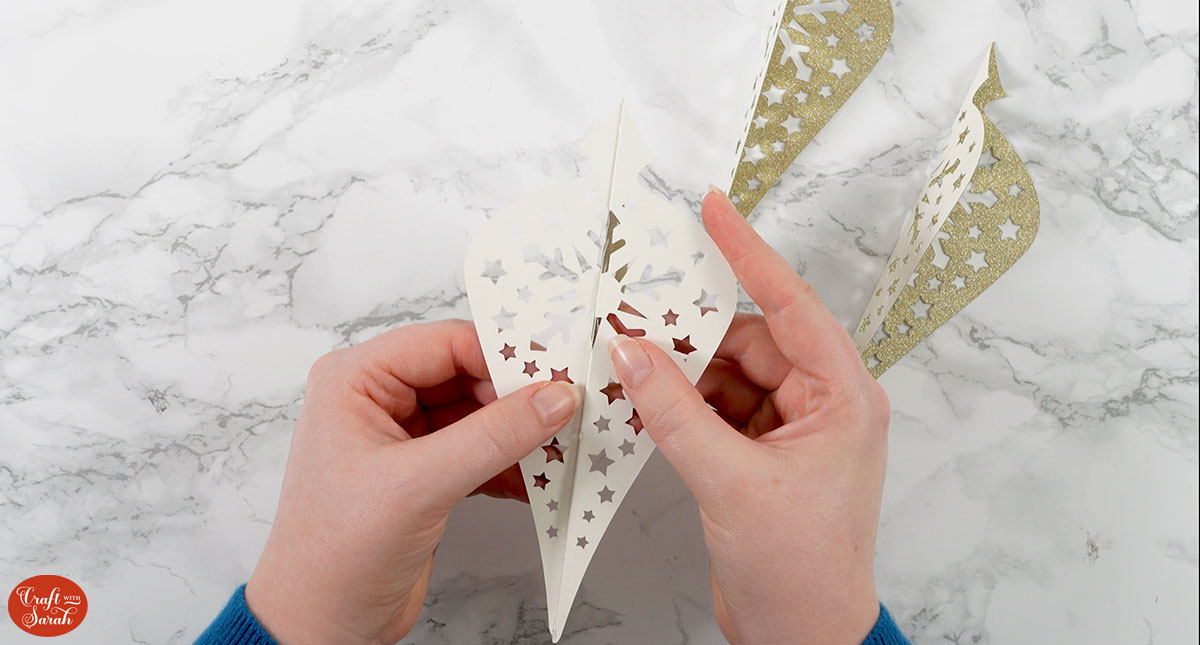
Fold each side inwards along the score line.
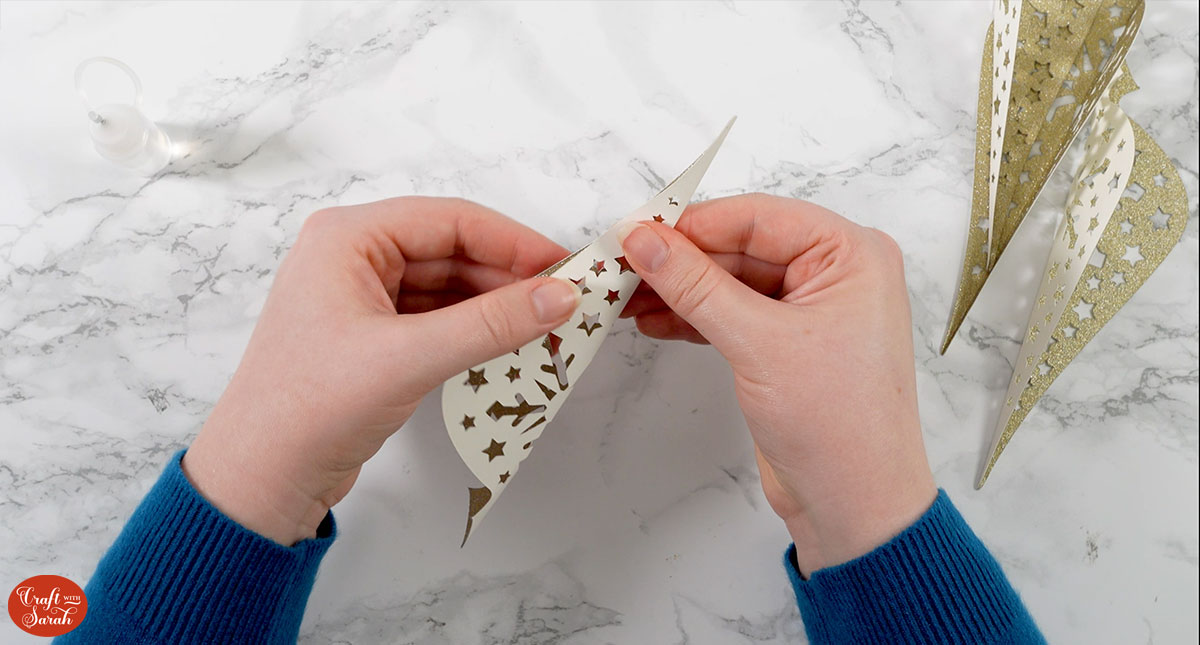
Go over the crease with a brayer or rolling pin to make sure it’s really sharp.
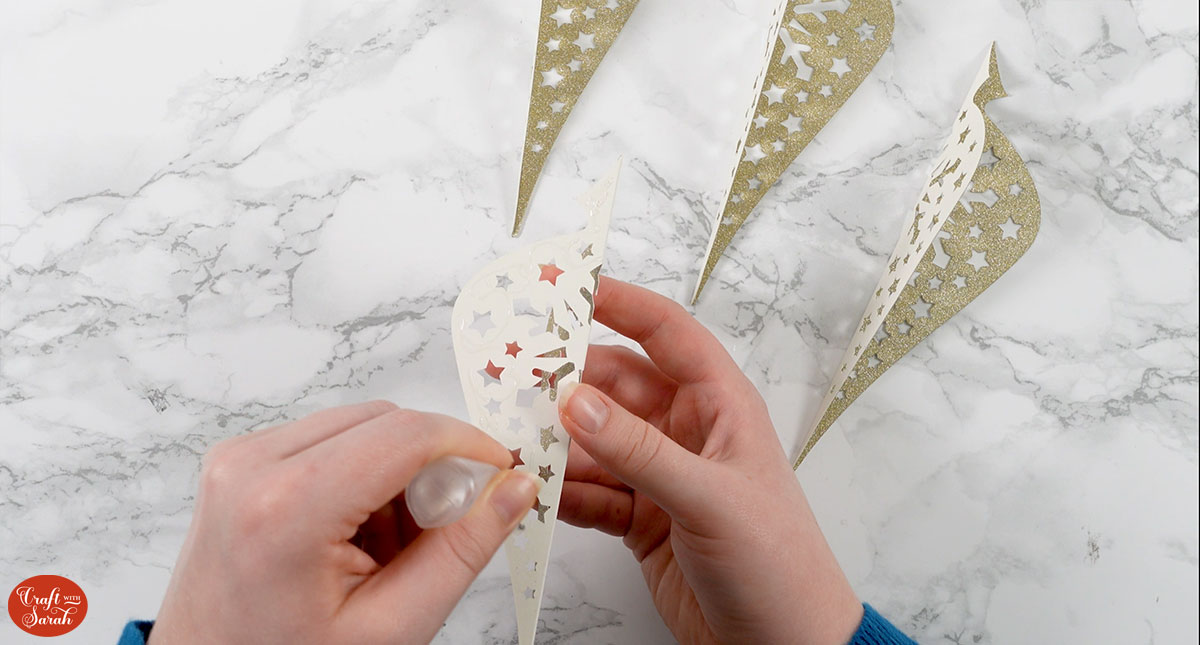
Put glue down one half of the BACK side of one of the ornament sides.
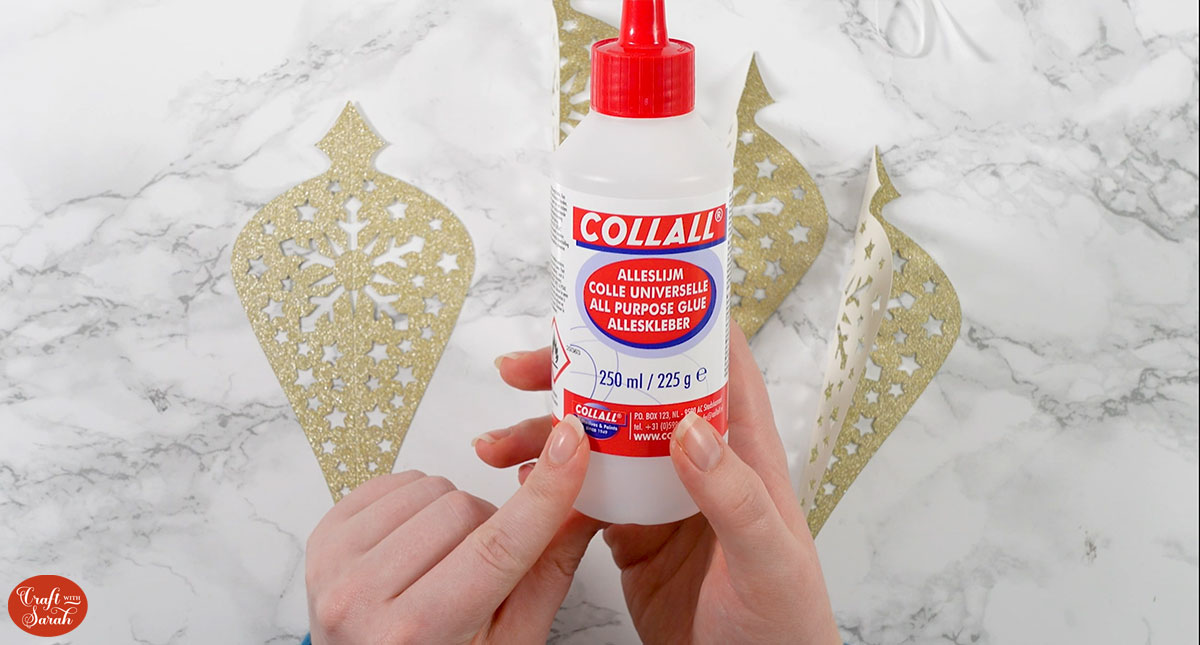
My favourite glue to use on papercraft projects is Collall All Purpose Glue.
It’s SO good because it doesn’t “warp” or bend the cardstock like some glues do. You can use as much of it as you want and the card stays perfect – and it dries perfectly clear too!
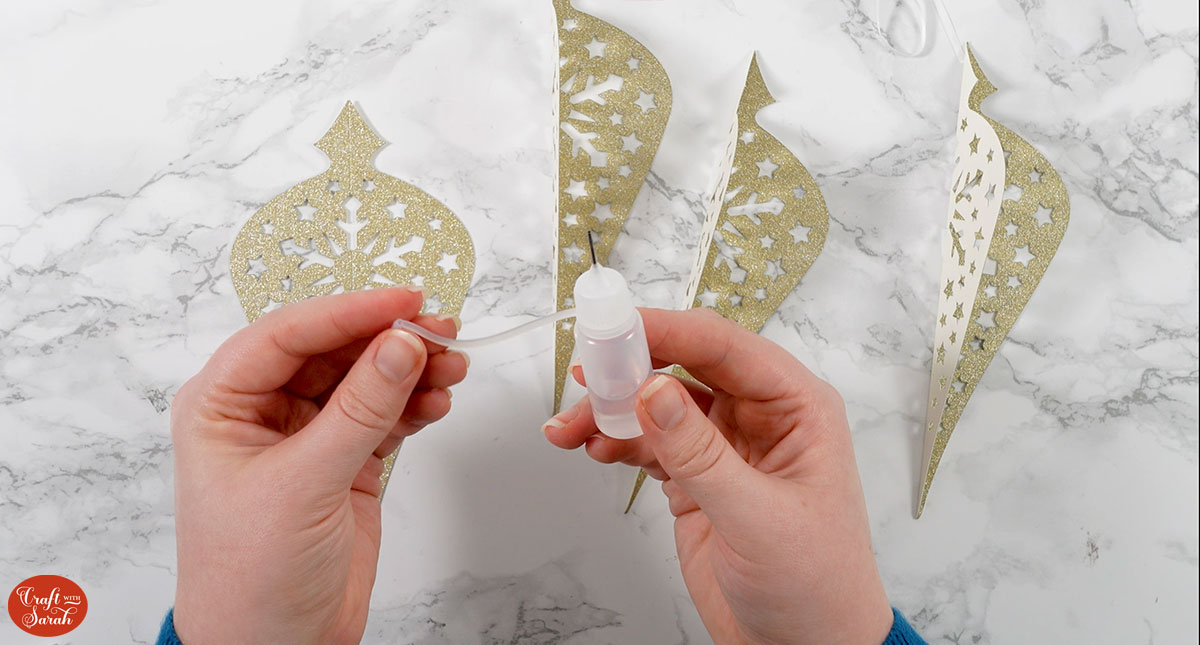
To make it even easier to apply glue to layered card projects, I highly recommend getting some of these needle tip applicator bottles to put the glue into.
The nozzles are REALLY tiny which makes them perfect for putting glue in the pieces of cardstock that make up this design.
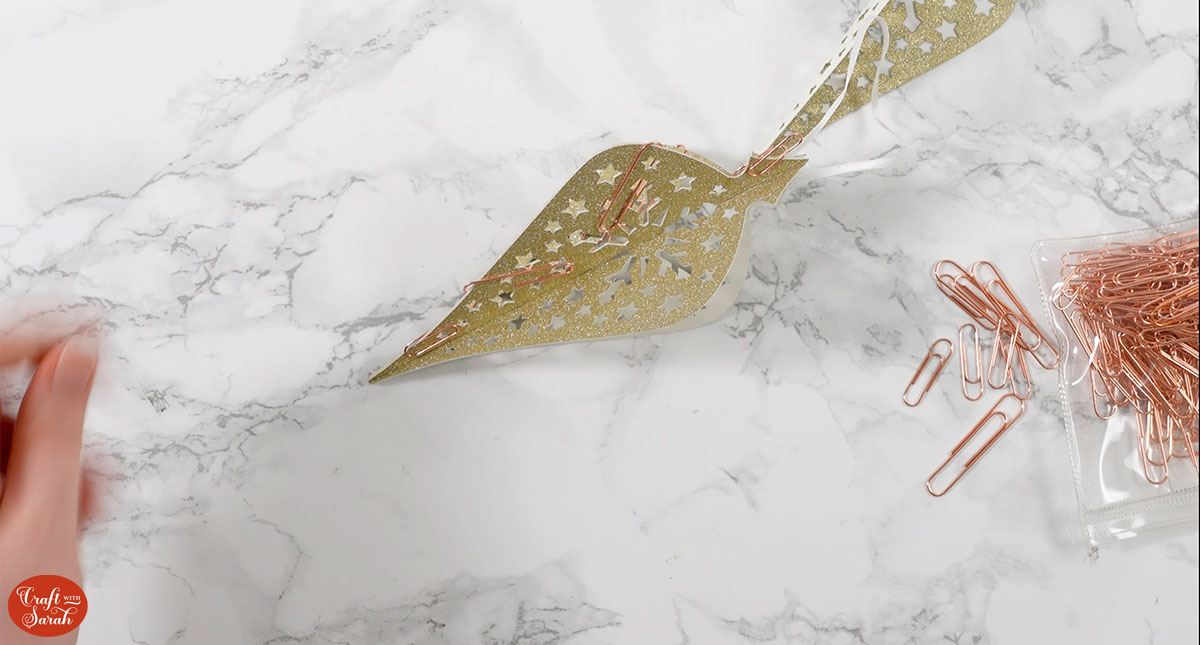
Glue one of the other sides to the side that you’ve just added glue to. Make sure all the little pretty cutouts in the sides line up with each other.
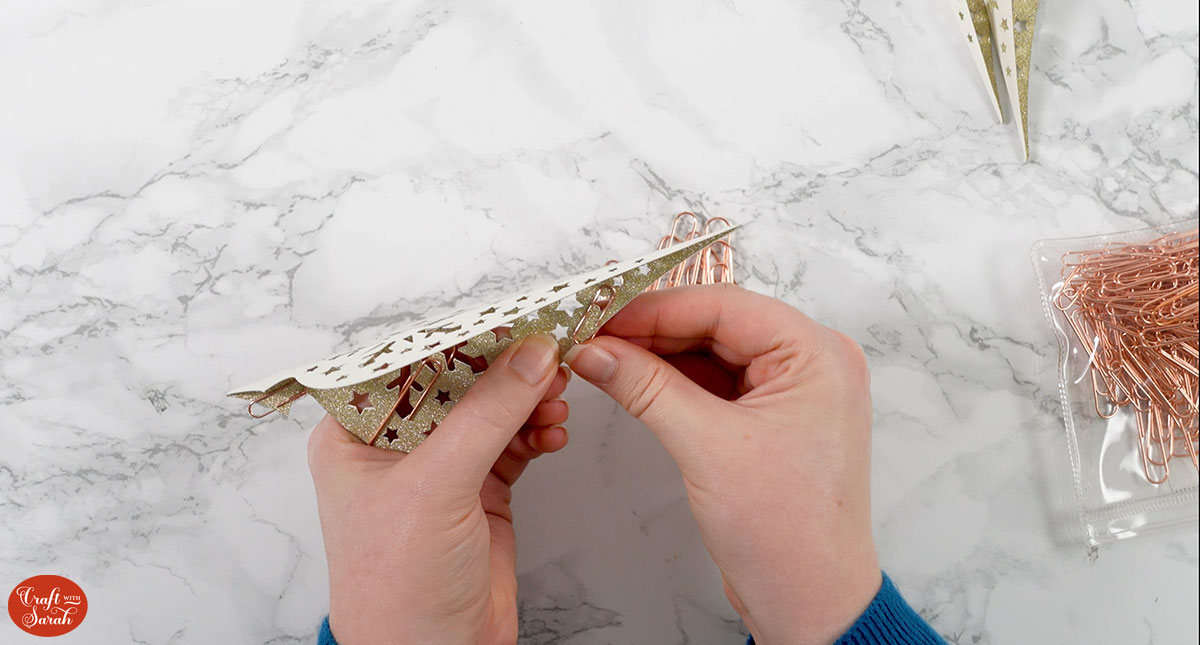
Add some paperclips if you have them, to keep the sides together whilst the glue is drying.
Add a little bit of double-sided sticky tape to the top of the back-side of the ornaments.
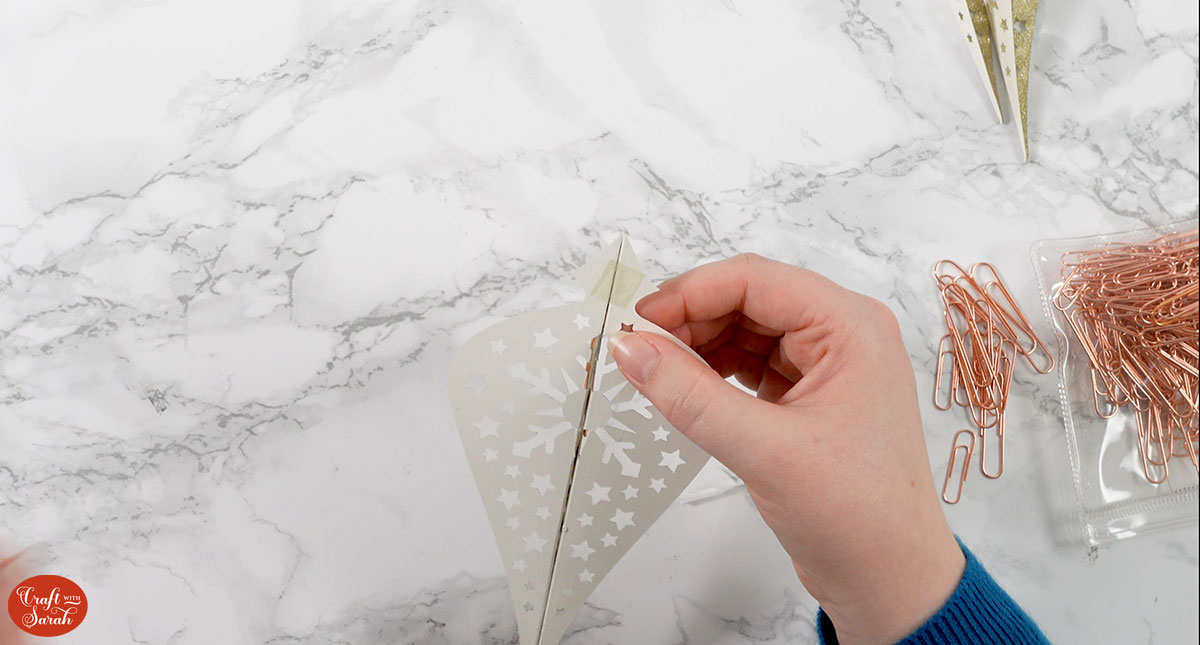
Loop your ribbon around the stick both ends to the double-sided tape.
Add another square of double-sided tape on top and then add glue to one half of the back-side of the ornaments.
Be sure to add glue on top of the double-sided tape to get that ribbon really stuck on!!
Stick on one of the remaining sides and add paperclips to secure.
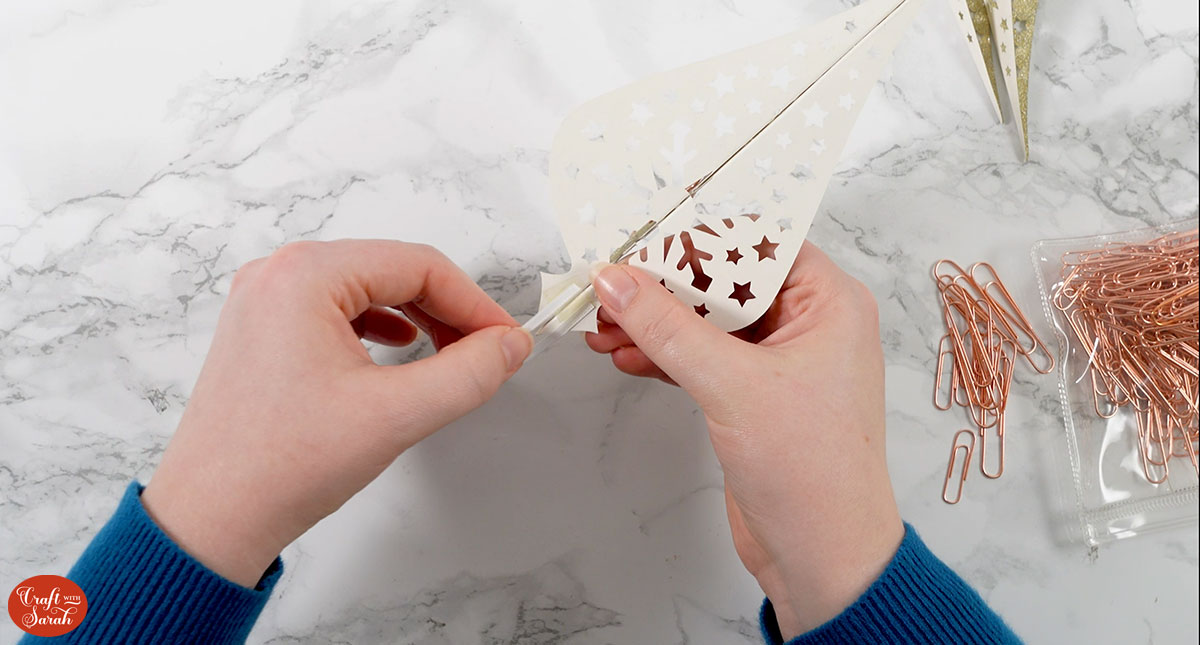
Put glue down both remaining back-sides of the ornament.
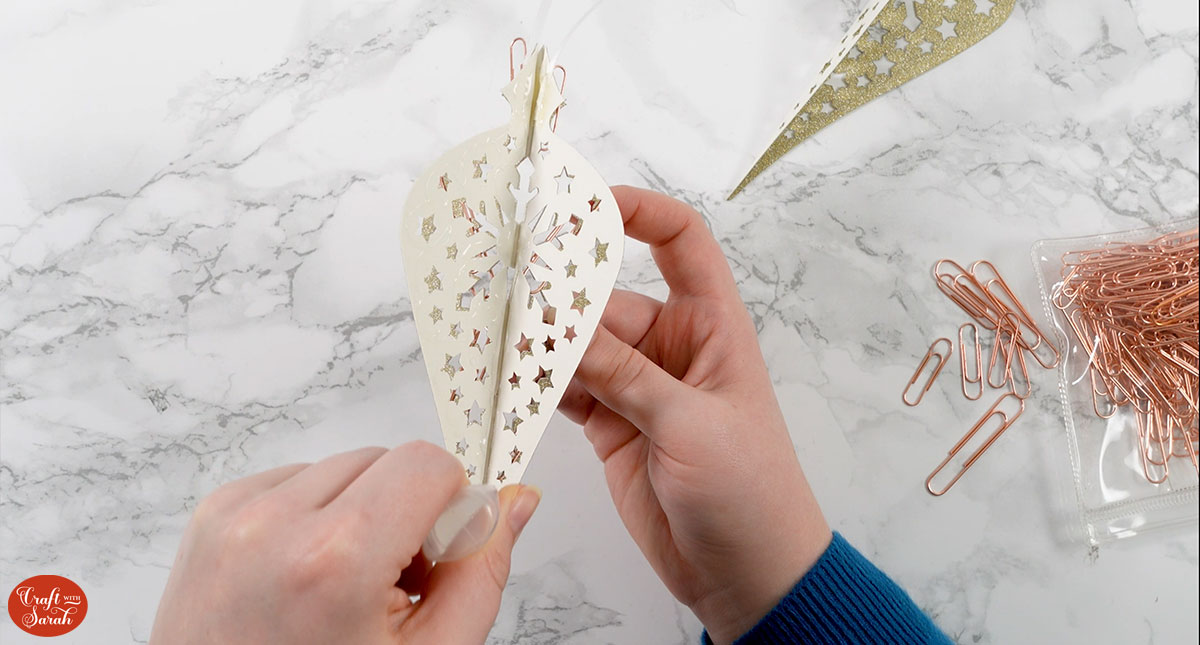
Stick the remaining side in place and secure with paperclips.
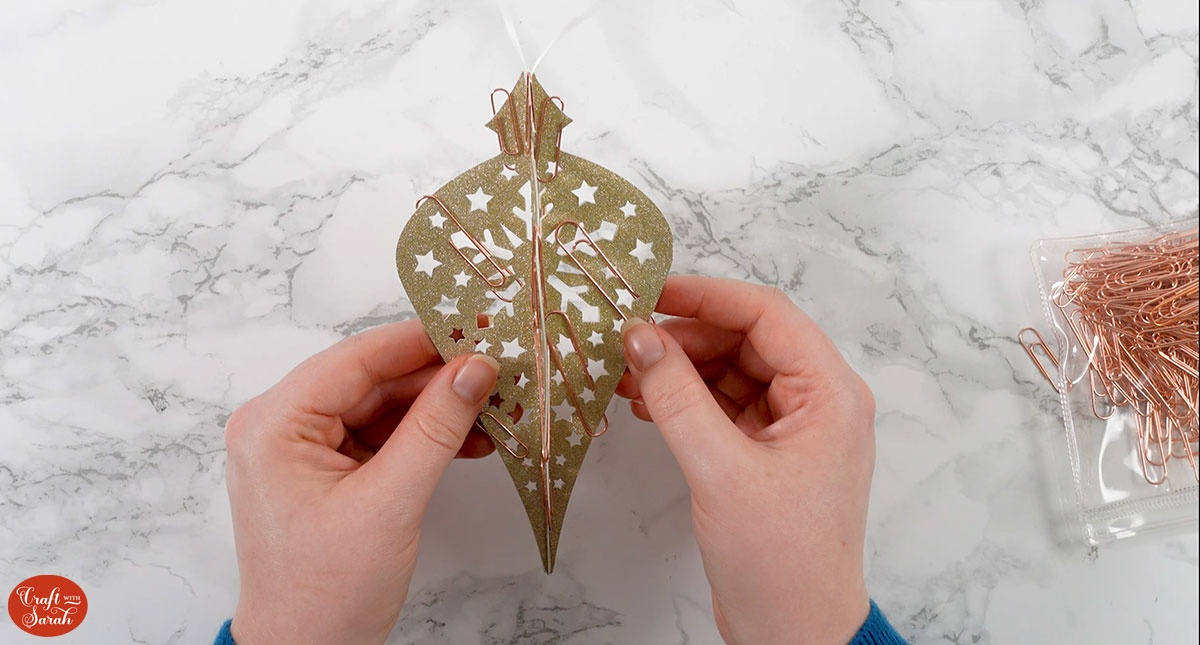
When the glue is dry, carefully remove all the paperclips.
I hope you enjoyed this tutorial on how to make 3D Christmas tree ornaments with a Cricut machine.
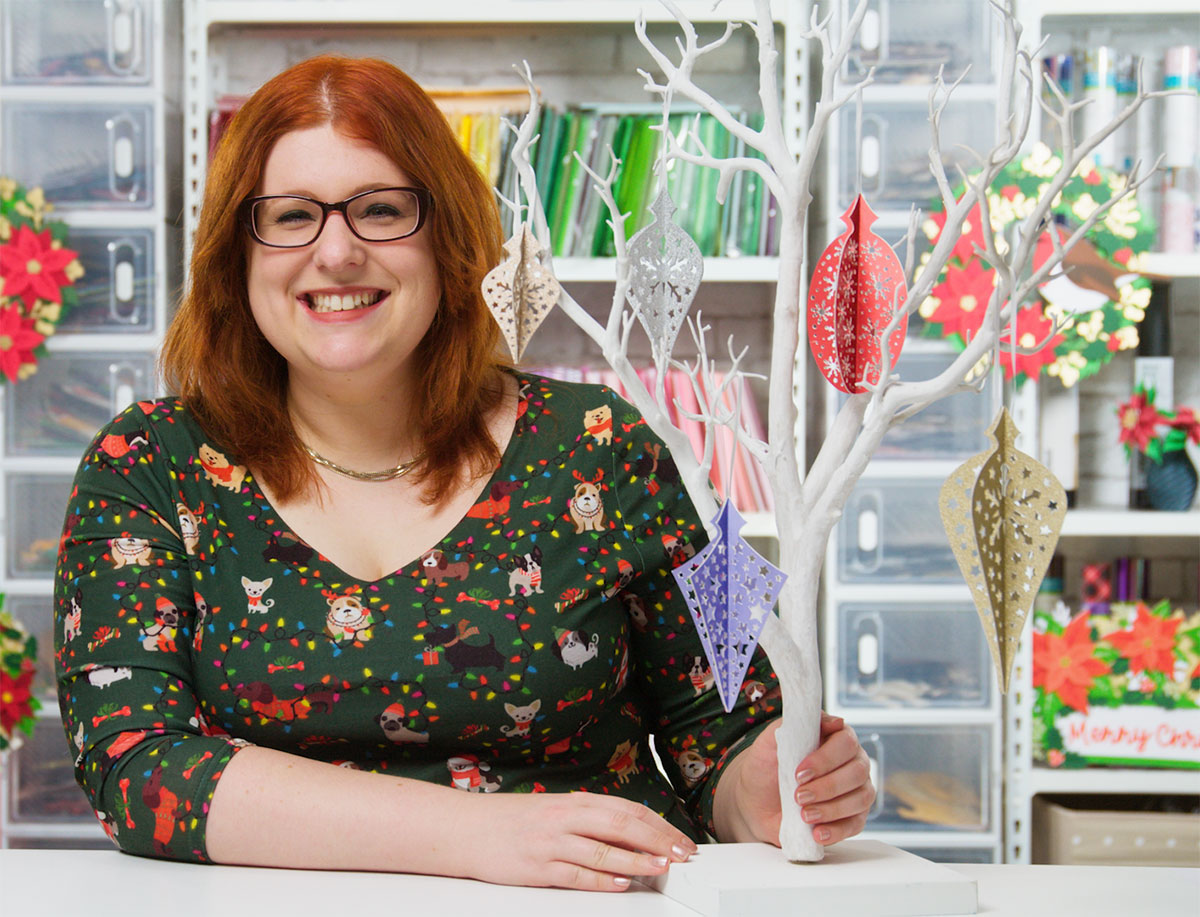
They look lovely when displayed, especially if you make several of them to put together.
Happy crafting,
Sarah x

