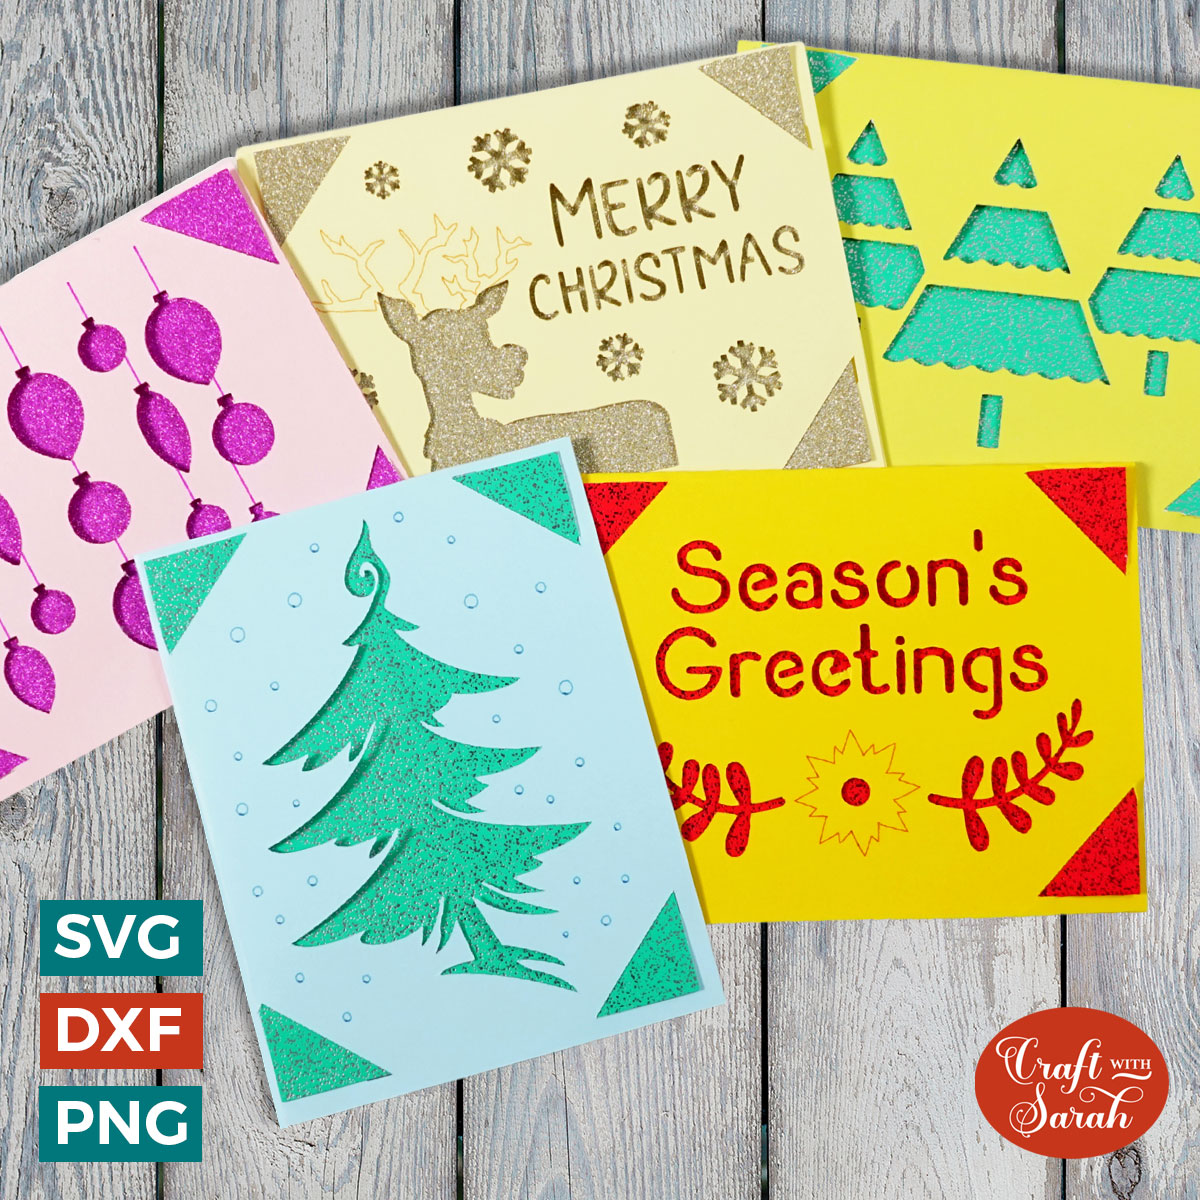
CCC Day 05 ❄️ Christmas Joy-Style Insert Cards

For today’s project, we are making these Cricut Joy greeting cards.
As I already showed how to make this type of card on the Joy for the Halloween Craft Countdown, in this video I’m instead focusing on how to cut the designs on the larger Explore Air/Maker models of Cricut machine.
If you have the Cricut Joy, check out this Cricut Joy insert card tutorial instead.
This Project was part of the Christmas Craft Countdown 2022

Materials supply list
Here is a list of the materials that I used to make this project.
Please note that some of the links included in this article are affiliate links, which means that if you click through and make a purchase I may receive a commission (at no additional cost to you). You can read my full disclosure at the bottom of the page.
- Cricut machine
- Light blue Cricut cutting mat
- Coloured cardstock
- Cricut pens
- Cricut scoring stylus or wheel (optional)

Video tutorial
Watch the video below to see how to make this project. Keep scrolling for a written tutorial.
Written tutorial (with photos!)
Here’s how to make your very own Christmas cards using a Cricut Joy machine!
Step 1) Download the cutting file(s) & unzip the downloaded folder
Purchase the File(s)
This cut file is available as part of the Instant Access Bundle.
Or, purchase this design individually here
Before you upload the SVGs to Design Space, you need to unzip the download folder that they come in.
- How to unzip a folder on Windows computer
- How to unzip a folder on a Mac
- How to unzip a folder on an iPad/iPhone
- How to unzip a folder on an Android device
Step 2) Upload the SVG files into Design Space
Open up Cricut Design Space and start a new Project.
Click “Upload” and then find your unzipped version of the downloaded files for this project.

Choose if you are using the Cricut Joy version or the larger versions for Explore/Maker models.
For this tutorial I’m showing how to use the larger Exlore and Maker versions.
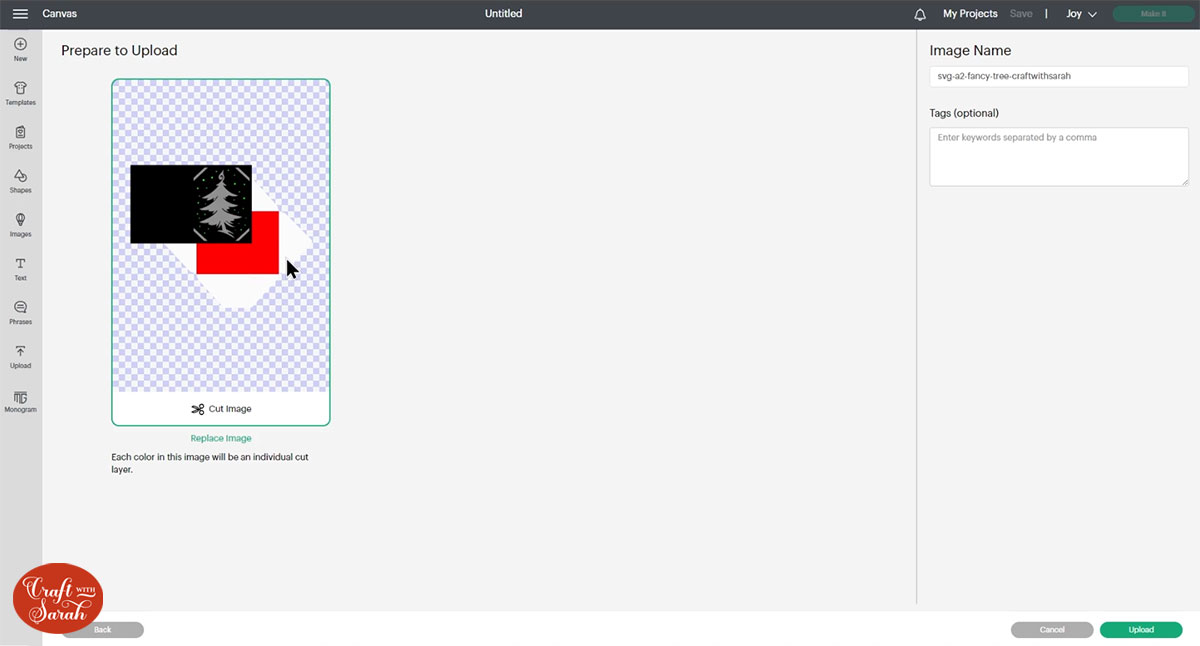
Go into the “svg files” subfolder and choose your design.
Make sure you upload the file which starts SVG_ in the filename!!
This is how it should look after you have uploaded the file:
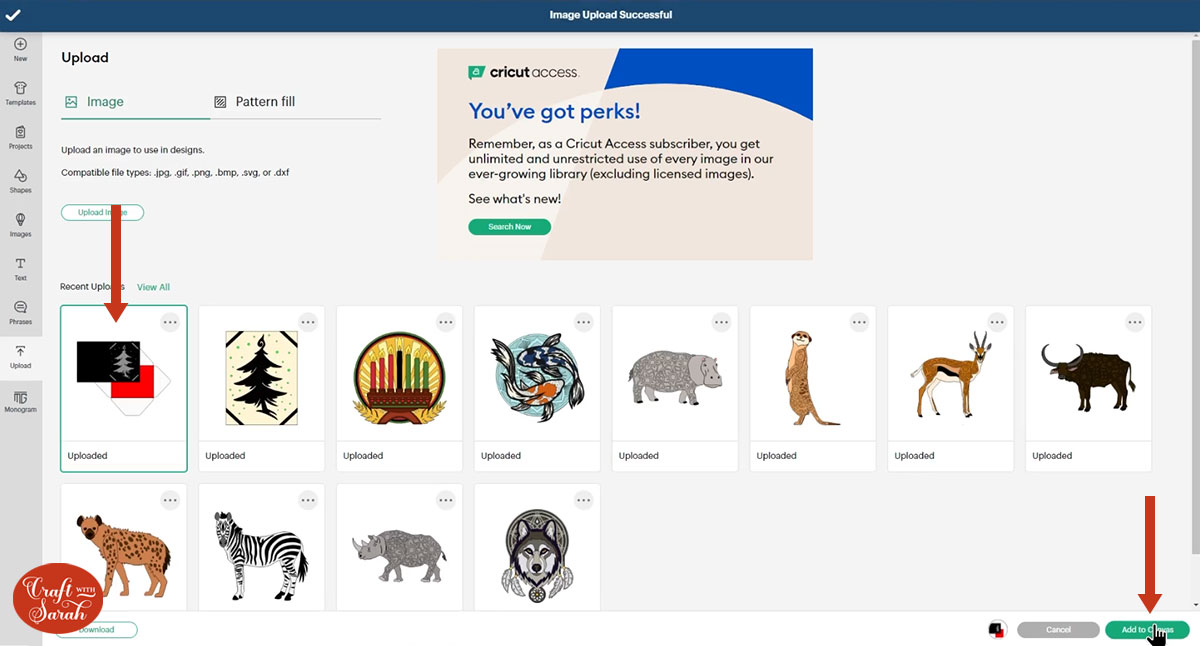
After uploading, the design will show in your “Recently Uploaded Images”.
Click on it and then press “Add to Canvas” to put it onto your Project.
Step 3) Format the card design
The cards come with an envelope template.
Everything should load in at the correct size, but to make sure, click the design and press “Ungroup”.
Then, click the card (black layer) and it should be 8.5 inches wide and 5.5 inches tall.
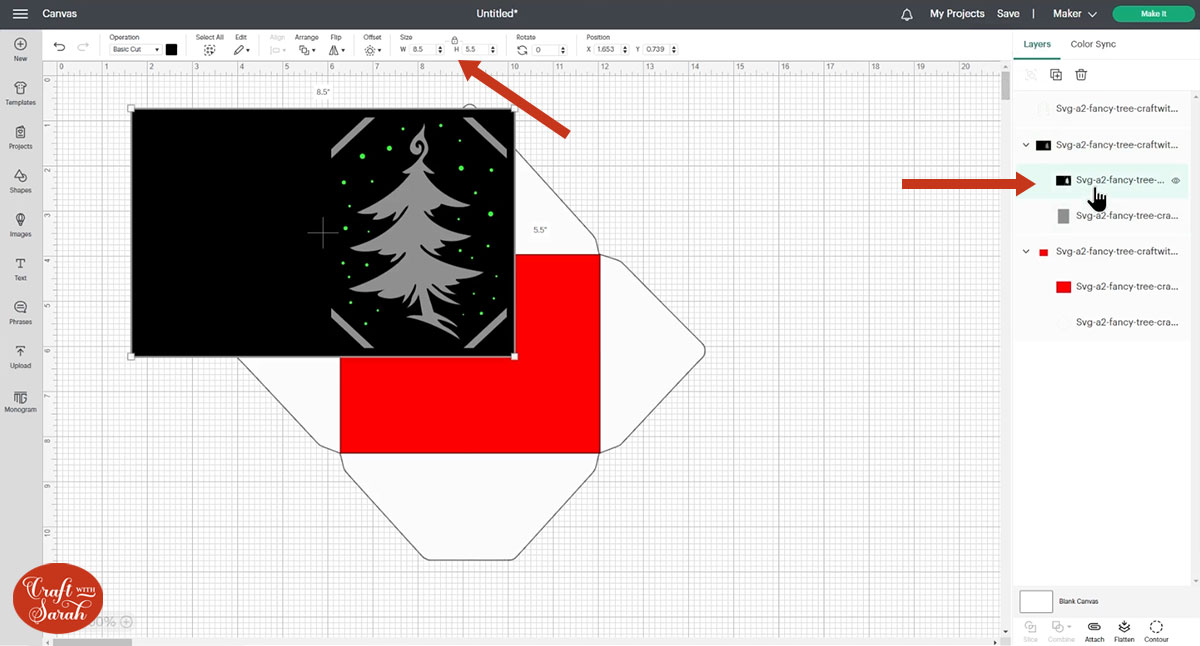
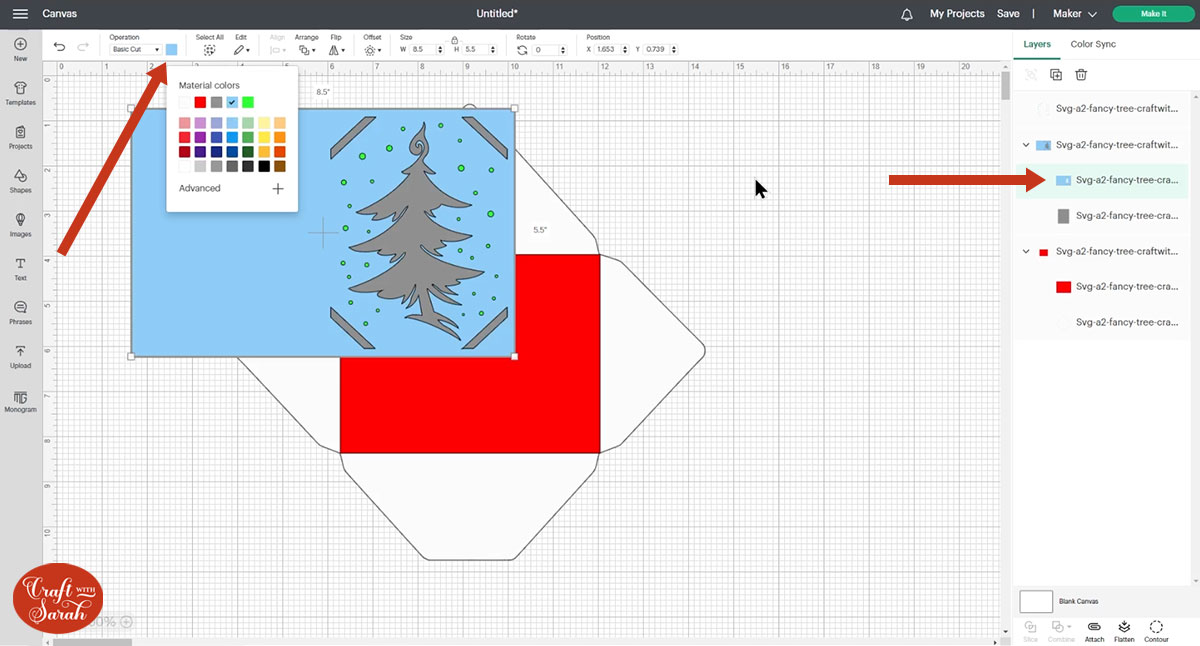
Change the colour of the card to make the next steps easier to see.
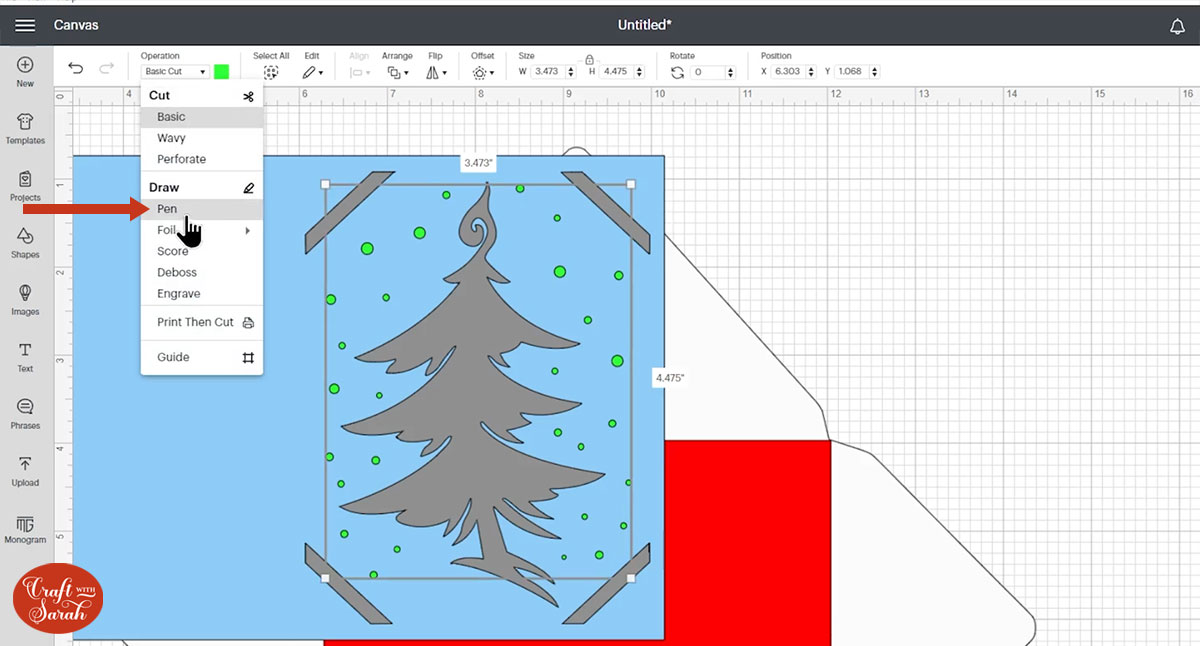
If the card has a lime green layer on it, that has been designed to be done with Cricut pens as a “Draw” layer.
Click the green layer in the layers panel and then change it to a “Draw” layer in the Operation dropdown.
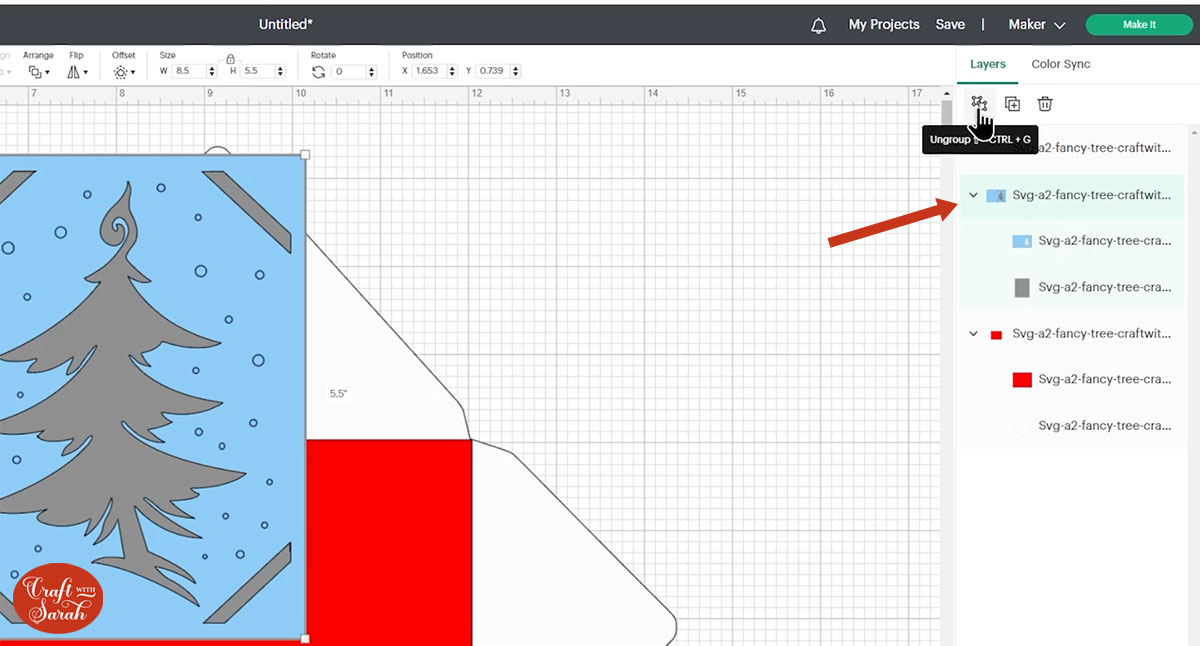
Click the card layers and Ungroup them.
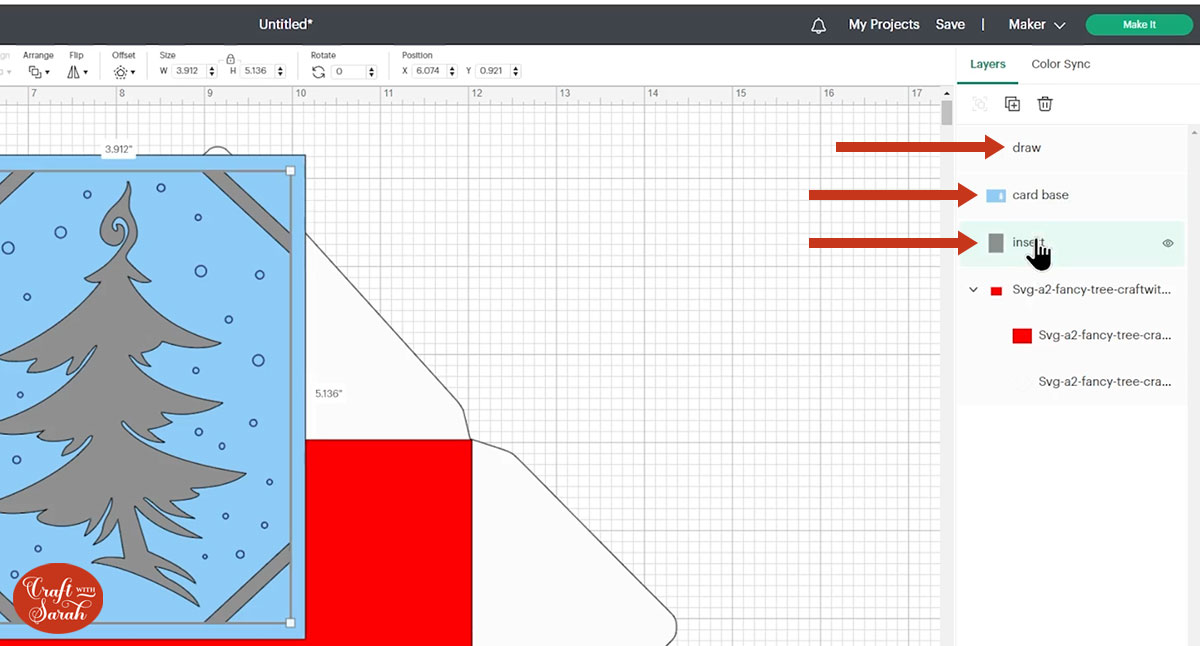
It can be easier to see what you are working with by renaming the layers. To rename, double-click on the layer name and type in your name.
Re-group JUST the draw layer and the main card base.
To add a score line down the card, go into “Shapes” and choose a score line.
Make it the same height as the card (5.5 inches). Select the score line and the card group you just made and press “Align” and “Align Center” to put the score line exactly in the middle of the card.
Ungroup the draw layer and card base, select those two layers AND the score line, and “Attach” them.
It should be looking like this:

Step 4) Format the envelope
If you don’t want to cut the envelope then click the envelope group and delete it.
If you do want to cut the envelope then there are a couple of steps to do first.
Click the red rectangle layer.
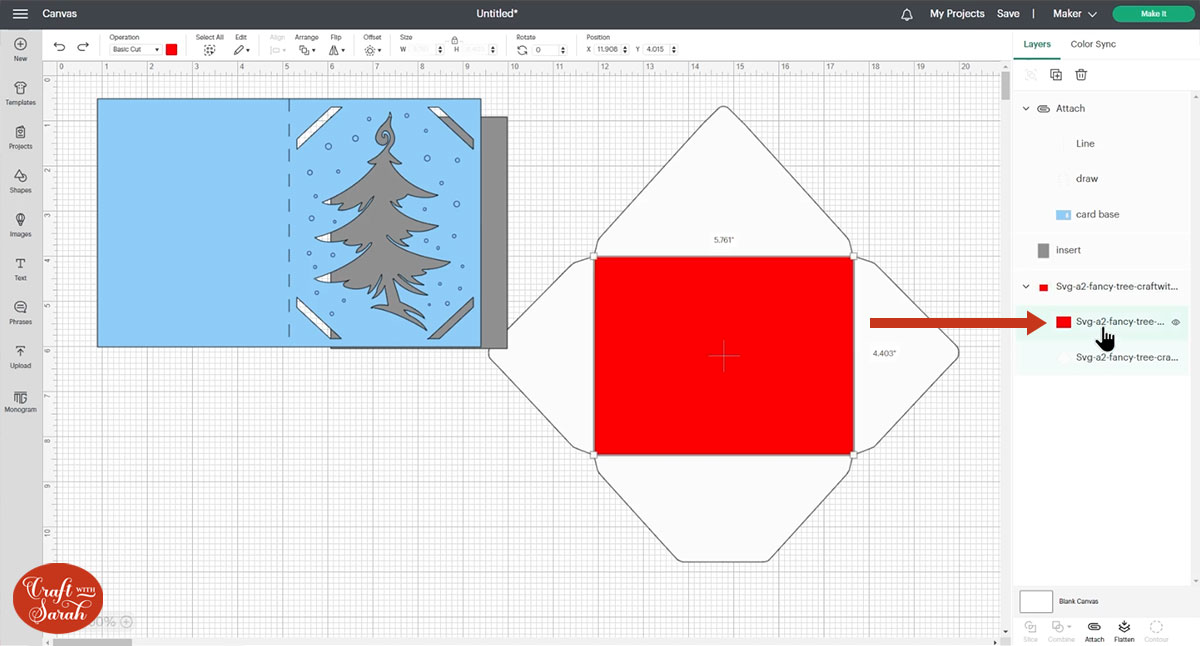
Change it to a “Score” line in the Operations dropdown.
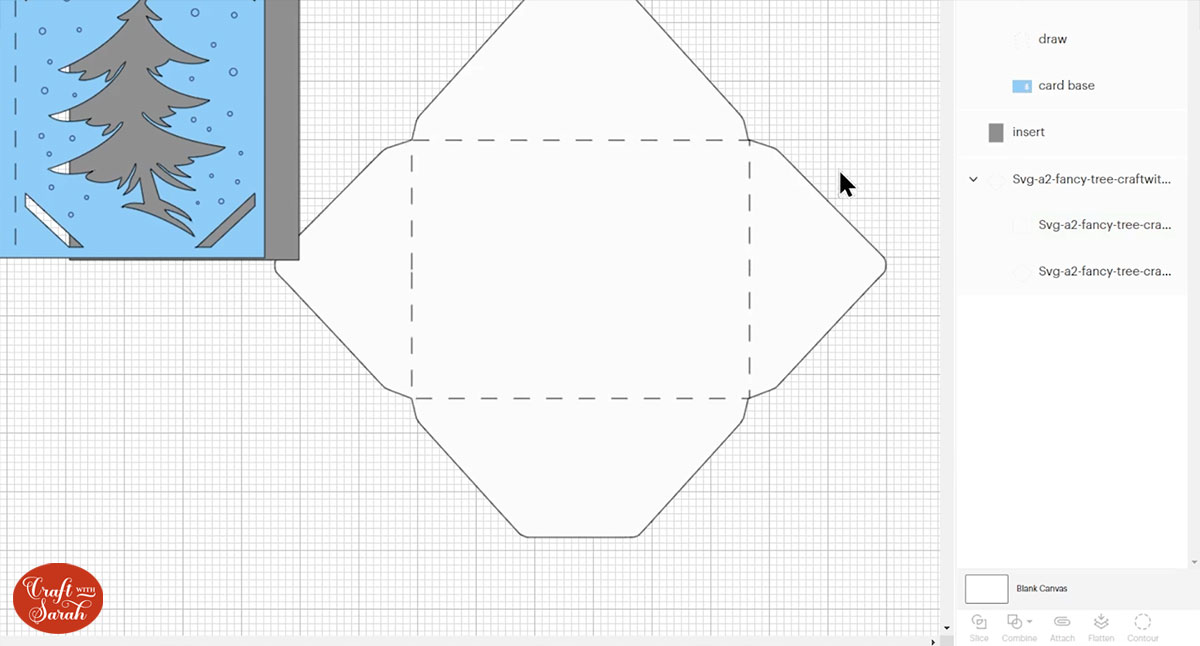
Click the group that contains the envelope layers and press “Attach”. This tells the Cricut that we want it to that score line in the middle of the envelope.
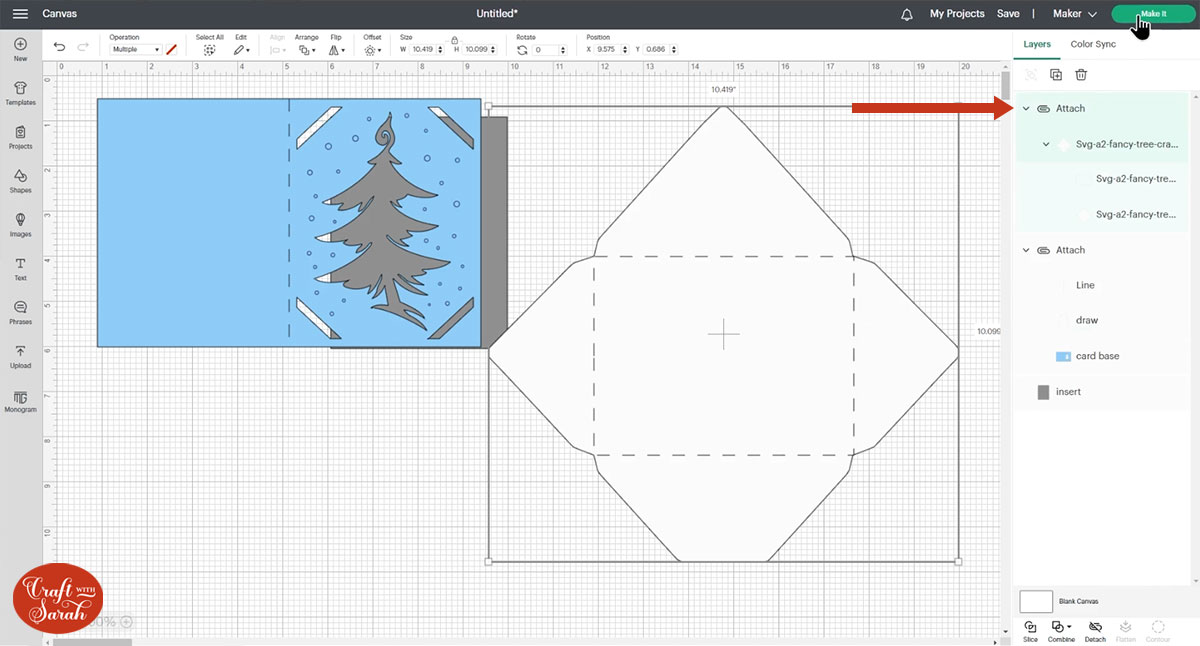
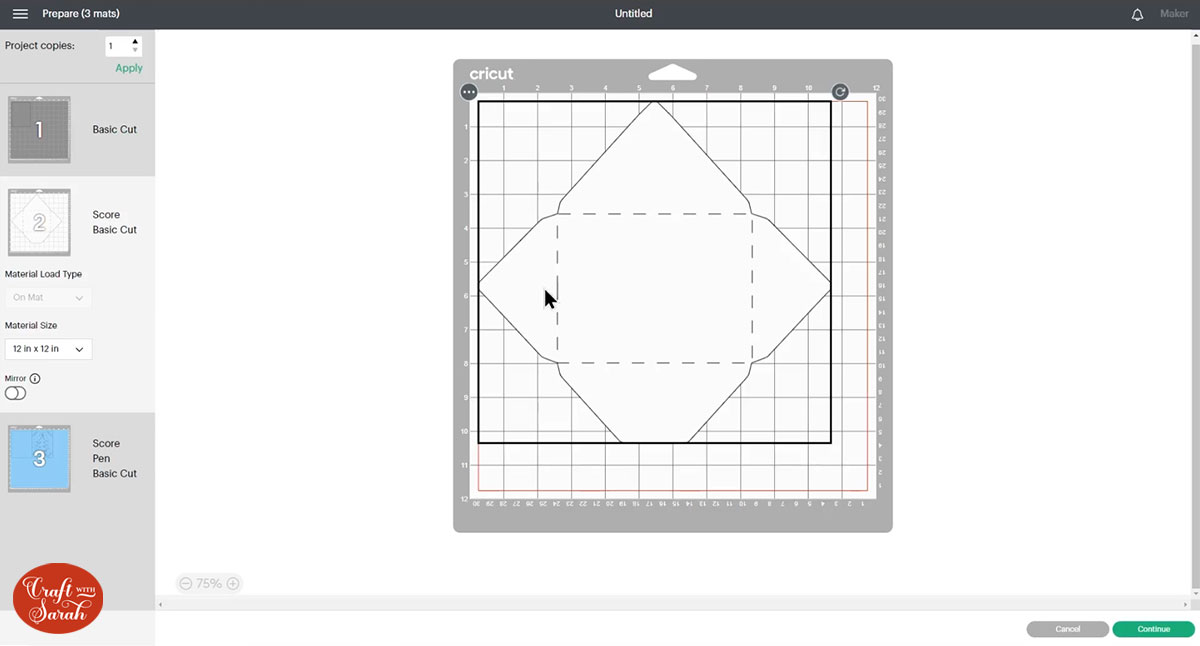
Step 5) Cut the design
Press “Make It” and cut out the envelope (if you’re making it), the card base and the insert piece.
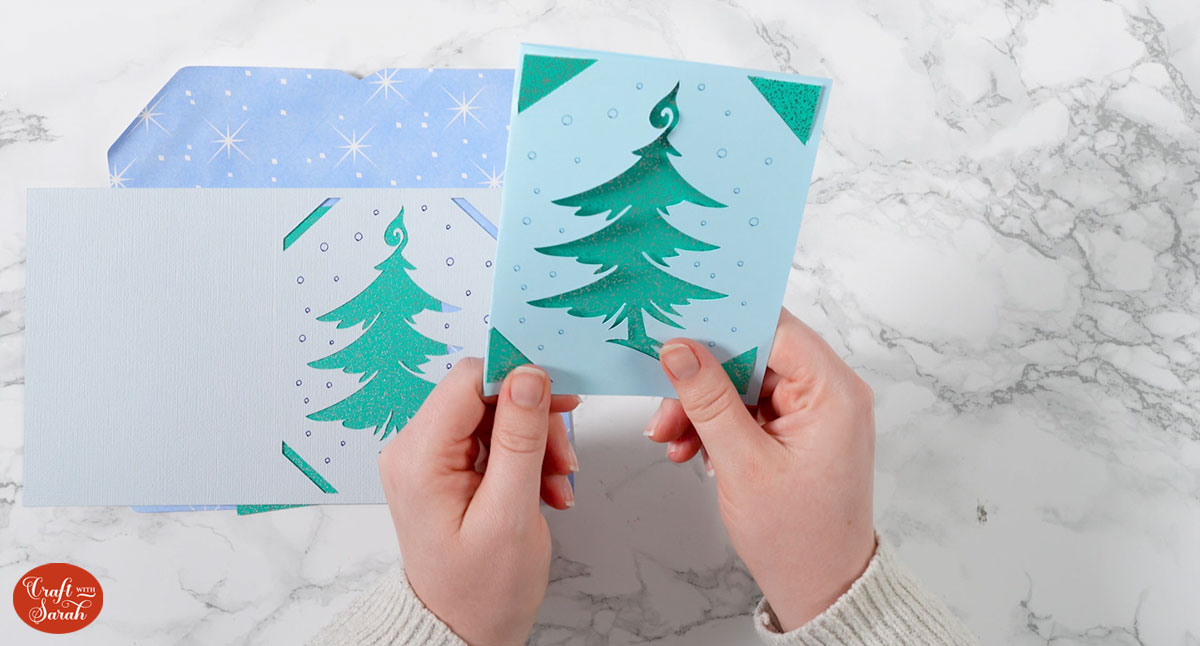
The insert piece looks best when cut from holographic, glitter or metallic card.
Step 6) Make the card and envelope
To finish the card, simply thread the insert piece into the corner cutouts on the card base.
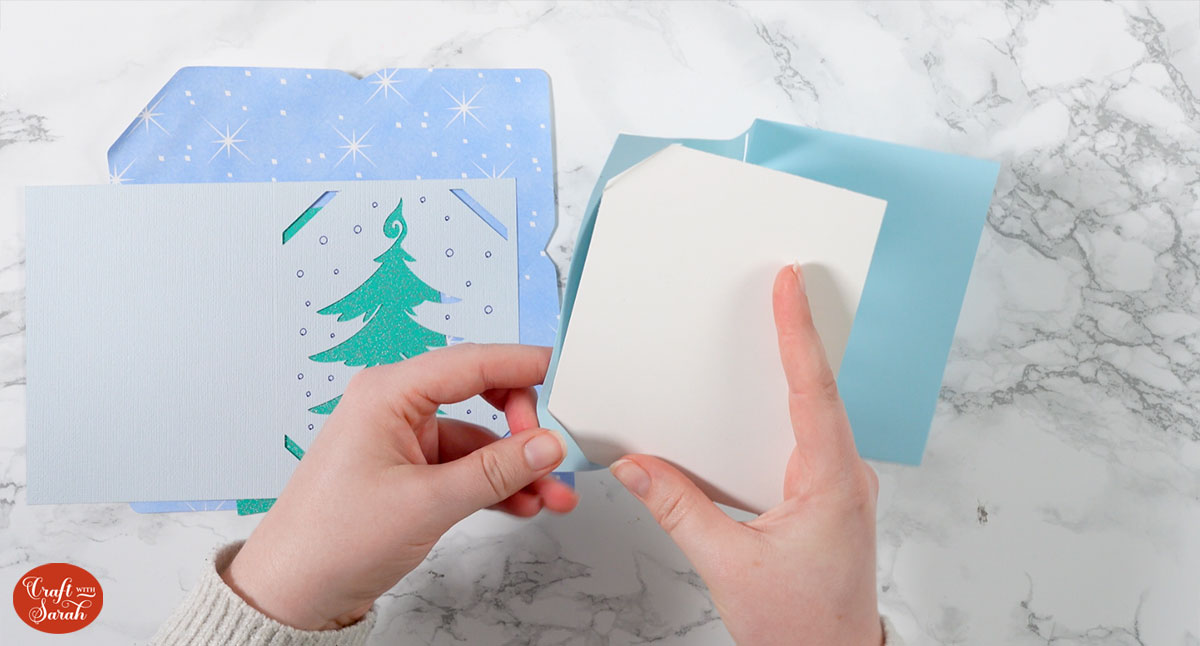
You don’t need any glue because the cutouts hold it in place.
To make the envelope, first fold up along all the score lines.

Fold in the two side flaps and glue the bottom side to them.
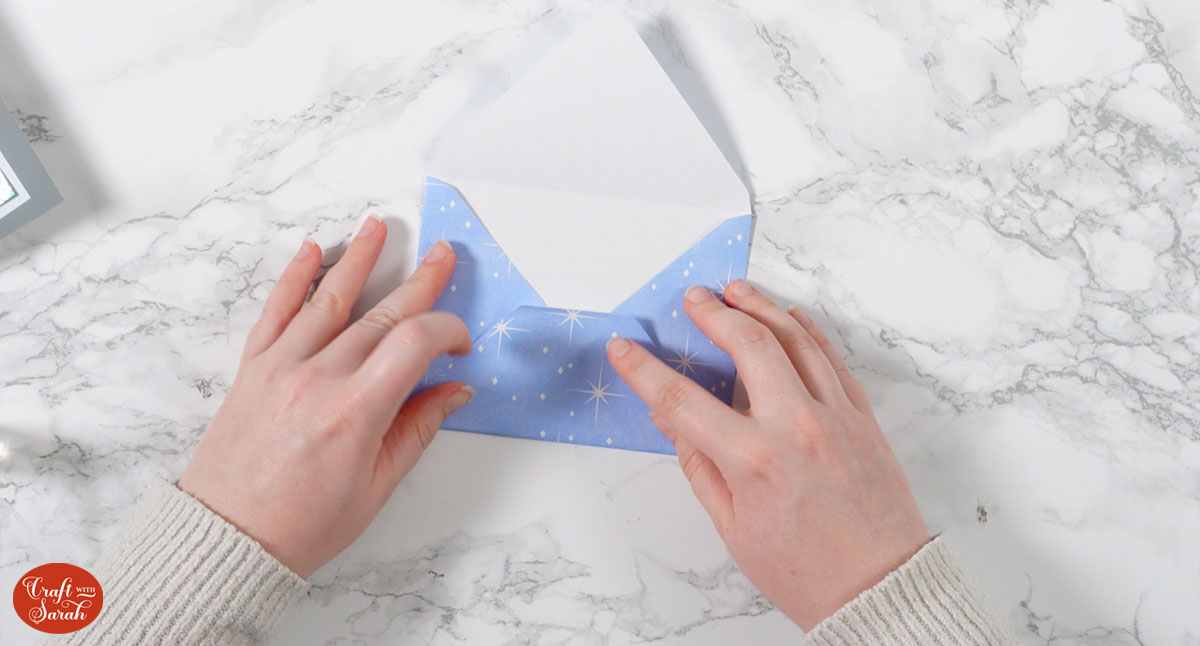
After you’ve written your card, slide it into the envelope and glue down the top flap to seal the envelope.
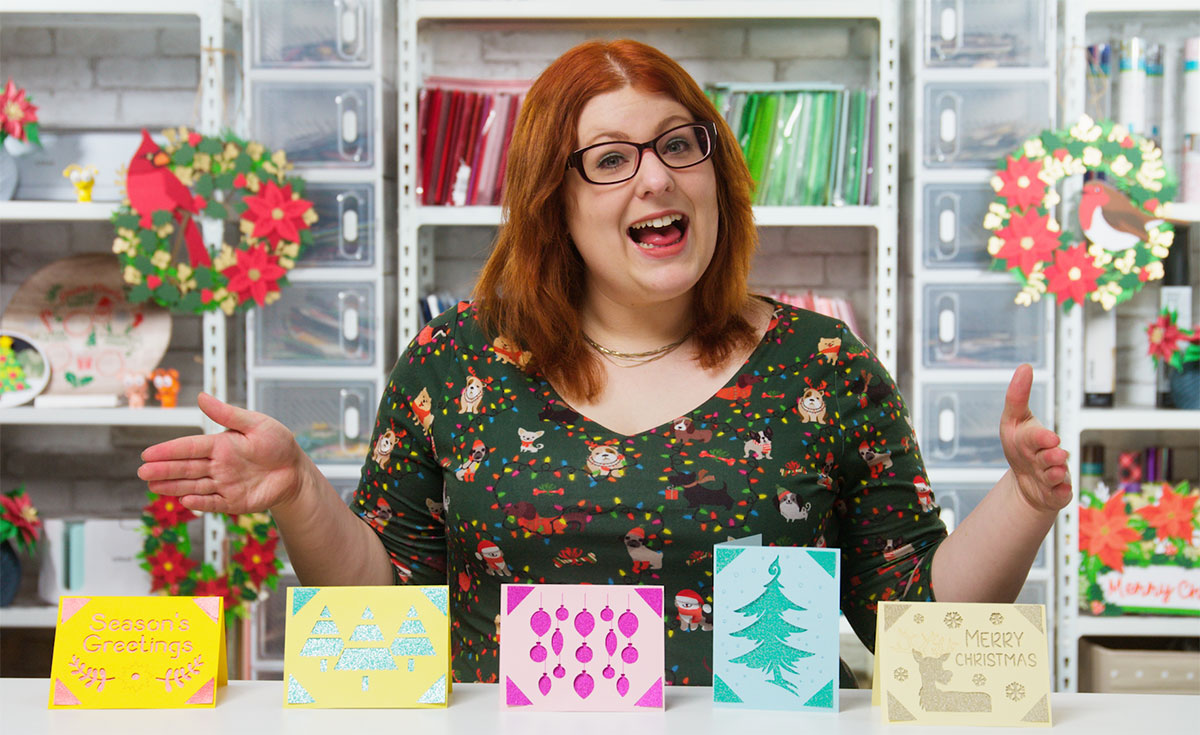
Cricut Joy style Christmas cards
That’s really all there is to making the cards once they are cut!
I love making cards on the Cricut Joy (or the same style of cards on the larger machines, as shown in this tutorial) as they come together so quickly.
If you want to, you can add extra embellishments or decorations, but I tend to leave them as they are. 🙂
Happy crafting,
Sarah x

