CCC 2023 Day 08 ☃️ Christmas Gift Card Holders
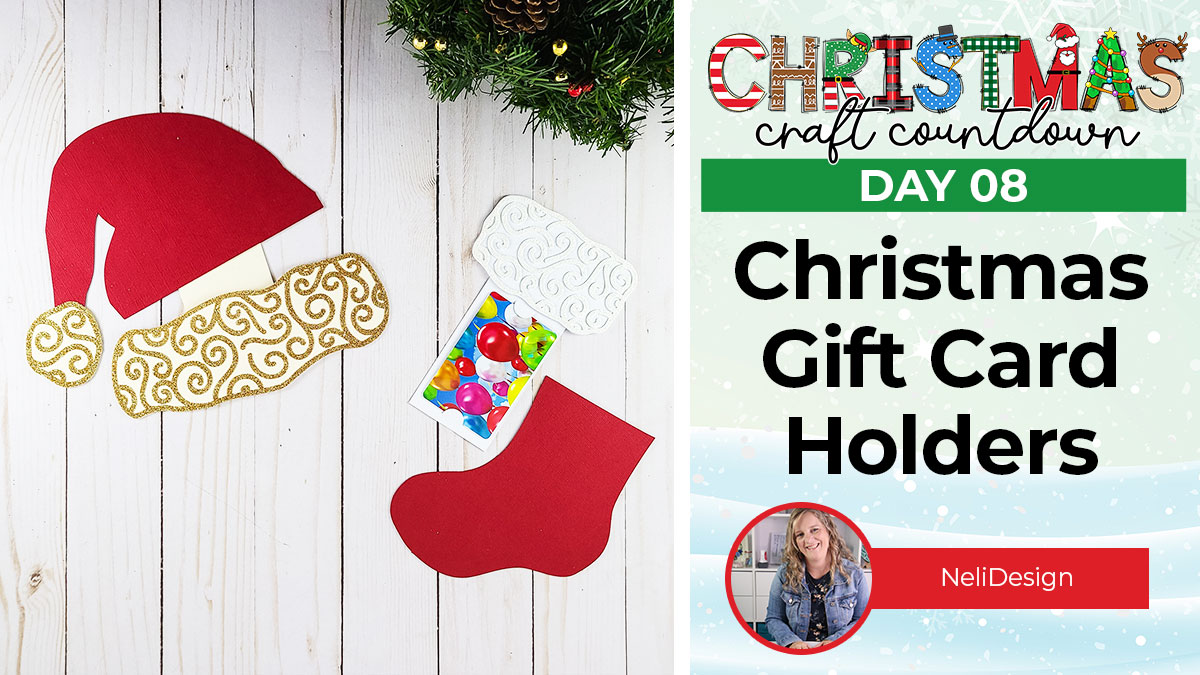
Make easy gift card holders for Christmas with these fun cut file designs.
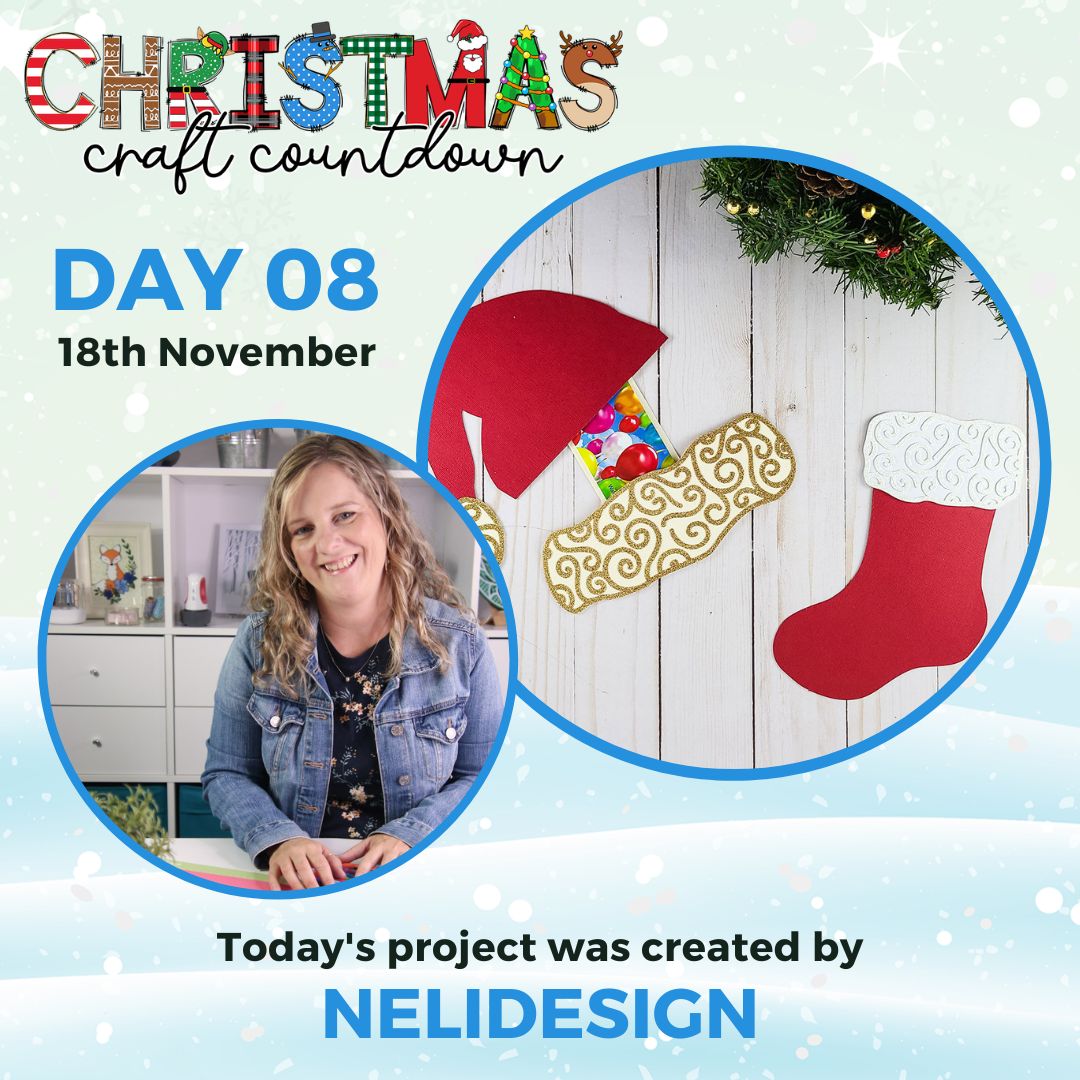
It’s Day 8 of the Christmas Craft Countdown and Natalie from NeliDesign is sharing these festive gift card holders with us.
Grab whatever cardstock you have to hand to get started.
If you have glitter iron-on vinyl in your craft stash, Natalie will show you how you can use it on your cardstock. Alternatively, you can just use cardstock.
IMPORTANT: The download folder for this project ONLY contains the Santa Hat design. To get the matching stocking design for free, click here to visit Natalie’s website.
This Project was part of the Christmas Craft Countdown 2023
Materials supply list
Here is a list of the materials that Natalie used to make this project.
Please note that some of the links included in this article are affiliate links, which means that if you click through and make a purchase I may receive a commission (at no additional cost to you). You can read my full disclosure at the bottom of the page.
- Cricut machine
- Light and standard grip cutting mats
- Glue
- Cardstock in various colours
- Iron-on glitter vinyl (optional)
- Heat press (optional)
- Heat resistant tape (optional)
This project is suitable for the following types of Cricut machine: Explore Air 2, Explore Air 3, Maker, Maker 3 and Joy Xtra.
Video tutorial
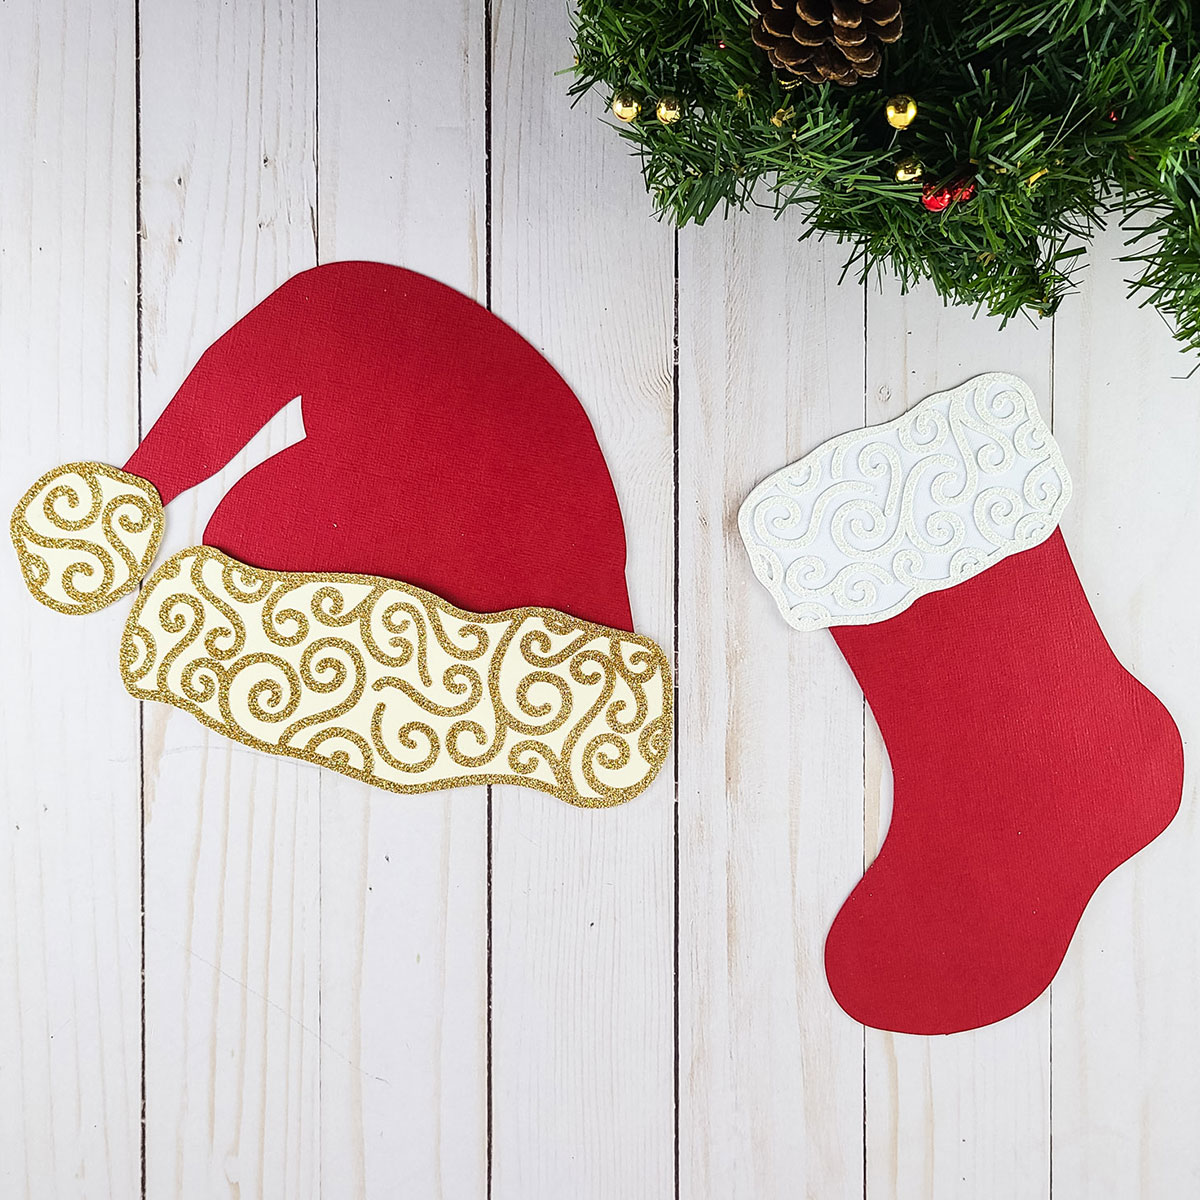
I love the beautiful patterns on the hat, especially with the sparkles too!
Watch the video below to see how to make this gift card holder.
If you prefer to read rather than watch, keep scrolling!
This project was created by NeliDesign
Natalie is the crafty girl behind the blog and YouTube channel NeliDesign.com where her mission is to help you create with confidence with your Cricut.
She loves to laugh and firmly believes that there are no problems only solutions. She still learns every day from crafting mistakes and shares them with you so you don’t make the same ones!
She's there to simplify your crafting journey and get you creating with confidence with your Cricut.
Written tutorial (with photos!)
Here’s how to make your very own Santa hat gift card holder using a Cricut machine!
Step 1) Download the cut files & unzip the downloaded folder
Download the files using the box below.
IMPORTANT: The download folder for this project ONLY contains the Santa Hat design. To get the matching stocking design for free, click here to visit Natalie’s website.
Before you upload the SVG file to Design Space, you need to unzip the download folder that it comes in.
Step 2) Upload the cut files into Design Space
Open up Cricut Design Space and start a new Project.
Click “Upload” and then find your unzipped version of the downloaded files for this project.

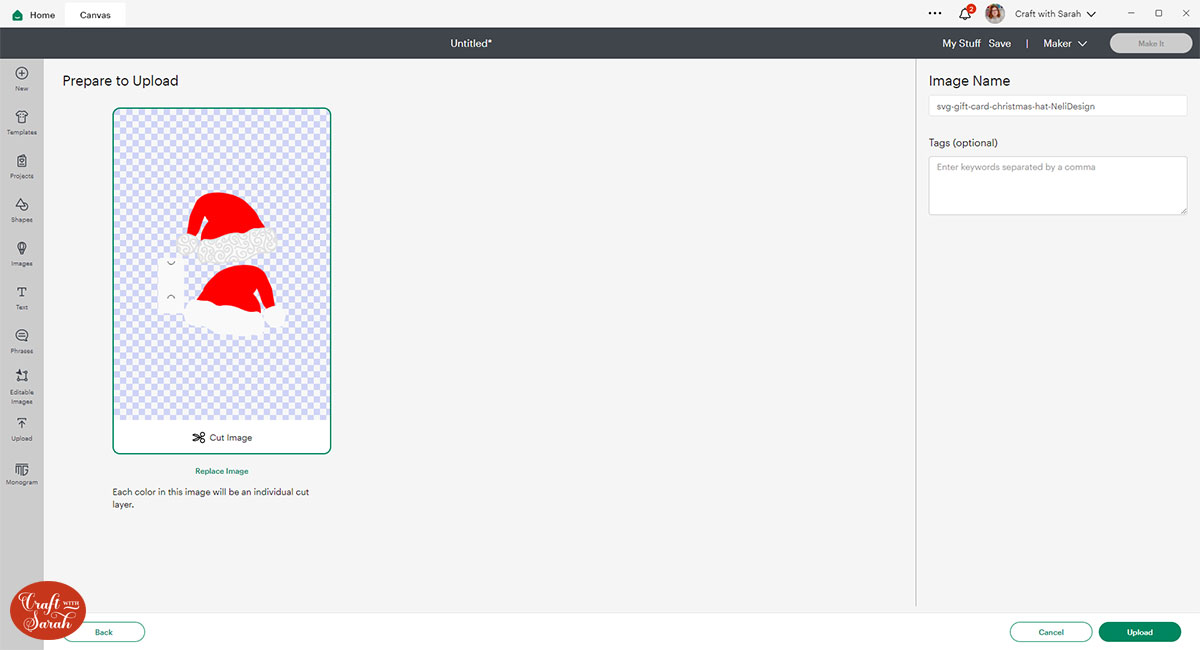
Upload the file called svg-gift-card-christmas-hat-NeliDesign.svg
IMPORTANT: The download folder for this project ONLY contains the Santa Hat design. To get the matching stocking design for free, click here to visit Natalie’s website.
This is what it looks like:
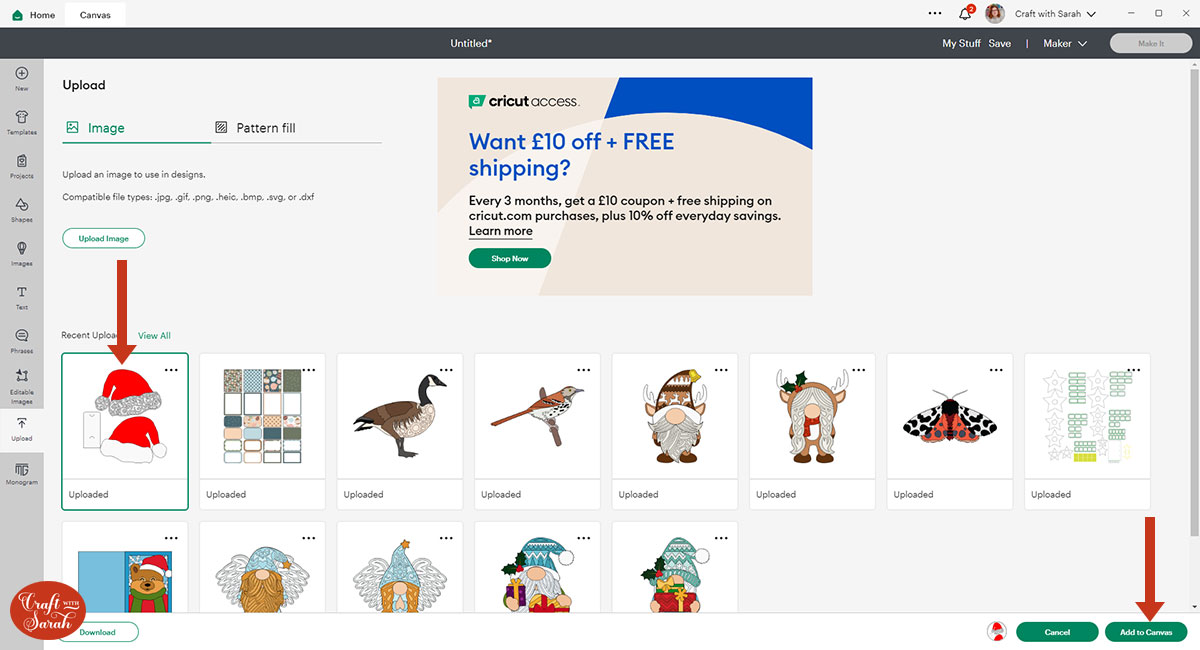
After uploading, the design will show in your “Recently Uploaded Images”.
Click on it and then press “Add to Canvas” to put it onto your Project.
Step 3) Format the design
Click the design and press the Ungroup button at the top of the layers panel.
This will separate out the layers.
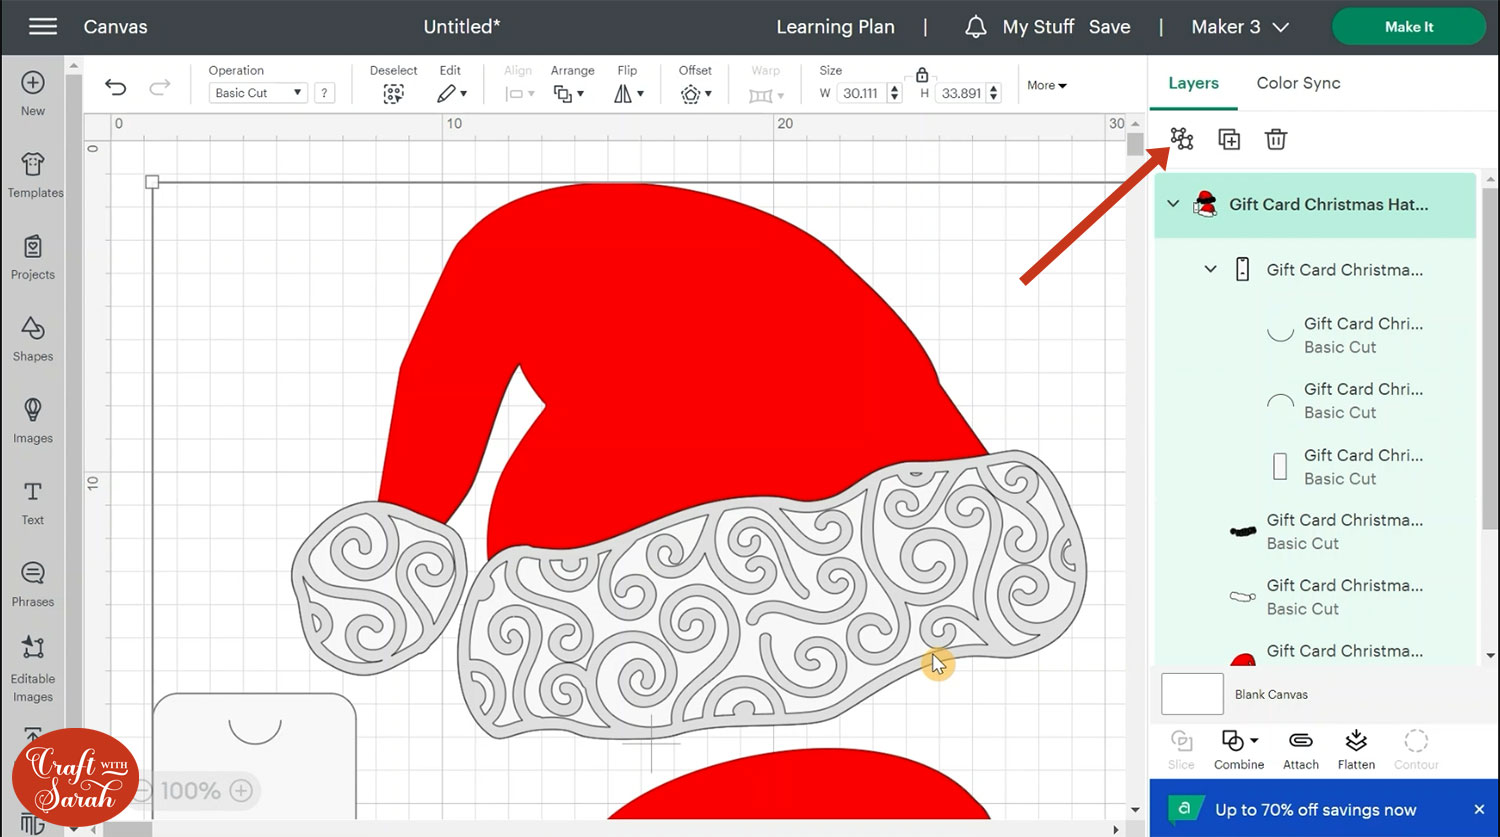
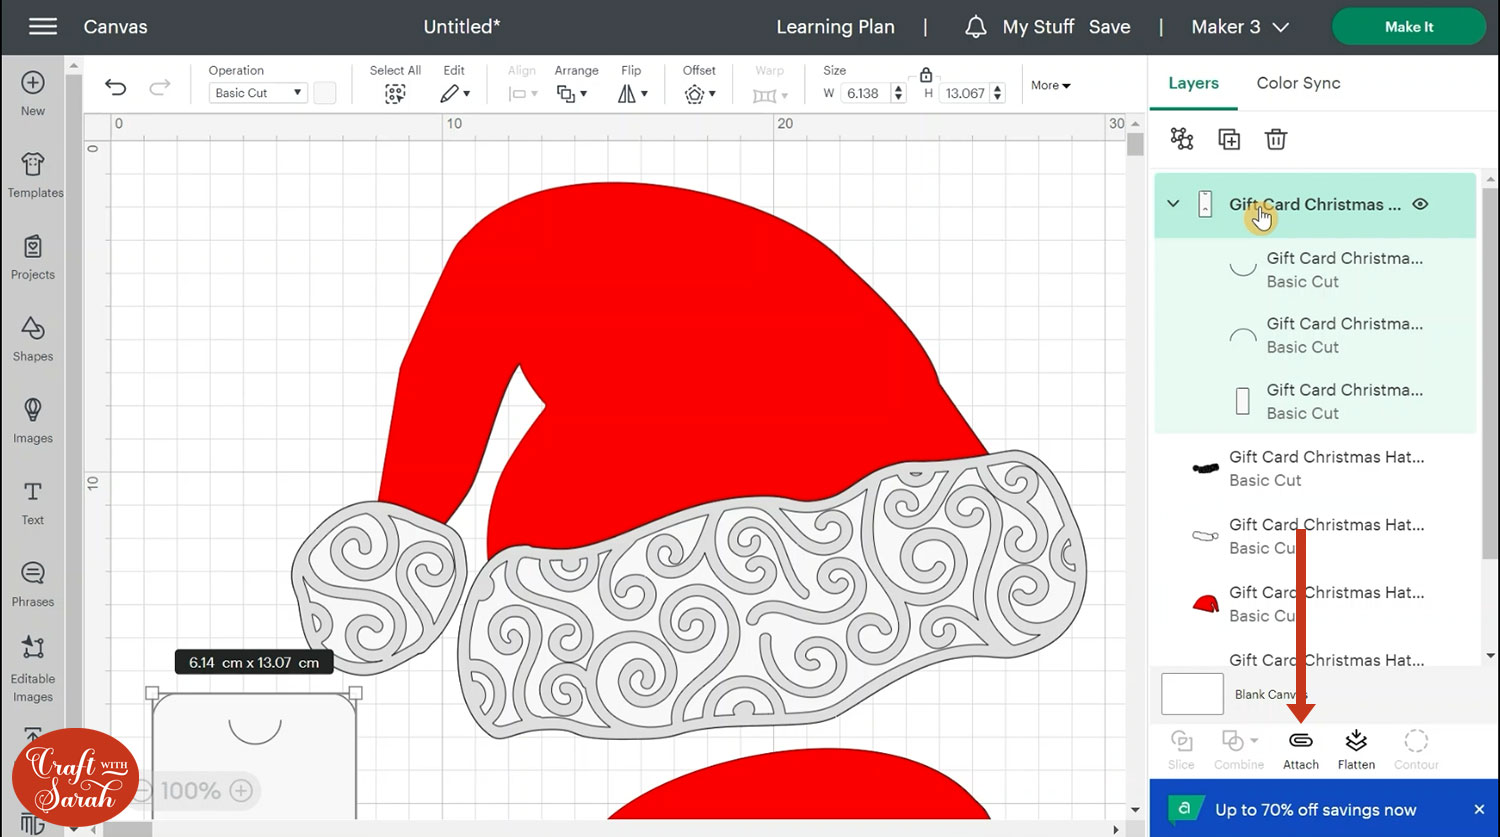
You will see a sub-group in the layers panel containing a white rectangle and two semi-circle lines.
Click this group and press “Attach” to join the layers together.
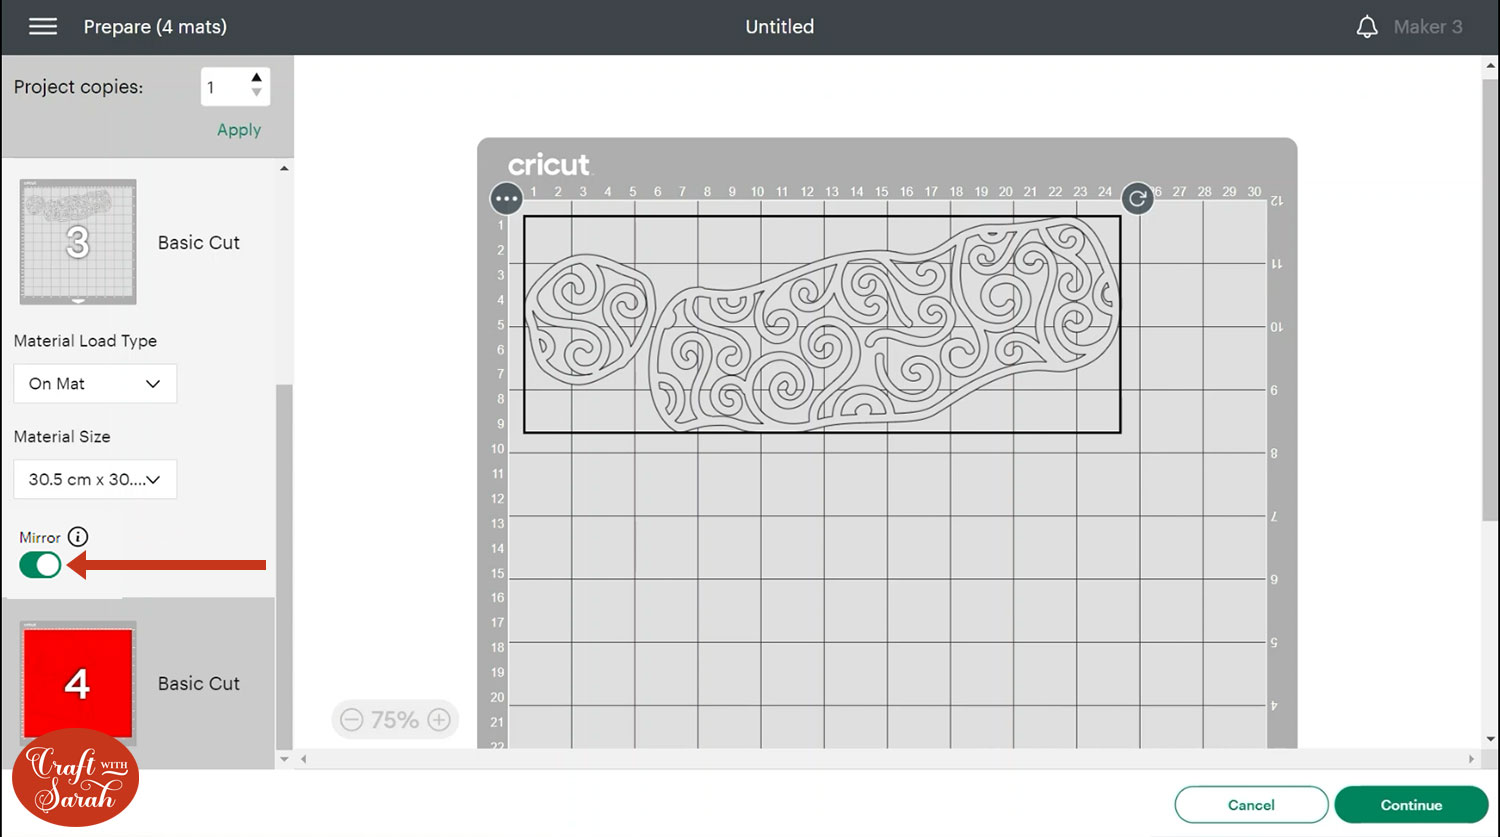
You have the choice whether you would like to use Iron-on or cardstock for the swirly layer of the design.
If you are cutting from cardstock, it is important to know that the swirls aren’t attached so you will have to glue them on individually. There aren’t many so it shouldn’t be a problem.
You can use whatever cardstock you have to hand.
When you’re ready, click Make It to get everything cut out from cardstock or a combination of cardstock and iron-on vinyl. Don’t forget to mirror the swirls layer if you are using iron-on.
Step 4) Stick the gift card holder together
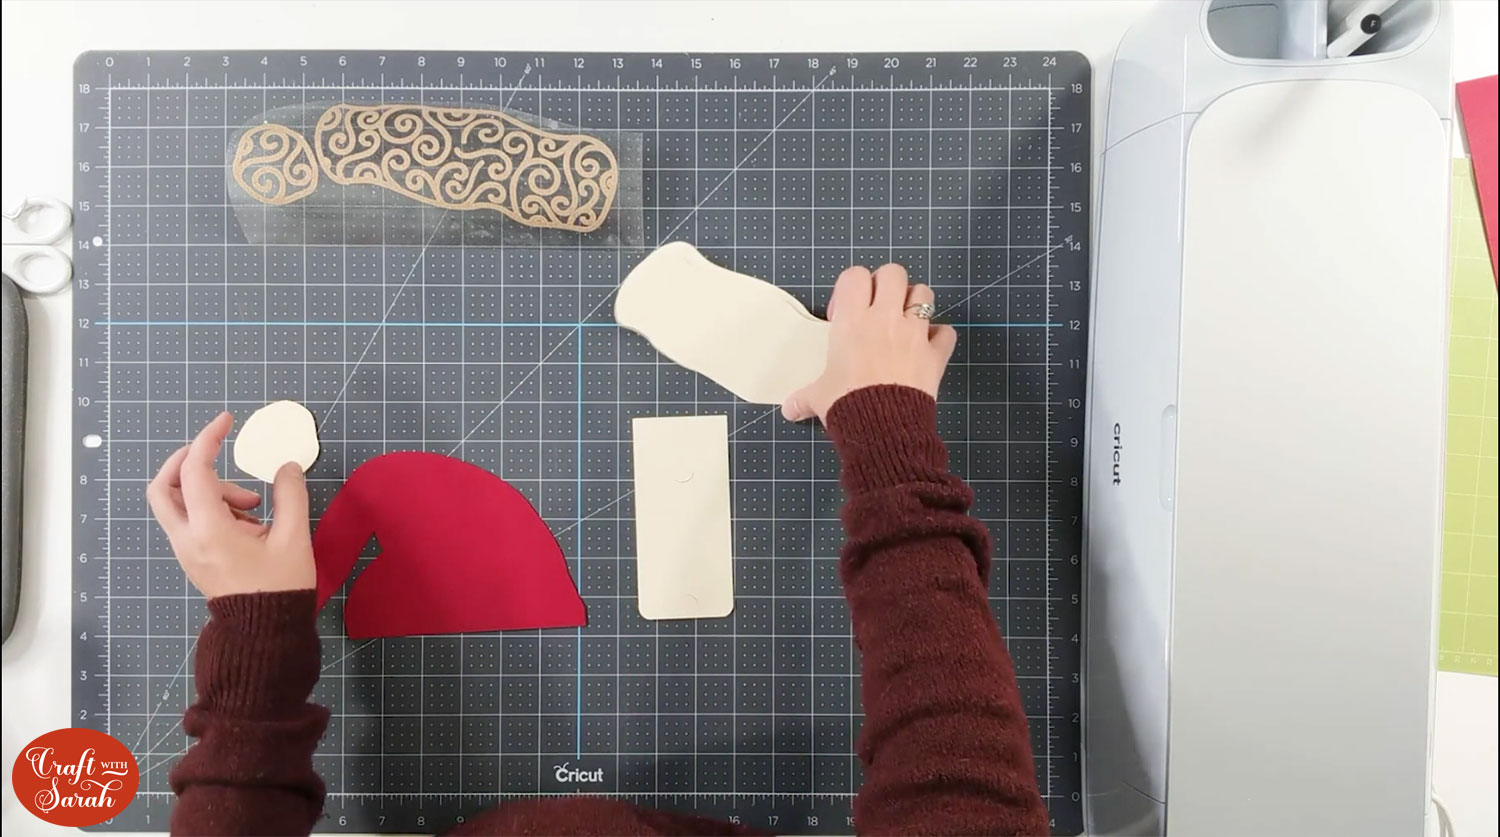
Match up all your layers and make sure they are the right way round. Remember that there will be a similar layer that will go on the reverse side of the design with the gift card in between.
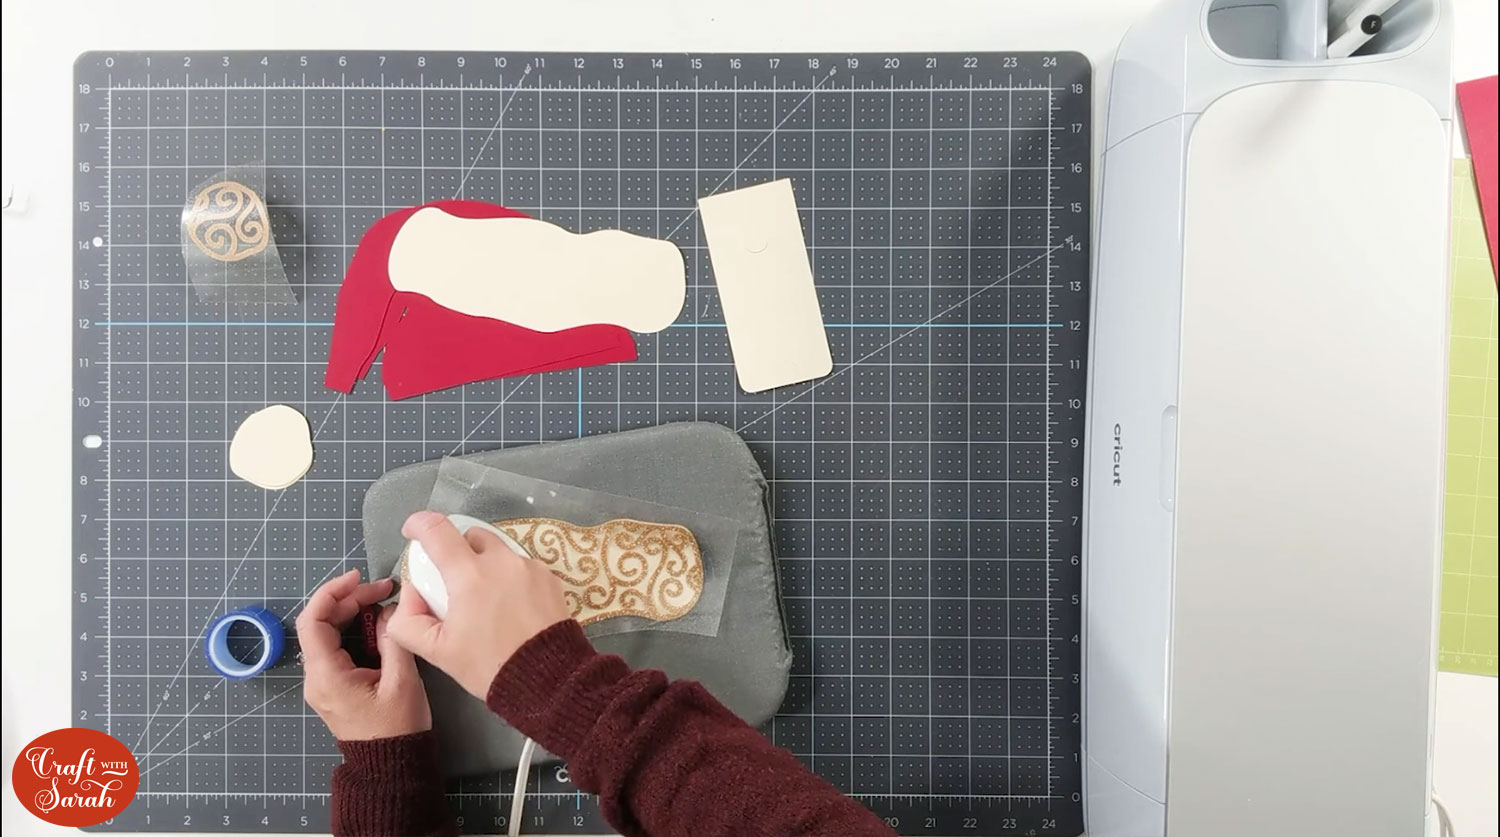
If you are using vinyl for your top swirl layer, set your heat press to its lowest temperature and press for 20-25 seconds onto the matching bottom piece. If it doesn’t come off the backing completely, you can repress it.
Natalie used heat resistant tape to help hold the design down so that it didn’t move whilst pressing.
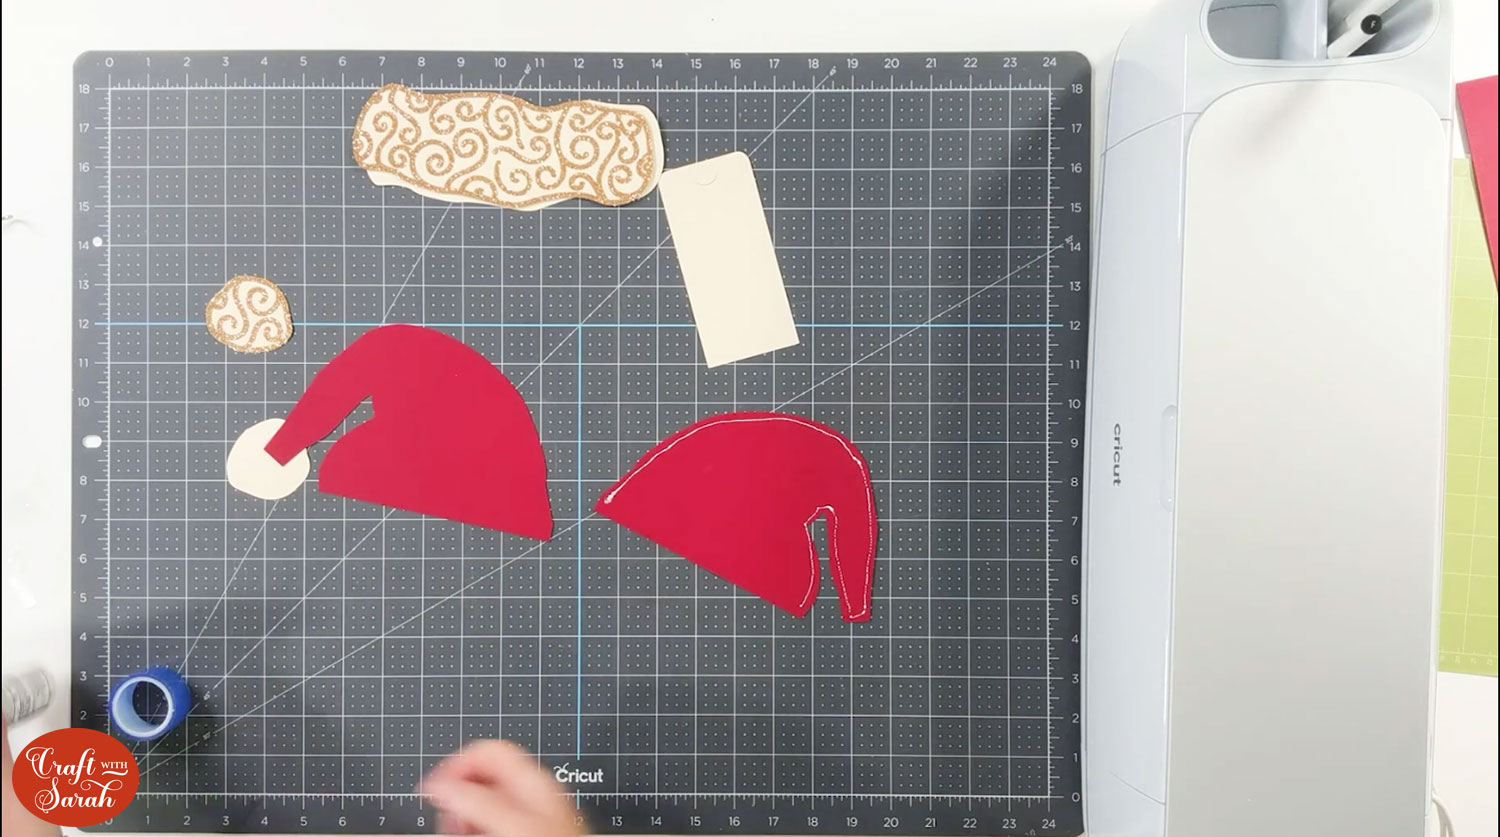
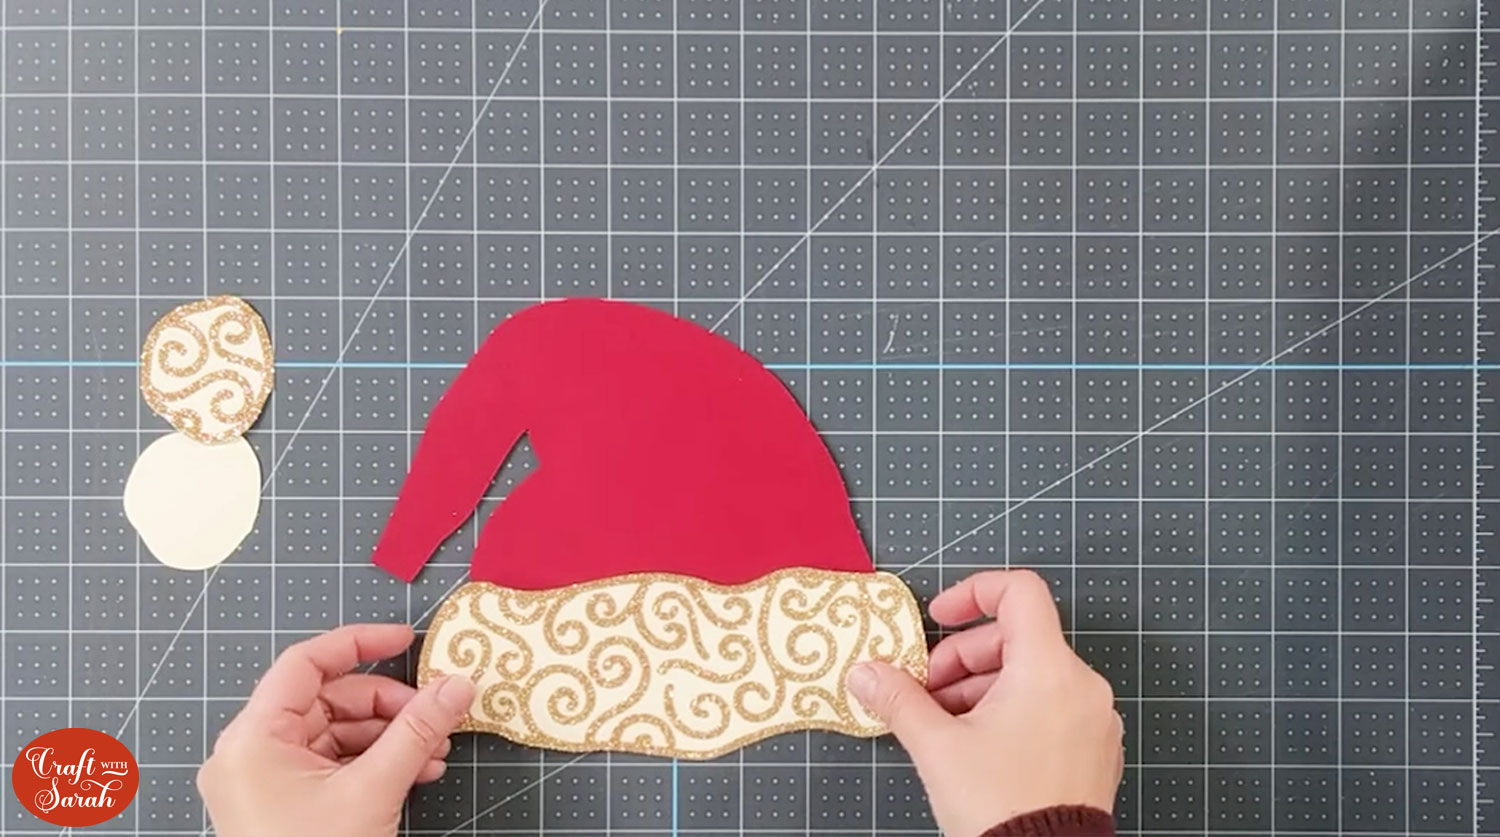
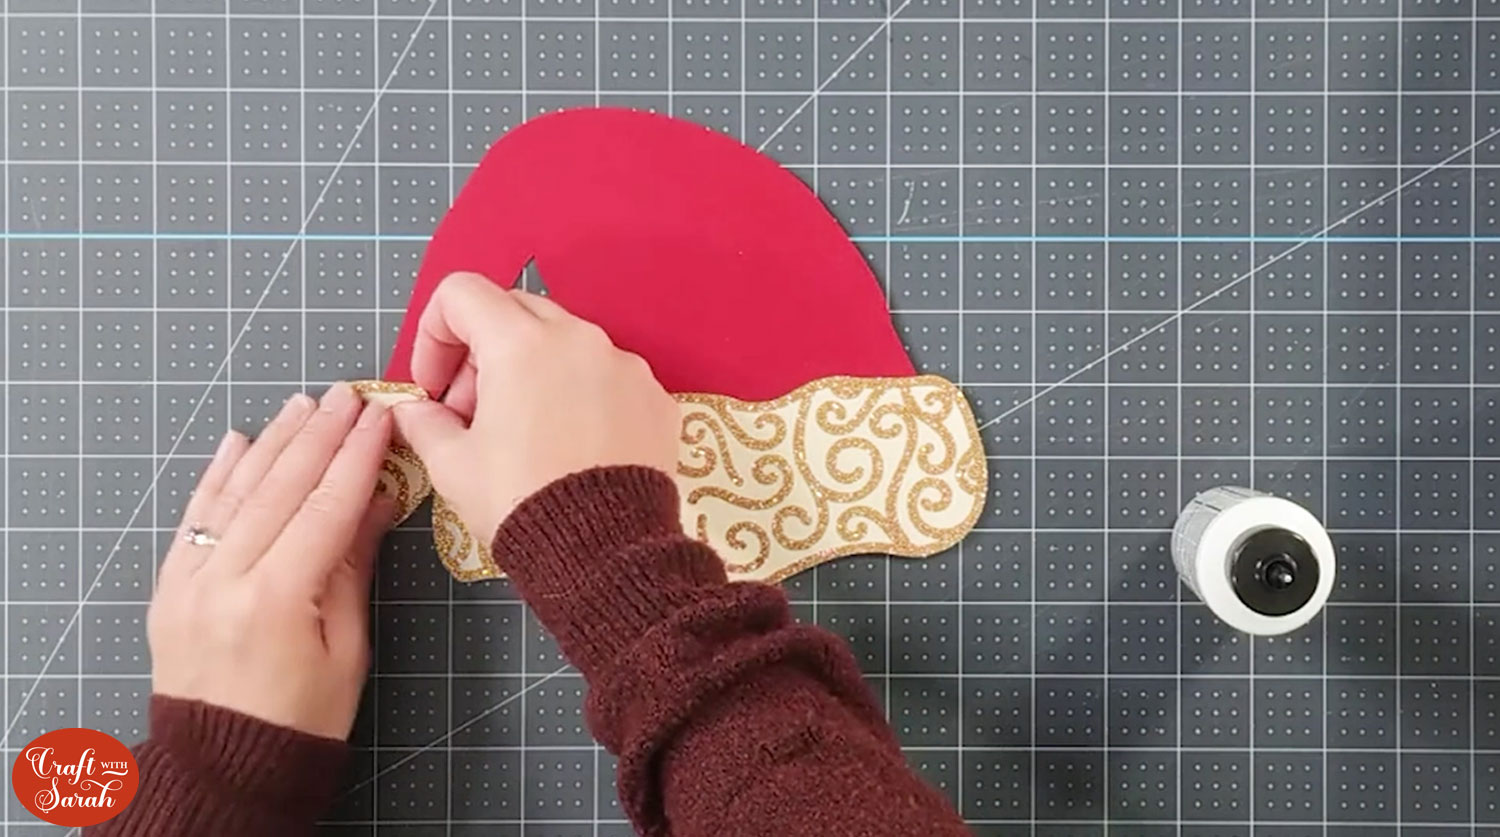
If you are using cardstock, simply glue your swirl layer to the matching bottom piece of the hat.
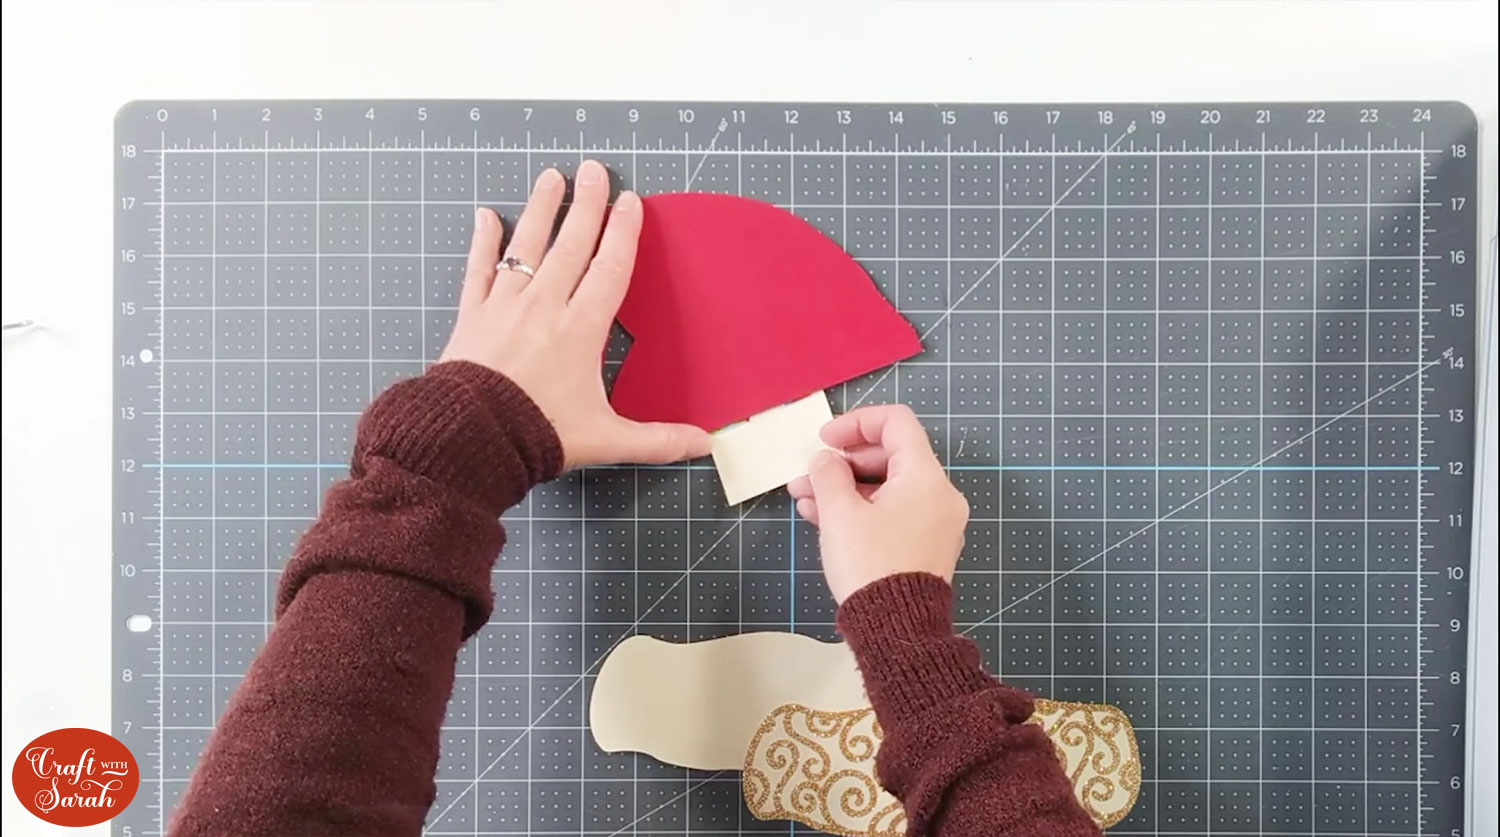
Repeat the process for the circular “bobble” piece which will go at the end of the hat.
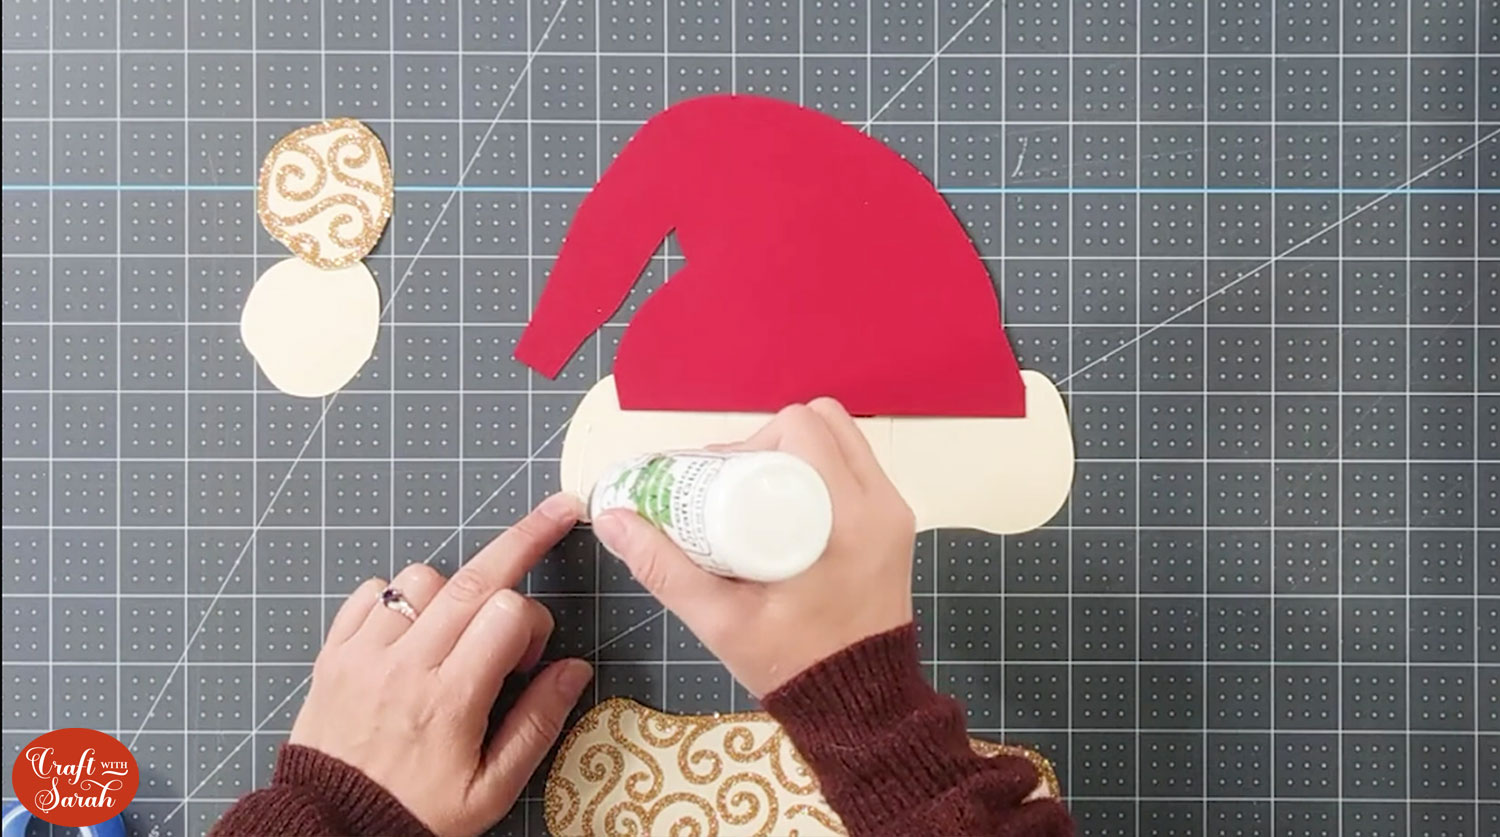
Apply glue to the inside of the hat. Avoid glueing along the straight line as that is where the gift card needs to go.
Stick the two hat pieces together.
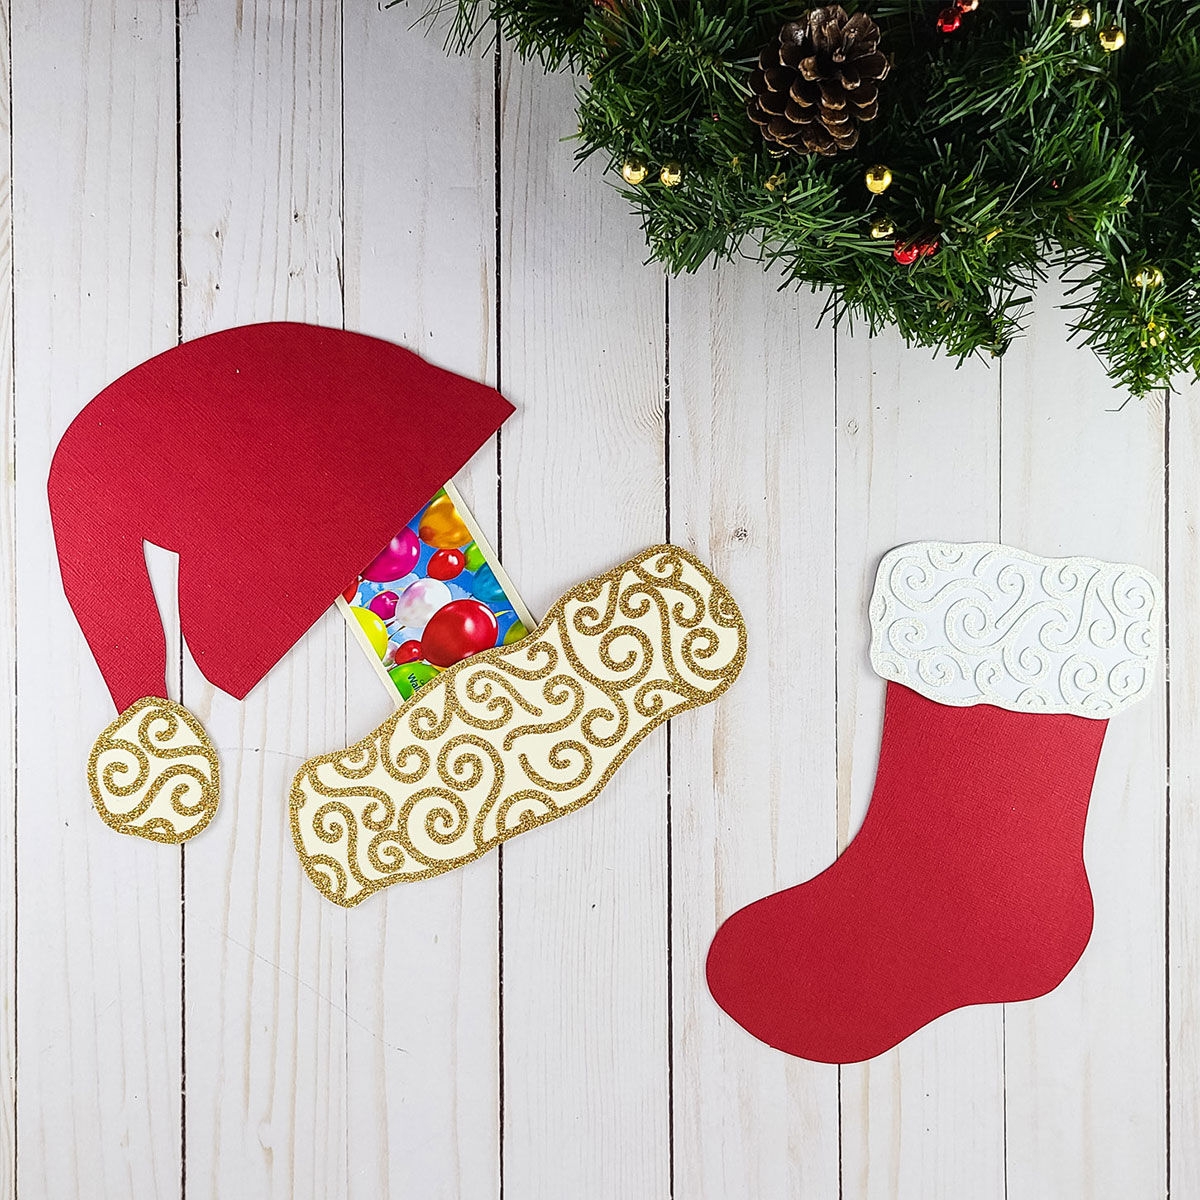
Take your gift card and place it inside the gift card piece. It should thread nicely into the cutouts.
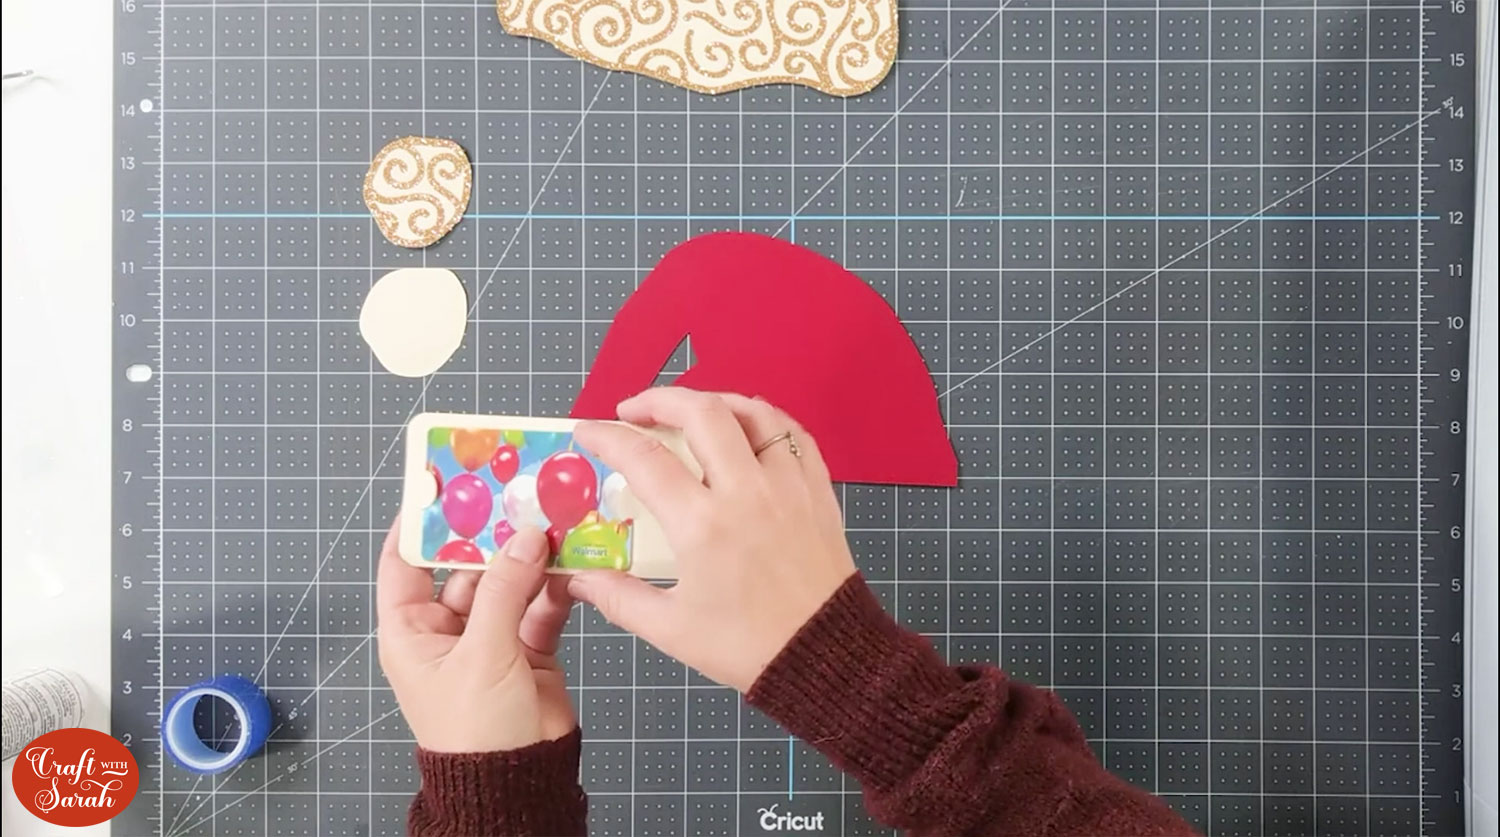
We need to glue this inside the other hat piece so that it comes out when it is pulled.
Insert the card into the top hat piece as far as it will go.
Place the upper hat and gift card onto the bottom hat piece which should be face down.
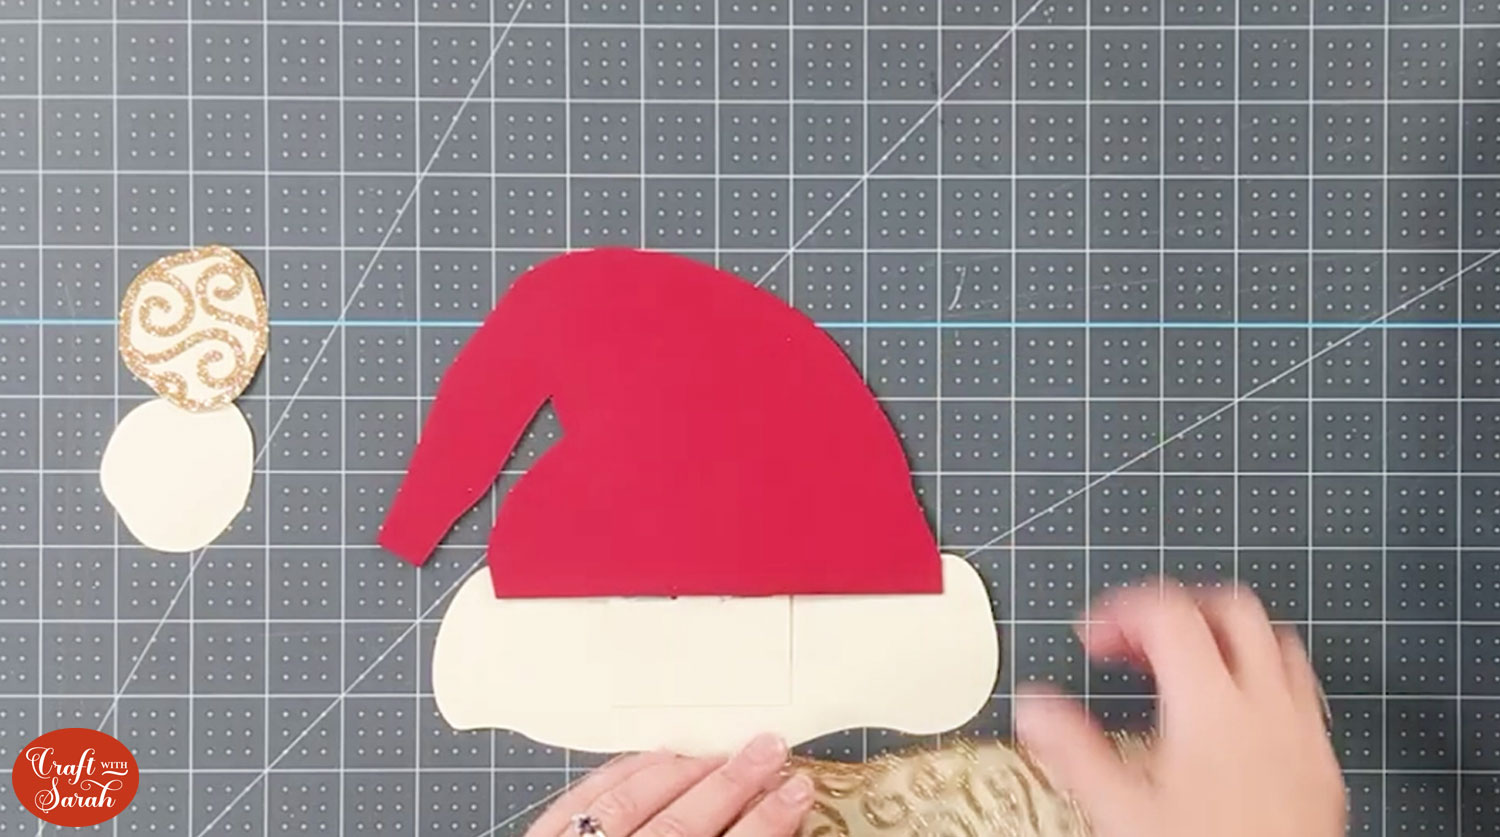
Place the other bottom piece on top so that the swirls are facing you.
Now apply glue to the underside of the gift card piece so that it sticks to the bottom piece.
Glue to the bottom edge of the bottom piece and the sides. Avoid the top edge as it needs to be able to release the gift card.
Allow to dry.
Glue the backs of the two circular *bobble* pieces together with the end of the hat.
Easy Handmade gift card holders Christmas
Now it’s time to test out your finished gift card!
IMPORTANT: The download folder for this project ONLY contains the Santa Hat design. To get the matching stocking design for free, click here to visit Natalie’s website.

What a special way to give a gift card this Christmas. I love the sparkles which make this one extra Christmassy.
Happy crafting,
Sarah x

