HCC 2023 Day 19 🦇 3D Spooky Trees from Kraft Board
It’s Day 19 of the Halloween Craft Countdown and today we’re making 3D trees.
This spooky 3D tree is cut from Kraft Board to make it super sturdy.
It comes with little bat decorations to hang down from the cutouts in the branches, or you can hide the cutouts to make a version without the bats.
If you cut the trees at a smaller size, they would look amazing next to Lucy Foxworth’s haunted house from Day 2 of the Countdown.
This Project was part of the Halloween Craft Countdown 2023
Materials supply list
Here is a list of the materials that I used to make this project.
Please note that some of the links included in this article are affiliate links, which means that if you click through and make a purchase I may receive a commission (at no additional cost to you). You can read my full disclosure at the bottom of the page.
- Cricut machine
- Green standard grip cutting mat
- Mirror effect Cricut Kraft Board
- Black card
- Ribbon, string or thin wire to hang the bats
- Glue
- Brayer tool (optional)
This project is suitable for the following types of Cricut machine: Explore Air 2, Explore Air 3, Maker, Maker 3
Video tutorial
Watch the video below to see how to make this project. Keep scrolling for a written tutorial.
Written tutorial (with photos!)
Here’s how to make your very own 3D Halloween tree using a Cricut machine!
Step 1) Download the cutting file(s) & unzip the downloaded folder
Download the files using the box below.
Purchase the File(s)
This cut file is available as part of the Instant Access Bundle.
Or, purchase this design individually here

Before you upload the SVG to Design Space, you need to unzip the download folder that it comes in.
- How to unzip a folder on Windows computer
- How to unzip a folder on a Mac
- How to unzip a folder on an iPad/iPhone
- How to unzip a folder on an Android device
Step 2) Upload the SVG file into Design Space
Open up Cricut Design Space and start a new Project.
Click “Upload” and then find your unzipped version of the downloaded files for this project.
The file to upload for Cricut Design Space is the one called svg-halloween-tree-craftwithsarah.svg
This is how it should look after you have uploaded the file:
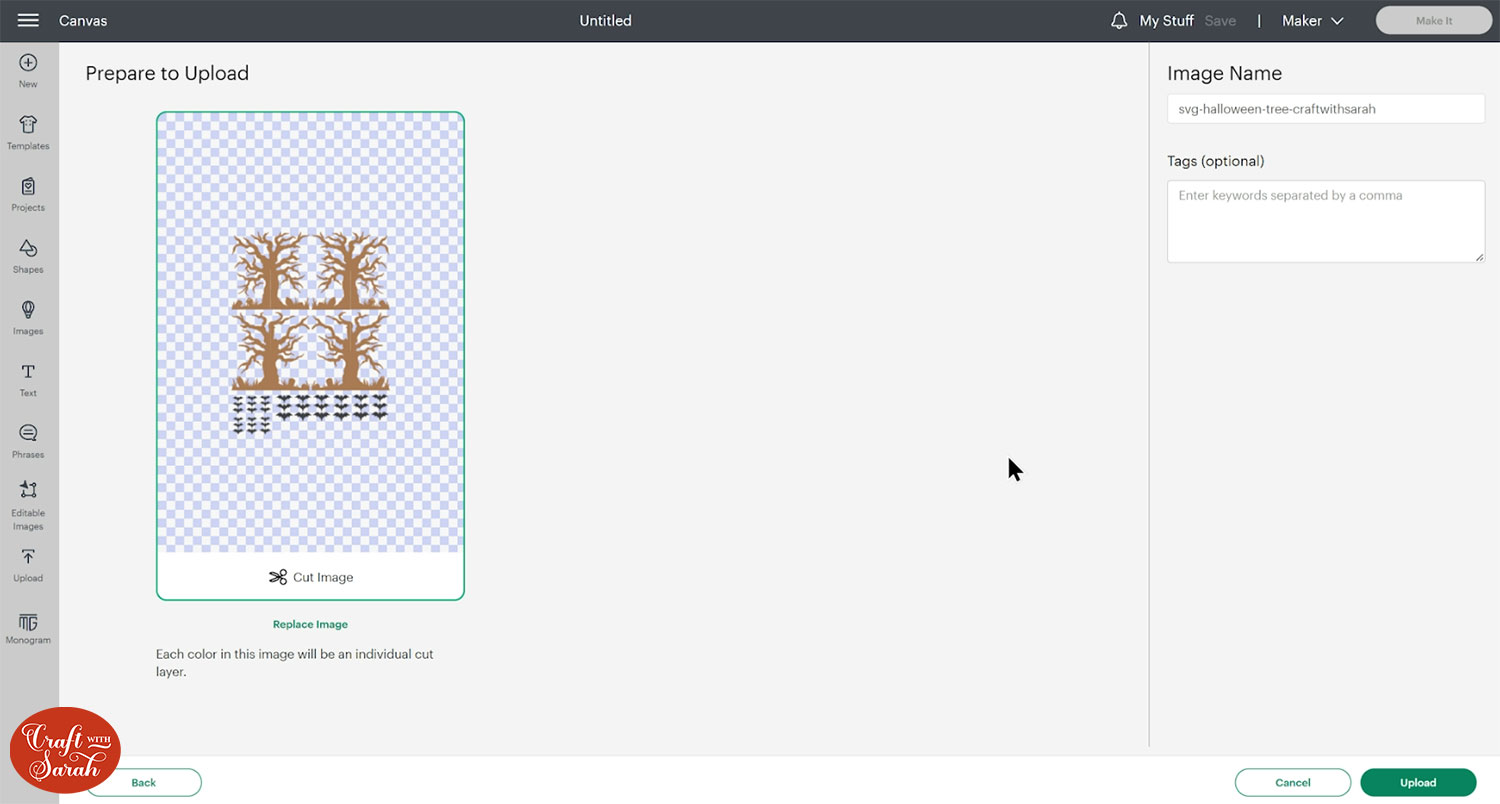
Make sure you upload the file which starts svg- in the filename!!
After uploading, the design will show in your “Recently Uploaded Images”.
Click on it and then press “Add to Canvas” to put it onto your Project.

Step 3) Size the tree design
By default, the tree will cut at just under 11.5 inches, making it perfect for 12×12 inch Kraft Board.
However, you can make it smaller if you prefer.
It’s easier to resize if the tree outlines are re-positioned to be on top of each other.
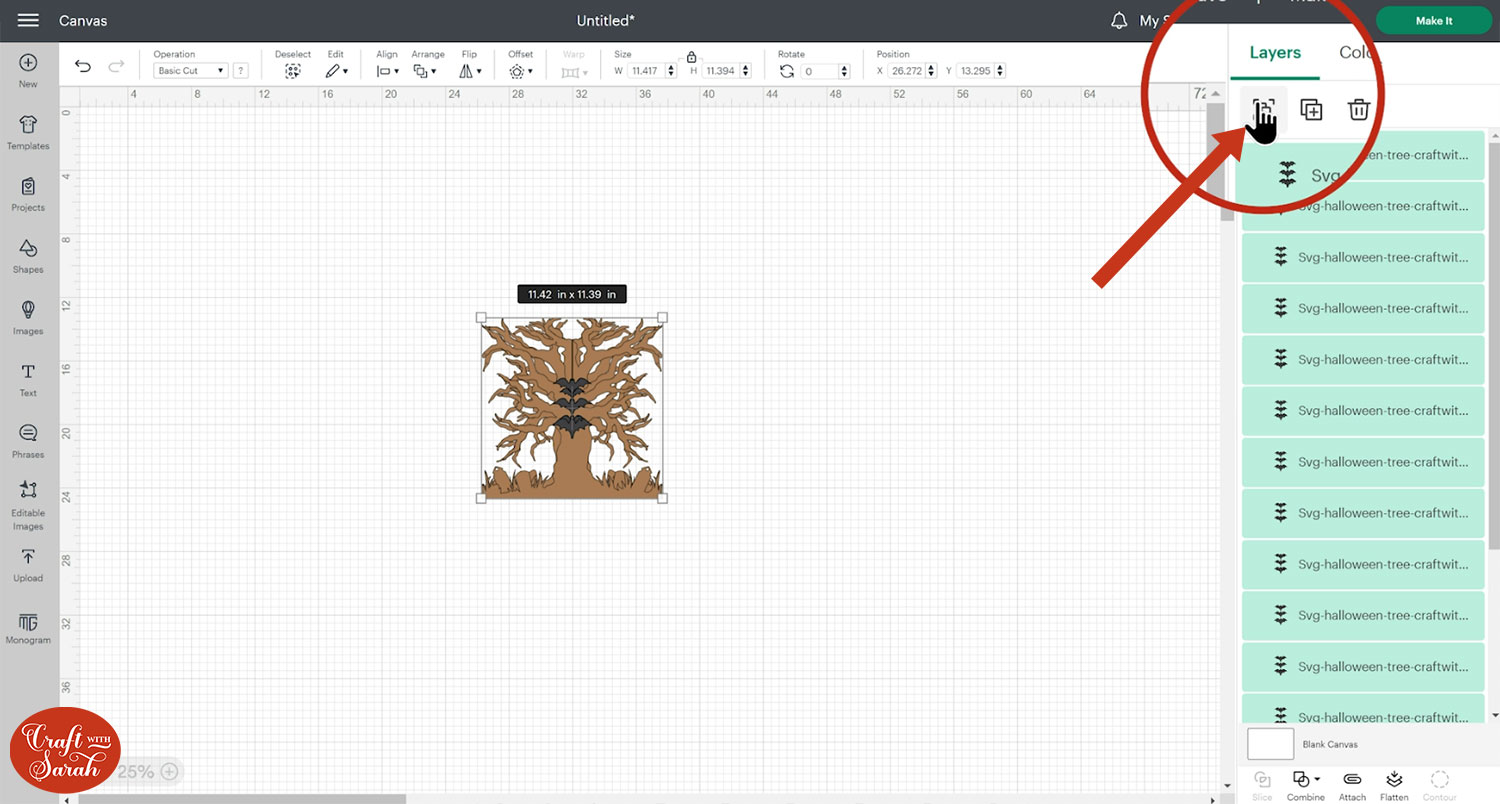
Click the design on your canvas and press Ungroup.
I have zoomed out on the screen quite a long way on the screenshot below, which is why the layers look quite small.
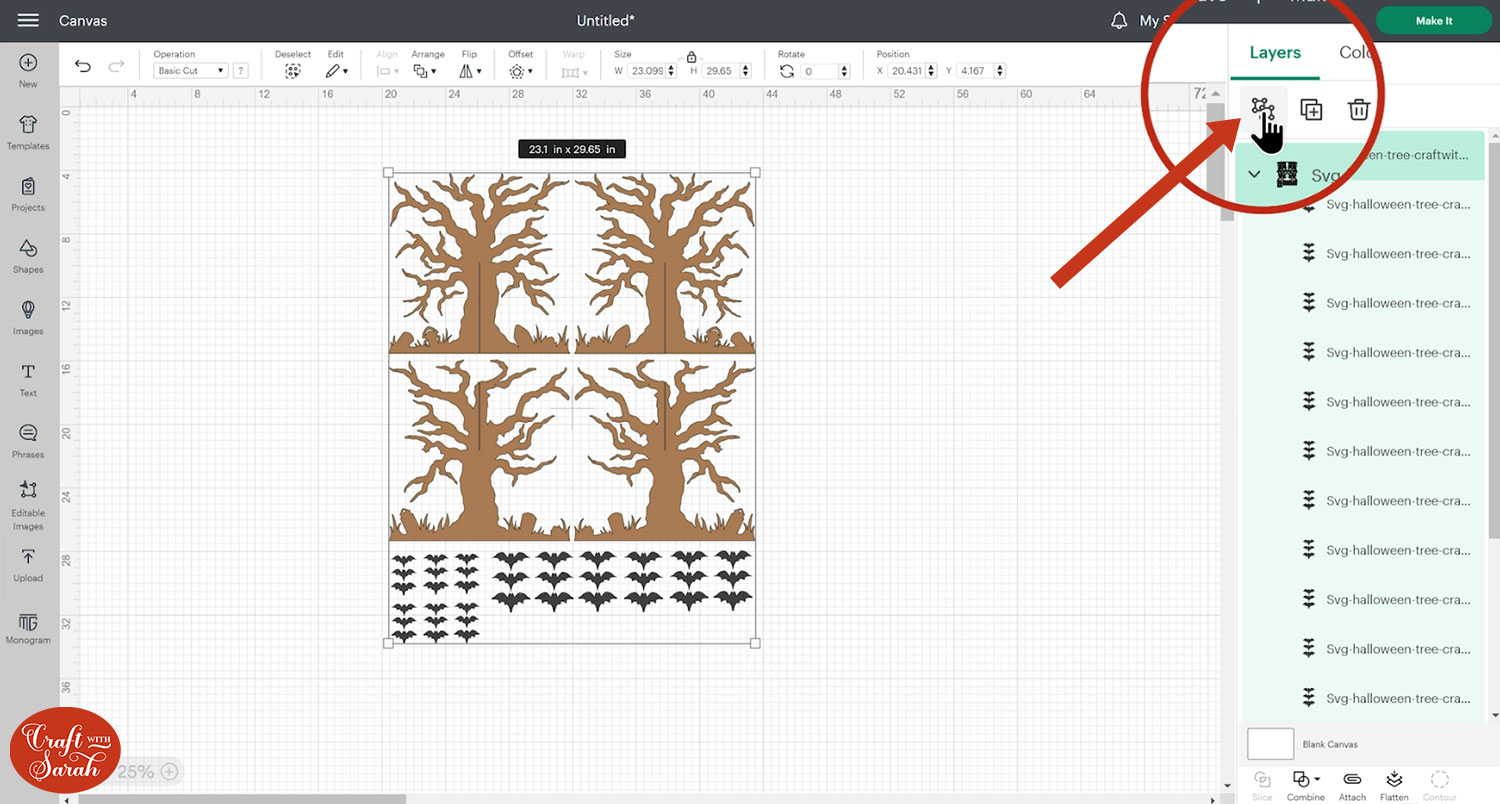
Press “Select All” and then “Align > Center”.
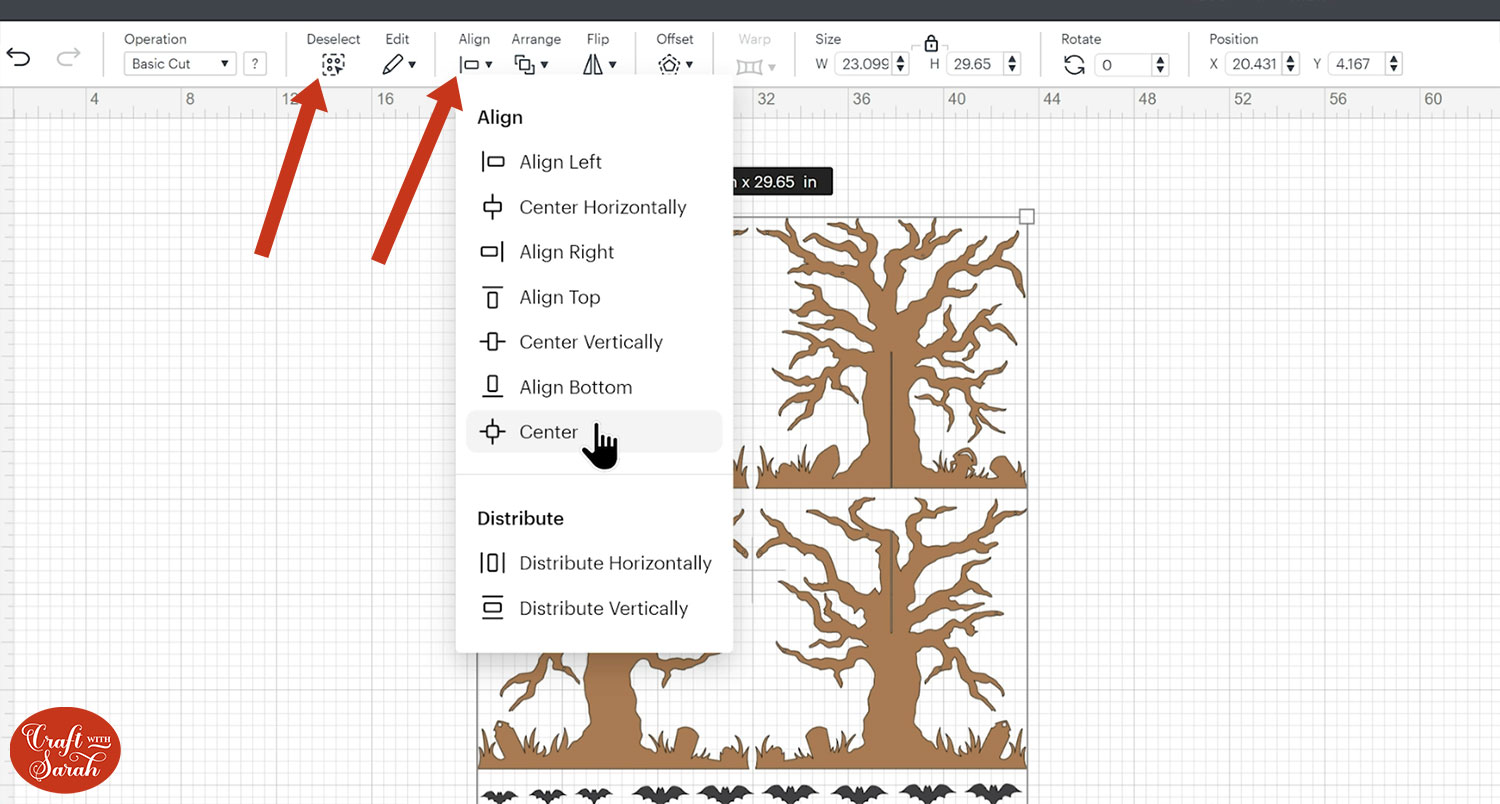
This changes the positioning of the layers to all be on top of each other instead of separate on the page.
Group everything back together.
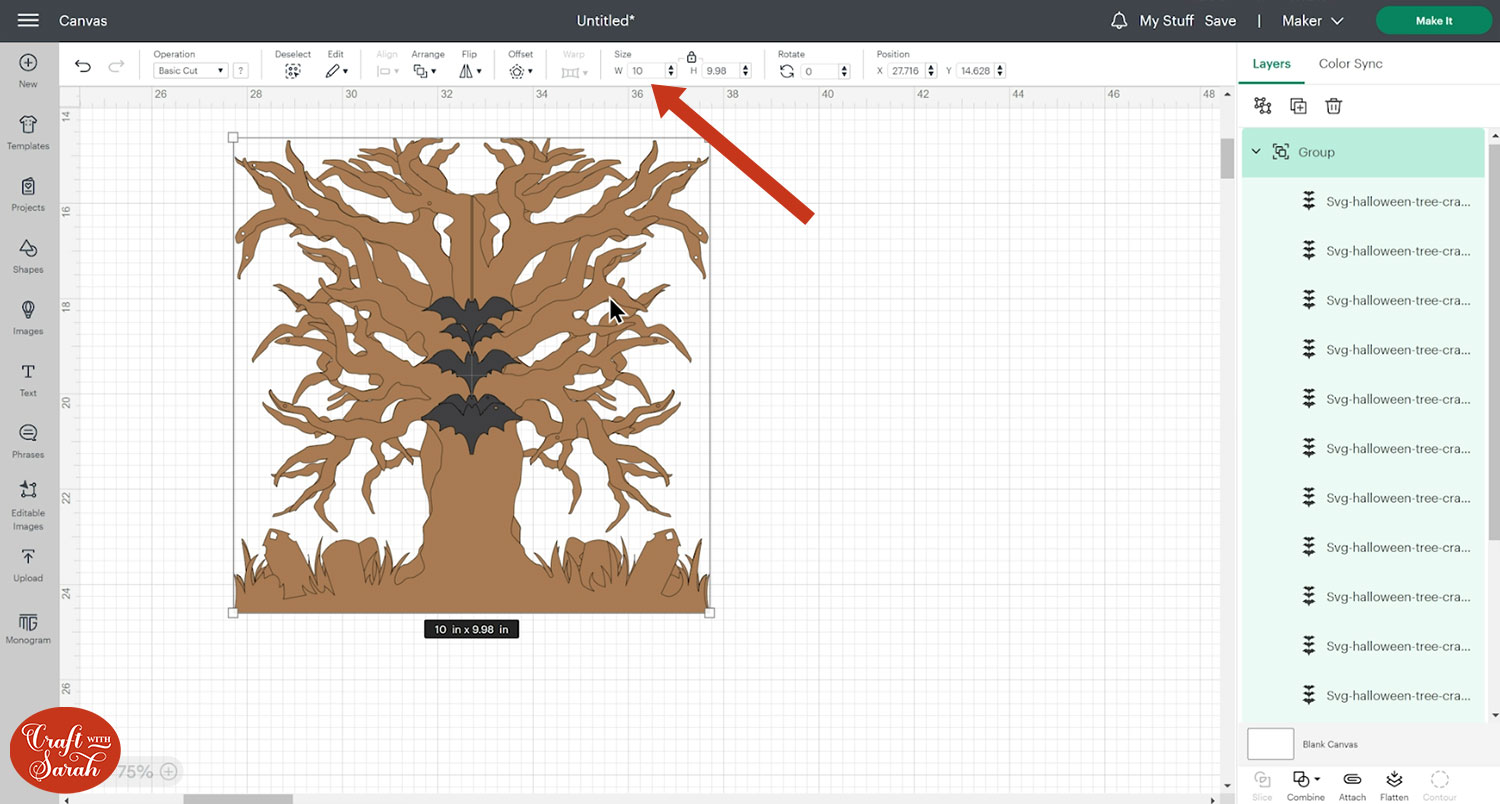
Once everything is re-grouped, you can then easily change the size of the whole group at once using the width/height boxes.
TIP: Make sure the padlock icon above the width/height boxes is CLOSED before you resize. If it appears “open”, click it with your mouse to close it.
For example, this is how it looks changed to 10 inches wide.
If you don’t want to hang the bats from the tree, delete all the bat layers.
Click each of the tree layers, one at a time, and press “Contour” and then “Hide all Contours” to fill in the little circles on the tree which are designed to have string for the bats threaded through them.
Step 5) Cut out the pieces
When you’re happy with how the project is looking in Design Space, click “Make It” and follow the instructions on-screen to cut out all the layers.
I cut the bats from black cardstock and the tree from Kraft Board. The thicker the material you cut the tree from, the sturdier it will be once made.
To change the paper size, go into the dropdowns over on the left side of the screen and choose the paper size that you want to use. You need to change it for every single colour.

To save space on your cardstock, you can move things around by clicking and dragging. Make sure when you’re moving things about that nothing overlaps because otherwise, it won’t cut out properly

Use the “Kraft Board” material setting. You may need to use more pressure if it isn’t cutting through all the way.
I find that Kraft Board cuts best when the Cricut mat is really sticky and I use a brayer tool to press the material down really well onto the mat.
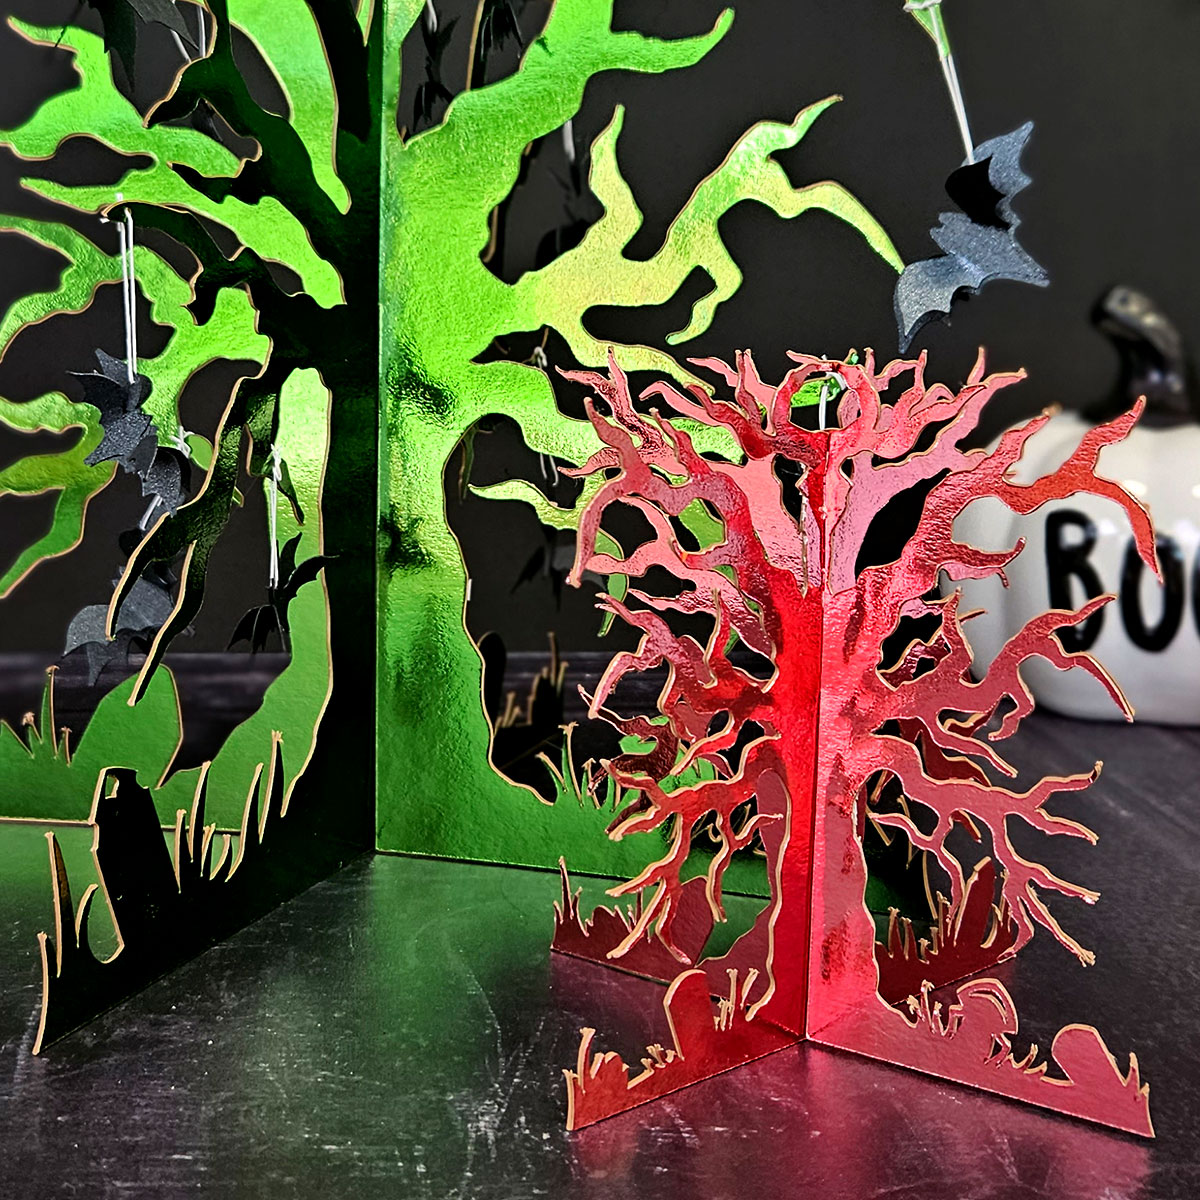
Step 6) Make the 3D trees
The reason that 4 tree shapes are cut out is because Kraft Board is often only coloured on one side.
As we will be seeing all sides of the material when the tree is made, I wanted to make sure my holographic colour was visible on every side.
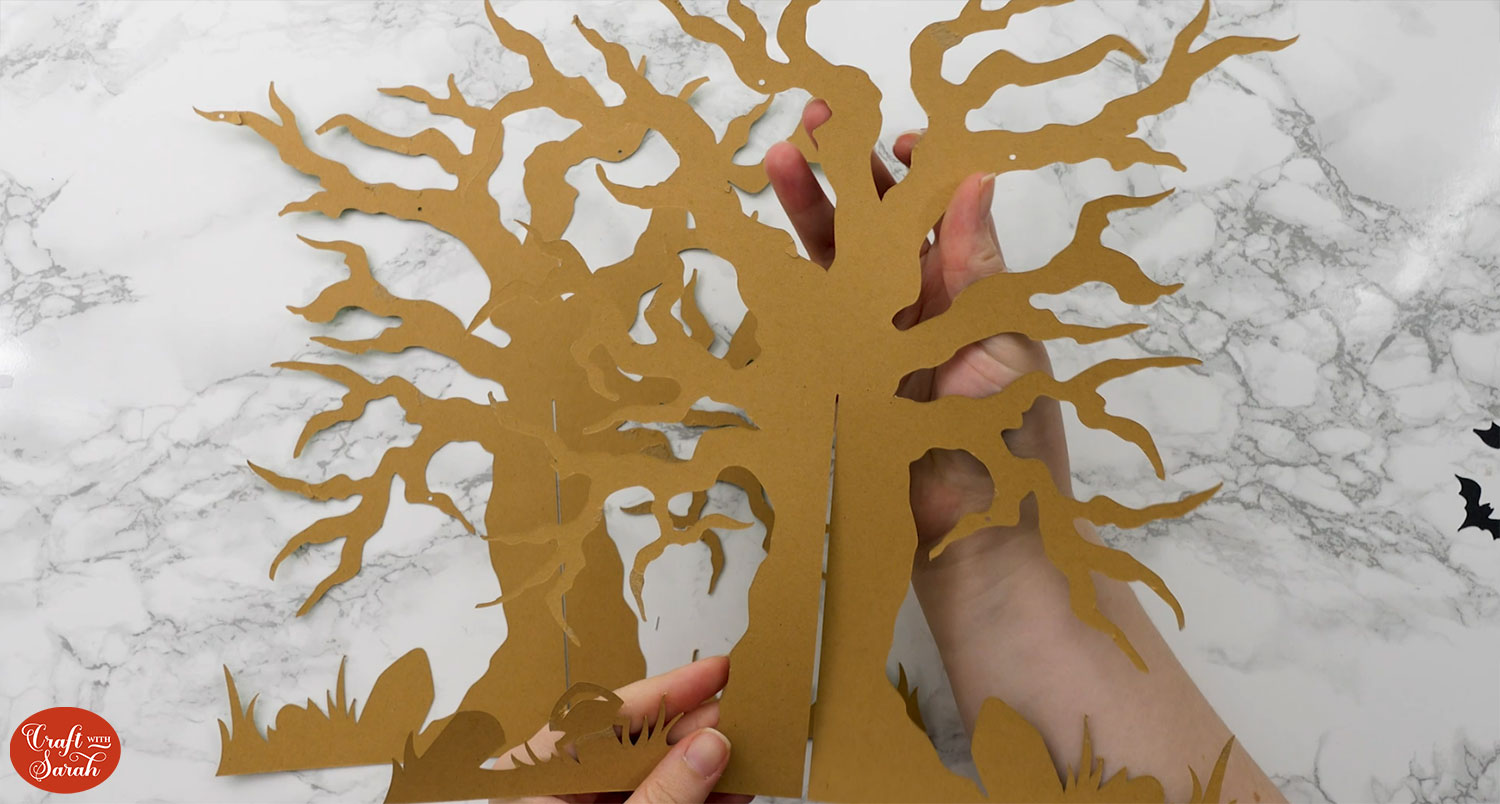
Find the two trees with the vertical slit at the bottom and glue them back-to-back.
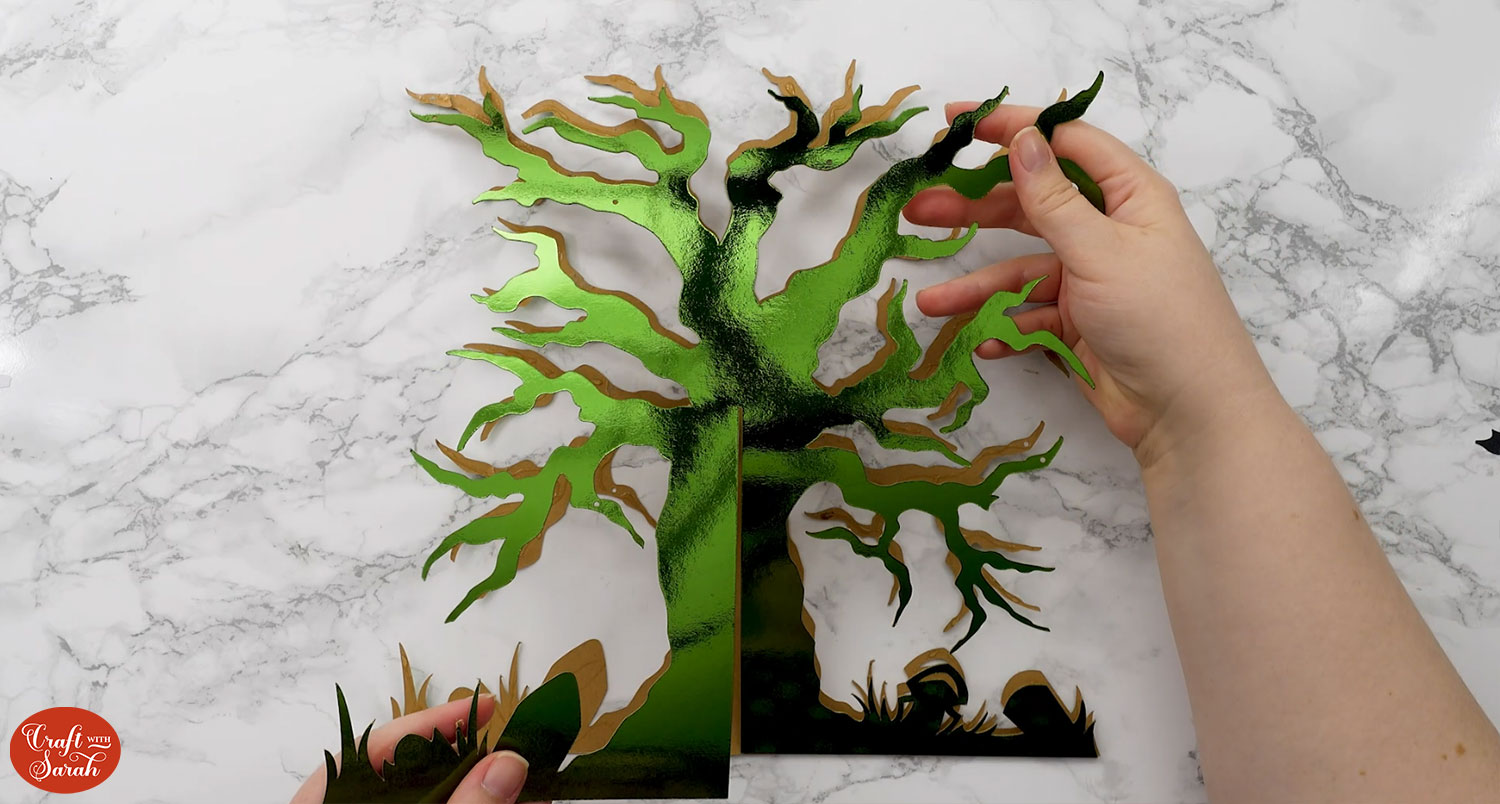
Do the same with the two trees that have the vertical slit at the top.
Once the glue is fully dry, slide the two slits over each other to make the tree stand up.
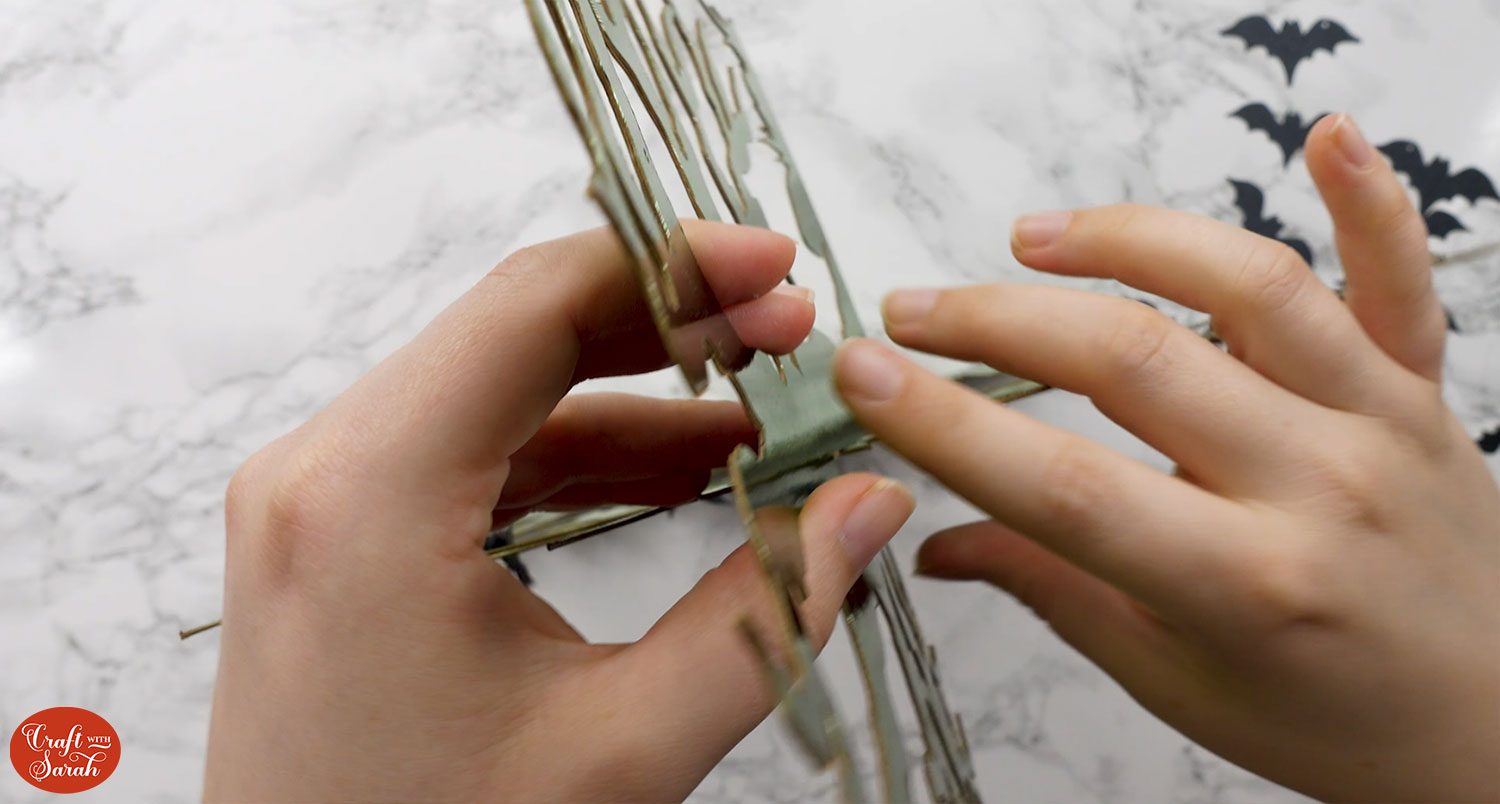
No glue is needed; the weight of the Kraft Board is enough to keep it upright.
Step 7) Add the hanging bats
If you have chosen to add the bats, it’s time to attach them.
First, collect all the bat shapes with little circular holes in the wings.
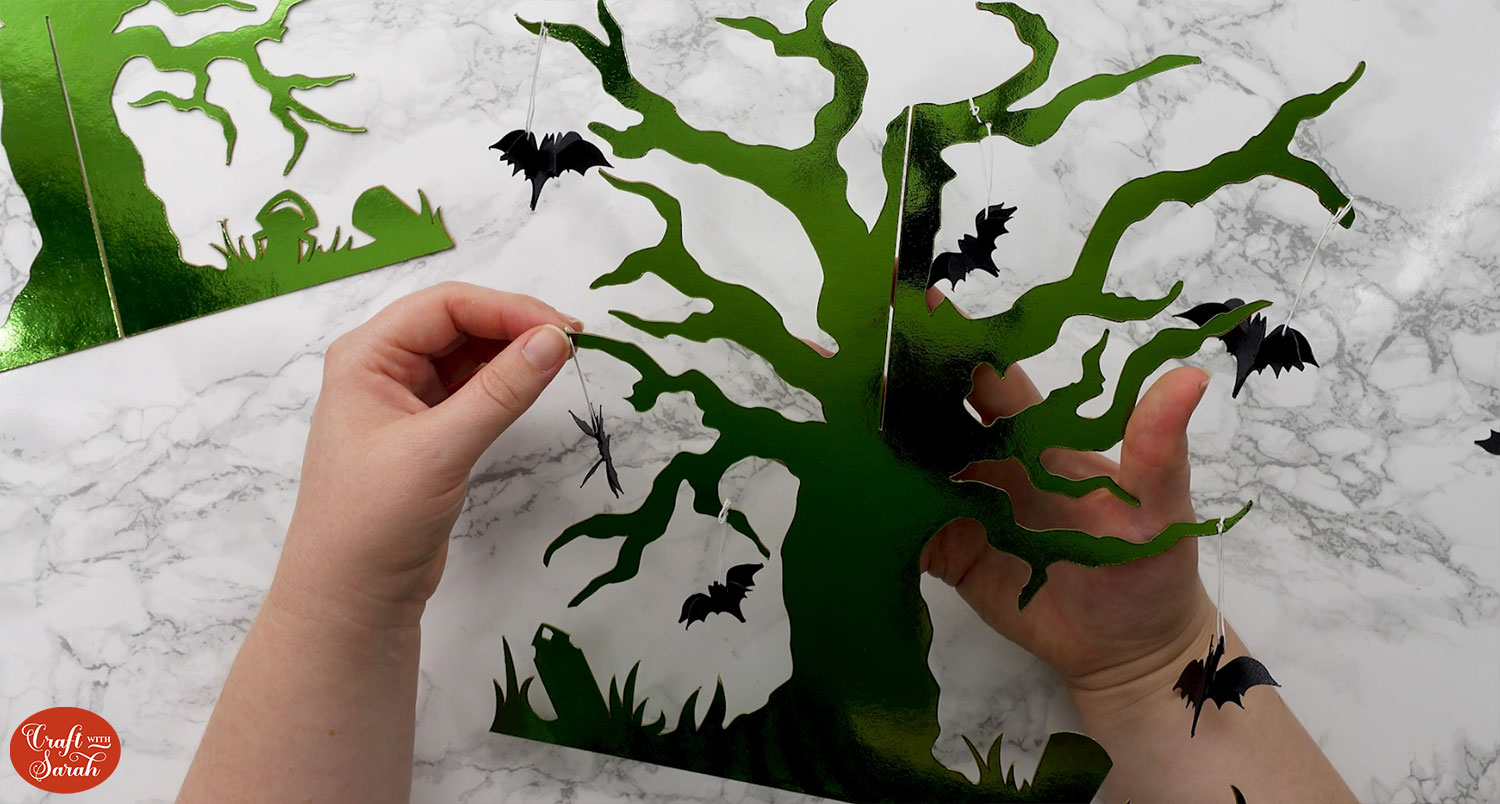
You may wish to take the tree apart again to add the bats.
It would look best if the bats were tied on with transparent thread, however I find it difficult to tie knots, so after taking almost 30 minutes to tie just one bat to the tree… I decided to find a different way to do it!
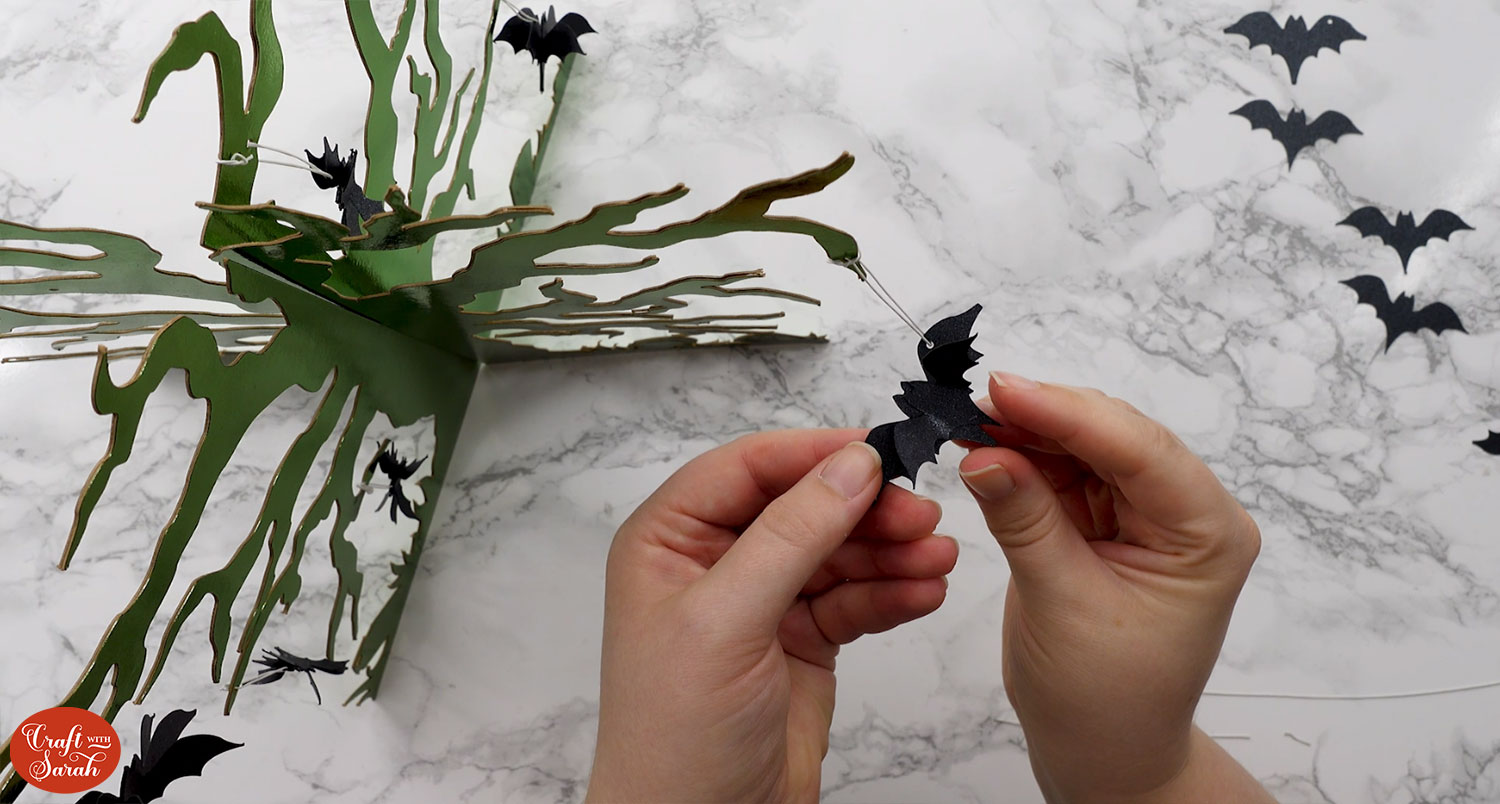
Instead, I used thin white wire to bend through the gap in the bats with the holes in, then I folded that around the tree branches through the circle holes in them.
This isn’t the prettiest option ever, but I was working with what I could find in my craft room – and it took far less time than doing it with thread!
Once all the bats with holes in the wings have been added, take each remaining bat and fold up the wings where they meet the body, to give a dimensional effect.
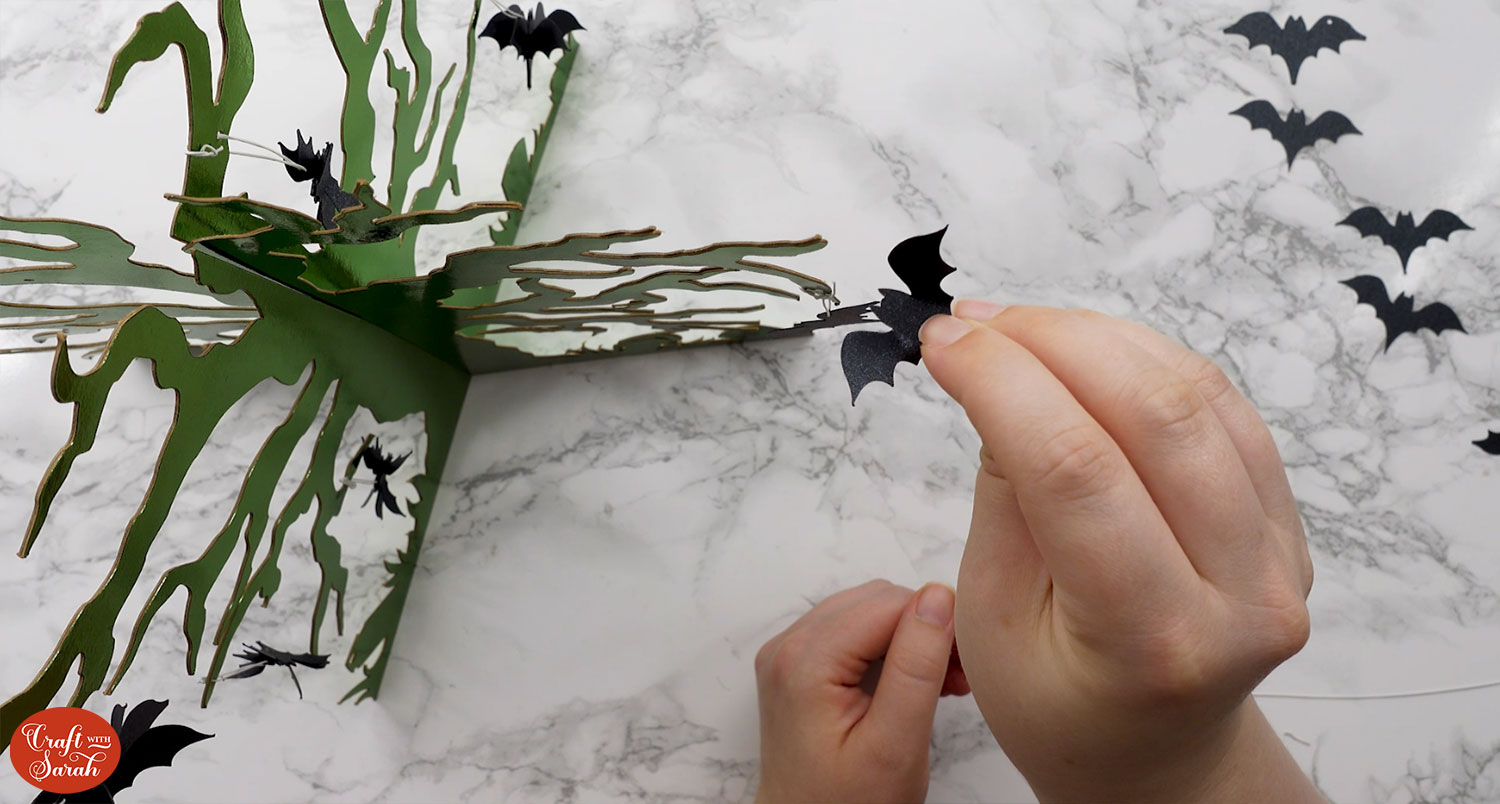
Glue the body of the bat on top of one of the bats that you have threaded onto the tree, to make them “pop out” and look like the bats are really flying.
There are enough bat cutouts to add a “popout” bat on both sides of the bats with holes in.
Cricut Kraft Board tutorial
I hope you enjoyed this tutorial on how to cut Kraft Board on a Cricut machine to make this spooky 3D stand-up Halloween tree.
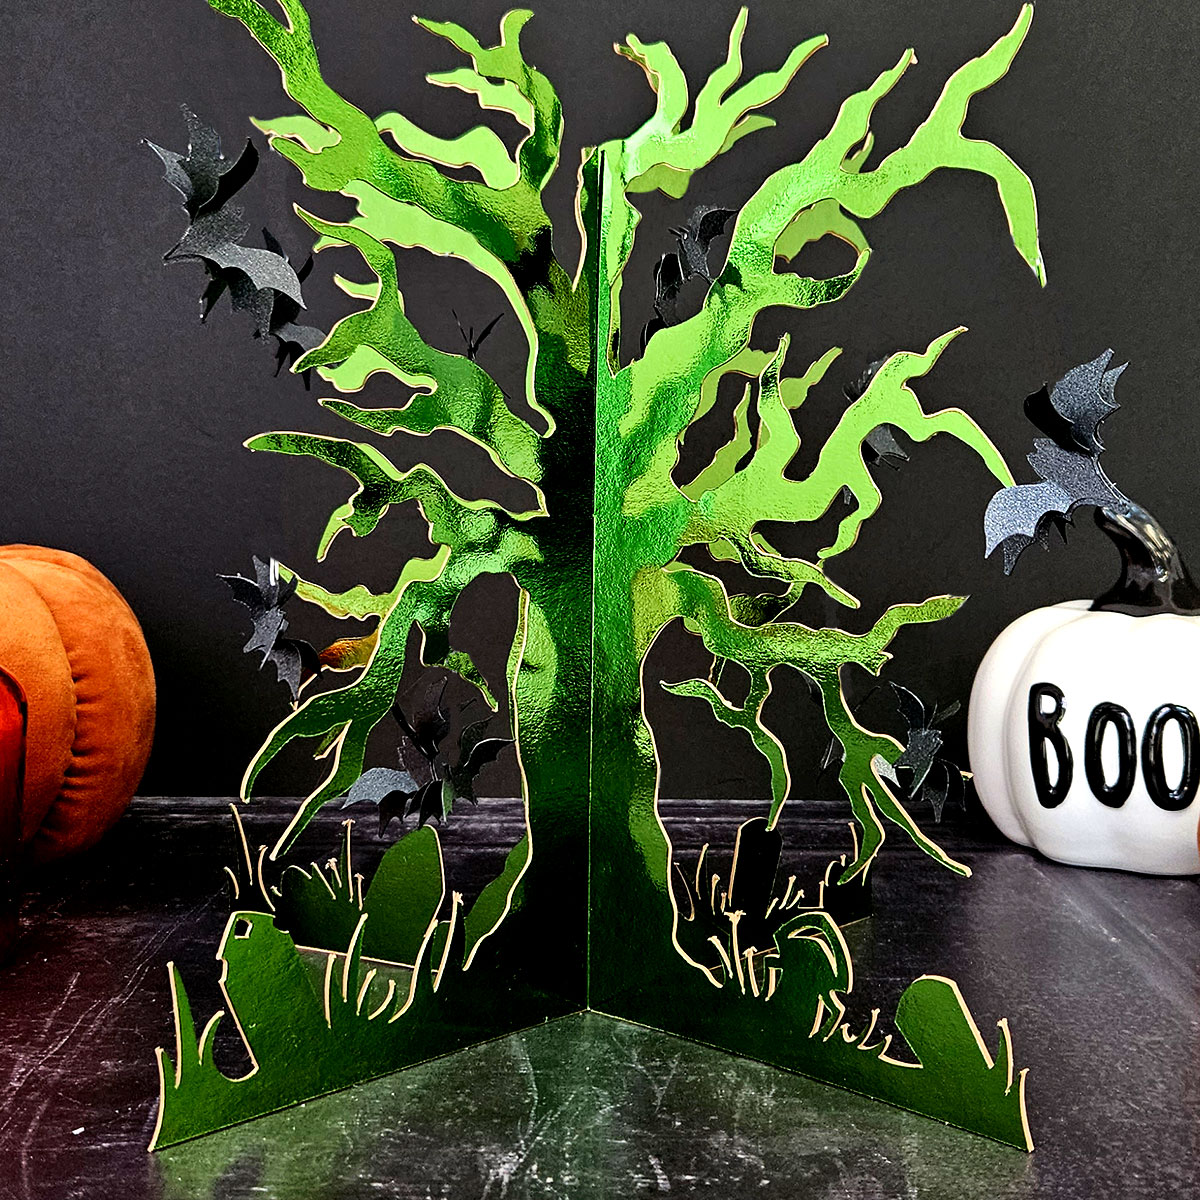
It would look lovely to cut a whole “forest” of trees and display them on a shelf or windowsill for Halloween night!
Happy crafting,
Sarah x

