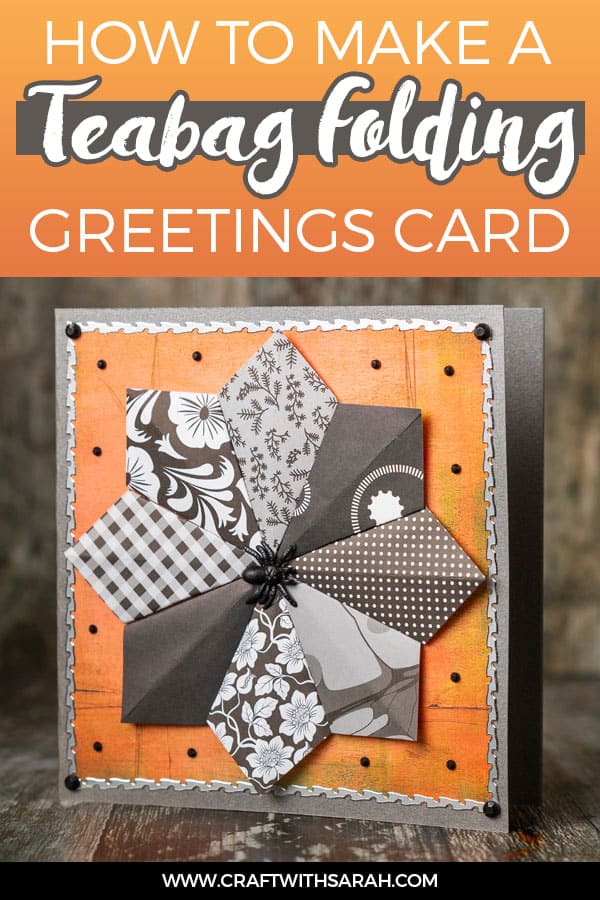
How to Make a Teabag Folding Kite Fold

Have you ever wanted to try teabag folding? Here is a beginner’s guide where you’ll learn to make a teabag folding kit fold medallion.
Teabag folding is a simple craft where you fold square pieces of patterned paper into shapes that are then used to form an intricate mandala design.
[cws_halloween]
Please note that some of the links included in this article are affiliate links, which means that if you click through and make a purchase I may receive a commission (at no additional cost to you). You can read my full disclosure at the bottom of the page.
There are many different ways that you can fold your paper squares to create different medallions.
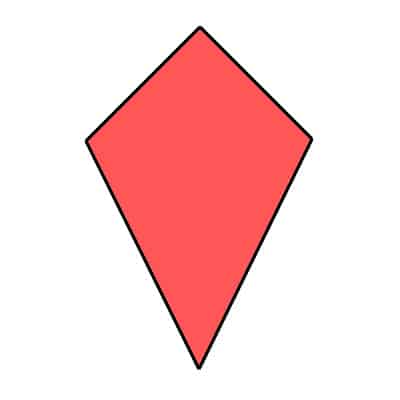
The simplest fold (and therefore the perfect fold for beginners!) is called the ‘Kite Fold’.
Here’s what it looks like…
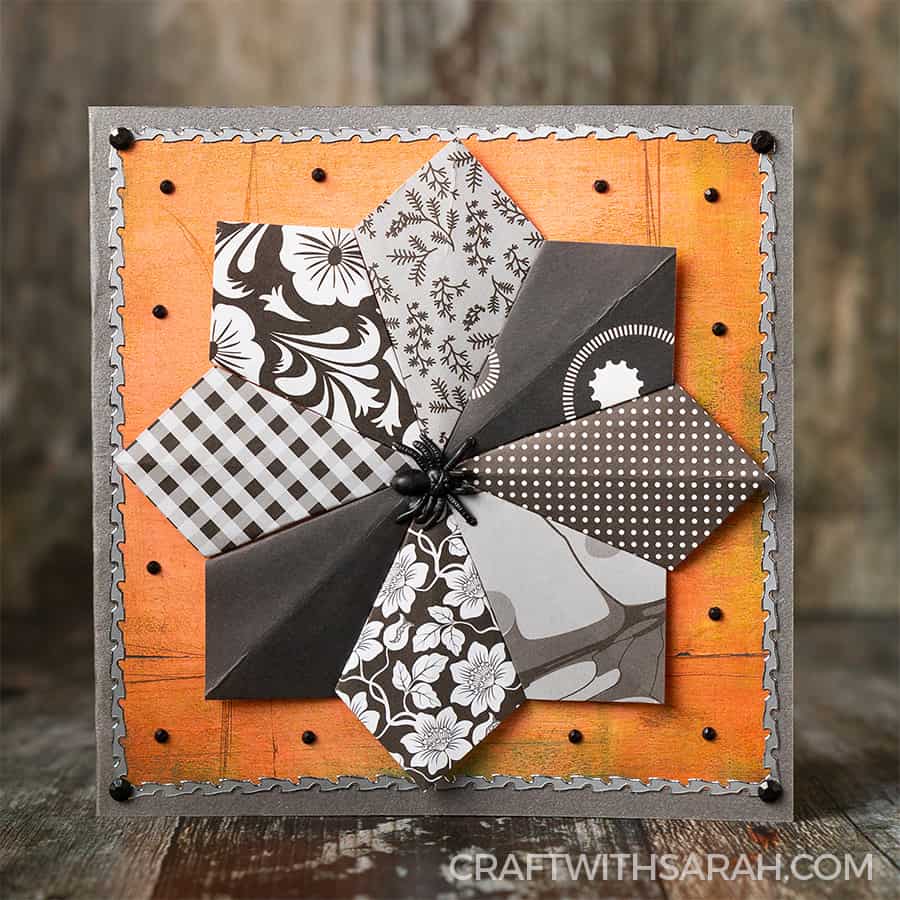
Pretty, right?
For this card I cut eight 2×2 inch squares from a range of different monochrome patterned papers.
It’s more common to use the same paper for all of the squares to create a more uniform looking mandala with all segments looking identical, but I felt like something different for this one!
How to make a kite fold for teabag folding
Step 1:
Cut eight square pieces of patterned paper, all the same size. The larger the squares, the easier it will be to fold and the larger your final medallion will be.
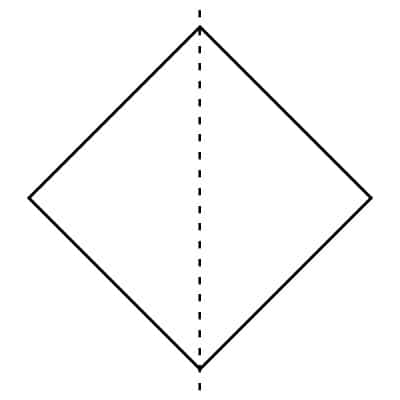
Step 2:
Take one of the square pieces and turn it over so that the back of the paper is facing upwards. Position it like a diamond, with one of the corners at the top.
Step 3:
Fold the square in half vertically, crease it and then open it up again.
Step 4:
Take the bottom point of the diamond and fold the edge inwards so that it lines up against your vertical crease line.
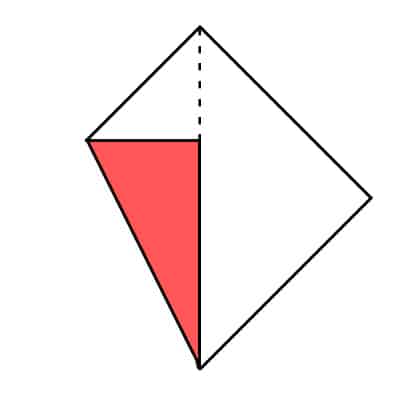
Step 5:
Repeat with the other side.
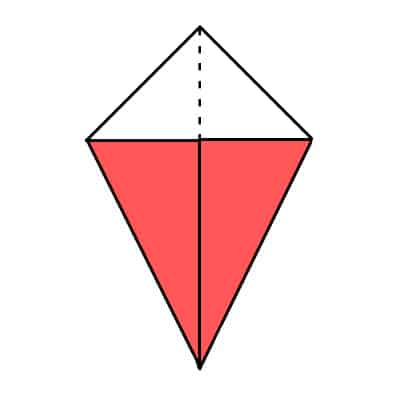
Step 6:
Turn the paper over and you have your finished kite fold!
Step 7:
Repeat the folding process with your other seven squares so that you have eight pieces in total.
Step 8:
Use double-sided tape or glue to stick the eight pieces to your handmade card. Line each one up along the edge and they will fit together perfectly to form an entire medallion.
So there you have it, your first introduction to teabag folding!
Happy crafting,
Sarah x
[cws_halloween]

