How to Make a Penny Slider Card: 4 Free Templates
Make fun interactive cards that MOVE! All you need is a couple of pennies and the free penny slider templates included in this tutorial.
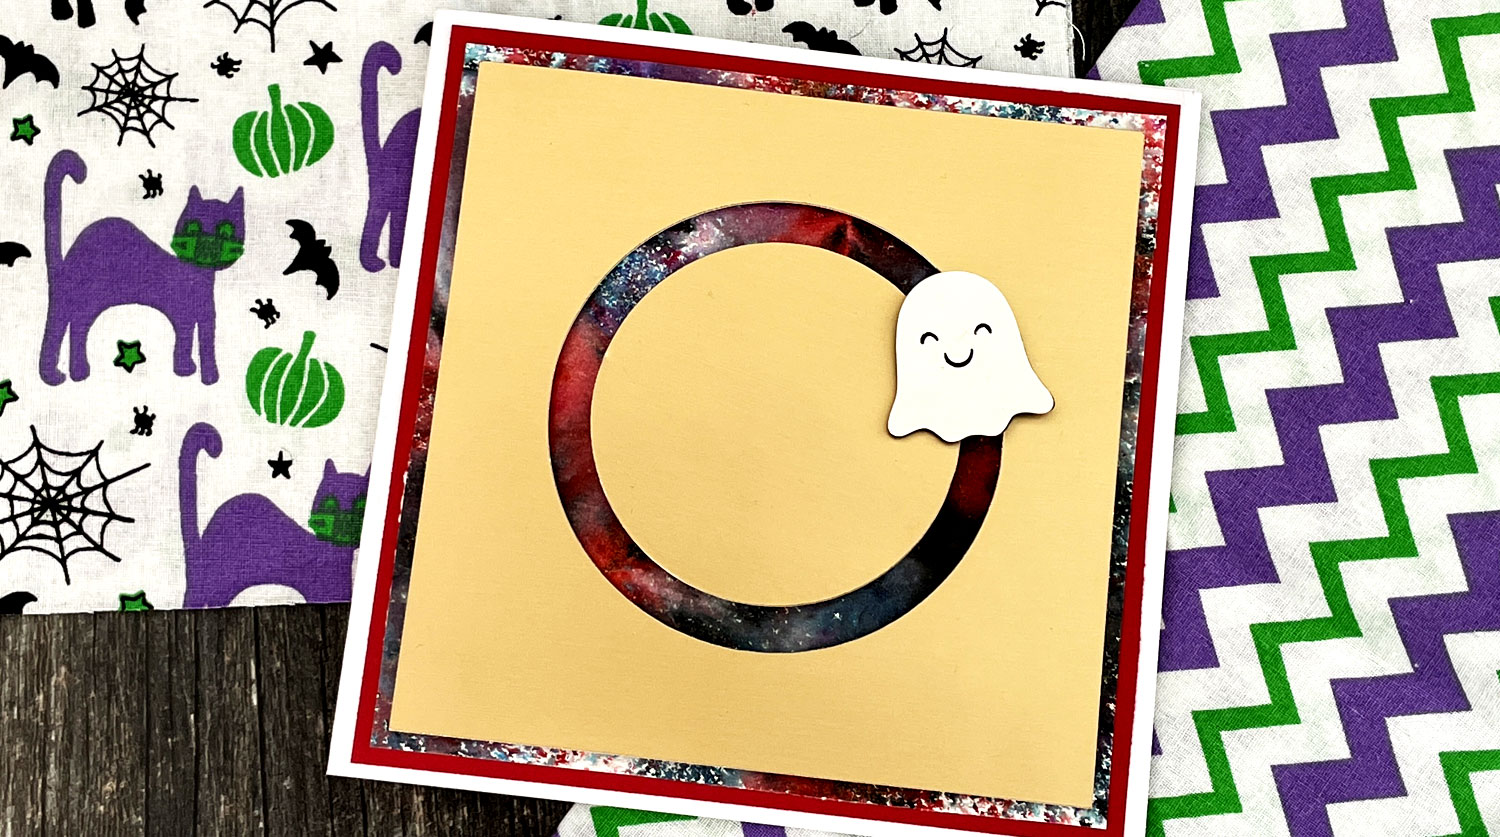
Although I’ve chosen to make a Halloween penny slider card with the cute little ghost, you could use this technique for any type of greetings card.
Four different templates are included to make a variety of different scenes on your cards. Why not use the wavy design for a boat bobbing on the waves, or the diagonal template for a witch flying on her broomstick?
What is a penny slider card?
A penny slider card, also known as a penny spinner card, uses two pennies to create an interactive card that moves!
Simply stick the pennies together and add a cute character die cut or stamped image on top and watch it slides around the card!
Don’t have any pennies? No problem – I’ll show you how to make penny slider cards WITHOUT the pennies 😀
Penny slider materials
Here is a list of the materials that I used to make this project.
Please note that some of the links included in this article are affiliate links, which means that if you click through and make a purchase I may receive a commission (at no additional cost to you). You can read my full disclosure at the bottom of the page.
- 6×6 inch card blank
- Penny slider SVG files (keep scrolling to find them)
- Two pennies OR you can use the circles included in the SVG templates
- Red, white and gold cardstock
- Collall All Purpose Glue
- Needle Tip Applicator Bottle
- 3D foam pads
- Nuvo shimmer powder (optional)
- Cricut Maker
- Light blue Cricut cutting mat
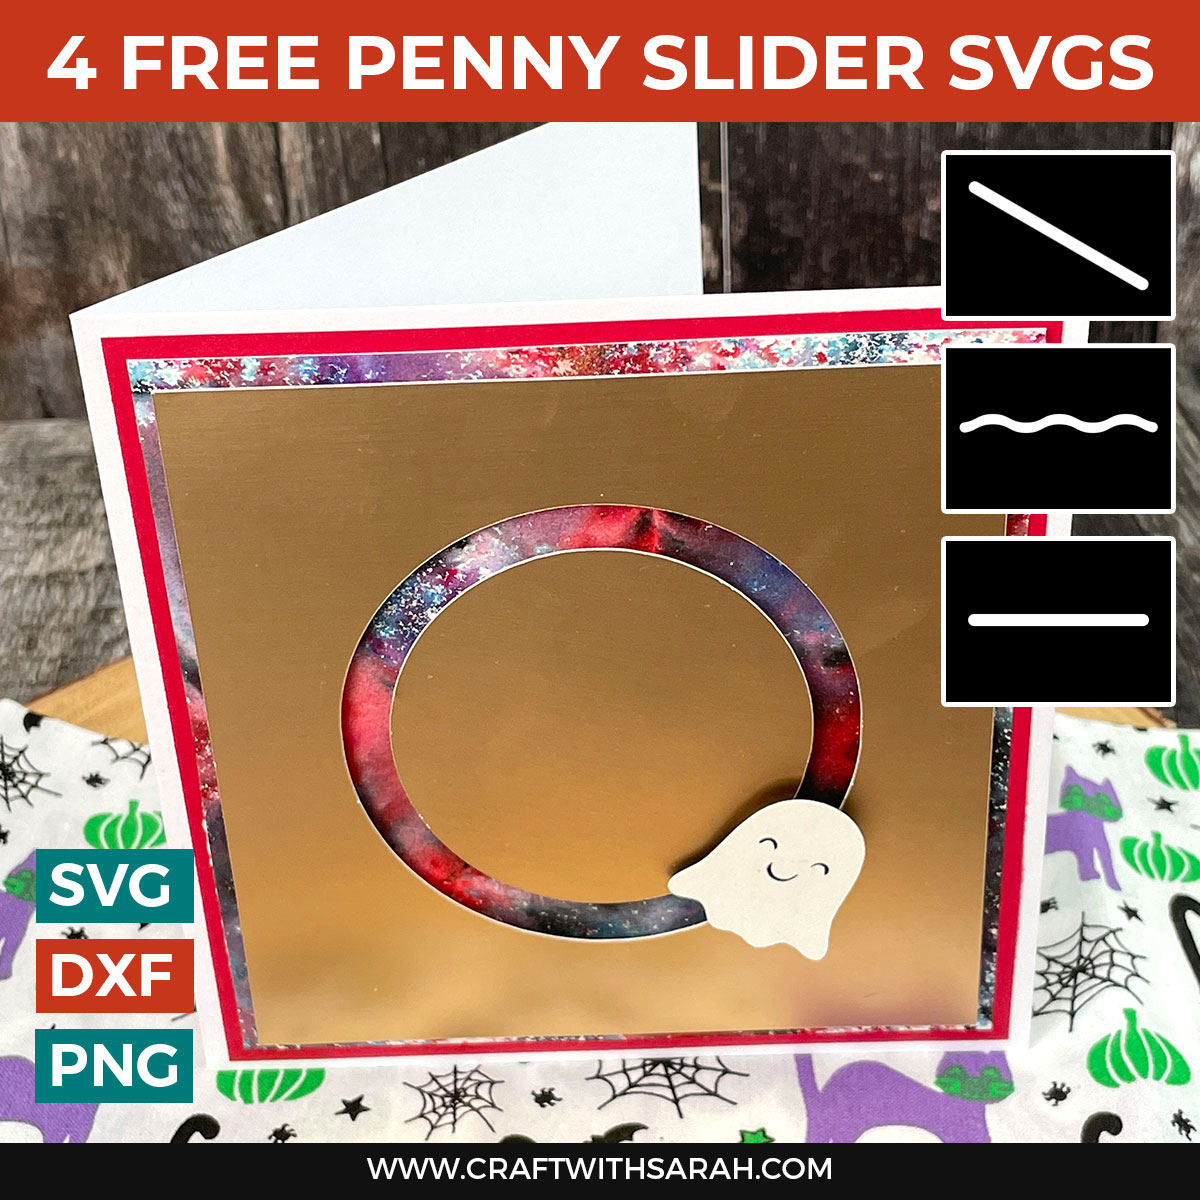
Free penny slider SVG files
Use the box below to download four free penny slider card SVG Files.
The different designs included are:
- Circular template (square card base)
- Horizontal line (5×7 inch card base)
- Diagonal line (5×7 inch card base)
- Wavy line (5×7 inch card base)
Each template comes in SVG, DXF and PNG format. If you don’t have a digital cutting machine then you can print the PNG versions on your normal home printer and use them as a template to cut out the shapes from your card.
Download the Free Cutting File
Please login to your account to download this file.
TERMS OF USE:
You may sell finished, handmade physical craft items that you have made using this product but must not sell or share the digital files. Read full terms of use
Before you can use the files, you need to unzip the download folder that it comes in.
- How to unzip a folder on Windows computer
- How to unzip a folder on a Mac
- How to unzip a folder on an iPad/iPhone
- How to unzip a folder on an Android device
Do I need to use pennies?
Nope! In fact, I didn’t use pennies for my card because I didn’t have any in my purse.
The cutting files also contain six small circles which can be used in place of pennies. Ideally these should be cut from thick, heavy cardstock. Glue three of the circles together to form one “penny” replacement and then glue the other three together to form the other “penny”.
The cardstock circles don’t work quite as well as using real pennies because they aren’t heavy enough for the character to freely move around the slide shape so you might need to use your fingers to see the movement.
However, the lack of weight works in their favour too. With real pennies it sometimes makes the card “top heavy” so it can fall over when you try to stand it up. That won’t happen with the cardstock “pennies” as they are lighter.
So, there are pros and cons to each version!

How do you make a penny spinner card?
Here is a step-by-step penny slider tutorial, with photos of each step.
Step 1) Choose your template
Upload your chosen penny spinner SVG into Cricut Design Space.

Click on the template and resize it to how big you want the layers to appear on your card.
Step 2) Resize the penny slider card front
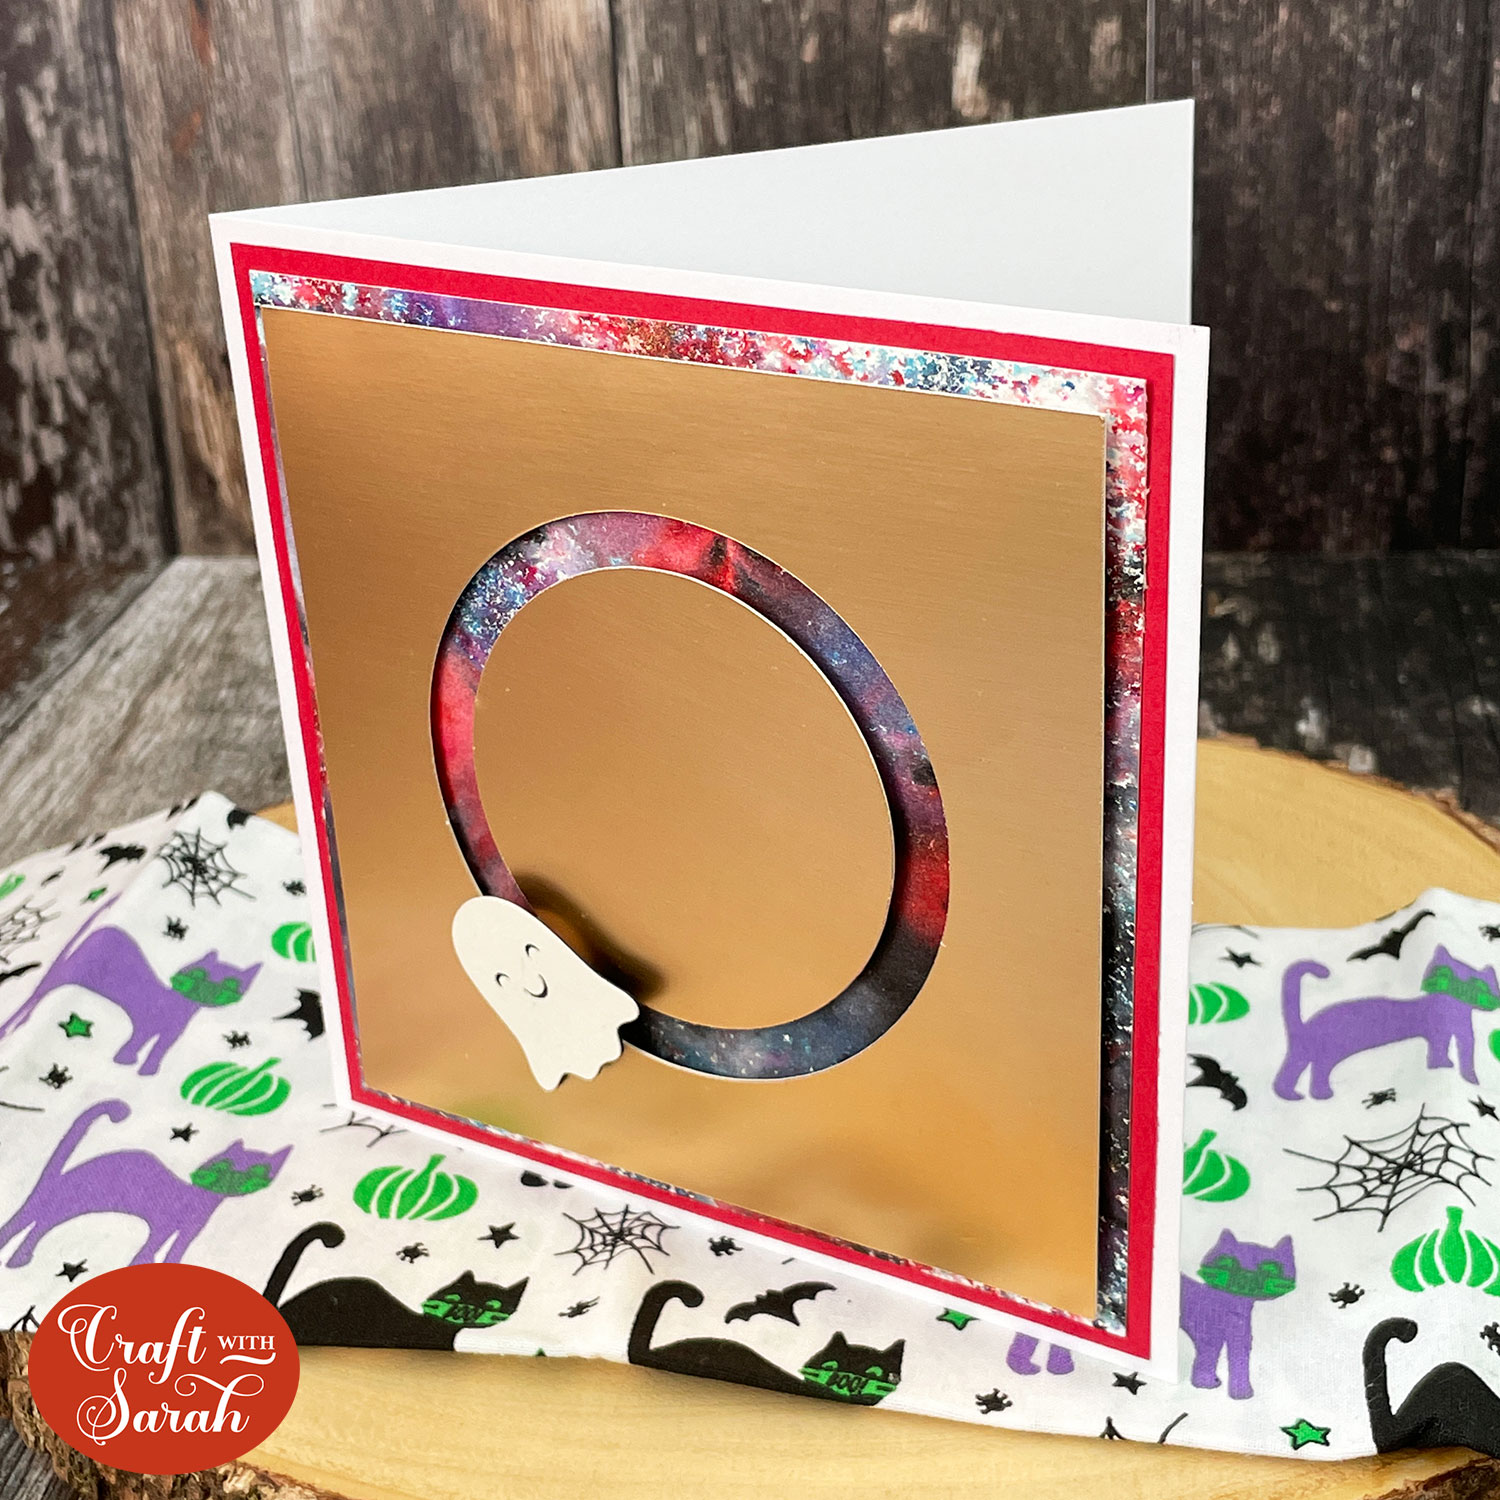
I am using a premade 6×6 inch card blank (which actually measures 5.75 inches square as it’s the envelopes that measure 6×6 inch). I wanted to add some layers of coloured card around the outside of the slider section so I resized it to 5×5 inches.
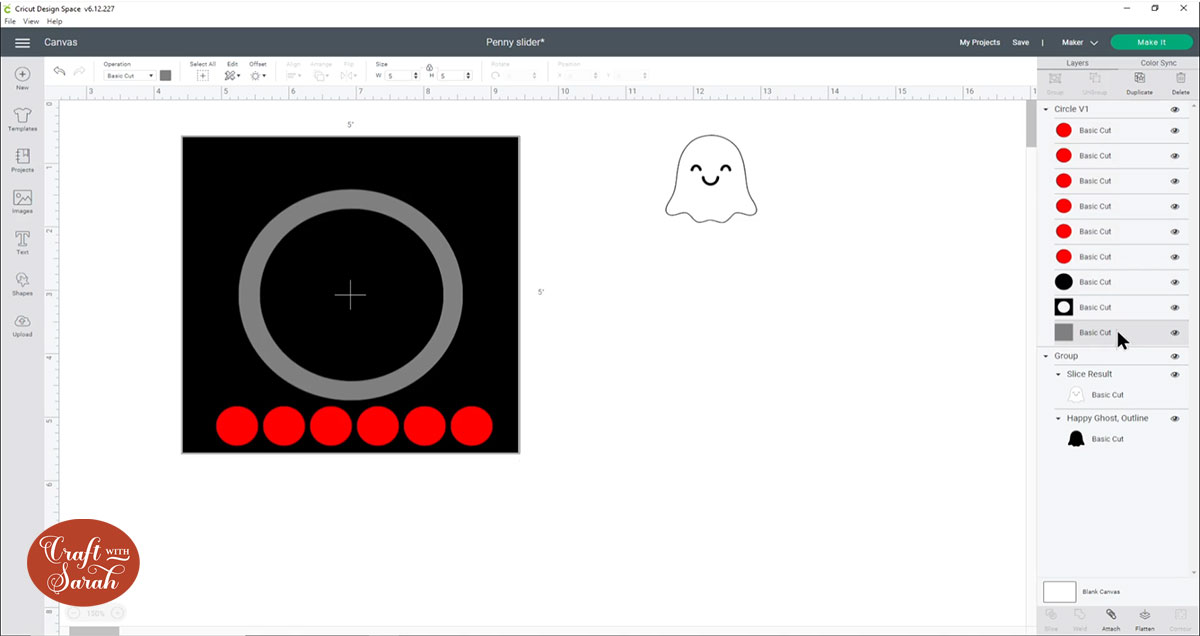
Step 3) Choose your image & recolour the slider layers
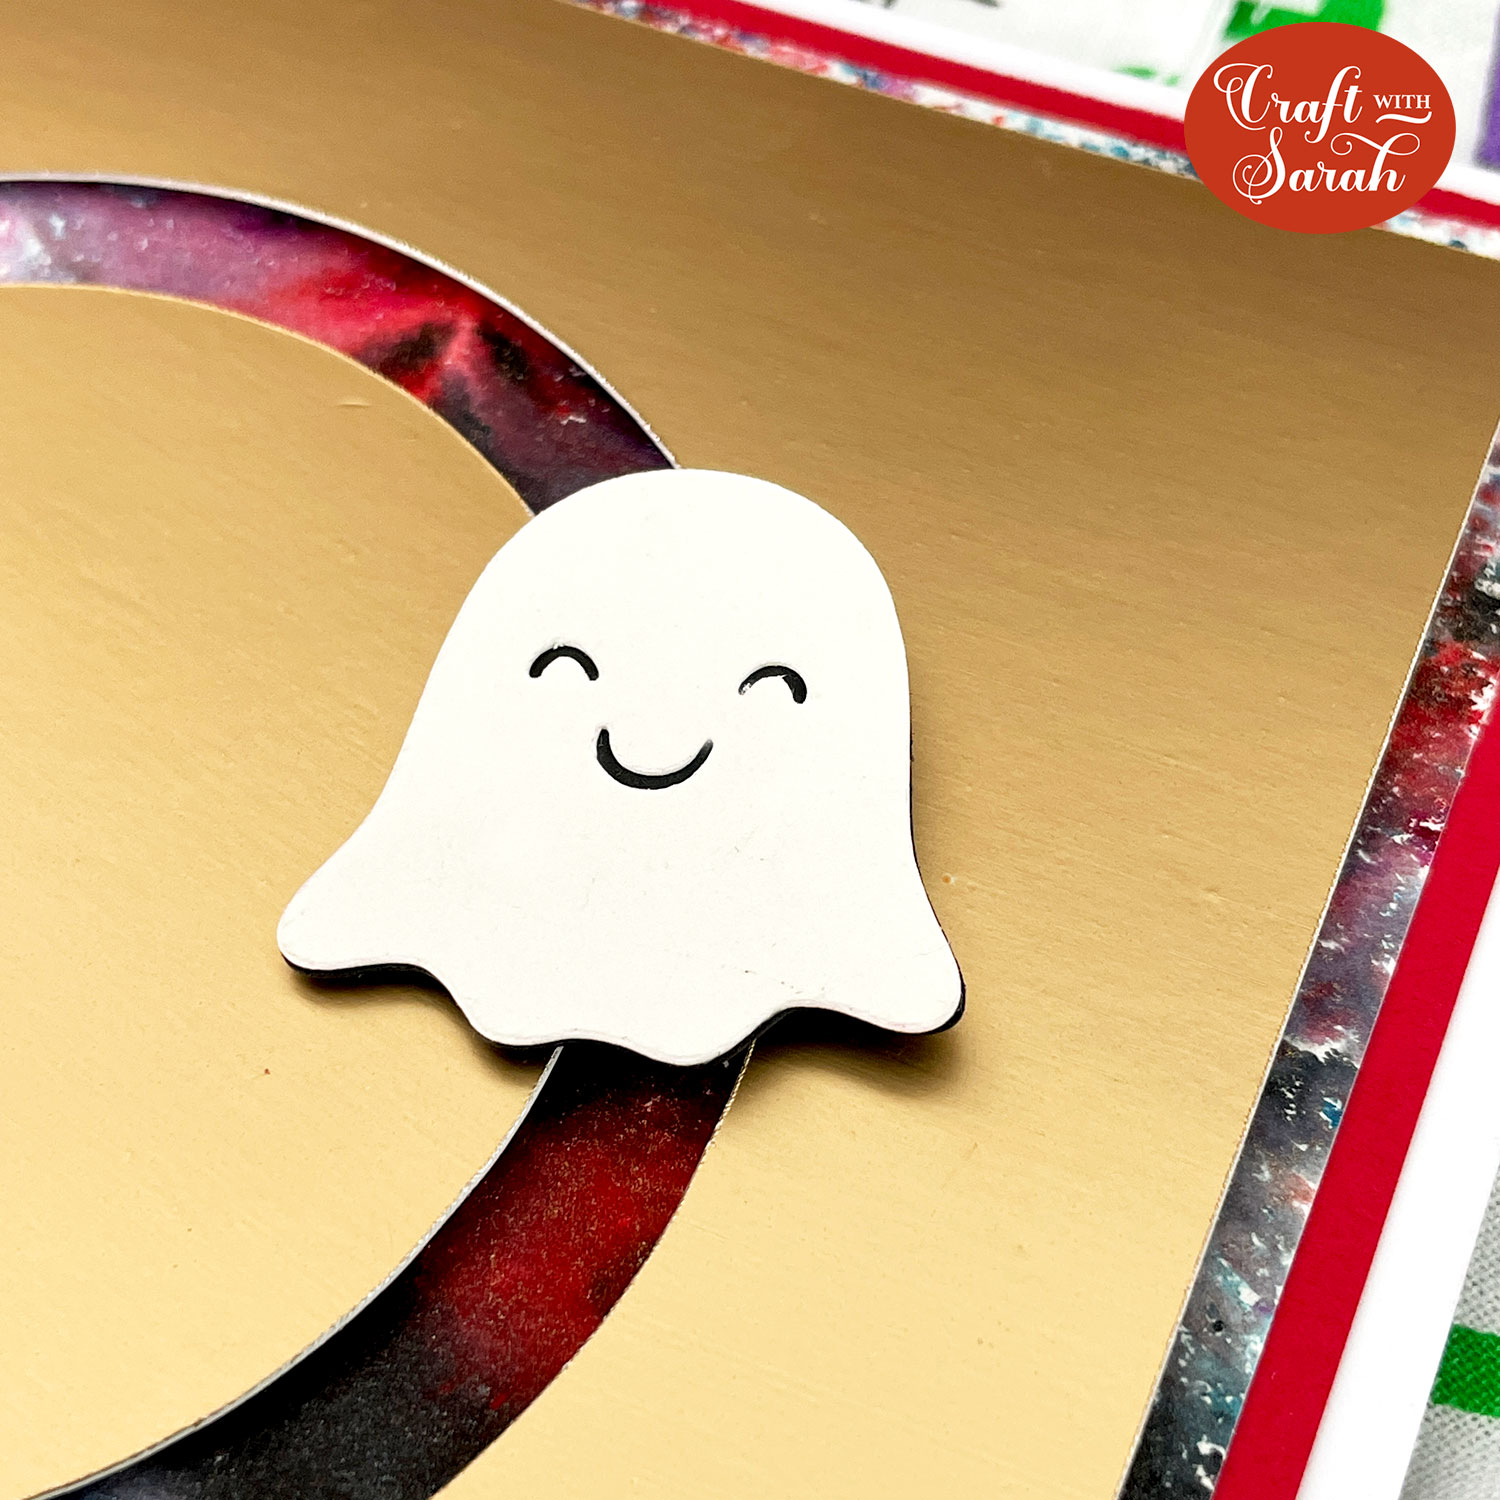
Choose an image to go on top of the penny slider mechanism.
I used a ghost from Cricut Access (#M26DC5D6E) but you can use any image or SVG. If you don’t have a Cricut machine then you could use a die cut shape, or even stamp an image onto cardstock and cut around the edge.
The important things to remember are:
- The image you choose must be larger than the size of your penny (or the card circles from the template)
- It might be sized so that when it moves around the edge of the circle it doesn’t overlap the edges of the card, otherwise it may not fit in your envelope
Once you’ve chosen and sized your image, recolour the other layers of the penny slider template to the card colours you will be cutting them with.
As my gold cardstock is thick, I’m using the same card for the base of my slider and the “fake penny” shapes.

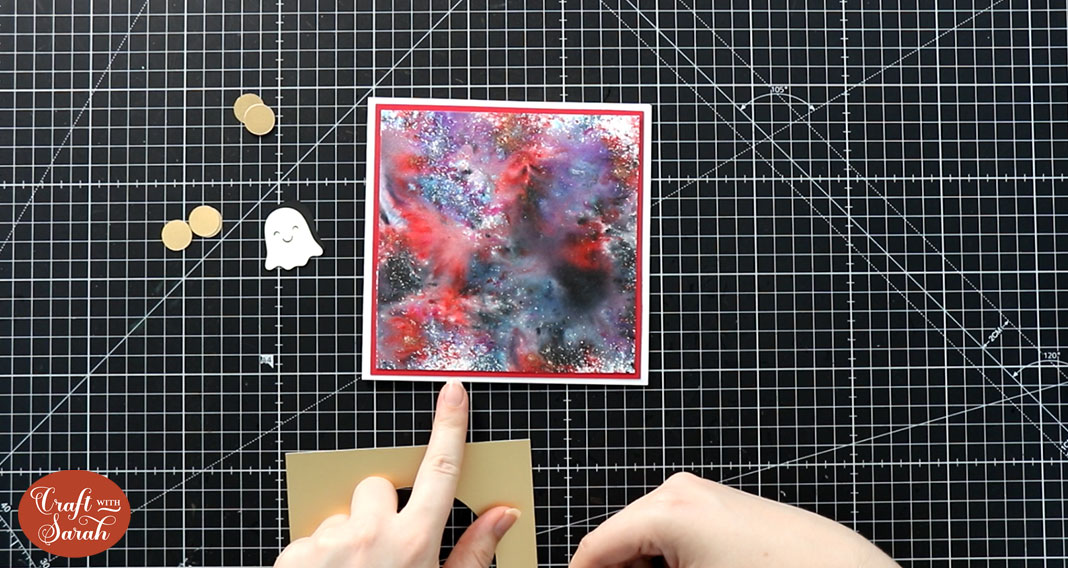
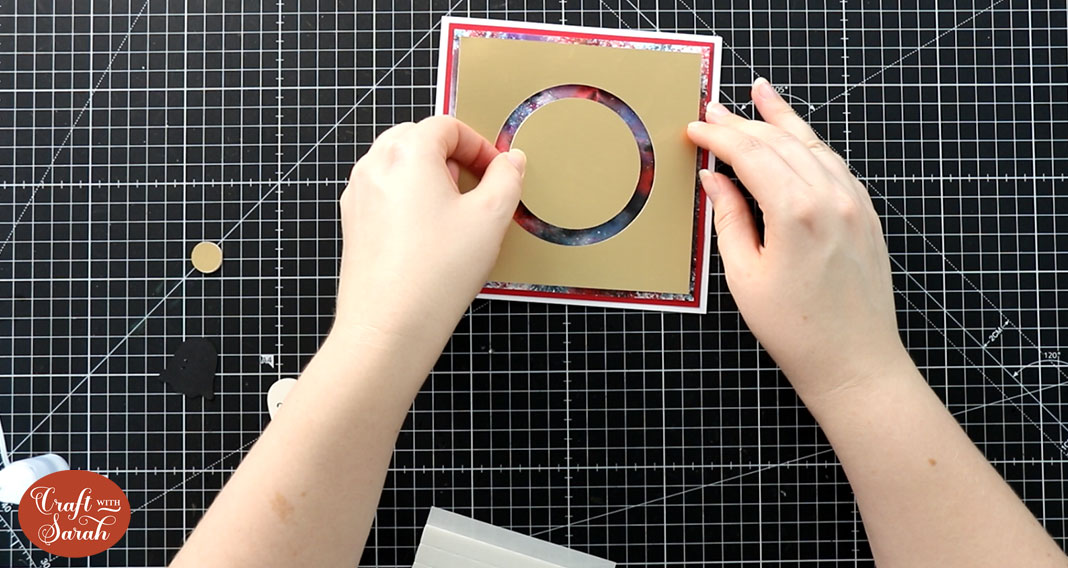
Step 4) Prepare your card
Prepare the bottom of your card ready to have the slider put on top.
I’ve got my white card base which measures 5.75x.5.75 inches and on top of that I’ve stuck a piece of red card which measures 5.5 inches square.
On top of that I’ve glued a piece of white card that is decorated with Nuvo shimmer powders.
Step 5) Build the penny slider
If you’re using the card circles instead of real pennies then glue three of them together, then glue the other three together so that you have to “fake pennies”.
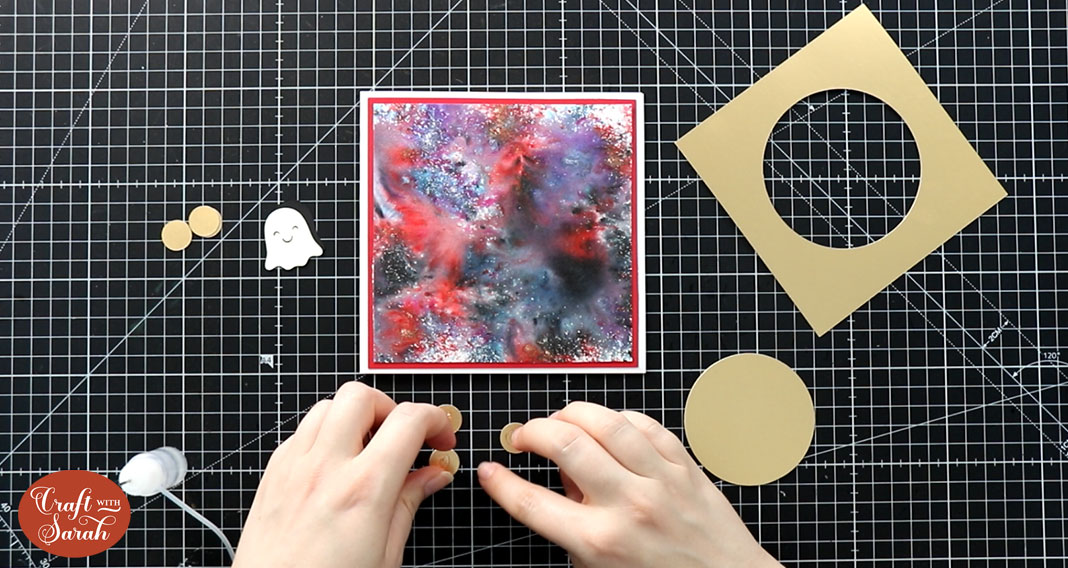
Add 3D foam pads to the bottom of the slider template. Make sure you don’t put any foam too close to the cutout shape as otherwise the pennies won’t be able to slide around it.
Stick this into the middle of your card. Use more foam to stick the circle into the middle. Again, be careful not to put any foam near the edges of the circle.
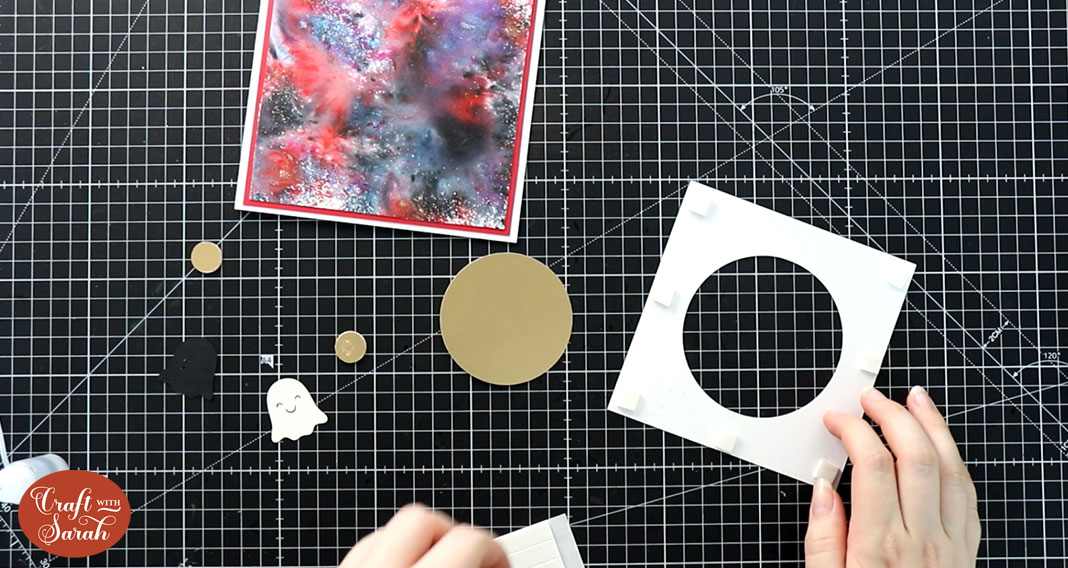
Slide one of the pennies in the gap between the circle and the square shapes.
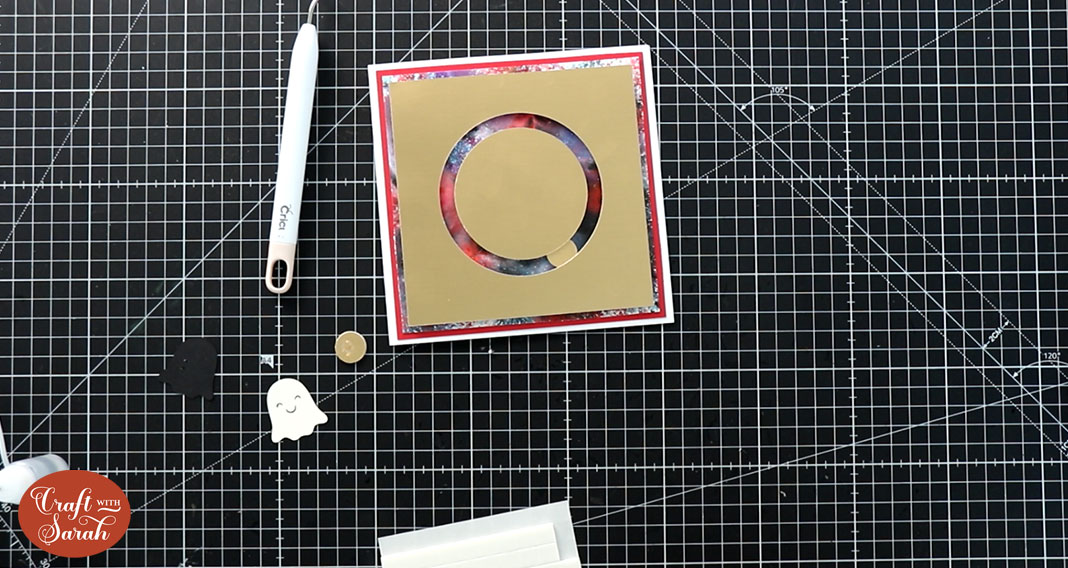
Add some foam to the middle and then stick the other penny on top.

Check that the pennies can move freely all around the cutout shape. If they can’t then you might need to pull them apart and re-position or resize the foam that sticks them together.
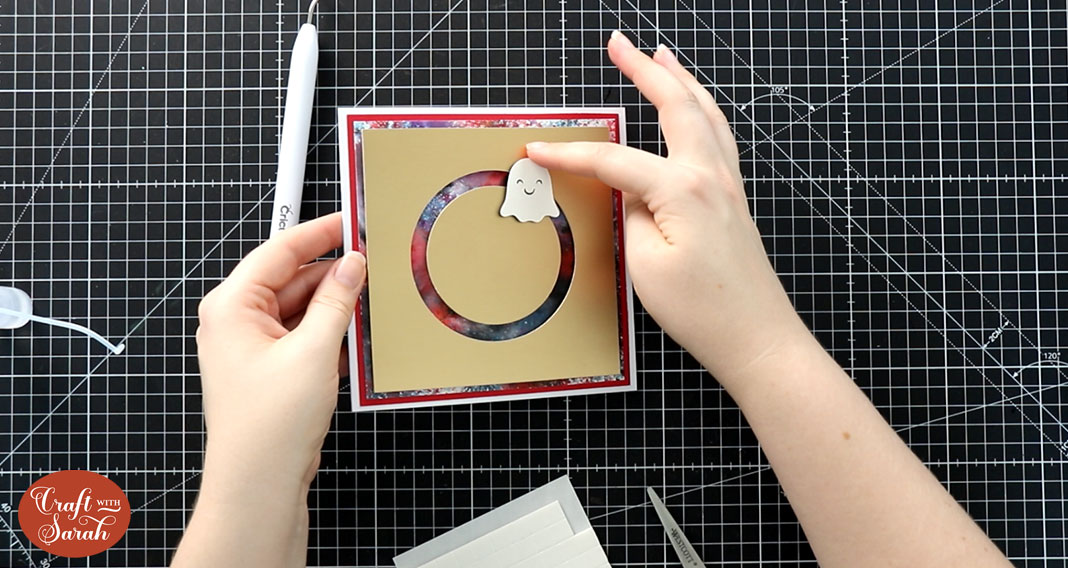
Glue your character to the top penny and that’s it – your penny slider handmade card is finished!
I hope you enjoyed this tutorial on how to make a penny spinner card.
These cards are so simple to make but it will amaze the recipients to see the little character moving around the circle!
Happy crafting,
Sarah x

