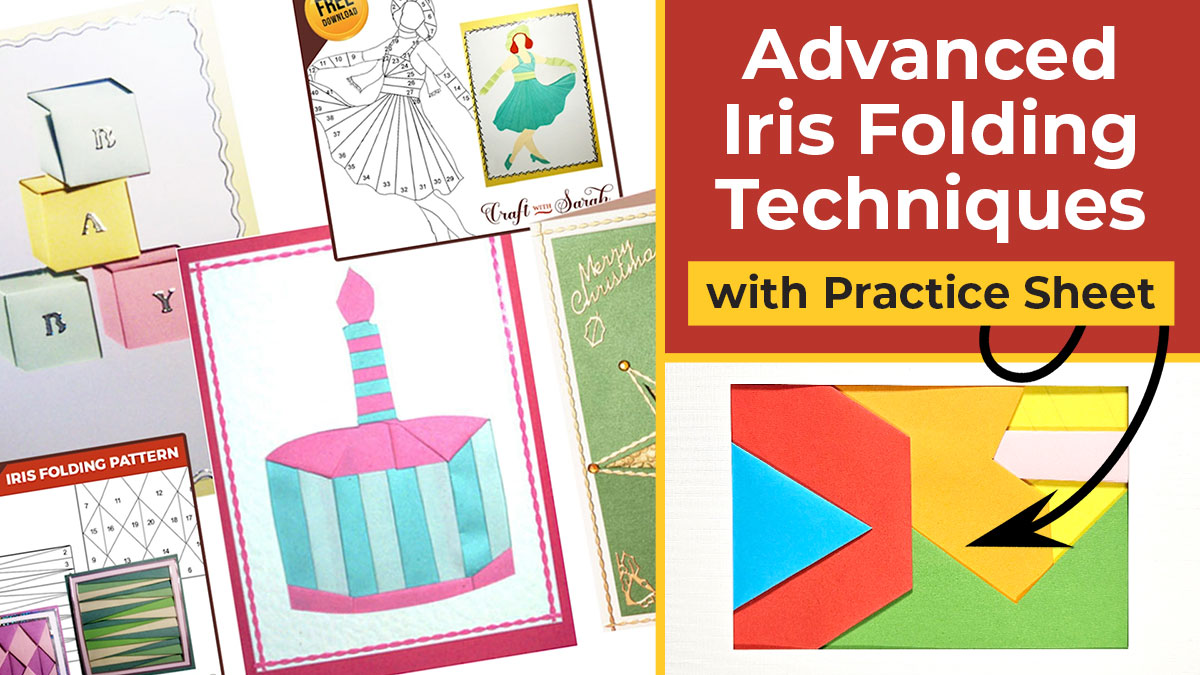
Advanced Iris Folding Made Easy 😱 Fancy Folding Explained!
Sometimes when making an iris folding card, you might come across a fold on your pattern that’s a little bit different to what you are used to.
This tutorial shows five advanced iris folding techniques, also known as fancy folds, and how to complete them.
This is a follow up to my previous “iris folding for beginners” tutorial. If you’re new to this technique and haven’t read that post yet, I recommend starting there and moving on to this one afterwards.
In this tutorial, we’ll be unlocking the secrets behind advanced iris folding, taking your paper crafting skills to new heights.
Sometimes a pattern might call for folds that are a little more complicated than sticking your folded paper strip along one single line on the pattern.
This allows you to add extra details to patterns such as triangles, edges, squares and additional details to make your finished handmade card really stand out.
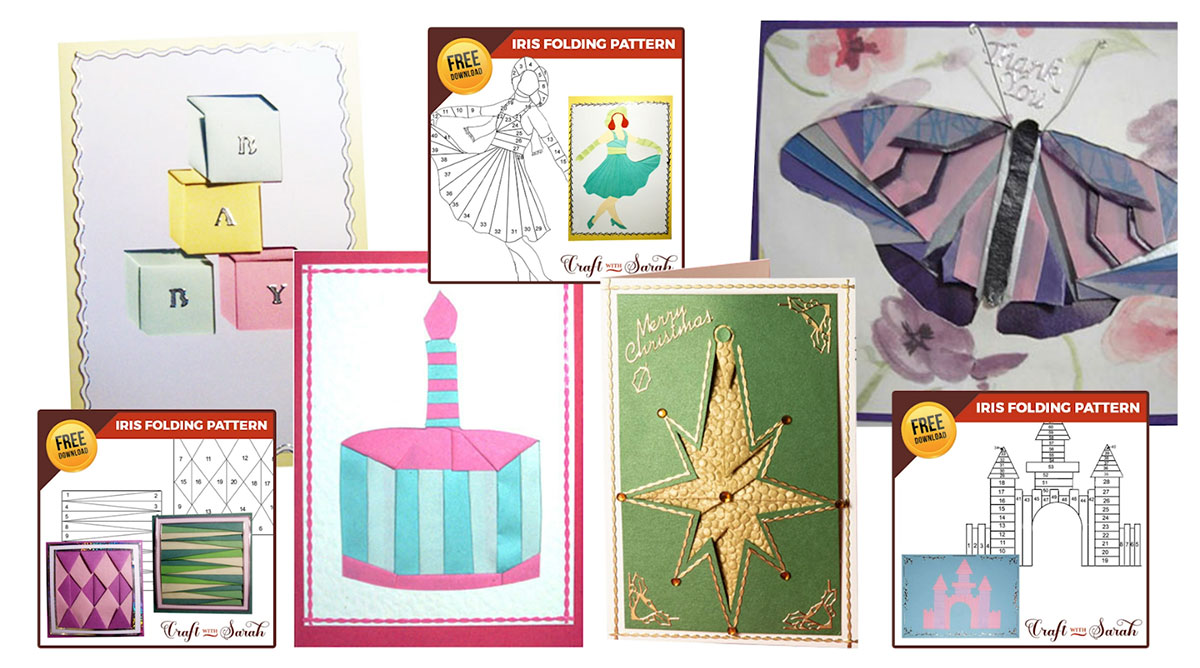
The following cards all have at least one type of advanced fold in them to help create the picture for the front of the card. Can you spot where they might be?
I’ve created a free practice sheet for you to get to grips with five of the most popular “fancy” folds that I use in my iris folding patterns:
- Triangle folds
- Multi-folds
- Inverted Folds
- Multi-folds WITH inverted folds
- Double folds
Let’s get started!
Video tutorial for advanced iris folding
Here’s how to make five of the most common advanced folding techniques.
Prefer to read rather than write? Keep scrolling for a written tutorial.
Fancy folding: A free practice guide for card making
Get your practice sheet ready
Use the button below to download the practice sheet.
You may need to unzip the download folder before you can print the practice sheet.
It comes in a jpg and pdf version.
- How to unzip a folder on Windows computer
- How to unzip a folder on a Mac
- How to unzip a folder on an iPad/iPhone
- How to unzip a folder on an Android device
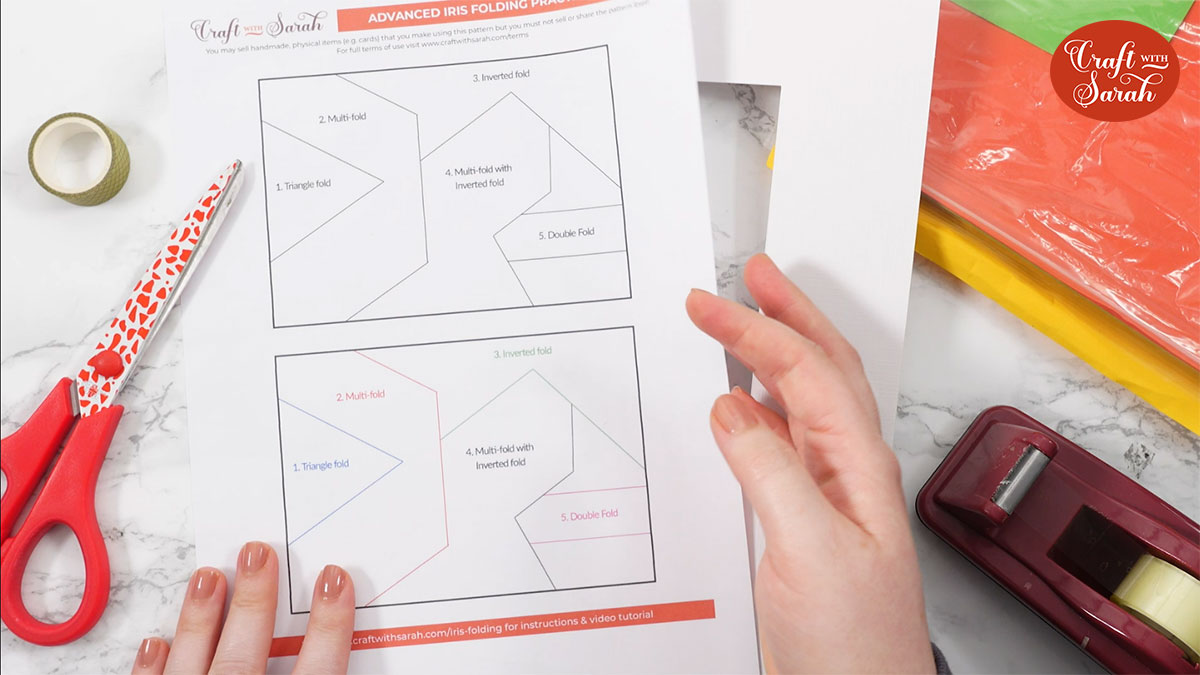
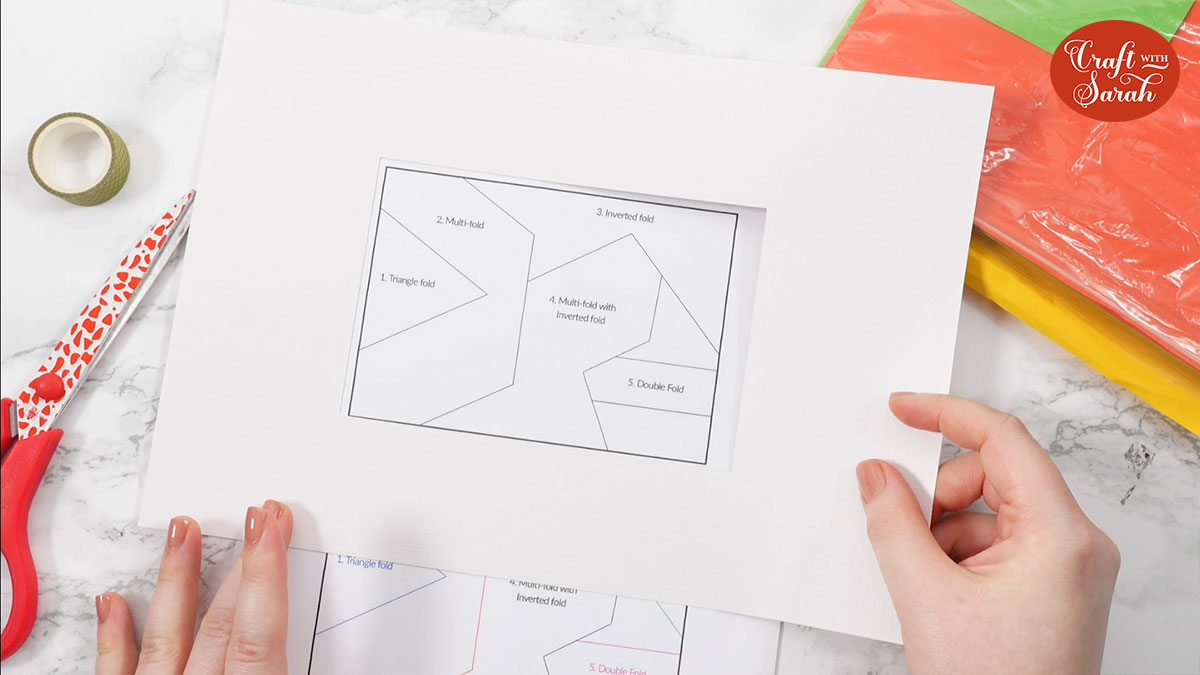
The practice sheet has two versions of our test pattern on it.
The pattern itself is the same but the top one is in black-and-white and the bottom one has been made in colour to make it easier to see the lines of each fold and where they differ.
Print the pattern onto a sheet of regular printer page.
Take a piece of cardstock (any colour – it can be from your scrap pile!) and cut a rectangle in it that matches the size of the pattern on your printed sheet.
It doesn’t matter if it’s a bit bigger/smaller than that – as long as it roughly fits over the top of the printed pattern then that’s ok.
The aim of this practice sheet is not to end up with something that would be used on a greetings card (although you could, if you like the abstract look!).
It’s more of a “training piece” to get you used to the different folds.
Attach the pattern to your work surface with some washi tape so that it doesn’t move around.
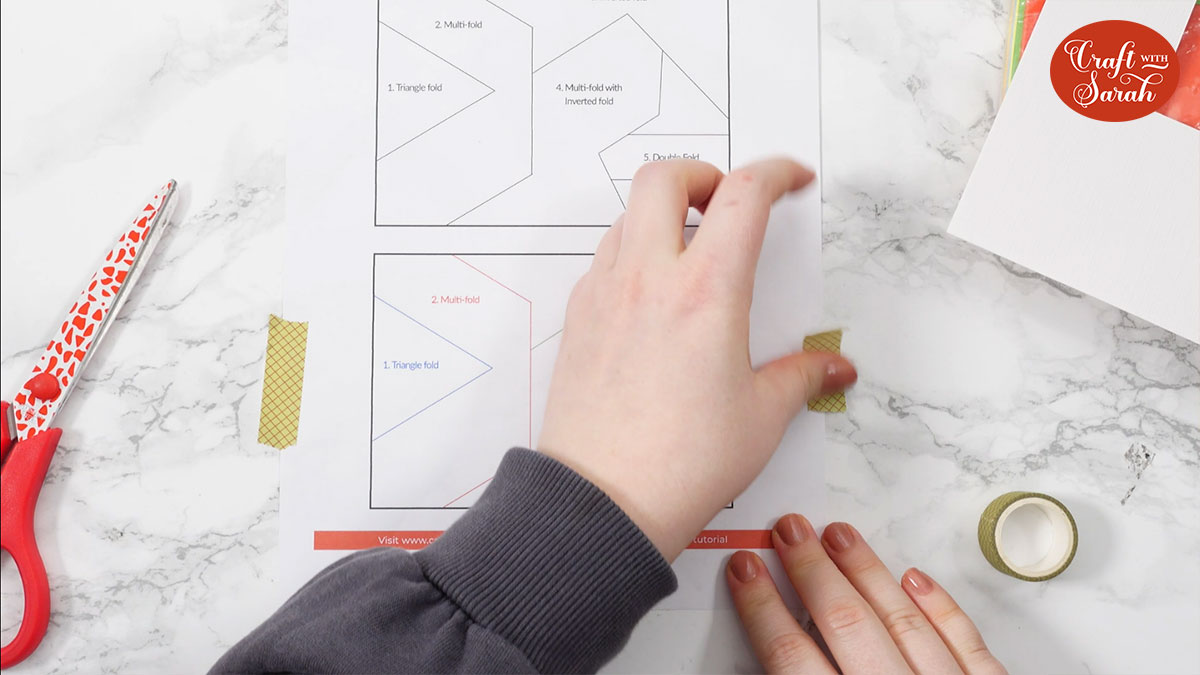
Secure your rectangle cutout on top.
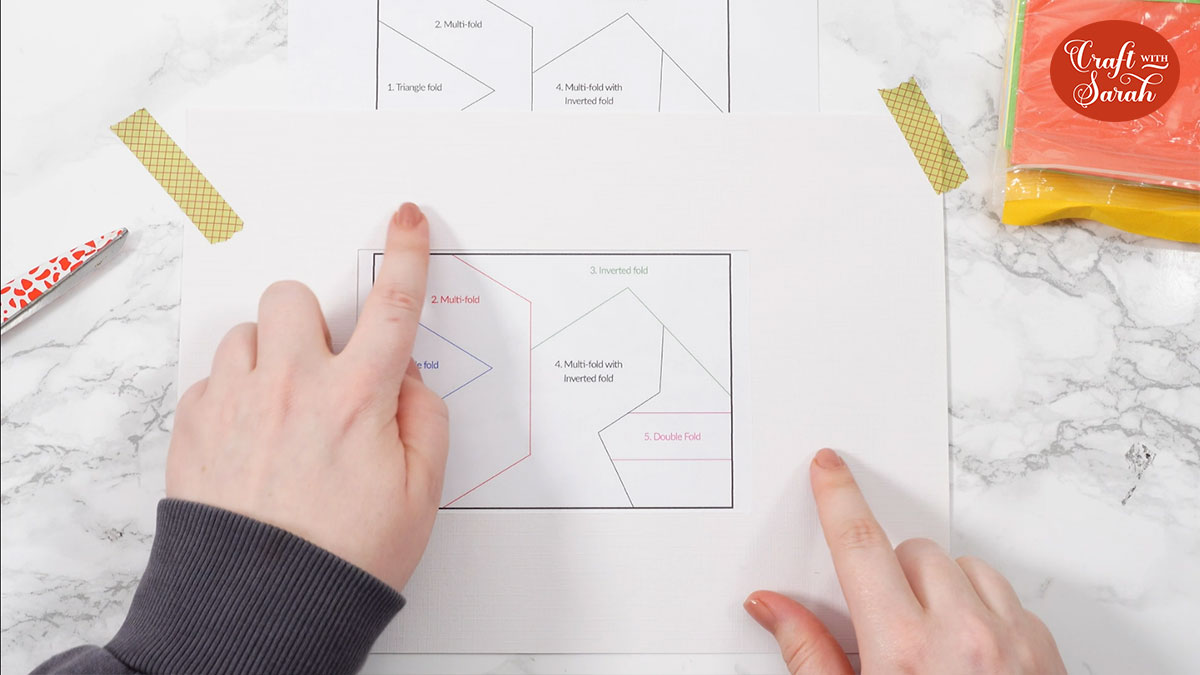
Now we’re ready to begin learning how to create the folds on the pattern.
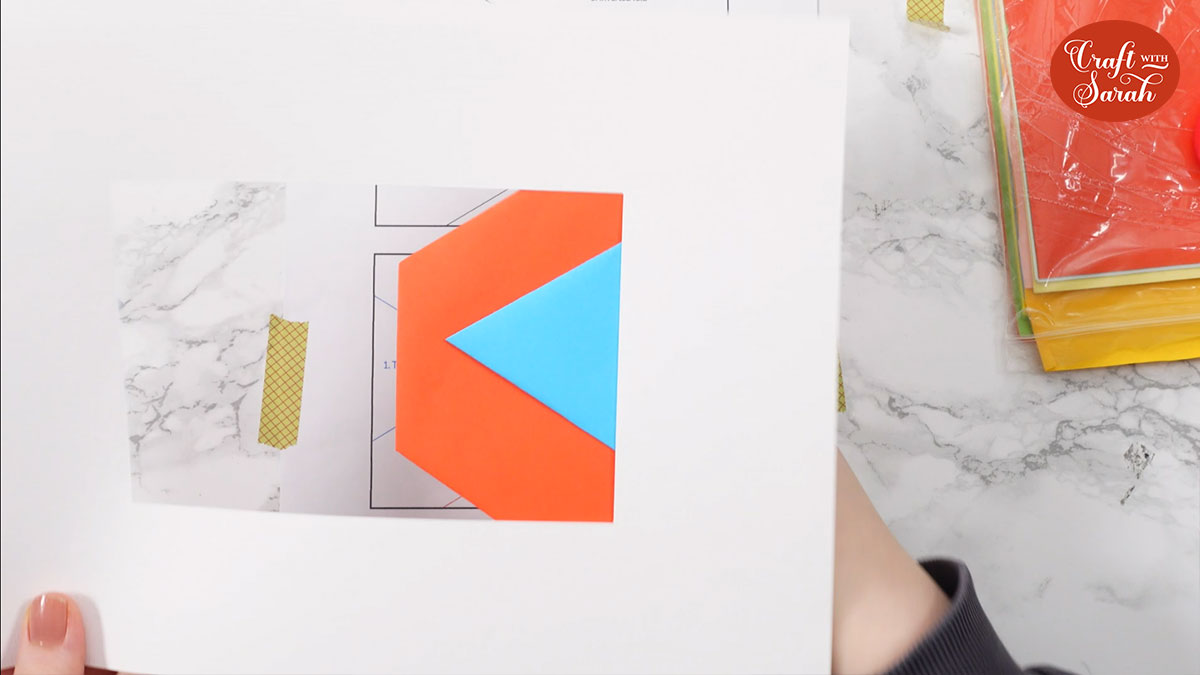
Fancy fold 1: Triangle fold
Because these are quite big and I don’t want to waste any of my pretty paper on something which is just a test, I’ve got an old pack of coloured paper to use.
I’ll try and match my paper to the colour of the folds to make it easier for you to see the effect.
To start the triangle fold, place your piece of paper so that it covers that whole fold and then take one edge and fold it back on itself until it matches one of the lines on the triangle.
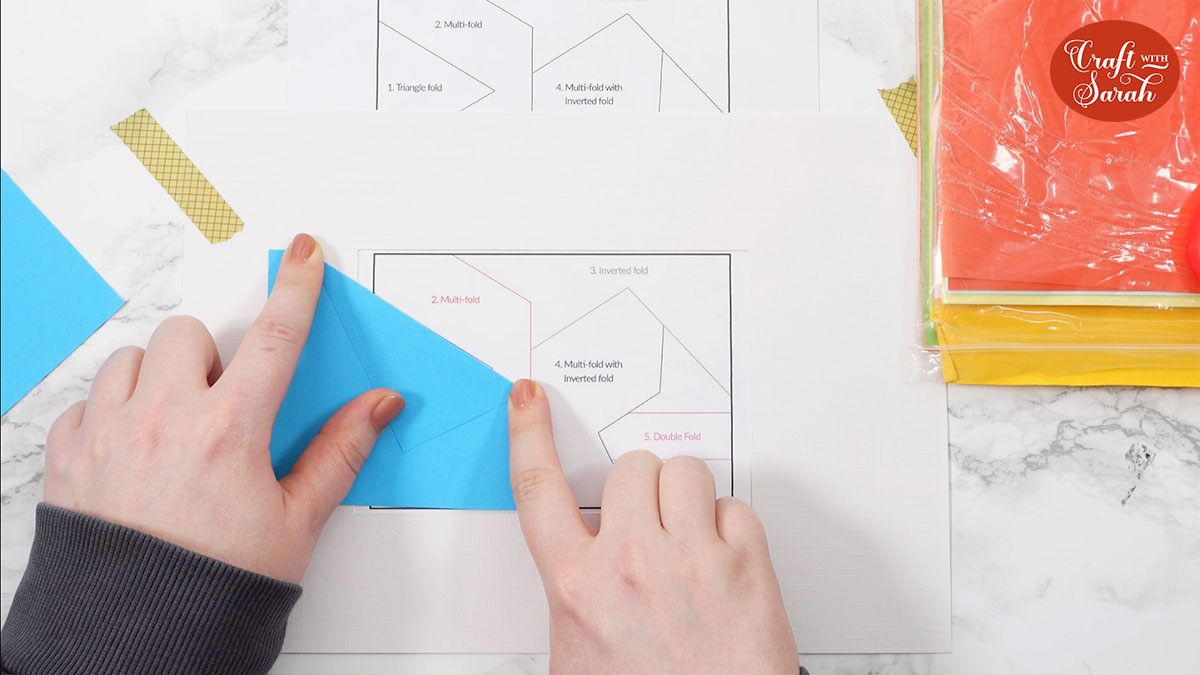
Take the other side and fold it until it meets the other side and forms a point.
Cut off any excess with a pair of scissors and stick your paper to the card with your rectangle cutout on it.
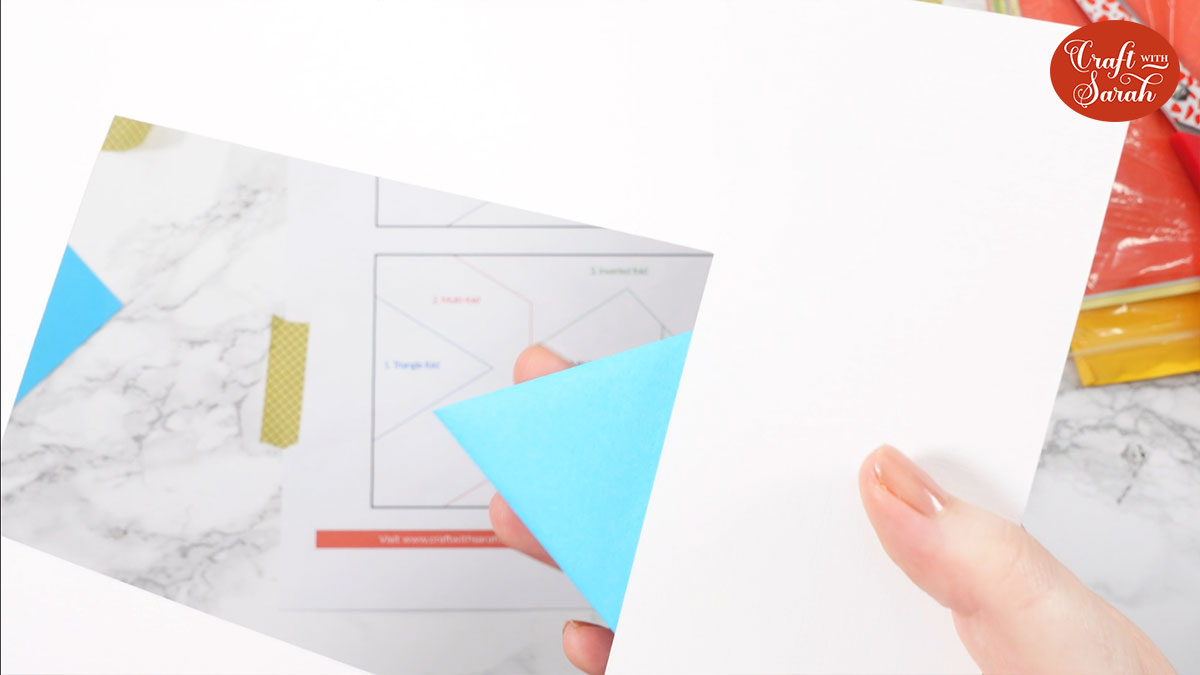
I’m just going to cheat a little bit and show you the finished folds as I work through them.
Here is what the triangle fold looks like from the front.
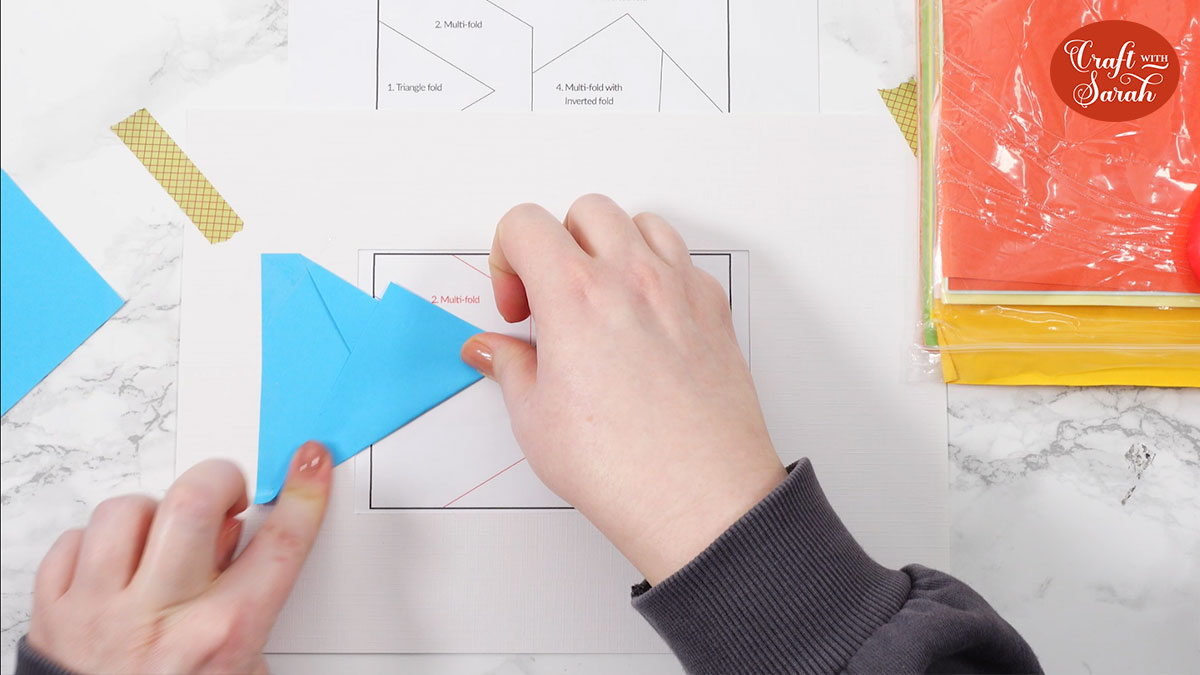
Fancy fold 2: Multi-fold
A multi-fold has at least two, but more often three, sometimes even more than three, different folds for the same piece of paper.
When you’ve got a multi-fold, you need to have a little think before you start about which line to fold first as it can differ based on how the pattern is set up.
Try to choose the furthest line first, this will be the first fold. So for us, that’s going to be our vertical line:
Place your paper so that it covers the entire fold and goes out over the sides with enough excess to fold back along all the lines.
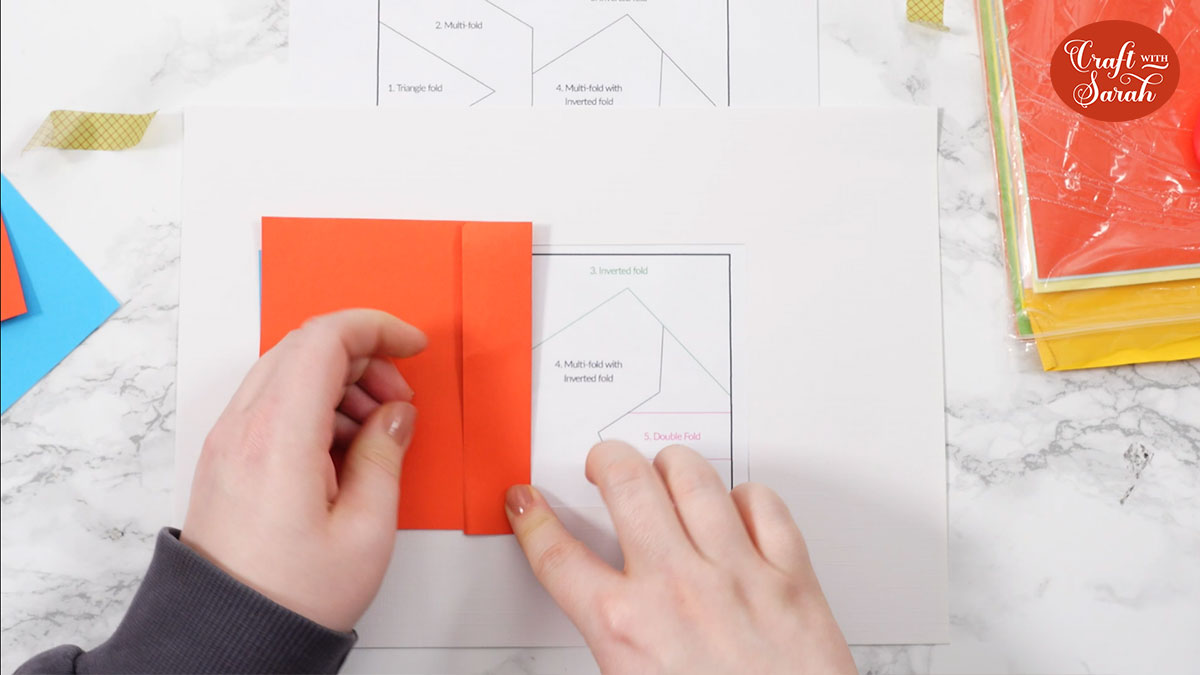
Start by folding back along the furthest fold line.
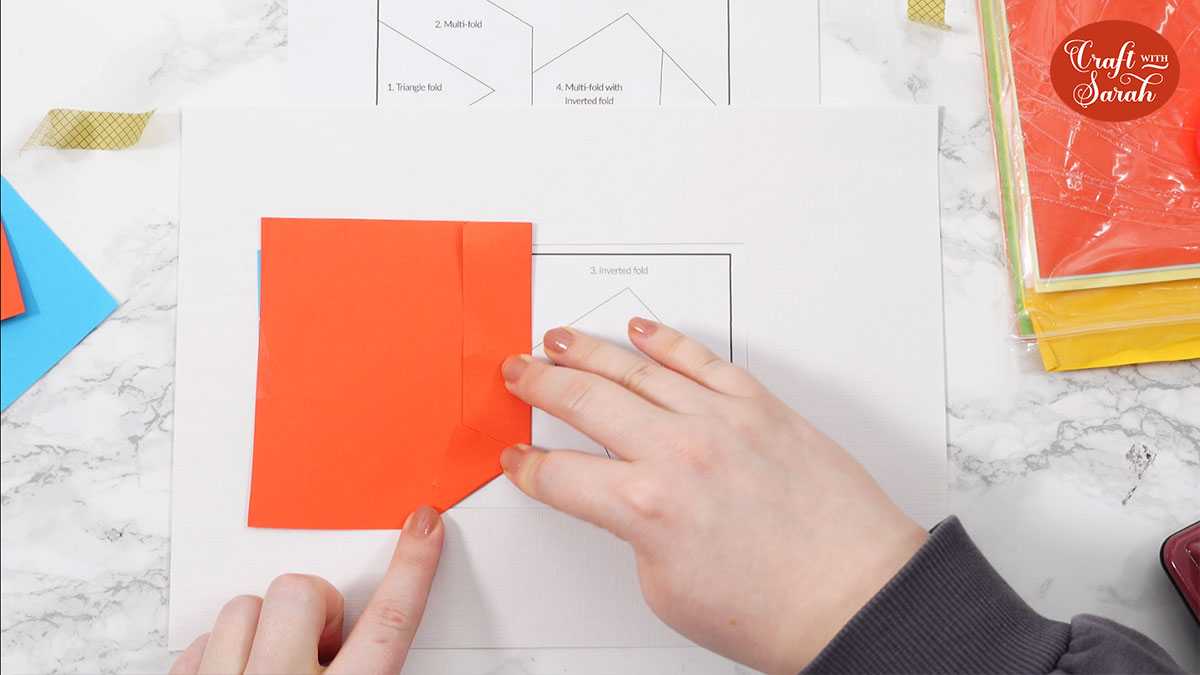
Choose one of the other lines on the pattern, find the point where it meets the vertical line, hold your fingernail into the corner to use as a guide then fold the paper down one of the remaining fold lines.
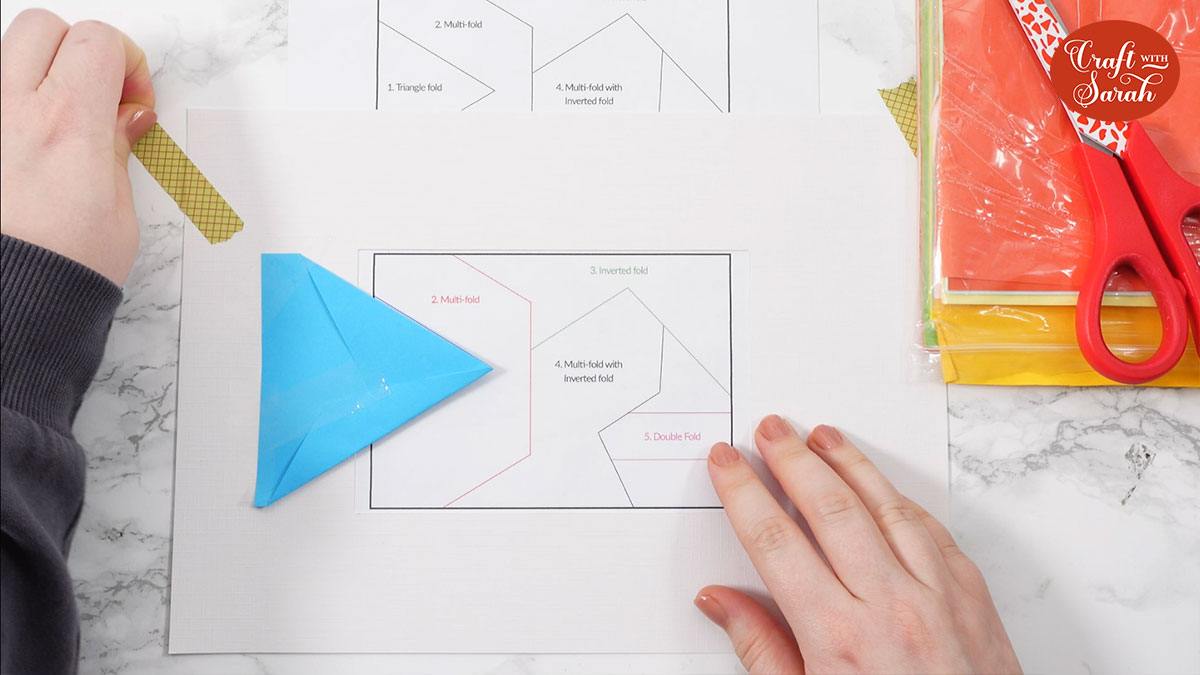
Use sticky tape to hold the paper in place, then do the same method for the remaining fold line.

Secure with tape.
Here’s what it looks like from the front:
Fancy fold 3: Inverted fold
The reason this is called an inverted fold is that the point that we’re going to be folding along goes inwards – sort of line a back-to-front triangle.
We will need to cut the paper this time, to complete the fold.
Cut a slit in your piece of paper and move it so that the end of the slit is positioned over the “point” of the inverted fold.
Stick the paper in place.
Fold the paper to make one of the sides of the inverted fold, making sure you fold right down to the point of the end of the slit.
Do the same for the other side, then secure in place.
I forgot to film a shot of this fold from the front, but you will see how it looks at the end of the tutorial.
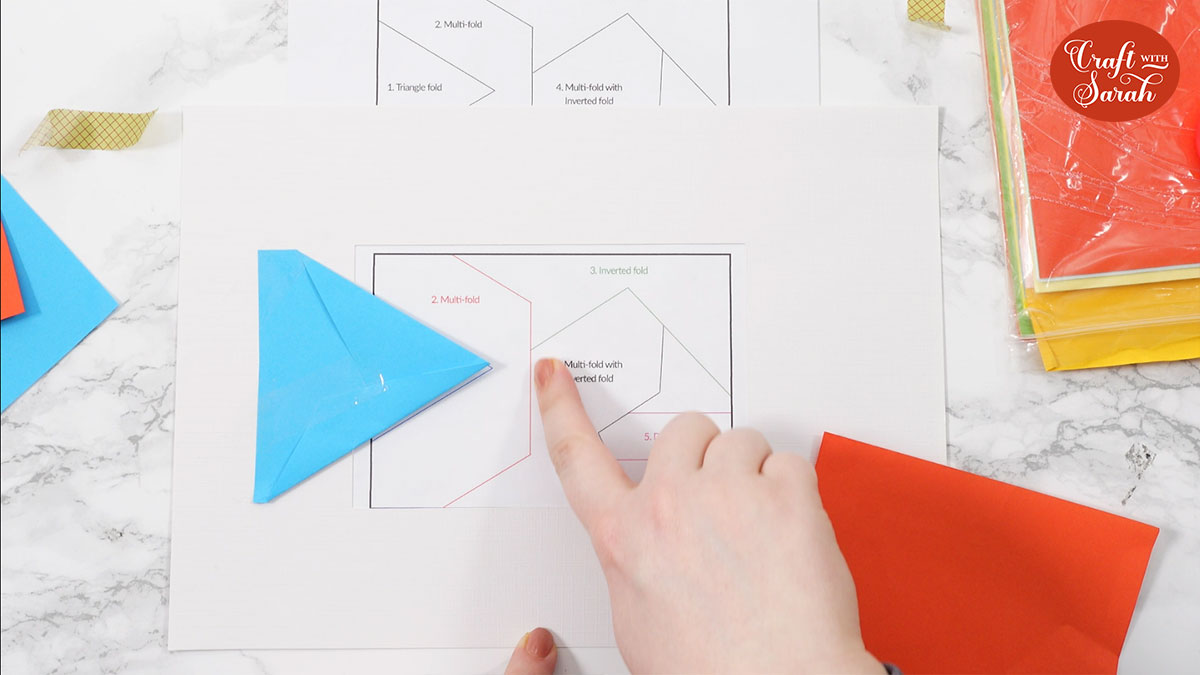
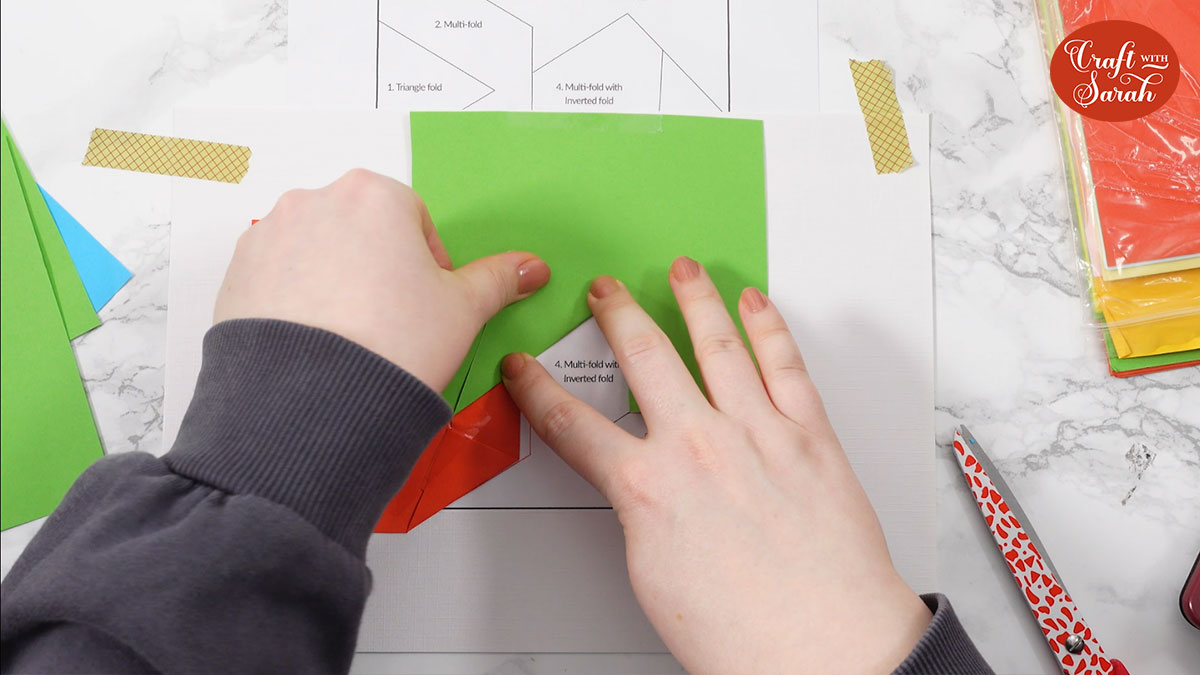
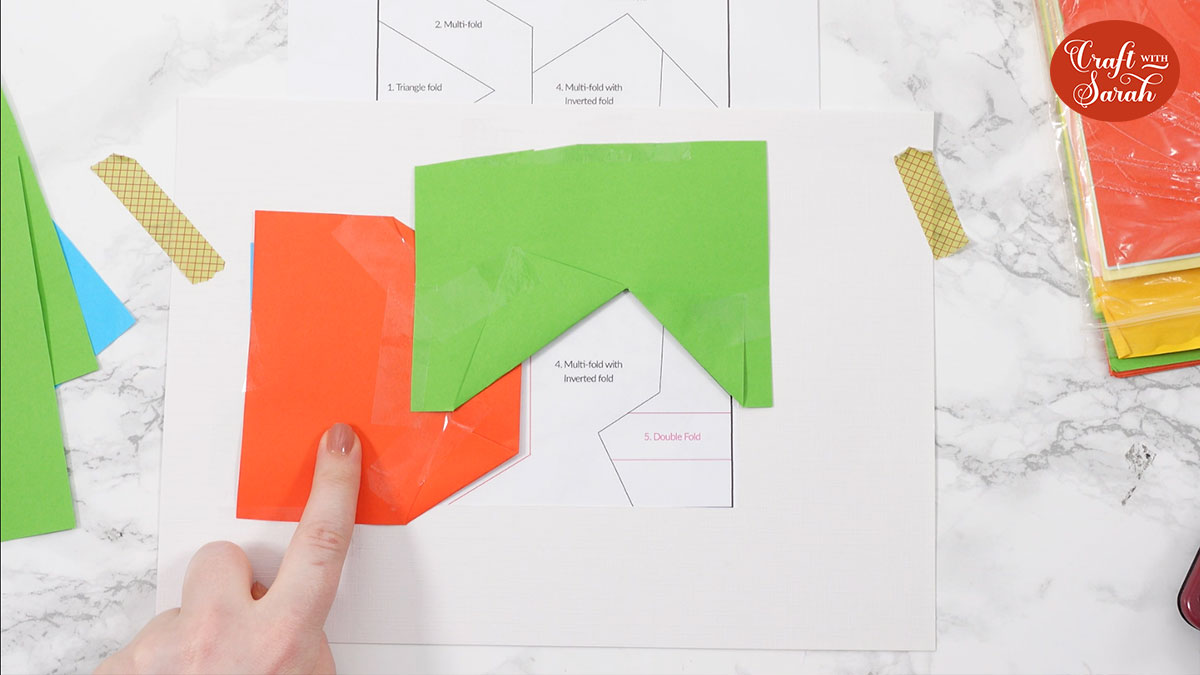
Fancy fold 4: Multi-fold with inverted fold
Now we are getting REALLY fancy: combining TWO of the different types of fold!
This is a multi-fold like the second one we did, but it also has an inverted fold like the green one.
For the angle of the lines on this fold it will be easiest to do the inverted point first.
Cut a slit in your paper, fold up the two sides of the inverted fold and secure in place with tape.
Then fold it back along any other lines/edges.
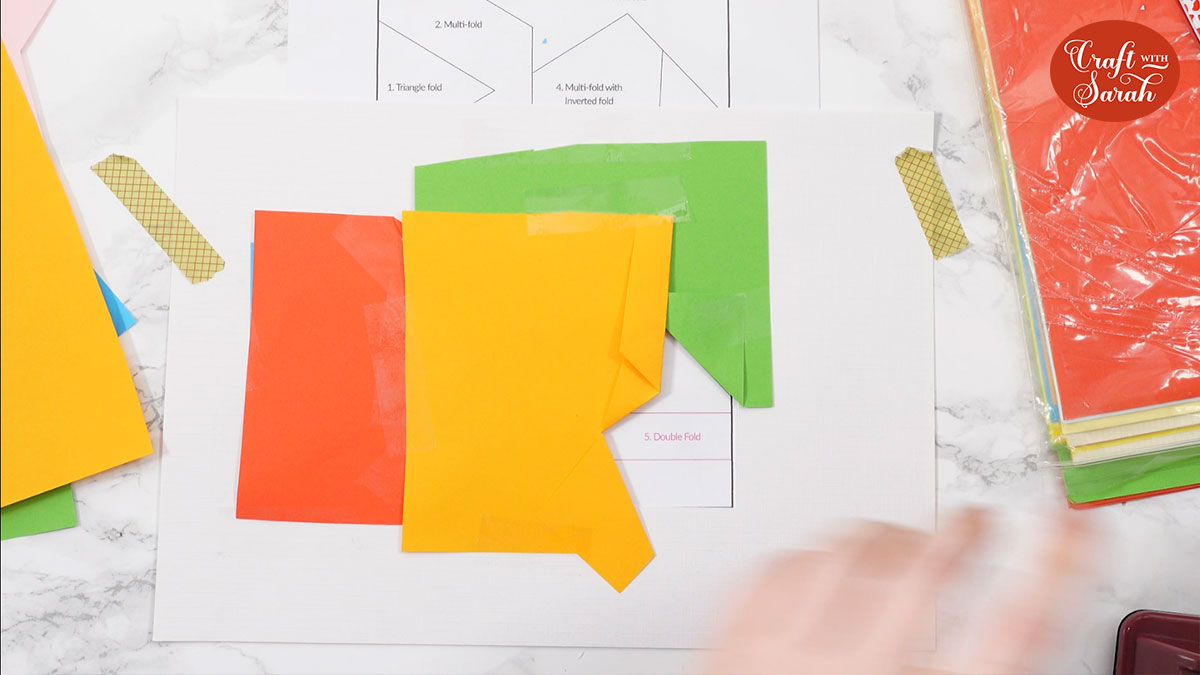
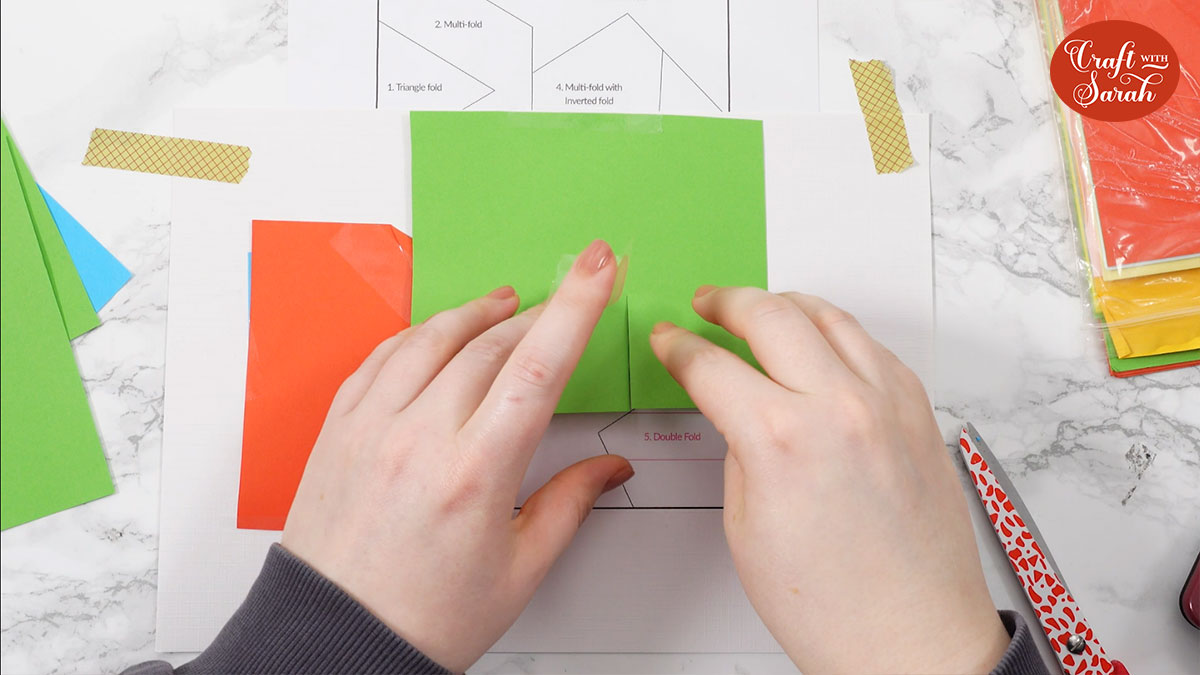
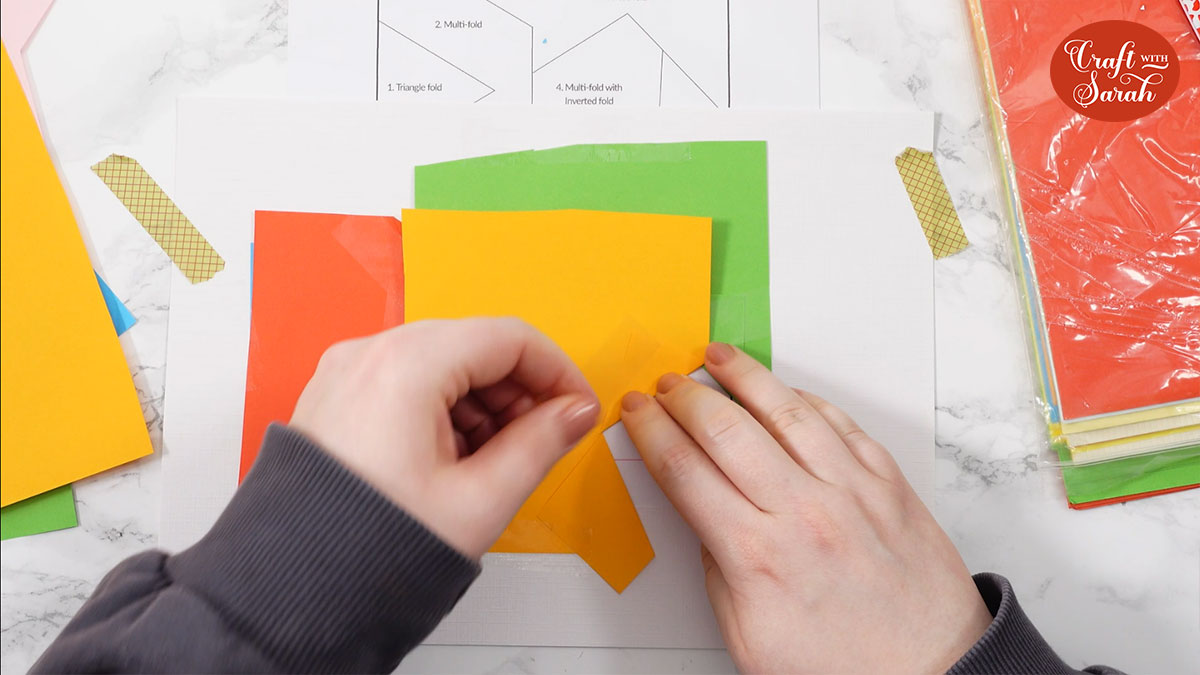
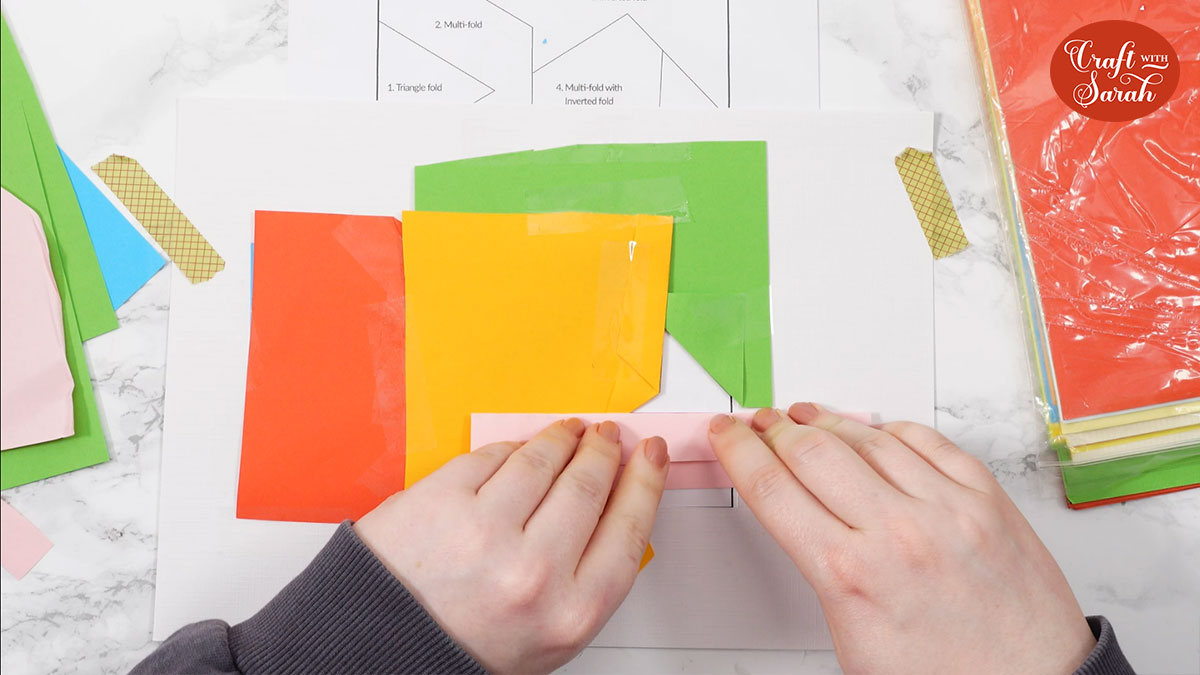
Fancy fold 5: Double fold
We’re already onto the final fold!
A double fold is where opposite sides of the piece of paper need to be folded.
It’s important to consider the size of your paper strip for this type of fold. You’re aiming for the paper to be about double what the gap in the pattern is.
To start, put the paper in place and fold one of the edges back along one of the pattern lines.
Fold the opposite edge along the other side of the pattern line.
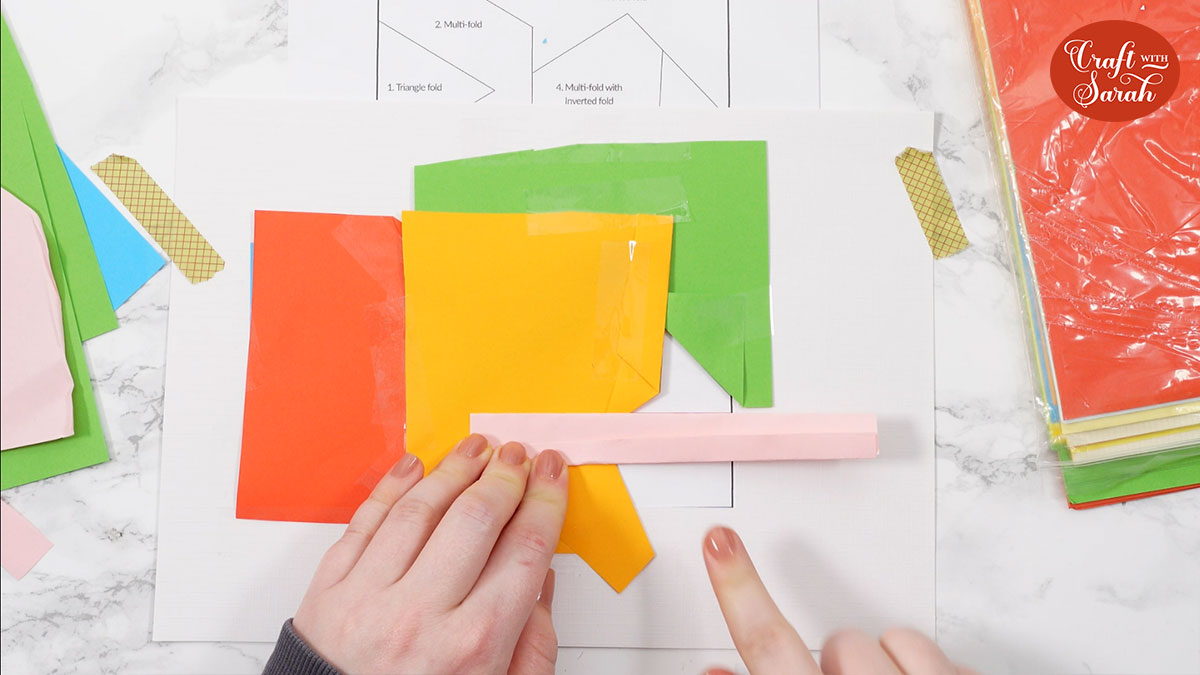
You might find that your paper starts overlapping if it was a bit too wide. If it does, you can pick it up and cut off any overlap that you might have before you stick it in place.
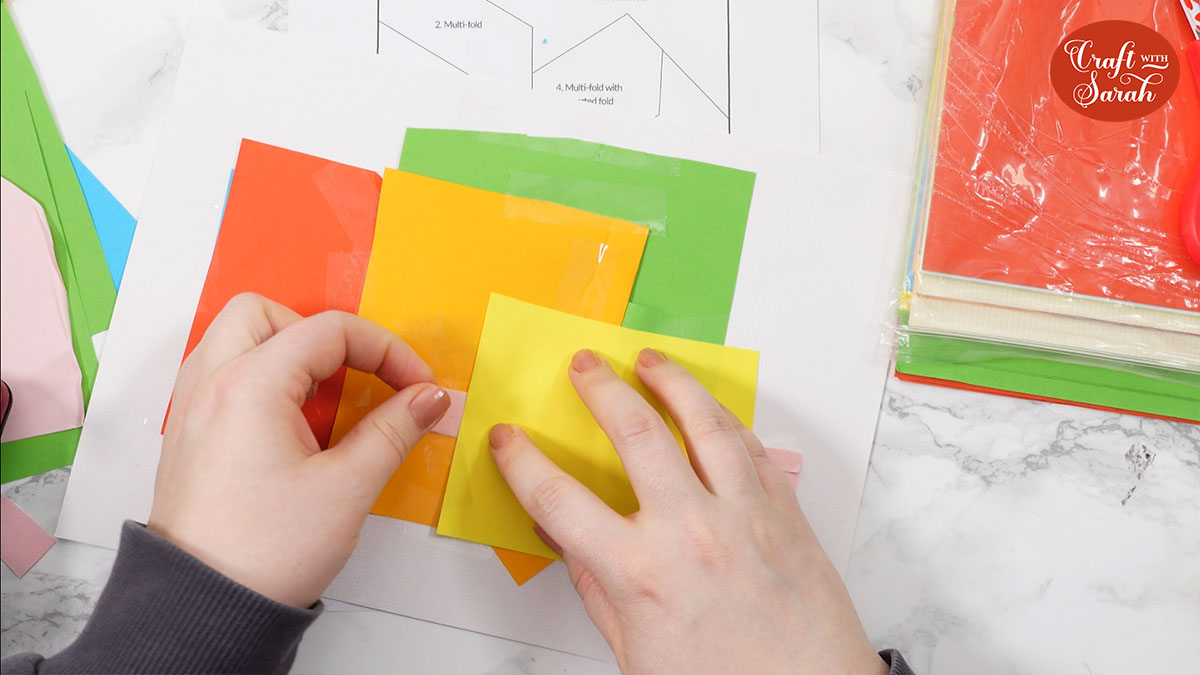
Fancy fold techniques for greeting cards
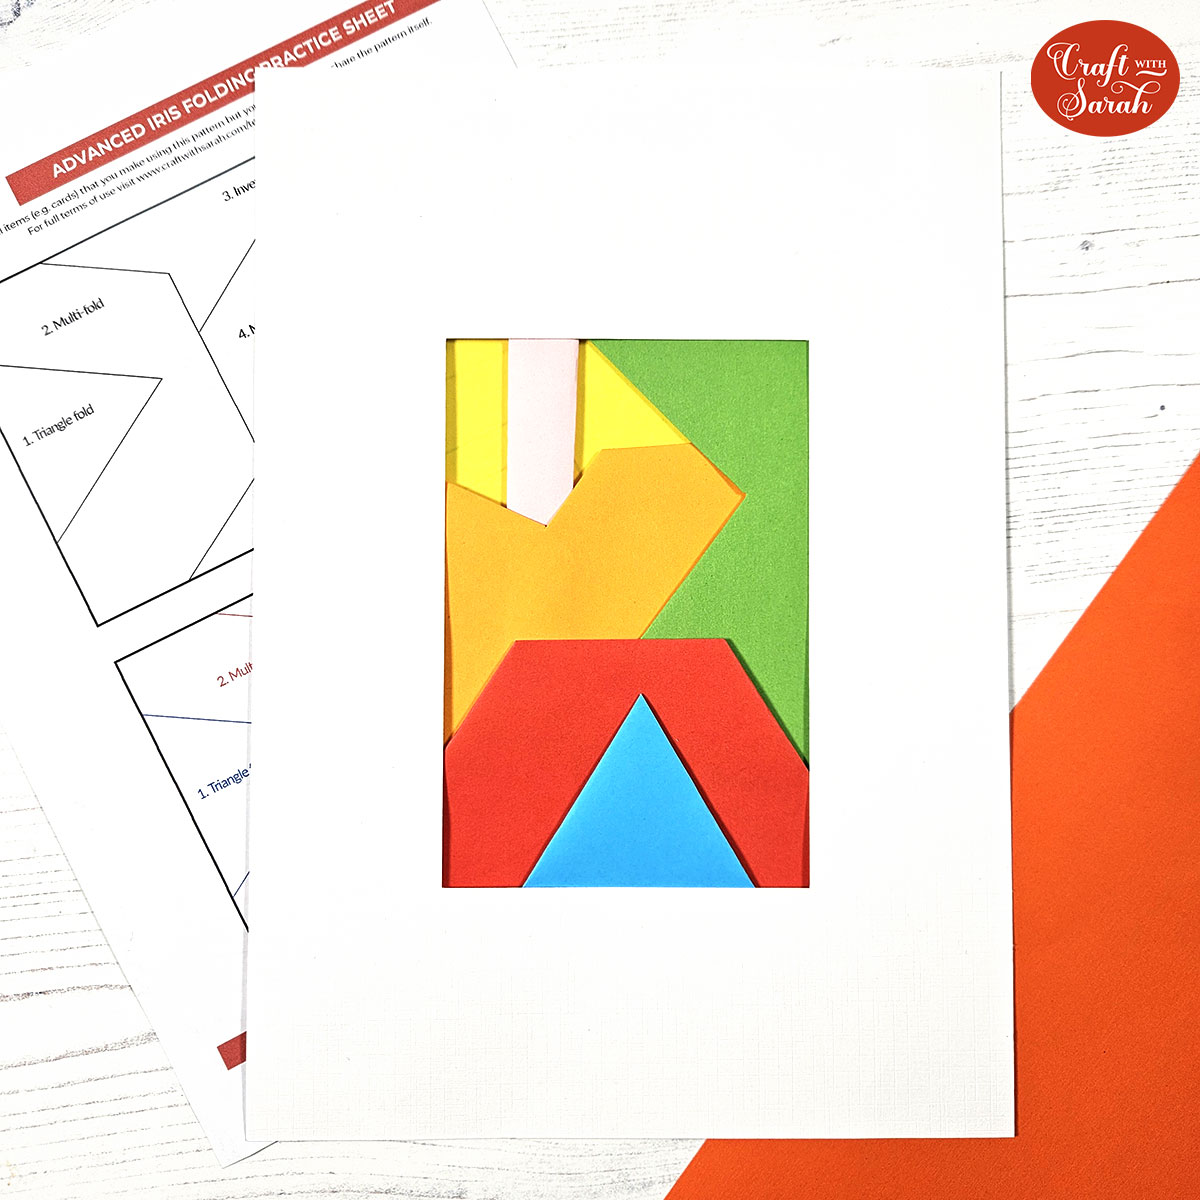
The only thing left to do is to use one more piece of paper to cover the remaining “gap” in the rectangle.
Here is how the practice pattern looks from the front:
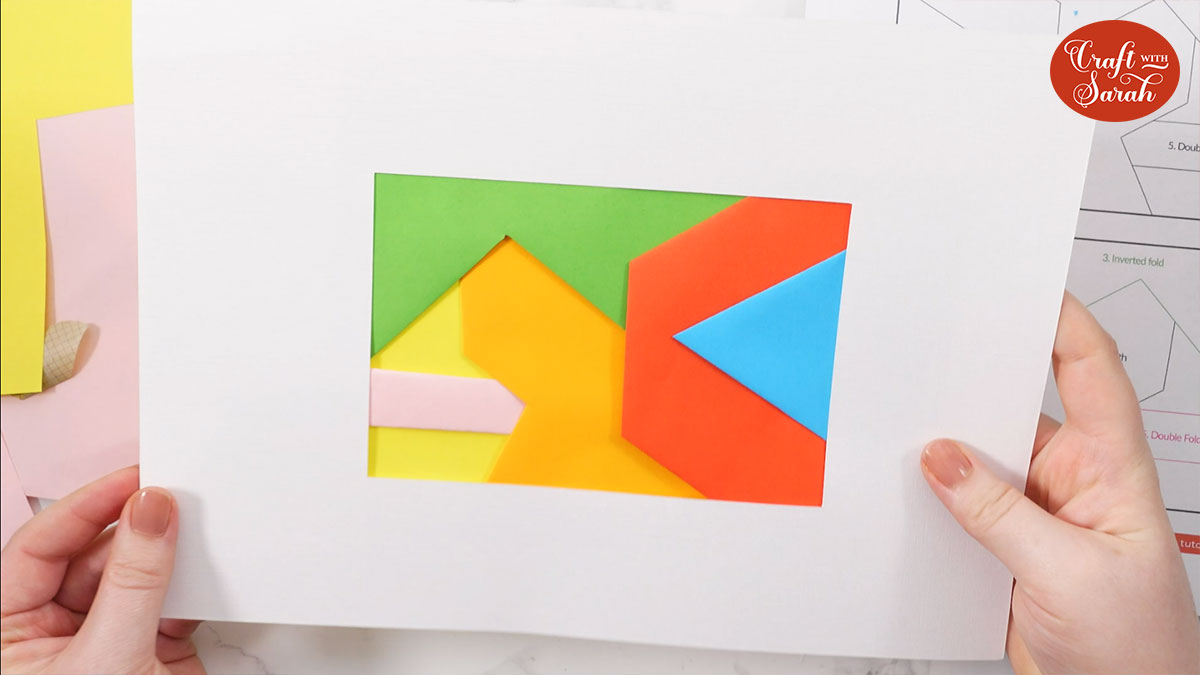
It might take a little bit of practice to get used to the different folds, but once you’ve tried it a few times then you’ll be iris folding and fancy folding like a pro!
You can find free patterns that use these folds on my main iris folding tutorial page. Scroll down the page a little to see all the patterns.
Happy crafting,
Sarah x

