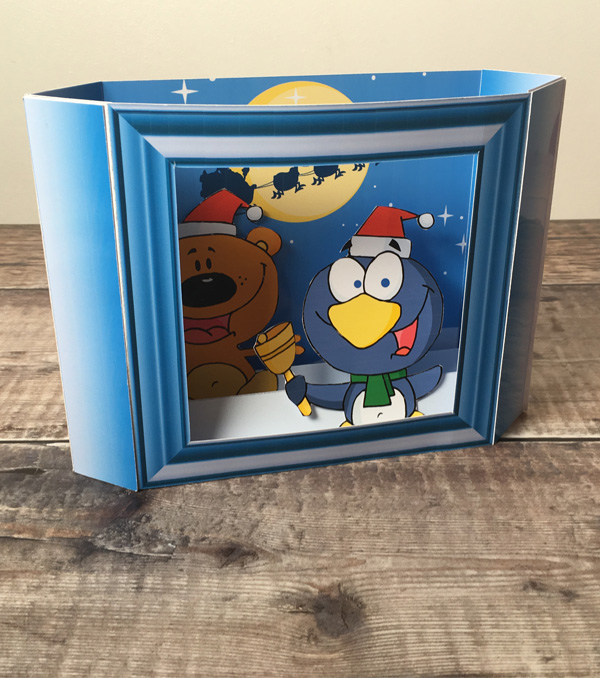
Christmas Animals 3D Concertina Window Card

If you’re looking for something to really WOW your friends and family this year then THIS is the handmade card project for you!
This 3D Concertina Window Card Kit is a card concept that I designed a few years ago.
It might look complicated, but it’s actually fairly simple to make and you only need basic crafting supplies.
Best of all, the card folds completely flat for posting!
3D Concertina Window Card Kit Instructions
You will need…
- Free 3D Concertina Window Card Kit printable
- Glossy paper to print on
- Scissors
- Paper trimmer or craft knife & cutting matt
- Scoring tool
- Double-sided tape
Download the Free Printable

Please login to your account to download this file.
TERMS OF USE:
You may sell finished, handmade physical craft items that you have made using this product but must not sell or share the digital files. Read full terms of use
Make a handmade 3D Concertina Window Card for Christmas
Step 1
Print all of the pages of the 3D concertina window card kit onto glossy photo paper or thin card.
I use Crafty Bob Glossy Paper which is a special type of paper designed for greetings cards and crafts.
I like to use this paper because the printer ink dries instantly and is smudge-proof straight after printing, so you can use the printed sheet straight away.
If you aren’t a fan of the glossy shiny look to your printouts then the paper is available in matte too.
Step 2
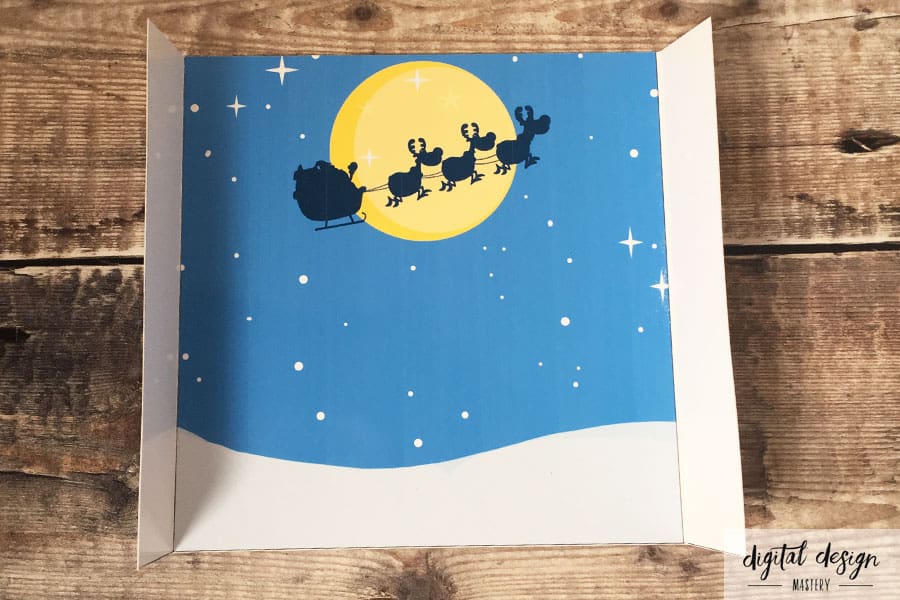
Take the INSIDE BACK piece and score down the two lines between the coloured square and the white flaps.
Valley fold the white flaps inwards as shown in the photo.
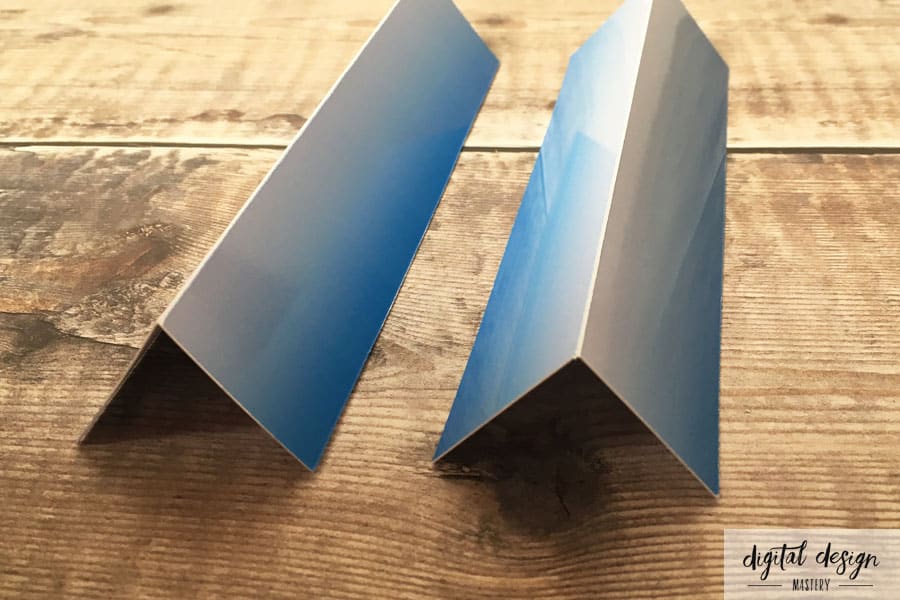
Step 3
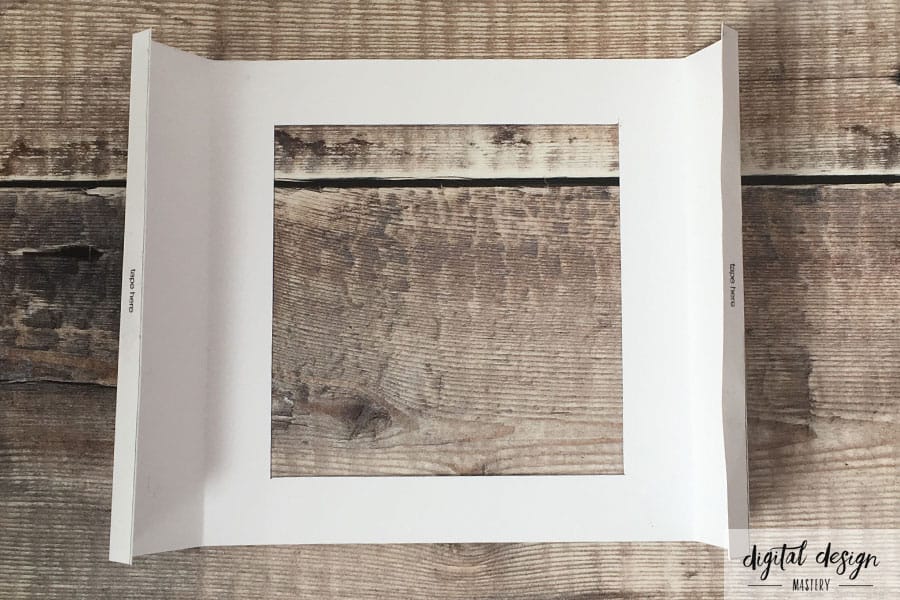
Take the FRONT piece and score down the two lines between the coloured square and the white flaps.
Mountain fold the two flaps so that they tuck in behind the square frame.

Step 4
Select the FRONT piece and fold over the outer flaps.
Stick double-sided tape all the way down the outer flaps.
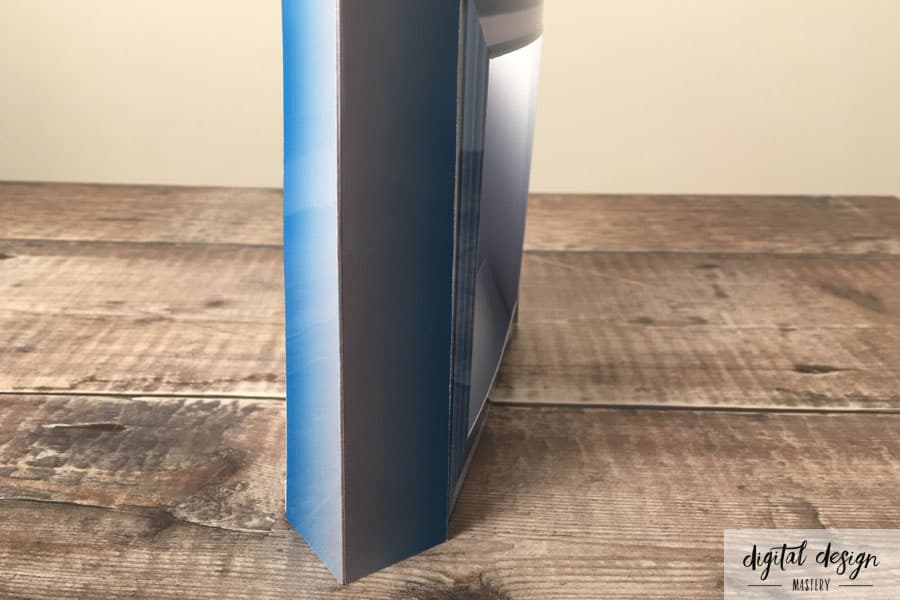
Step 5
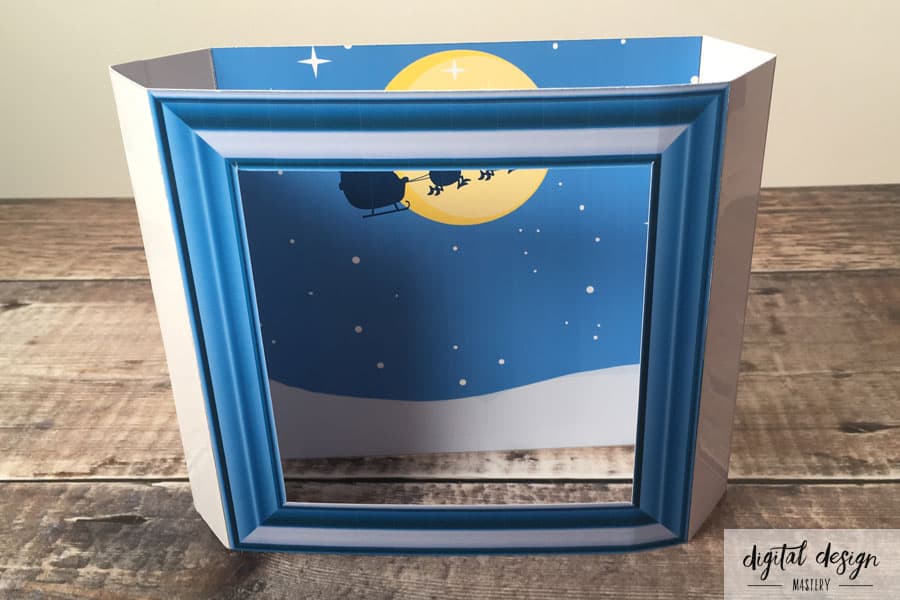
Stick the outer flaps of the FRONT piece to the flaps of the BACK piece.

Your card should now stand up like this:
Step 6
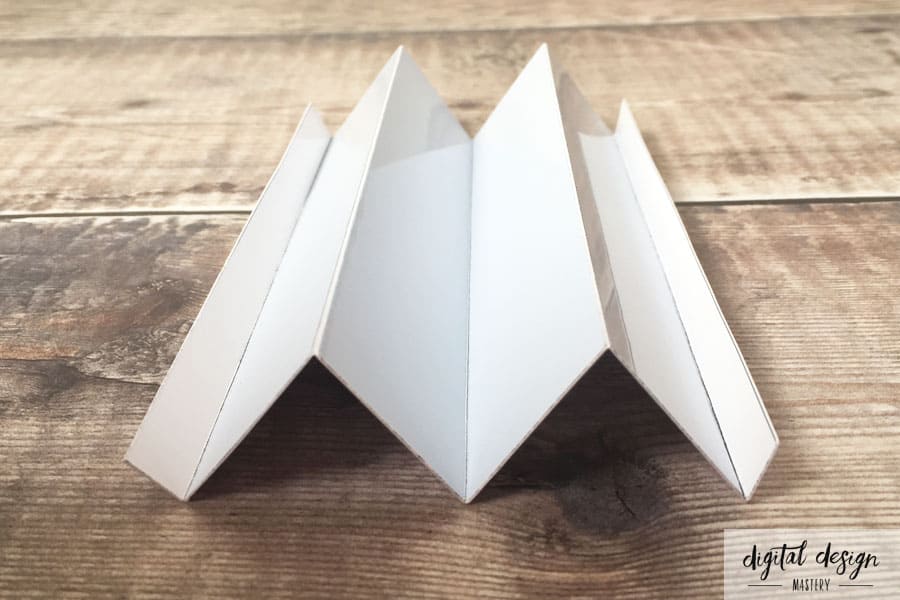
Select the CONCERTINA piece and score down all of the black lines.
Fold in the following directions: Valley, Mountain, Valley, Mountain, Valley
This will give you a concertina shape like this:
Step 7
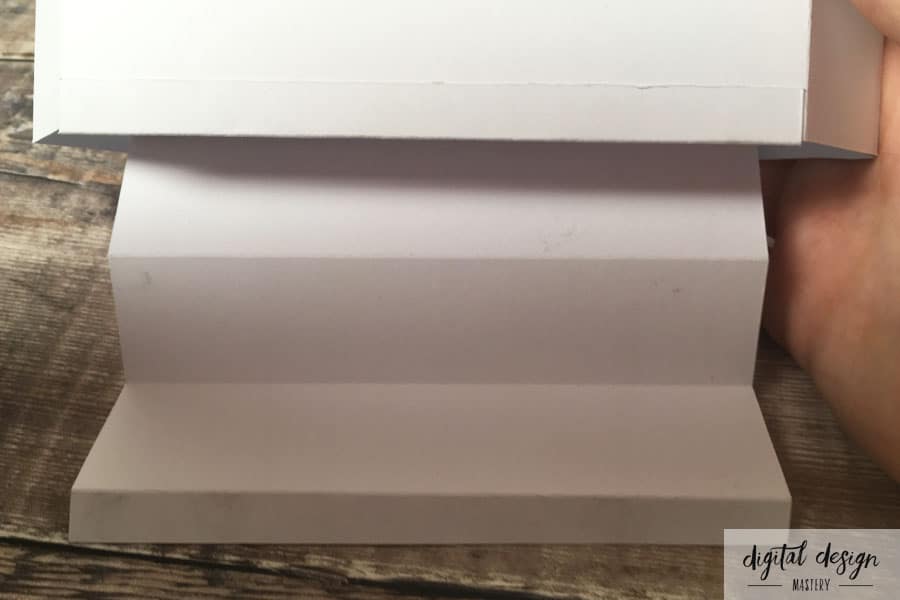
Stick double-sided tape along one of the white flaps of the CONCERTINA piece and stick it to the back of the BACK piece.
Step 8
Stick double-sided tape along the back-side of the other white flap on the CONCERTINA piece and stick this to the back of the FRONT piece.
After Step 7 and Step 8 the CONCERTINA piece should be securely taped inside the card as shown:
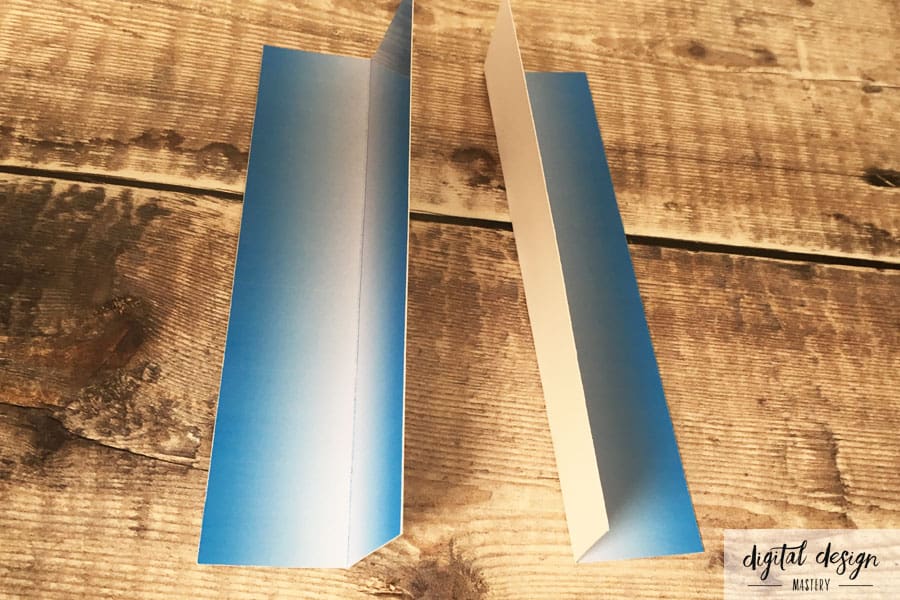
Step 9
Take two of the SIDE PANELS and score down the black lines.
Create mountain folds as shown.
Step 10
Use double sided tape to stick both of these SIDE PANELS to the outside of your card – one on each side.
This is to cover up the white sides of the card with a colour that matches the rest of the design.
Step 11
Take the other two SIDE PANELS and score down the black lines.
Valley fold them so that they look like this:
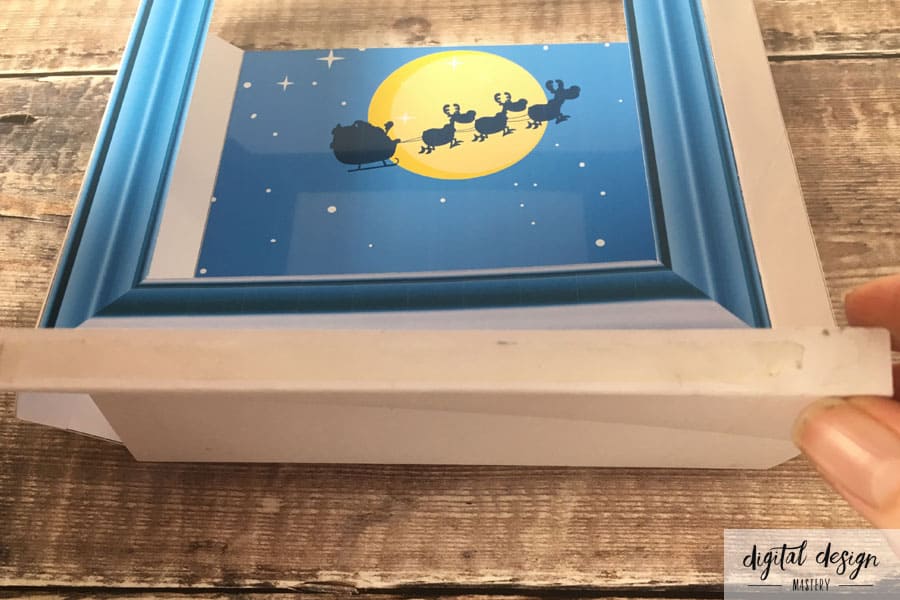
Step 12
Use double sided tape to stick these SIDE PANELS to the inside of your card – one on each side.
This is the most fiddly part of the card to make because you have to push the SIDE PANELS down past the CONCERTINA piece so that they full cover the visible white paper of the inside sides of the card.
Step 13
Use double-sided tape to attach the BACK PANEL to the back of your card.
It’s easiest if you write your message on the BACK PANEL before sticking it to the card.

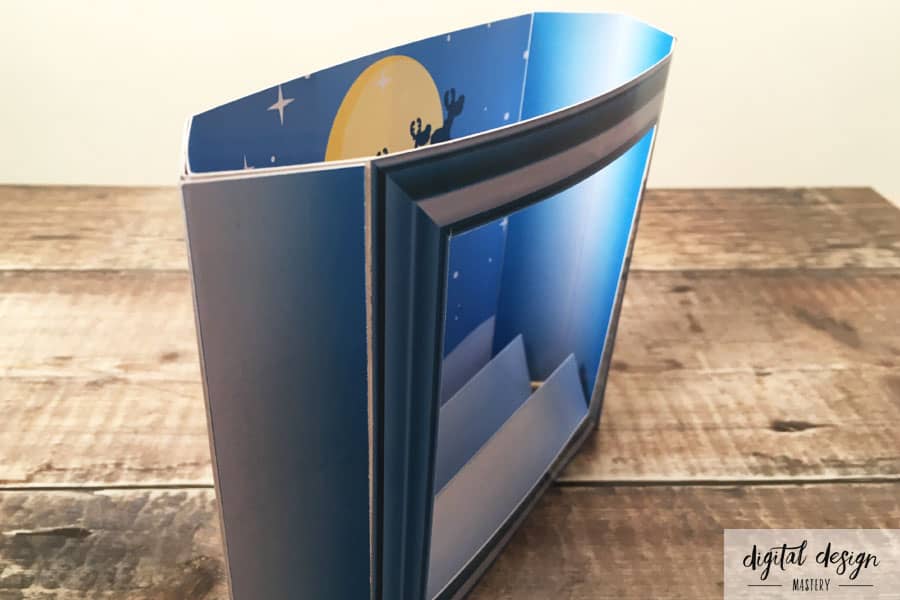
Step 14
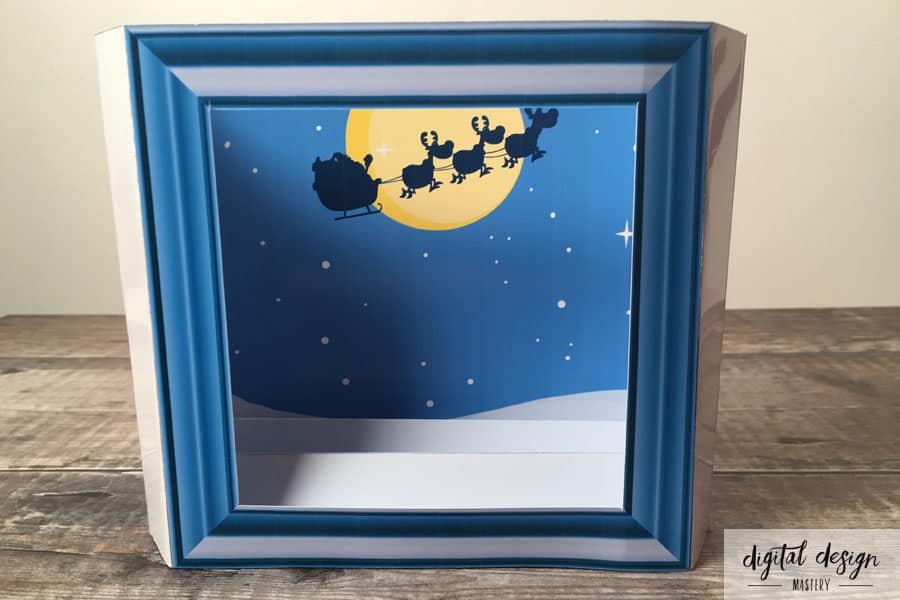
Use double-sided tape to stick the two TOPPERS inside your card.
Stick one of them to the back section of the CONCERTINA and one to the front.
This gives a tunnel effect when you look through the card which gives a wonderful deep perspective.
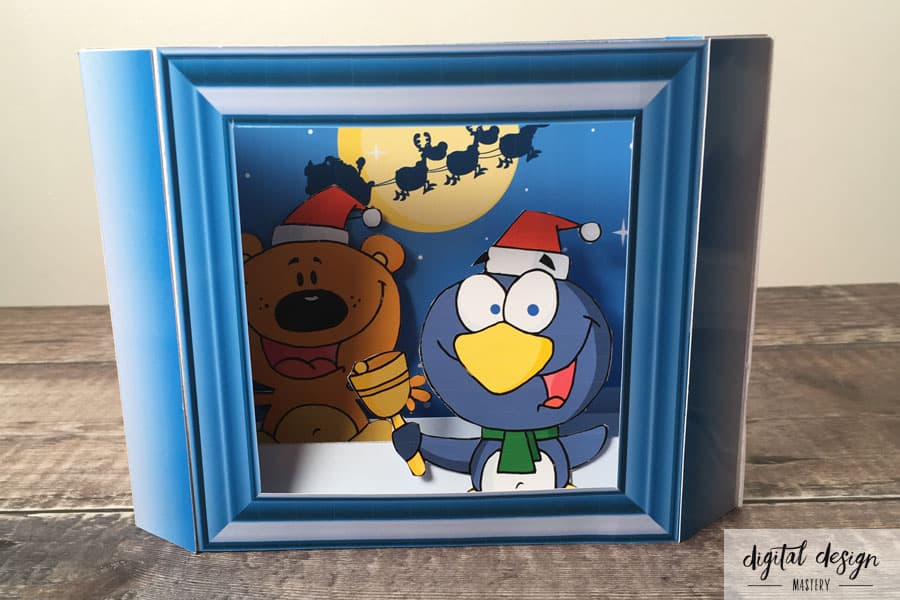
Finally, sit back and admire your card!

