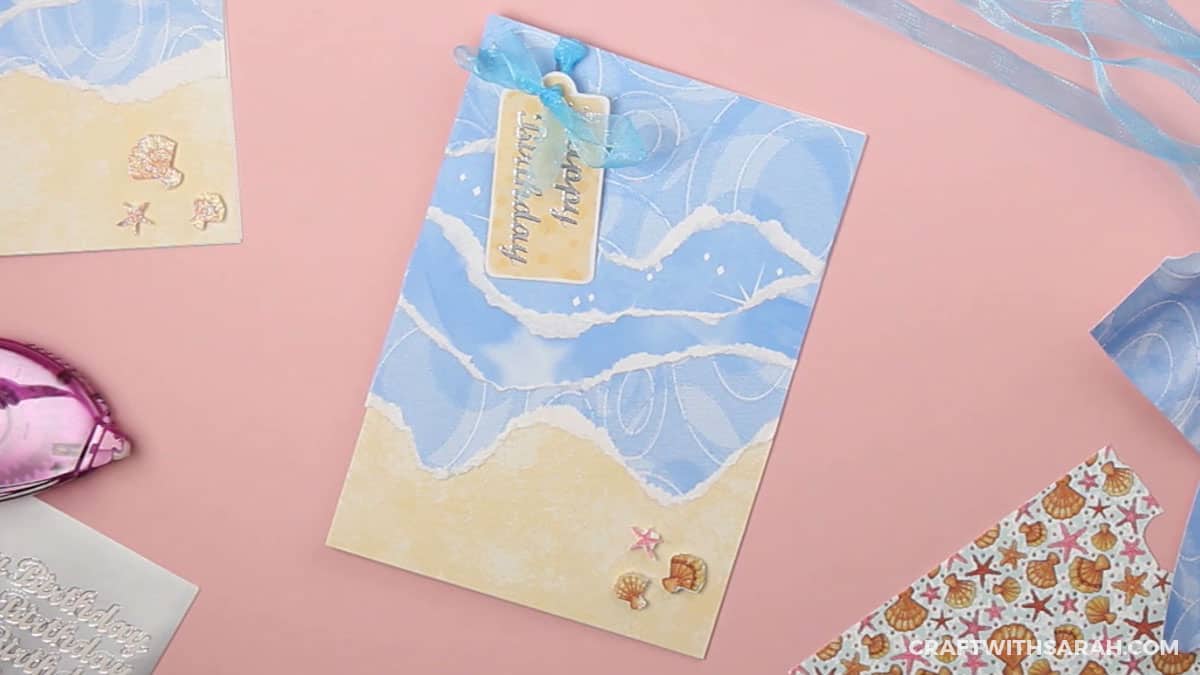
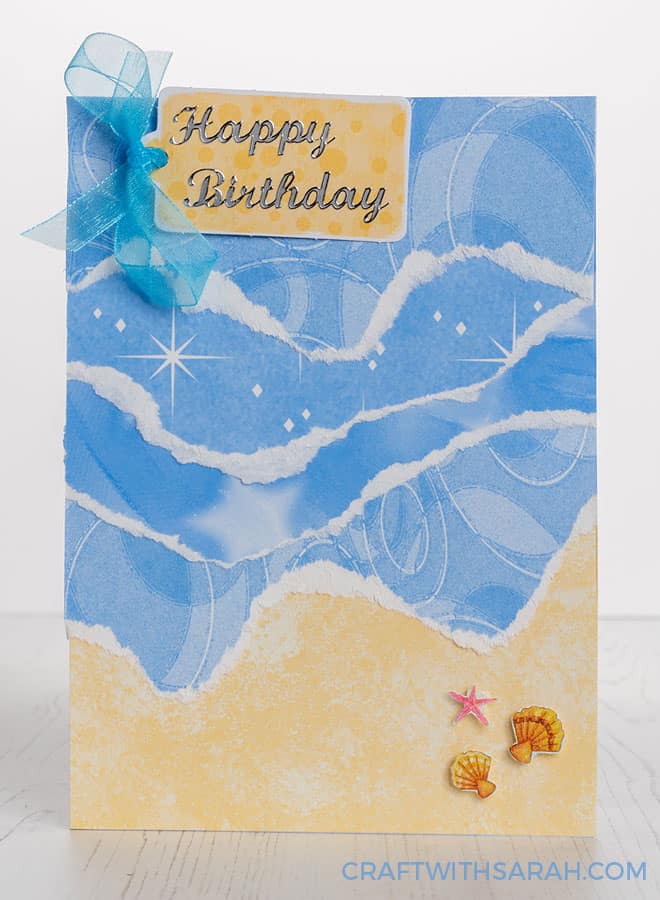
Beach Scene Paper-Tear Card Project

The sun is out and it’s the middle of the summer, so today’s project of a beach scene paper-tear card couldn’t come at a better time!
This is a great card for using up scraps of blue paper or card that you’ve got handing about, plus it’s really easy to make.
I’ve recorded a tutorial video on how to make this paper-tear card. If you prefer written instructions then scroll down to read them.
How to make a beach scene paper-tear handmade card
Please note that some of the links included in this article are affiliate links, which means that if you click through and make a purchase I may receive a commission (at no additional cost to you). You can read my full disclosure at the bottom of the page.
To start, you need a card blank – I’m using 5×7 inches but you can use any size you want.

Cut a piece of yellow paper to the width of your card, and about 50% of the height.
My paper is from the ‘Shore’ themed punch out pack by Colorbok. I’m not sure they make this particular pack any more as it was a few years ago that I bought it. You can still pick them up on eBay if you want to match my card exactly.
If not, any yellow paper will do but if it’s patterned to look like sand then that’s even better.
For an ulta-realistic look you could even try using fine-grain sandpaper.
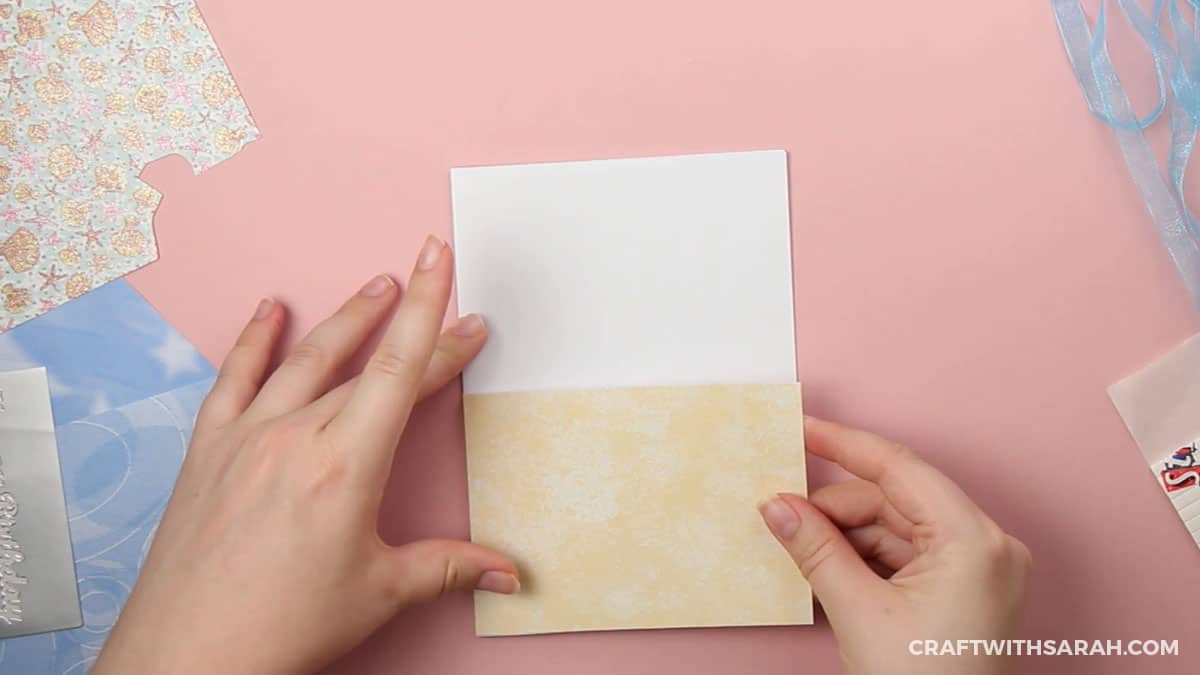
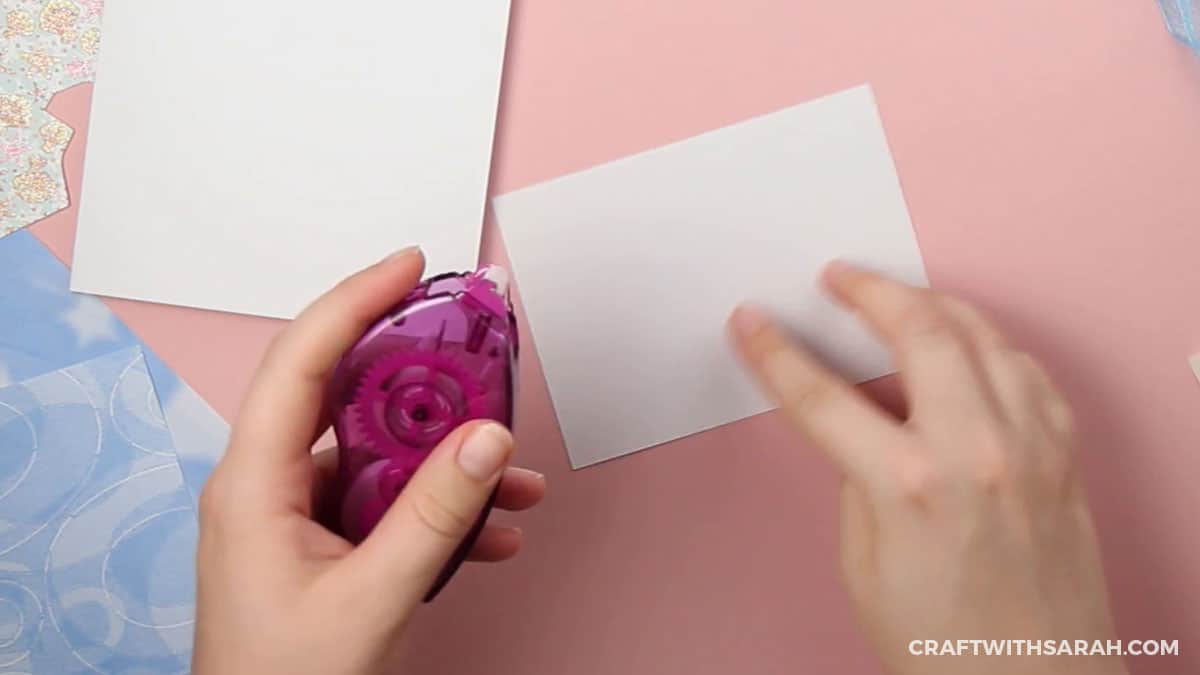
Stick the yellow paper to your card front using double-sided tape. I like to use a tape runner as it speeds things up and you don’t need to peel off all the backing to the tape.
Attach the paper to the bottom of your card front and set aside.
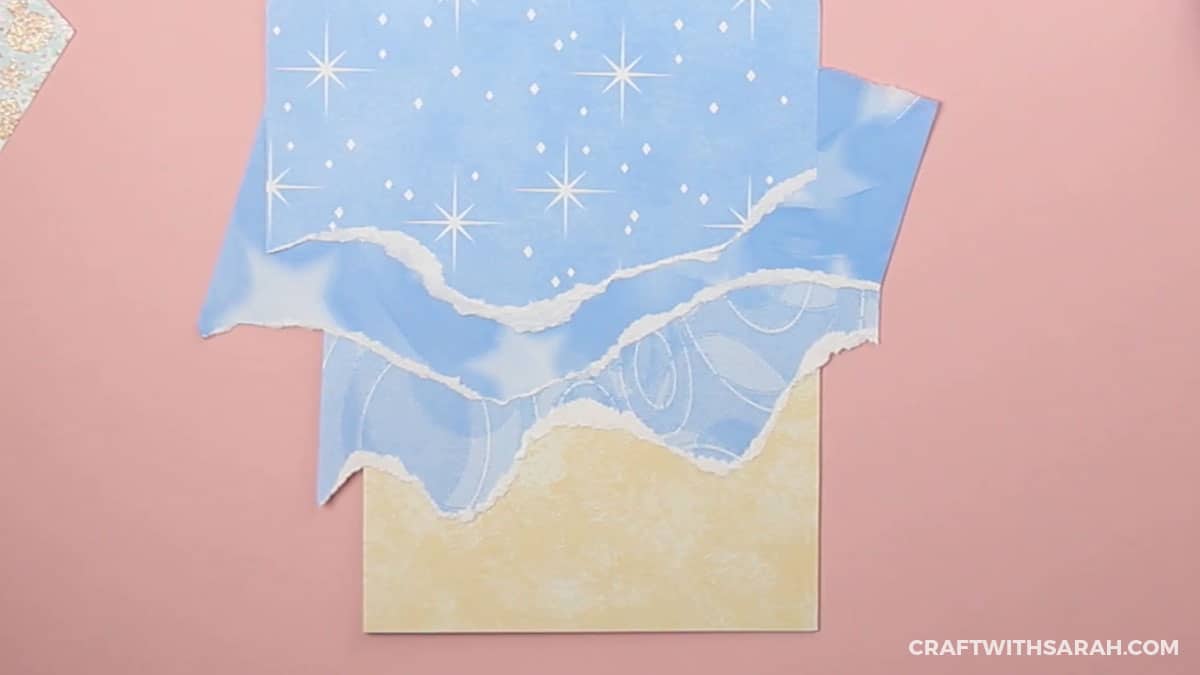
Paper-tear waves from scrapbook paper
Choose a selection of blue patterned paper or card. You could use the same pattern for all the ocean waves, but I like to mix things up with different designs.
The papers I’m using are from an old collection of 12×12 inch scrapbook paper from Papermania.
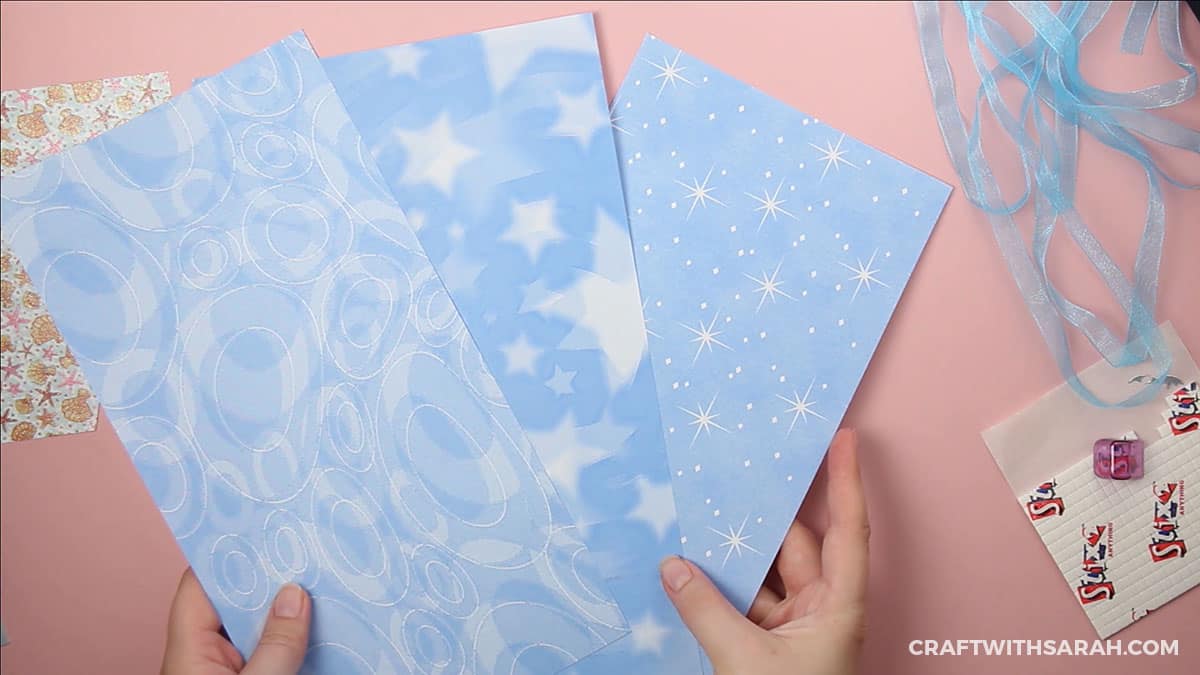
Make sure the blue paper is slightly wider than your card front.
Carefully tear wave shapes along one of the edges.
Tear the paper so that you end up with white along the edges to look like foam on the waves.
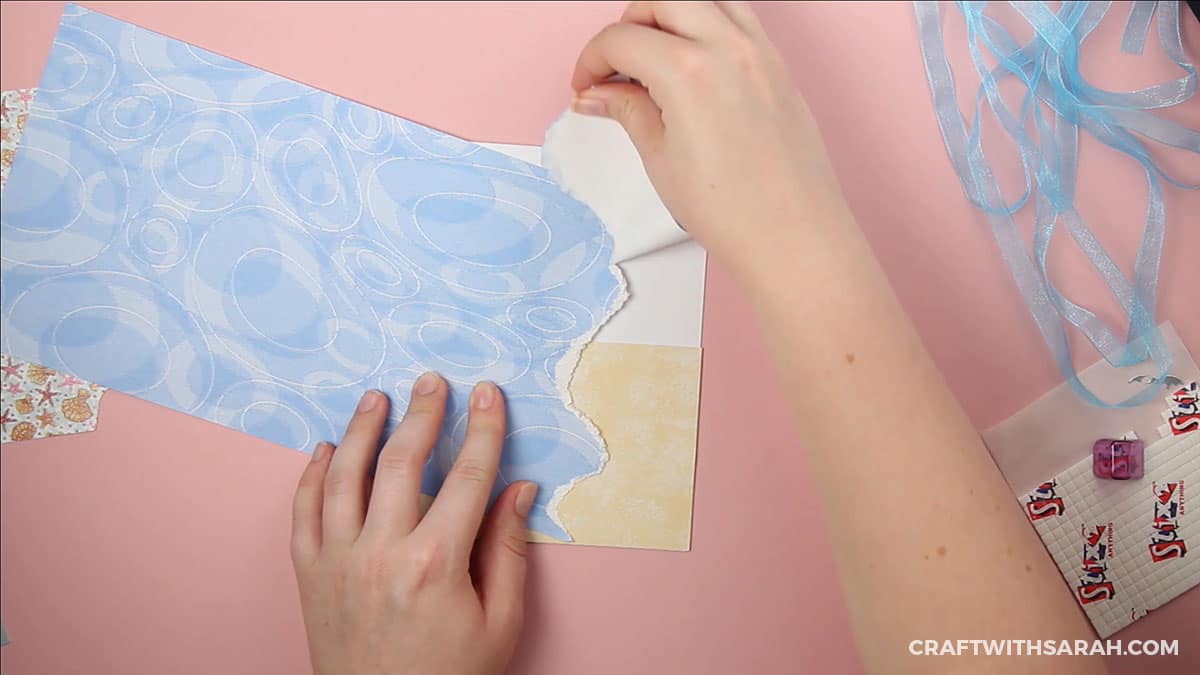
I’m tearing the other side as well so I can choose which one to use based on which waves look better.
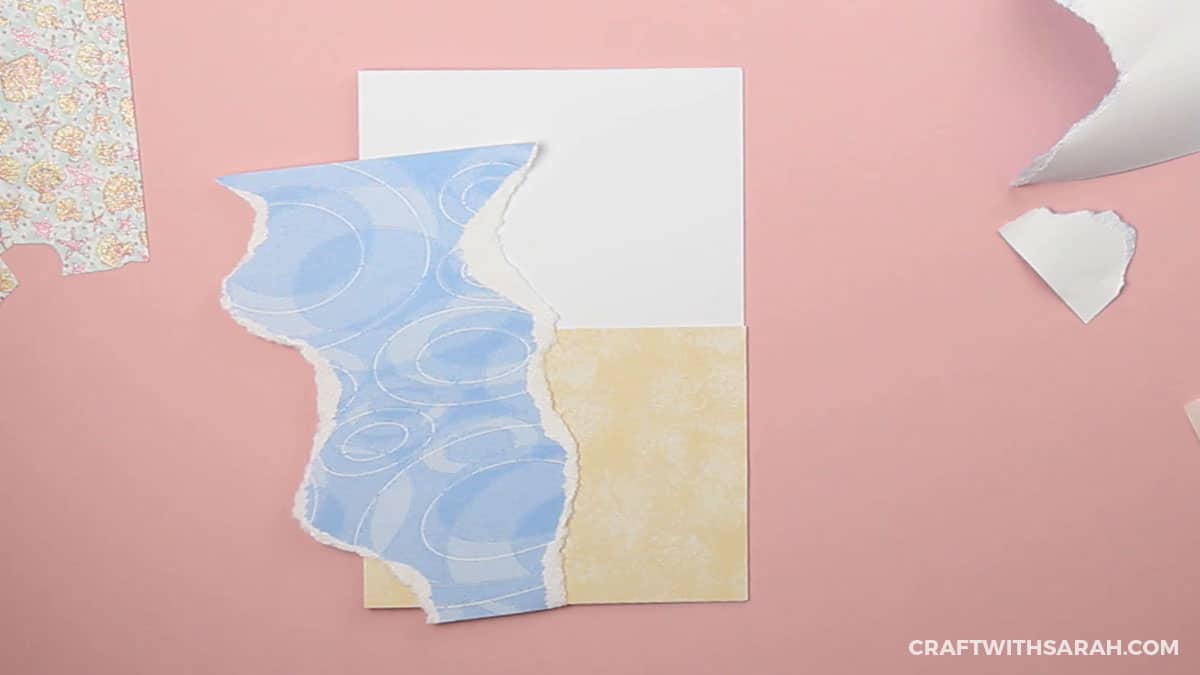
When you’re happy, stick the blue paper to your card. It doesn’t matter if the edges overlap; we’ll be sorting that out later.
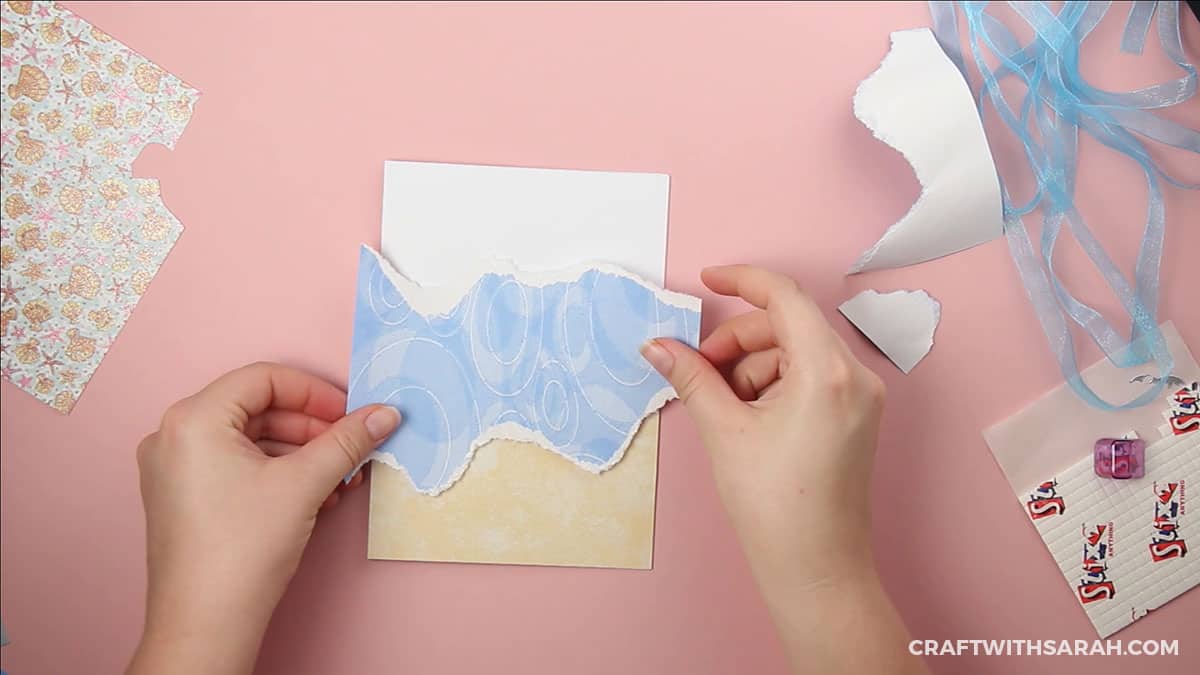
Complete the same process with the other pieces of blue paper and stick them on top of one another to form the waves of the ocean.
Try to keep the wave shapes random so that they don’t all look the same, and make some longer and shorter than others to give a realistic random appearance.
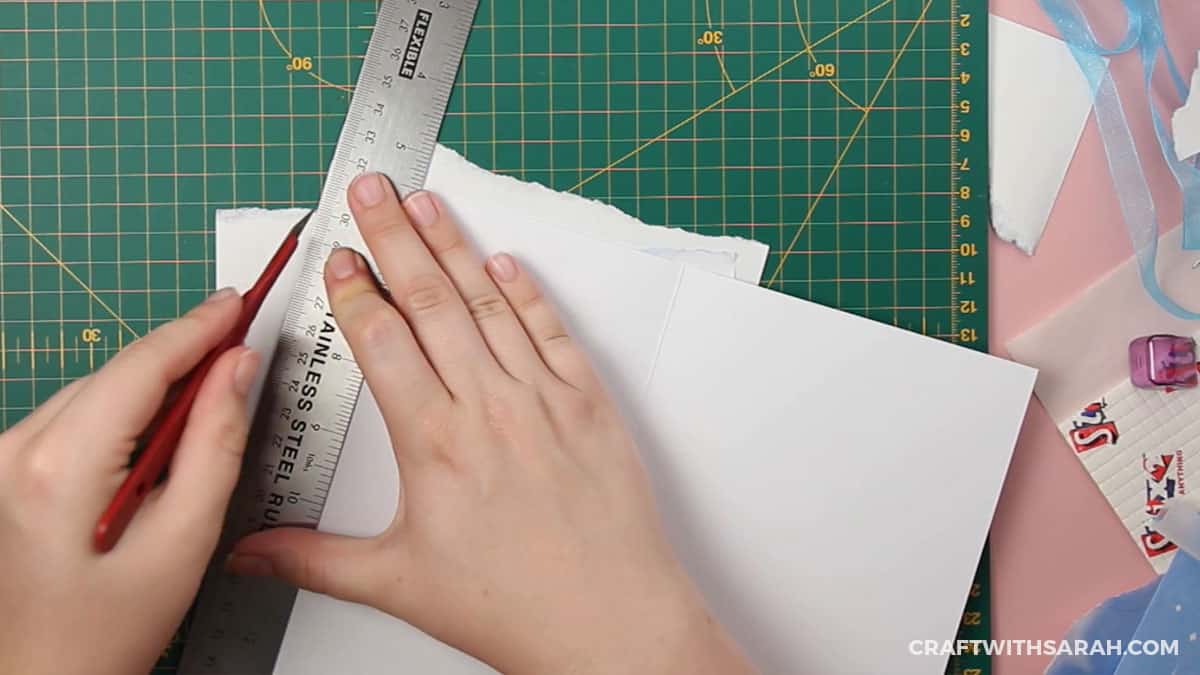
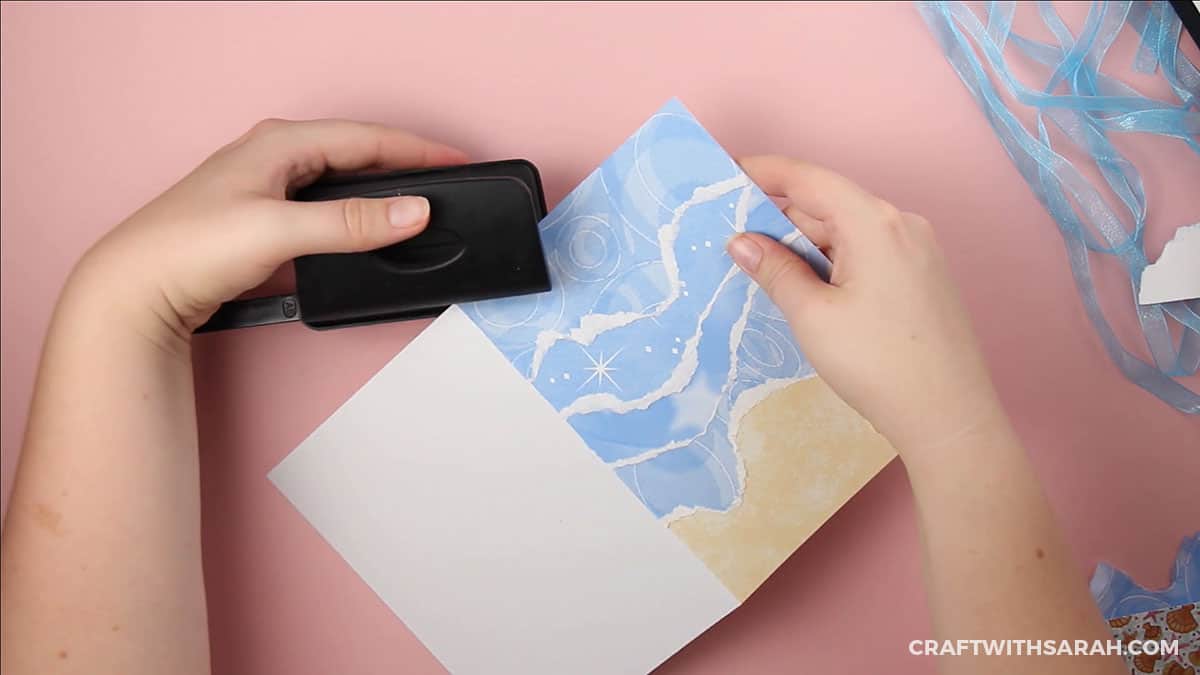
When your card starts to get a bit bulky around the edges, take a craft mat, metal ruler and craft knife and cut off the excess blue paper.
Be careful when cutting down the fold of your card that you don’t get too close and cut the fold as your whole card will fall apart. I learned this the hard way the first time I made this card!
When all the edges are neat you can continue adding waves to the ocean until you’ve reached the top of the card.
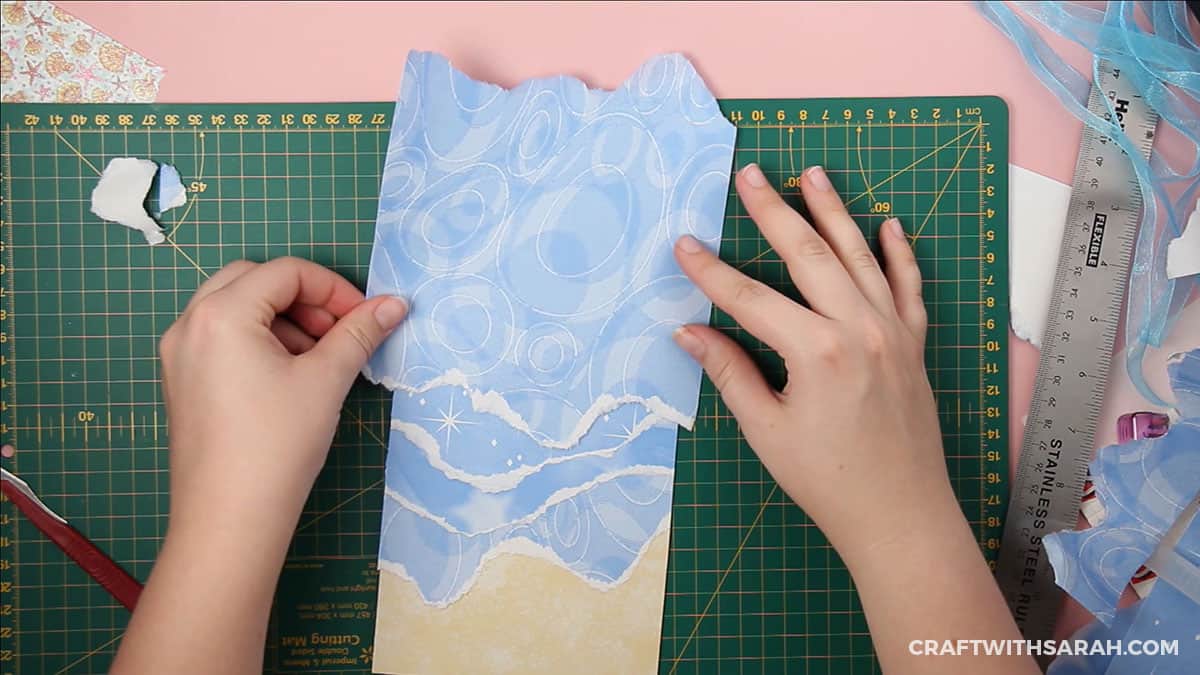
Cut off any remaining excess, and your card is now almost finished.
Embellish your beach-themed card
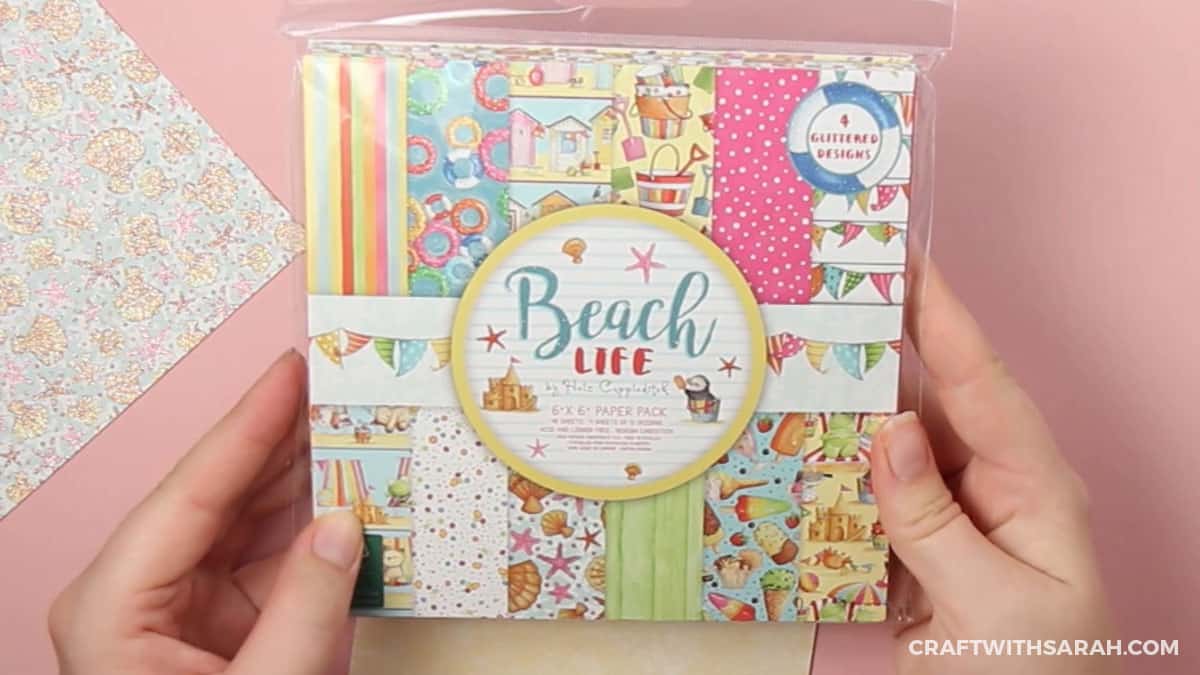
To continue with the beach theme, I’m cutting out some shells and starfish from a piece of paper from the ‘Beach Life’ Card Craft Collection by Helz Cuppleditch.
To add some depth, I’m using 3D foam pads to raise the images up from the card a little bit.

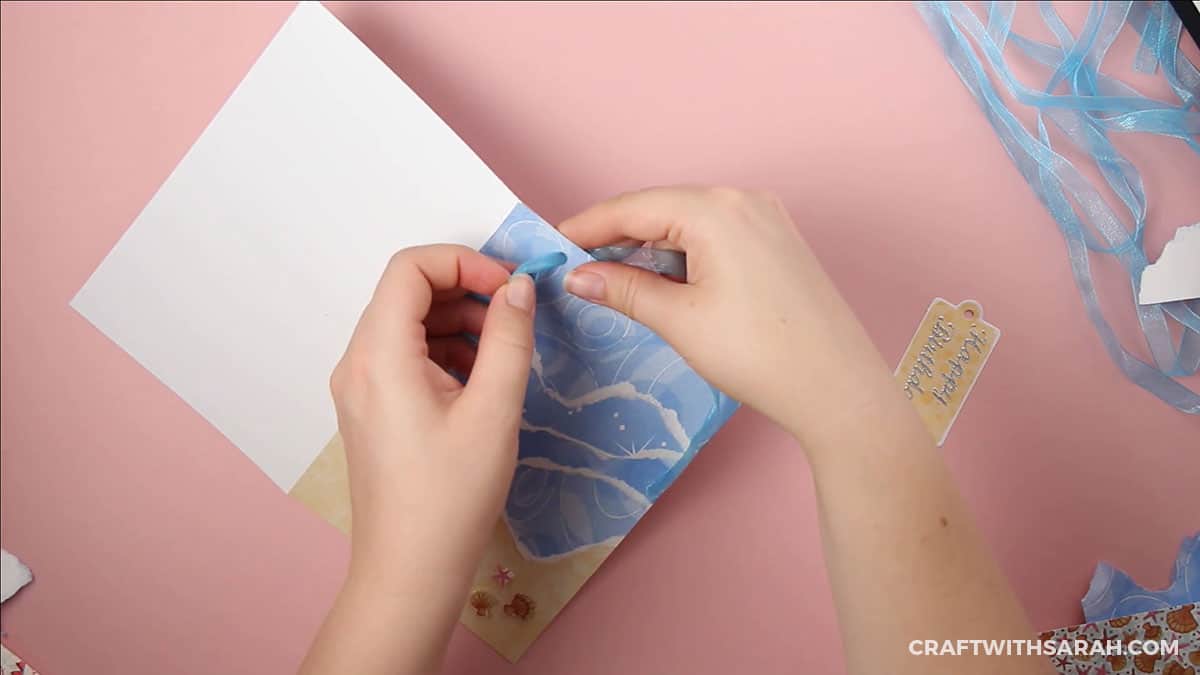
Add a birthday sentiment gift tag
Finally, I want to add a ‘Happy Birthday’ sentiment as a hanging tag on the card.
To do this, punch a hole in the top left of your card using a hole punch.
I stuck a silver ‘Happy Birthday’ peel-off sticker to one of the die cut gift tags from the Shore 12×12 paper pack I used earlier.
Thread some blue ribbon through the hole and tie a knot.
Thread the ends through the gap in the gift tag and tie a bow.
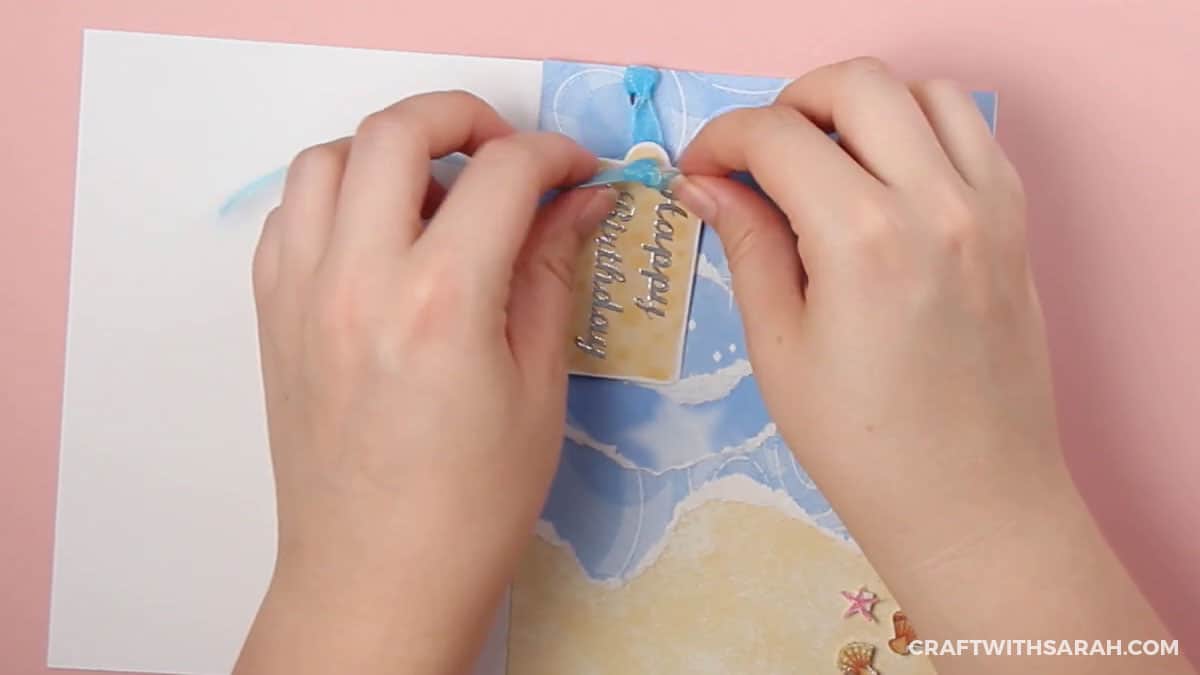
Cut off any excess ribbon, and there you have it – your finished paper-tear beach card, all ready for summer!