Easy Heart Cutout Shapes Card To Make With a Cricut 💖

Looking for a quick and easy Valentine’s Day card or anniversary card to make with your Cricut?
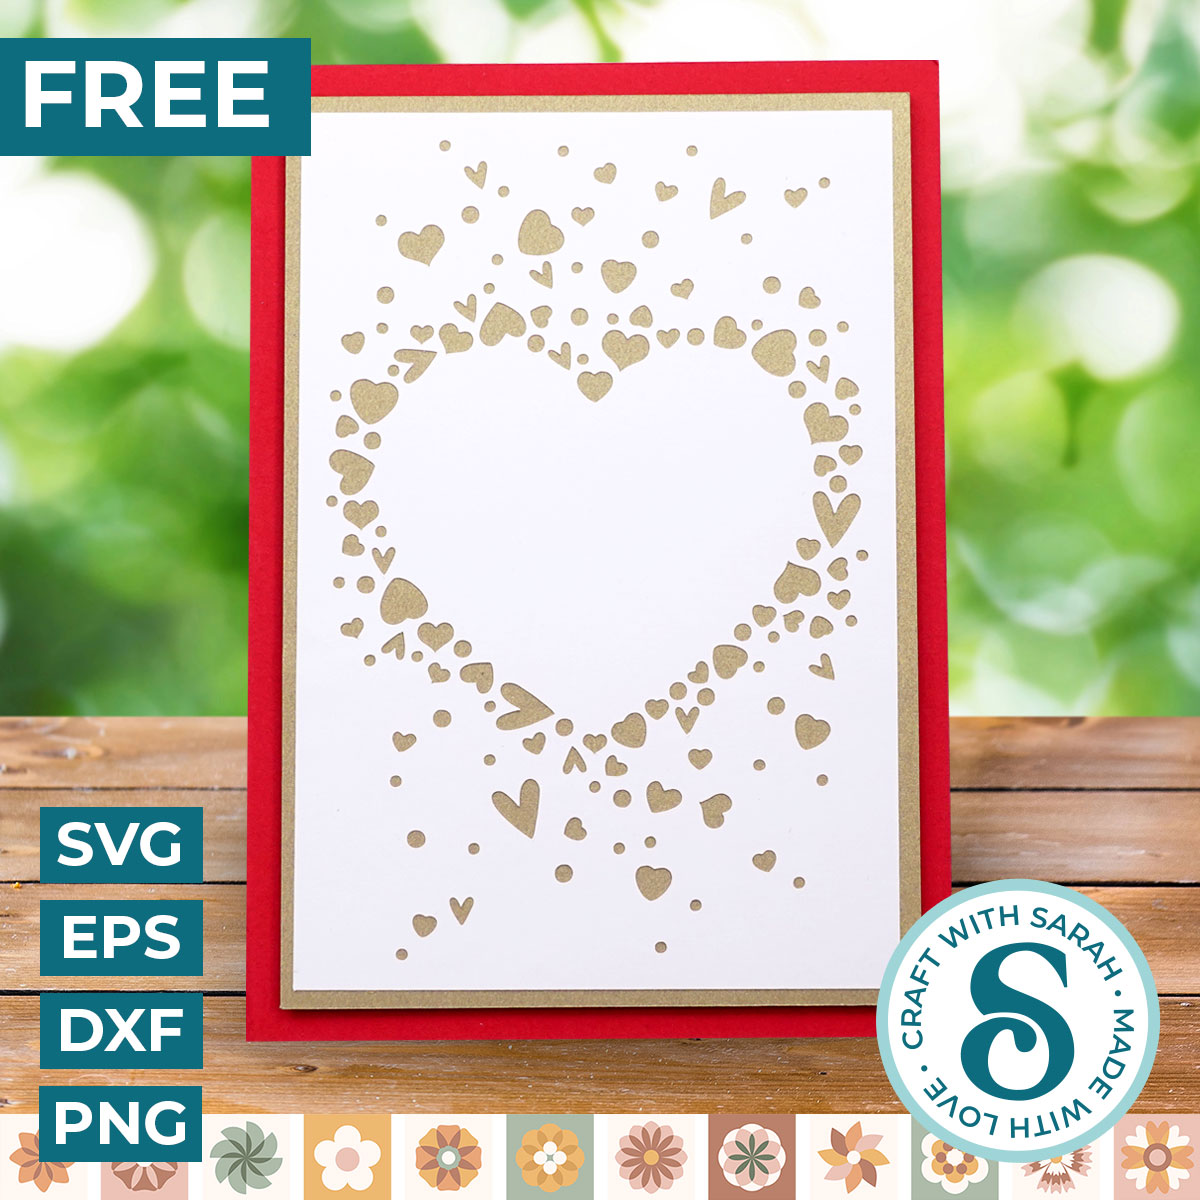
This beautiful 5×7 inch layered heart card is the perfect project!
It cuts from just three pieces of cardstock, takes only a few minutes to assemble, and can be customised with different colours, glitter cardstock or patterned paper to create completely different looks.
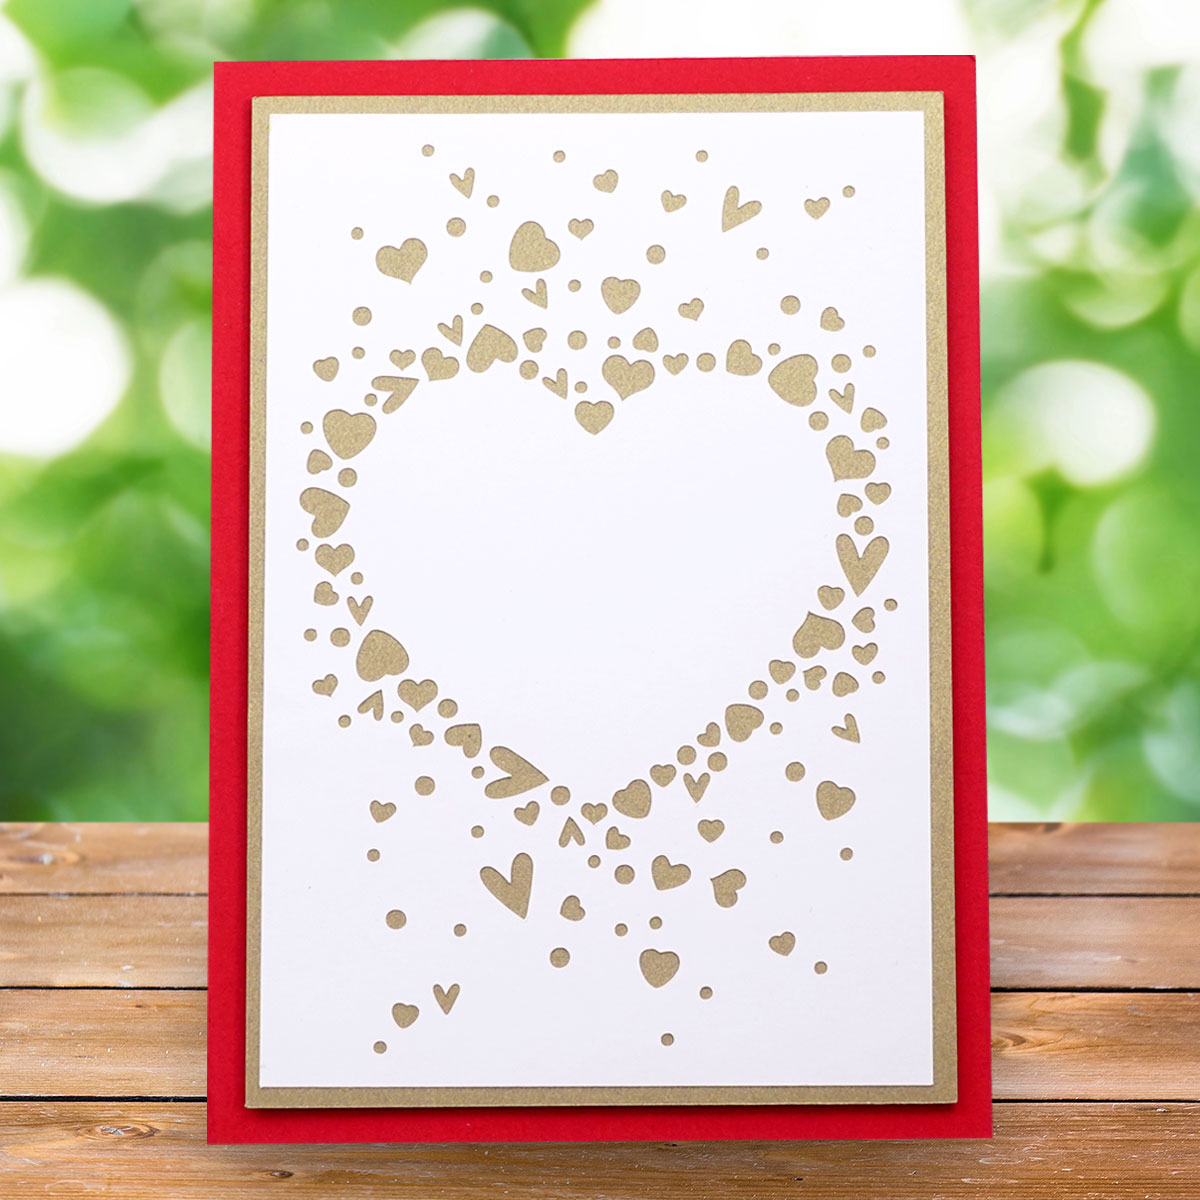
Whether you’re making a card for Valentine’s Day, an anniversary, a wedding, or simply to tell someone you care, this simple layered design is beginner-friendly and makes a beautiful handmade card.
Keep reading to the end of the tutorial for even more card designs in the same cutout shapes style.
Video tutorial for heart cutout shapes card
Watch the video below to see how to make this craft project. Keep scrolling for a written tutorial.
Materials list to make a heart greetings card
Here is a list of the materials to make this project.
Please note that some of the links included in this article are affiliate links, which means that if you click through and make a purchase I may receive a commission (at no additional cost to you). You can read my full disclosure at the bottom of the page.
- Cricut Machine
- Light blue Cricut cutting mat
- Coloured Card
- Patterned paper
- Collall All Purpose Glue, Bearly Art Glue or similar
- 3D foam pads (optional)
- Cricut scoring wheel or scoring stylus (optional)
Cutout shape card assembly instructions
Here’s how to make cutout shape cards using a Cricut machine.
Step 1) Download the free file & unzip the download folder
Download the Free Cutting File
Please login to your account to download this file.
TERMS OF USE:
You may sell finished, handmade physical craft items that you have made using this product but must not sell or share the digital files. Read full terms of use
Before you upload the SVGs to Design Space, you need to unzip the download folder that they come in.
Not sure how to do this? Click here for a tutorial that covers all the following types of computer and device:
- How to unzip a folder on a Windows computer
- How to unzip a folder on a Mac
- How to unzip a folder on an iPad
- How to unzip a folder on an iPhone
- How to unzip a folder on an Android device
After unzipping, upload the SVG file(s) into your cutting machine software.
Not sure how to use cut files with your type of machine? The following links lead to tutorials on how to use cut files in:
- Cricut Design Space
- Silhouette Studio
- CanvasWorkspace (for ScanNCut machines)
Step 2) Upload the SVG file into Design Space
If you are using Cricut Design Space, start a new project and then click the “Upload” button on the left of the screen.
You can then either click “Browse” to find the file on your computer, or drag-and-drop it.
Select the file that starts svg- in the filename.
Press “Upload” on the next screen.
After uploading, the design should be automatically inserted onto your Canvas.
To hide the left sidebar (to give you more space for designing!), click the arrow that’s about half way down the page.
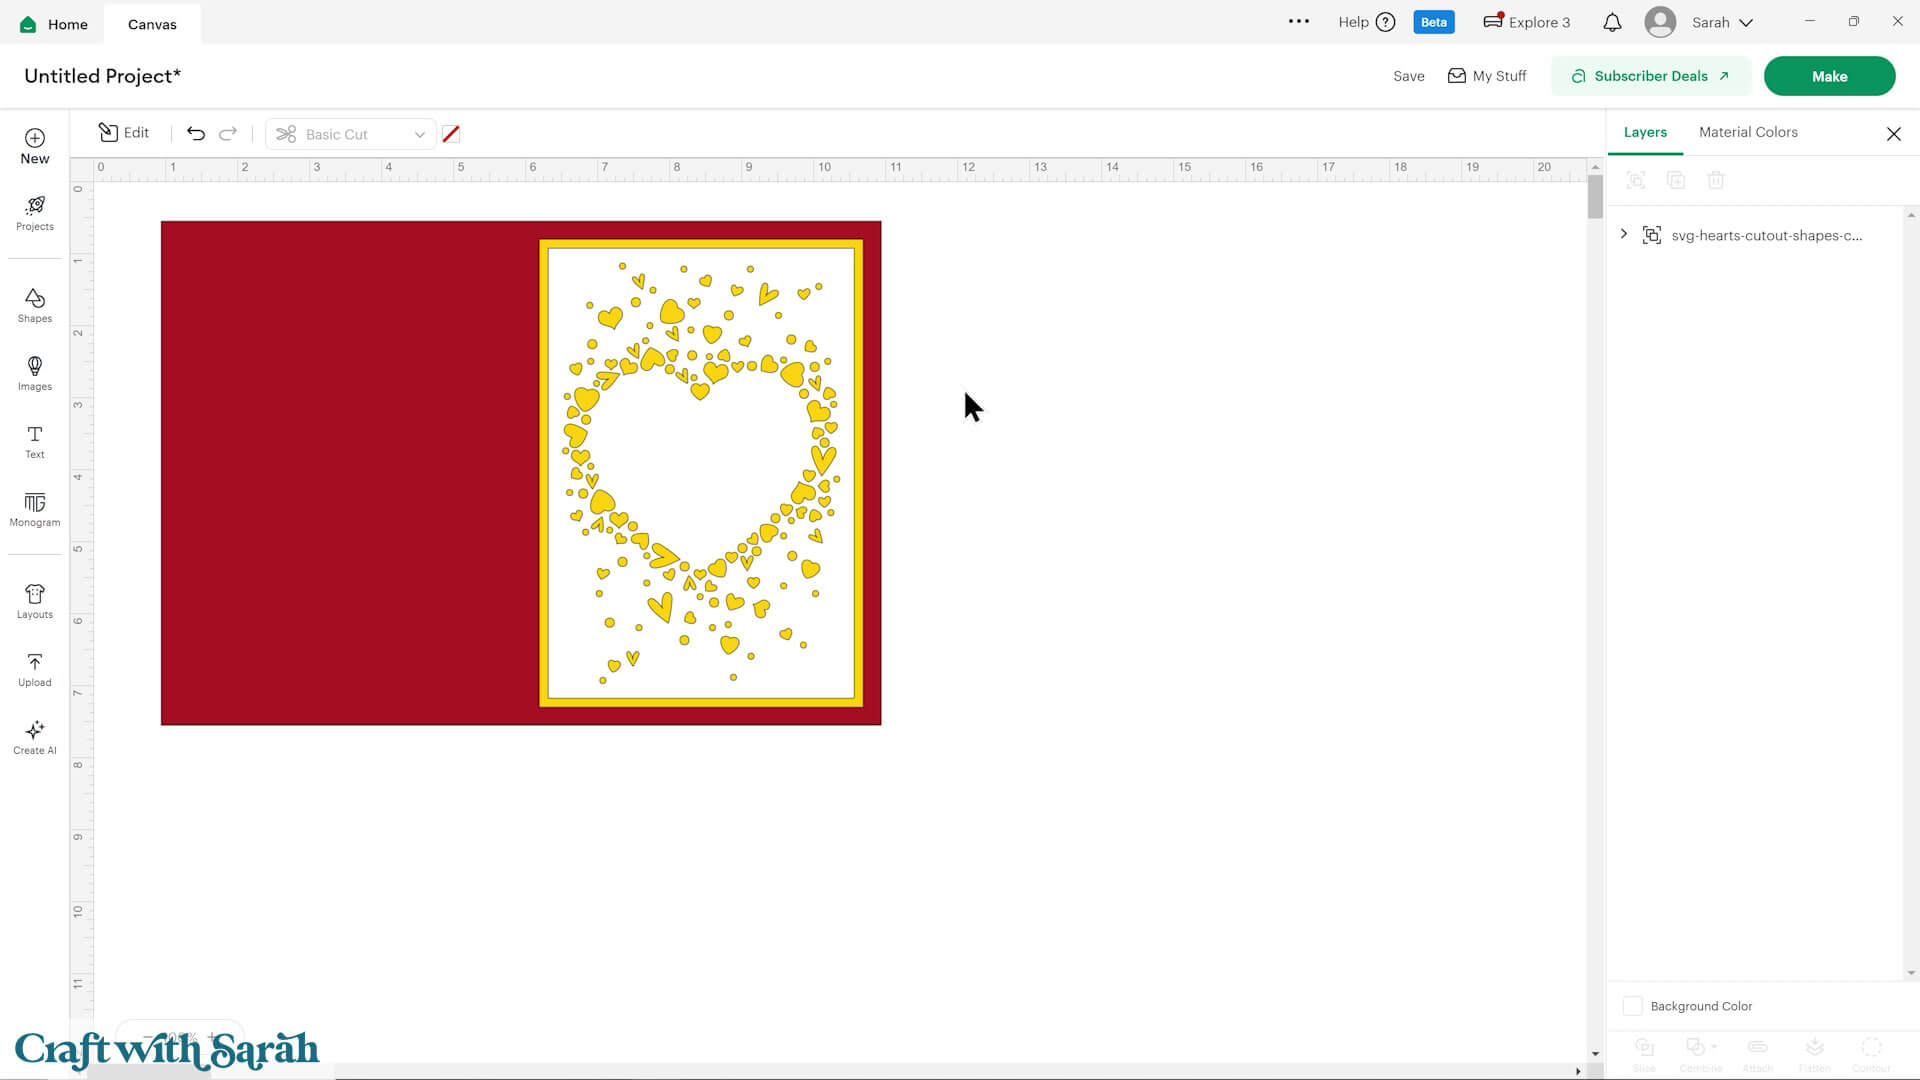
If the design doesn’t get inserted onto your Canvas, it will show under “Uploads” in your “Recently Uploaded Images”. Click on it and then press “Add to Canvas” to put it onto your Project.
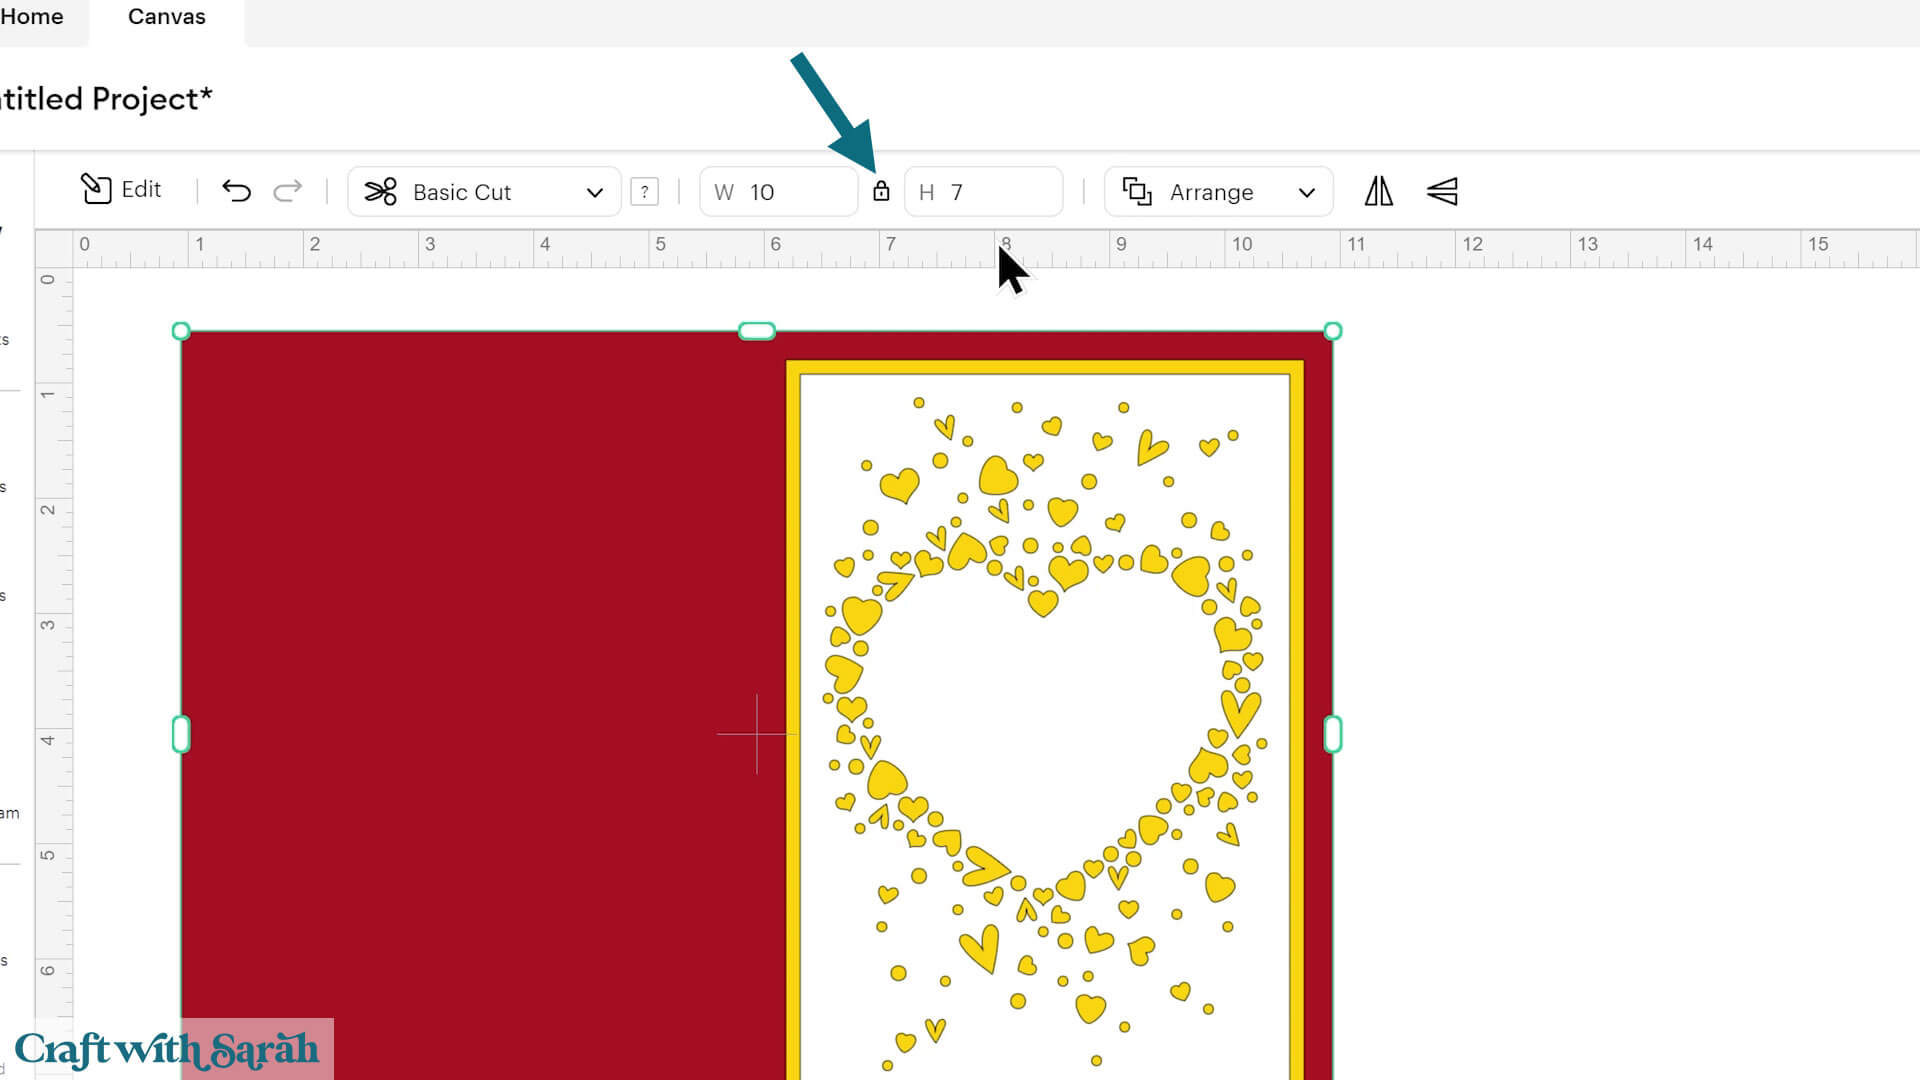
The card should load in at 10 inches wide and 5 inches tall. If yours is different, change it to match those measurements.
Step 3) Customise the design
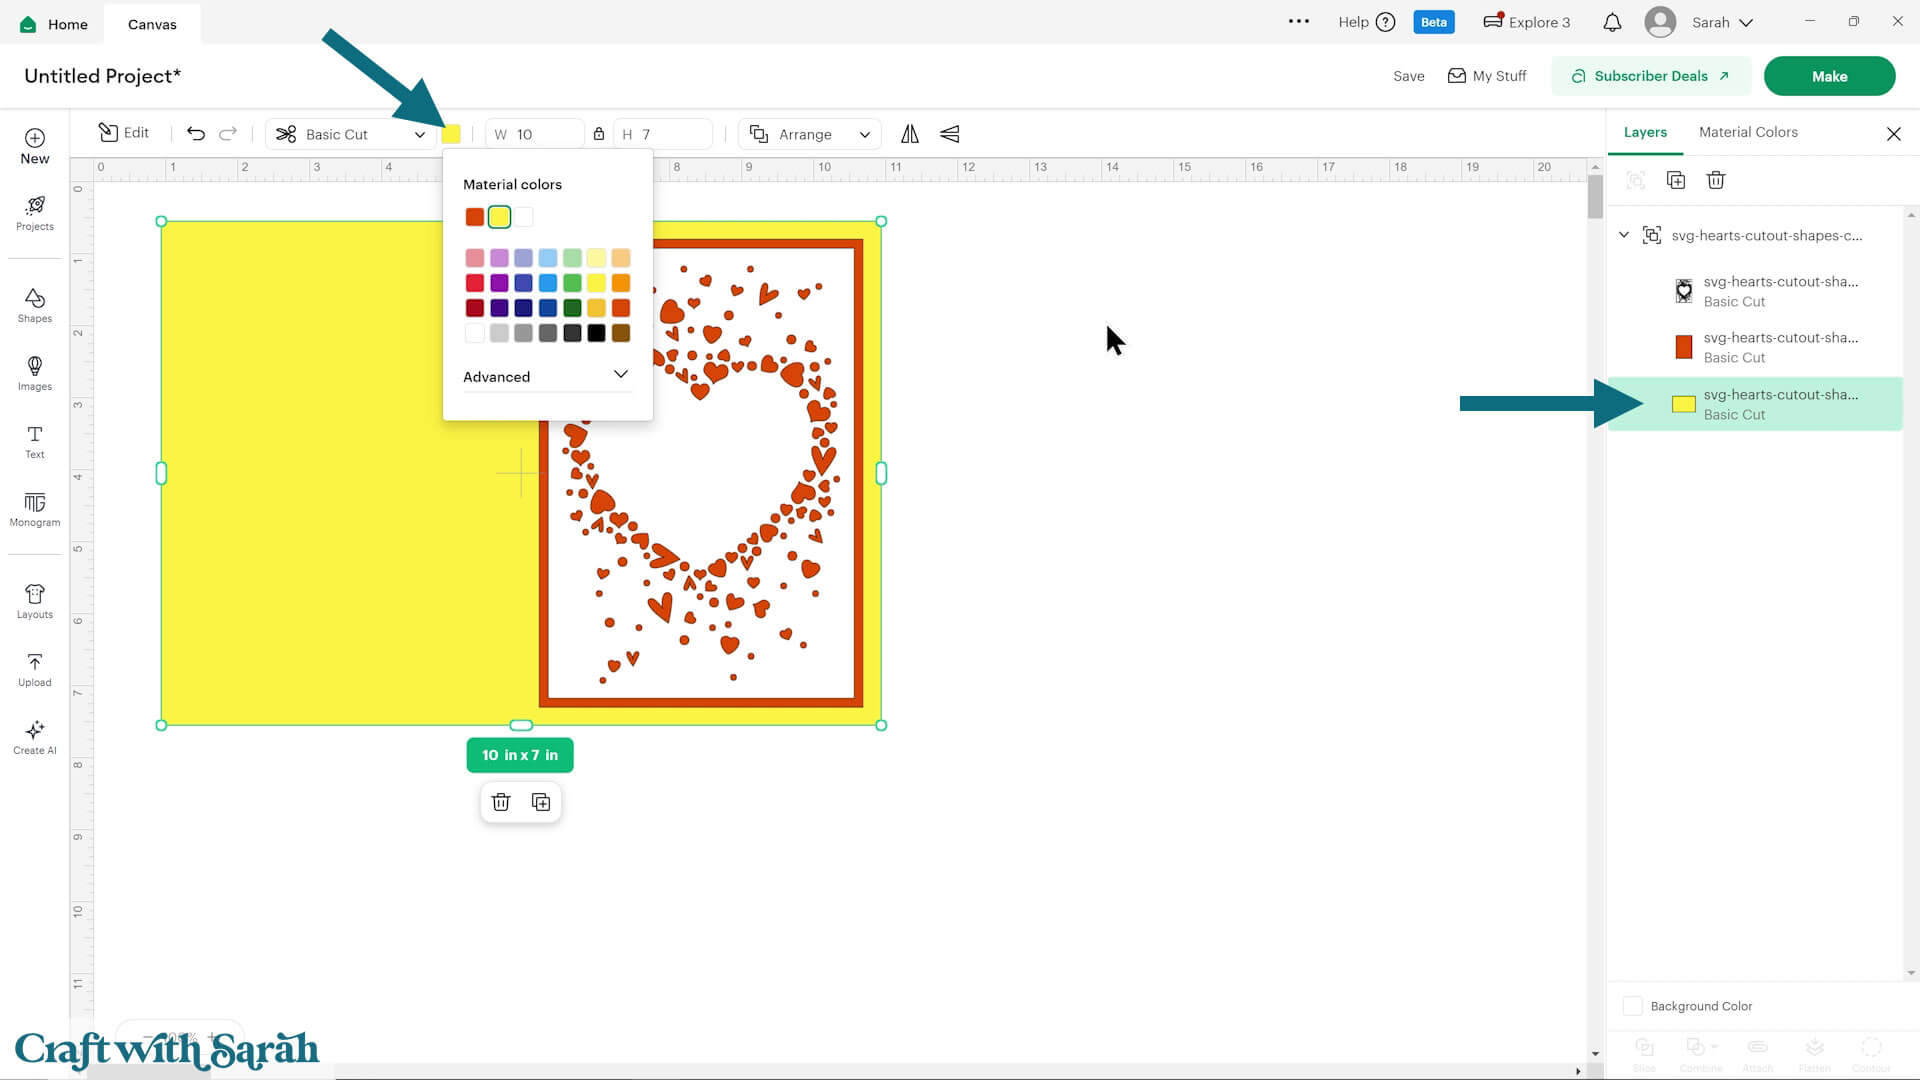
You can customise the design by changing the colours.
To do that, click the chevron icon next to the project name in the layers panel on the right of your screen.
Click each layer individually to change the colour.
This design relies on the contrast between the top layer and the backing layer.
The stronger the contrast, the easier it is to see the cut-out hearts.
For example:
- Black over gold creates a dramatic effect.
- White over gold gives a much softer appearance.
- Dark colours over light colours generally make the design stand out the most.
Adding a score line makes folding the card much easier.
To do this, first Ungroup the design.
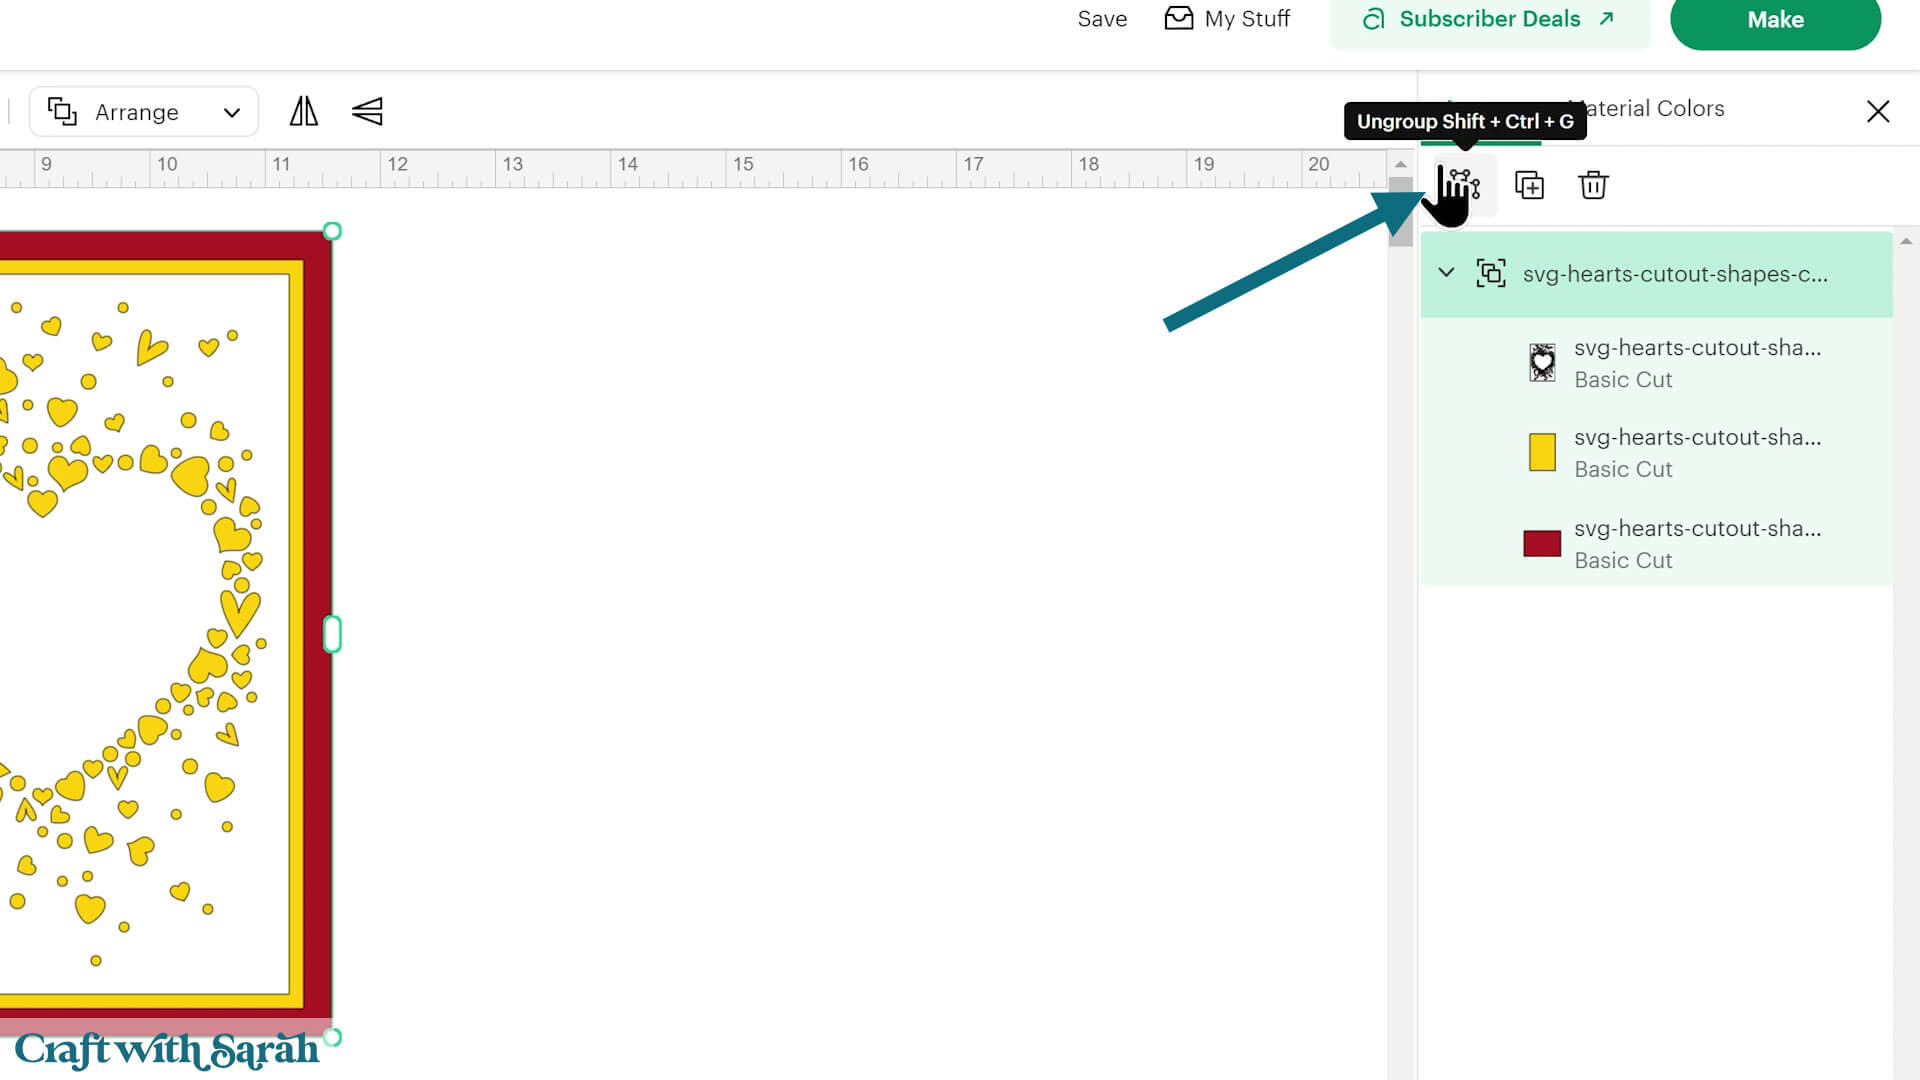
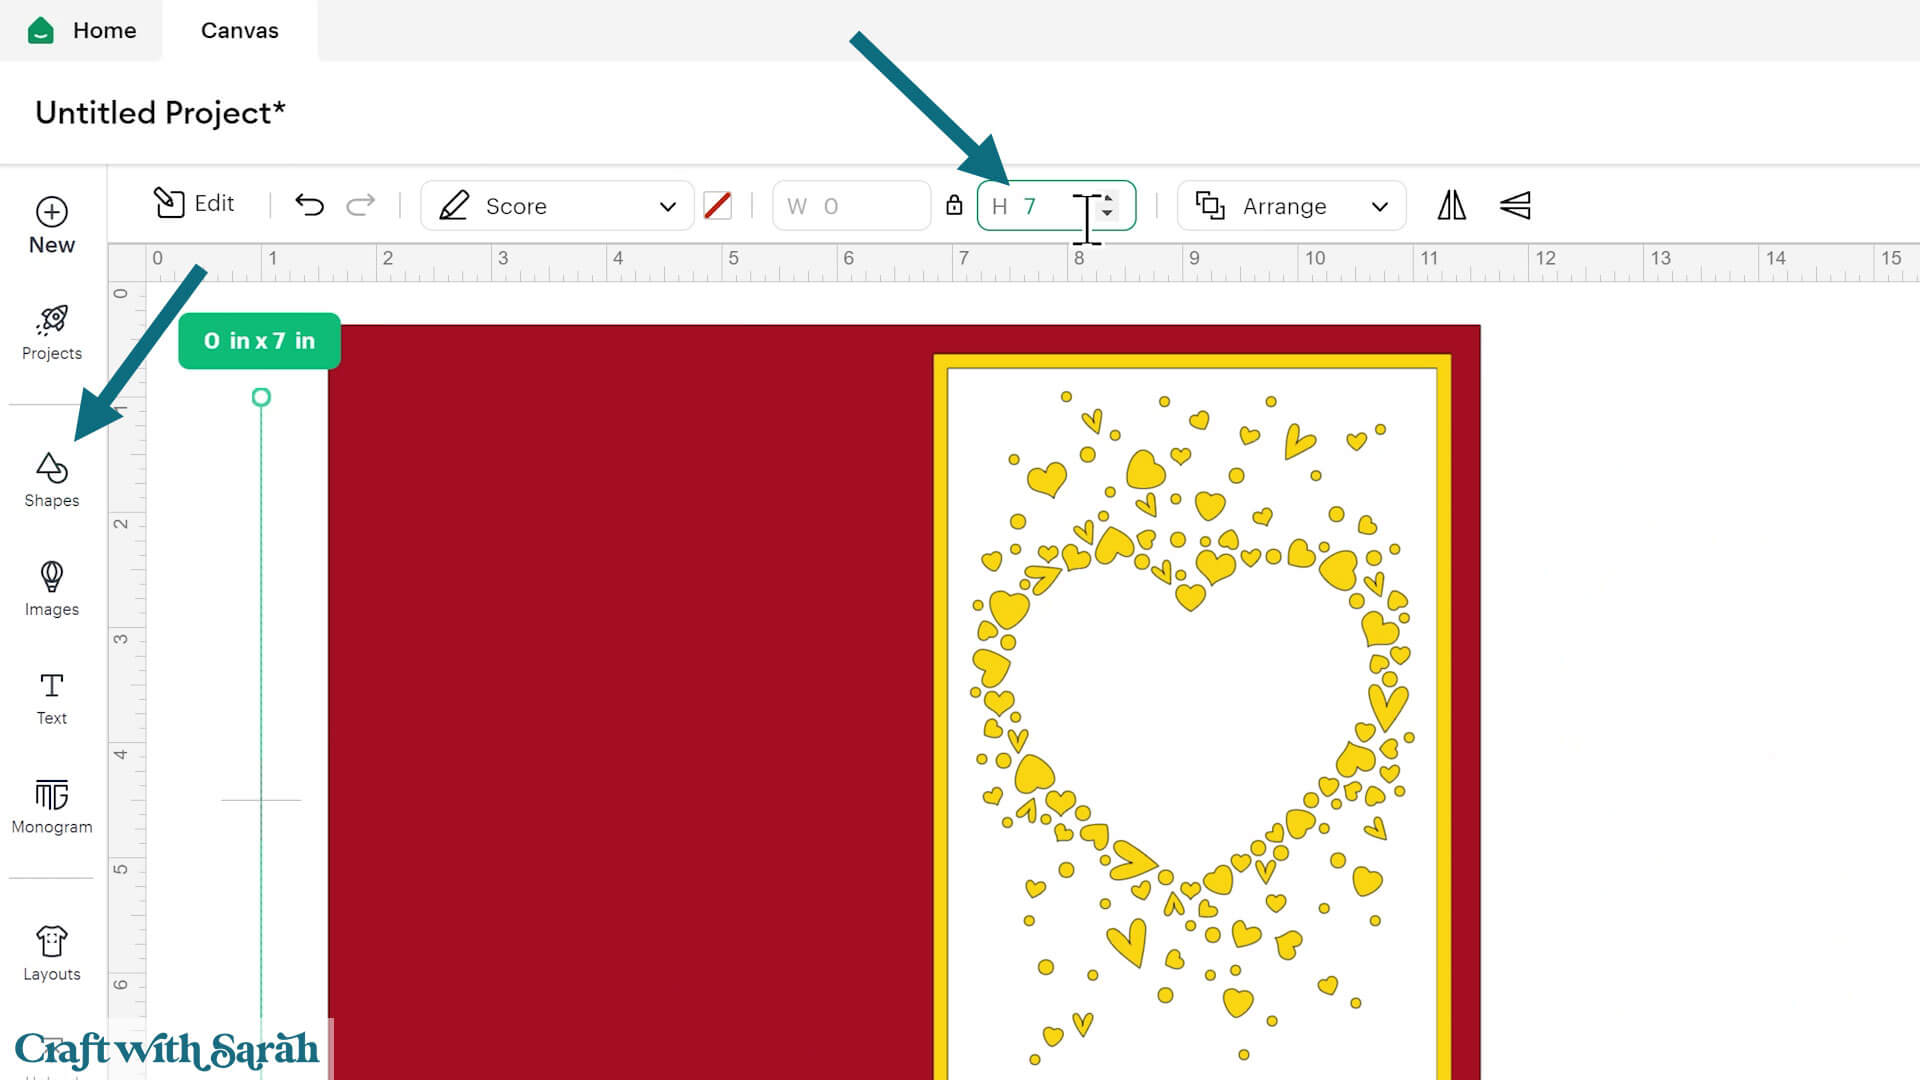
Go to Shapes and insert a Score Line.
Change the score line height to 7 inches.
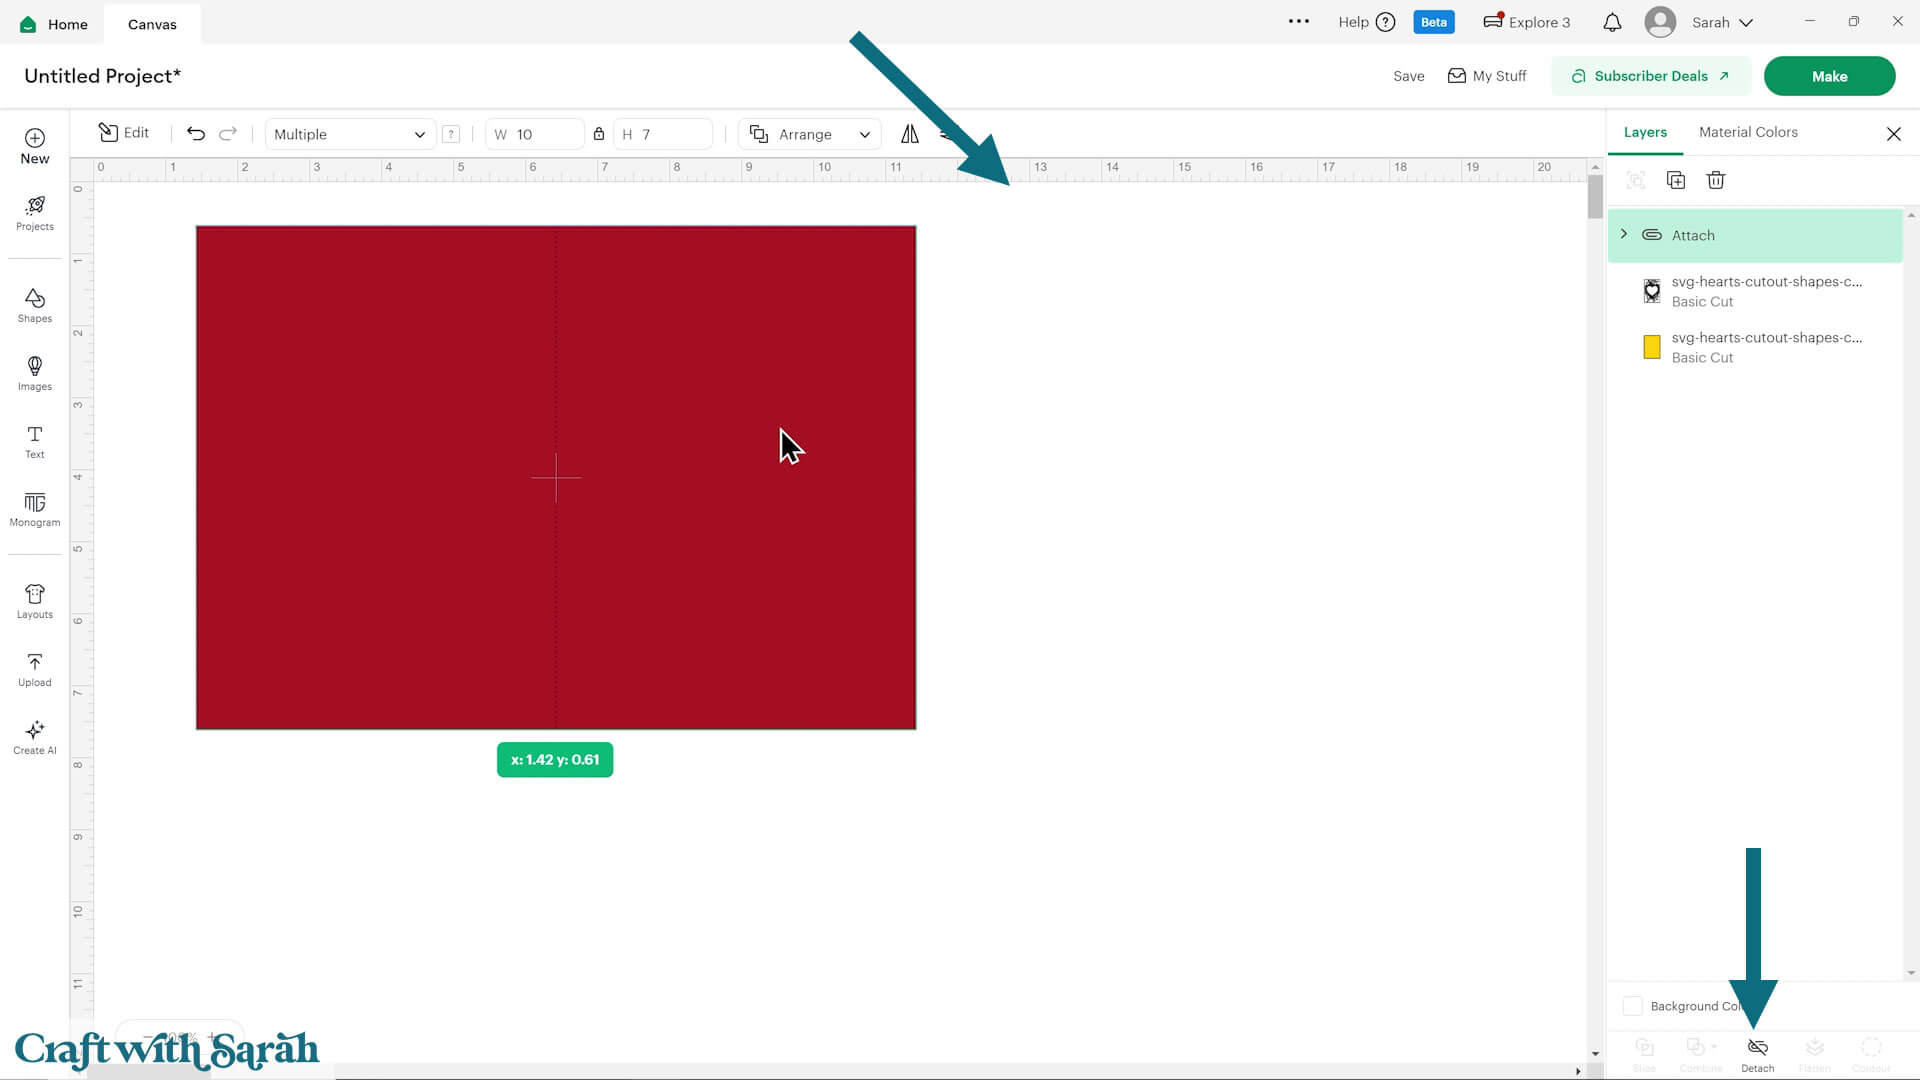
Select both the score line and the card base.
Click Align > Center to put the score line exactly in the middle of the base card.
Click Attach to join the score line to the base card so that the Cricut knows where to score.
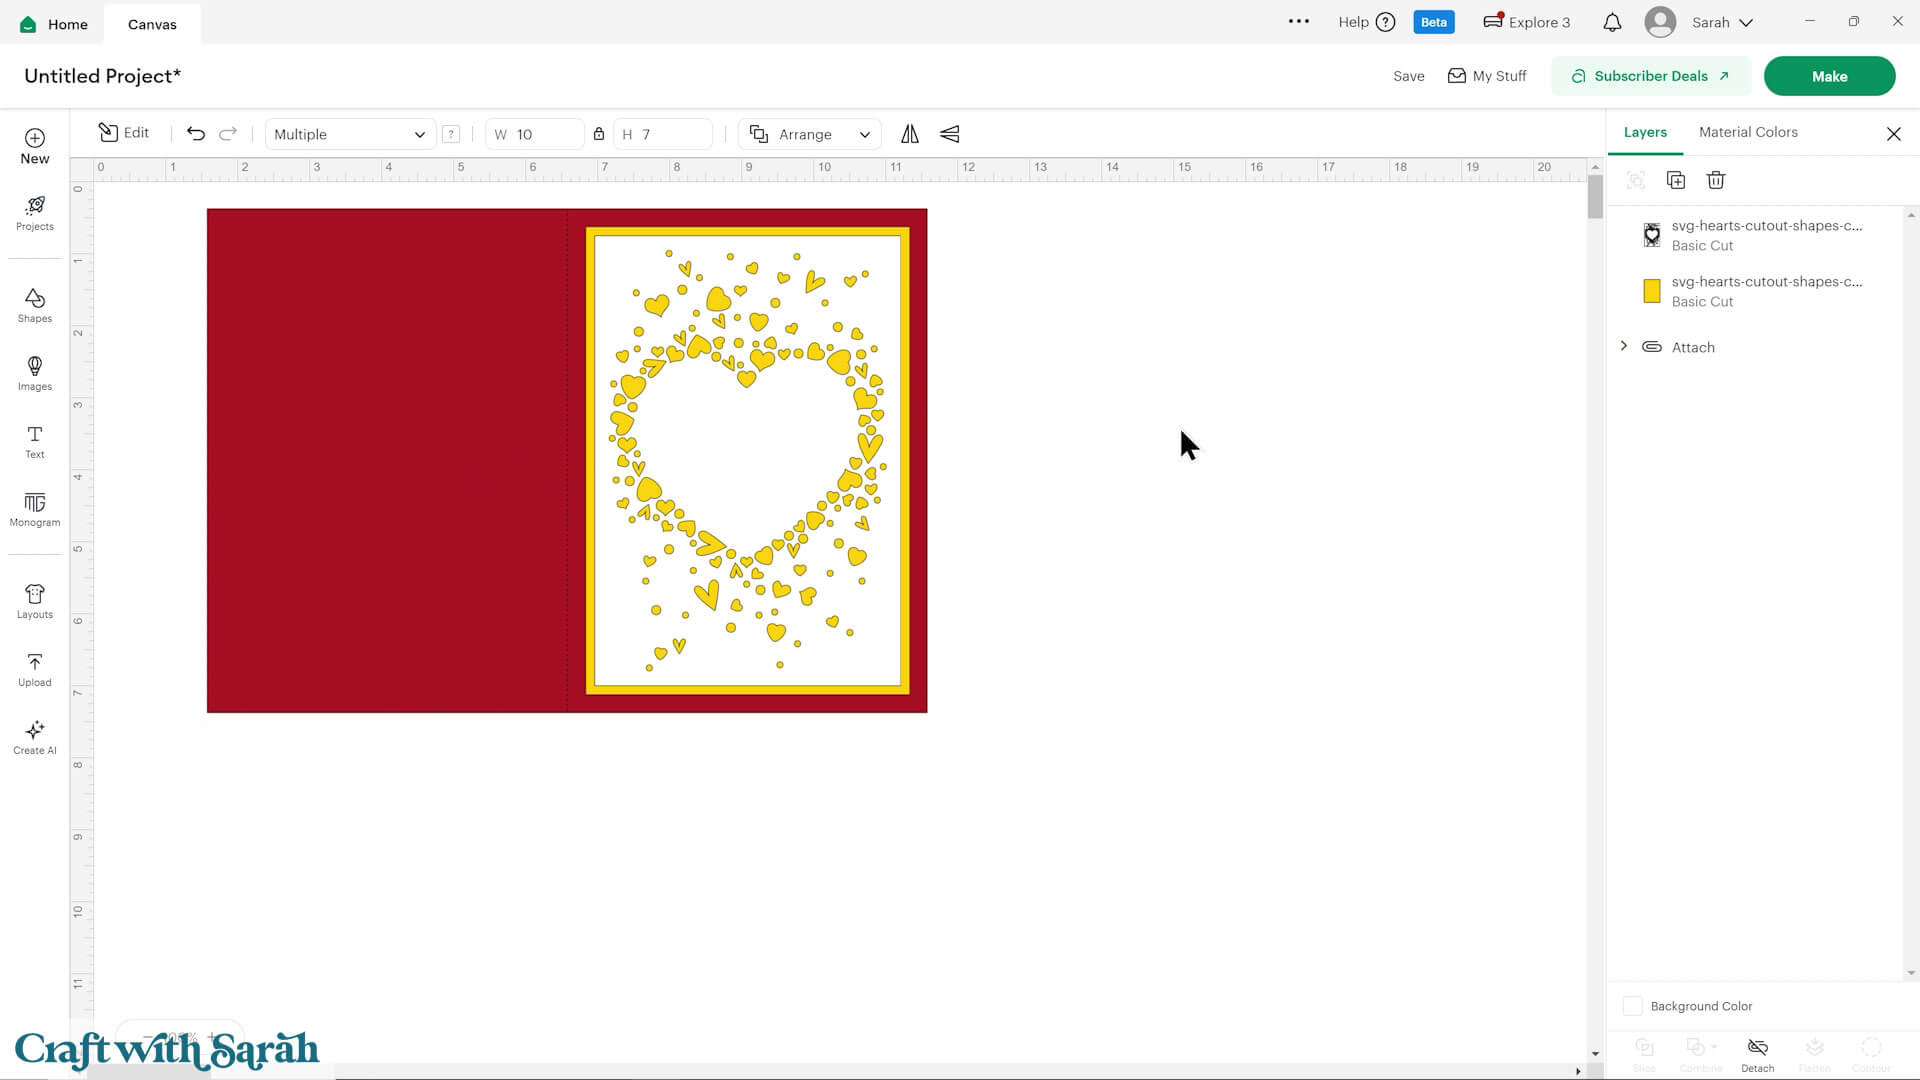
Drag the base card to the bottom of the layers panel (or press Arrange > Send to Back) and put it back into position.
Step 4) Cut the design
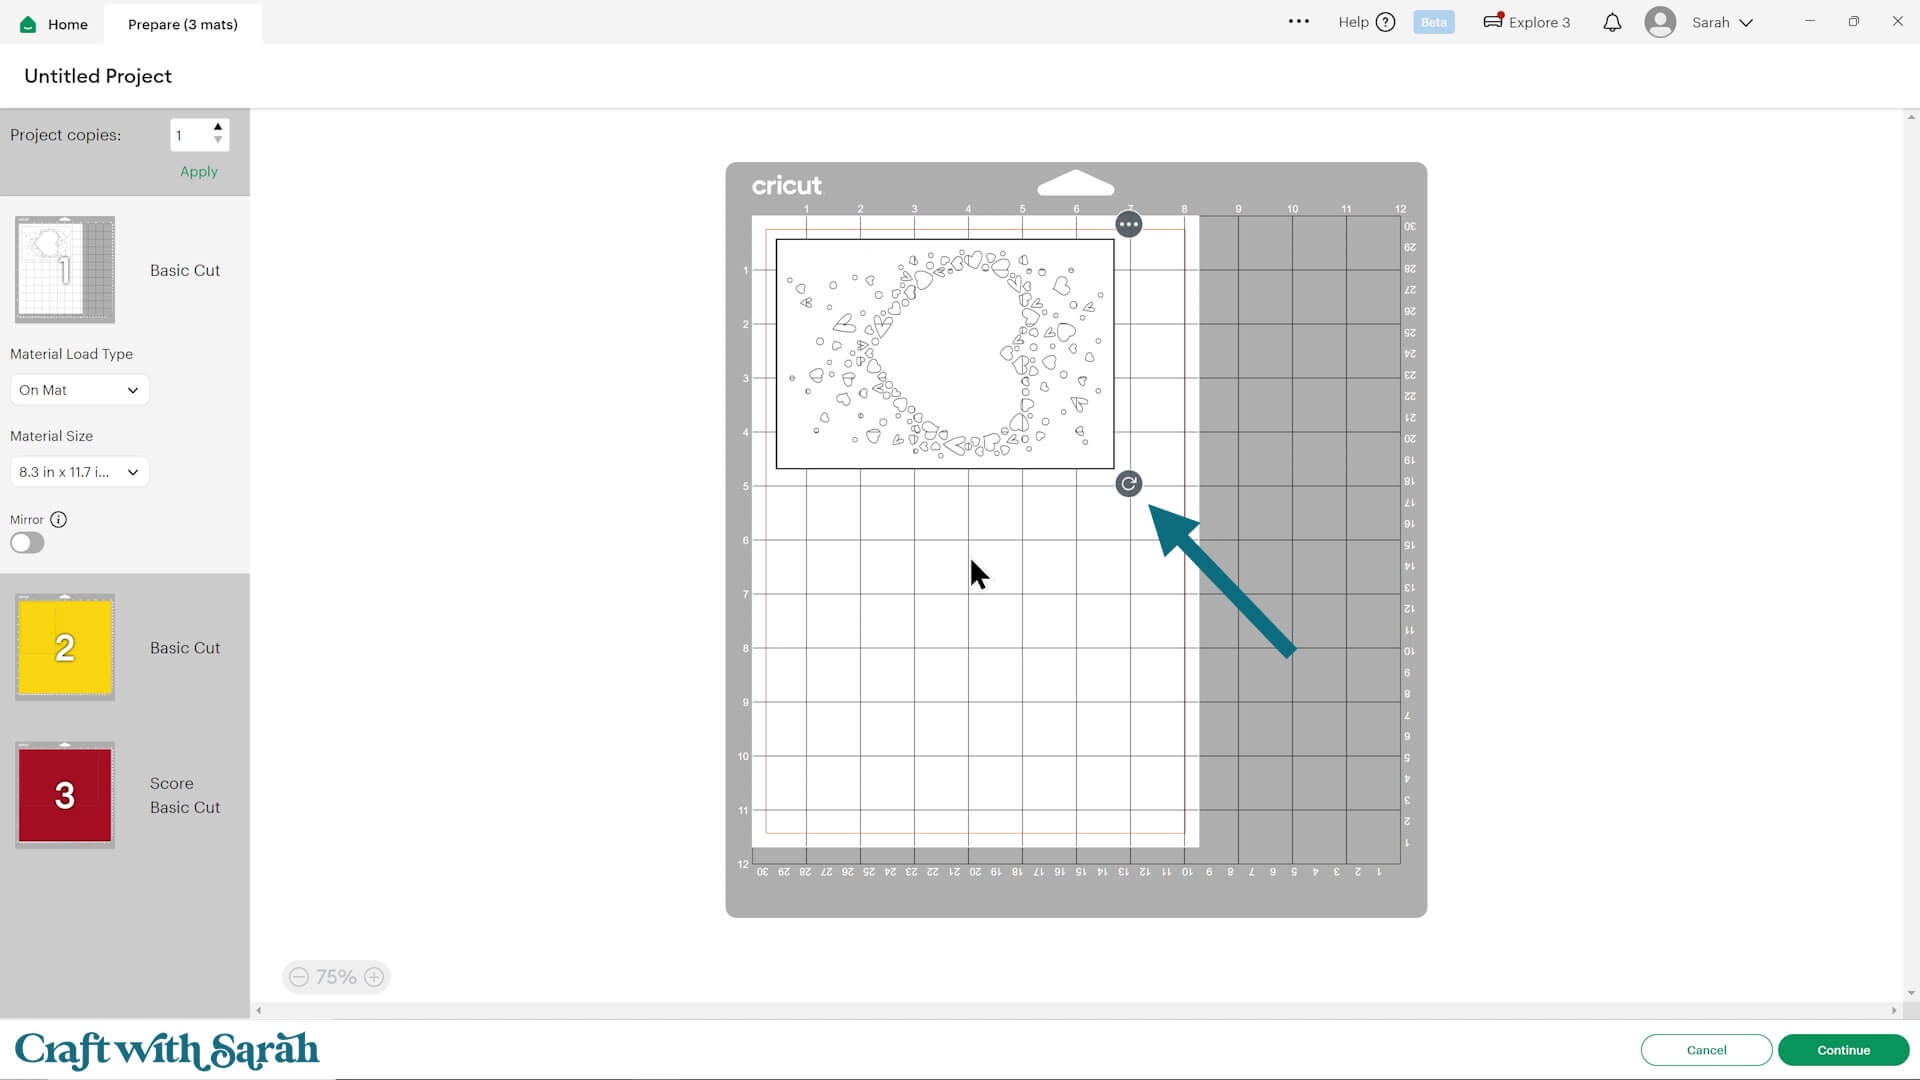
When you’re happy how the project is looking in Design Space, click “Make” and follow the instructions on-screen to cut out all the layers.
Change the paper size with the dropdowns on the left of the screen. You need to change it for every colour.
Rotate the pieces around to use up less of your cardstock.
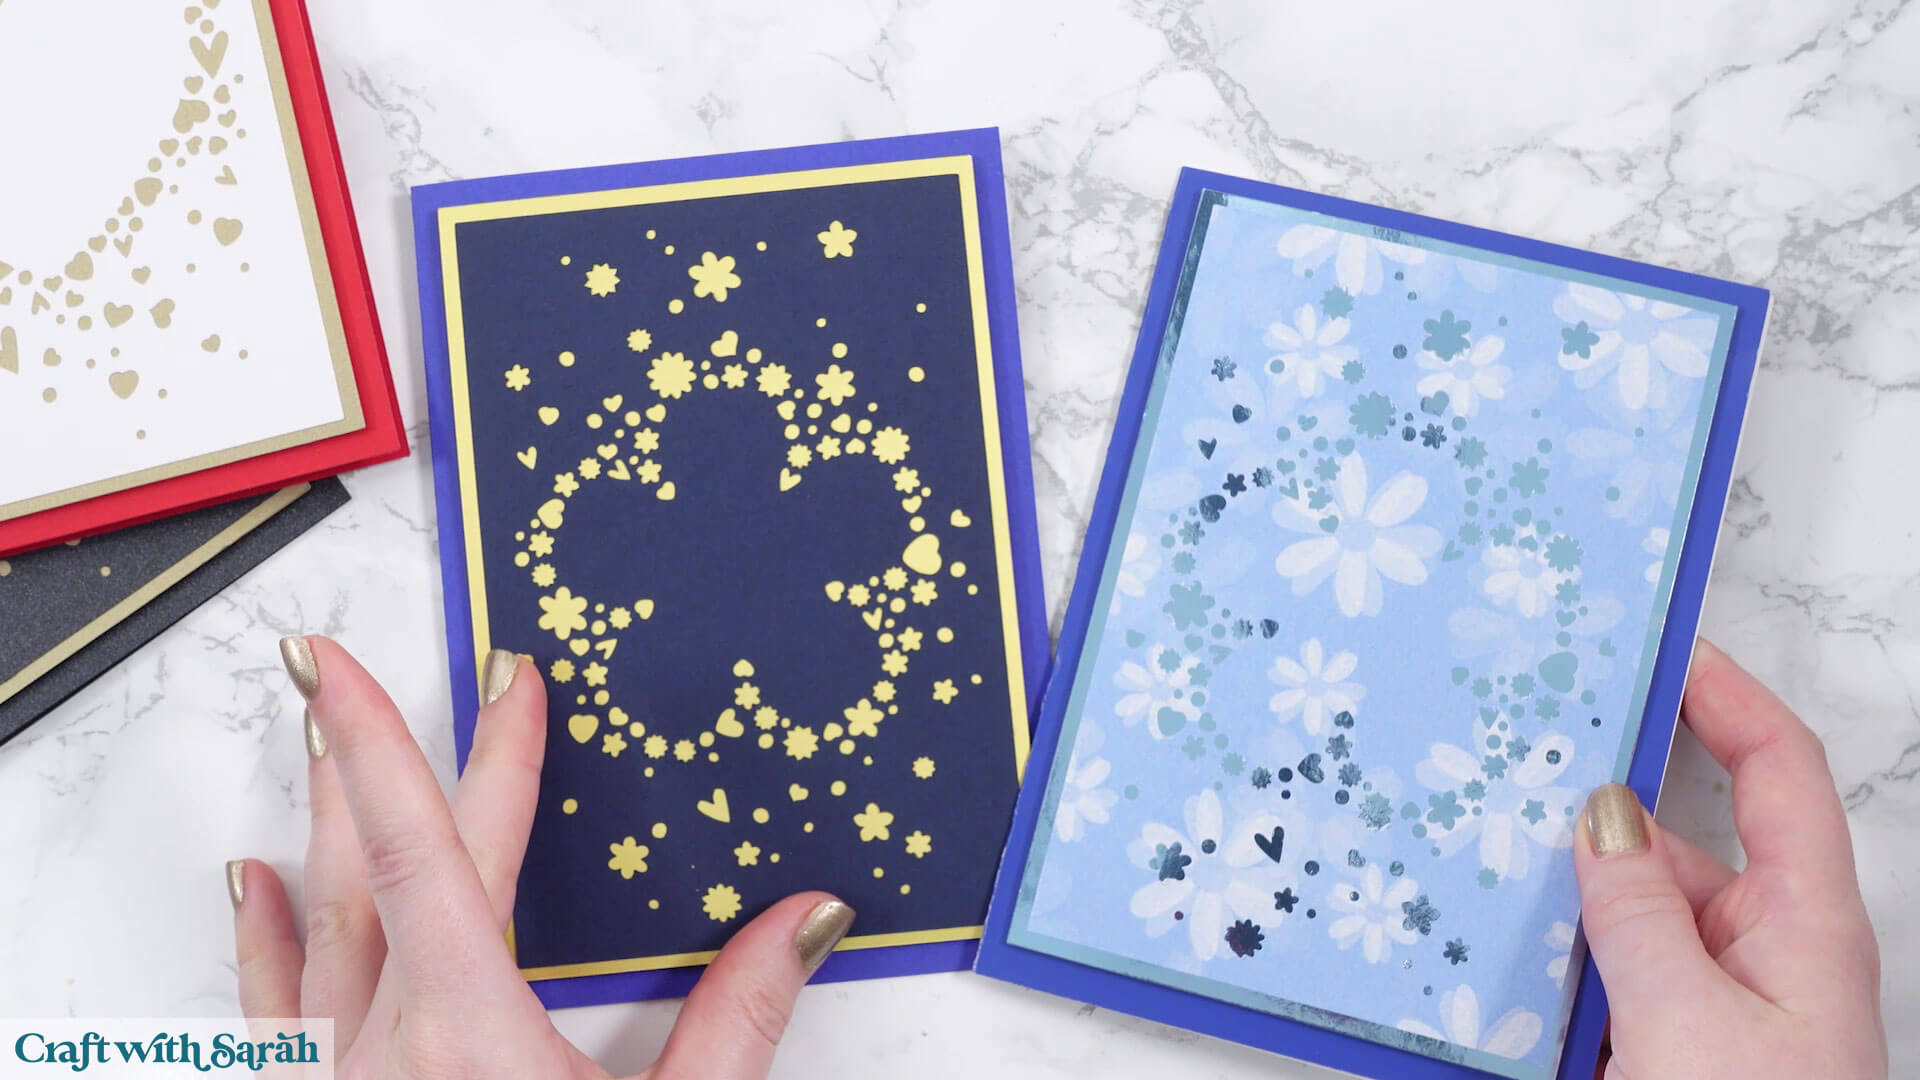
When choosing your patterned paper, choose carefully. Subtle patterns such as marble, gradients, tone-on-tone textures or light geometric prints usually work much better than busy floral or picture patterns.
If both the top layer and backing layer contain lots of detail, the heart cut-outs can become difficult to see.
For example, in this flower card example, the version on the left with the darker card shows the cutout shapes much better than the one with the floral paper.
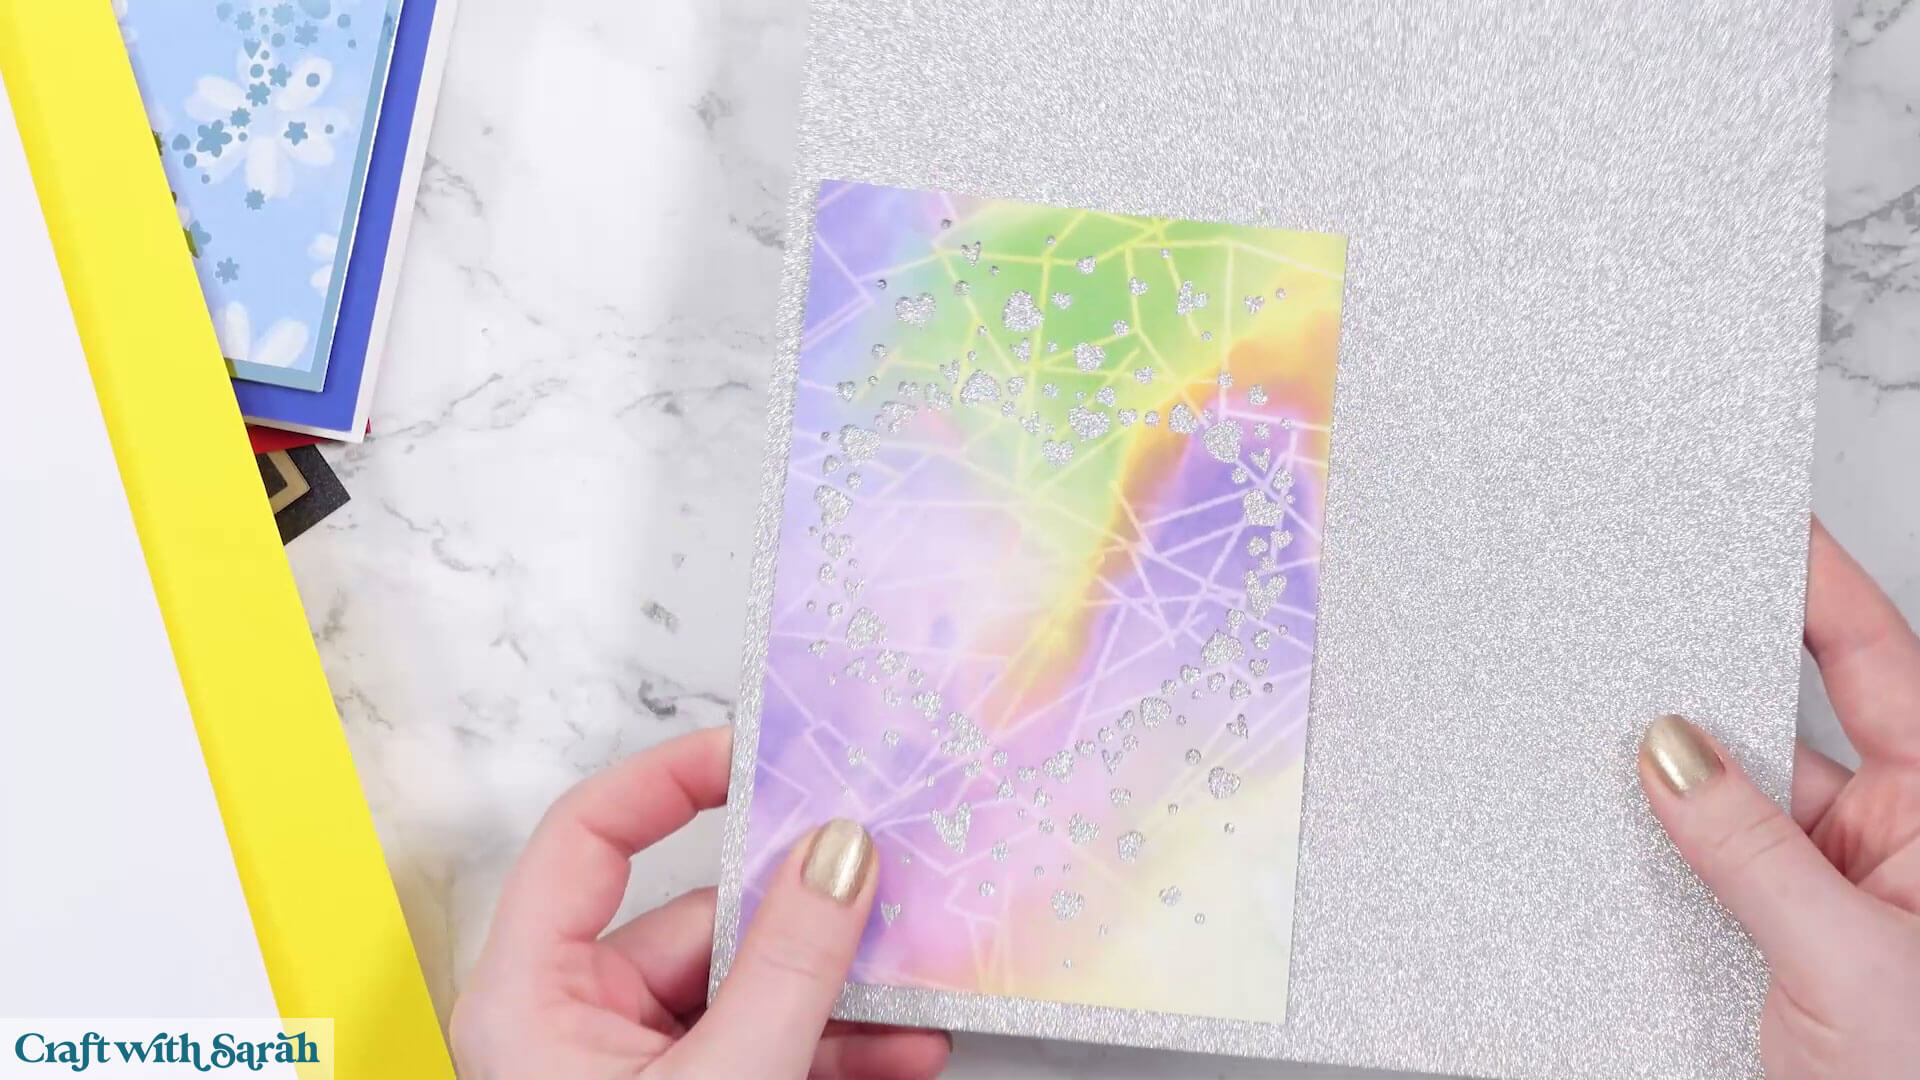
I like to cut the cutout shapes layer first before cutting the backing piece.
Then you can check the colours to make sure the shapes can be seen.
In this example, the silver card does not show the pictures in the heart very well:
But it looks much better on this rainbow coloured glitter card.
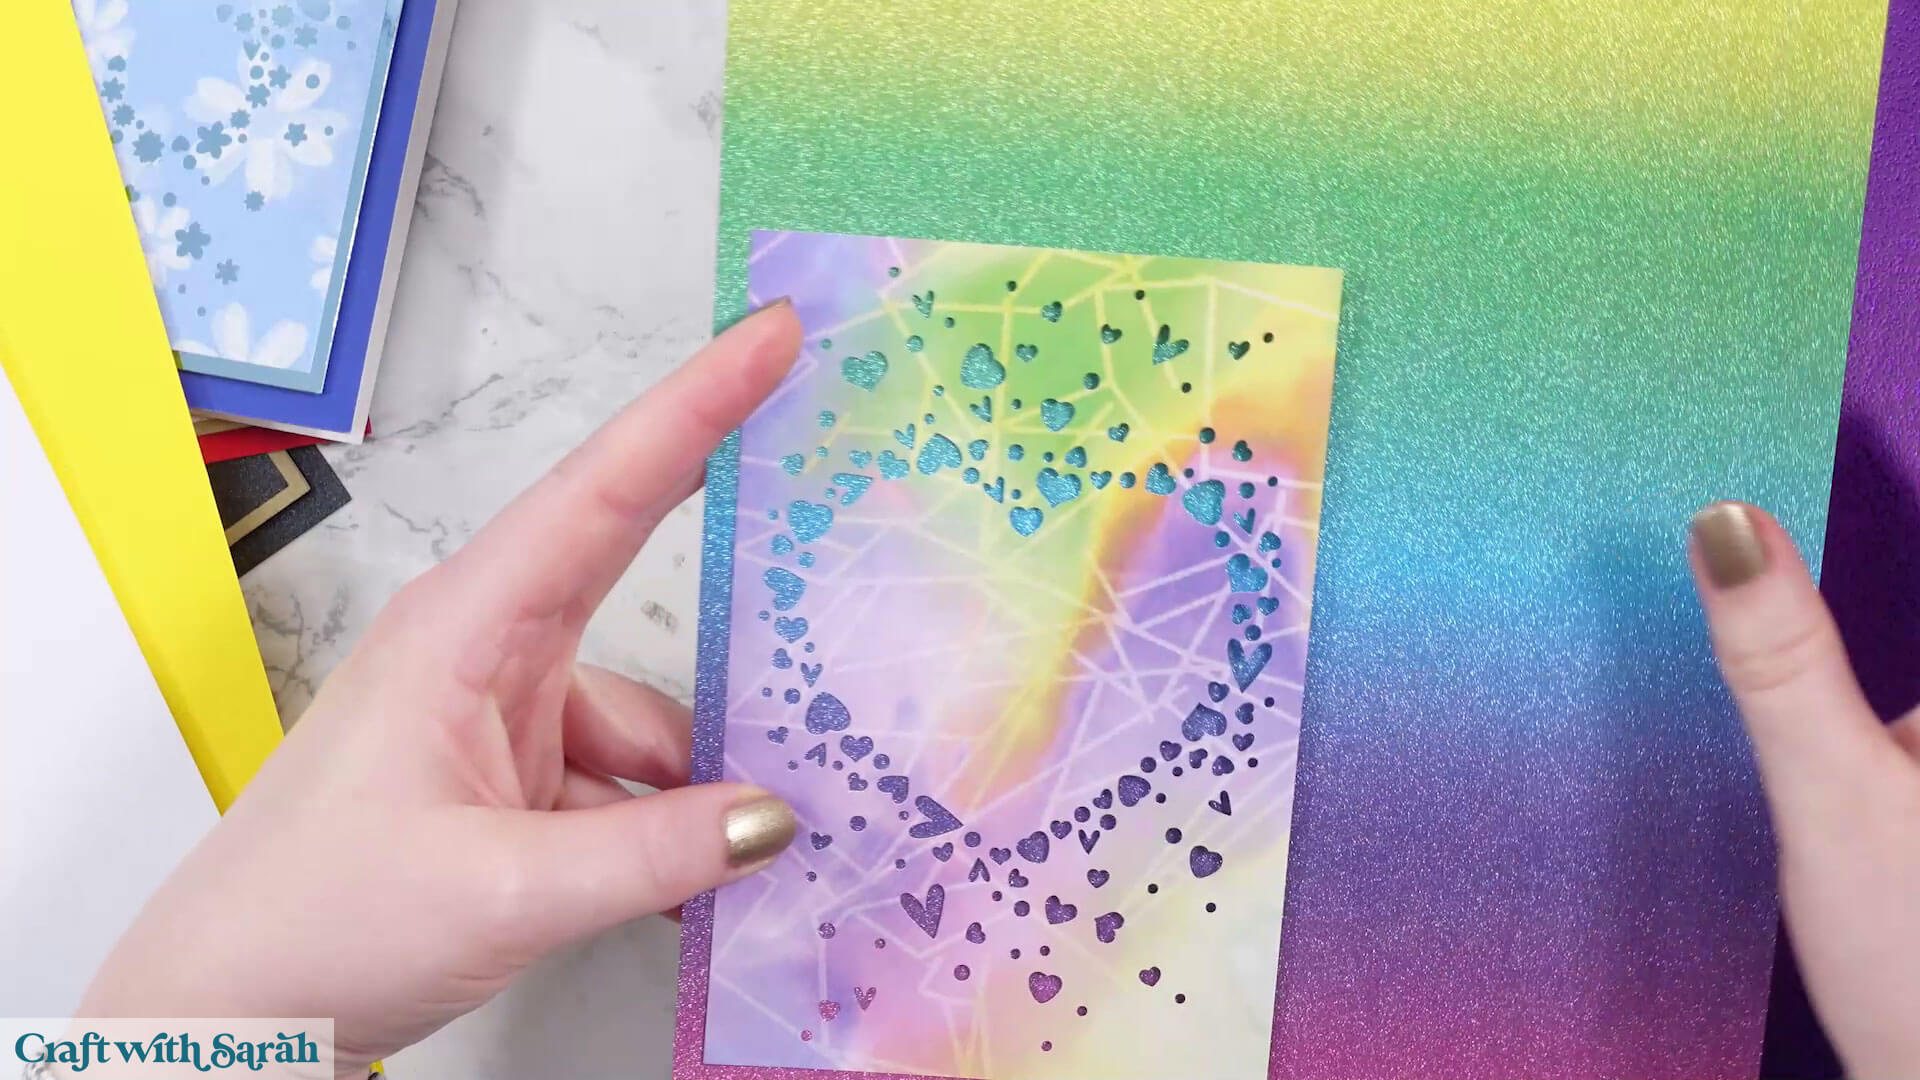
It’s event more effective on this purple metallic card.
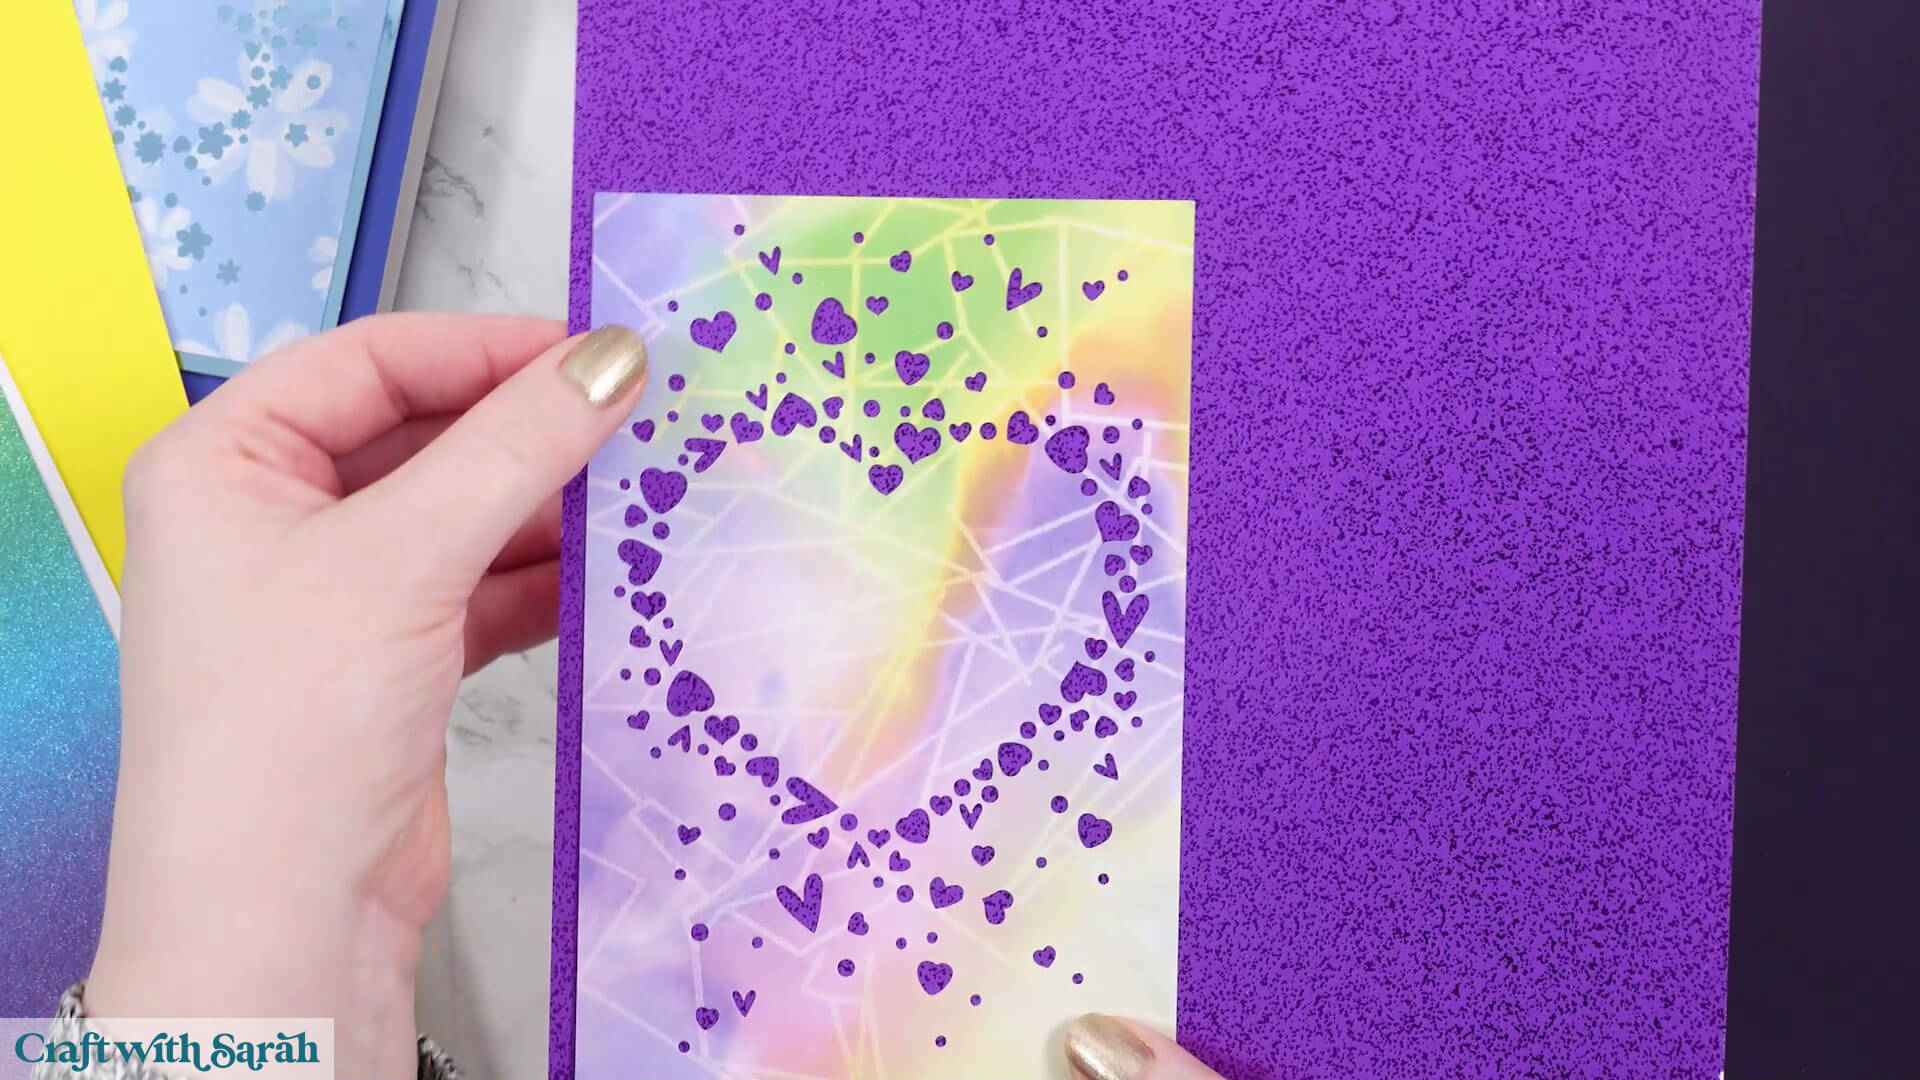
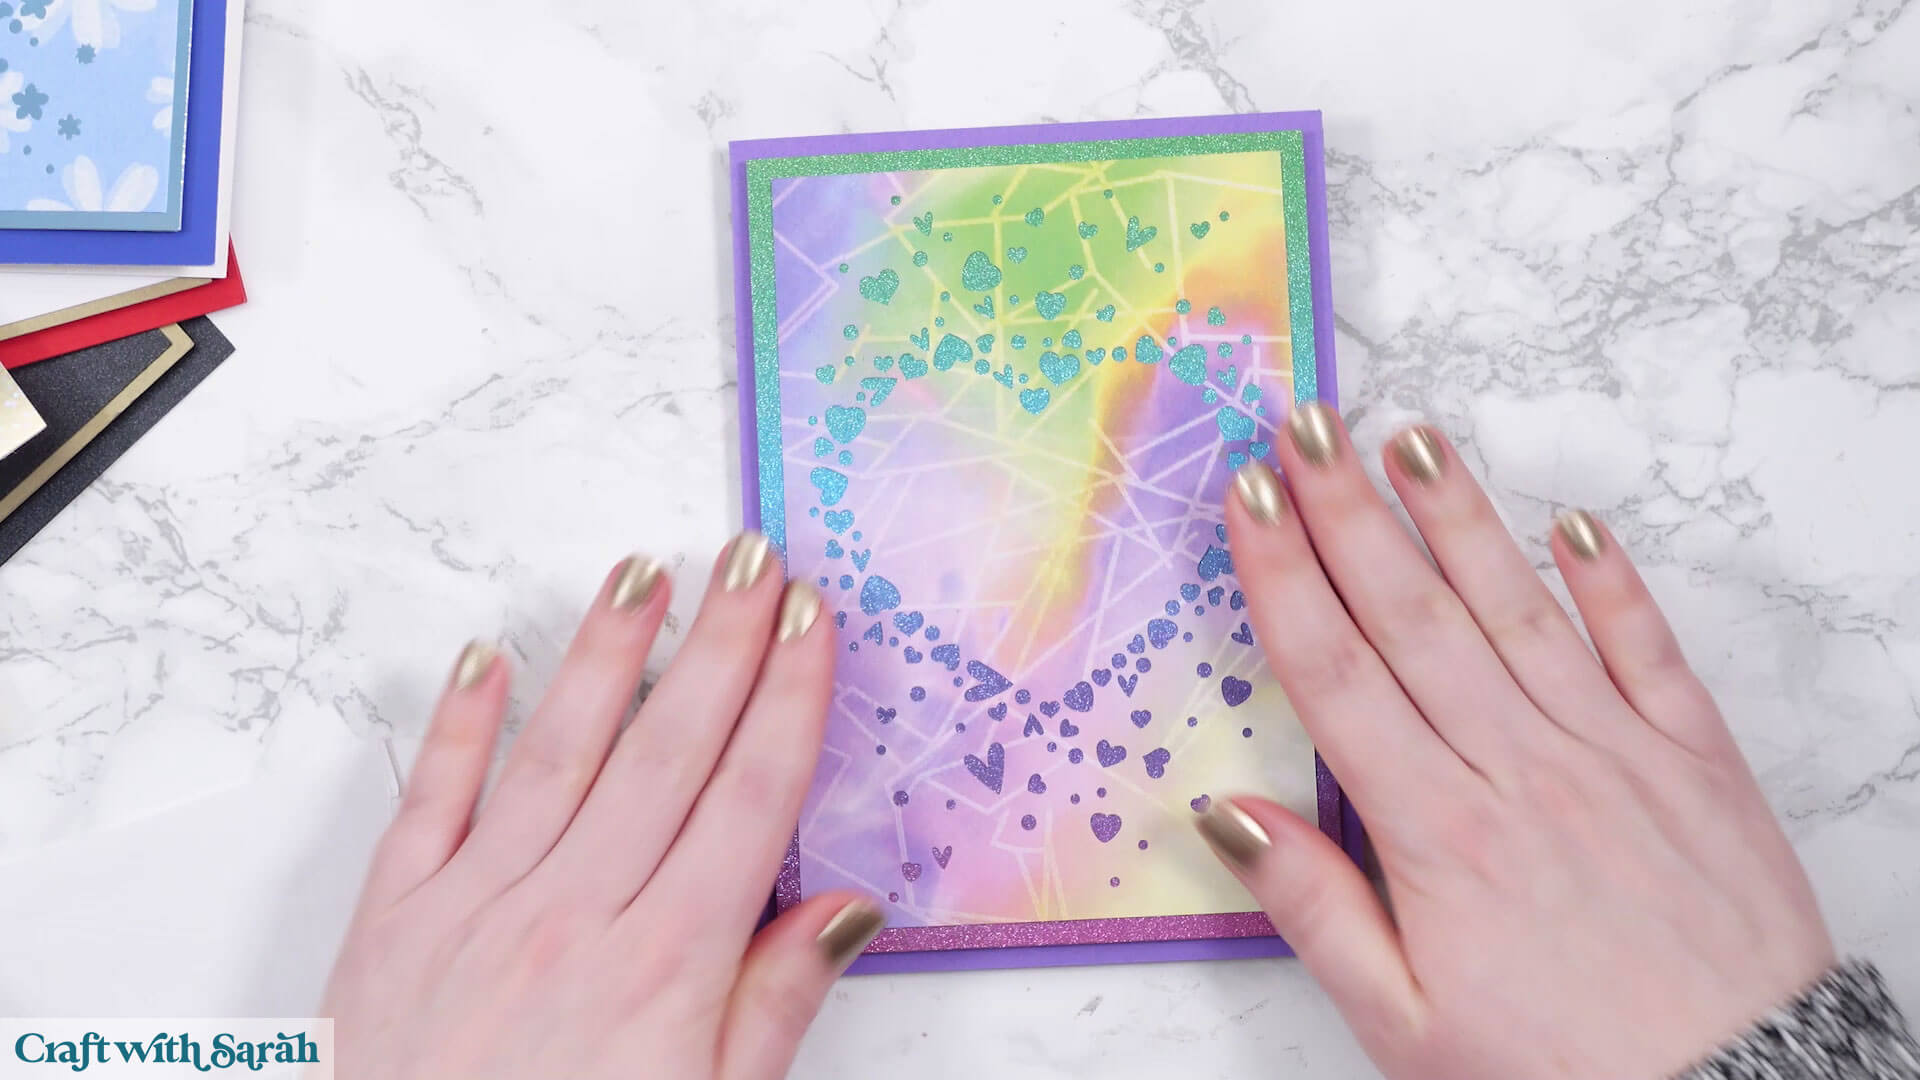
I decided to go with the rainbow card, as I liked how the rainbow in the glitter card matched with the rainbow effect in the patterned paper.
Step 5) Stick the card together
I used Bearly Art Glue to stick the project together.
It’s SO good because it doesn’t “warp” or bend the cardstock like some glues do. You can use as much of it as you want and the card stays perfect – and it dries perfectly clear too!
Collall All-Purpose Glue is another great one to use for cardstock, which is more readily available in the UK.
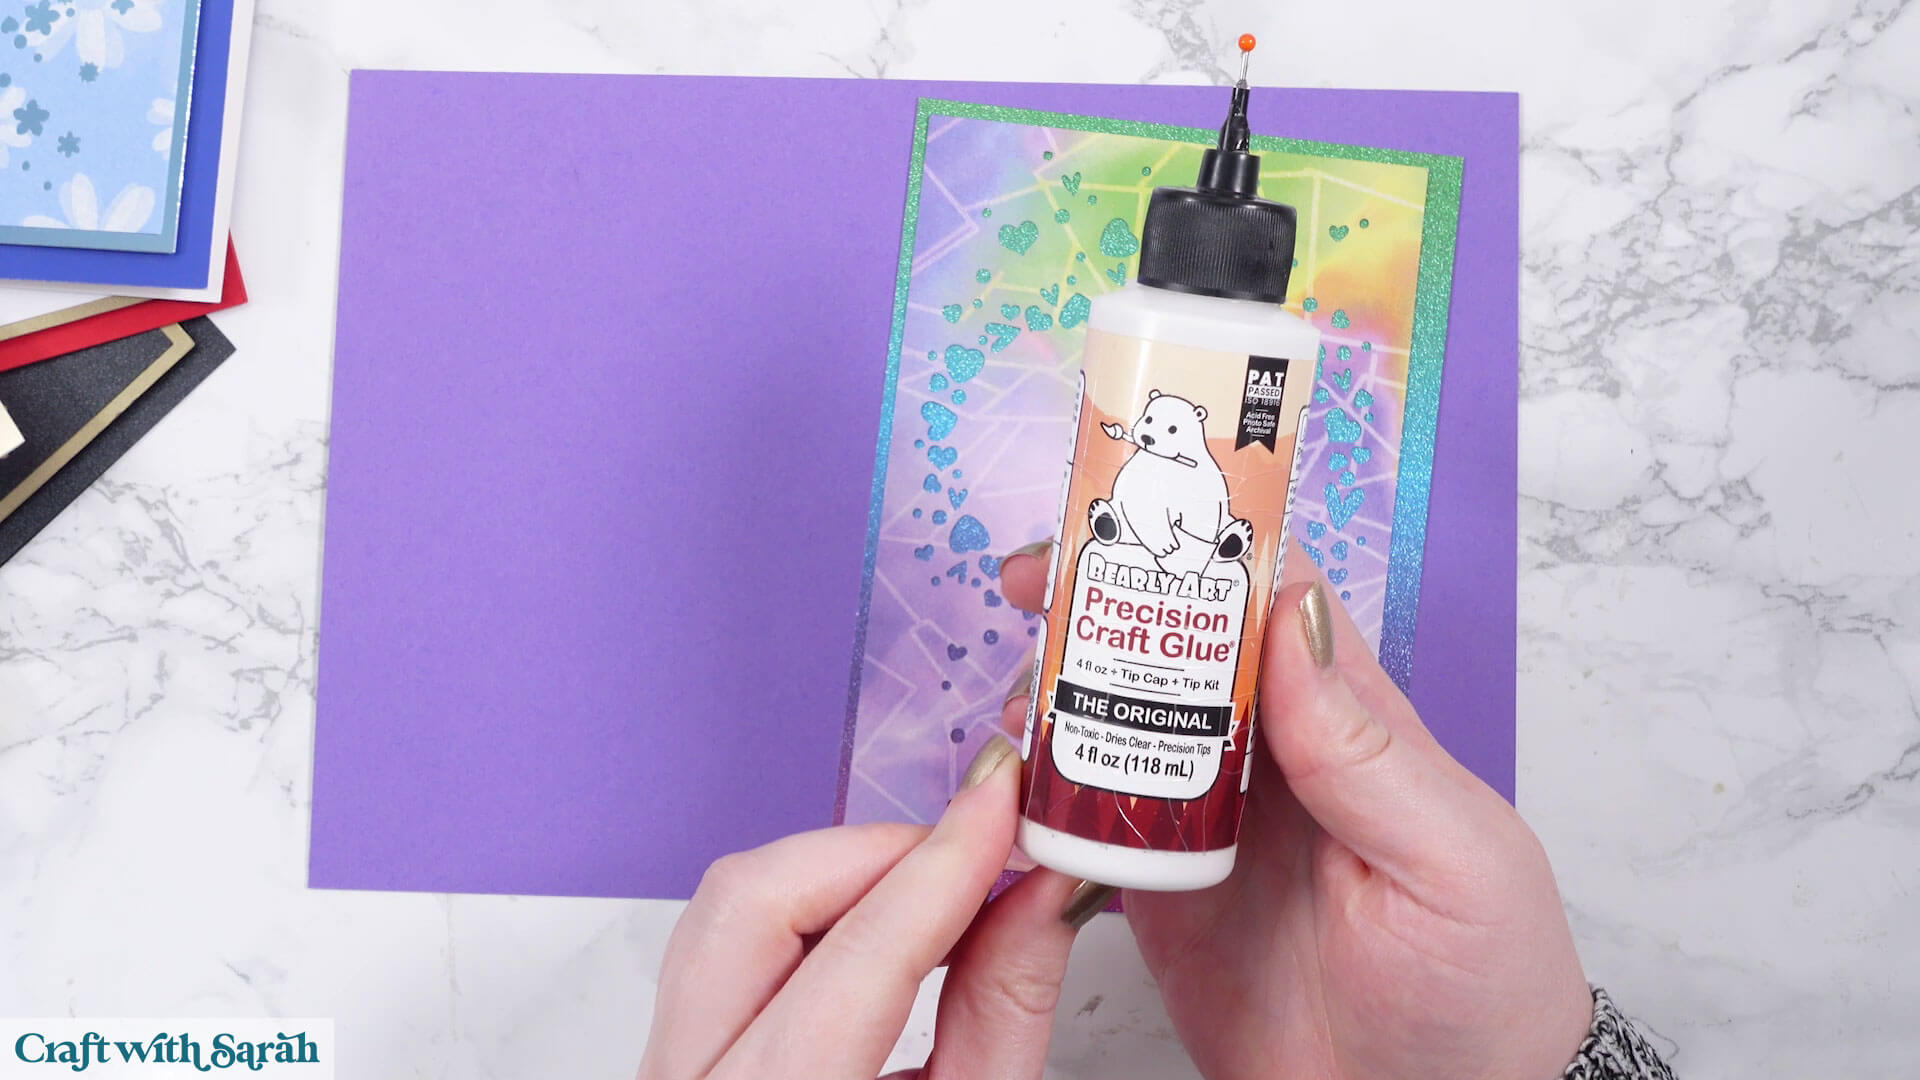
Glue the cutout shapes layer onto the backing.
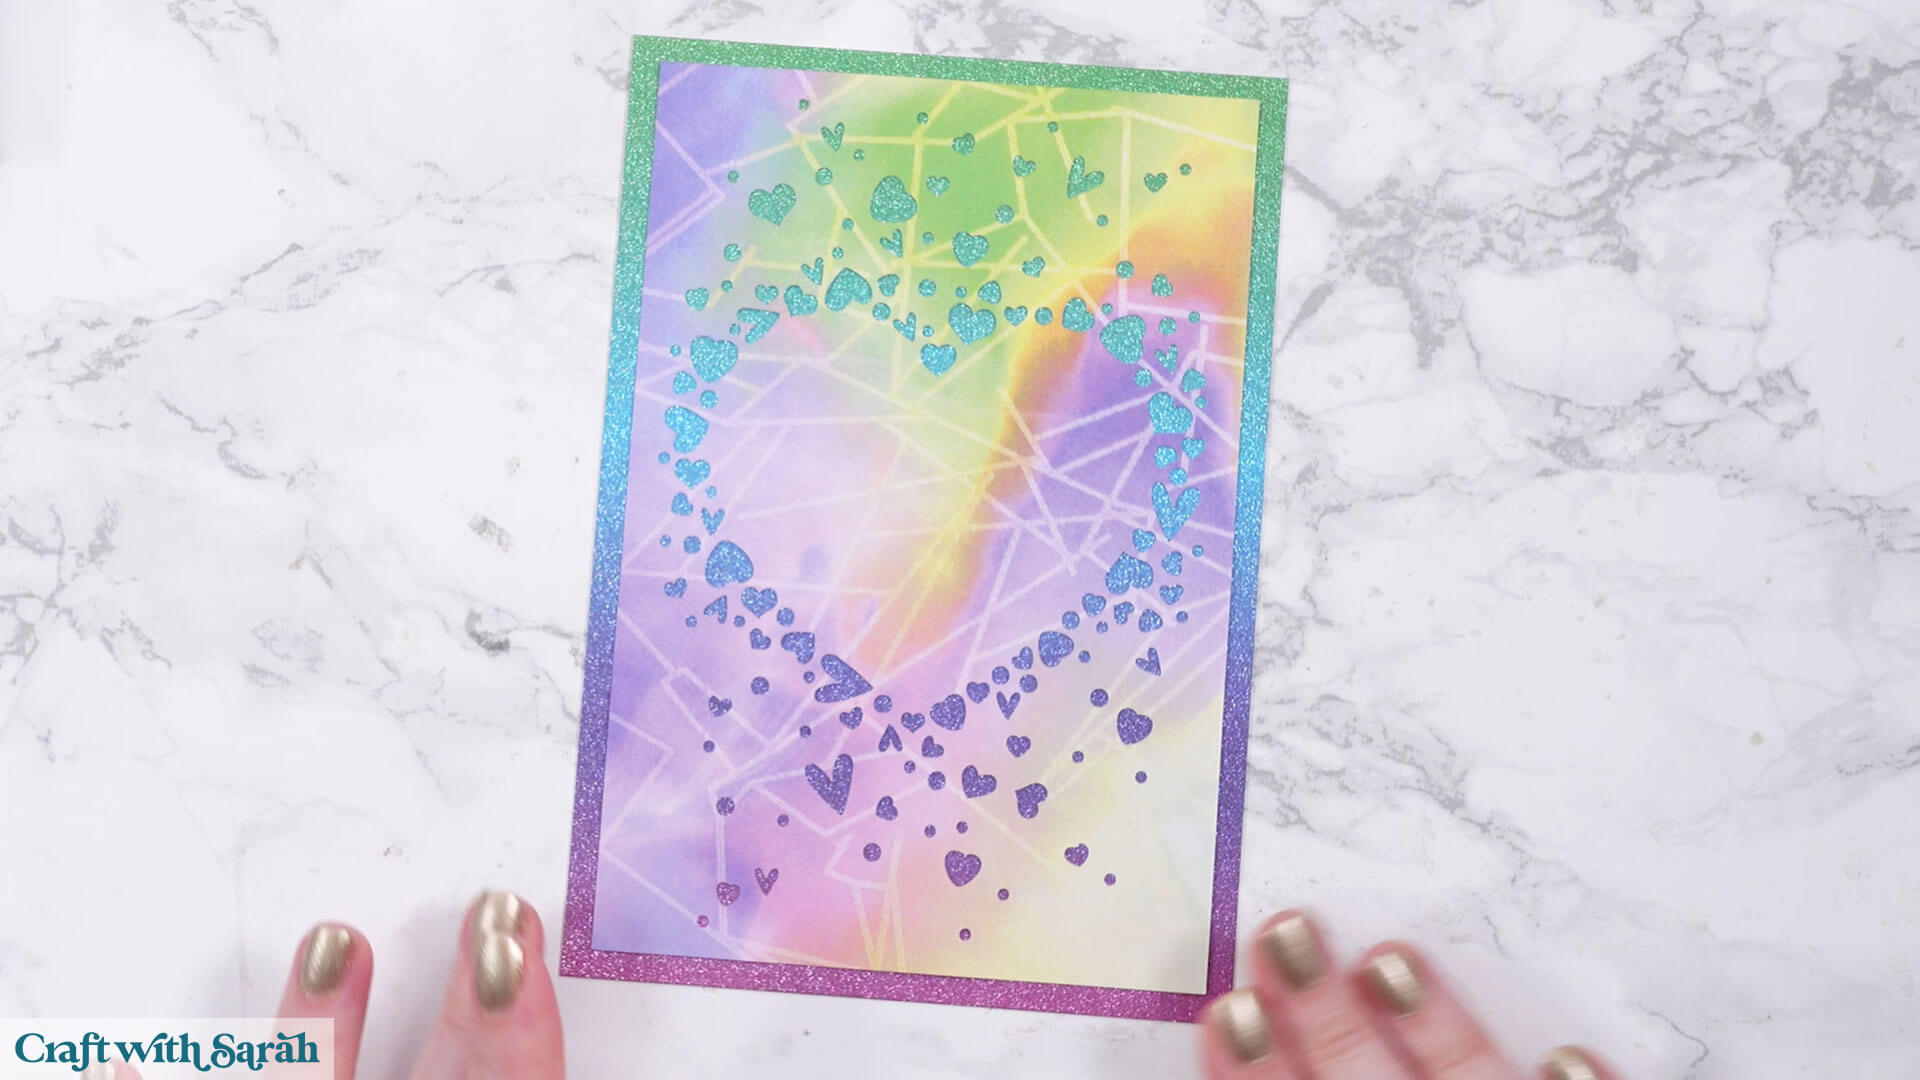
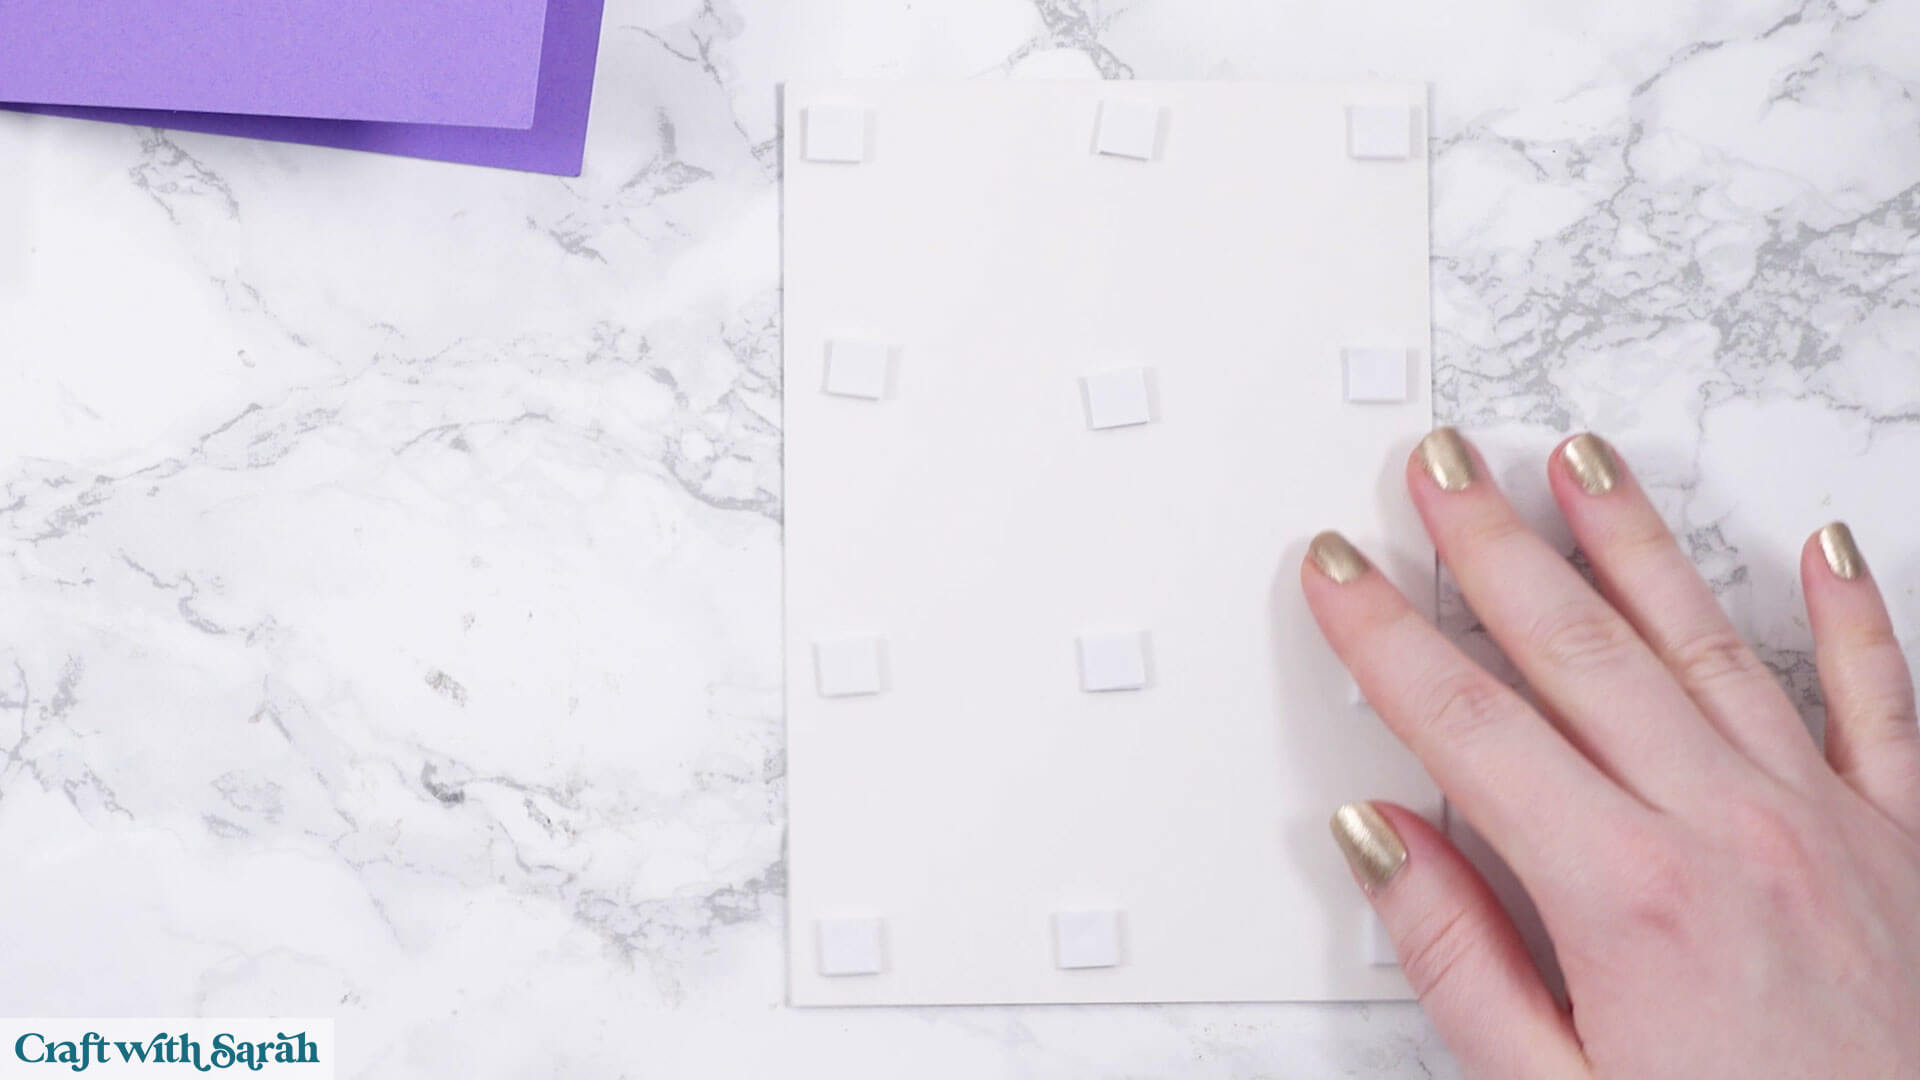
Then you can either glue this to the base card for a very flat card, or use foam squares for some dimension.
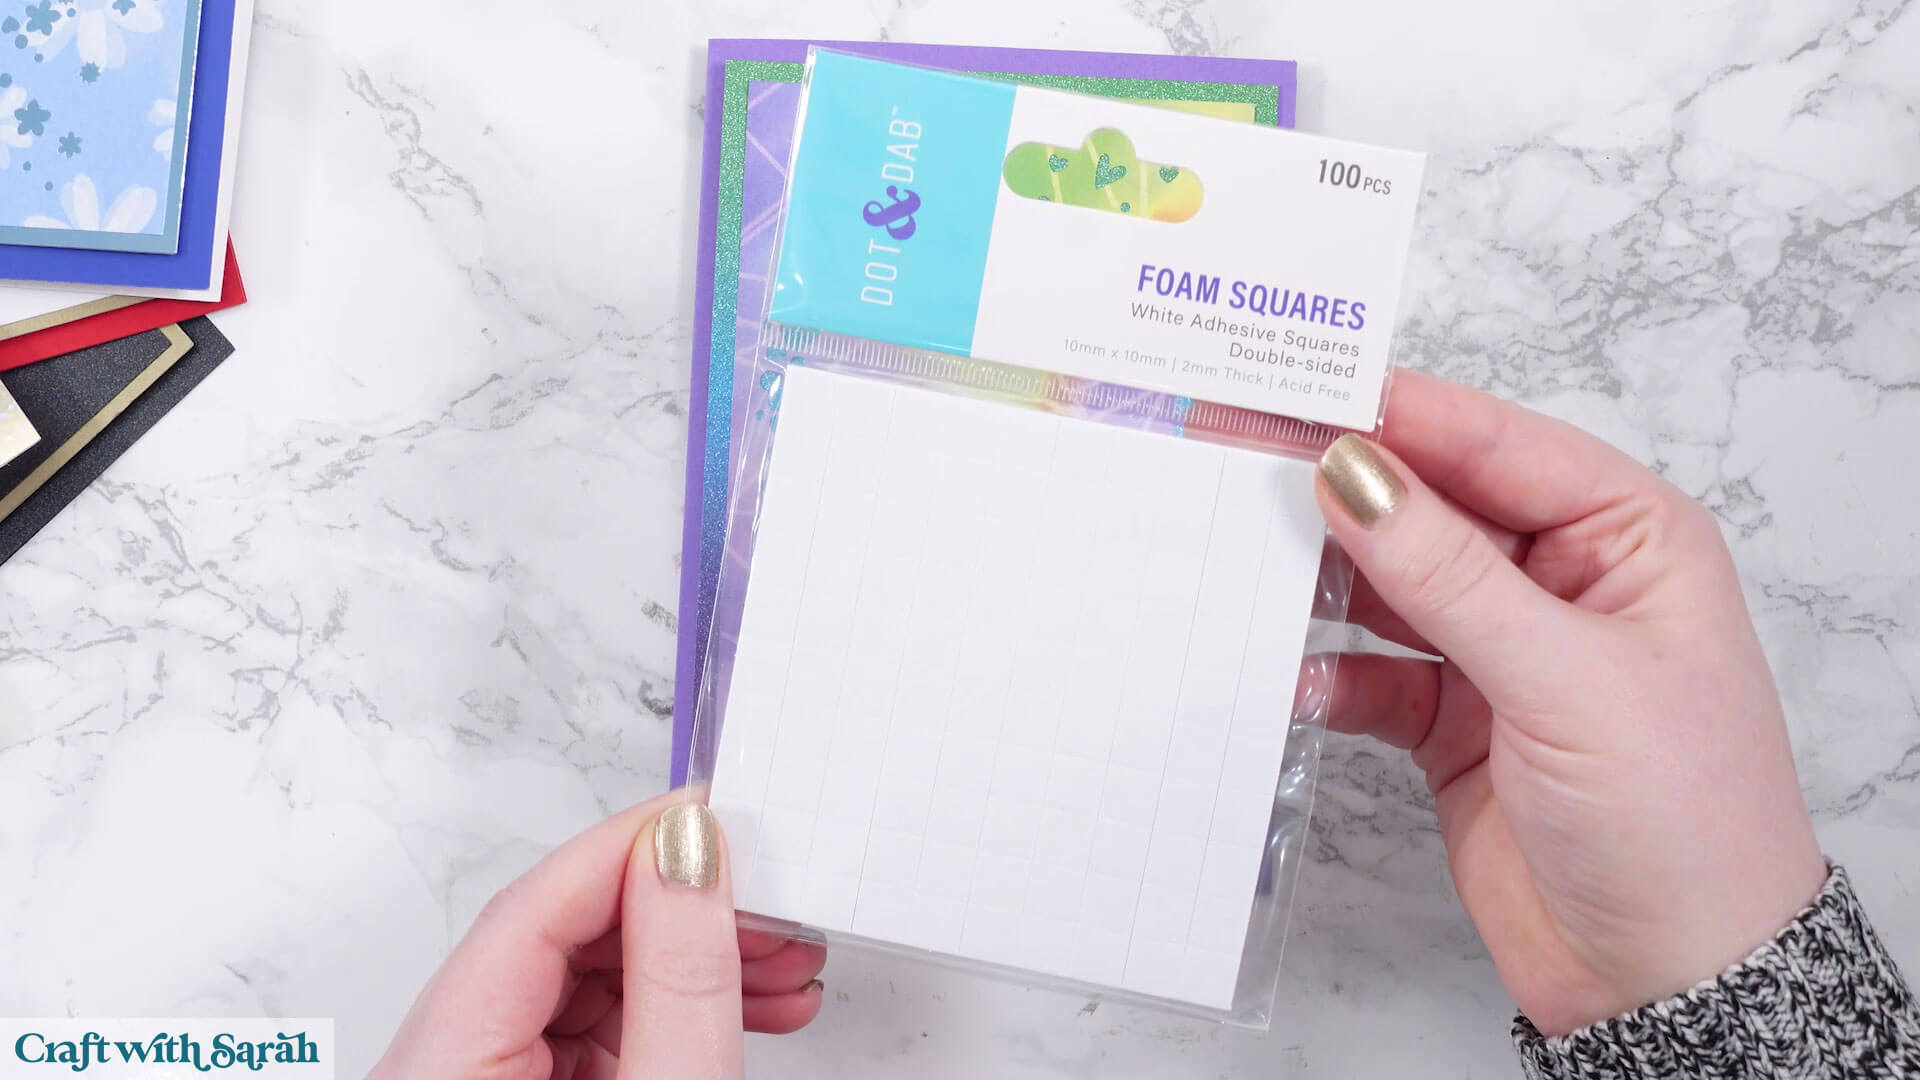
When adding the foam pads to larger pieces, make sure you add some in the middle of the pieces of card so it gives some stability to the middles. If you don’t add any foam pads in the middles then it can dip/sag down under the weight of the other layers which doesn’t look as good.
Get more cutout shape cards
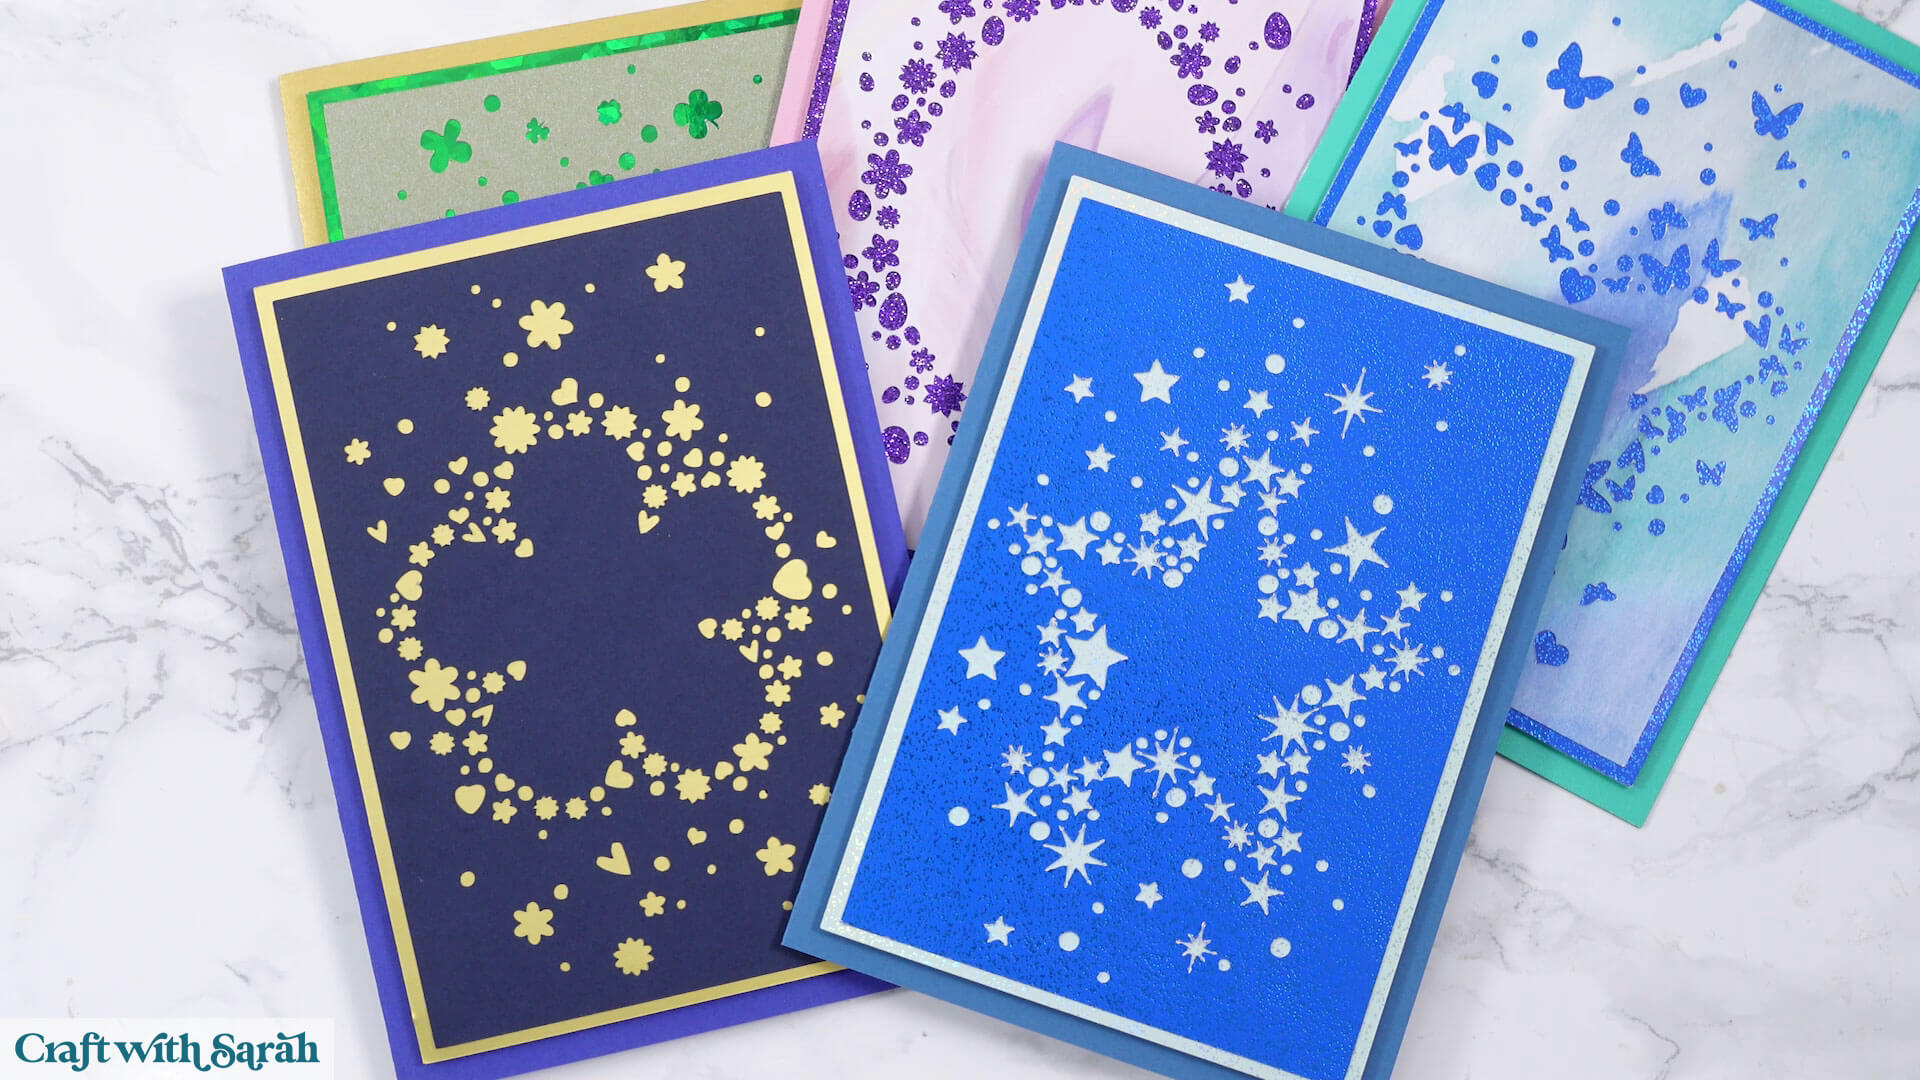
For even more cutout shape cards in this style, check out this collection.
There is a star, shamrock, Easter egg, butterfly and flower.
If you are a Papercraft Porch member then you can download these cards at no costs using your monthly Design Credits.
Design your own
Design your own cards or shadow boxes in this style with this step-by-step video Class.
Classes are exclusively available to Papercraft Porch members.
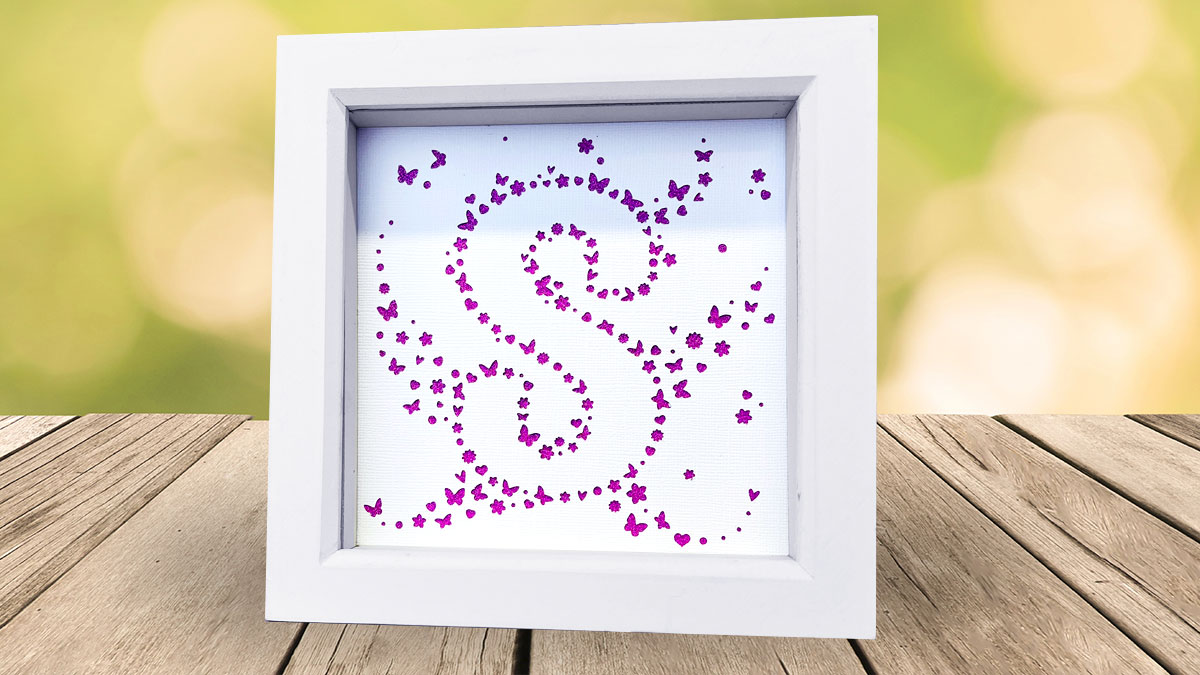
Create a stunning personalised shadow box (or card front) with your chosen initial or shape, built from a cascade of tiny cut-out motifs like butterflies, flowers, hearts and more.
In this Class you’ll learn how to design your own “cutout shape letter” effect by arranging simple shapes around the outline of a bold font, then adding extra clusters and swirls that spill out from the sides for a beautiful, magical finish.
Each lesson is recorded separately in Cricut Design Space, Silhouette Studio* and CanvasWorkspace**, so you can follow along whether you have a Cricut, Silhouette or ScanNCut machine.
Happy crafting,
Sarah x