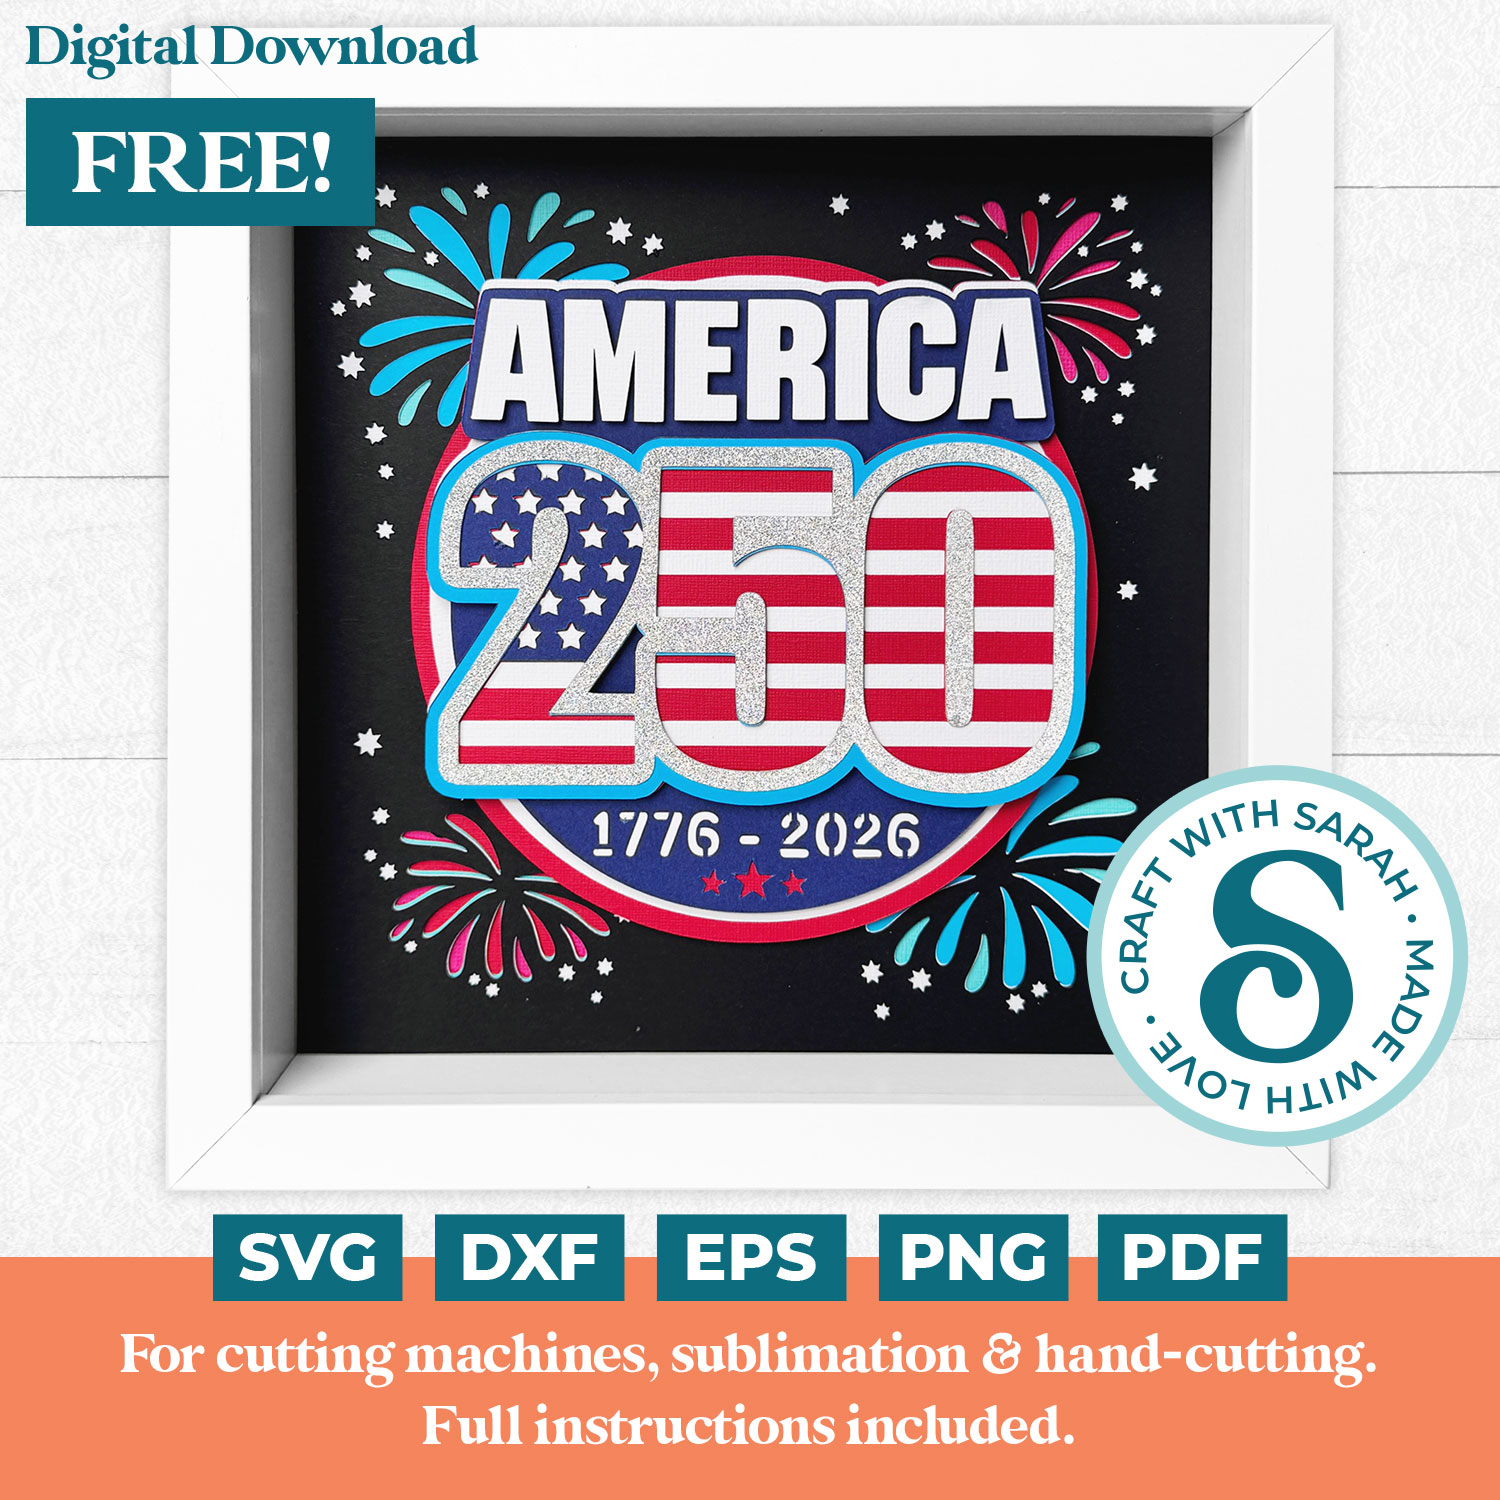
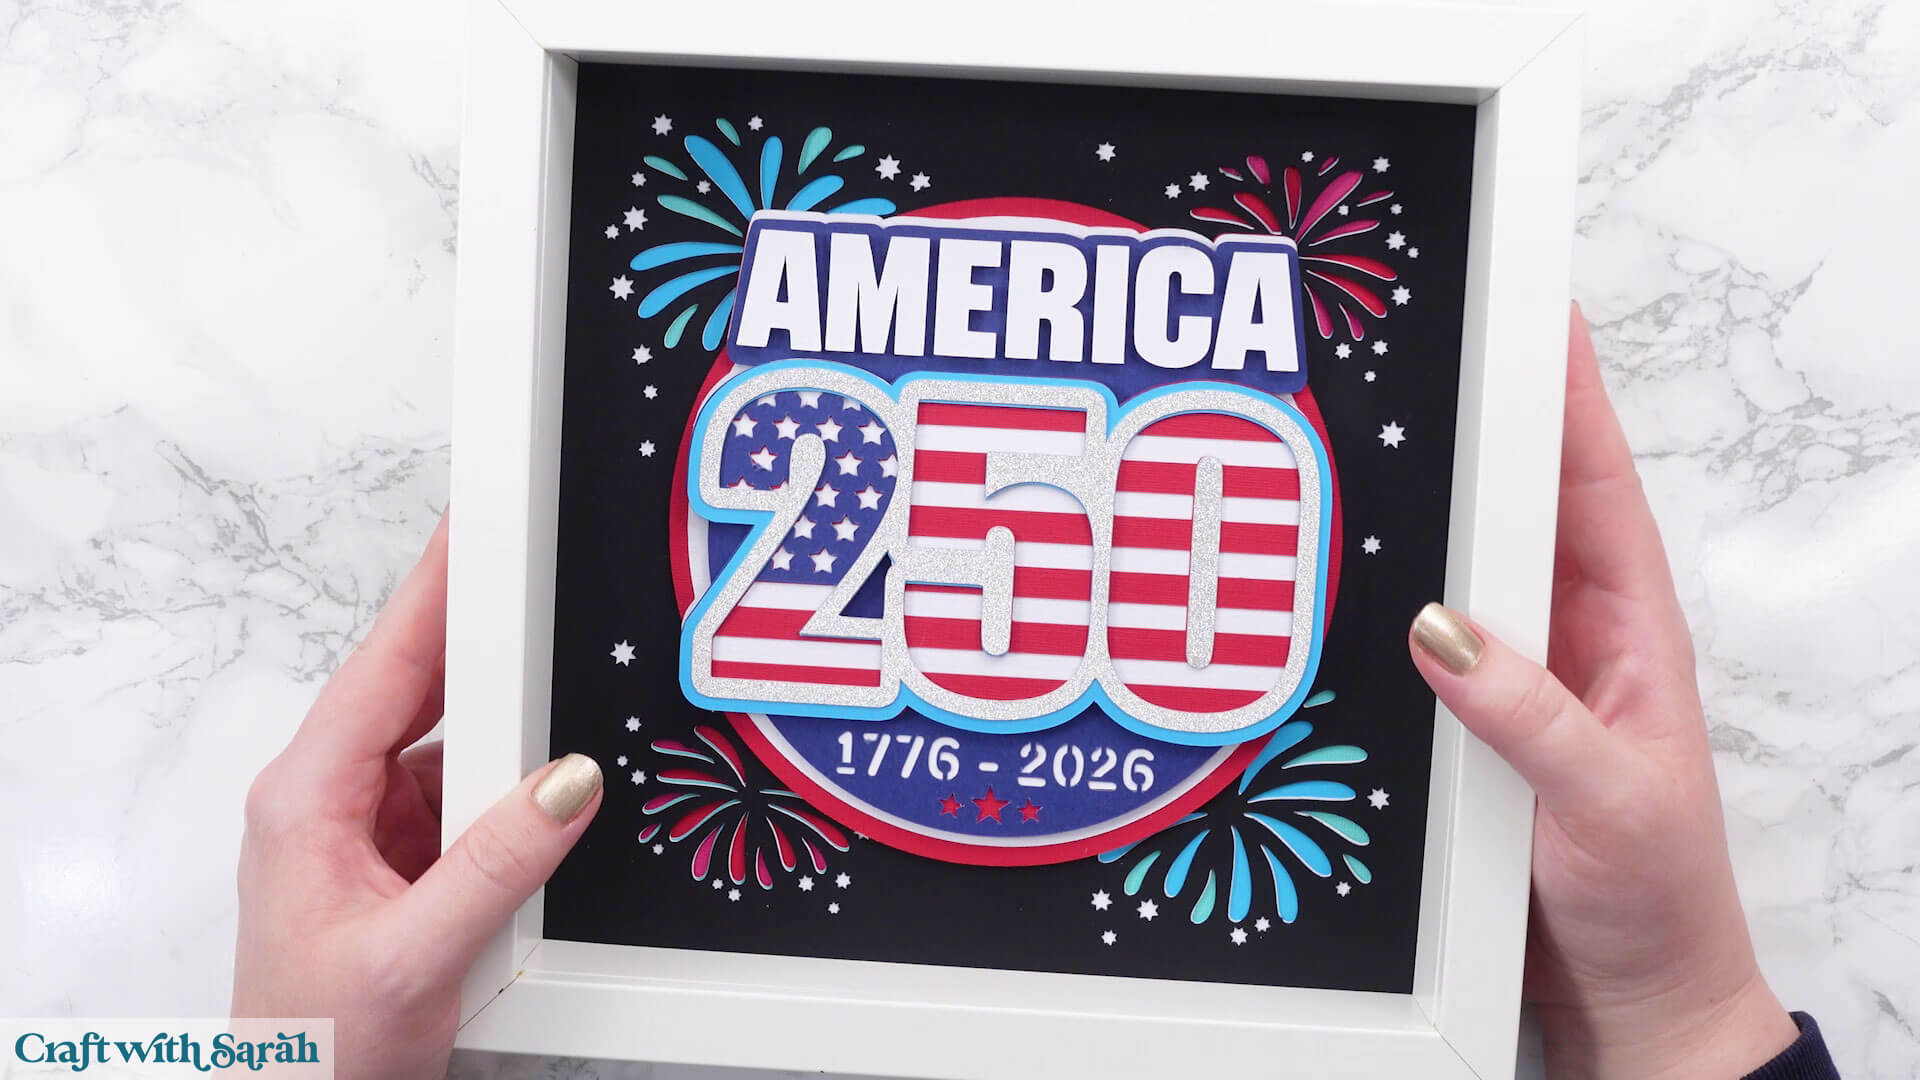
Free 4th July SVG 🎆 250th Anniversary Shadow Box

Use this free 4th July SVG to make a special keepsake.
2026 marks the 250th year since the adoption of the Declaration of Independence, so it’s a milestone occasion with lots of celebrations planned.
I had quite a few requests for a shadow box design to commemorate, so here it is!
The fireworks background can be removed in Design Space if you’d rather just make the front of the design itself.
It fits really nicely into a square frame, or you can resize it smaller and remove the background to go on a greetings card or on a scrapbook page.

Video tutorial for 4th July shadow box
Watch the video below to see how to make this craft project. Keep scrolling for a written tutorial.
Materials list for July 4th craft project
Here is a list of the materials to make this project.
Please note that some of the links included in this article are affiliate links, which means that if you click through and make a purchase I may receive a commission (at no additional cost to you). You can read my full disclosure at the bottom of the page.
- Cricut Machine
- Light blue Cricut cutting mat
- Coloured Card
- Collall All Purpose Glue, Bearly Art Glue or similar
- 3D foam pads
- Square shadow box frame
- Ruler to measure the frame
Free 4th July 2026 SVG assembly instructions
Here’s how to make this Independence Day craft project using a Cricut machine.
Step 1) Download the free file & unzip the downloaded folder
Download the Free Cutting File
Please login to your account to download this file.
TERMS OF USE:
You may sell finished, handmade physical craft items that you have made using this product but must not sell or share the digital files. Read full terms of use
Before you upload the SVGs to Design Space, you need to unzip the download folder that they come in.
- How to unzip a folder on Windows computer
- How to unzip a folder on a Mac
- How to unzip a folder on an iPad/iPhone
- How to unzip a folder on an Android device
After unzipping, upload the SVG file(s) into your cutting machine software.
Not sure how to use cut files with your type of machine? The following links lead to videos on how to open cut files in:
- Cricut Design Space
- Silhouette Studio
- CanvasWorkspace (for ScanNCut machines)
The download folder also contains printable PDF versions of the templates for hand cutting.
Step 2) Upload the SVG file into Design Space
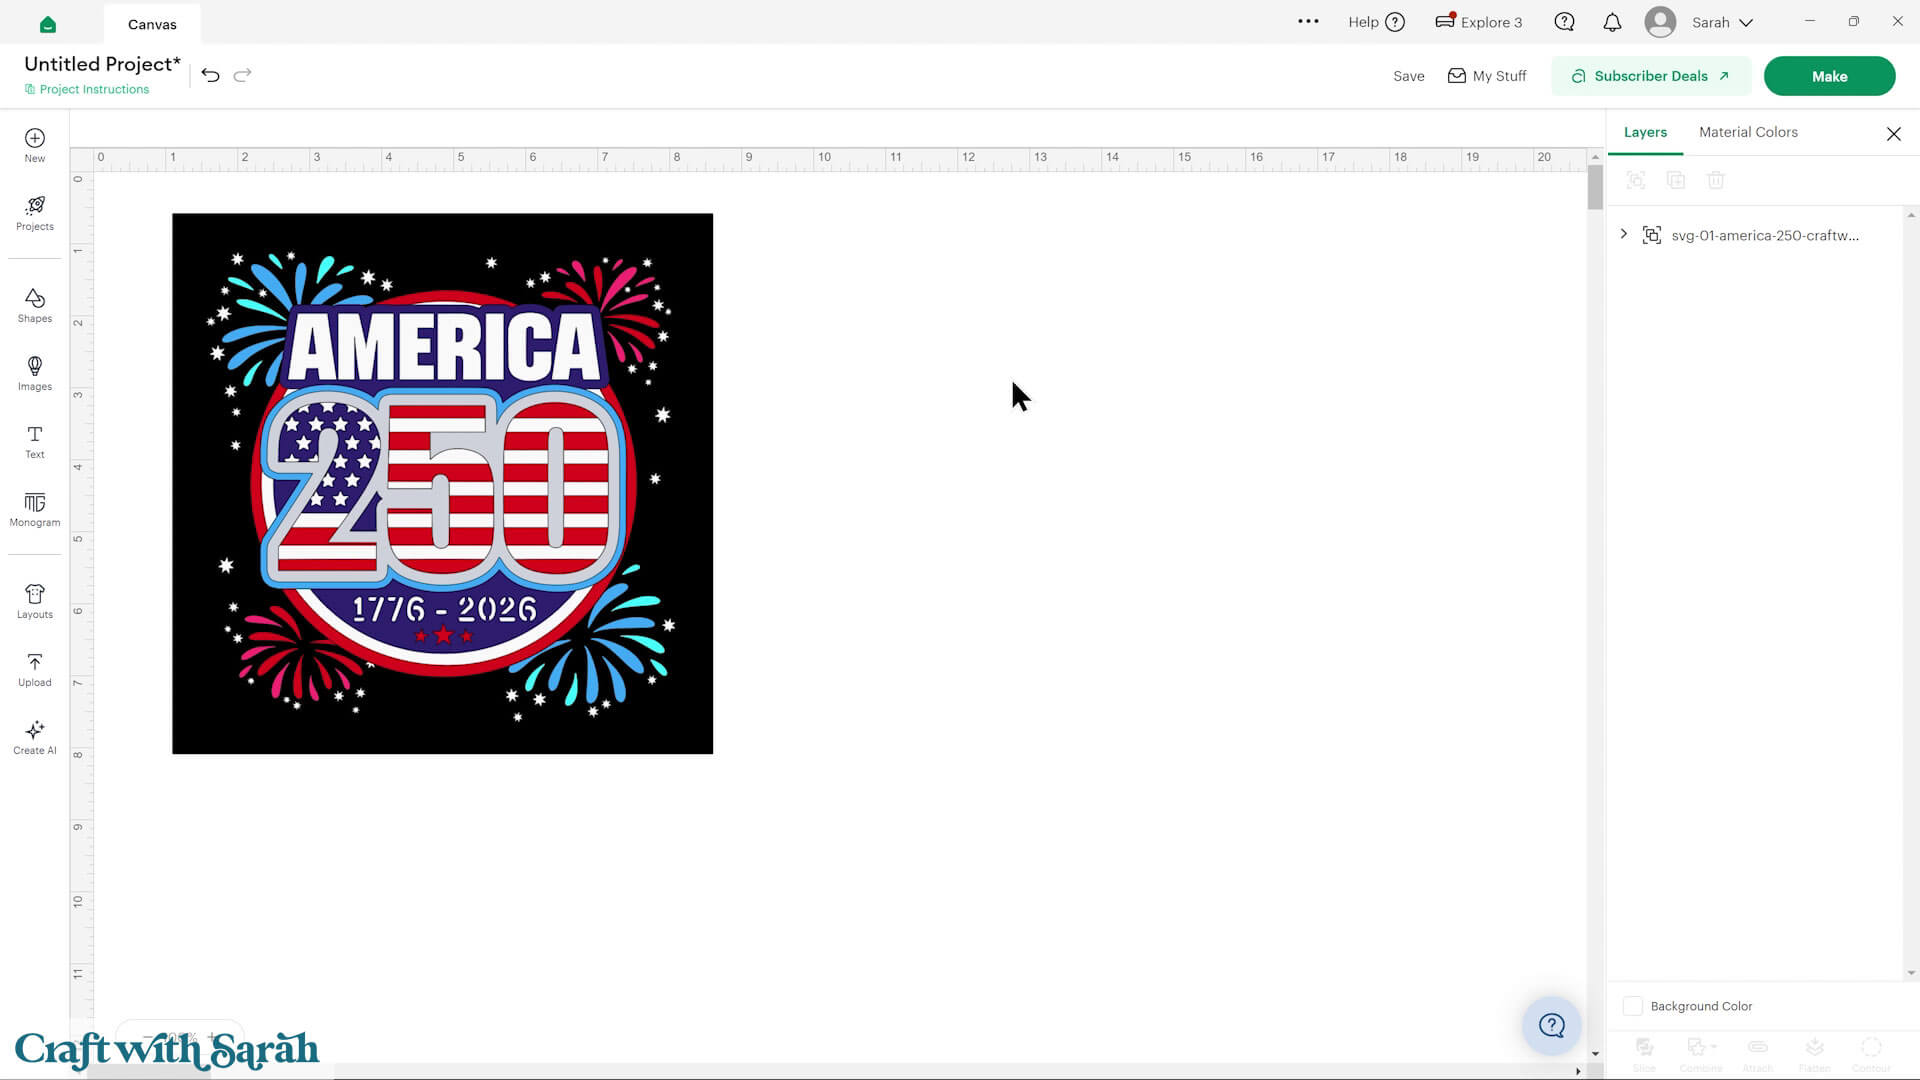
If you are using Cricut Design Space, start a new project and then click the “Upload” button on the left of the screen.
You can then either click “Browse” to find the file on your computer, or drag-and-drop it.
Select the file in the “01 Cricut Version” subfolder called svg-01-teddy-spring-craftwithsarah.svg
Press “Upload” on the next screen.
After uploading, the design should be automatically inserted onto your Canvas.
To hide the left sidebar (to give you more space for designing!), click the arrow that’s about half way down the page.
If the design doesn’t get inserted onto your Canvas, it will show under “Uploads” in your “Recently Uploaded Images”. Click on it and then press “Add to Canvas” to put it onto your Project.
Step 3) Customise the design
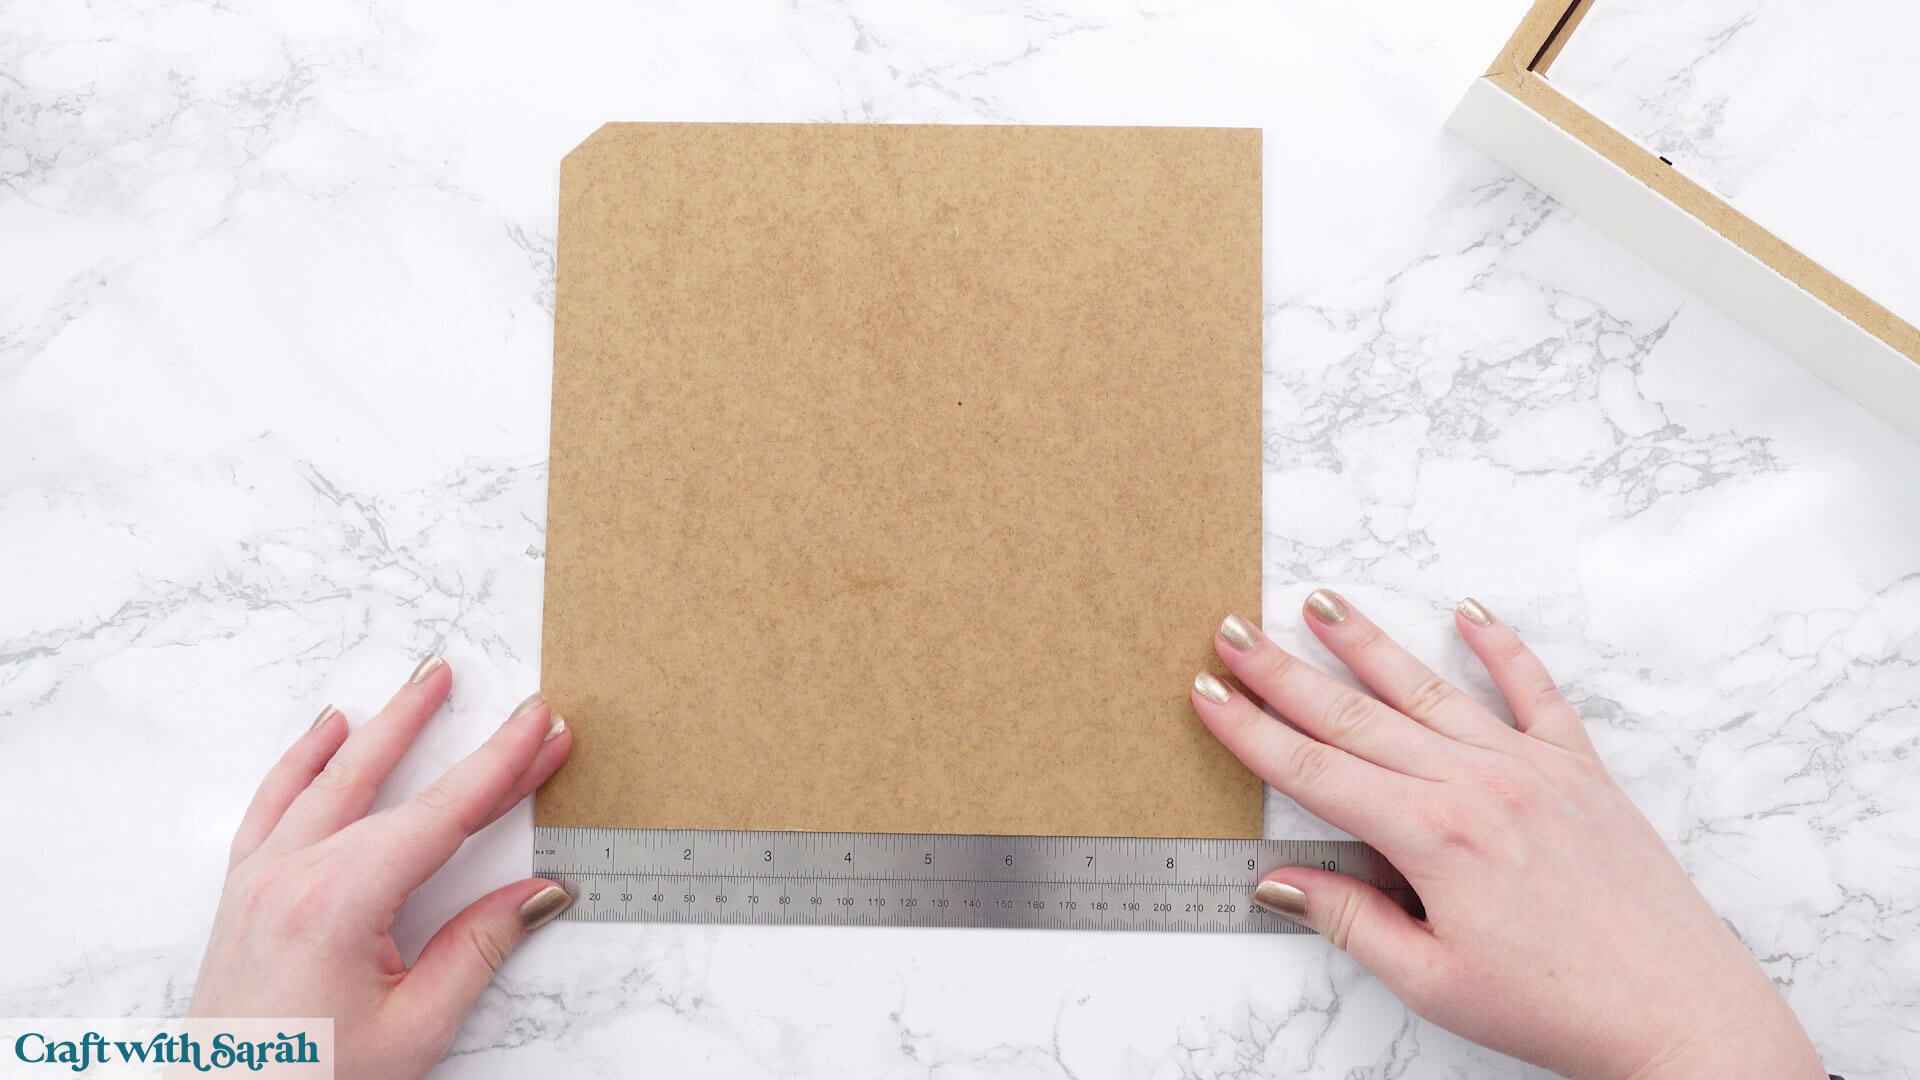
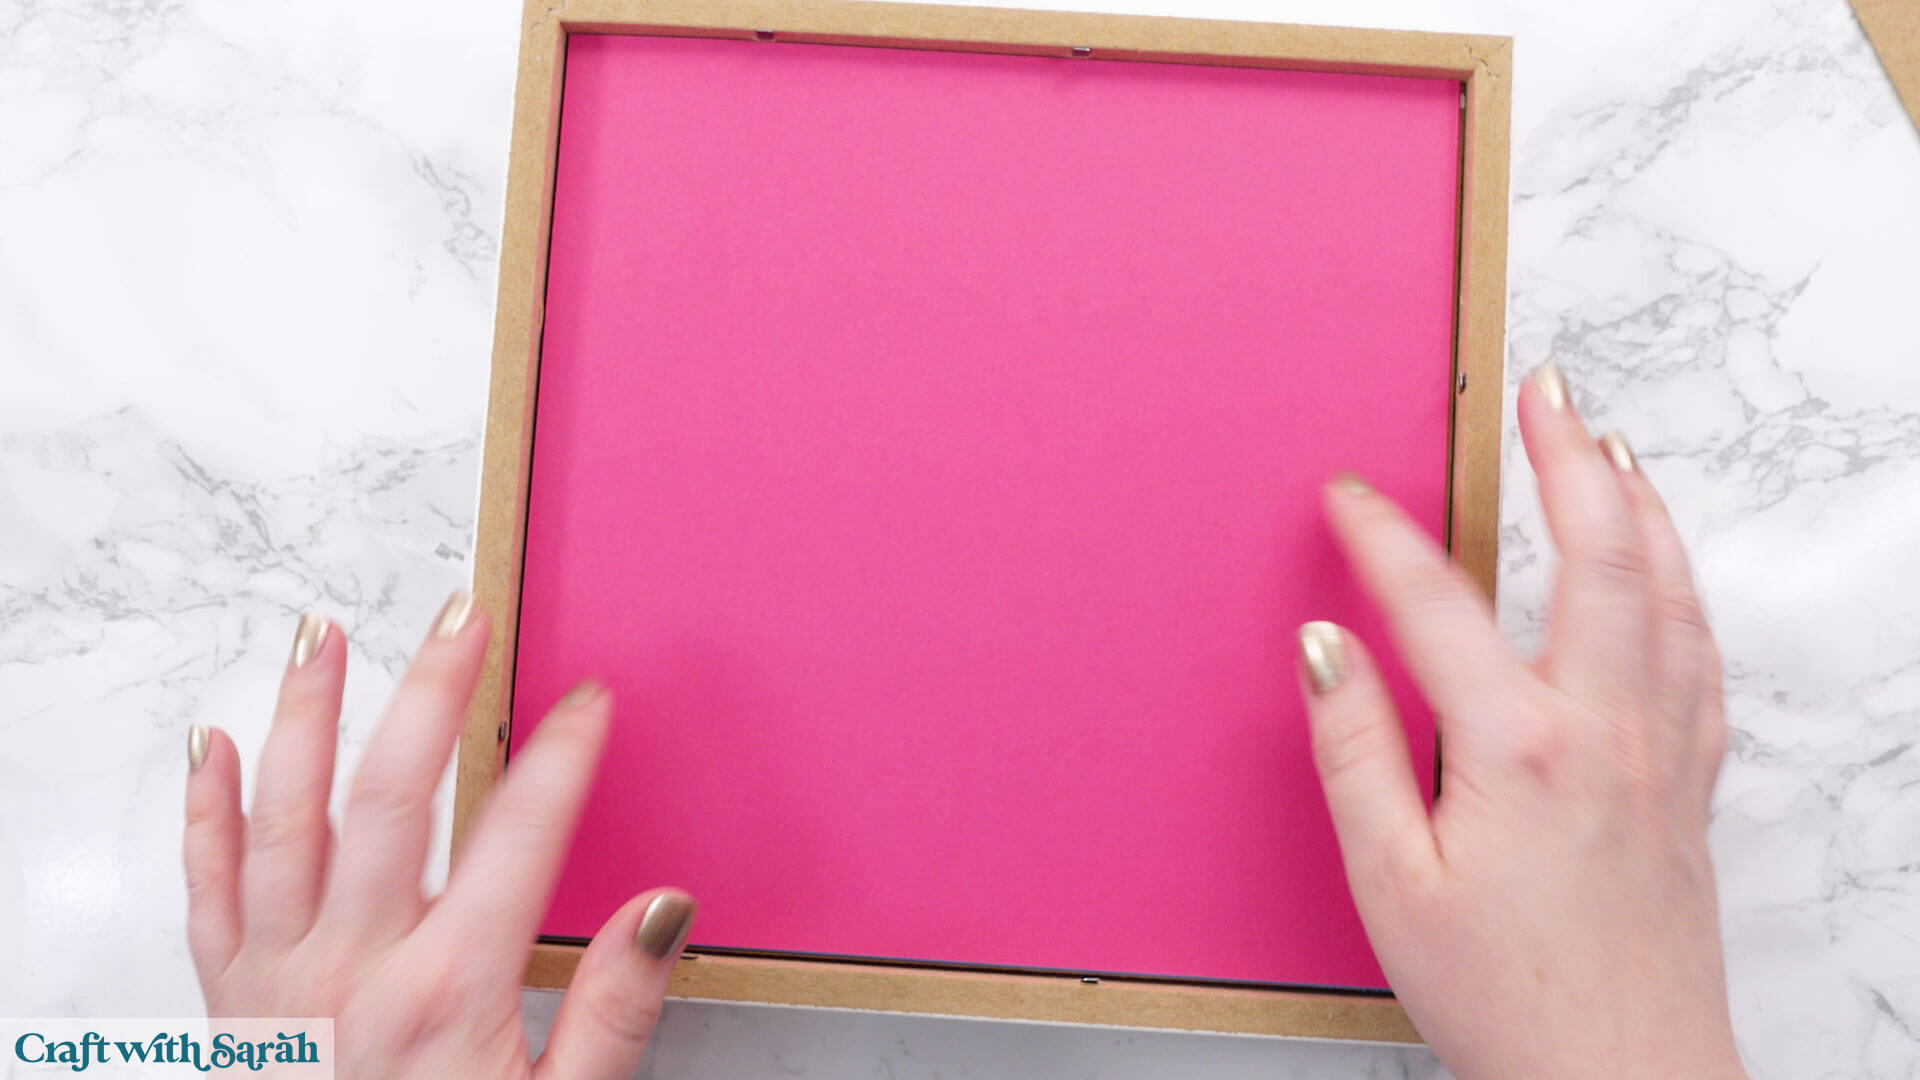
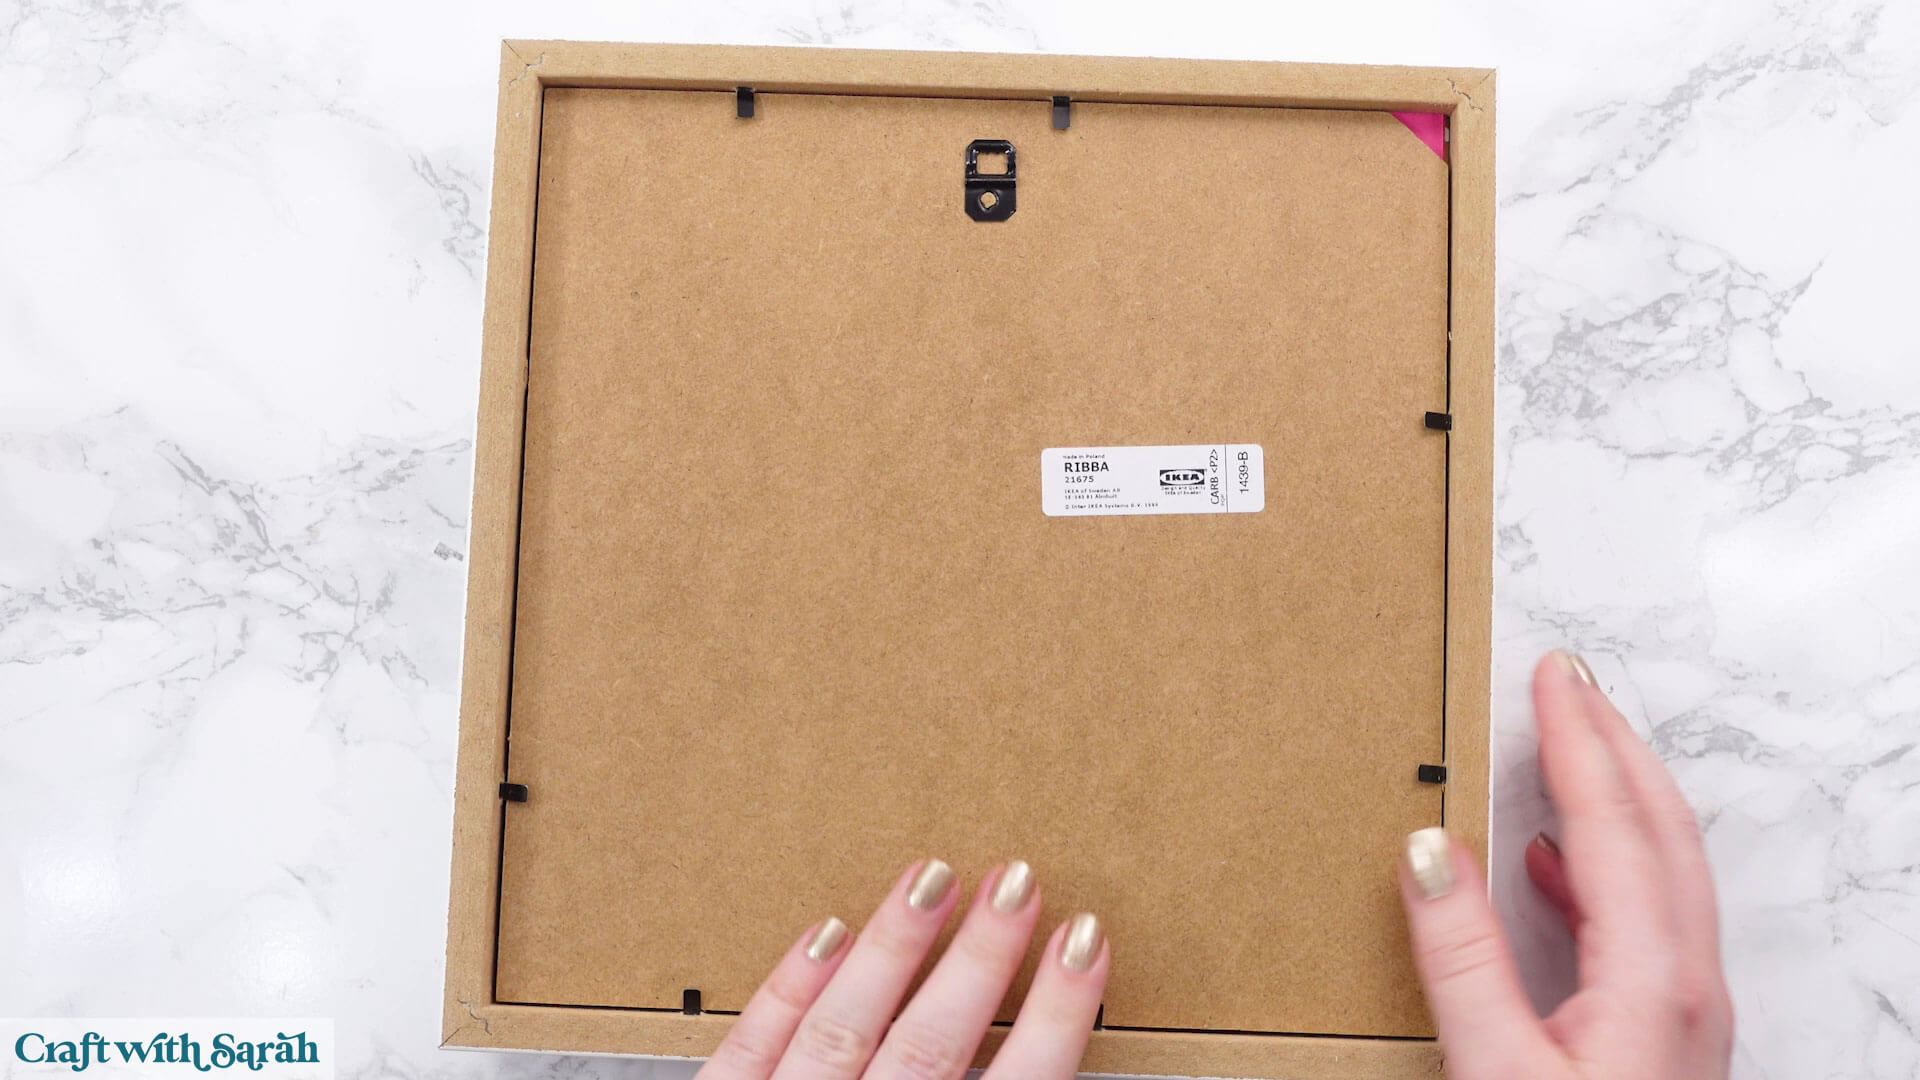
Remove the back of your frame and measure it.
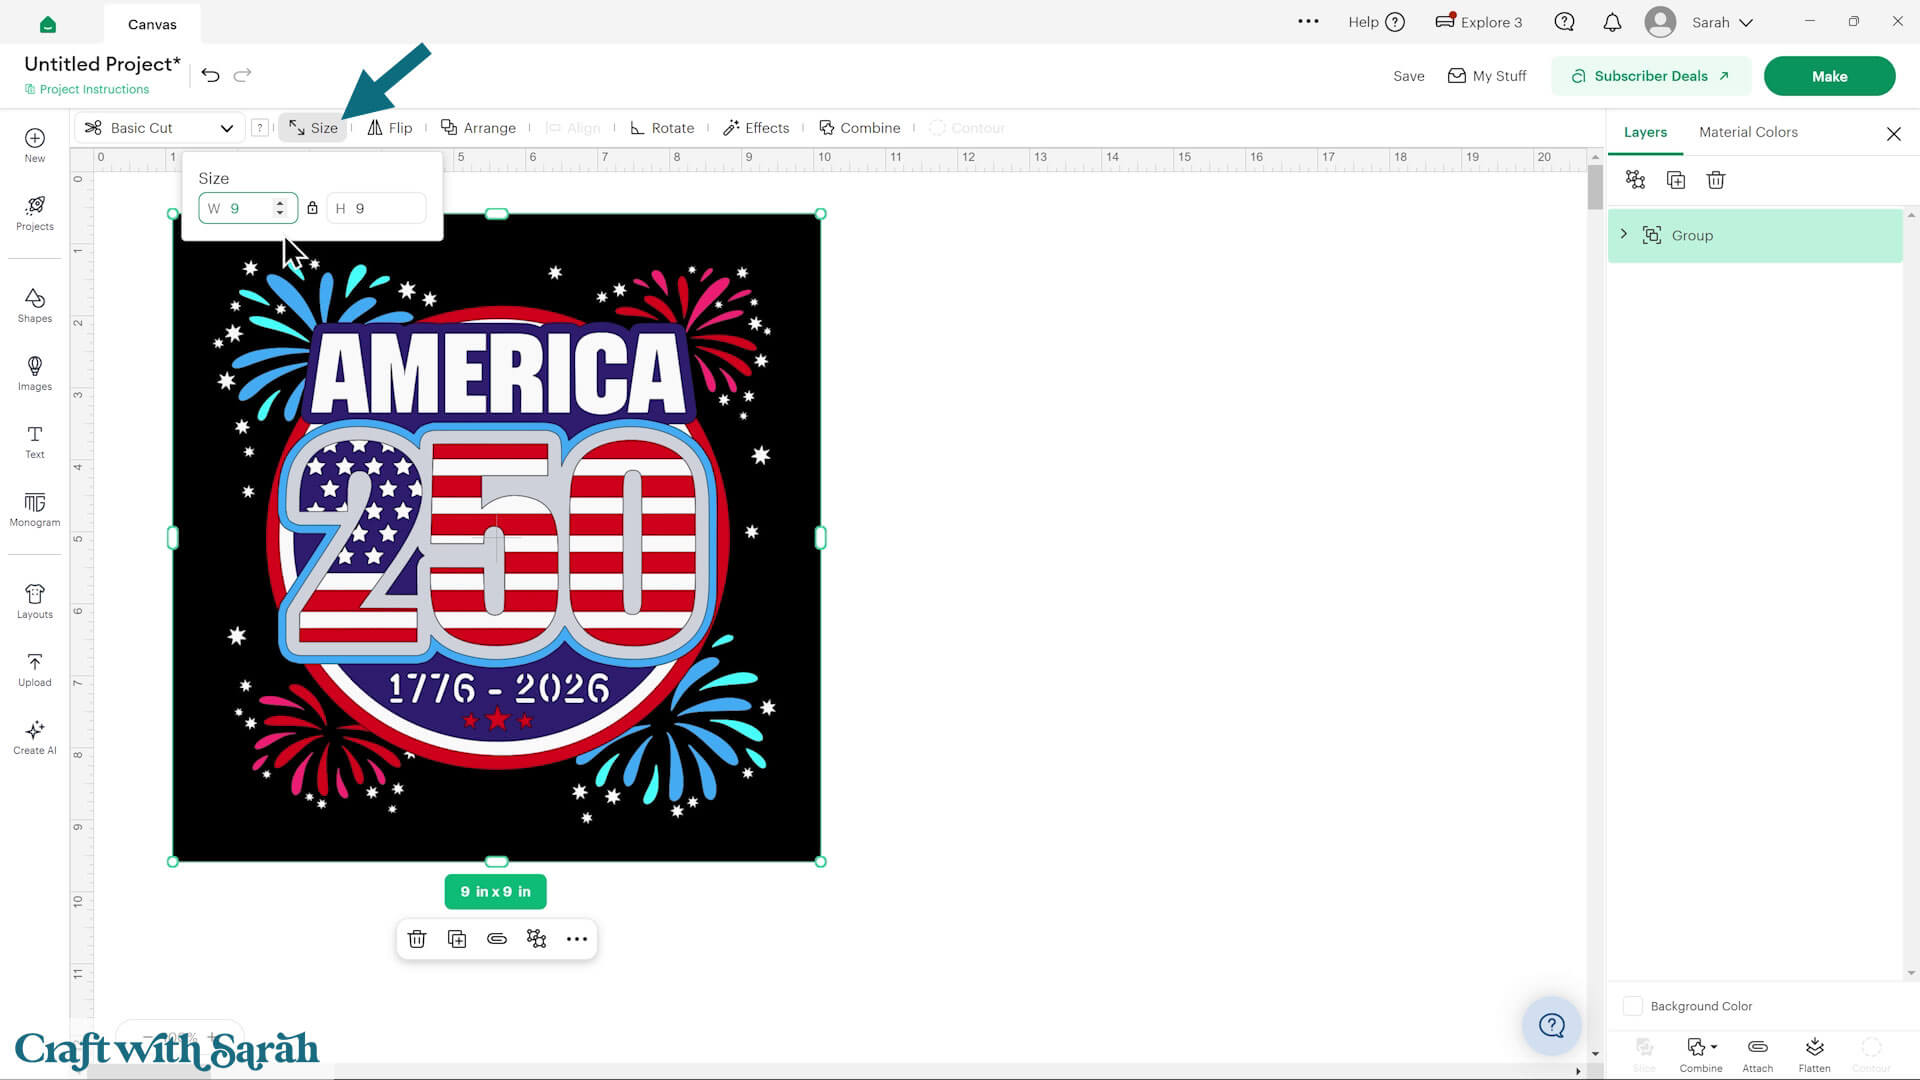
Click the design on your canvas and use the width/height boxes near the top of the screen to make it the size of your frame.
Make sure that the padlock icon is closed when you are resizing so that all the pieces stay in proportion.
Alternatively, you can remove the firework background.
To do that, Ungroup the design and open up the layers panel.
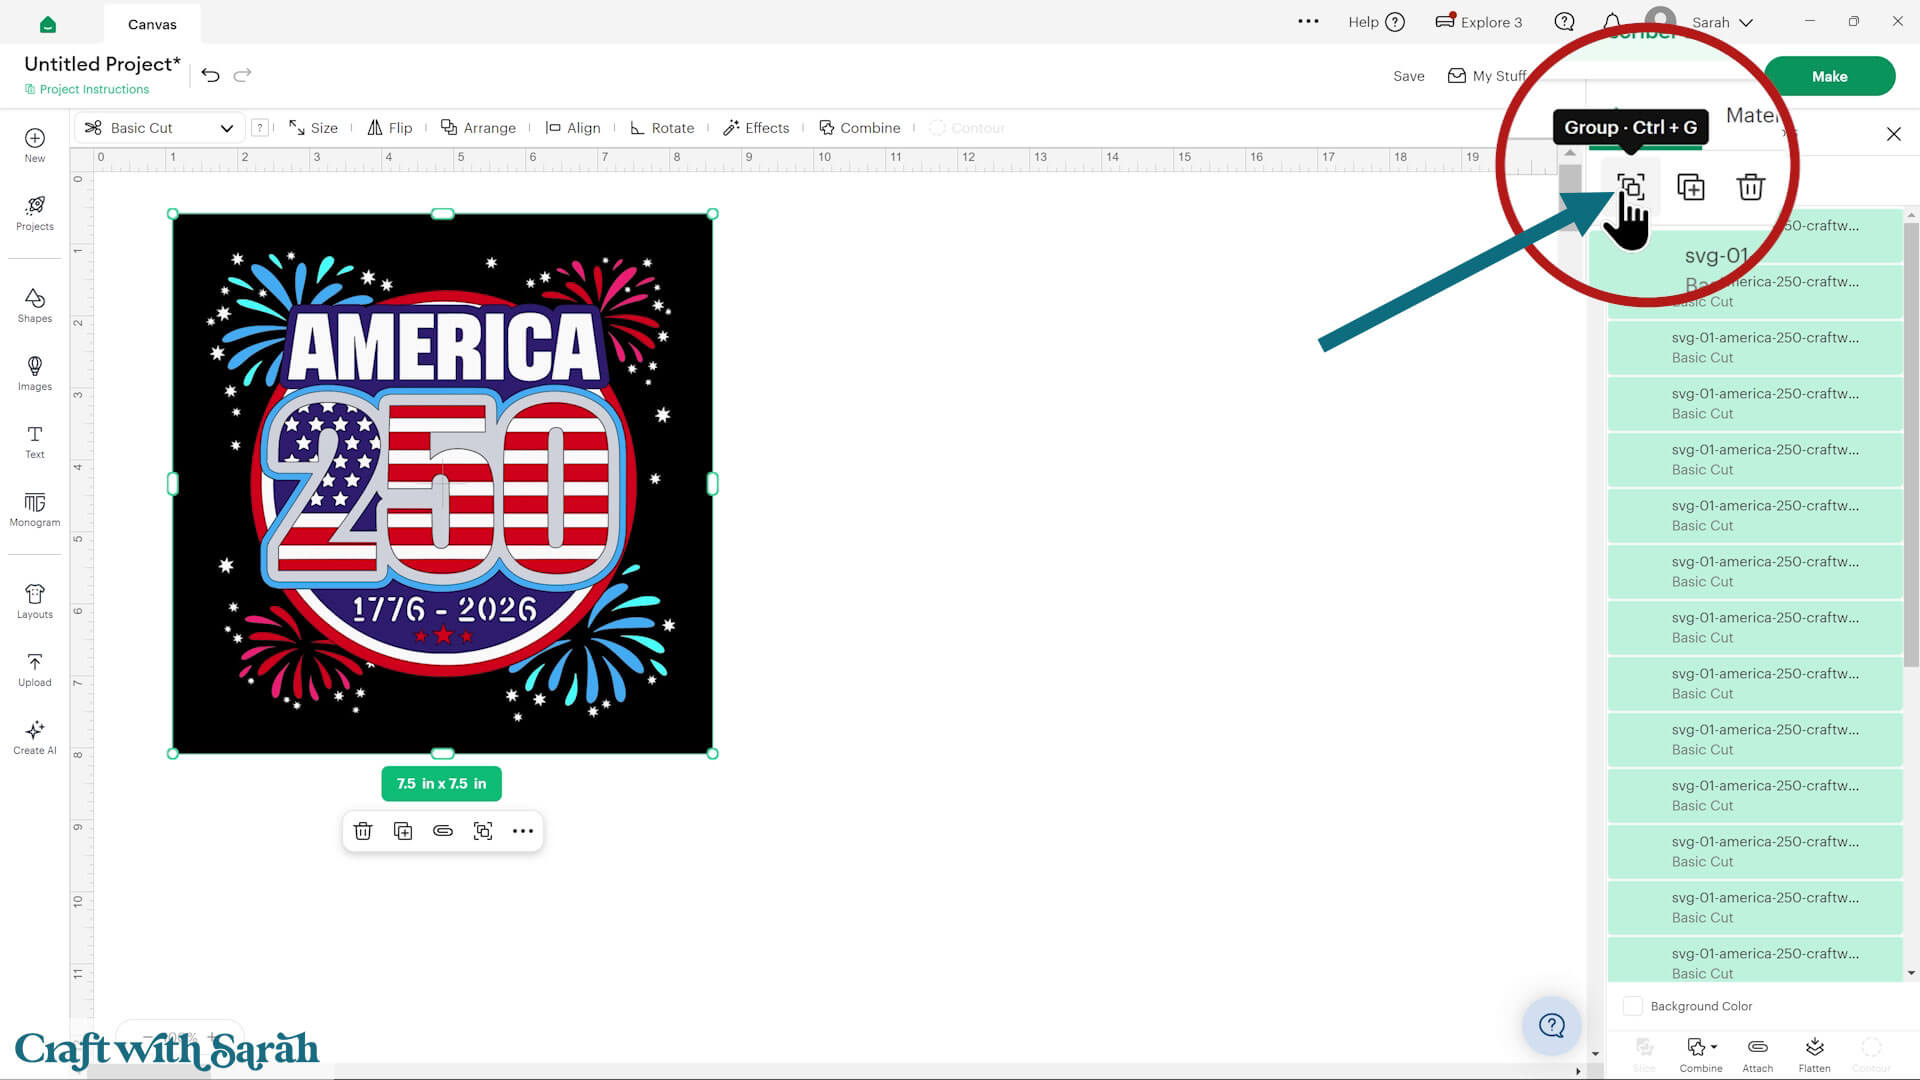
Click the square background layers and either hide them by clicking the eye icon that appears over them when you hover, or delete them.
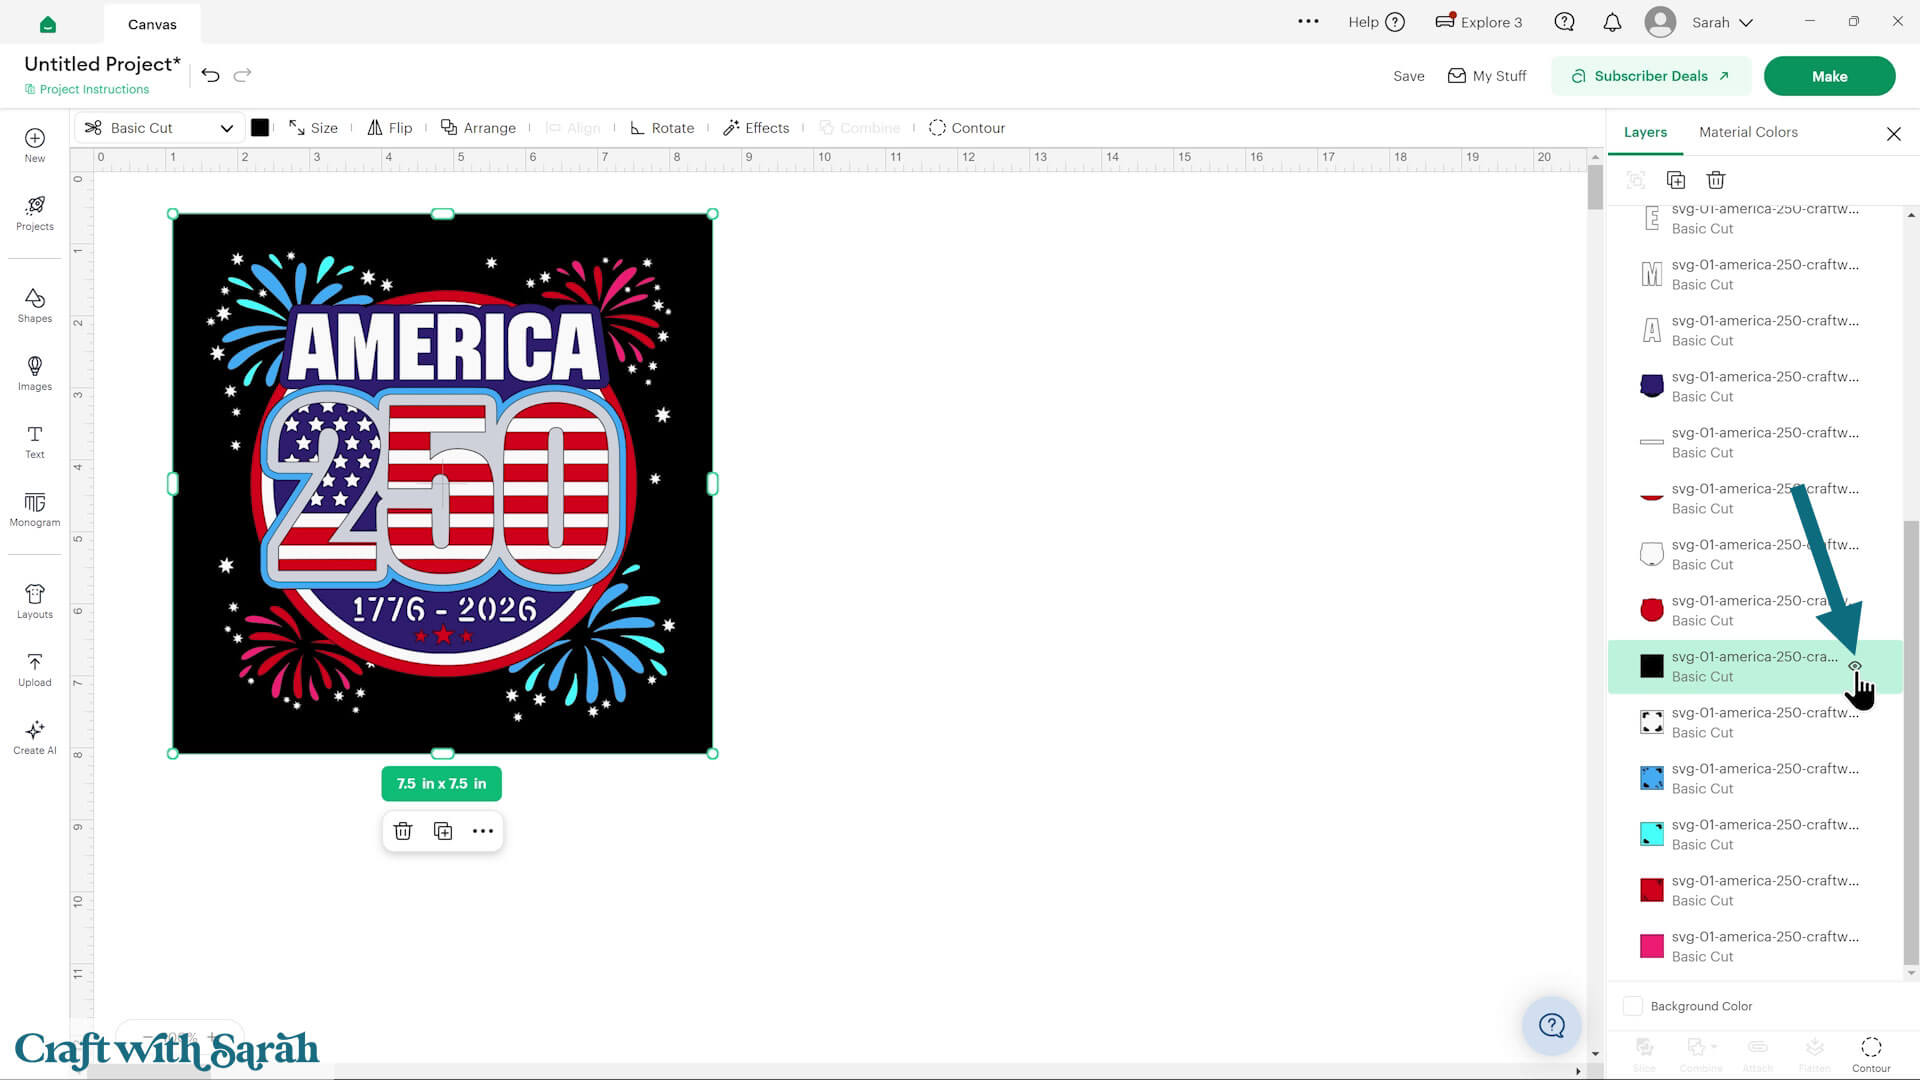
Here’s how it looks with them all hidden:

Step 4) Cut the design
When you’re happy how the project is looking in Design Space, click “Make” and follow the instructions on-screen to cut out all the layers.
Change the paper size with the dropdowns on the left of the screen. You need to change it for every colour.
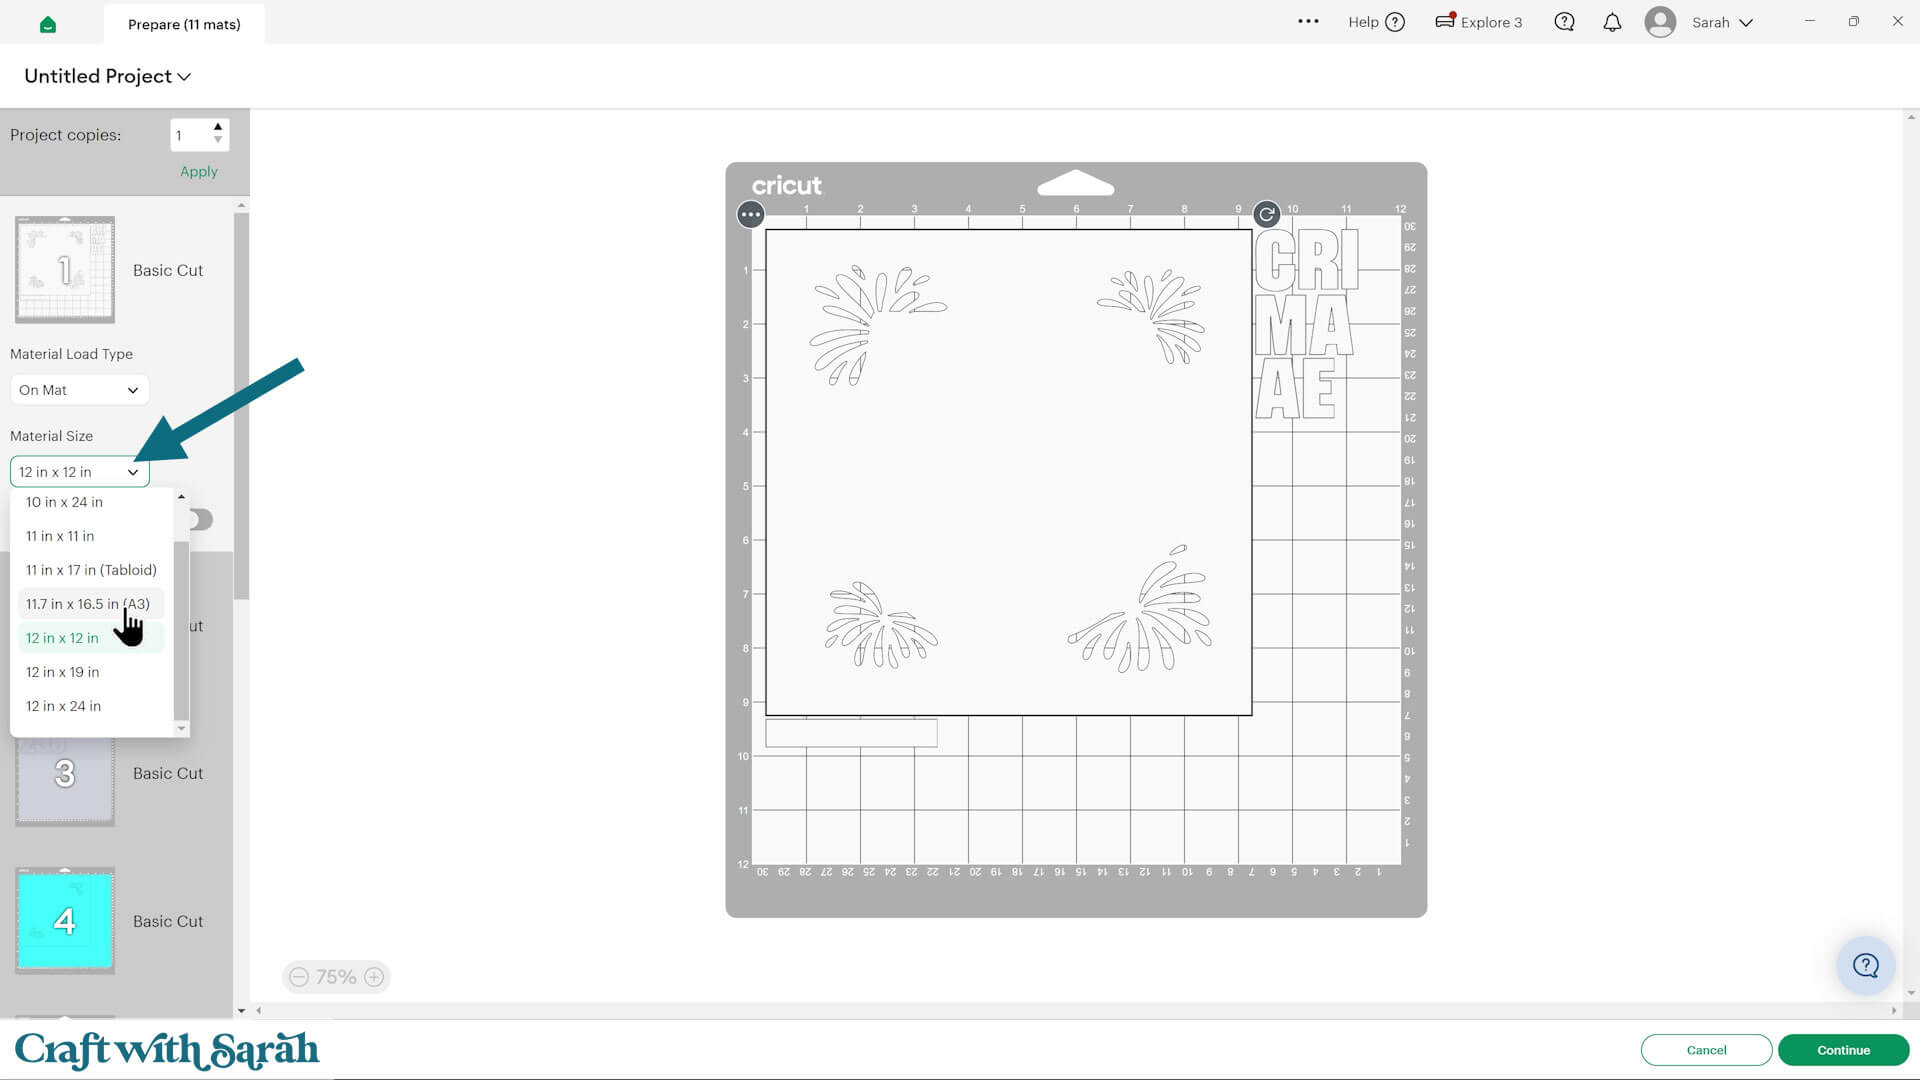
You can drag-and-drop the pieces on the screen to move them about to take up less space on your cardstock.
Make sure that no pieces overlap, otherwise they won’t cut out correctly.
Step 5) Stick the shadow box together
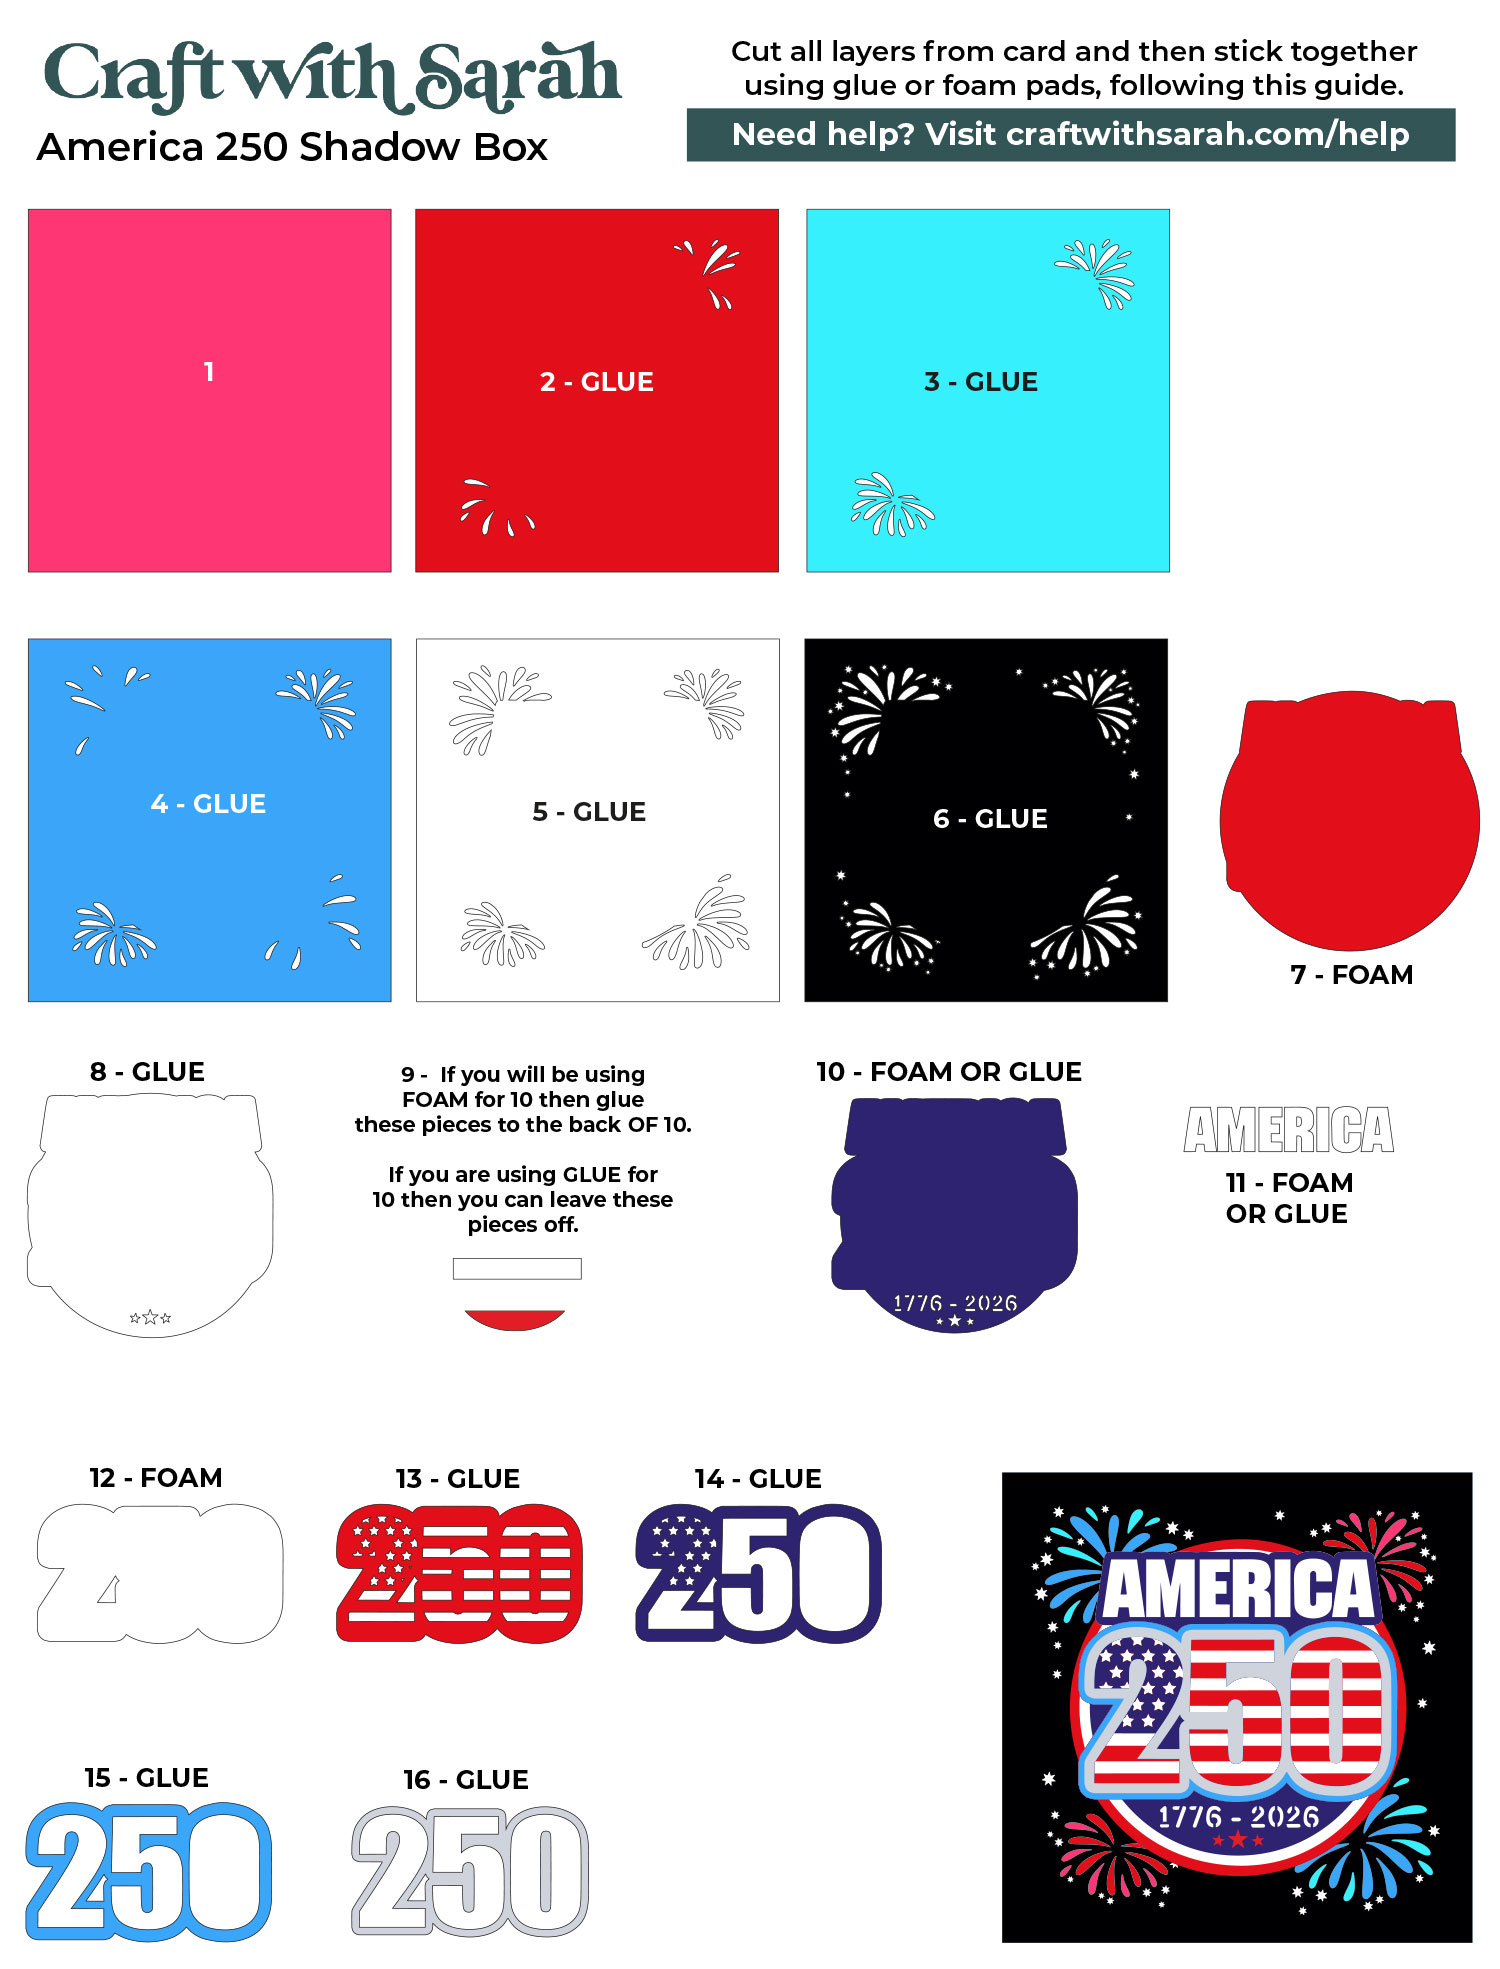
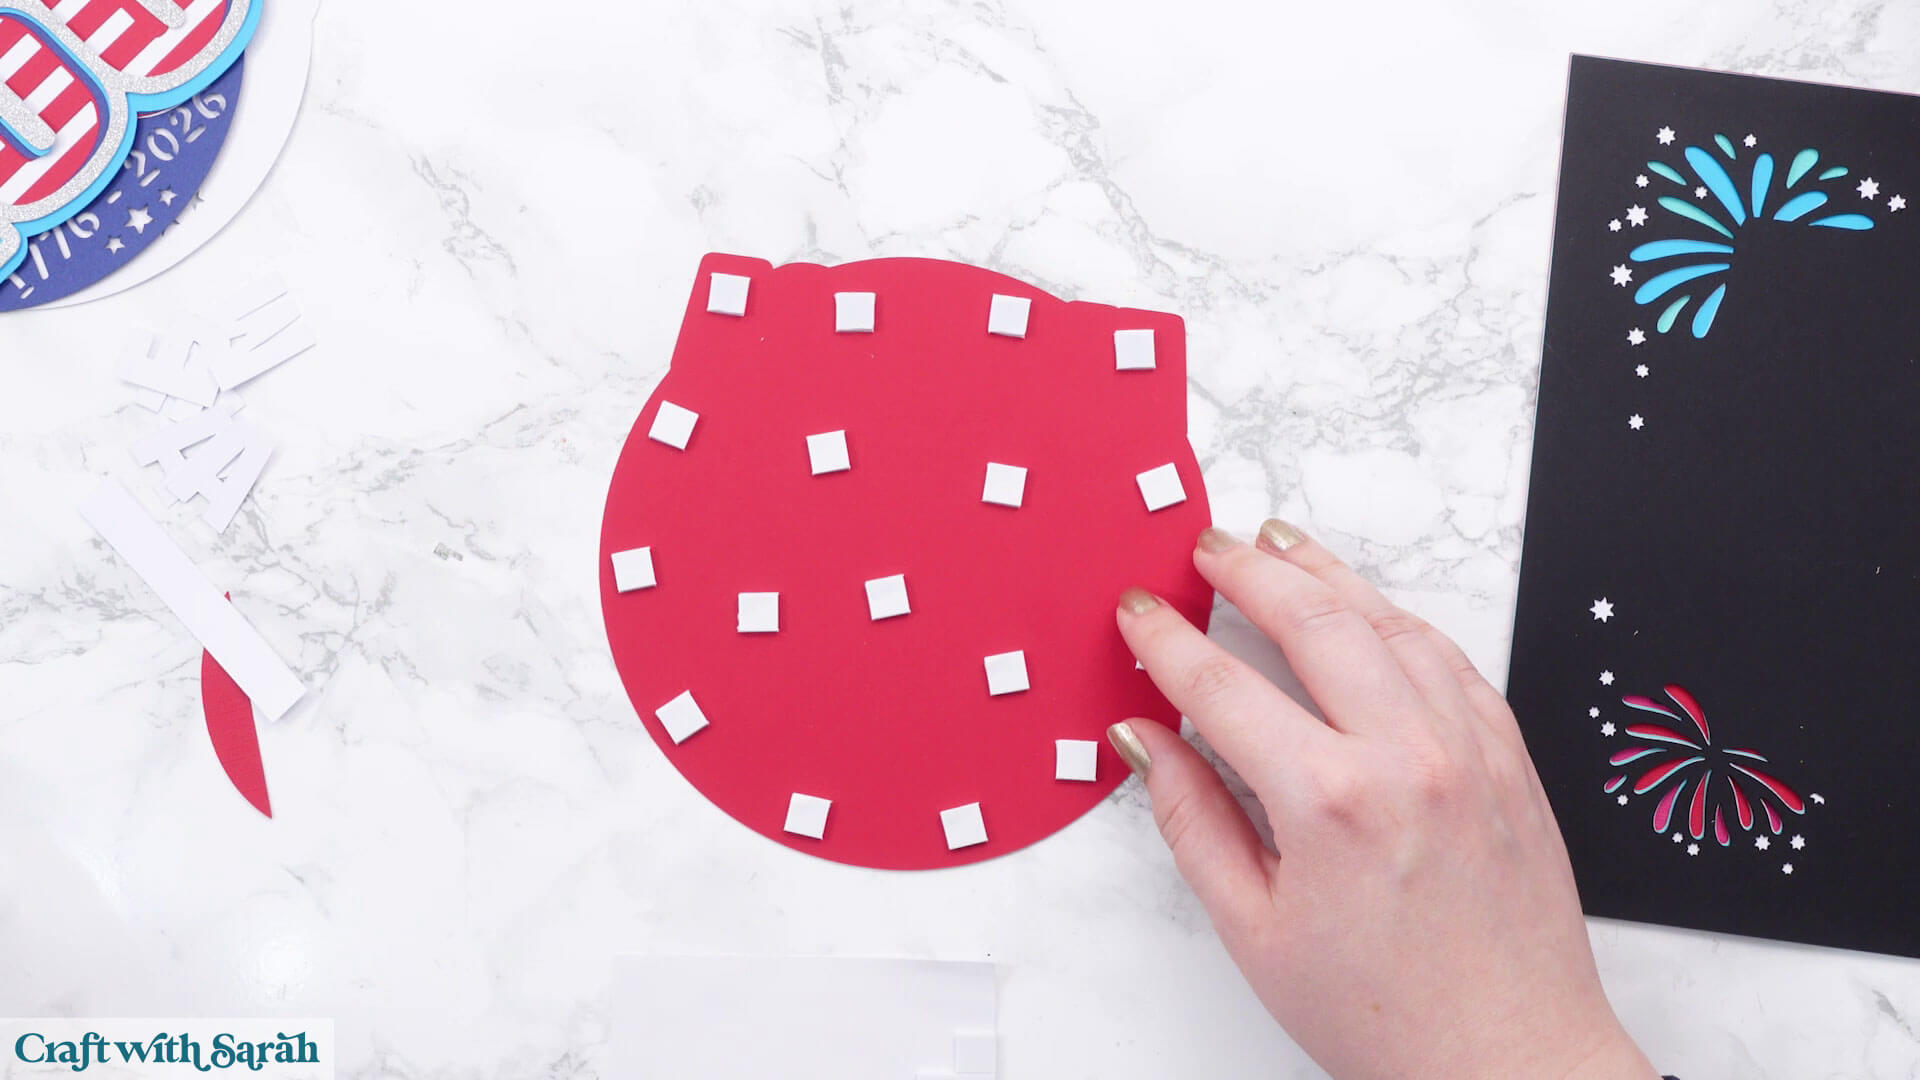
Use 3D foam pads and glue to stick the layers together.
Use this guide to see the order to stick the layers together in. A high quality printable version of this assembly guide is included in the folder when you download this SVG.
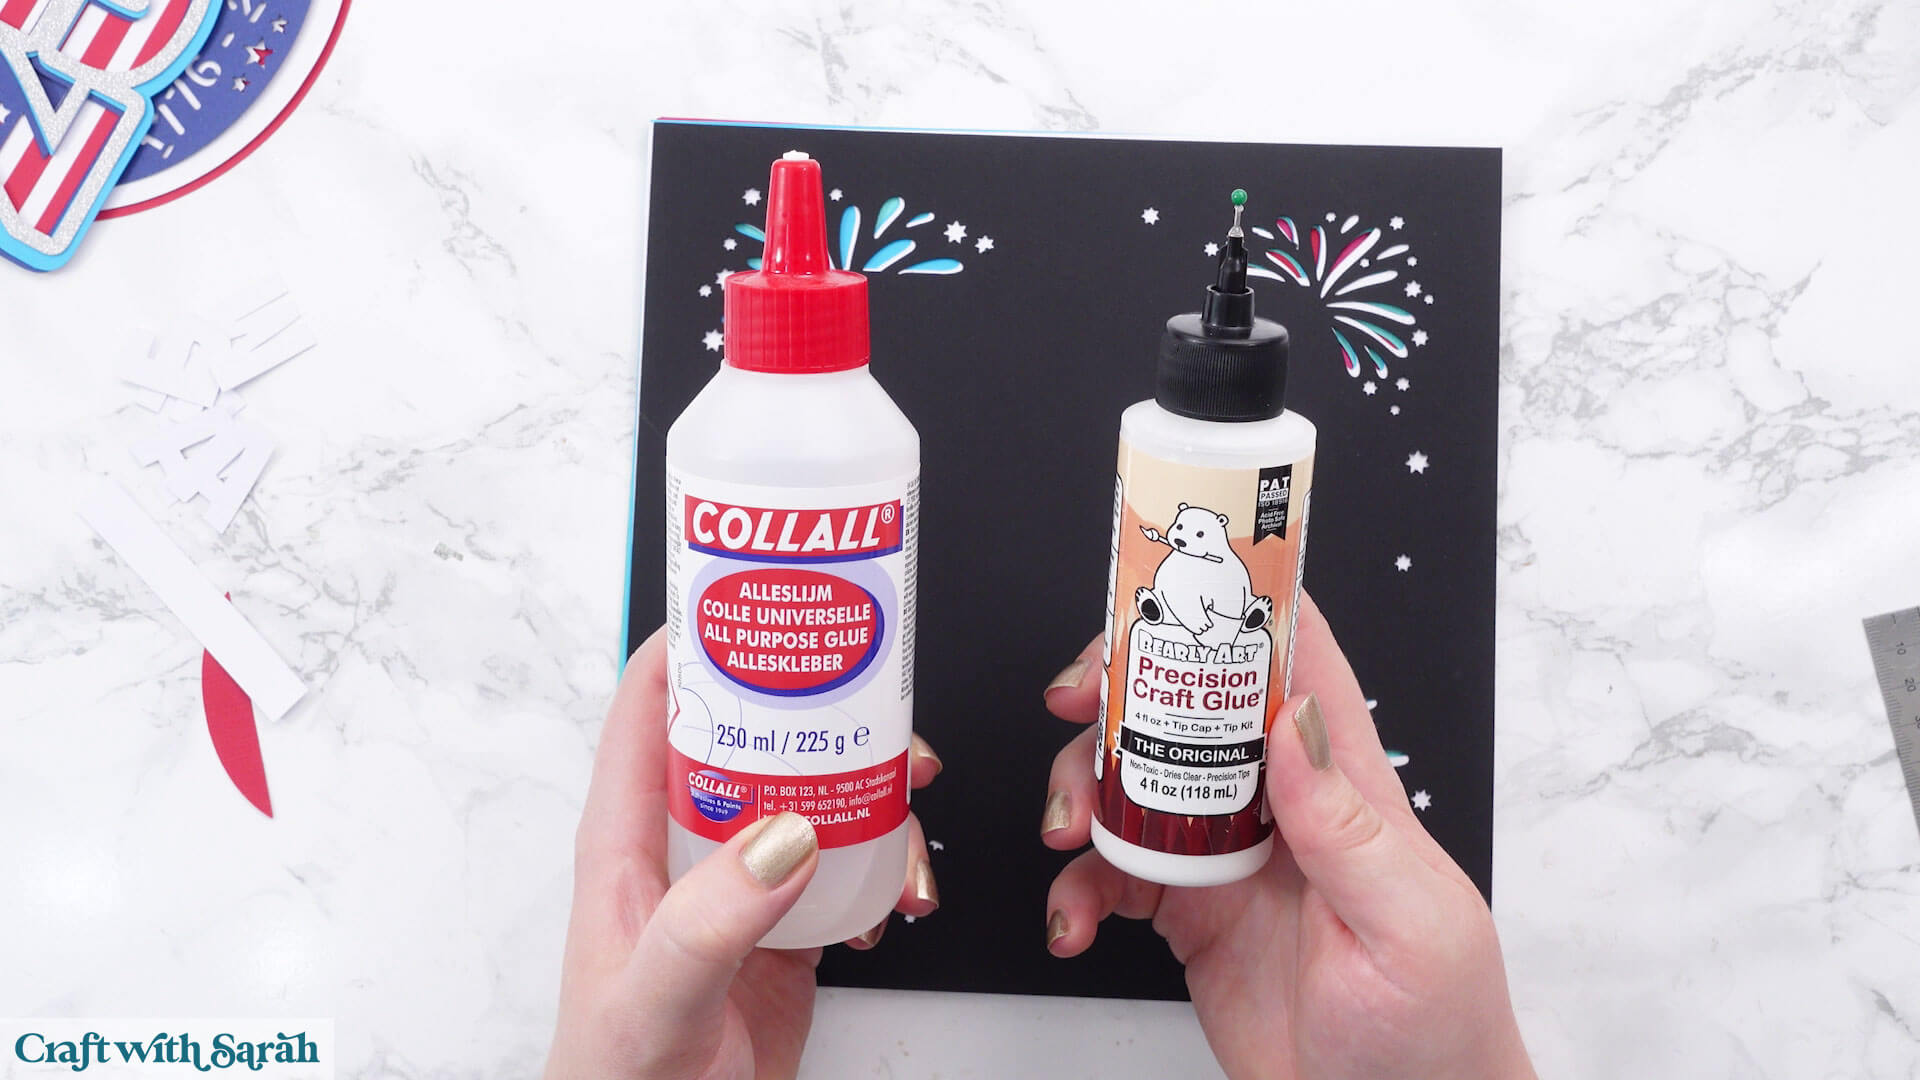
I used Bearly Art Glue to stick the project together.
It’s SO good because it doesn’t “warp” or bend the cardstock like some glues do. You can use as much of it as you want and the card stays perfect – and it dries perfectly clear too!
Collall All-Purpose Glue is another great one to use for cardstock, which is more readily available in the UK.
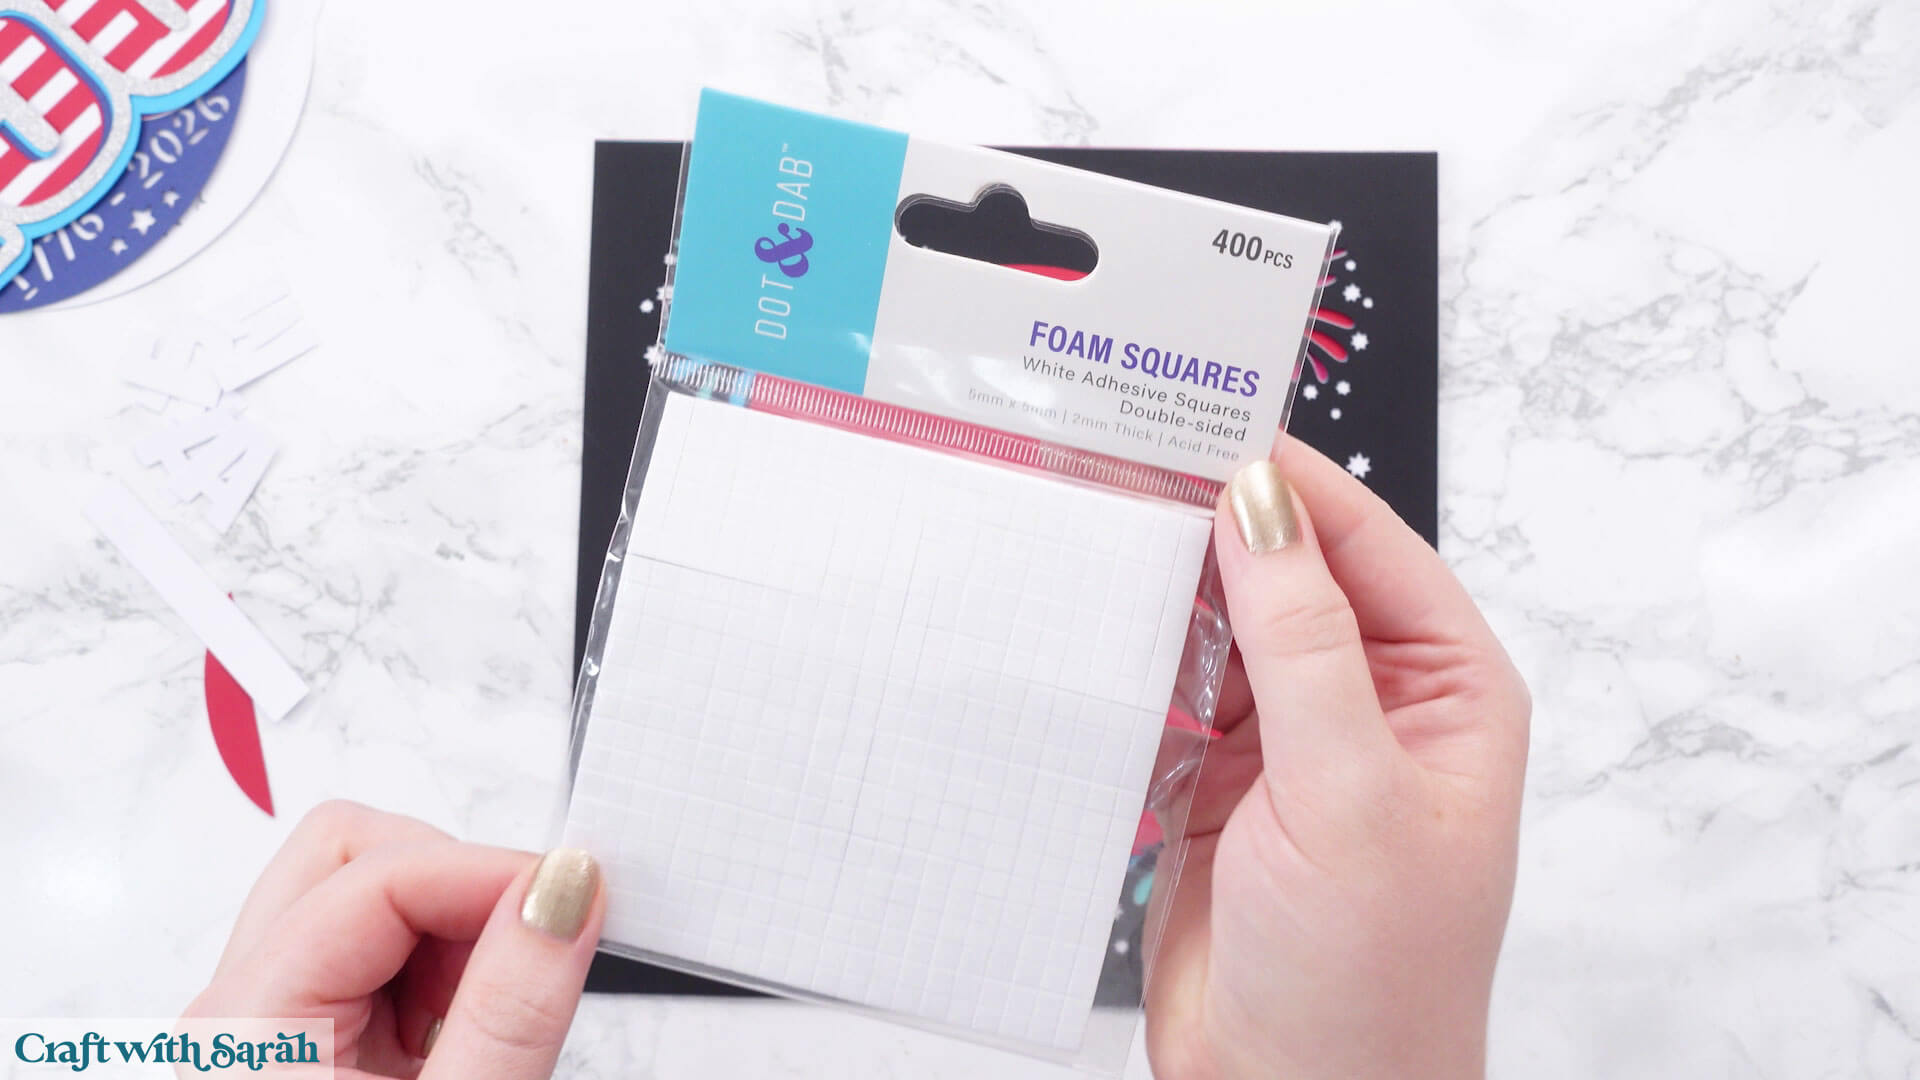
I like these foam pads from “Dot & Dab”, but any will do. If yours are large then you might need to cut them smaller with a pair of scissors.
When adding the foam pads to larger pieces, make sure you add some in the middle of the pieces of card so it gives some stability to the middles. If you don’t add any foam pads in the middles then it can dip/sag down under the weight of the other layers which doesn’t look as good.
Step 6) Frame the project
Remove the glass from your frame and clean it, then carefully add it back in.
I left the glass out of my frame as it would reflect my camera lights and make the project hard to see.
Add the spacer into the frame.
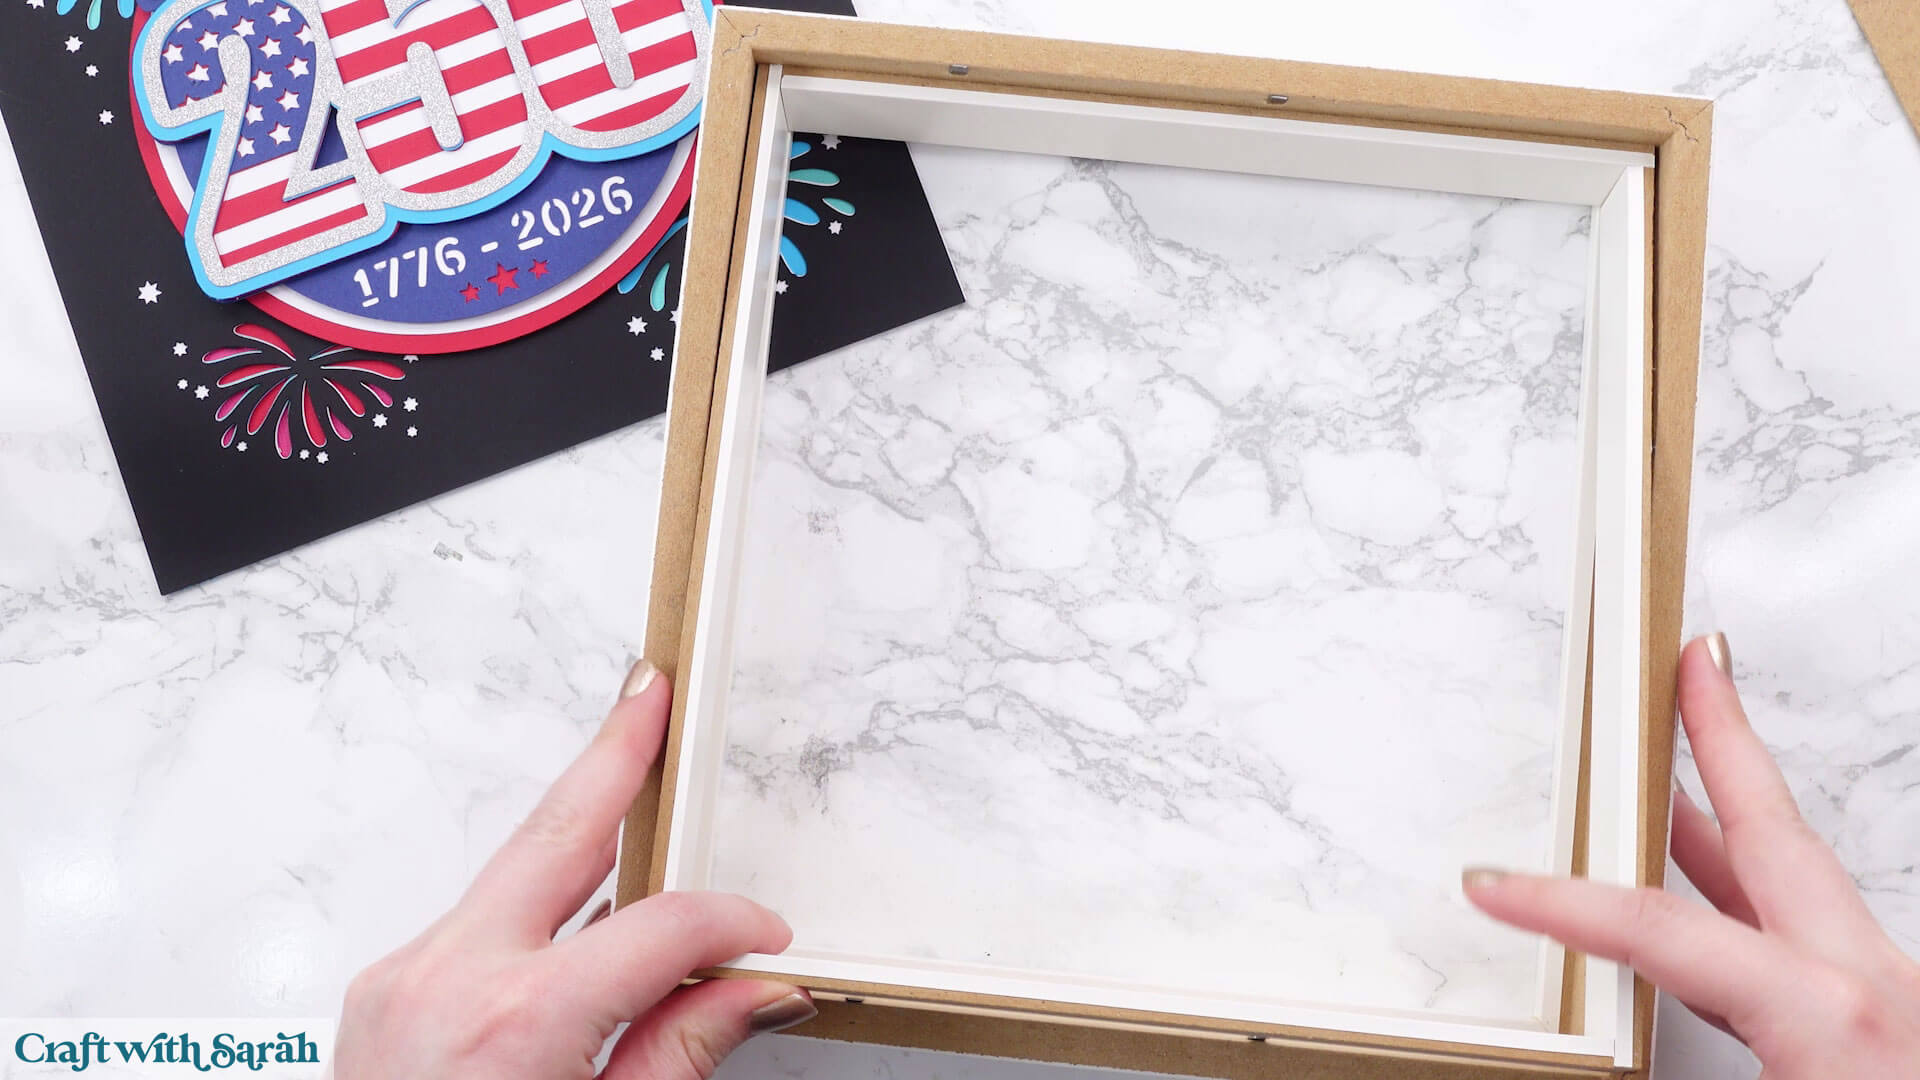
Add the papercraft on top.
Put the back on the frame and close down the tabs.
Your 4th July shadow box is now finished!
Love layered SVGs? Check out my other free layered SVG files
Happy crafting,
Sarah x

