3D Pop Up Christmas Card with Snowflakes

3D Pop Up Christmas Card with Snowflakes

Make a pop out card with a Cricut machine!

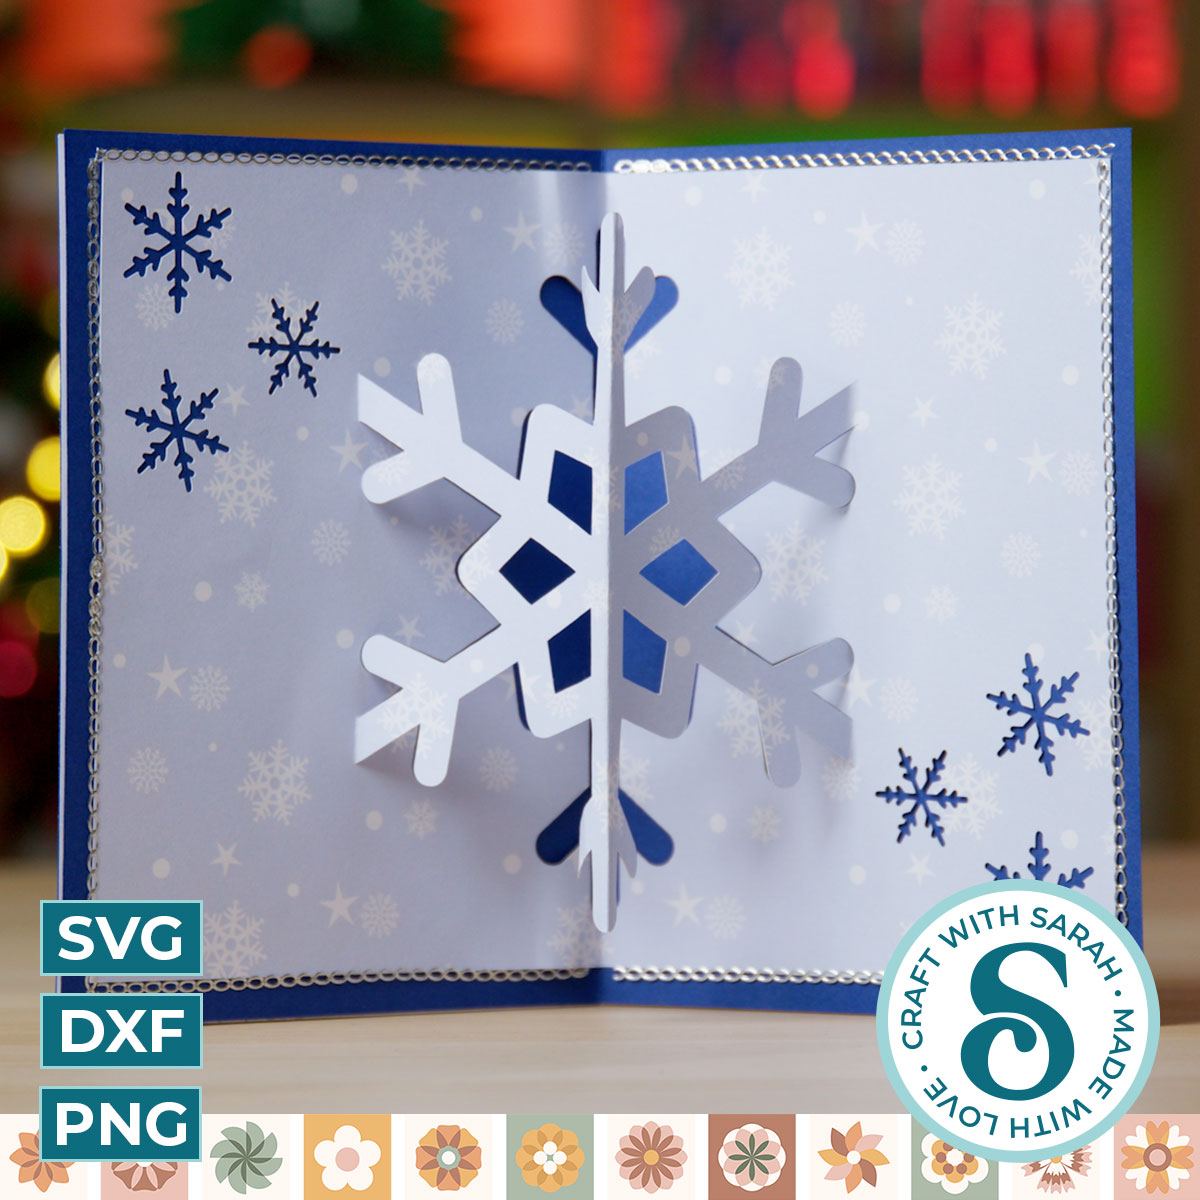
This card is really fun because when you open it up there’s a snowflake inside which pops right out to make a lovely surprise for anybody receiving the greetings card.

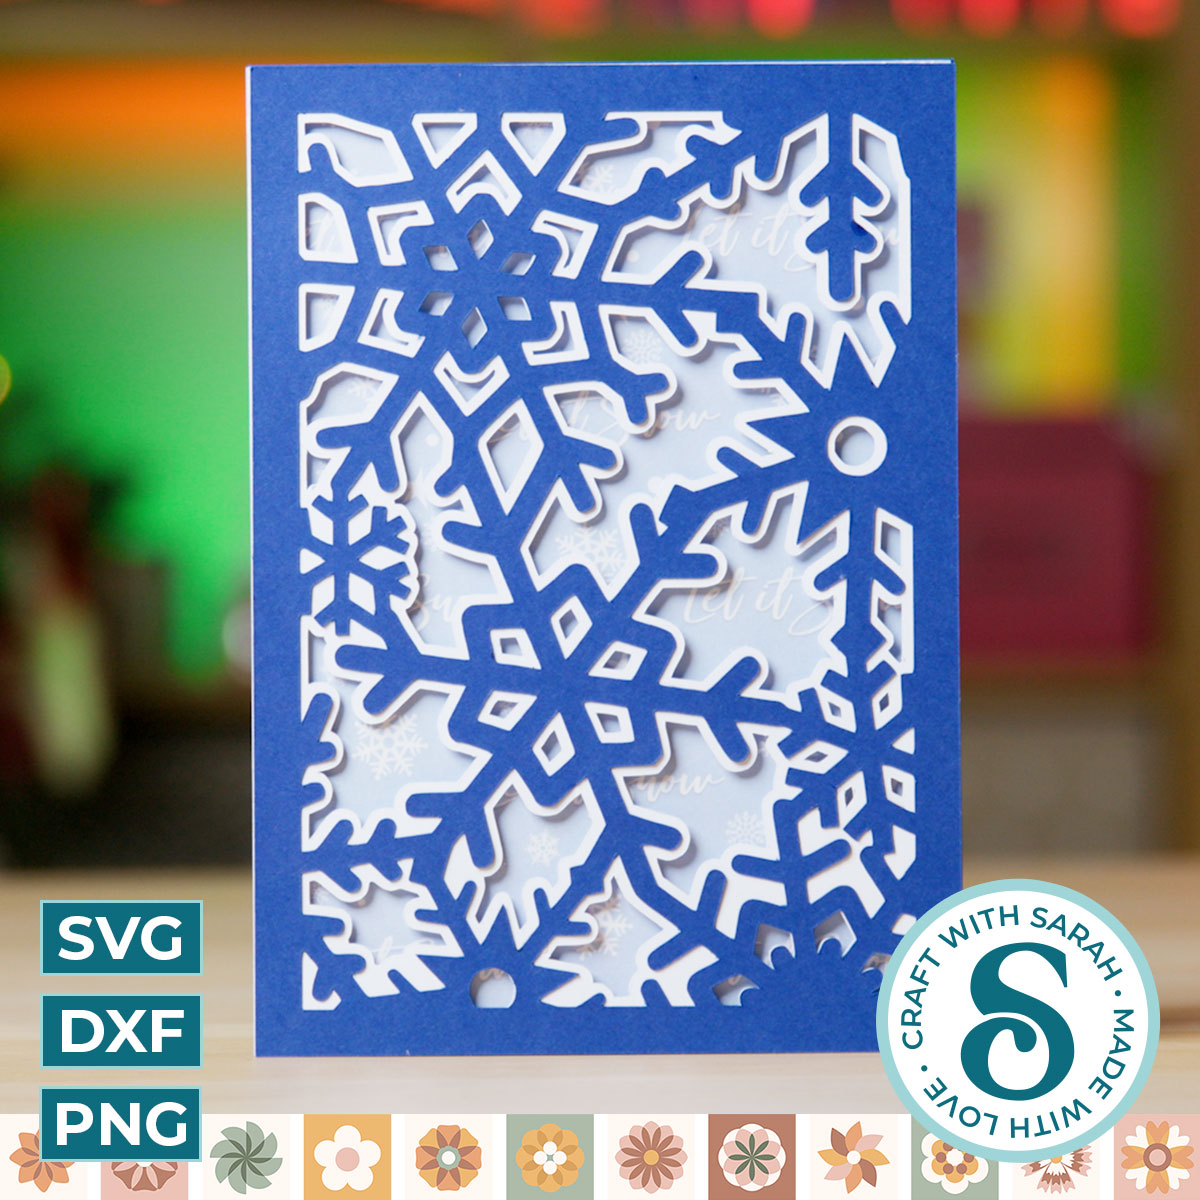
Also included is a snowflake layered design for the front of the card.

If you prefer, you could add your own design to the front instead of using the one that comes with this download.

This project is part of 2021's Christmas Craft Countdown.

View all 20 craft projects!

Snowflake layered card


How to make a 3D Pop Up Christmas Card

Watch the video below to see how to make a 3D Pop Up Christmas Card. Keep scrolling for a written tutorial.

This video was recorded using Design Space version 6.17.143. Later versions of Design Space may look different.


Materials list to make a pop-out snowflake card

Here is a list of the materials that I used to make this project:

Please note that some of the links included in this article are affiliate links, which means that if you click through and make a purchase I may receive a commission (at no additional cost to you). You can read my full disclosure at the bottom of the page.


Layered pop out Christmas card: Assembly instructions

Here’s how to make your very own pop out Christmas card using a Cricut machine!

Step 1) Download the files & unzip the downloaded folder

Use the box below to download the cutting files for this project. Please note that this is not a free file.

It is part of the Christmas Craft Countdown which is a collection of 20 exclusive Christmas themed craft projects.

This design is part of the 2021 Christmas Craft Countdown.

Find out more


Forgot password?

Before you upload the SVGs to Design Space, you need to unzip the download folder that they come in.


Step 2) Upload the SVG files into Design Space

Open up Cricut Design Space and upload the popout section of the card and the snowflake layered designs for the front of the card.

Make sure you upload the files which starts SVG_ in the filename!!

This is how it should look after you have uploaded the files:

Load design into Design Space

After uploading, the designs will show in your “Recently Uploaded Images”. Click on them and then press “Add to Canvas” to put them onto your Project.

Add to canvas


Step 3) Check the sizes

Check the sizes of the designs.

The card front should be 7 inches tall and 5 inches wide.

The popout should be 10 inches wide and 5 inches tall.

Check the size of the design


Step 4) Format the score lines

The pop out section of the card has score lines to help us fold it and create the 3D effect.

However, Design Space doesn’t automatically set them to score lines which means at the moment they would cut instead of score.

Click on the popout image and look at the layers panel on the right-side of your screen.

For each of the two score layers (shown below), click the layer in the Layers Panel and then under the “Operation” dropdown along the top of the screen, change it from “Basic Cut” to “Score”.

Format score lines

You can tell if it worked because the lines change to look “dashed” instead of a straight line:

We aren’t quite done formatting the score lines yet though. We also need to “Attach” the score lines to the layers we want them to appear on. “Attach” is what tells the Cricut where to make the score lines on the cardstock.

Click on the main pop out image and then press “Ungroup” to separate out the dark blue and light blue sections.

Design Space Ungroup Icon

Click on the light blue section and then press “Attach”.

The layers panel should update to show that those two layers are now attached. Do the same for the dark blue section.

Attached lines

Your design is now ready to cut! Click “Make it” and then follow the on-screen instructions to cut out all the pieces.

TIP: Use thin card or scrapbook paper for the light blue “pop out” section. It will be easier to fold and the 3D effect will work better with thinner card rather than thicker.


Step 5) Fold the pop out snowflake

Fold down the middle of the snowflake piece and along the edges according to the directions below.

Fold guide

For the valley folds, pinch the edges of the card together to get it to fold “inwards”.

Pinch the valley folds

For the mountain folds, fold the middle of the snowflake upwards towards you.

Mountain folds

Fold the card in half and burnish the fold lines to make them crisp. This will help the “pop out” effect to work better.

Burnish the fold lines


Step 6) Stick the pop up inside the card

Use double-sided tape or glue to stick the popout section inside your card.

Don’t put any tape inside the snowflake shape, otherwise it won’t be able to pop out!

Adding double sided tape

I stuck mine a little bit wonky, so to hide it I covered the edges in silver peel-off stickers. I LOVE this trick when card making because it lets you “trick” the eye into thinking things are stuck straight!!

Peel off stickers

Here is how the card should look when it is opened:

3D Pop Up Christmas Card with Snowflakes


Step 7) Make the front of the card

Glue the top snowflake layer (dark blue) onto the “thicker lined” snowflake layer.

My favourite glue to use on papercraft projects is Collall All Purpose Glue.

It’s SO good because it doesn’t “warp” or bend the cardstock like some glues do. You can use as much of it as you want and the card stays perfect – and it dries perfectly clear too!

Glue the top layer of the card

Use 3D foam pads to stick the white snowflake layer on top of the solid rectangle piece that makes up part of the front of the card..

When adding the foam pads, make sure you add some in the middle of the pieces of card so it give stability to the middles. If you don’t add any foam pads in the middles then it can “sag” under the weight of the other layers which doesn’t look as good.

Add foam pads

Glue the solid rectangle layer to the front of your card. I cut mine from some snow patterned scrapbook paper.

Glue to the base card

Your card is now finished! You could decorate it with sequins, glitter, Nuvo drops or other embellishments for a bit of sparkle, but I decided to leave mine plain.

Snowflake layered card


I hope that you enjoy these layered faux arabesque ornaments!

This project is part of 2021's Christmas Craft Countdown.

View all 20 craft projects!

Happy crafting,
Sarah x