Design Your Own Stained Glass Windows
Classes are a membership-only feature. To find out more about joining, click here or login to your account
Custom Window Cling Projects
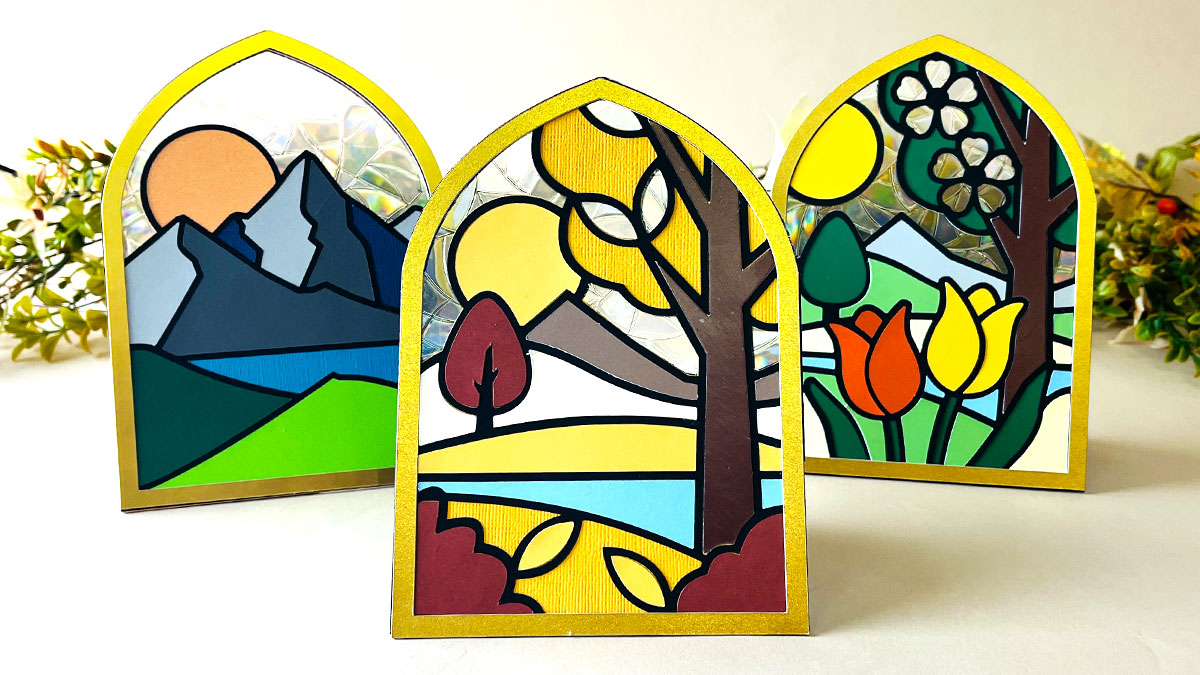
Learn how to design your own stained glass effect papercraft projects, with stands built into the backs.
The Class teaches how to build up your window designs using different images/SVGs, then how to cut your design into the correct shape so that no parts go outside the edge of the window sides. Then, I’ll show you how to add stands to the back so that your windows are freestanding.
You must be part of Papercraft Porch to gain access to this Class.
Click here to find out more about joining, or login to your account if you are already a member.
What’s included?
After watching this Class, you’ll have all the knowledge you need to be able to design your own beautiful and elegant freestanding stained glass windows.
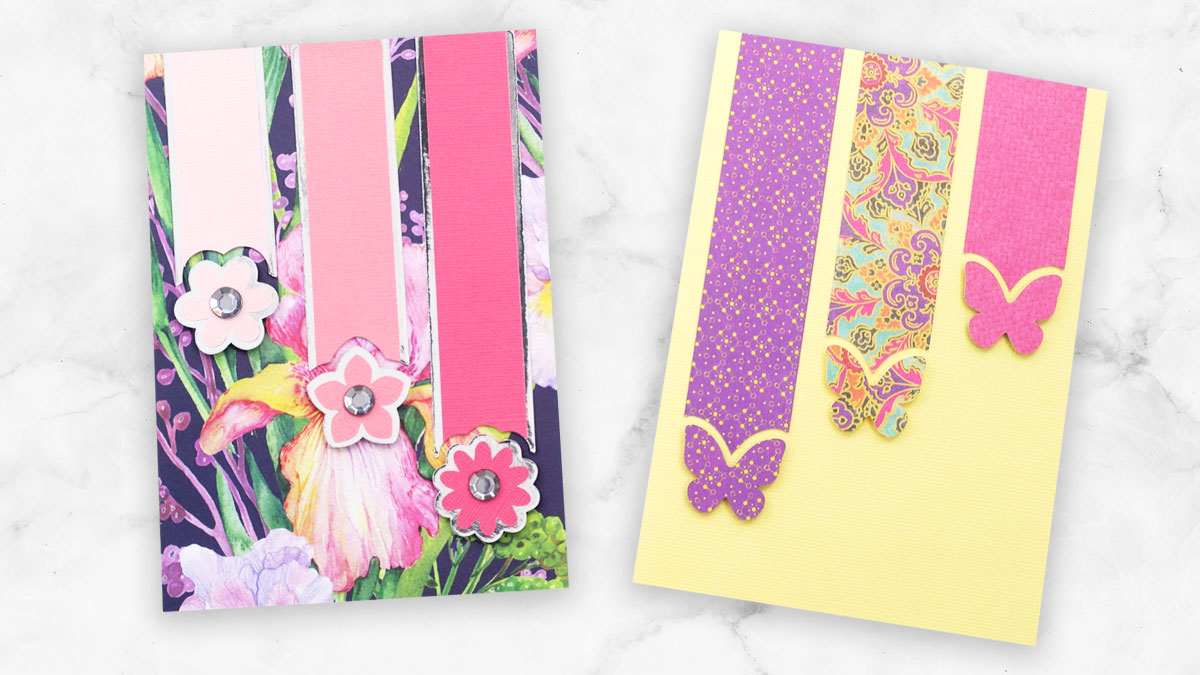
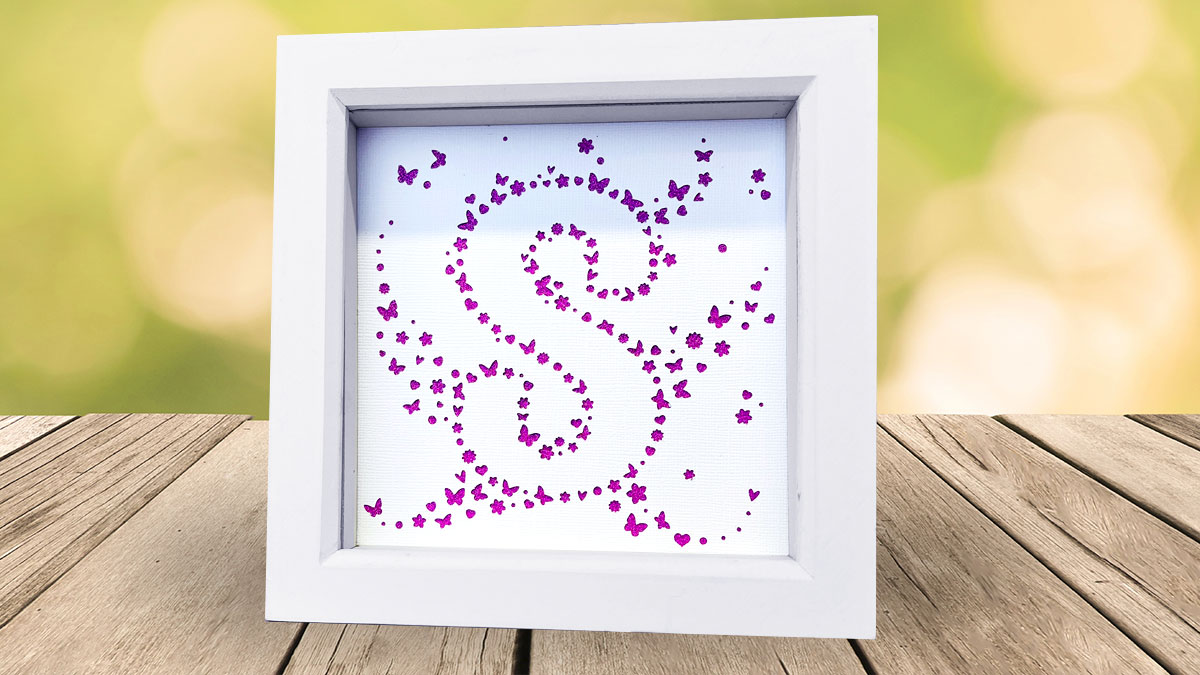
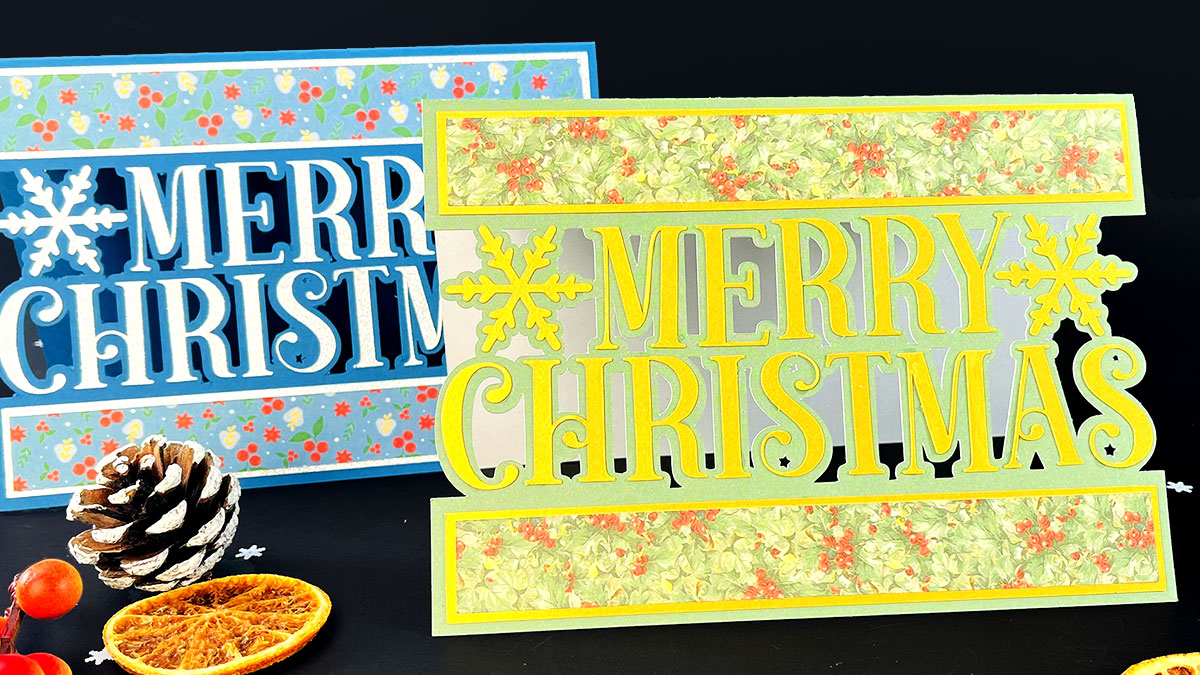
In no time at all, you’ll be creating window cling projects just like these:
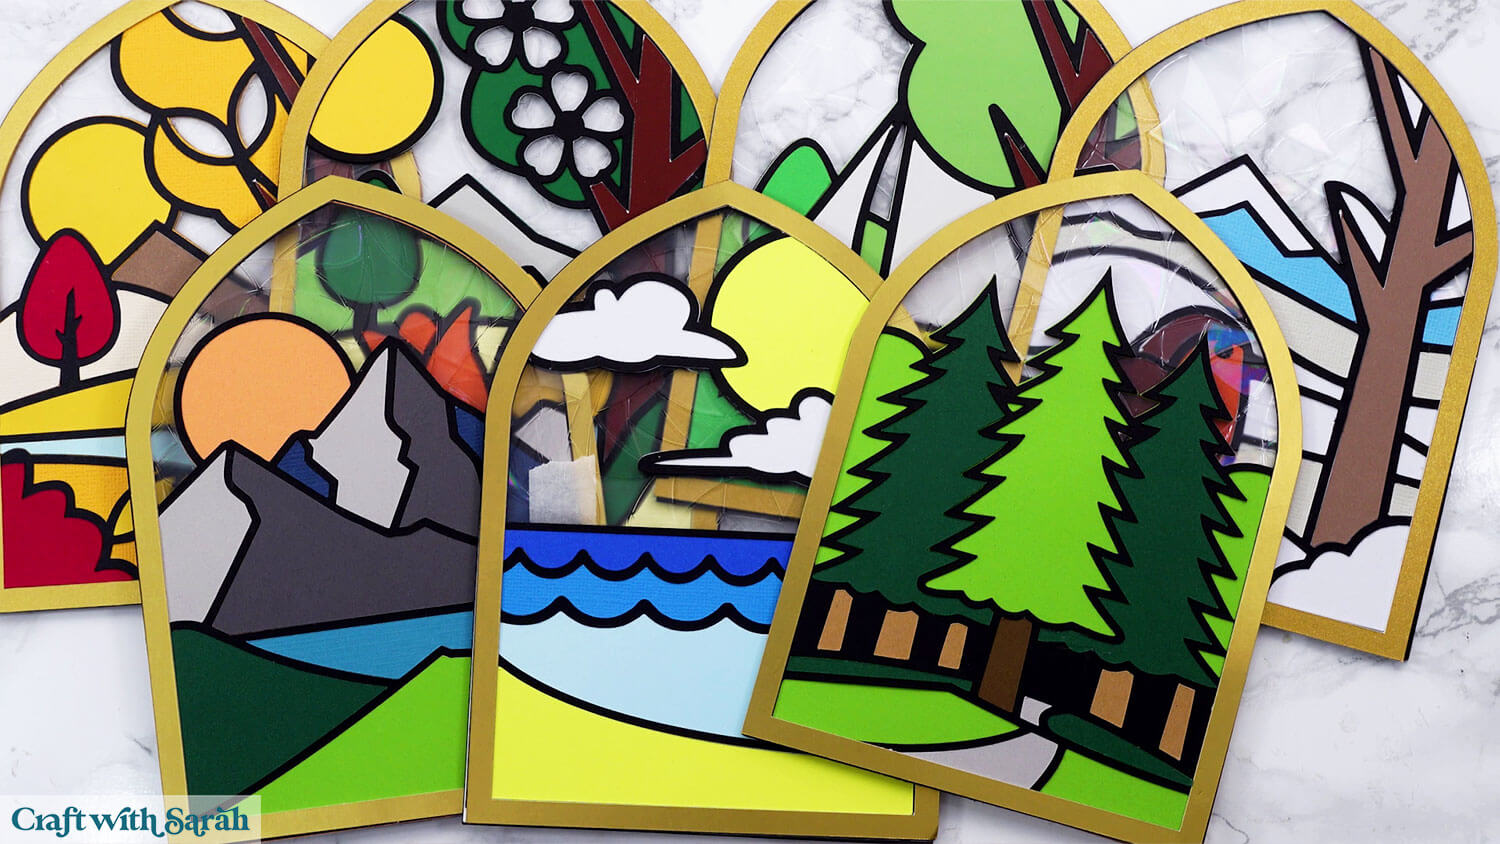
As part of this Class, I’ve provided two different window shapes, three stand sizes, plus all the graphics and imagery that I use in the lessons, so you can follow along exactly to learn the steps.
Or, jump straight in with your own custom images or SVGs – it’s completely up to you!
Each lesson is recorded separately in Cricut Design Space, Silhouette Studio* and CanvasWorkspace, so you can follow along whether you have a Cricut, Silhouette or ScanNCut machine.
* Note that the Silhouette Studio tutorials require Designer Edition or higher. You cannot follow the steps in the free/Basic/Standard edition of Silhouette Studio as it lacks the necessary features.
Classes are a membership-only feature. To find out more about joining, click here or login to your account