
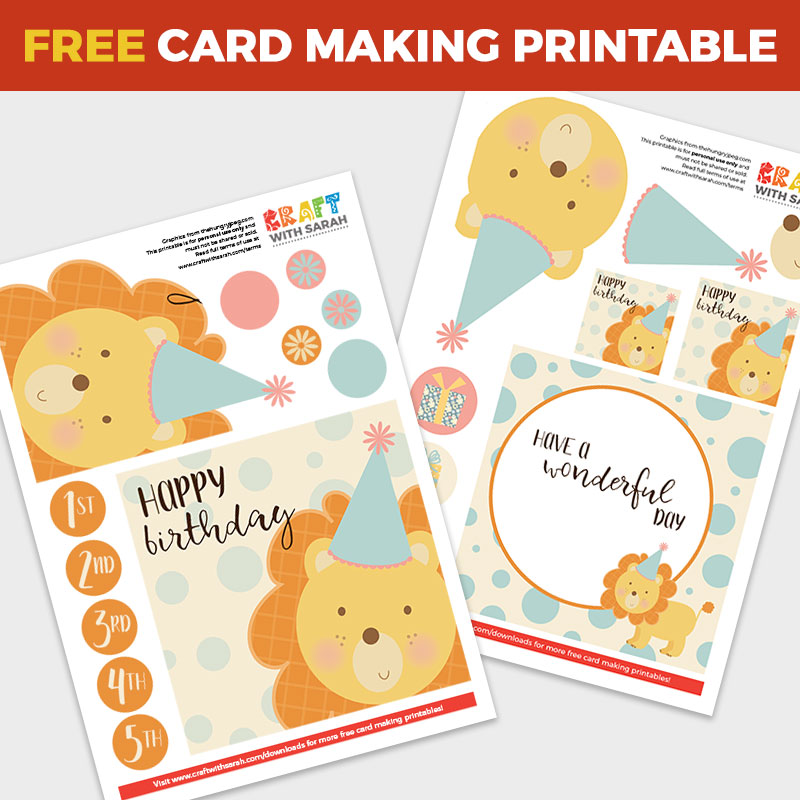
Birthday Lion Quick Card Printable
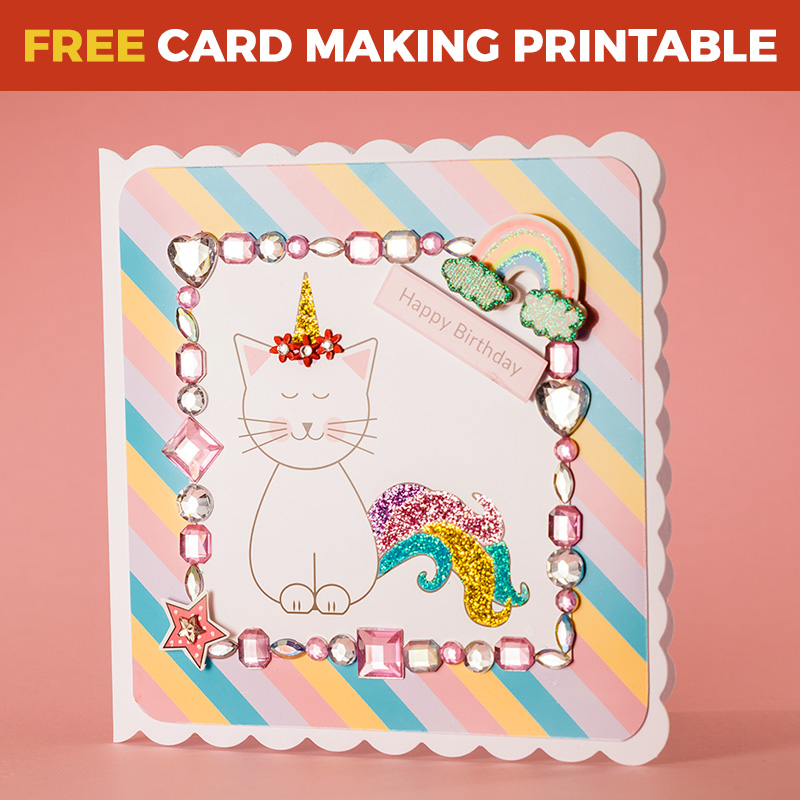
Caticorn Birthday Card
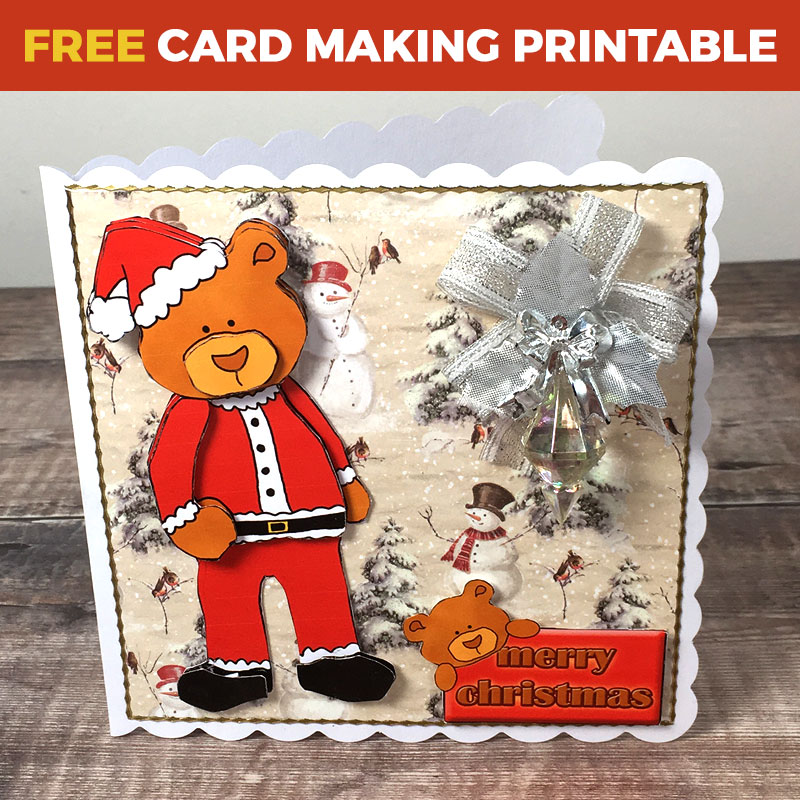
Christmas Bear Decoupage Toppers
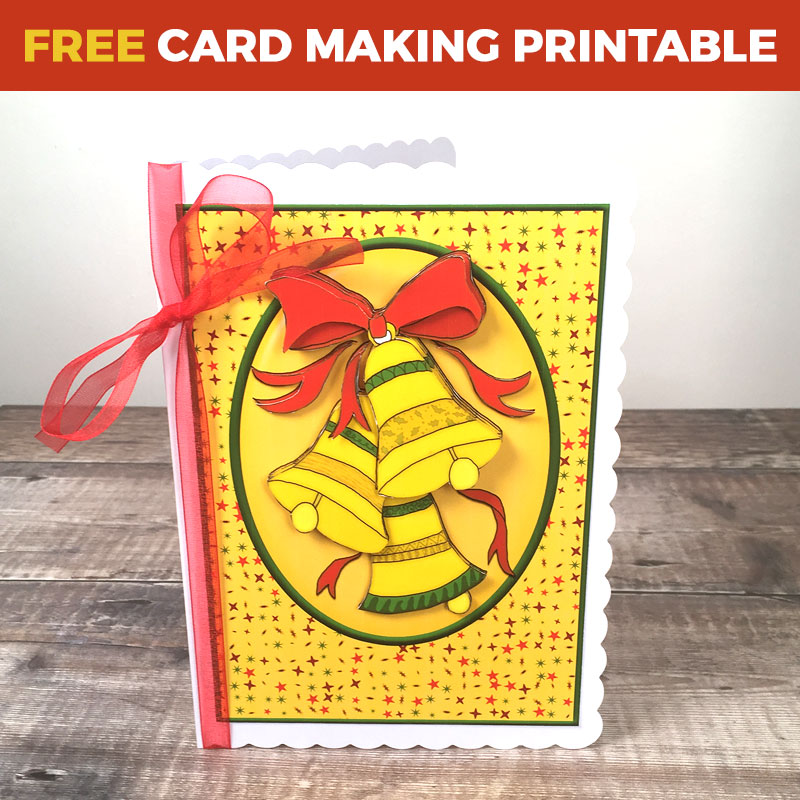
Christmas Bells Decoupage Printable
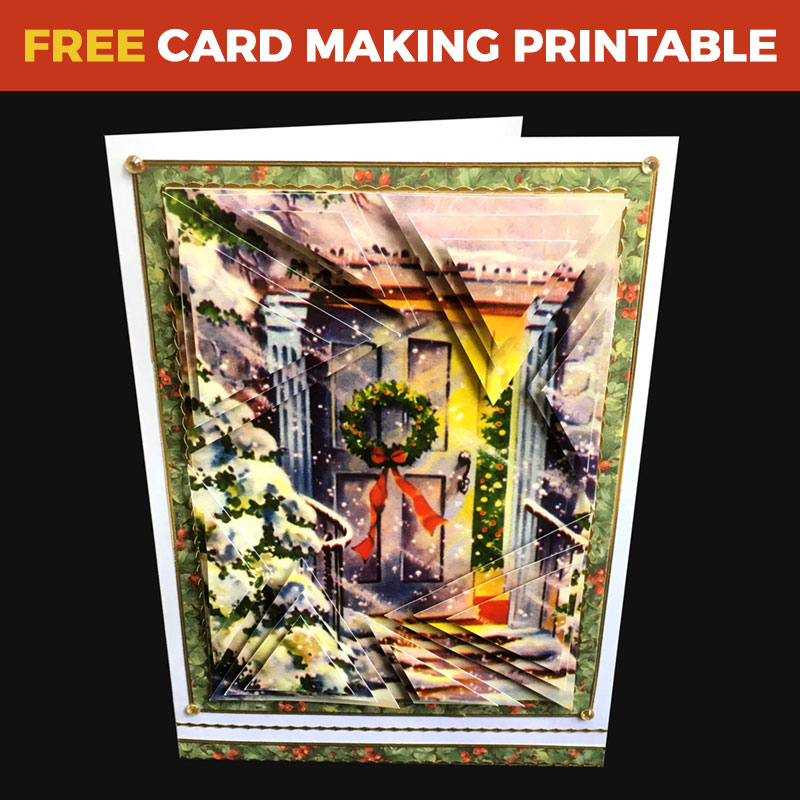
Christmas Door Shattered Pyramid
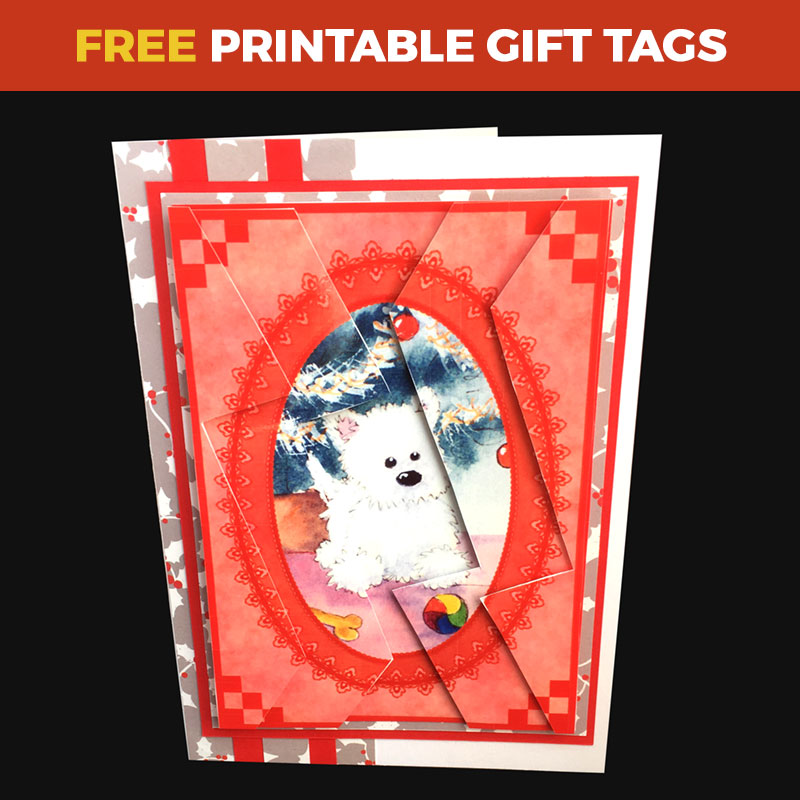
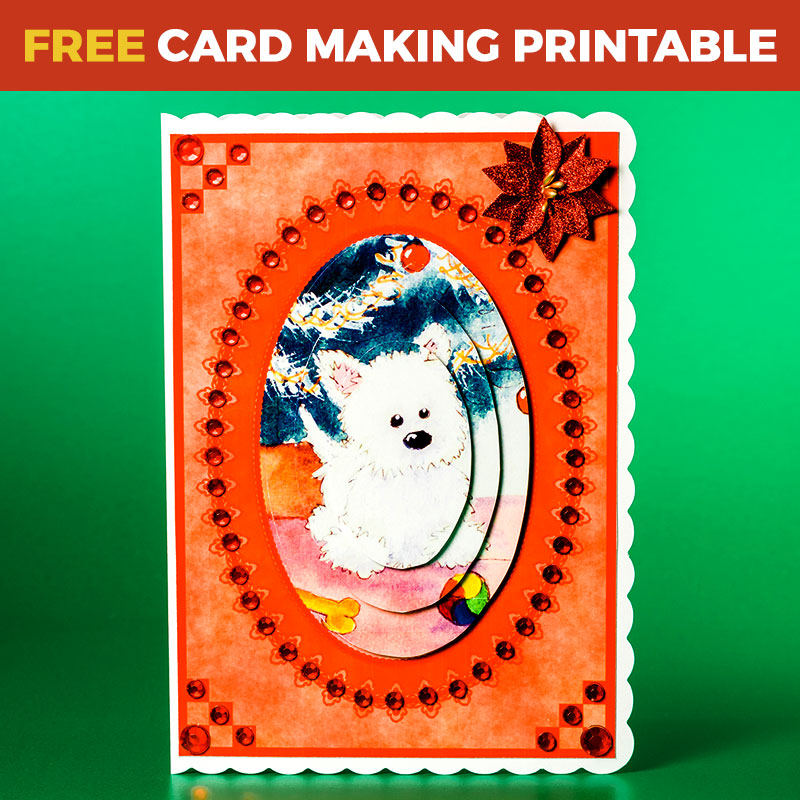
Christmas Westie Zigzag Stacker

Cute Dogs Decoupage Printable
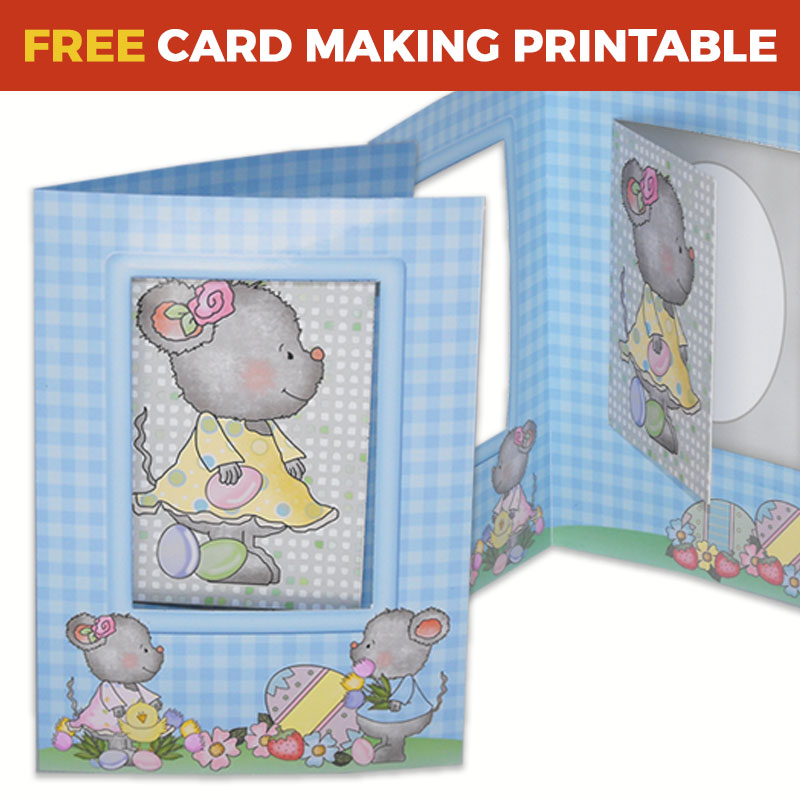
Easter Mice Card-in-a-Card
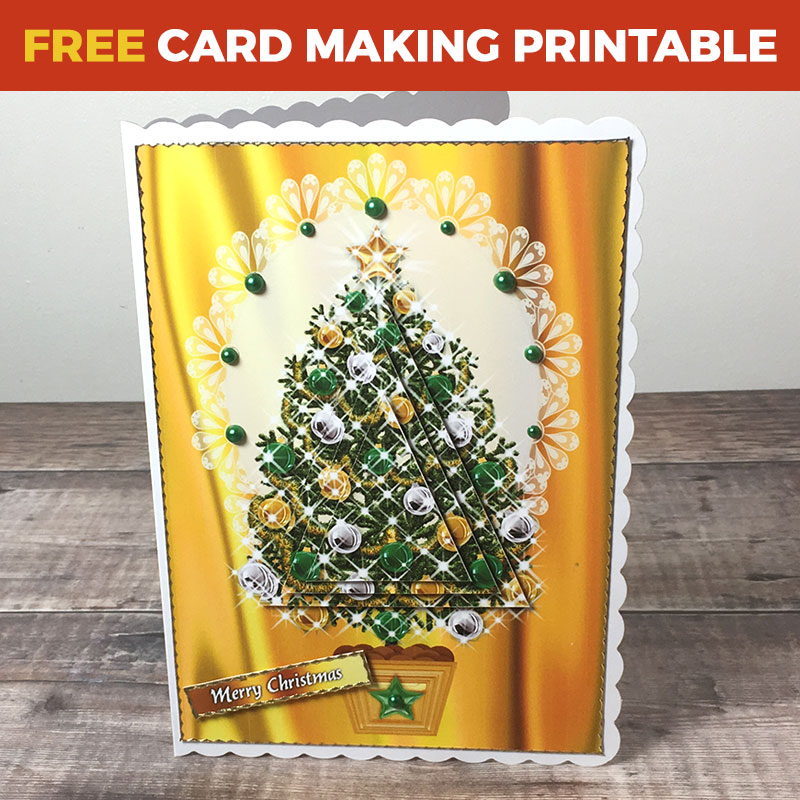
Golden Christmas Tree Pyramid Card
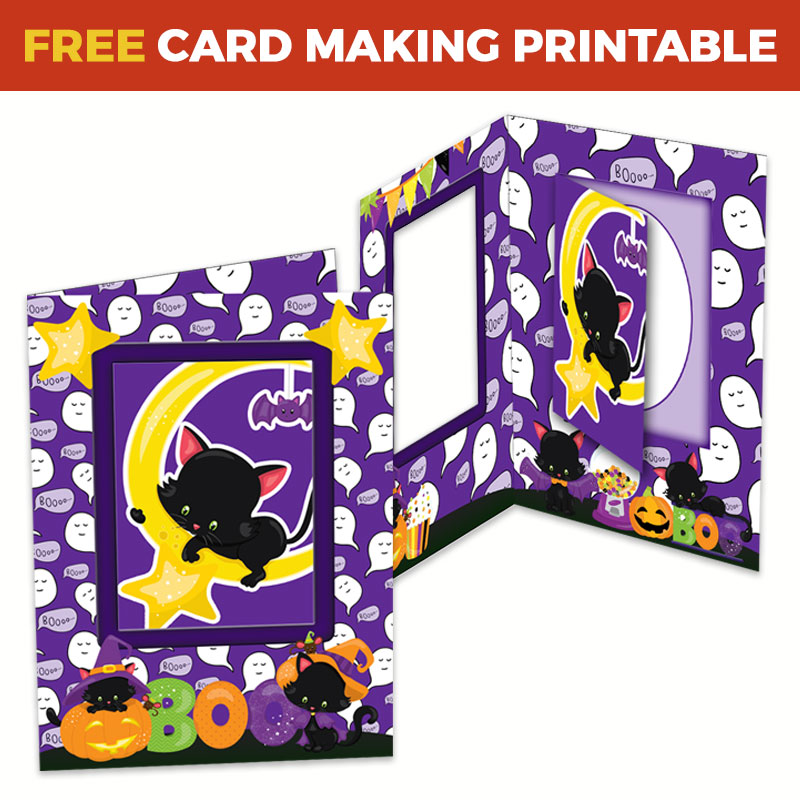
Halloween Cat Card-in-a-Card
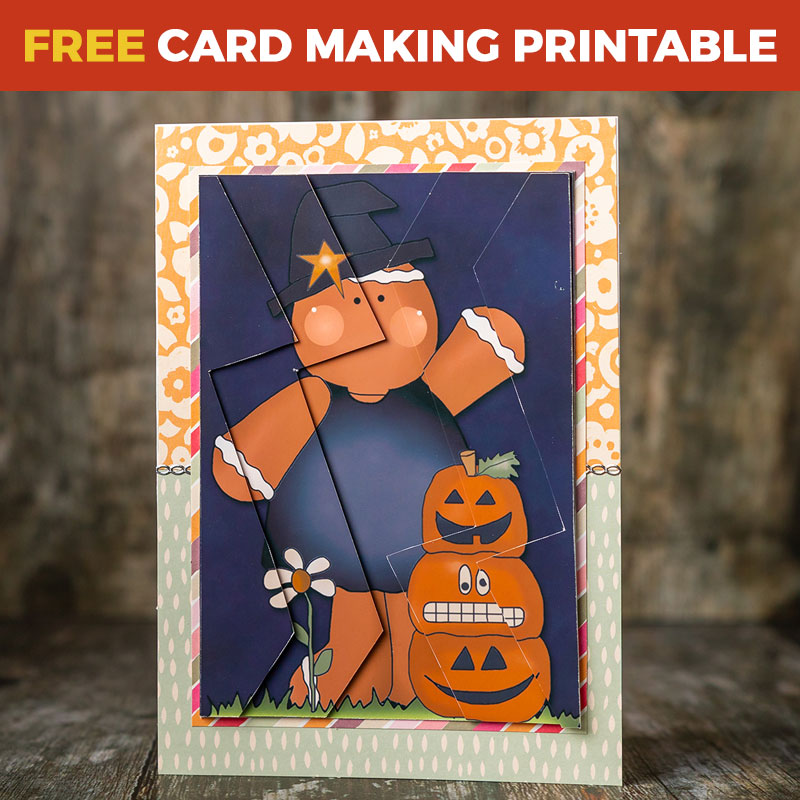
Halloween Gingerbread Man Zigzag Stacker
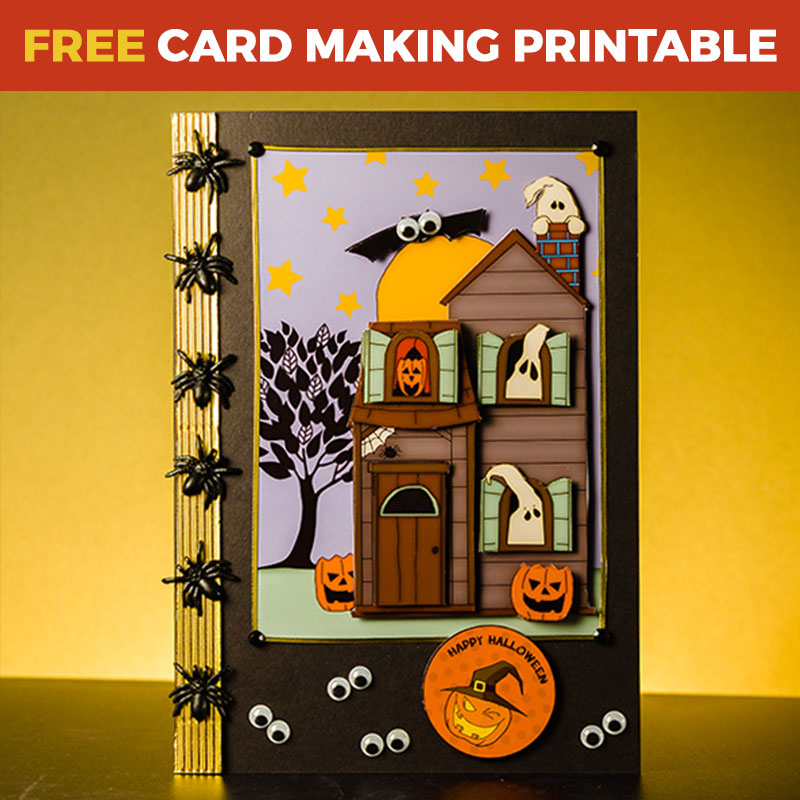
Halloween Haunted House Card Making
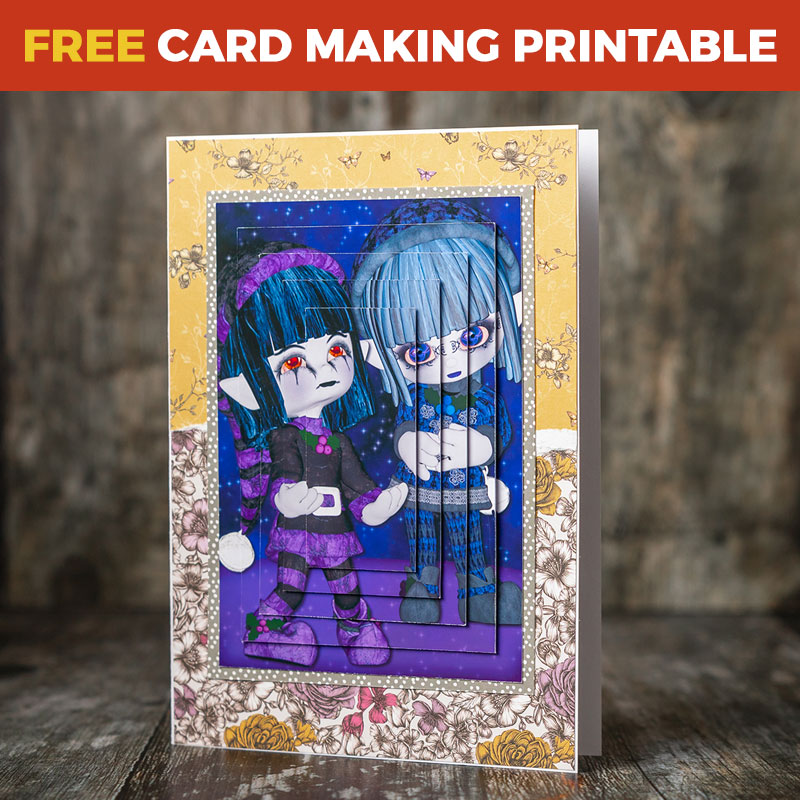
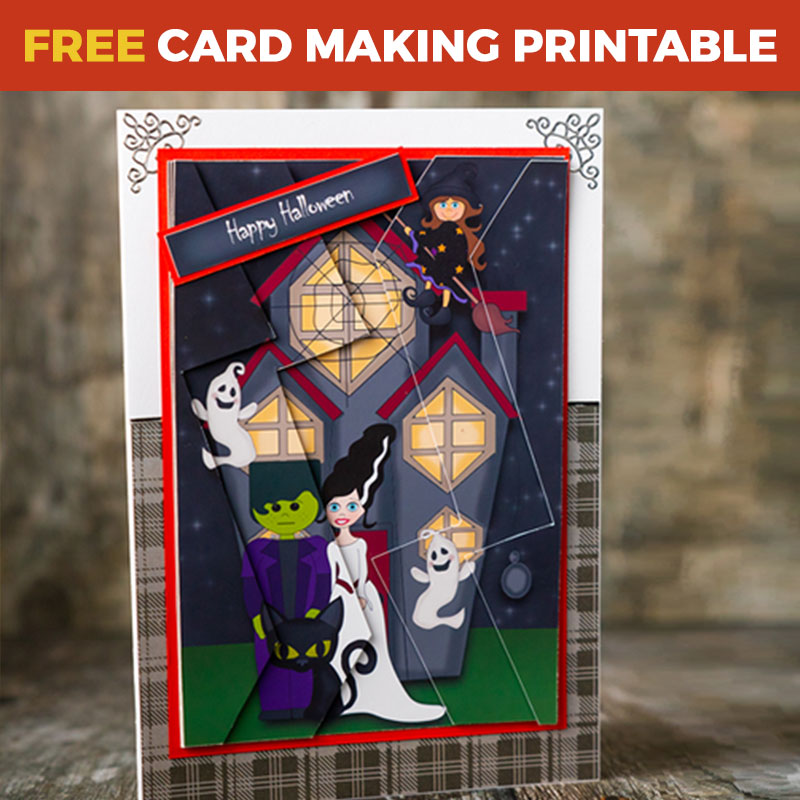
Halloween Zombies Pyramid Card
Haunted House Zigzag Stacker
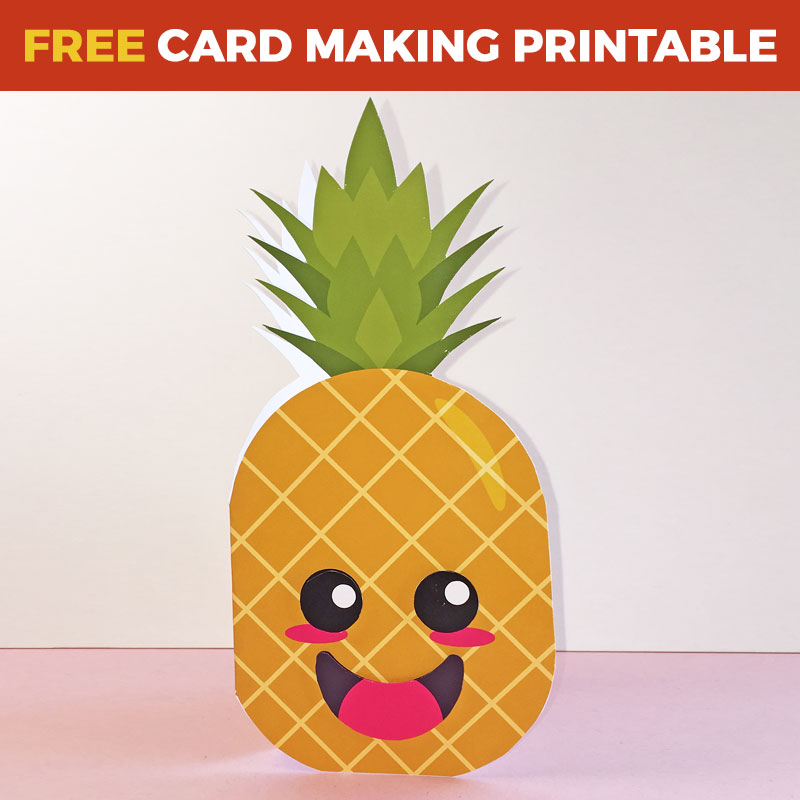
Kawaii Pineapple Shaped Card

Mermaid Decoupage Printable
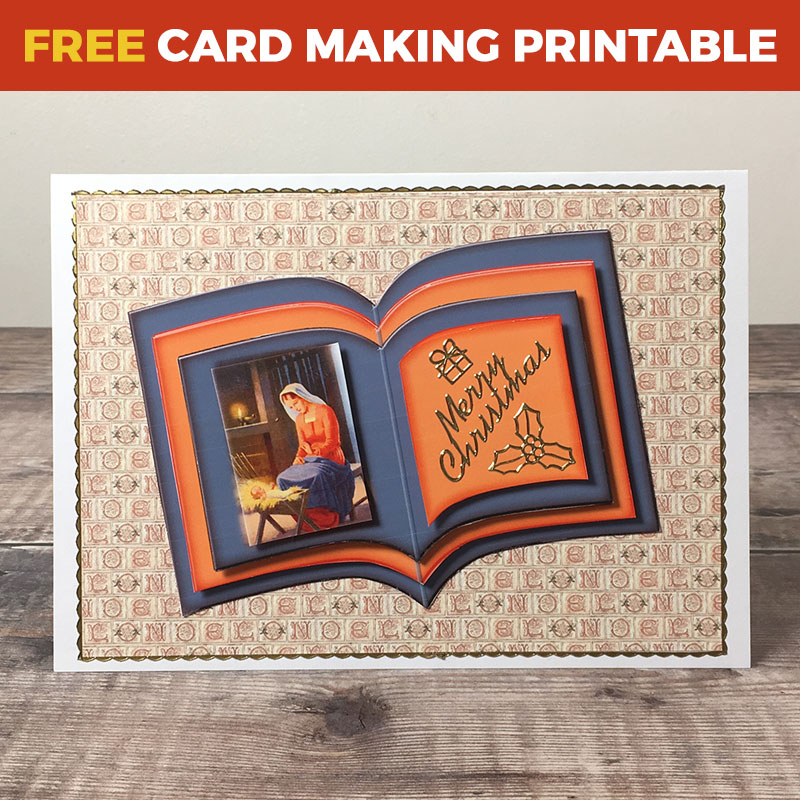
Nativity Scene Book Card
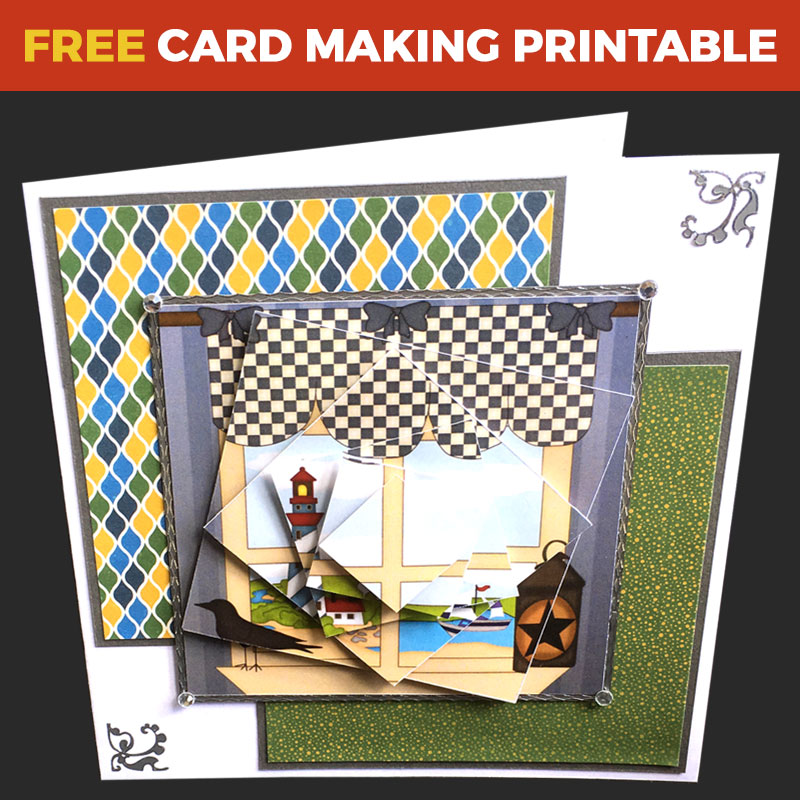
Nautical Lighthouse Spiral Pyramid
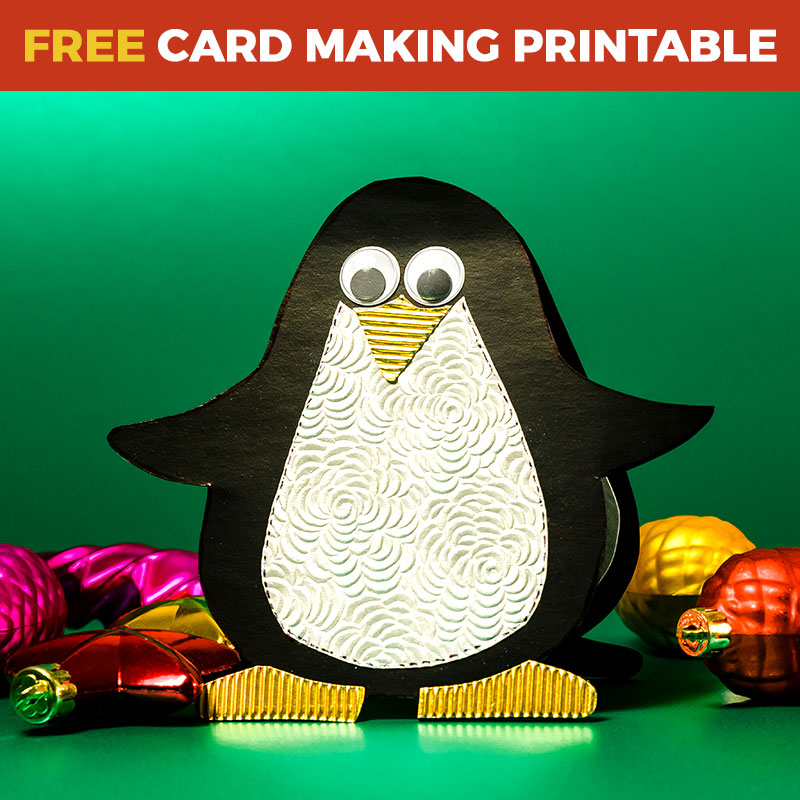
Penguin Shaped Card
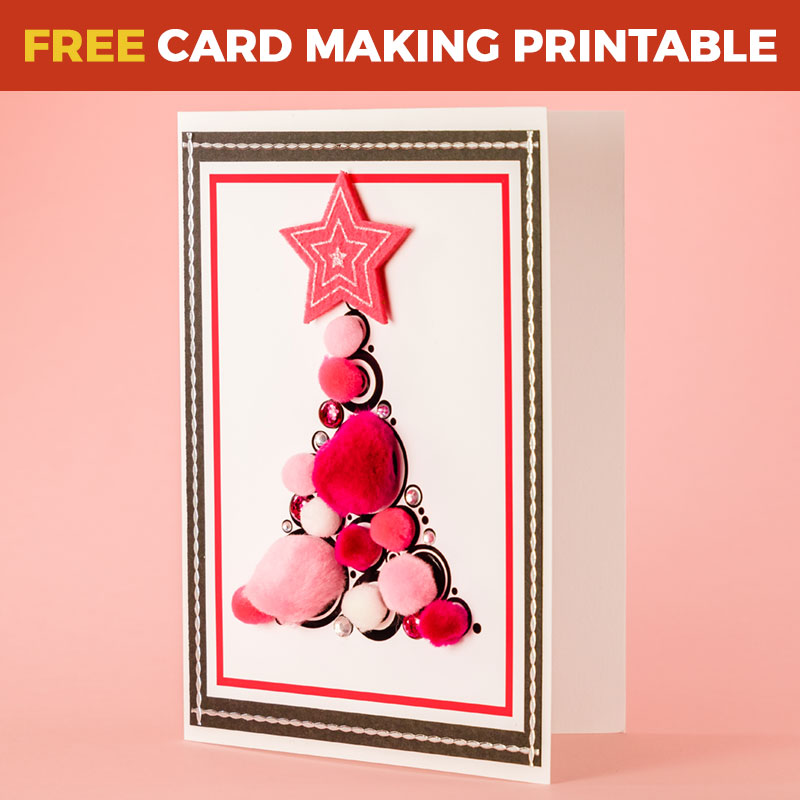
Pink Pompom Tree Card

Pirate Dogs Card-in-a-Card

Poinsettia Christmas Decoupage Card
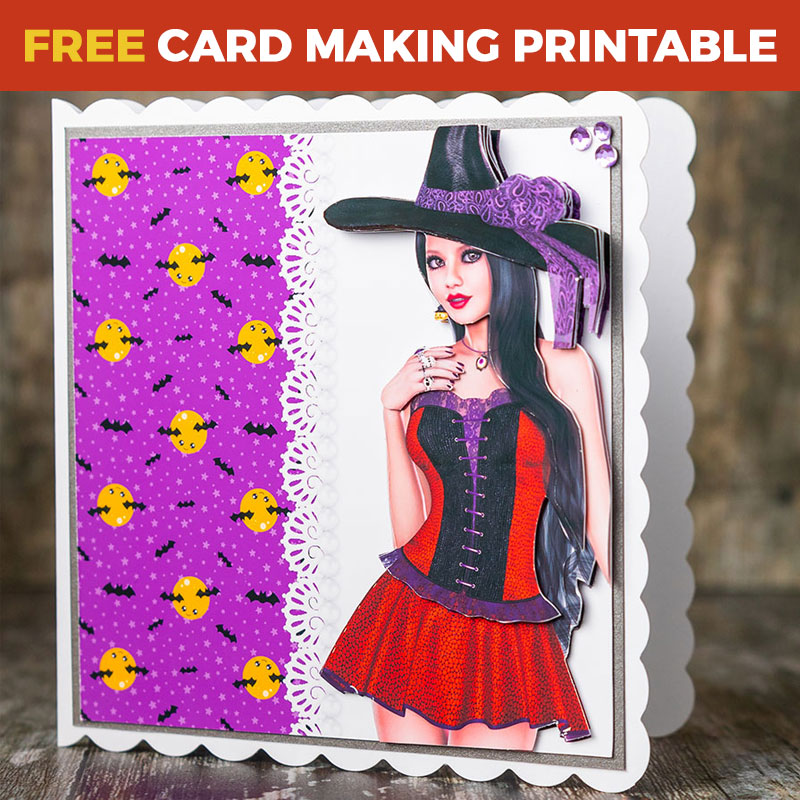
Pretty Witch Halloween Decoupage
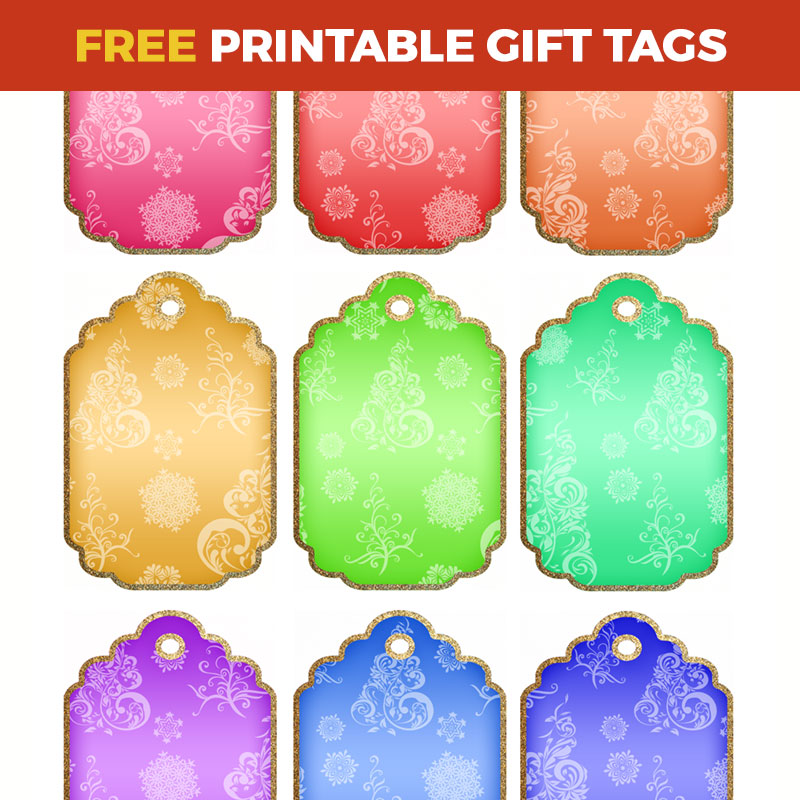
Printable Christmas Gift Tags
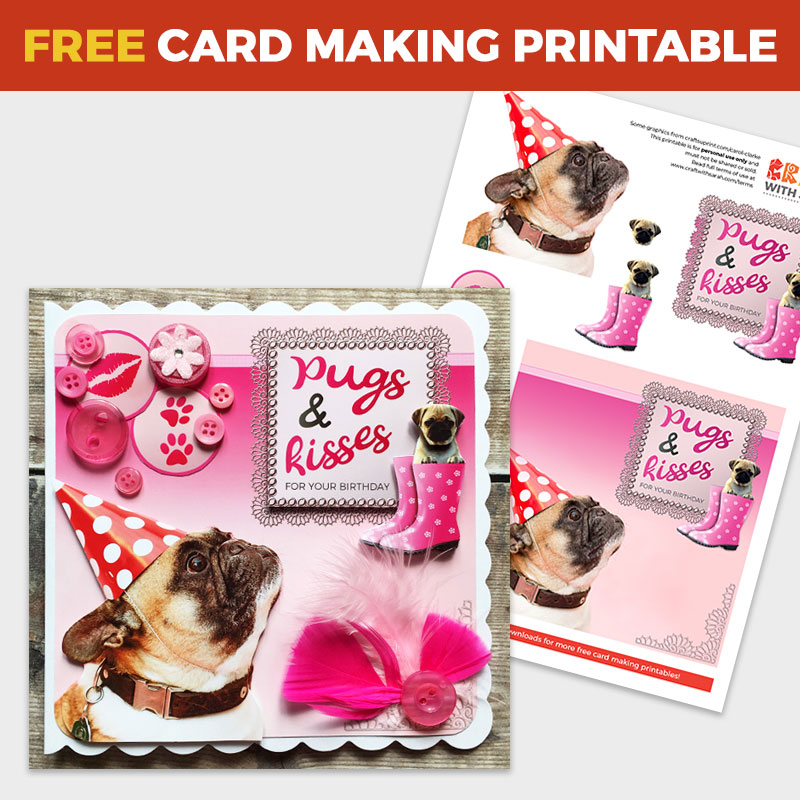
Pugs & Kisses Card Making Kit
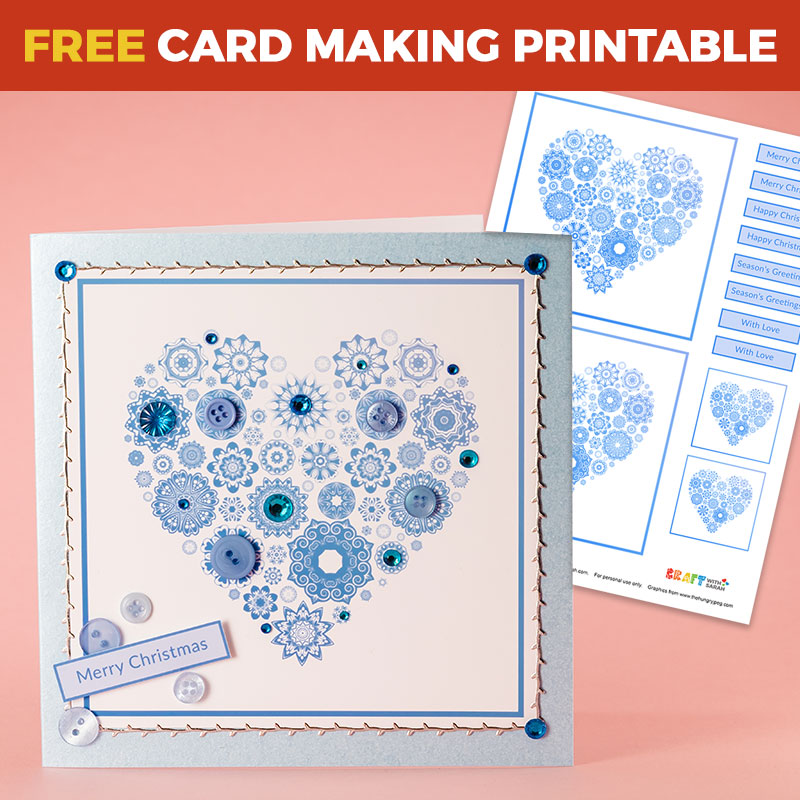
Snowflake Heart Quick Christmas Card
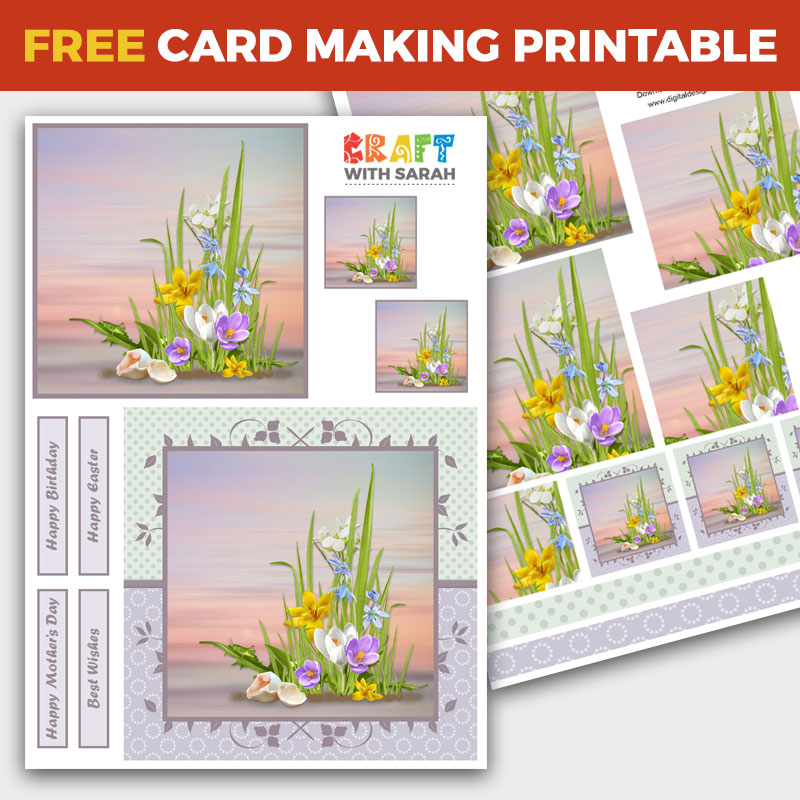
Spring Flowers Pyramage Card
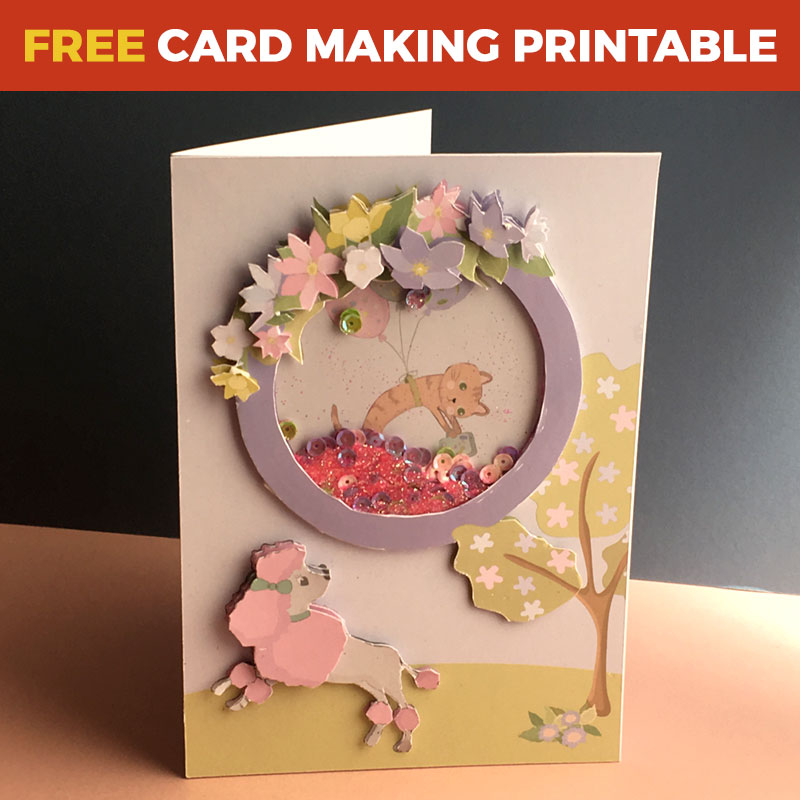
Springtime Poodle Shaker Card
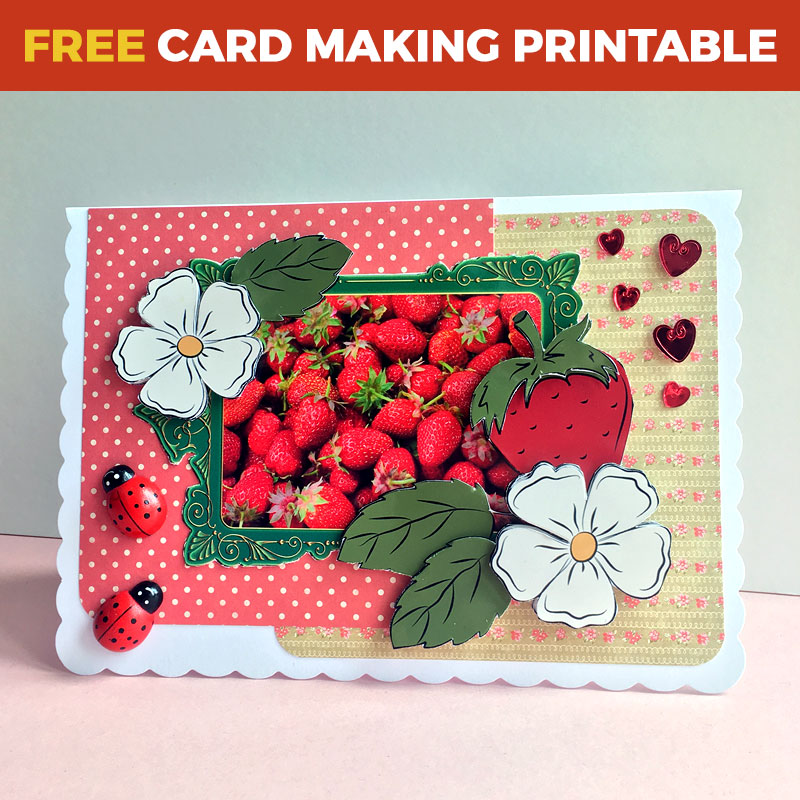
Summer Strawberries Decoupage
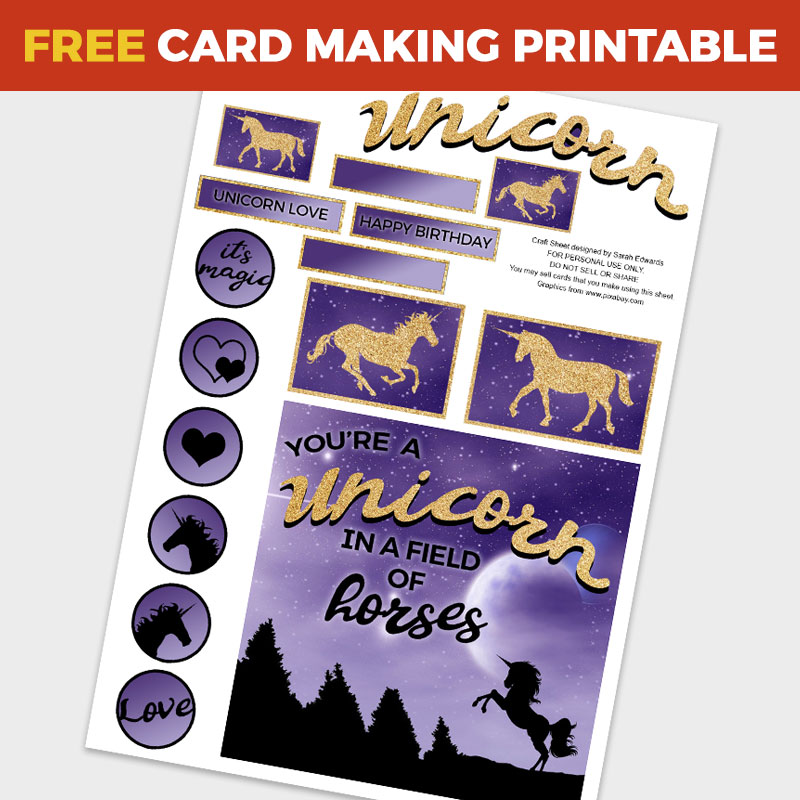
Unicorn Decoupage Printable
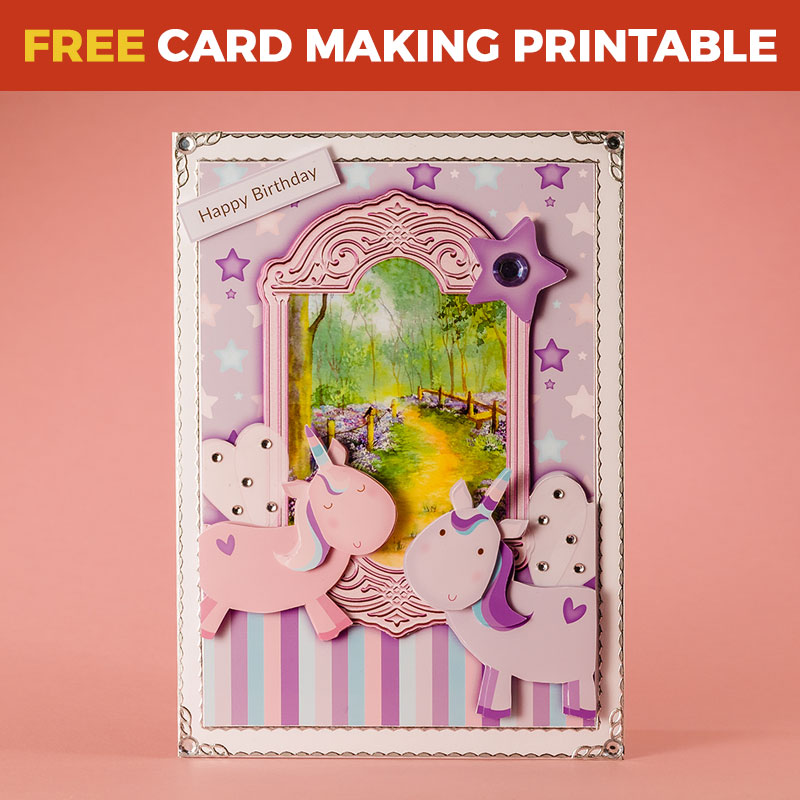
Unicorn Happy Birthday Card
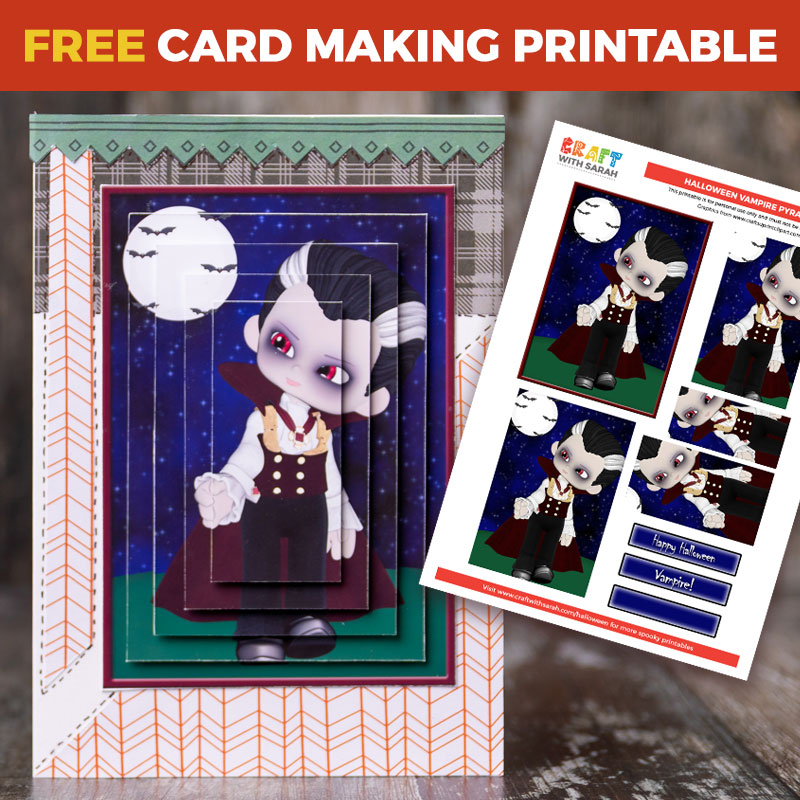
Vampire Boy Pyramid Card
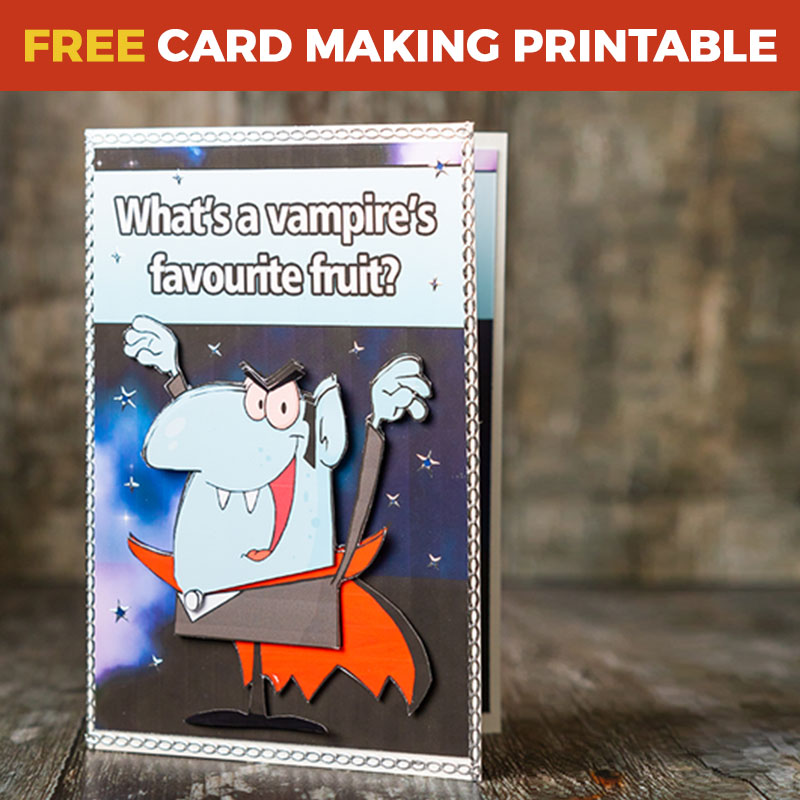
Vampire Halloween Joke Card

Vintage Poinsettia Star Pyramid
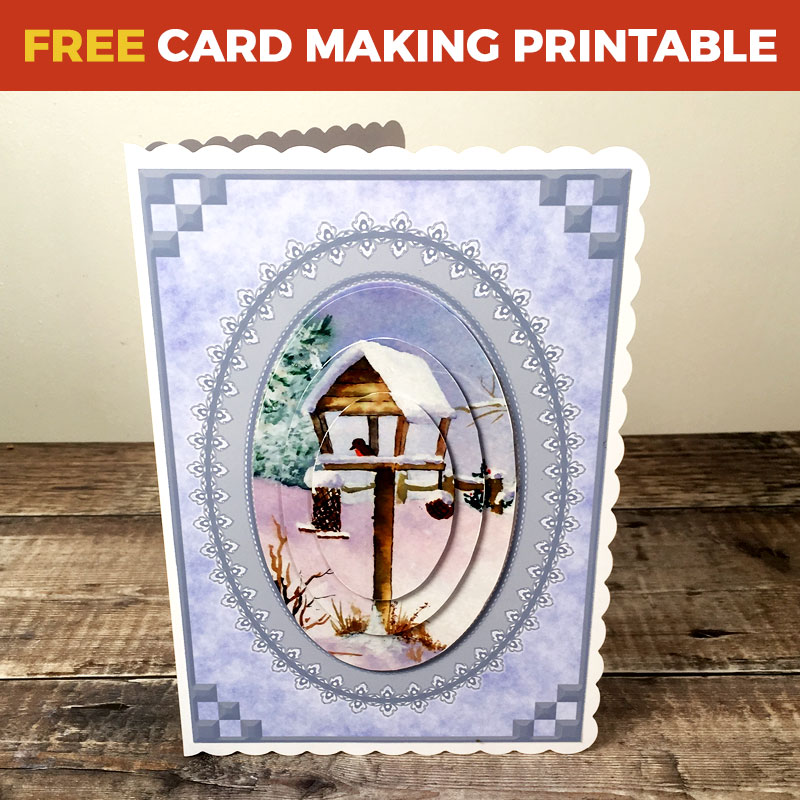
Watercolour Snow Scene Pyramage Card
Westie Dog Oval Pyramid Card
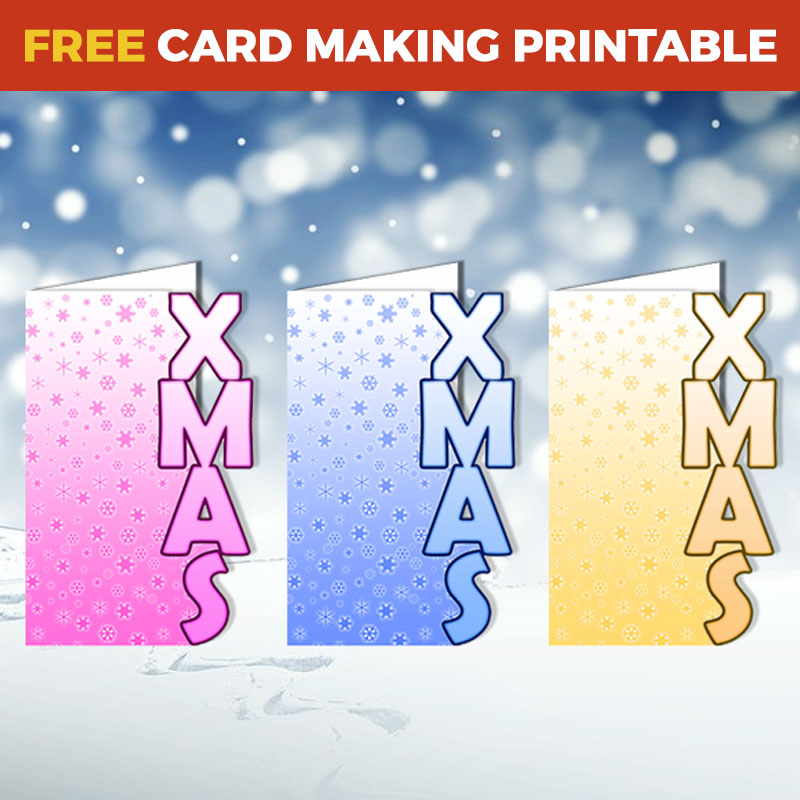
XMAS Shaped Card Templates