
Glitter Spider Web Handmade Card
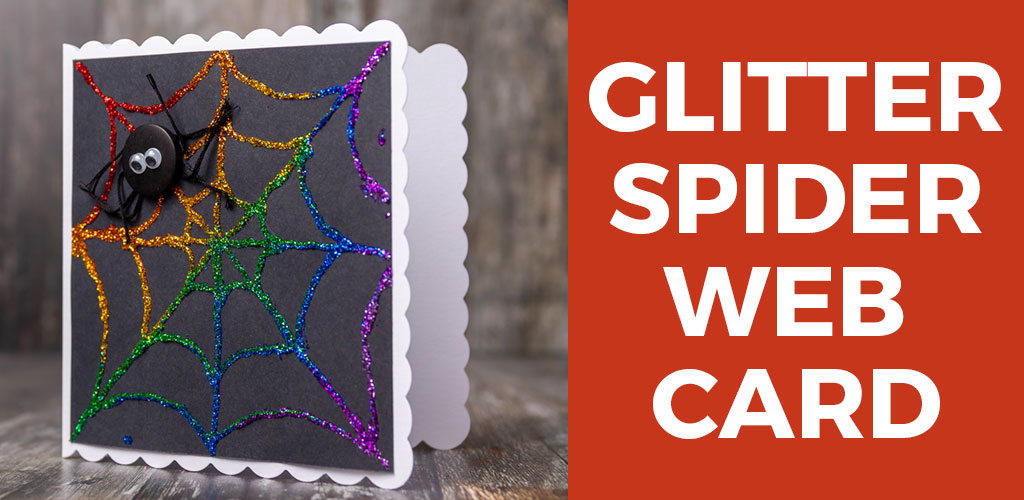
Craft THE most sparkly Halloween card with this clever (and SO easy) glitter spider web handmade card.
If you’re not afraid to get your fingers a little bit sticky then this is a fun DIY greetings card project to make this Halloween.
I can’t guarantee that you won’t end up covered in glitter (I did!), but this sure is a fun card to make.
This project was part of 2019's Halloween Craft Countdown.
Please note that some of the links included in this article are affiliate links, which means that if you click through and make a purchase I may receive a commission (at no additional cost to you). You can read my full disclosure at the bottom of the page.
How to make a glitter spider web greetings card
To make this rainbow glitter spider web card you will need:
- Square piece of black card (mine is approx. 5.5 x 5.5 inches)
- Pencil
- Tacky glue
- Glitter in all colours of the rainbow (Ultra-fine glitter works best)
- 6×6 inch scallop edge card blank
- Black embroidery thread
- Black button
- Googly eyes
Glitter spider web card tutorial
- With your pencil, lightly draw a spider web shape onto your black card. It’s easiest to draw horizontal, vertical and diagonal lines from the corners and then fill in the joining lines between them afterwards. This means you end up with a fairly symmetrical shape.
- Trace over the pencil lines with tacky glue. This can dry quite quickly, so you need to work fast!
- Take your red glitter and pour over the top left of the spider web. Tip off the excess glitter. IMPORTANT – when tipping off the excess, make sure you tip AWAY FROM the spider web design, otherwise all the excess glitter will stick to the rest of the web as you pour it off.
- Work through the rest of your glitter colours, doing one at a time. Again, be sure to tip off the excess away from the rest of the spider web design.
- When the whole spider web is covered in glitter, wait for it to dry before assembling your card.
- When the glue is dry, use some more tacky glue to stick the black card to the front of the 6×6 inch card blank. I prefer using glue to double-sided tape for this as I NEVER manage to stick things on straight on the first attempt. With glue, you get some “wiggle room” to reposition.
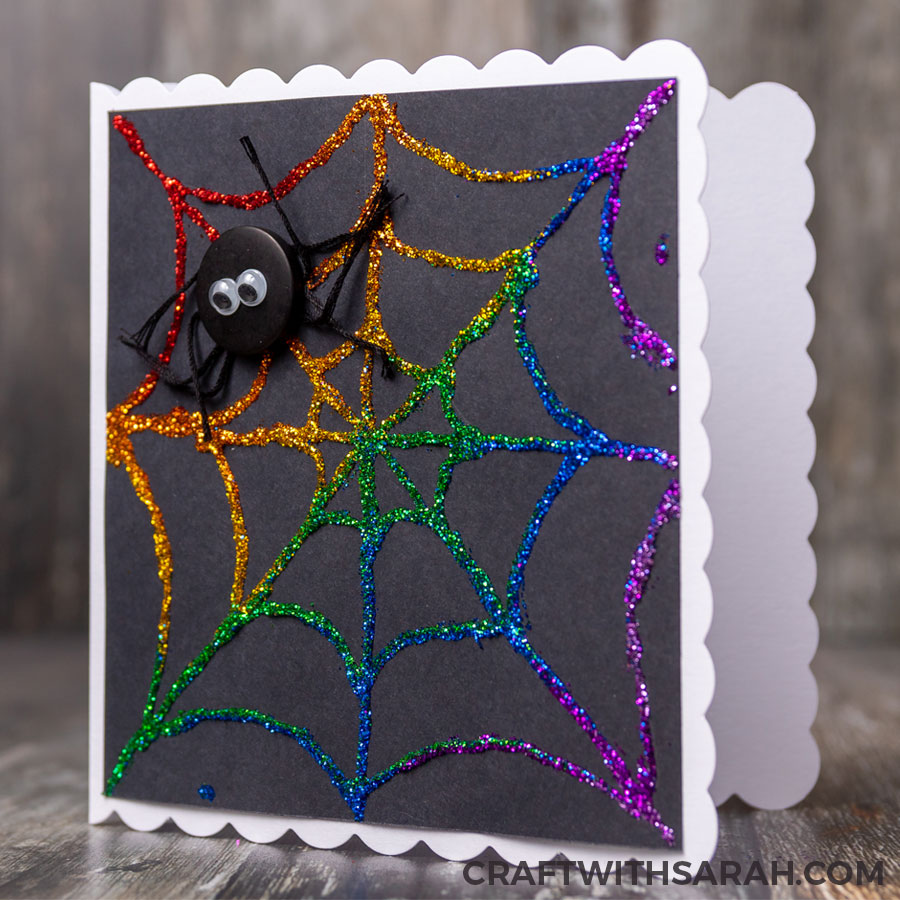
- Cut 4 pieces of black embroidery thread and stick to the top left of your card using a blob of tacky glue in the middle and then positioning the threads to look like spider legs.
- Add a bit more glue and attach a black button to form the spider’s body.
- Finally, add a couple of small googly eyes to make your new spider friend come to life!
This project was part of 2019's Halloween Craft Countdown.
Happy crafting,
Sarah x