
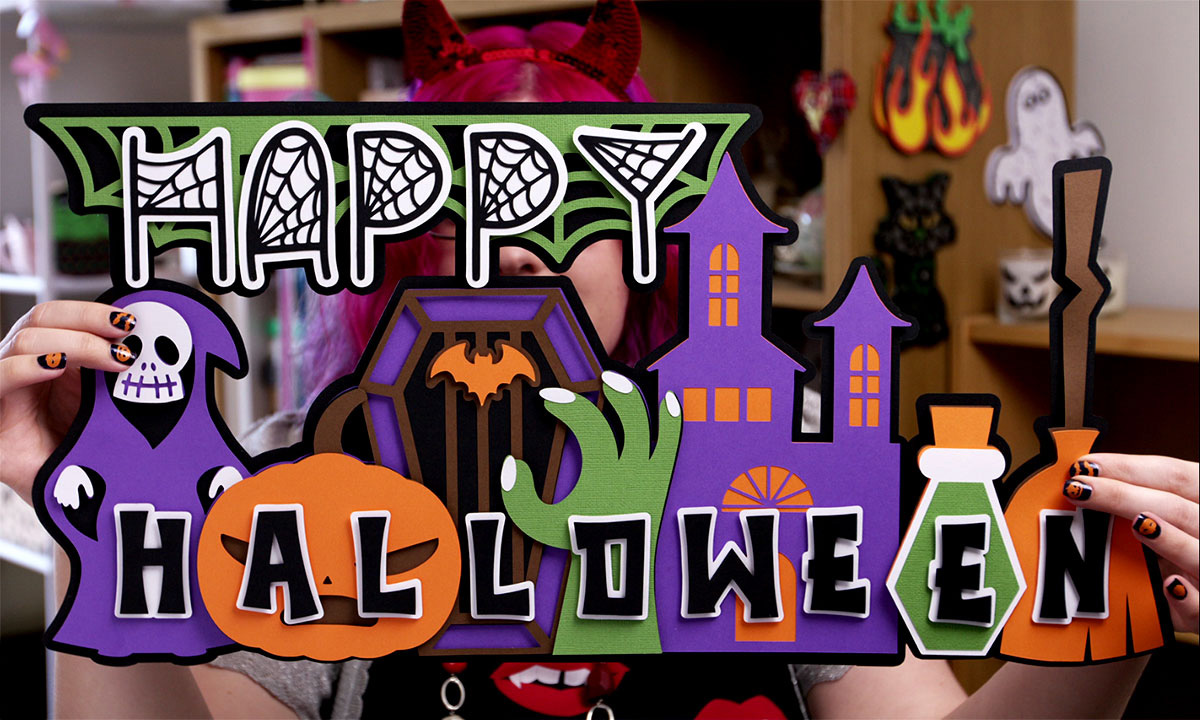
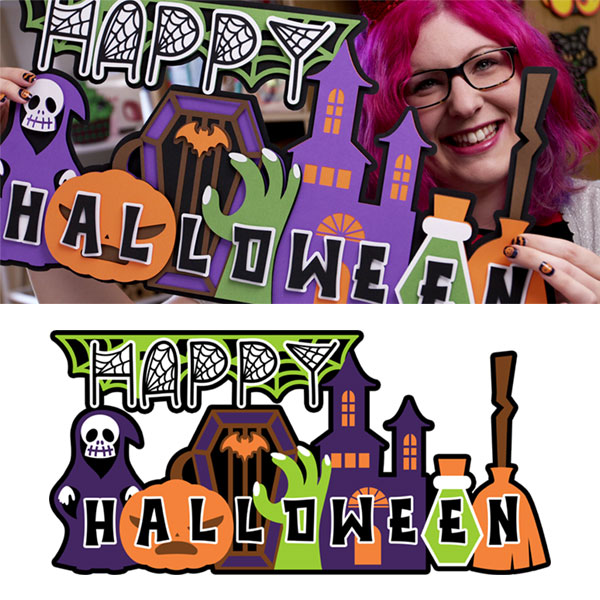
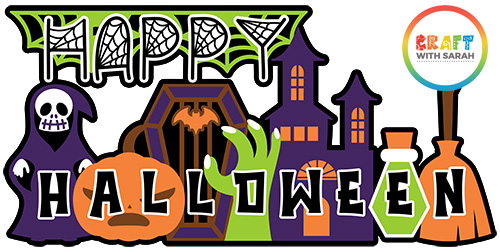
Make a GIANT Halloween Sign with your Cricut
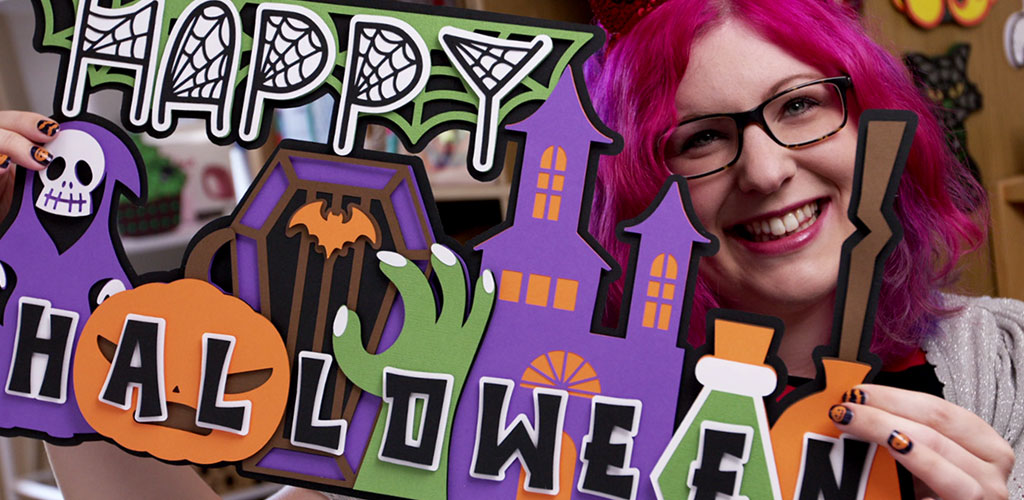
Looking for a showstopper Halloween sign this October? Look no further than this giant off-the-mat cutting file design.
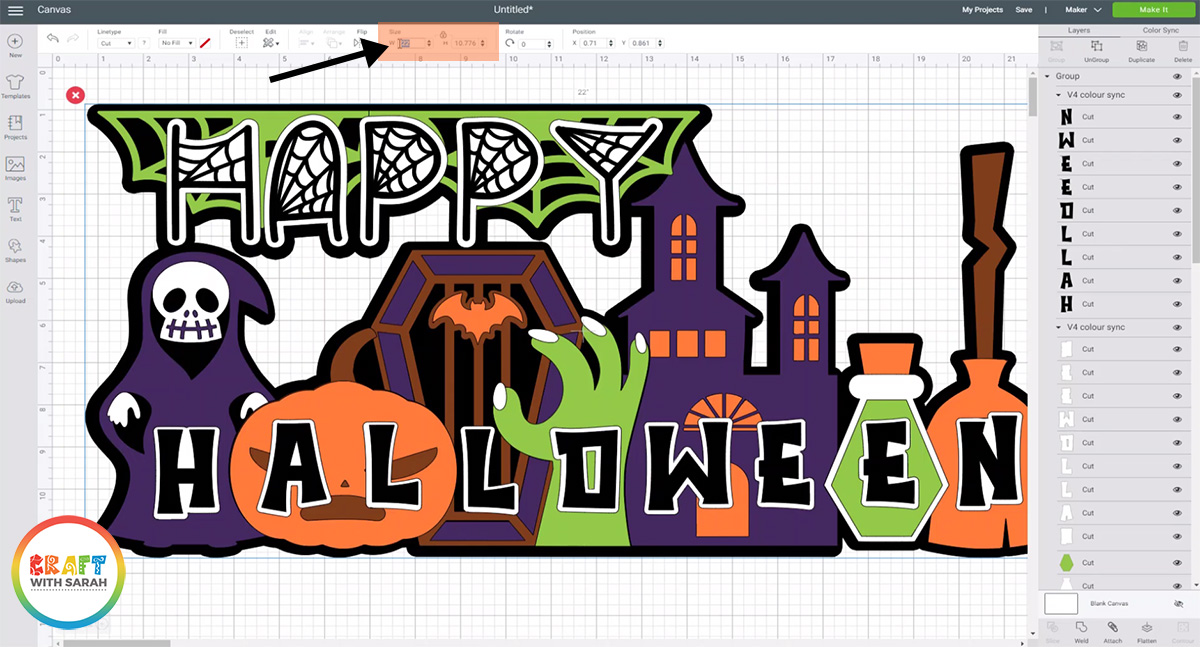
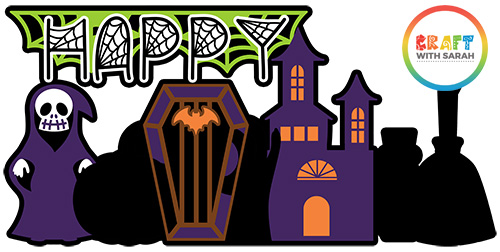
This impressive Halloween sign measures 22 inches in width and about 10.5 inches in height.
The SVG is broken up into easy-to-assemble pieces so that you can cut it from sheets of 12×12, A4 or US Letter sized paper on your regular Cricut mats.
Contents:
Please note that some of the links included in this article are affiliate links, which means that if you click through and make a purchase I may receive a commission (at no additional cost to you). You can read my full disclosure at the bottom of the page.
About this project
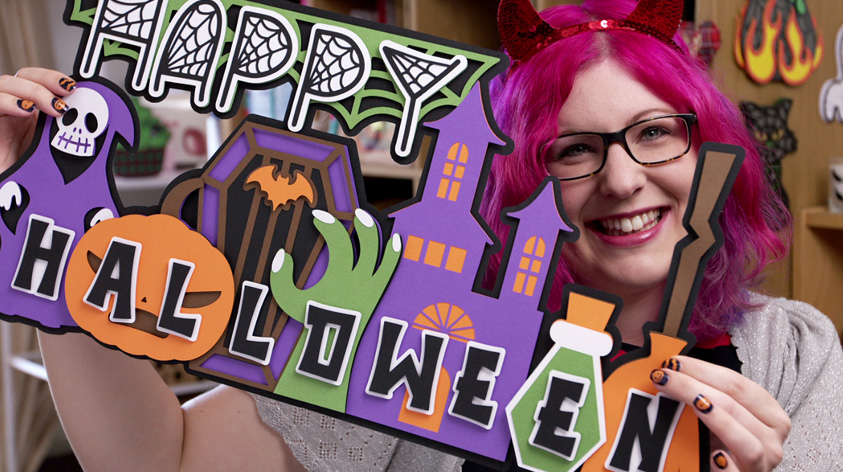
I am a little bit in love with this giant Halloween Cricut craft!
Although it may seem a little bit daunting with all the colours and shapes (not to mention the SIZE – a whopping 22 inches in width!), this is actually a very simple design to put together.
This is the first “larger than mat” project I’ve ever done, and I will definitely be doing more in the future!
All of the pieces are broken up so that you can cut them on your regular Cricut mats – you don’t need the extra-long Cricut mats to cut this, just the normal 12×12 ones are fine!
I cut all the pieces from A4 paper, but they are sized so that it will work for 12×12 inch or US Letter sized paper too.
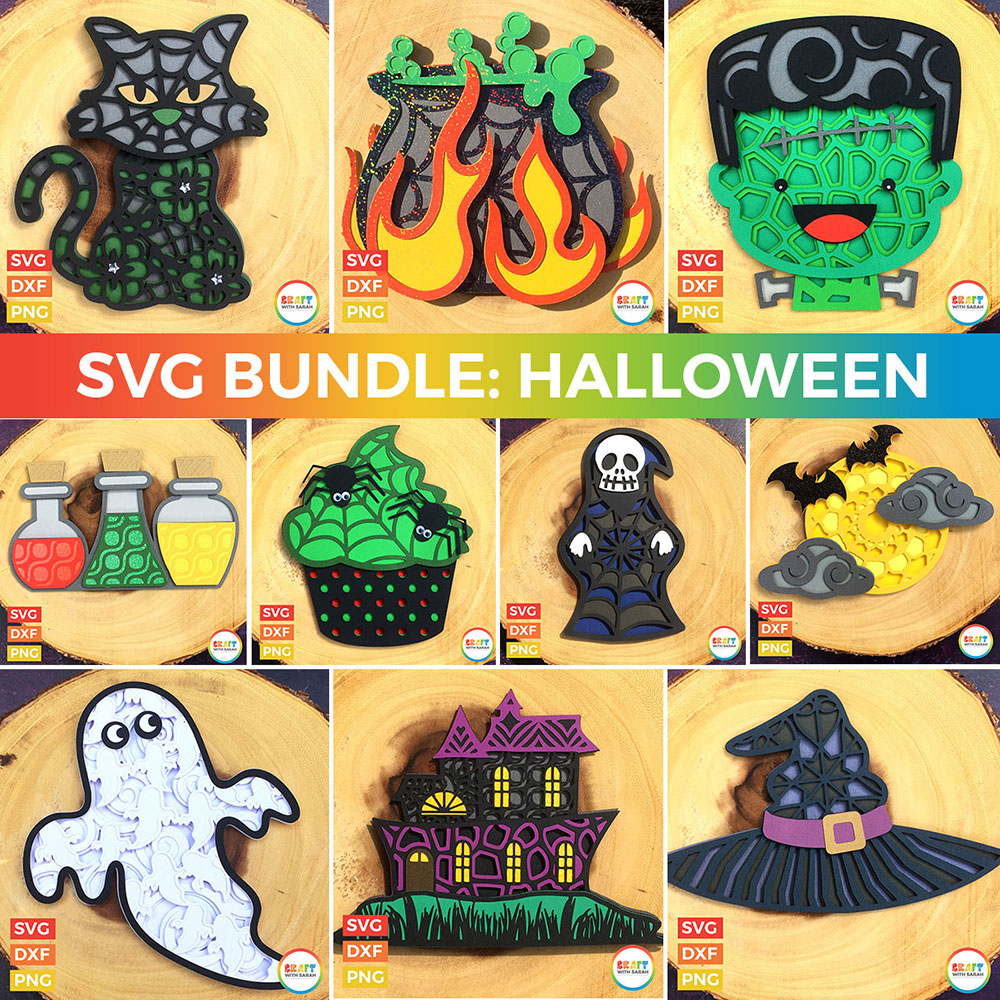
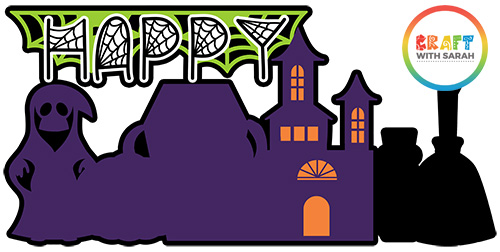
This Happy Halloween design was created to match my other layered Halloween SVGs:
Video tutorial for giant Halloween SVG
Watch this video to see how easy it is to cut and assemble the giant Happy Halloween wall art!
Materials list for Layered Happy Halloween sign
- A digital cutting machine such as a Cricut Maker or Cricut Explore
- A light-grip Cricut mat
- Free SVG cutting file
- Coloured card
- Glue (I use tacky glue which is quick to dry and it dries clear)
- 3D foam pads
- Sticky tape / Cellotape (optional but helpful to add stability to the larger layers)
Download the Free Cutting File
Use the button below to go to the download page for the free 'Happy Halloween' SVG cutting file.
Please login to your account to download this file.
Don't have an account? Register for free
TERMS OF USE:
You may sell finished, handmade physical craft items that you have made using this product but must not sell or share the digital files. Read full terms of use
How to assembly Happy Halloween layered SVG file
Step 1) Cut all the pieces
Download the free SVG using the links on this page and then upload it into Design Space.
It should load in at the correct size, but you can check by clicking on the design and looking at the width/height boxes near the top of the screen.
The width should be set to 22 inches and the height is approx. 10.776 inches.
If your design isn’t set to that size, I recommend resizing it to 22 inches wide as it looks great at that size, although you can of course cut it smaller if you want to.
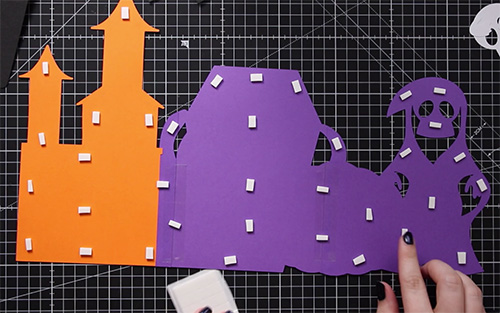
Step 2) Stick the base layer together
To start, we need to stick the four black base layers together.
These pieces will be stuck together with glue to form the bottom of the sign.
Each of the pieces have an “overlap” on the sides that you can stick them one-on-top of the other along those overlaps to join them together.
The image below shows how to stick the four pieces together. Your pieces will all be black, but I’ve shown two in red on the diagram to show how the need to be stuck together to form the completed shapes around the edges.

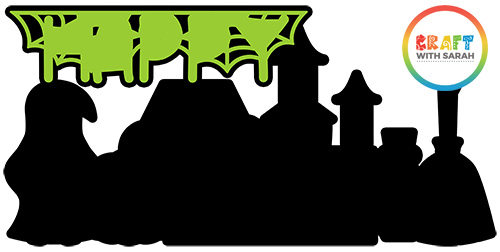
Step 3) Build up the ‘Happy’ section
Find the two green spider web sections and stick them together along the overlapping edges.
Attach foam pads to the bottom and then stick this onto the top left of the large black base.
There will be a black border around the edge, as shown in the image below.
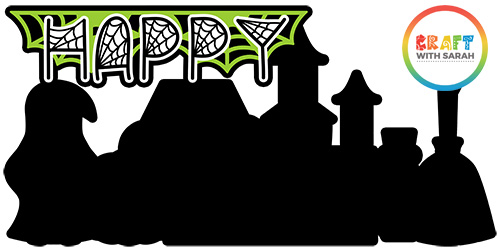
Use glue to stick all of the black HAPPY letters to the matching white border layers.
Add foam pads to the bottom of each of the white layers and stick them to the corresponding spaces on the green spider-web layer.
Step 4) Large purple layer
The next layer to add also comes in several pieces.
However, before we stick them together, we need to add the orange “lights” to the bottom of the haunted house.
Find the piece of orange card that matches the shape of the purple haunted house and glue it (important – do not use foam pads!) to the bottom of the purple piece.

After that, you can glue the three big purple pieces together along the overlapping edges.
Again, I’ve shown the diagram below in different colours so that you can see where each part needs to join and line up.
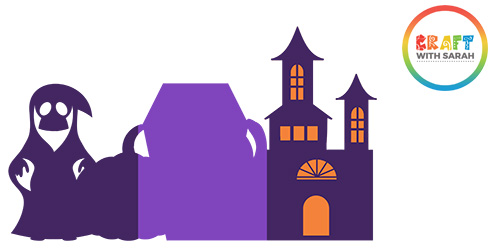
Turn the purple piece upside down and add sticky tape along the join lines for extra stability.
Add foam pads to the back and then turn it the correct way round and stick it onto the black base.
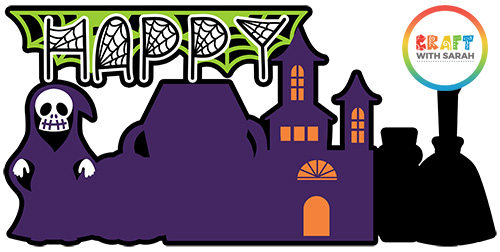
Step 5) Complete the Grim Reaper
Use foam pads to add the skull and the hand along the left edge of the design to the grim reaper.
Stick the hand closest to the pumpkin on with glue instead of foam pads as it will be covered by the pumpkin layers so we don’t want to add depth to it as that might make it harder to cover.
Step 6) Complete the coffin
Stick on the black piece that shows the pumpkin, coffin shape and outline of the spooky hand using foam pads.
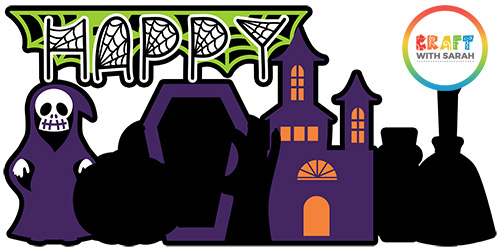
Next, glue (NOT foam pads) the brown coffin layer with the stripes on it. You can leave this layer off it you don’t want to use it.
Use foam pads to add the bat to the middle of the coffin.
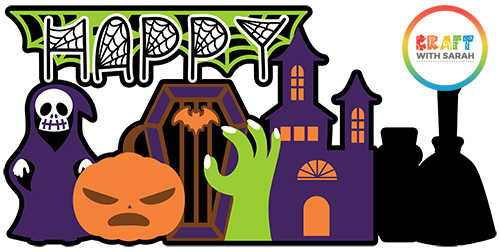
Step 7) Complete the pumpkin and spooky hand
Use foam pads to attach the brown pumpkin layer, and then more foam pads to add the orange layer with the face.
Use foam pads to stick on the green hand layer and then stick on the fingernails with glue.
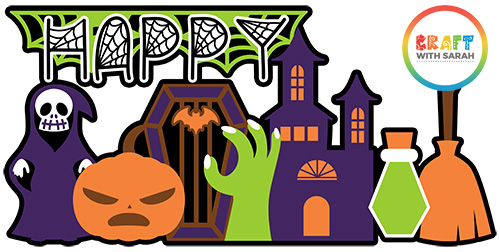
Step 8) Complete the witch’s broomstick
Use foam pads to attach the brown piece of the broomstick and potion bottle.
This should overlap the haunted house a little bit on the left side.
Use foam pads to attach the orange piece which shows the bottom half of the broomstick and the potion bottle.
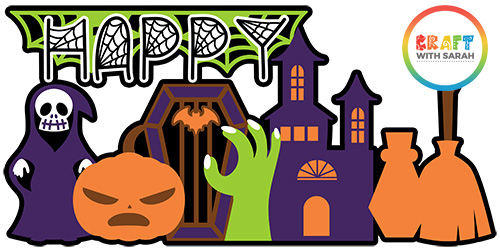
Stick the white part of the potion bottle on with foam pads and then glue the green “potion” piece on top.
Step 9) Add the ‘HALLOWEEN’ letters.
Carefully spread out all of the white HALLOWEEN letters and position the black letters on top to check you have them all the correct way around.
Use foam pads to stick the black letters to the white layers and then use more foam pads to attach the white parts to your main deign.
10) Stick the Halloween sign on your wall!
Woohoo – your giant off-the-mat Halloween sign is finished!!
It’s now ready to be stuck to your wall. I find that Blu-tak is PERFECT for adding it to a wall without causing any damage to the wall.
You will need to use quite a bit to hold it as it’s heavy with all the cardstock layers.
Alternatively, you could prop the finished piece up on a shelf or place it on a windowsill so that passers-by outside can see your lovely new piece of Halloween decor!
I hope that you enjoy making this project. If you do make it, I’d LOVE to see a photo so please share one in my Facebook group.
Want more layered Halloween SVGs?
I have a whole collection of Halloween SVGs which perfectly match the imagery used in this “Happy Halloween” sign.
Want more giant wall art signs?
I love designing giant off-the-mat signs to cut with my Cricut.
Here are some of the other designs I have created over the past few years. 🥰.
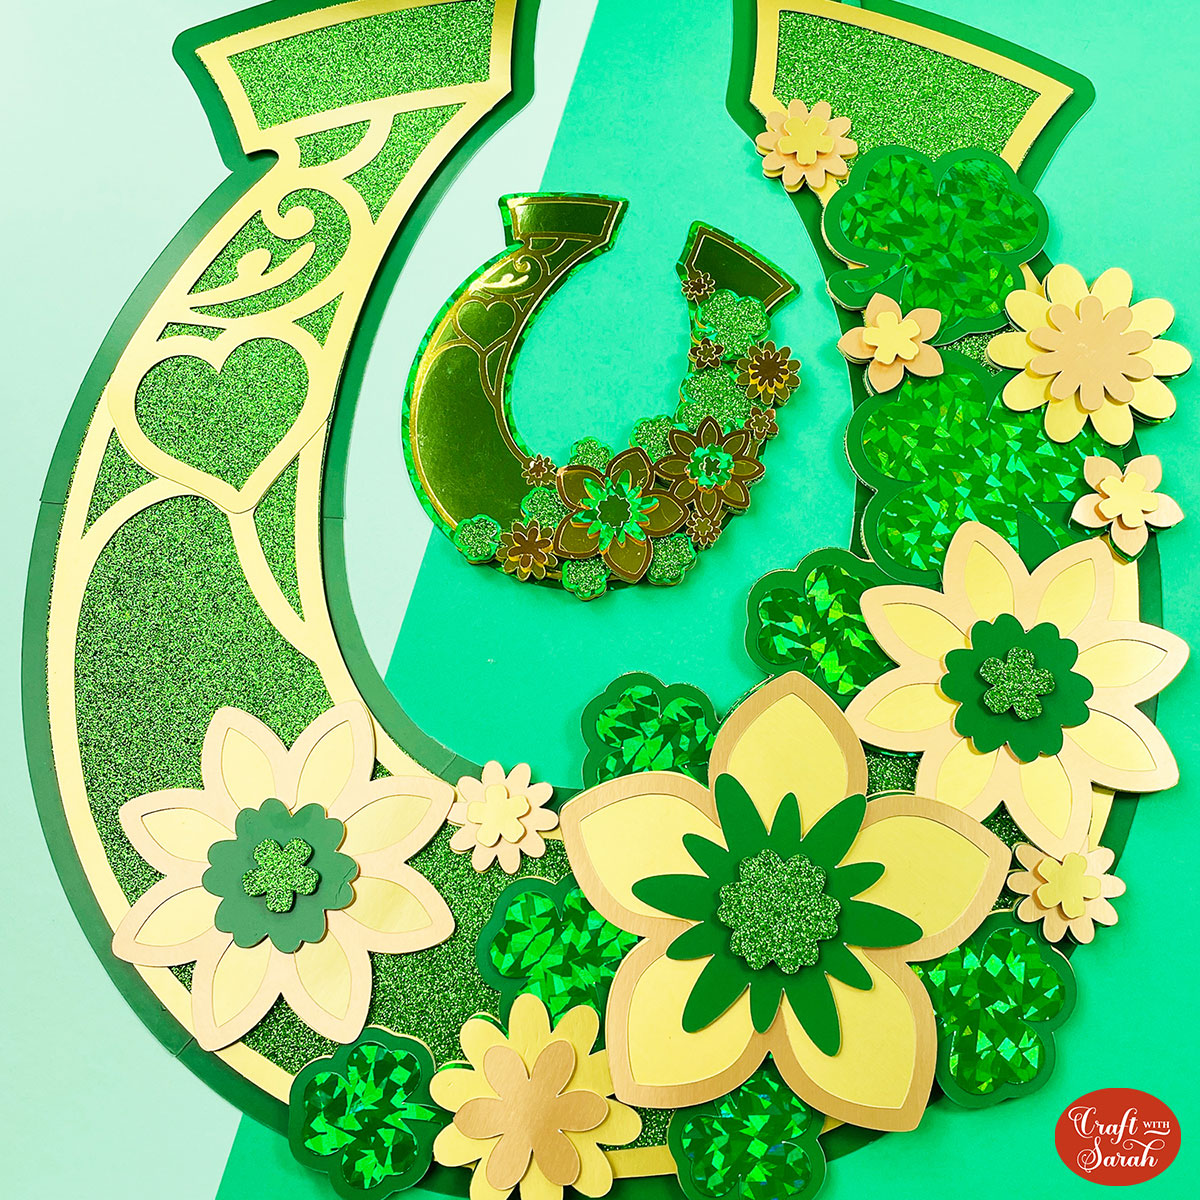
FREE - St Patrick's Day Lucky Horseshoe
Make a GIANT lucky horseshoe for St Patrick’s Day. This flower and shamrock filled design looks beautiful when cut from gold and holographic card to give it some shine.

FREE - Valentine's Day Banner
Get ready for the season of love with this giant Valentine’s Day banner. You can add some ribbon in the top if you want to hang it up, or simply prop it up on a shelf without the ribbon using the flat bottomed edge.

FREE - Happy New Year Sign
Make a Happy New Year giant sign to display for your New Year's celebrations.
Use holographic or glitter card to make the fireworks really sparkle!
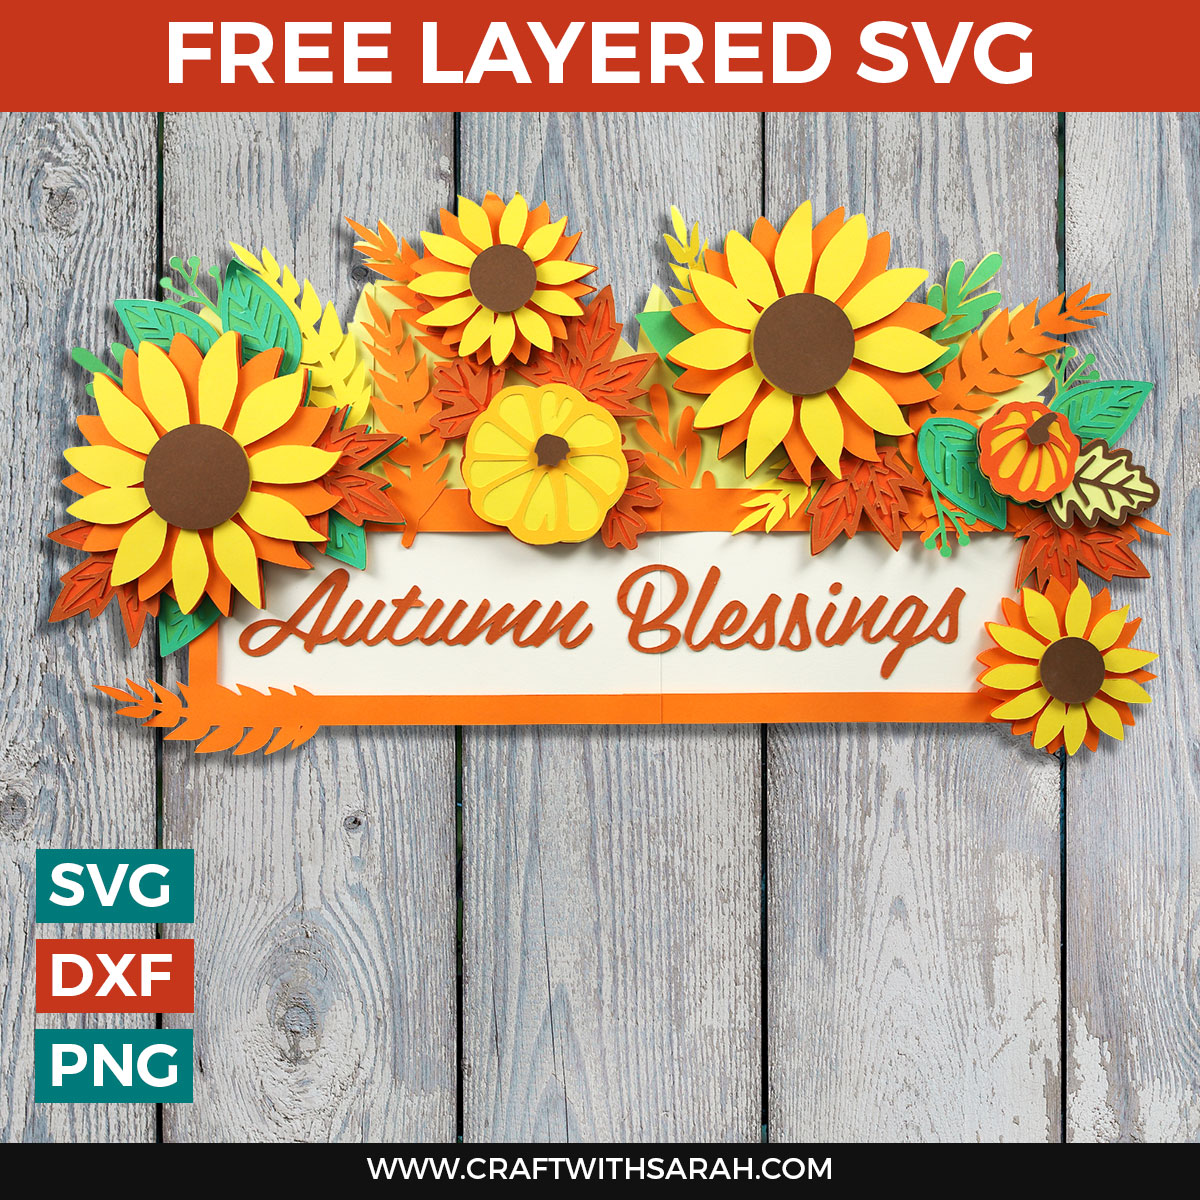
FREE - Giant Autumn Sunflowers Sign
Sunflowers and pumpkins are the stars of the show for this giant sign for Fall.

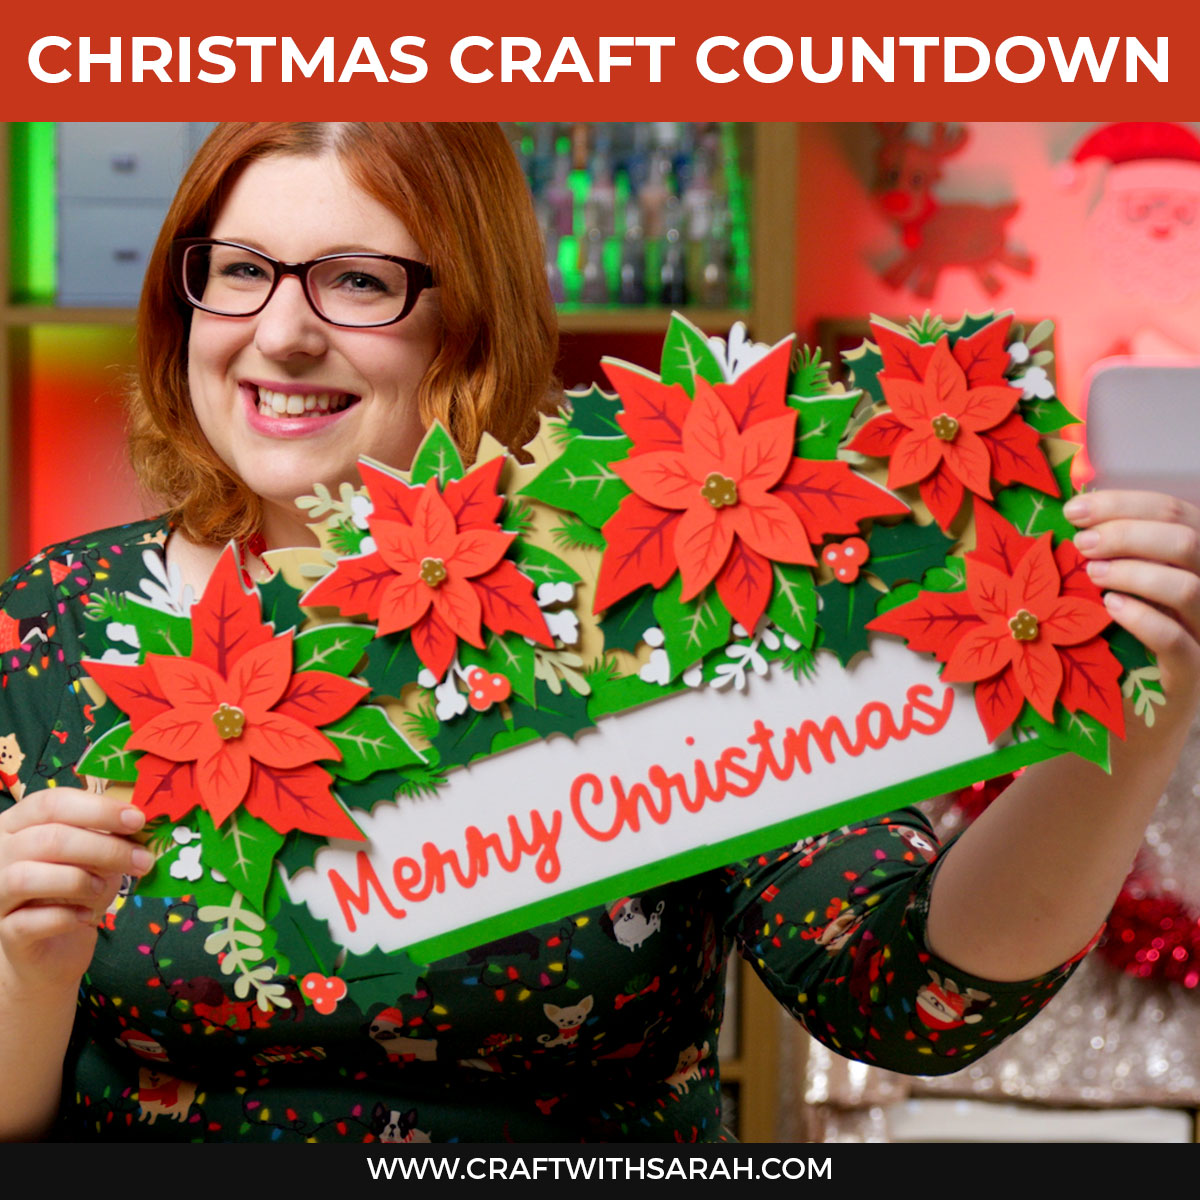
FREE - Merry Christmas Giant Sign
How cute are all these little Christmas characters?
Make wall decor that makes an impact with this giant off-the-mat design.

FREE - Giant Halloween Sign
Get ready for the spookiest season of them all with this giant Halloween wall art sign.
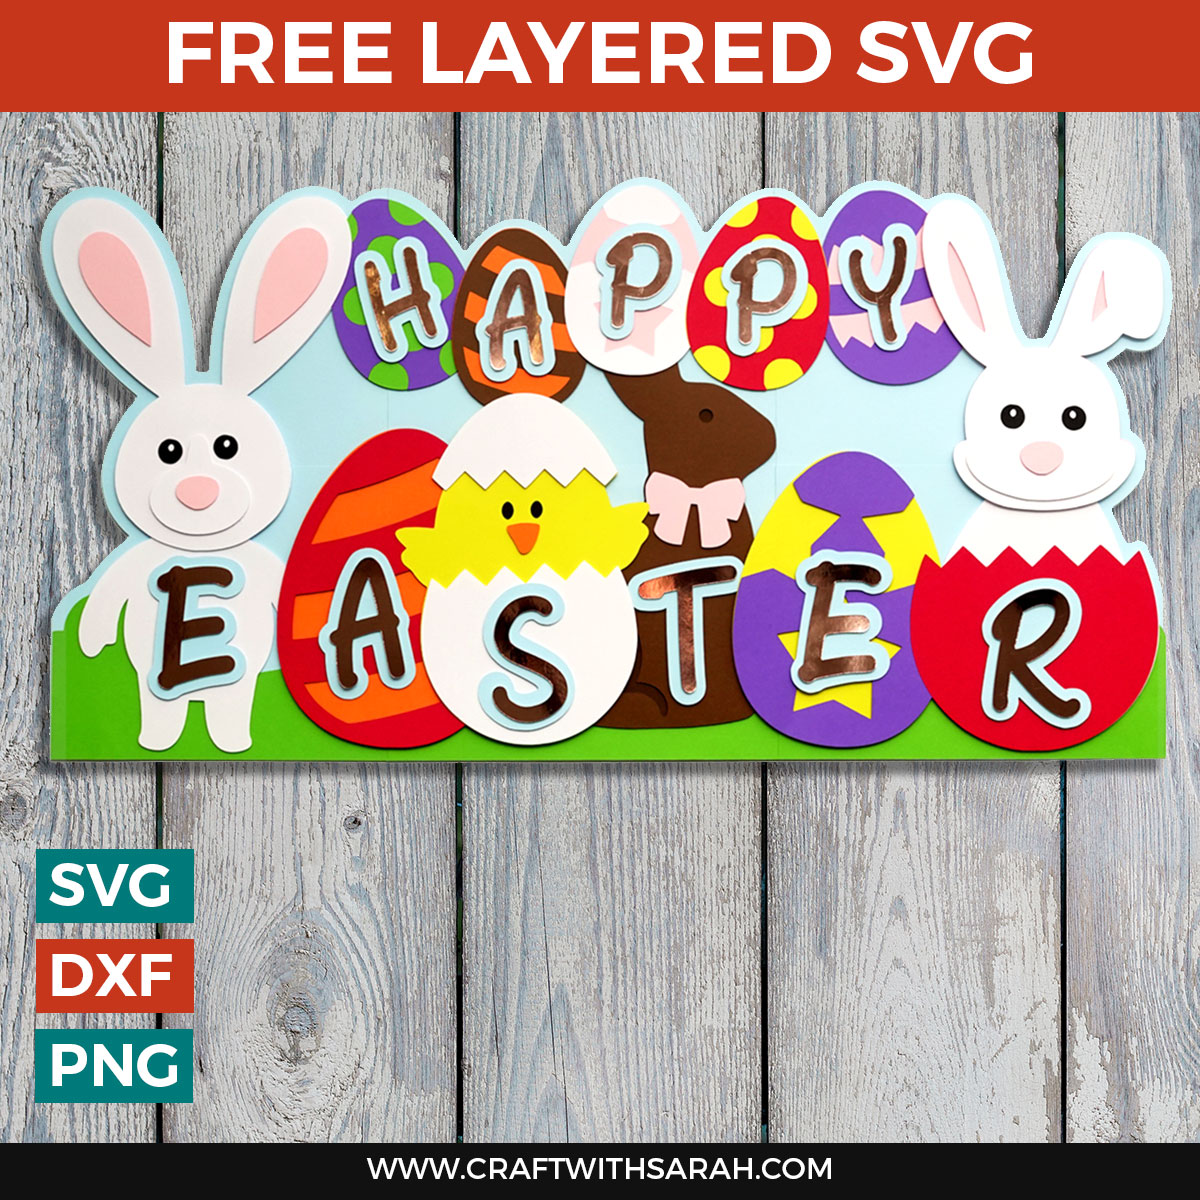
FREE - Giant Easter Sign
Decorate your walls for Easter with this amazing and HUGE layered Easter sign.

Giant Spring Sign
What could be more perfect for Spring than these gorgeous pastel coloured blooms?

Giant Summer Sign
Make a beautiful floral welcome sign for Summer that's bursting with colour!
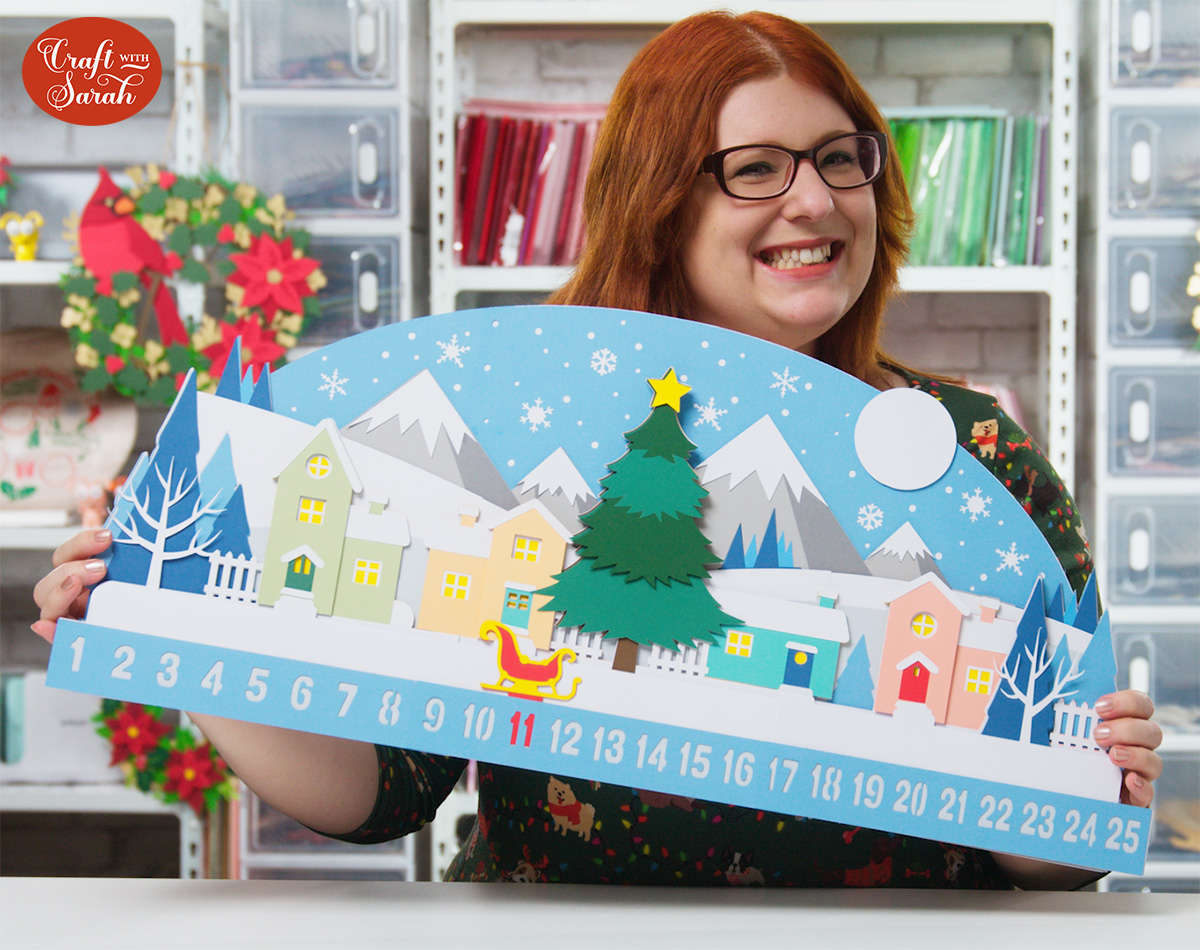
Advent Calendar
Count down the days until Christmas with this larger-than-mat Advent Calendar. Simply pull the sleigh out each day and move it along to the next number to track the number of sleeps until Santa comes to visit.
Giant Christmas Poinsettias Sign
Transform your home for winter with this beautiful poinsettia filled sign.

Snowman Giant Sign
Make an impressive snowman craft with this giant sign that’s FULL of happy little snowpeople. If you’d like to learn how to design your OWN giant signs, read to the end of the tutorial to find out how!
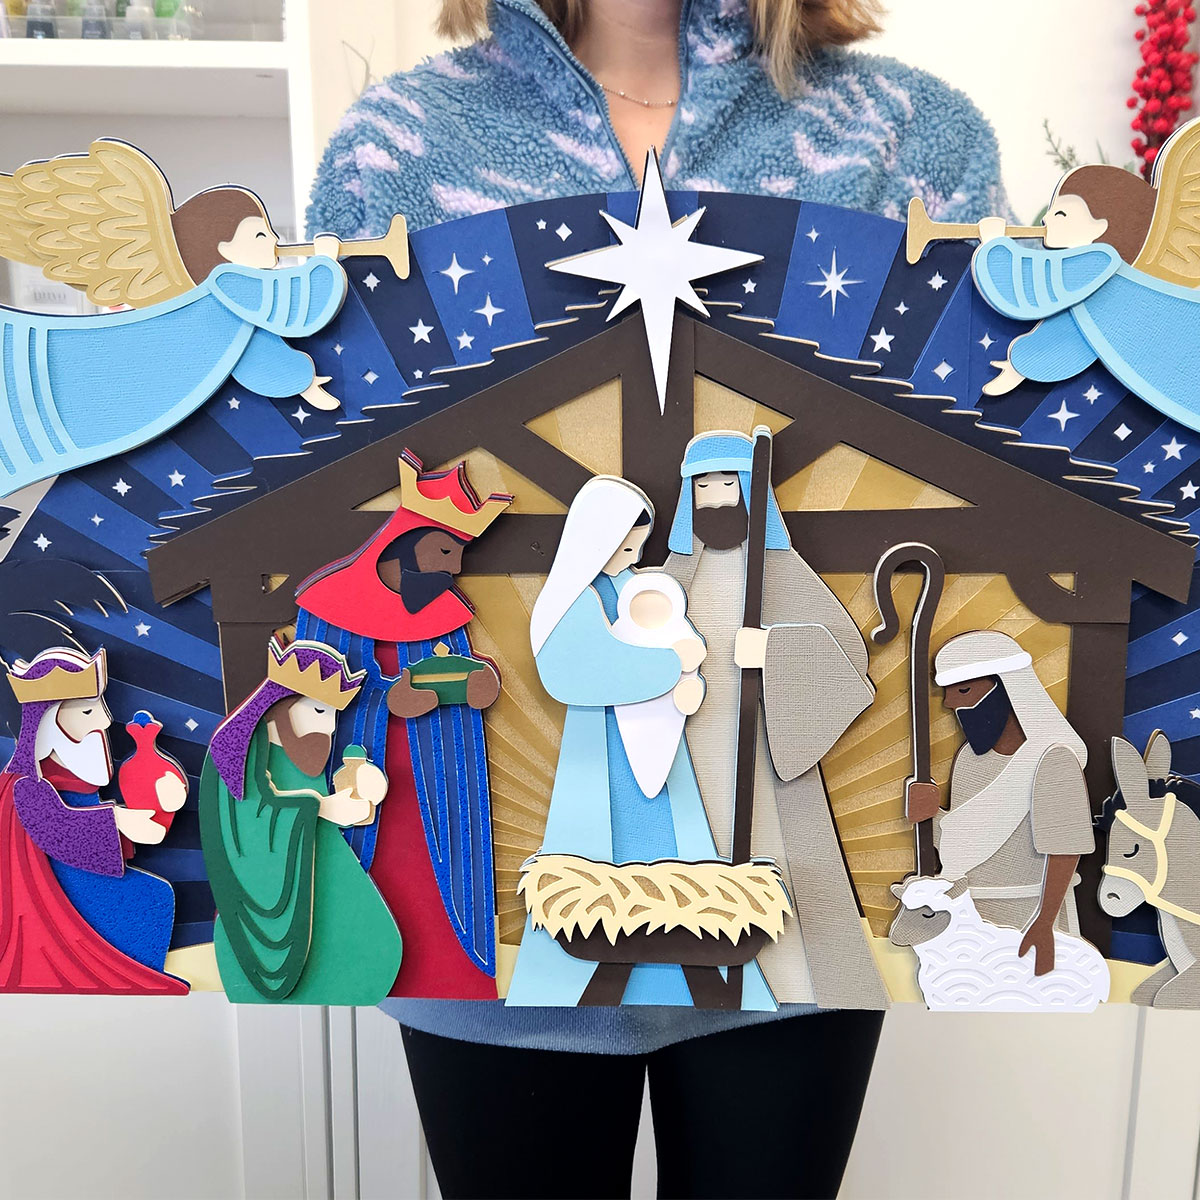
Nativity Giant Sign
This incredible giant Nativity sign measures a whopping 28 inches wide! What I especially love about this giant sign design is that all the Nativity characters are made as their own stand-alone layered designs, so you can use them on other projects such as greetings cards and shadow boxes too.
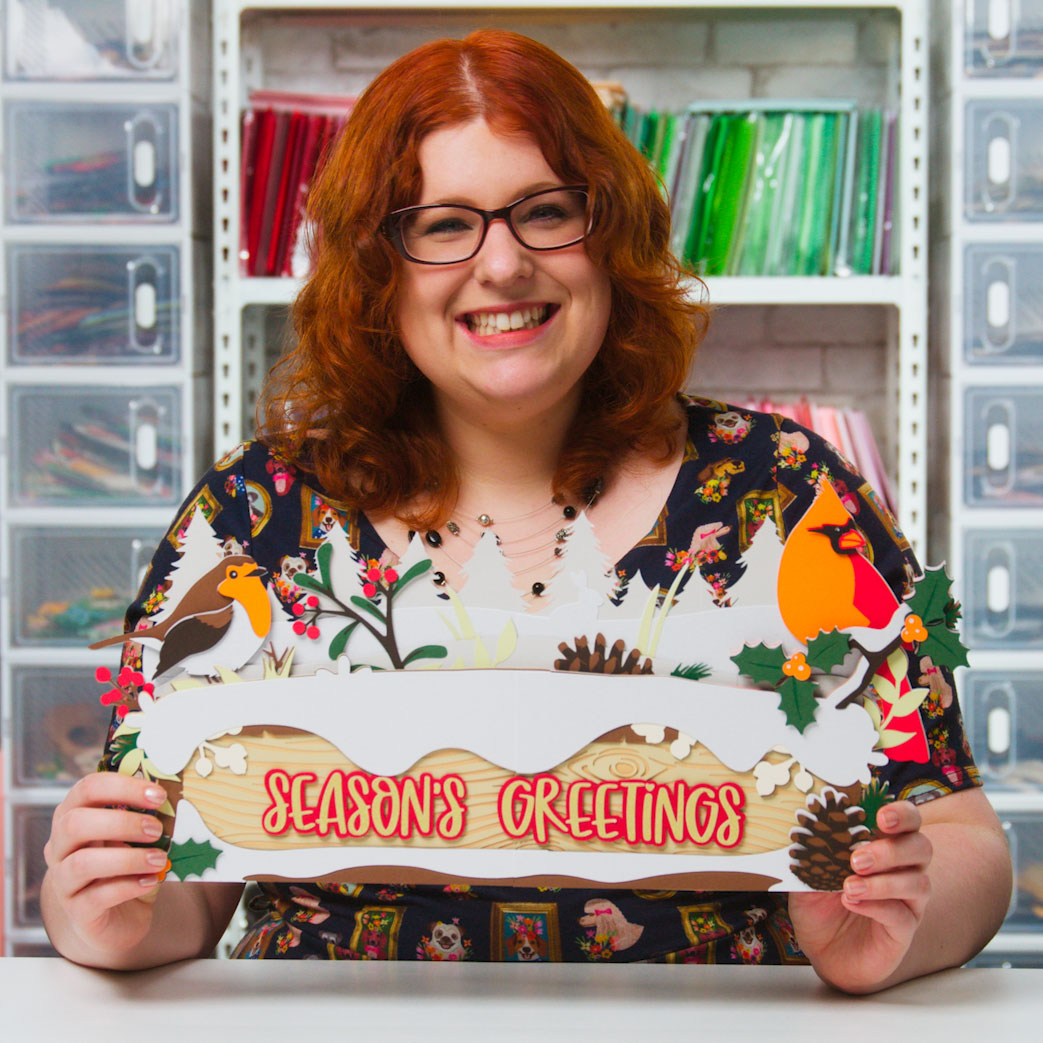
Happy crafting,
Sarah x