
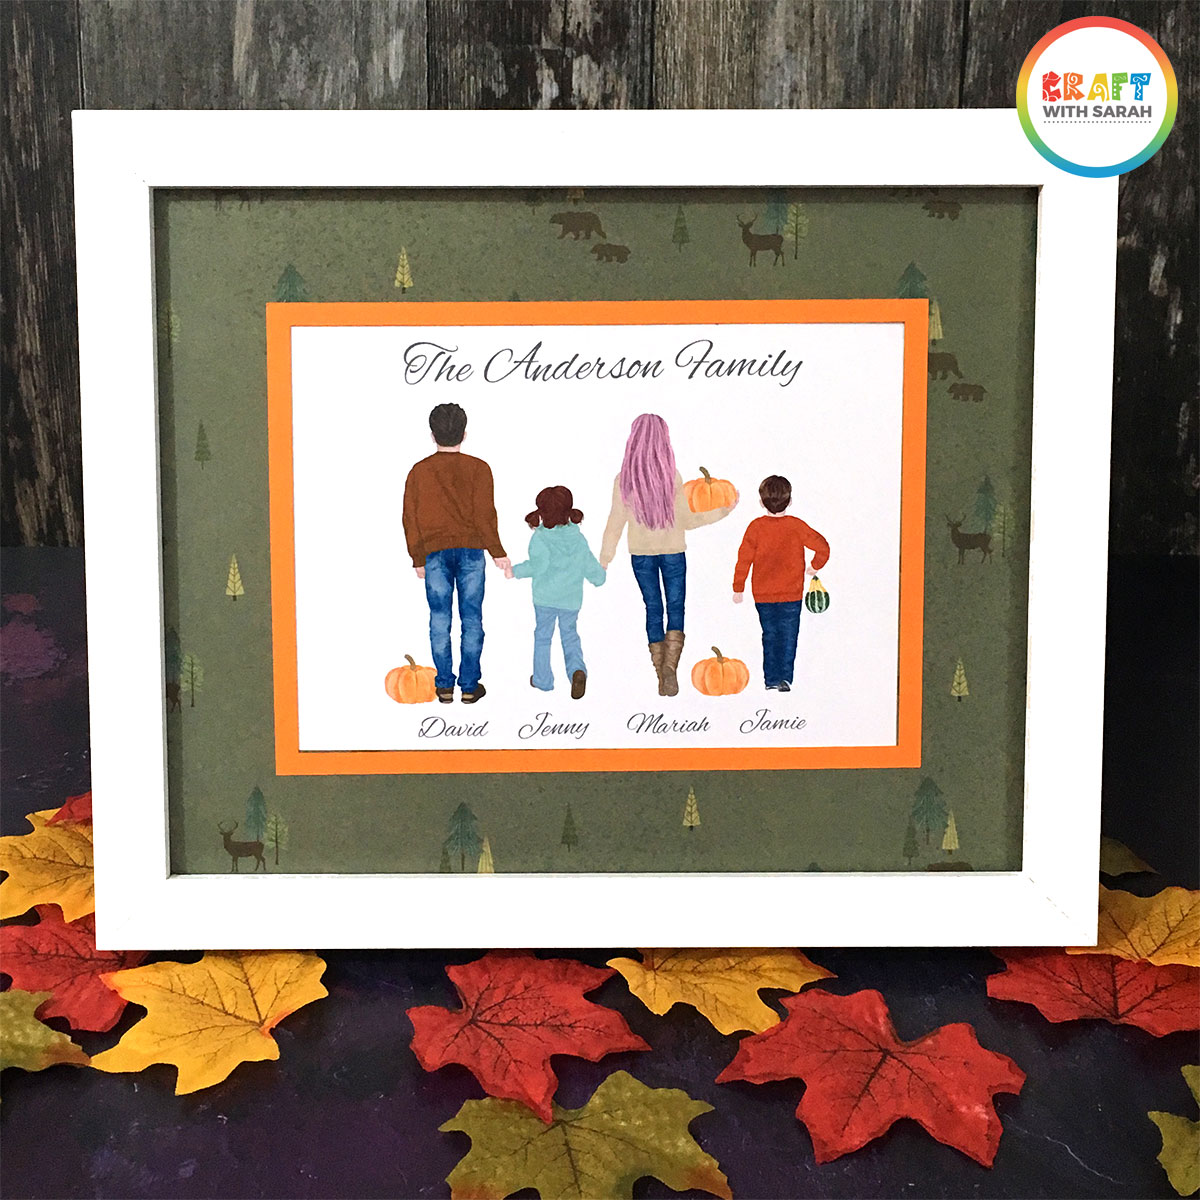
Make Personalized Family Portrait Wall Art for Fall
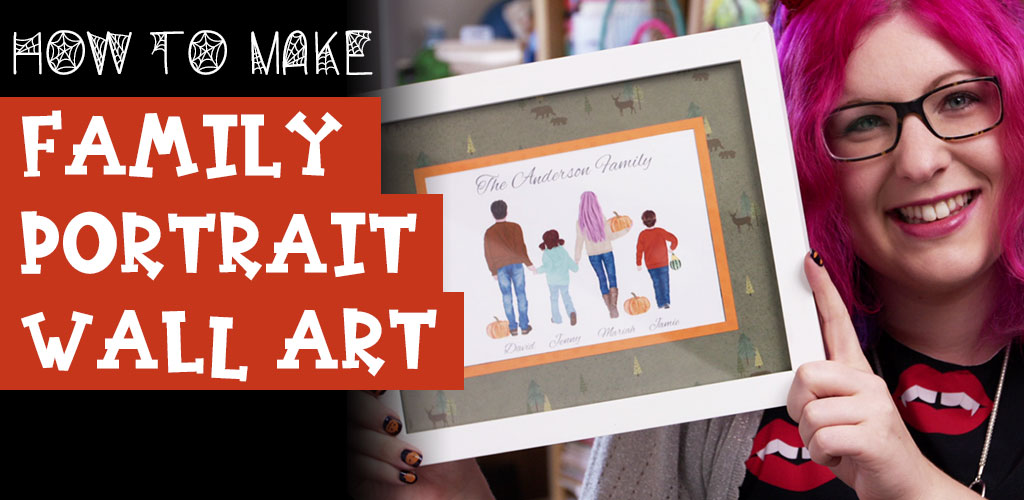
If you’re in need of a Fall-themed wall art for your home, why not design your own and make it PERSONALIZED to your family?
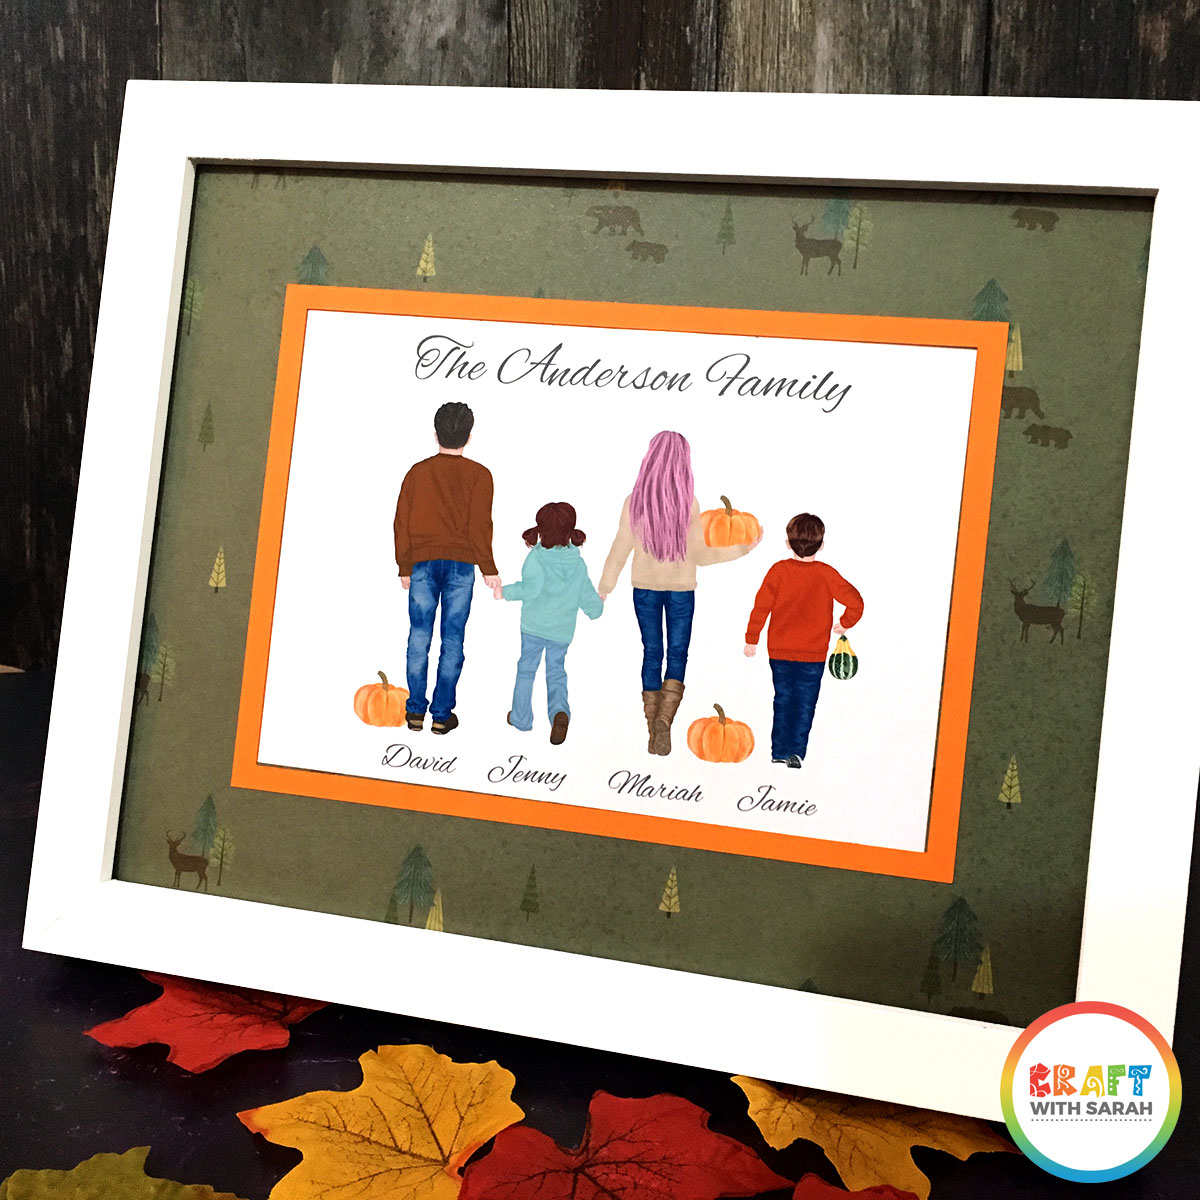
I love these watercolour family portraits as they are so personal and unique, and you can make them match your family perfectly.
Keep reading to find out where to get the graphics to make your own family portraits, and how to create them in Cricut Design Space.
Contents:
Please note that some of the links included in this article are affiliate links, which means that if you click through and make a purchase I may receive a commission (at no additional cost to you). You can read my full disclosure at the bottom of the page.
About this project
Designing art for my home is one of my favourite things to do. Not only is it usually cheaper than purchasing prints to frame, but it means I can get the design looking EXACTLY as I want it to.
Learn how to design your own watercolor family portrait wall art in this Deign Space tutorial.
If you have a craft business then designing custom family portraits for customers can be an excellent way to earn money in your business. Customers will often pay more for something totally bespoke to them, and with hundreds of different designs to choose from, you can be sure to offer them something they’ll really love!
These designs are popular for friends too, as well as wedding gifts (e.g. a bride with all her bridesmaids), Christmas gifts (a family sat in Christmas pajamas), new baby announcements, to celebrate a milestone birthday, and more.
Keep scrolling to find out where to get the watercolour graphics, and how to find the perfect graphics for ANY occasion!
Video tutorial for designing family portrait watercolor artwork
Watch this video to see how to design your own watercolor family portraits.
A full written tutorial and links to get the watercolor graphics are available further down on this page.
How to design a custom family portrait in Design Space
I wanted to include a written tutorial for this project as I know that many of my readers prefer this to watching a video, however if you are new to Design Space then I’d recommend watching the video because you’ll be able to see exactly how I use the Design Space software, in real-time.
Here is how to design your watercolor wall art in Design Space…
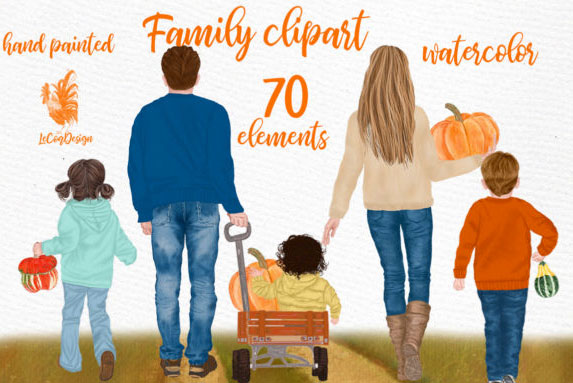
1) Choose your graphics
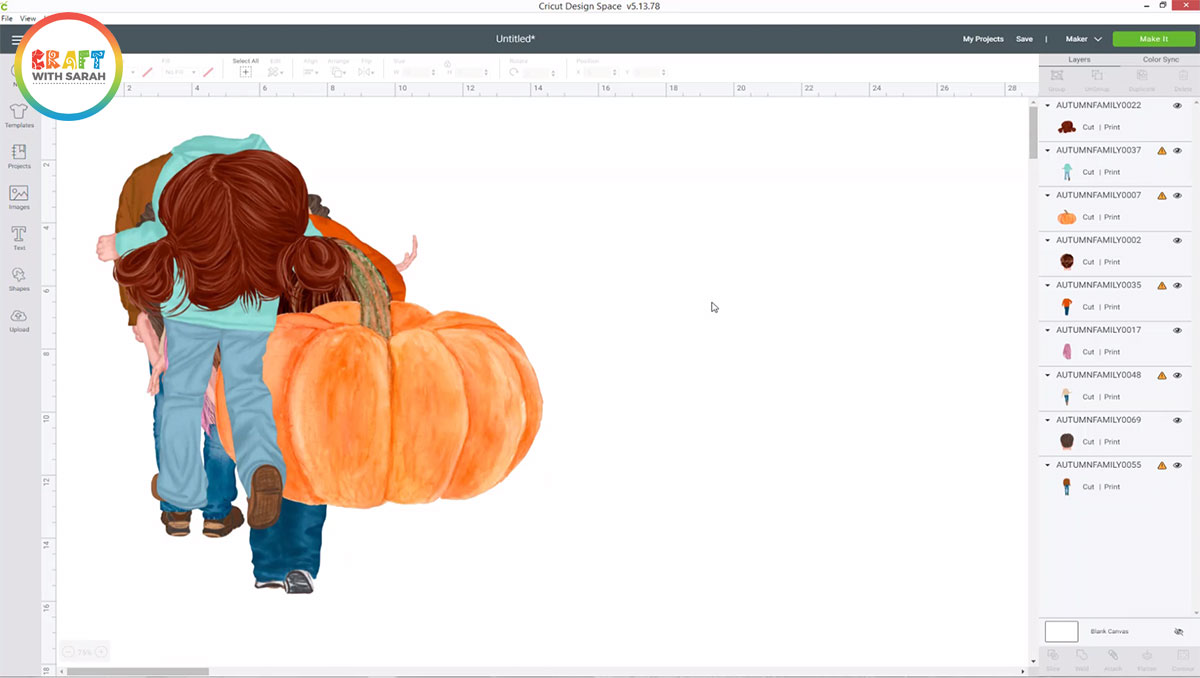
I chose these Pumpkin Patch Family Graphics from Creative Fabrica.
They come with loads of different clothing styles, age ranges, hair styles and accessories so you can create a truly personalized design.
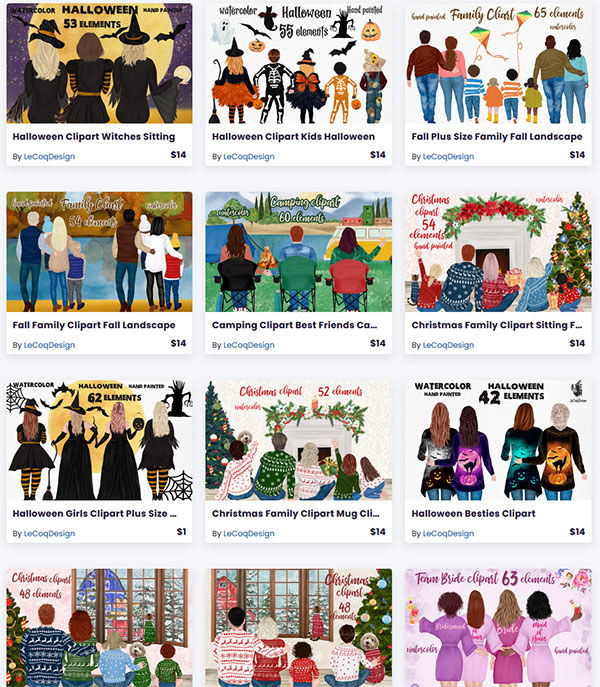
Want to make a different themed design?
There are loads of different graphics to choose from for a whole range of different themes – here are just a few.
2) Upload your chosen images into Design Space
Choose which bodies/heads/accessories/etc you want to use, then upload each image individually into Design Space.
Make sure you save them as a “print then cut” image!
Insert them all onto your project. Don’t worry if they come in really big – we’ll sort that out soon!
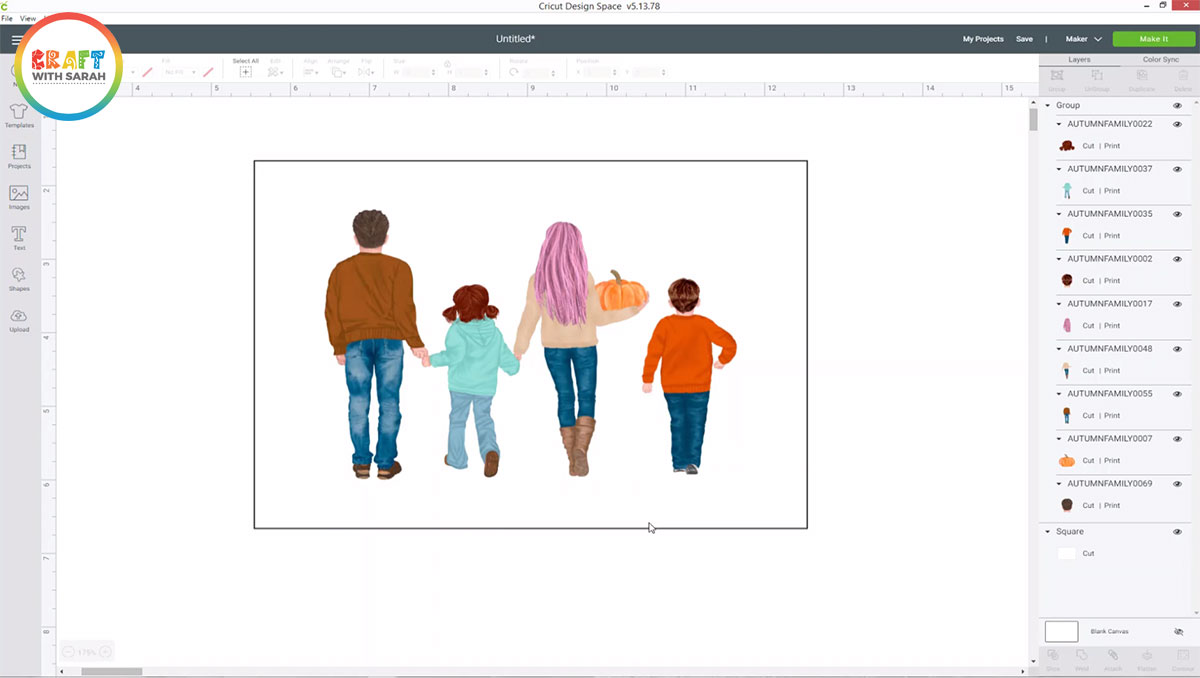
3) Create your print size
Click “Shapes” and select a square.
Look for the width/height boxes at the top of the screen and click the packlock icon to “open” it. This will let you resize the square into a rectangle.
Change the size to the print size you want to make. Mine is set to 7 inches wide and 5 inches tall.
Change the rectangle colour to white.

4) Resize and position the graphics
Drag your rectangle layer to the bottom of the layers panel so that you can position the graphics on top of it.
Resize your graphics and get them into position on your rectangle.
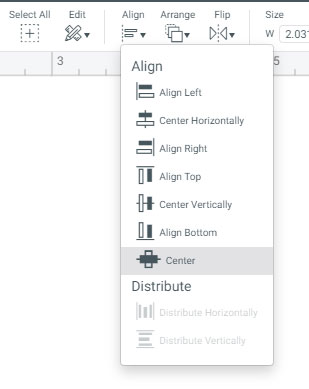
5) Center your graphics in the rectangle
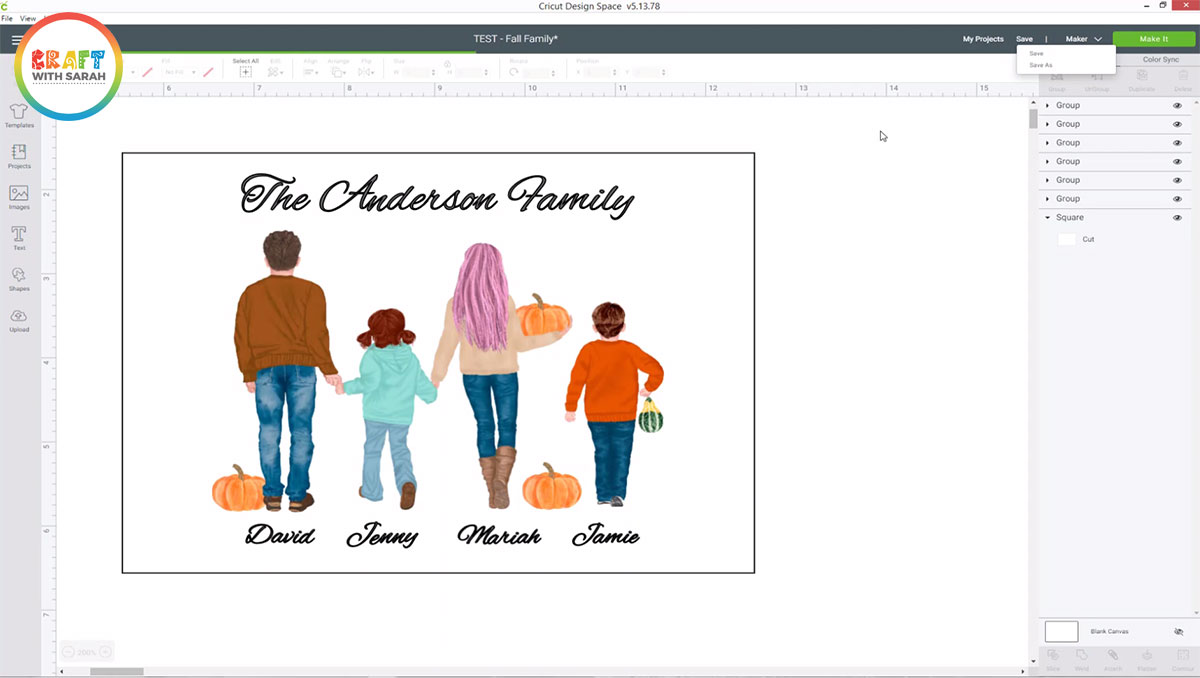
Click on one of the watercolour graphics layers in your layers panel on the right-side of your screen. Hold down CTRL or SHIFT on your keyboard and click all the other watercolour layers (but NOT the white rectangle that you made in Step 3).
Click the “Group” icon at the top of the layers panel to put all the watercolour graphics in a group.
Now, select the group AND the white rectangle layers, go to “Align” and then “Center”. This will position your artwork exactly in the middle of the rectangle for a more professional and balanced appearance.
6) Add your family’s names
Use the text tool to add the names of all your family members underneath the relevant graphics, and your family’s name at the top.
Design Space will probably put big ugly spaces between all your letters, particularly if you are using a script font… like this, eurgh:
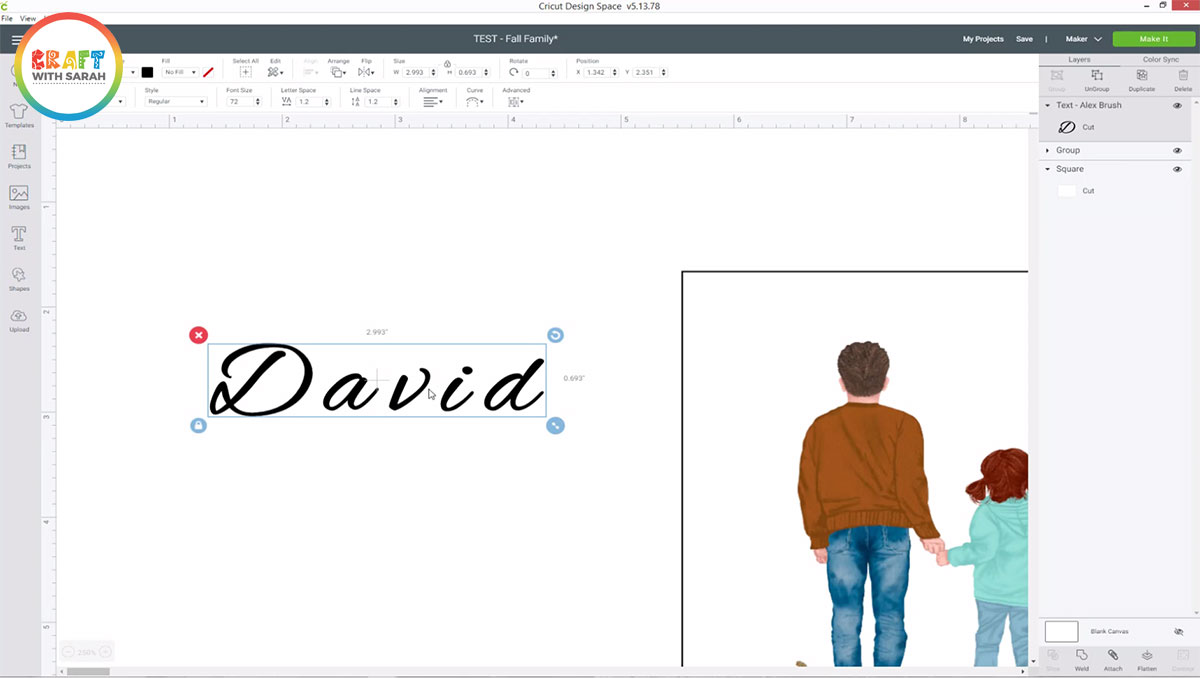
To fix this, right-click on the word and press “Ungroup”. This separates all the letters onto different layers so you can click-and-drag them closer to each other.
When you’ve finished a word, select all the letters and press “Group” to link them all together again.
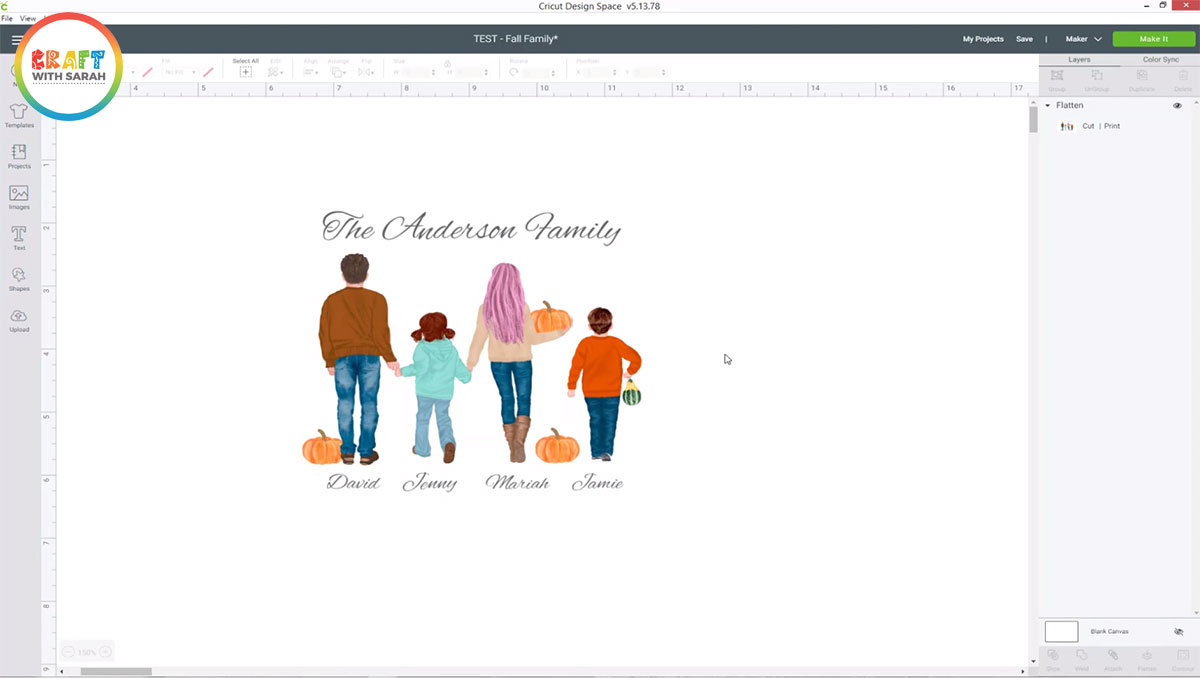
7) Flatten your design
When you have finished creating your artwork, you need to “flatten” it.
This merges all of the text and graphics together, along with your base rectangle, so that Design Space knows that you are going to print this out, and then your Cricut will cut around the outside of the rectangle.
If you do not flatten your design, it will print on different sheets of card and everything will be in the “wrong” order. Also… you Cricut will try and cut out each graphic and piece of text separately, which isn’t what we want!
To flatten your design, select ALL the layers (including the white rectangle) and then press the “Flatten” button.
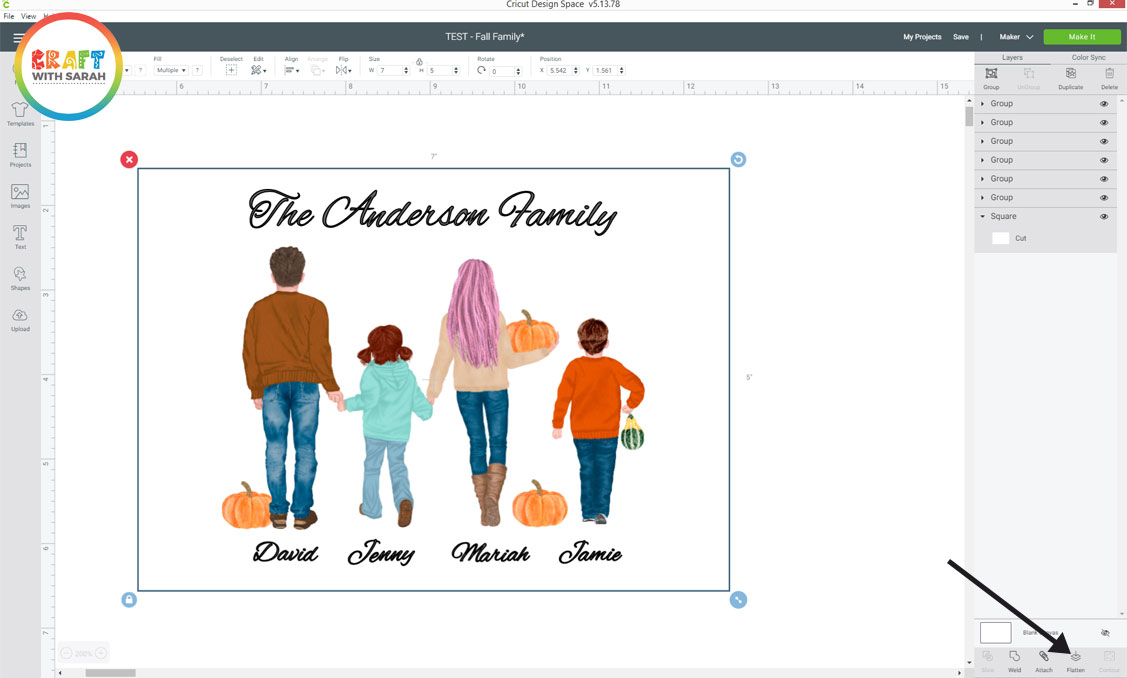
This will remove the black outline from your text, and turn the whole design into one flattened layer.
Don’t worry that you can’t see the outline of the rectangle any more – it is still there, even though you can’t see it!
How to print then cut on a Cricut
Once you’ve flattened your design, it’s time to print it out and then cut out the rectangle shape with your Cricut.
If you do not have a Cricut machine, you can still follow the instructions to print out the design using Design Space, and then you can just cancel the cut and manually cut your printed paper by hand using a paper trimmer, or craft knife.
1) Print the design
Click the green “Make It” button on the top right of your screen.
Don’t worry about the black outlines around your design – they are supposed to be there. These are called “registration marks” and they are needed so that your Cricut knows where to cut.
Click “Continue.
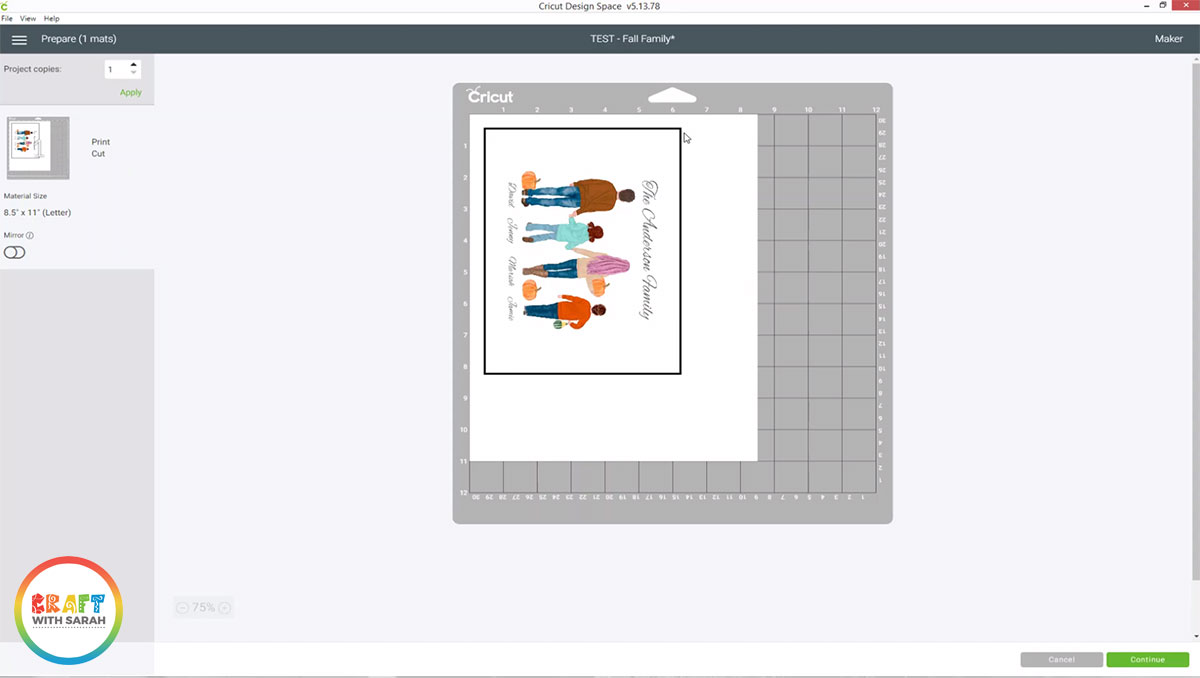
Click “Send to Printer” and then in the popup that appears, make sure the “Add Bleed” option is OFF and the “Use System Dialog” option is ON.
It’s important to turn the System Dialog on because then we can change our printer settings to the highest quality to ensure a perfect print.
Click “Print”.

This will open your printer settings. Yours may look different to the image below depending on the type of printer you have.
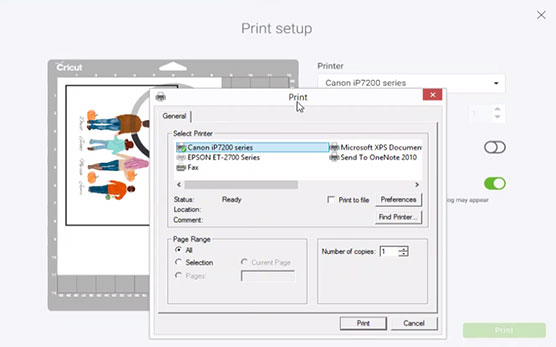
On mine, I can click the “Preferences” button to change my printer settings.
Change your paper type to “glossy photo paper” (or whatever type of paper/card you are printing on) and make sure the quality is set to the highest option.
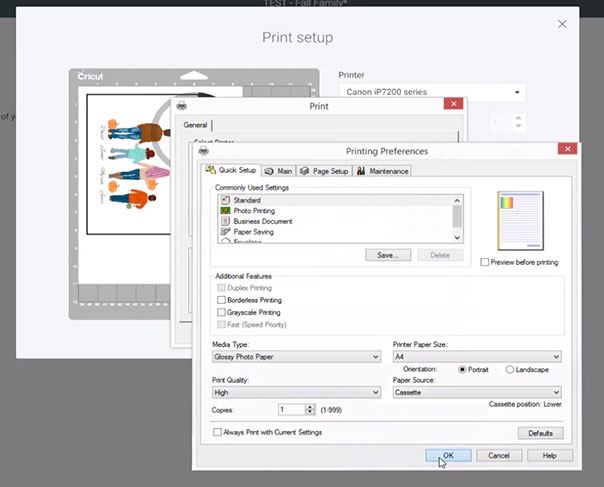
Press “OK” and then print out the design onto your paper.
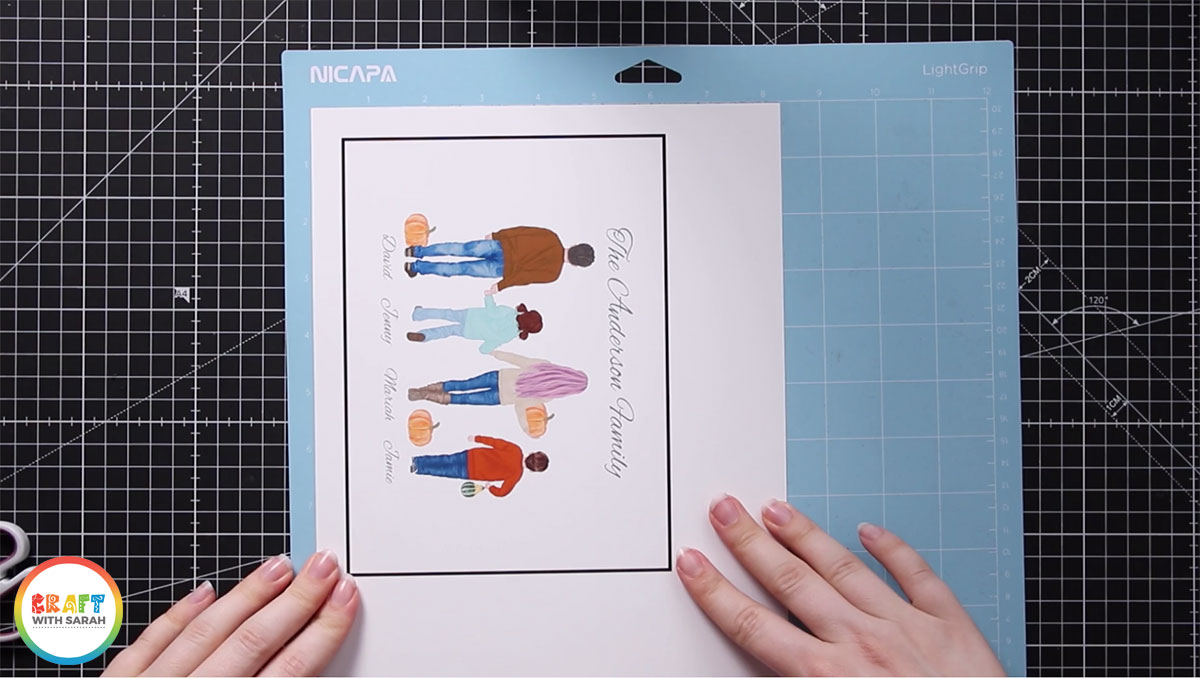
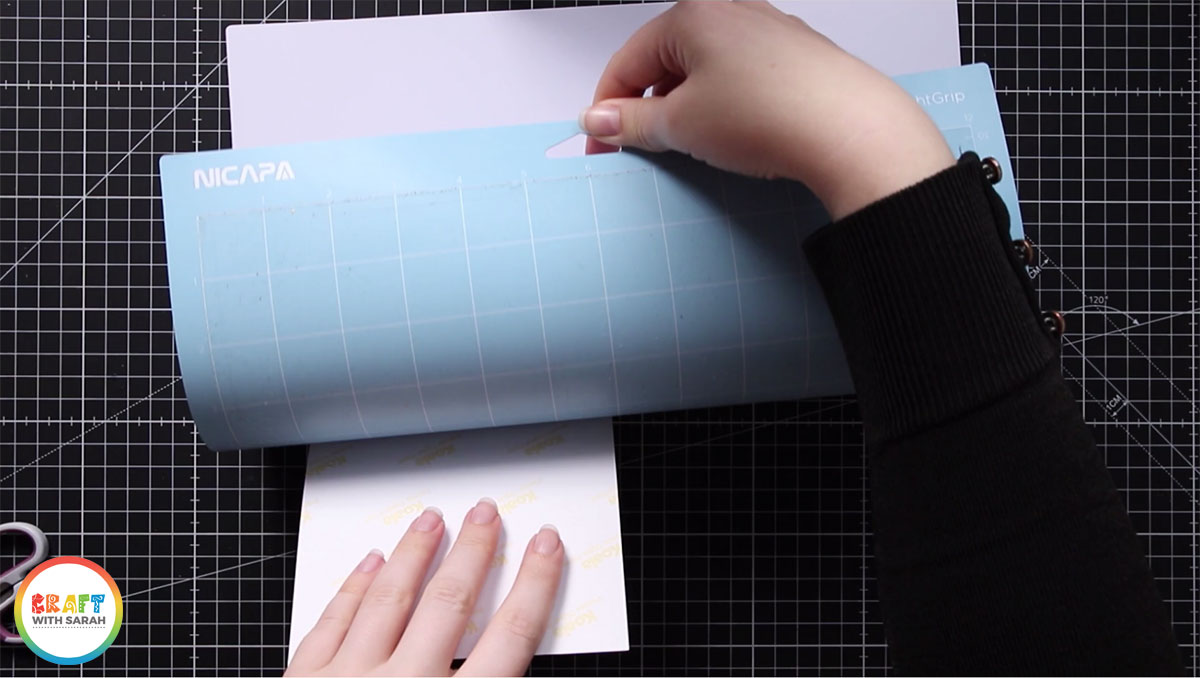
2) Stick the paper onto your Cricut mat
If you’re using a Cricut machine to cut out your design, stick your paper onto a light blue (light grip) cutting mat.
Line the paper up with the top and left lines of the grid on your mat.
Press the paper down firmly to ensure a good stick, but don’t run a scraper tool or brayer over your printed artwork as it might scratch or smudge it.
3) Cut out the design
Look back at Design Space and move on to the next step, which is cutting out the design.
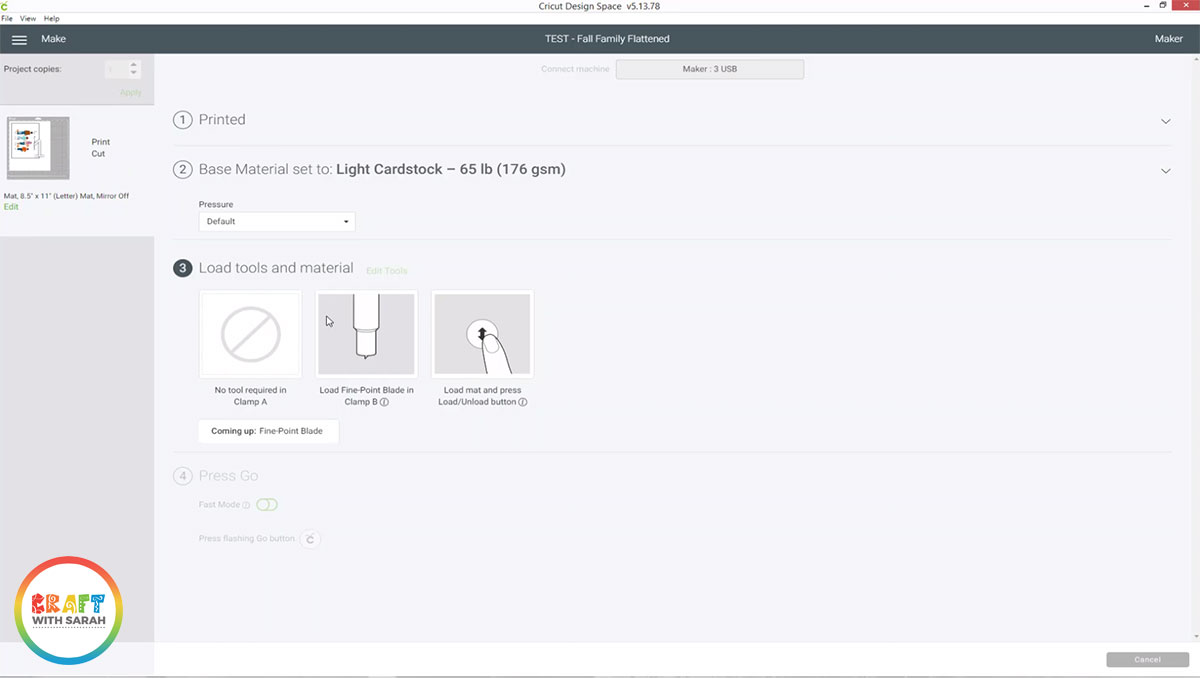
Load your mat into the Cricut machine and then press the “Go” button.
A light will appear on your Cricut machine. This means that it is looking for the black border around the edge of your paper. Your Cricut needs to know where these black lines are so that it can then determine exactly where it needs to cut.
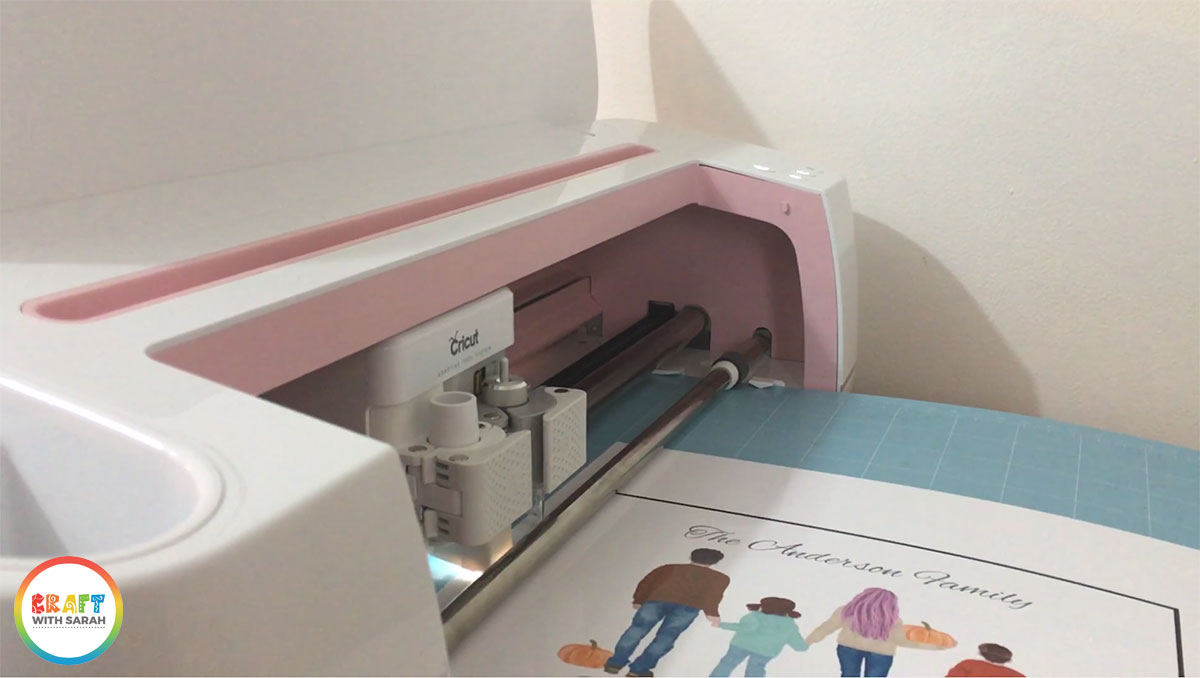
Once the light goes off, it means it’s ready to cut! Your Cricut will cut a rectangle around the edge of your design and then you can eject the mat and it’s time to put it all together.
How to frame your design
It’s time to frame our artwork. Here are some tips for framing your personalized watercolor family portrait after it’s been cut out.
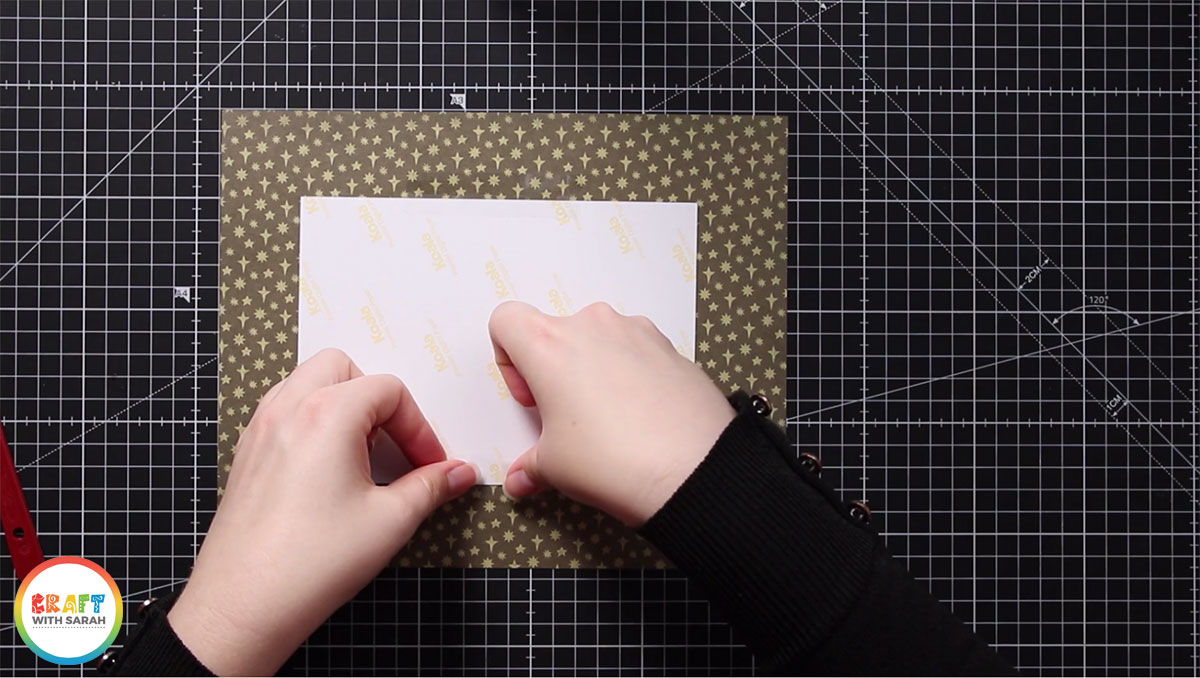
1) The RIGHT way to take photo paper off of a Cricut mat
Pull off the excess photo paper from around the edge of your design, but do NOT peel off your actual artwork yet.
If you were to pull your artwork away from the mat, it is likely to curl up at the edges which can cause issues when trying to fit it in the frame.
Instead, turn your Cricut mat upside down and then slowly and gently bend it backwards. Your photo paper should “pop off” of the mat (you may need to use your fingers to help it off) and by doing it this way, the photo paper won’t curl.
2) Cut a card mat/frame, if you need one
I was originally going to use a 5×7 inch frame for my artwork, but then changed my mine to an 8×10 inch frame.
As I’d cut the design out at 5×7 inches, I needed to create a mat from cardstock to go around the edge of my design.
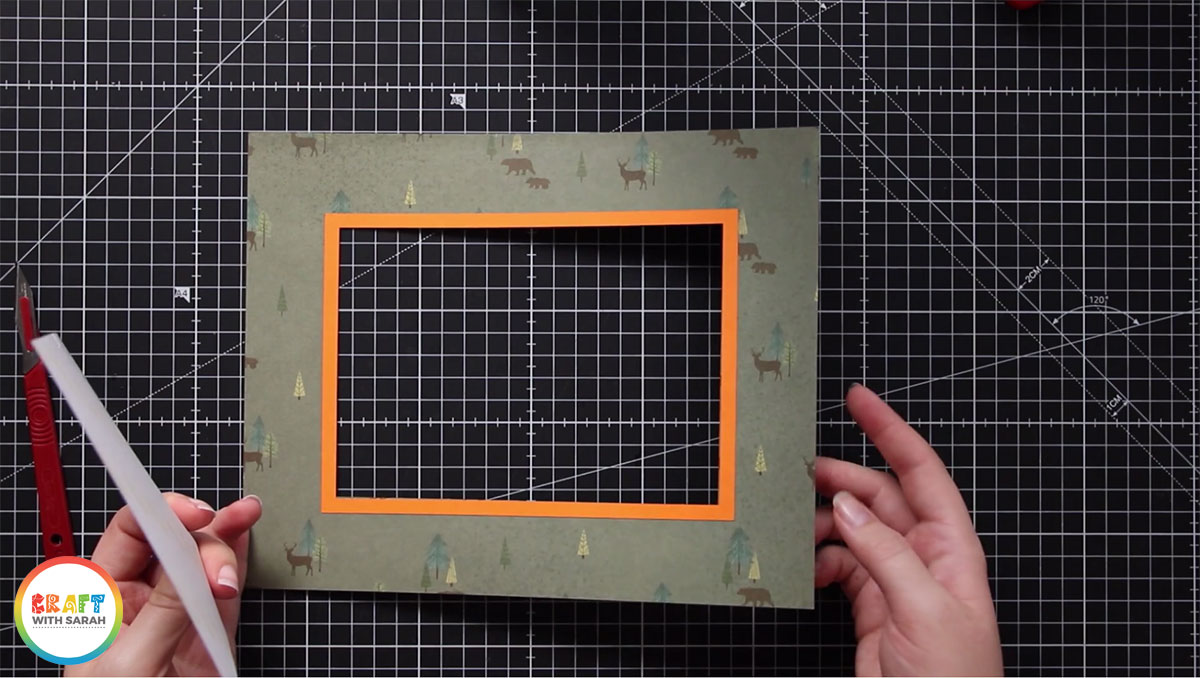
To do this, make a rectangle in Design Space and size it to match your frame. Create a smaller rectangle and align it into the center of the big one, then use the Slice tool to cut the smaller rectangle out of the larger one.
Cut the mat out with your Cricut, then attach your artowrk to the back using sticky tape.
3) Put the artwork inside your frame
It’s now ready to frame! Simply place your art inside the frame, close the frame up, and it’s done!
I hope you enjoyed this tutorial on how to design your own personalized family portraits in Design Space, and then cut them out with your Cricut machine and frame them.
Happy crafting,
Sarah x