
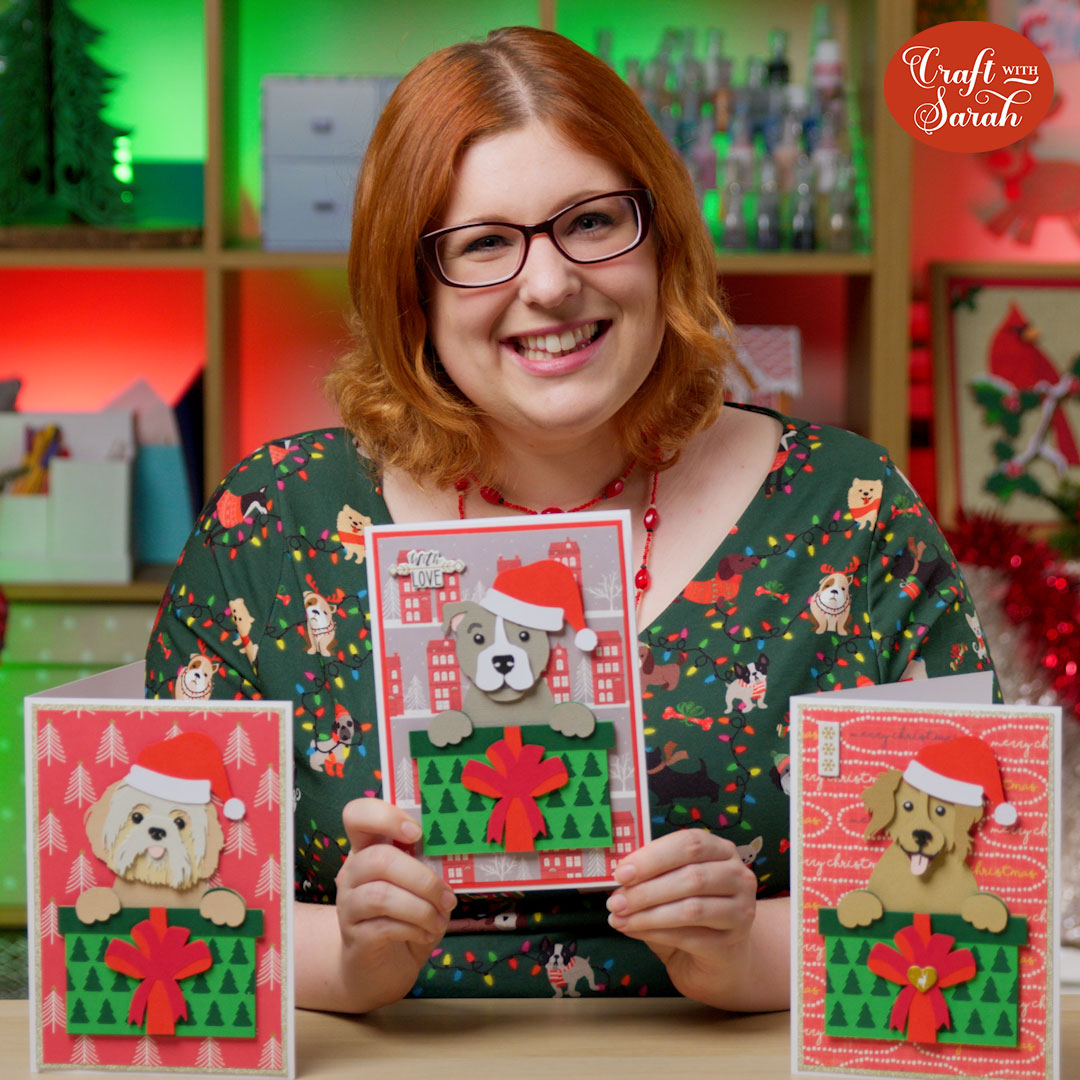
Put your Pet on a Card! Peeking Dog & Cat Christmas Cards
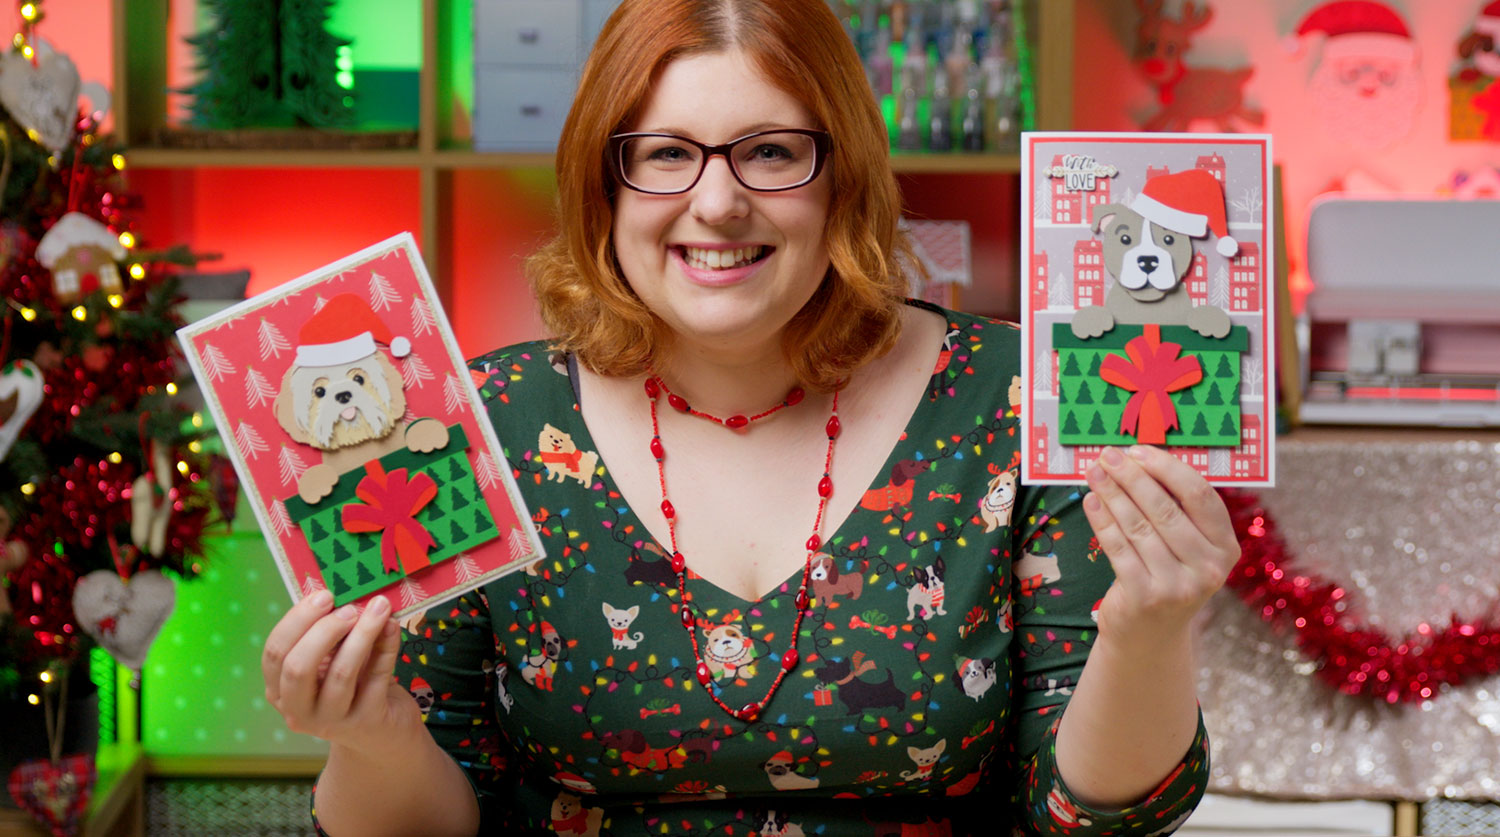
Make a Christmas card with your dog or cat on it!
Welcome to Day 14 of the Christmas Craft Countdown, where I’m revealing a new Christmas craft project every day for 20 days.
In this tutorial we’re making layered greetings cards which feature either a dog or a cat, but the best thing is: you get to choose what breed of dog or cat to put on the card!
This project is part of 2021's Christmas Craft Countdown.
How to make a peeking dog or cat Christmas card
Watch the video below to see how to make a cute greetings card with your pet on it. Keep scrolling for a written tutorial.
This video was recorded using Design Space version 6.16.124. Later versions of Design Space may look different.
Materials list to make a Christmas puppy card
Here is a list of the materials that I used to make this project:
Please note that some of the links included in this article are affiliate links, which means that if you click through and make a purchase I may receive a commission (at no additional cost to you). You can read my full disclosure at the bottom of the page.
- Cricut Maker
- Light blue Cricut cutting mat
- Coloured Card (I used 160gsm weight of card)
- Patterned paper (mine is from a now-retired scrapbook set)
- Collall All Purpose Glue
- Needle Tip Applicator Bottle
- 3D foam pads
- A5 (UK size) white card blank
Layered pet card assembly instructions
Here’s how to make your very own dog and cat greetings card using a Cricut machine!
Step 1) Choose your free dog or cat SVG
Login to your Christmas Craft Countdown account to get a voucher to download one of my dog or cat SVG files for free.
There are over 180 different dog SVGs to choose from and 20 different cats!
To get your voucher, use the green box below to download the “gift” part of the cutting file for this project. Included in the download folder is a PDF file called “FREE SVG VOUCHER.pdf” which contains the information on how to get your free SVG. Please note that you MUST have purchased the Christmas Craft Countdown to be eligible for the free download.
Step 2) Download the file & unzip the downloaded folder
Download the gift/present part of the file using the box below. The download folder also contains information on how to claim your free dog or cat SVG.
Use the box below to download the cutting files for this project. Please note that this is not a free file.
It is part of the Christmas Craft Countdown which is a collection of 20 exclusive Christmas themed craft projects.
This design is part of the 2021 Christmas Craft Countdown.

If you have already purchased the Christmas Craft Countdown,
please login to your account.
Before you upload the SVG to Design Space, you need to unzip the download folder that it comes in.
- How to unzip a folder on Windows computer
- How to unzip a folder on a Mac
- How to unzip a folder on an iPad/iPhone
- How to unzip a folder on an Android device
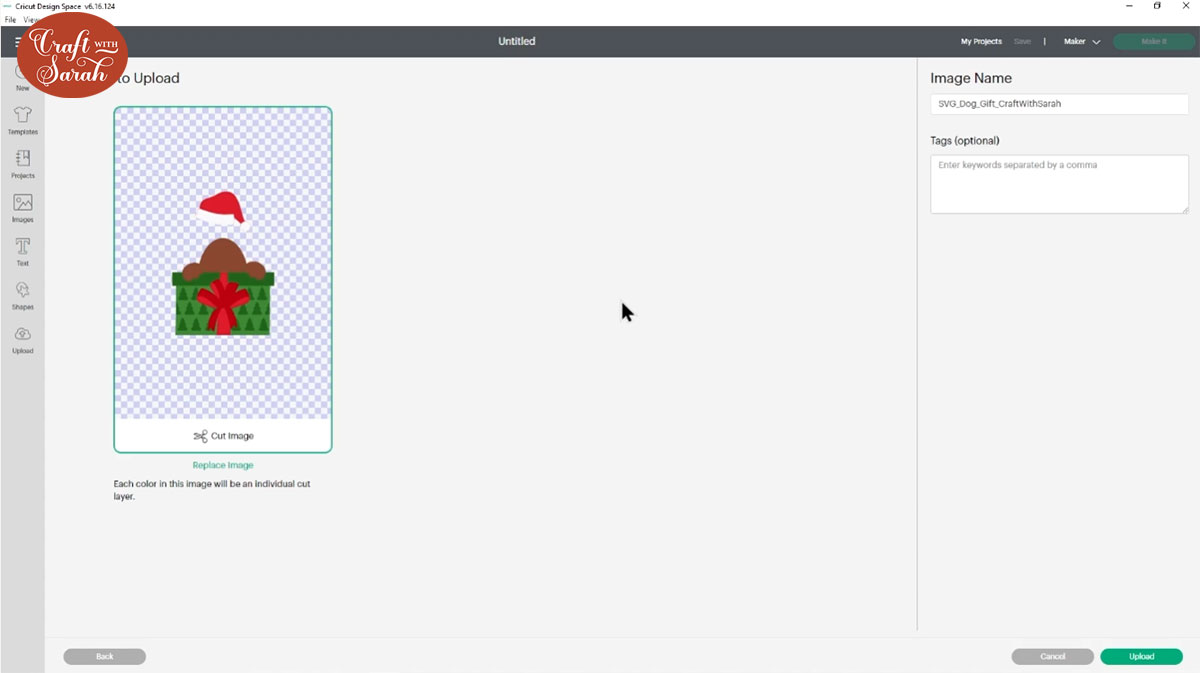
Step 3) Upload the SVG file into Design Space
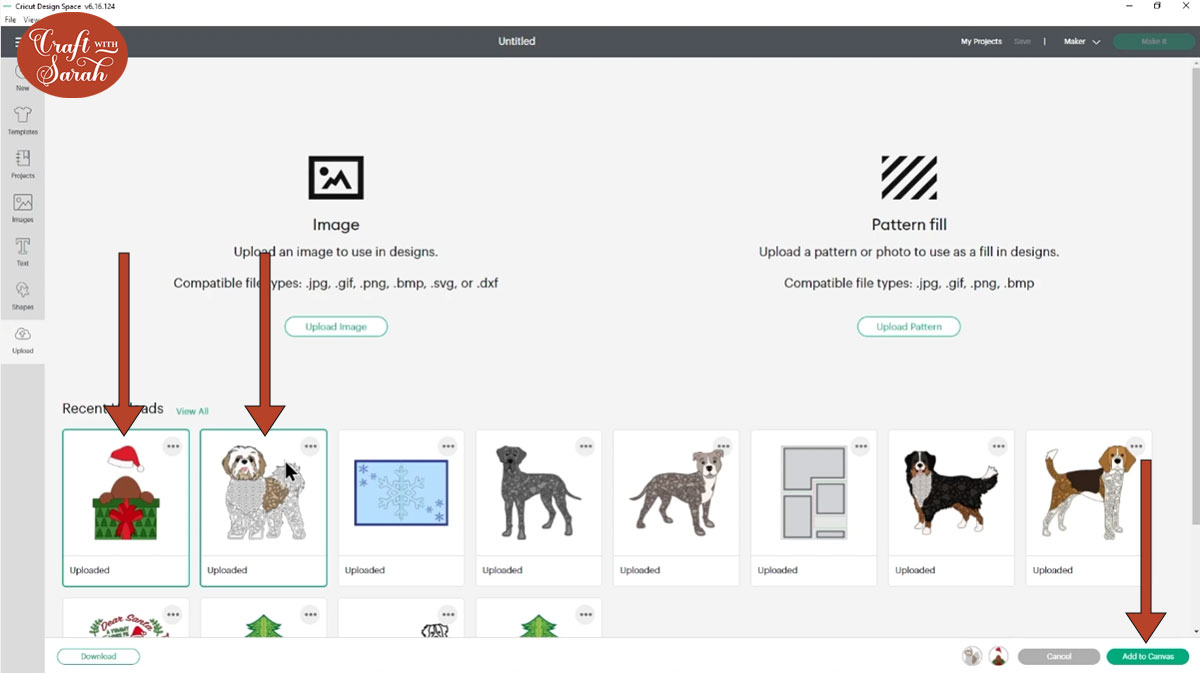
Open up Cricut Design Space and upload the file called SVG_Dog_Gift_CraftWithSarah.svg
Make sure you upload the file which starts SVG_ in the filename!!
This is how it should look after you have uploaded the file:
Repeat the same steps for the dog or cat SVG that you downloaded using your free voucher.
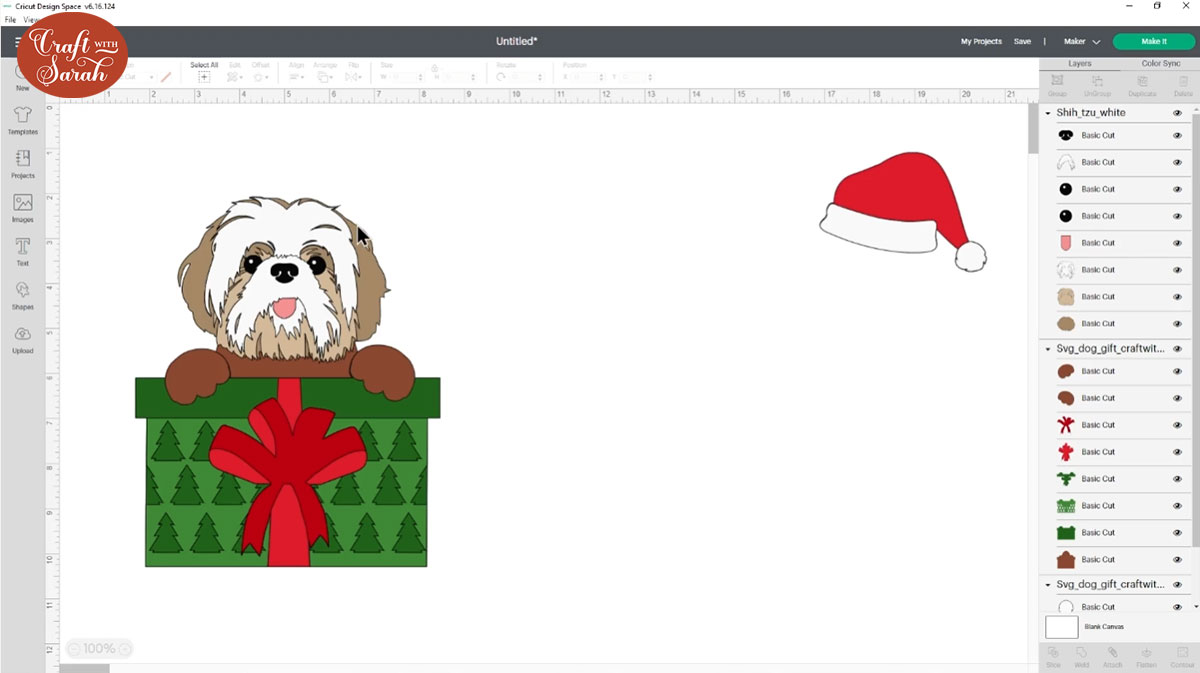
After uploading, the designs will show in your “Recently Uploaded Images”. Click them both and then press “Add to Canvas” to put it onto your Project.
Step 4) Remove the body layers from the dog or cat
Look down the layers panel on the right-side of the screen to see the different layers that make up the pet design you have chosen.
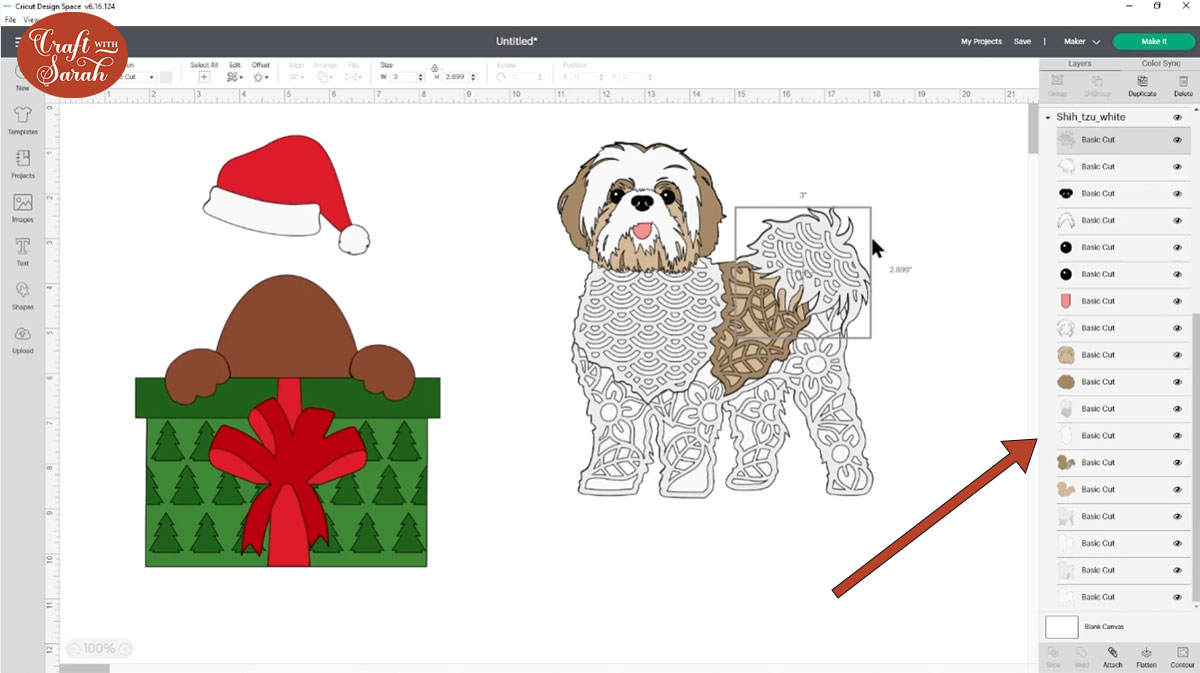
Click each of the layers that make up the body and then press “Delete” on your keyboard to remove them so that you end up with just the head.
Need help? Check out this more detailed tutorial on how to separate the pet heads from the bodies.
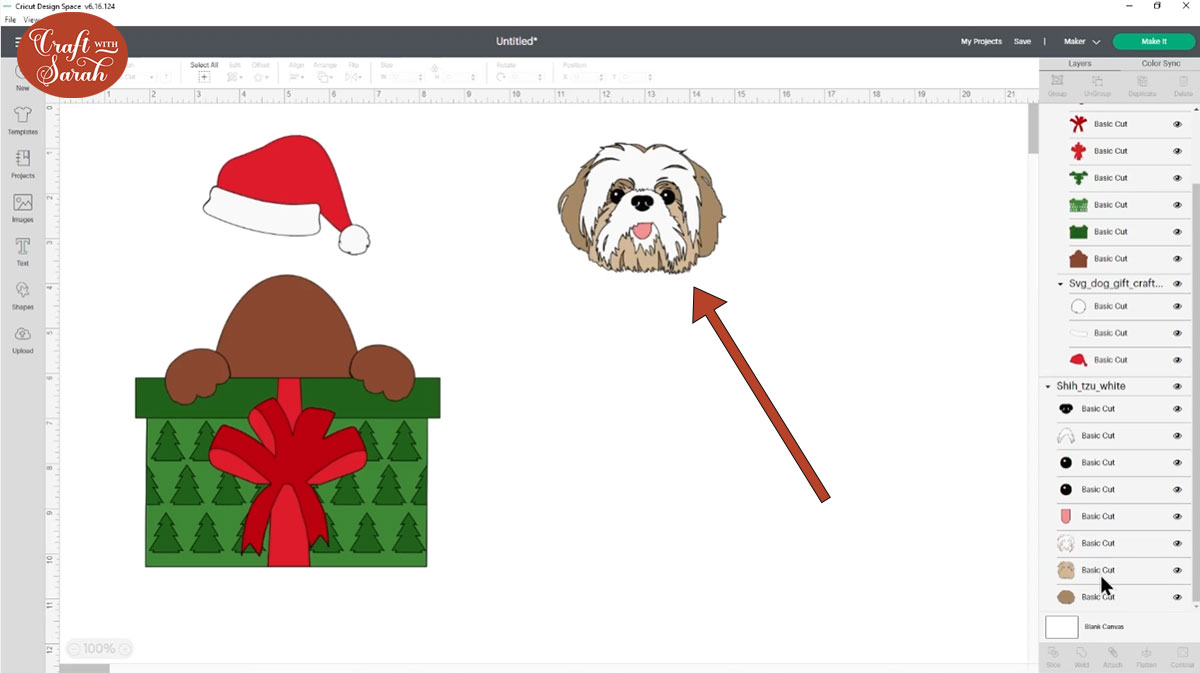
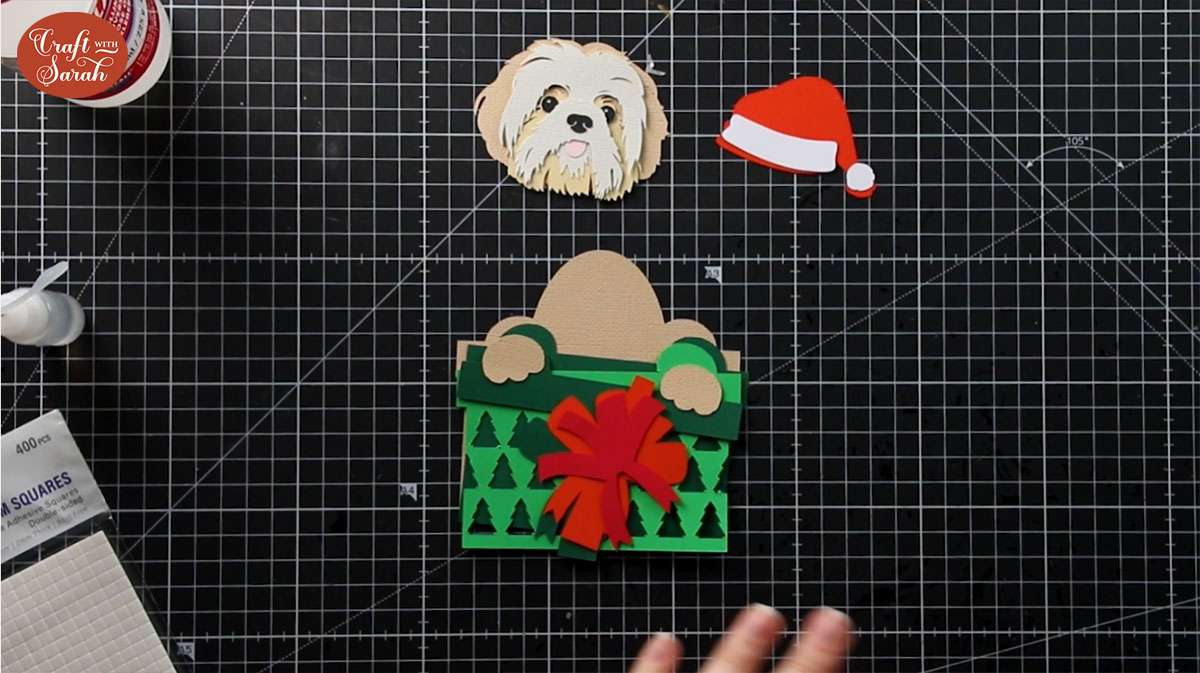
Step 5) Position the animal design on the present
Click the present design and press “Ungroup” to separate the different parts.

Click and drag the Santa hat to a different part of the screen so it’s out of the way.
Position the animal head above the body. If your head is showing underneath the body then click the head, press “Arrange” and then “Send to Front” to put it on top.
Resize, rotate and move the head until you are happy with how it’s looking on the body.
Can’t get it looking ‘right’? Watch the video near the top of this page for a full tutorial, including how to add a different shape for the body of the animal.
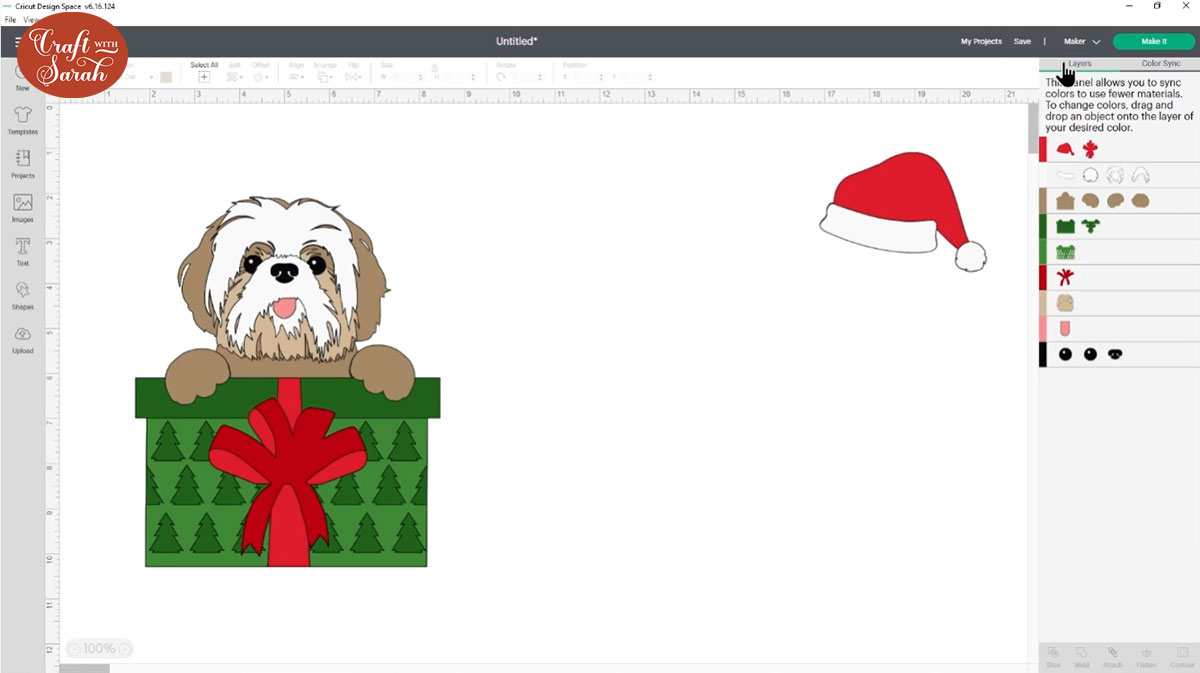
Step 6) Recolour the pet layers
Re-colour the layers of the dog or cat to match the pet you are trying to replicate.
Here are some tutorials on how to recolour the SVG:
Step 7) Add the Santa hat on top
Drag the Santa hat back on top of the dog. You may need to use the “Arrange” button and then “Send to front” to move the layers above the head.
Resize and rotate it until it looks natural.
For “floppy eared” pets, I think the hat looks best when placed in the middle of the head, touching both of the ears.
If your pet image has two pointy ears going then I find it looks best to rotate it to one side and hang it over one of the ears so you’ve still got the other pointy ear showing. If you cover both ears then it kind of detracts from the overall look of the dog a little bit.
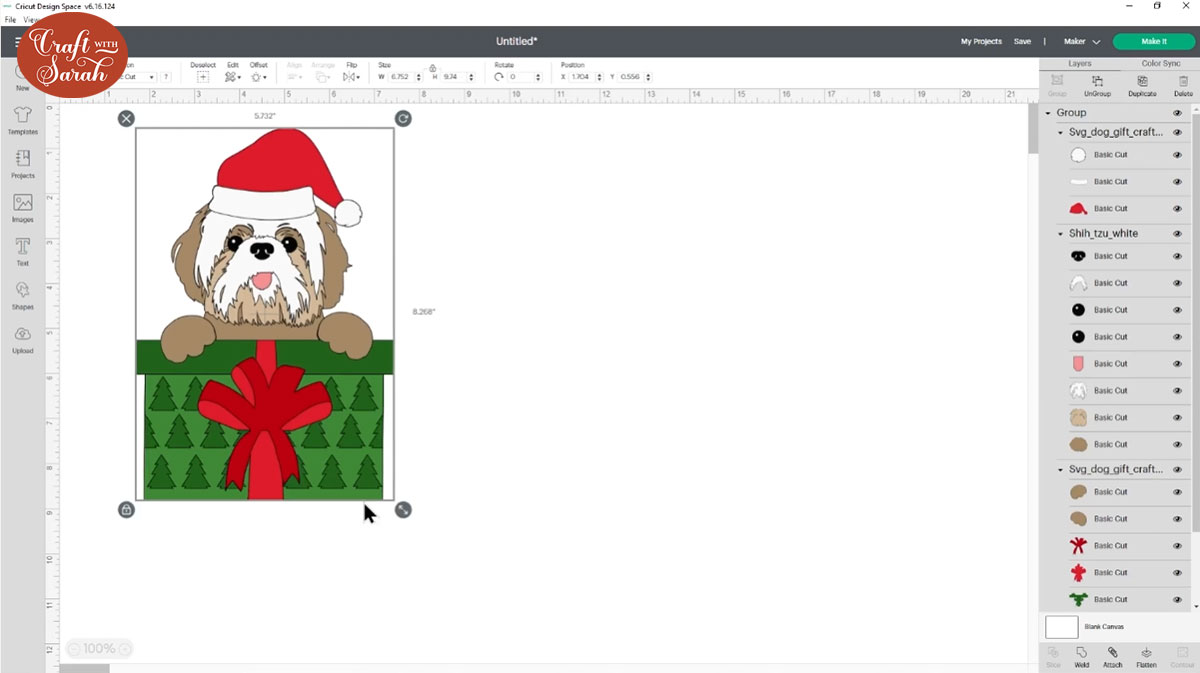
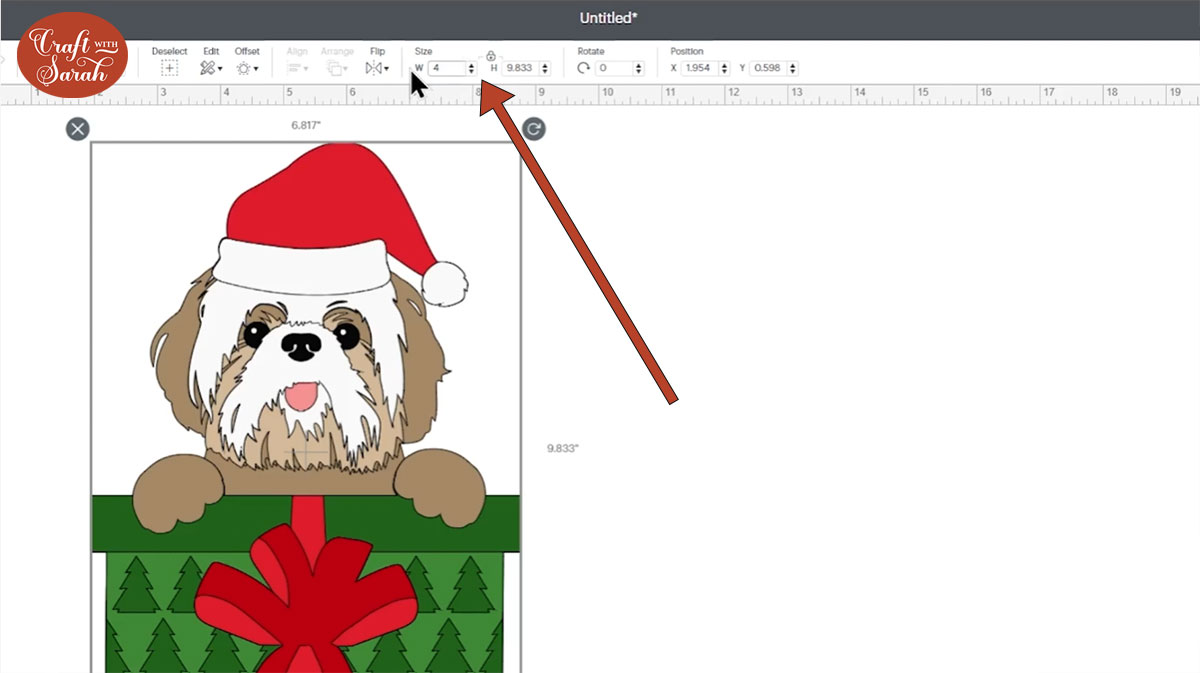
Step 8) Resize the design
Press “Select all” to select all the layers.

Click “Group” so that we can resize all the layers at once.

Use the width/height boxes at the top of the screen to size your design.
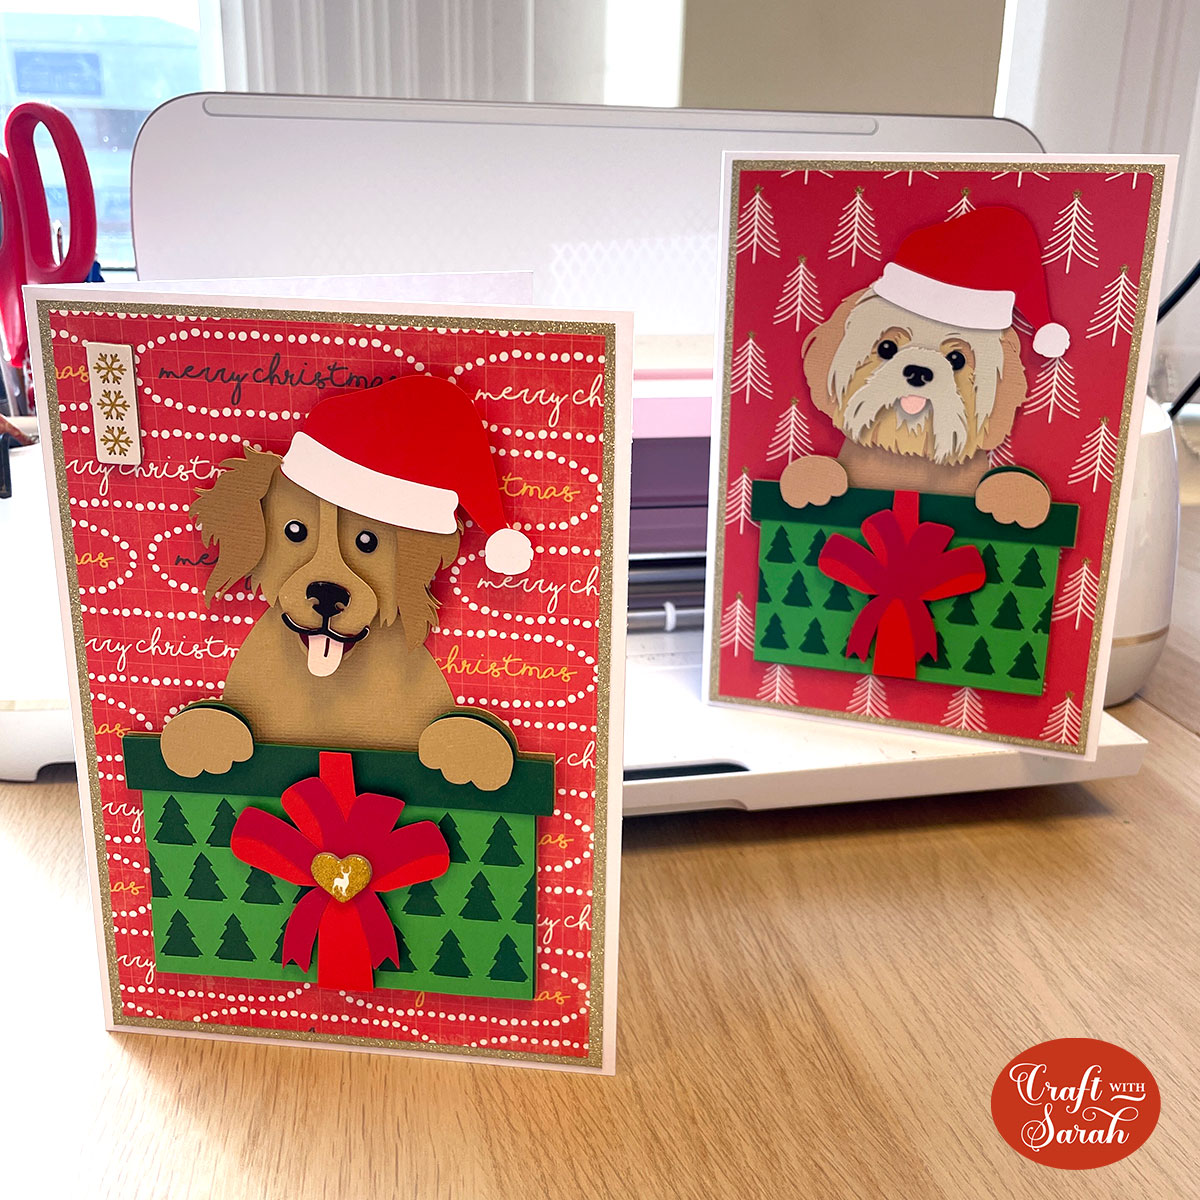
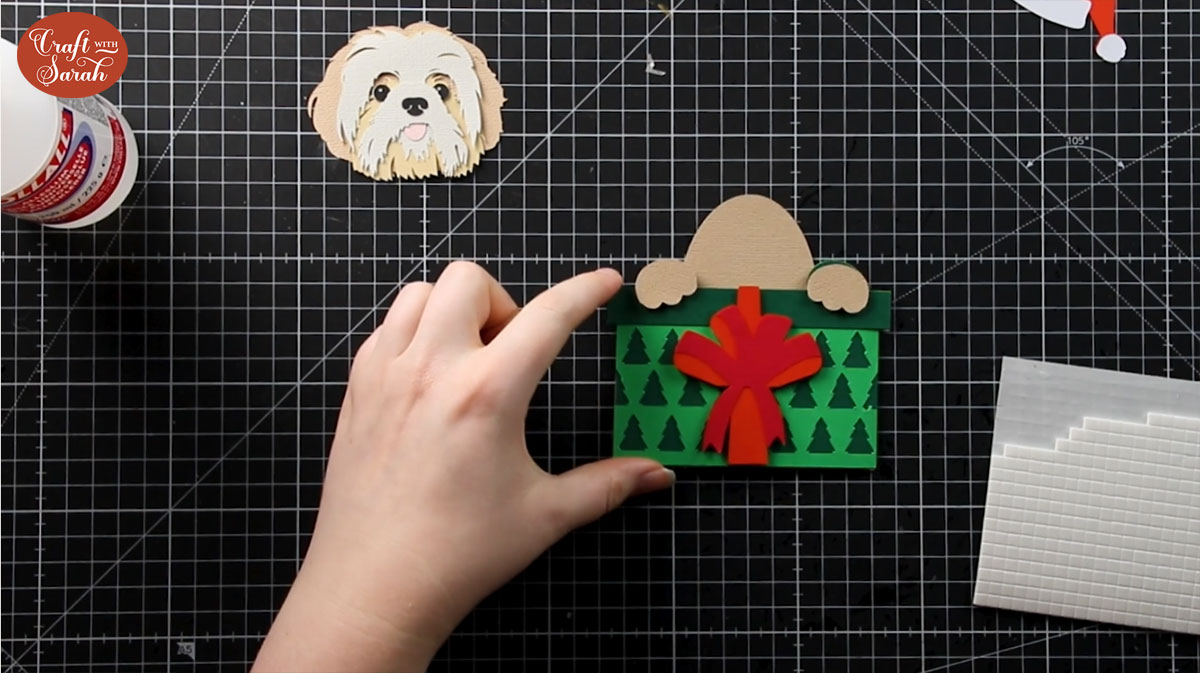
Step 9) Stick the pieces together
Once you’re happy with how it’s all looking, save your design then click “Make it” and follow the on-screen instructions to cut everything out from cardstock.
Position the layers one-on-top the other (without sticking them) to make sure you are happy with the colours and that you haven’t missed any layers out.
Use glue to stick the white bauble and fur pieces to the red part of the hat.

Stick the present layers according to the image below. A higher quality, printable version of this assembly guide (without the watermark) is included in your download folder.
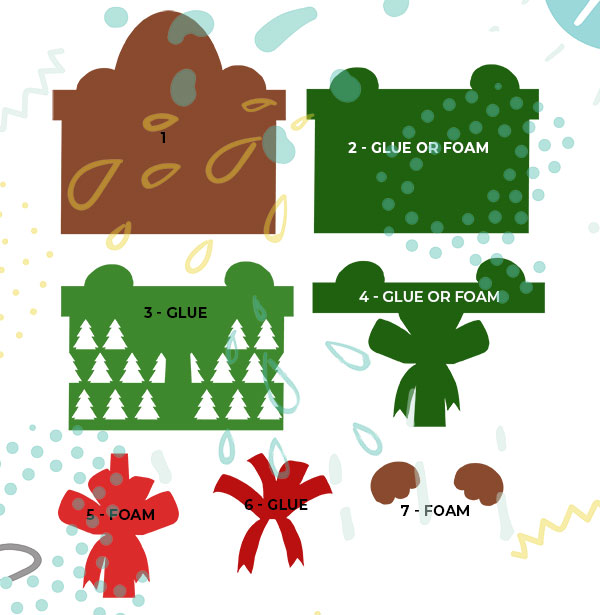
You can choose for some of the layers whether to stick them together with foam pads or glue.
I used glue for most of mine as I didn’t want my card to get too thick that it would need a higher-priced postage stamp.
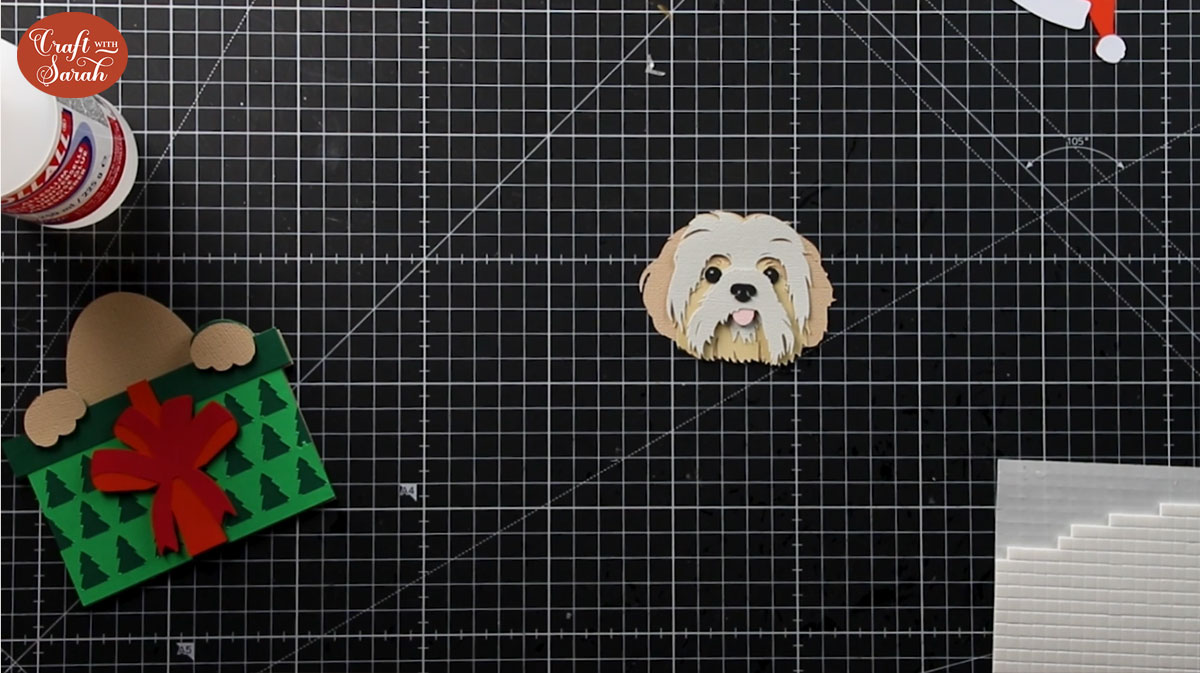
Finally, stick your pet head together. The download folder you received from my shop contains another assembly guide to show the order in which to stick the layers.
Please note that the assembly guide is based on making the pet design for a shadow box, so it may have quite a few “foam pad” layers in it. To stop your card getting too thick you may wish to substitute some of those layers for glue instead, which is what I did.
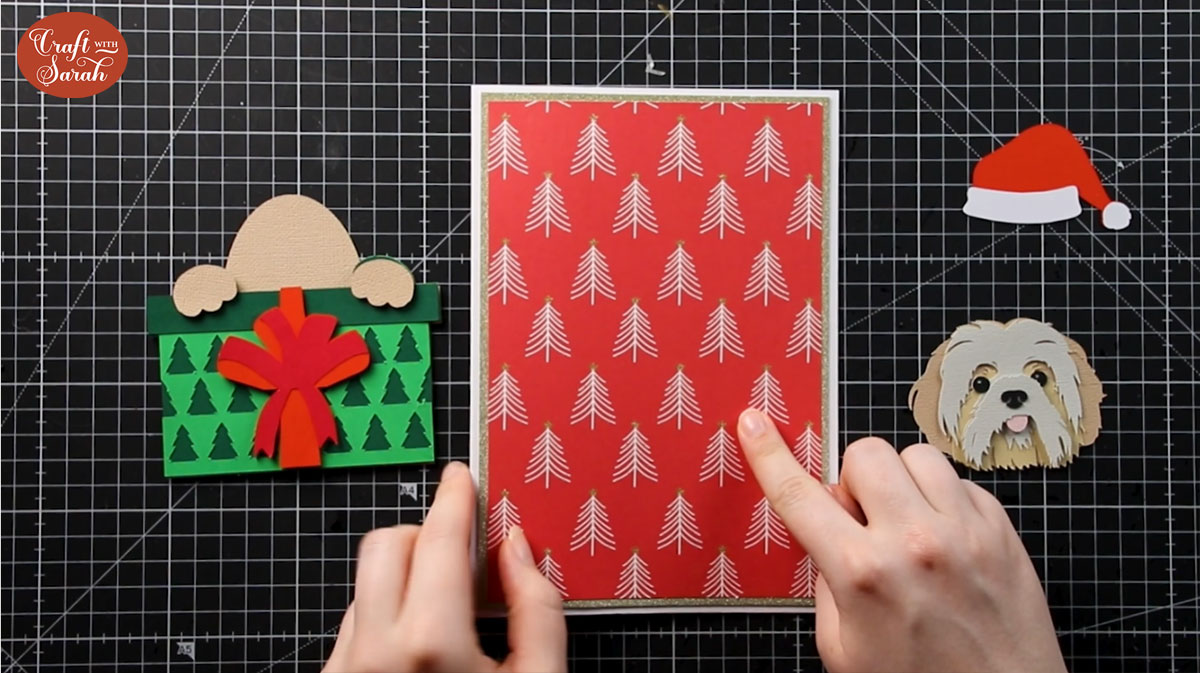
Step 10) Decorate your base card
Use patterned paper to decorate the base of your card. I am using a white A5 card (UK size) and put a rectangle of gold glitter card on top and then some red patterned paper with a Christmas tree design.
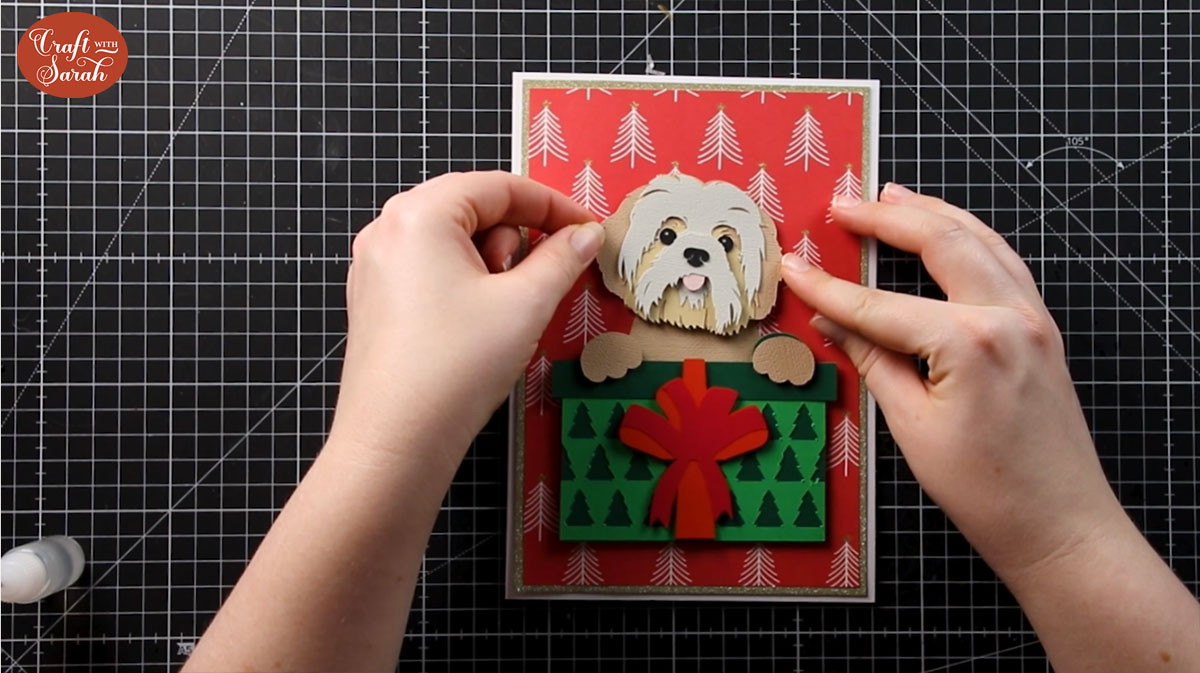
Step 11) Attach the pet design to the card
Place all three parts of the pet image (present/body, head and santa hat) on your card to make sure you know where to put it so that it will all fit.
Glue the base piece (the present/pet body) to your card.

Use 3D foam pads to stick the head on to make it “pop out” from the body.
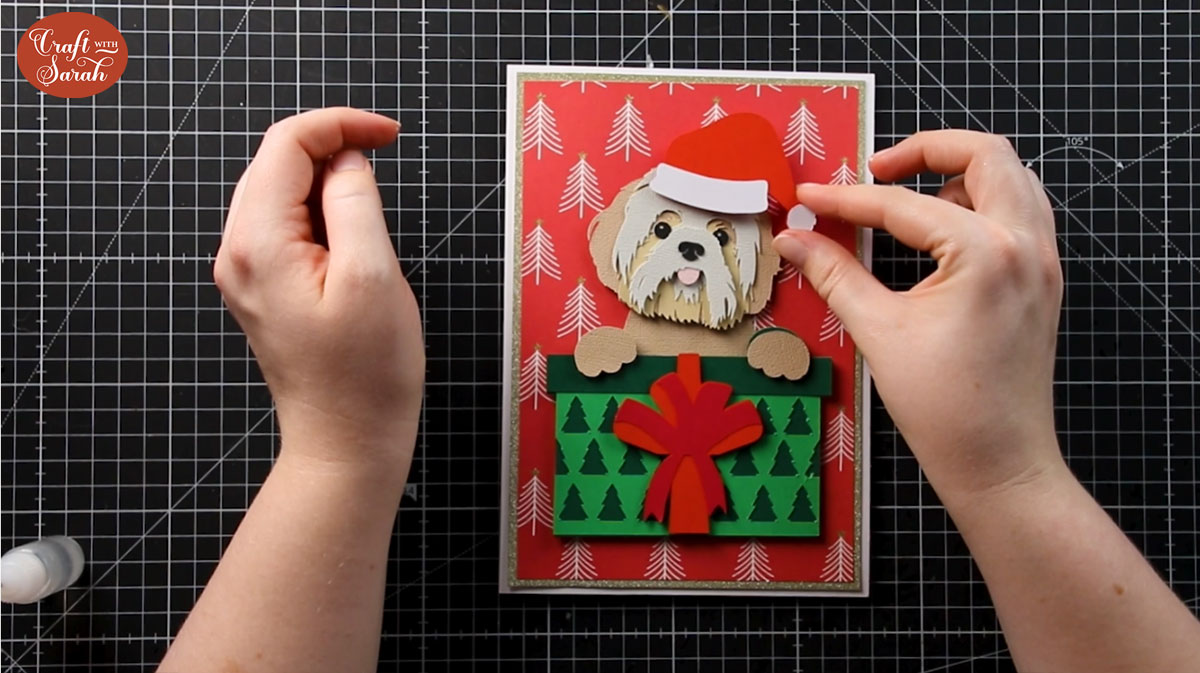
We need to be a little bit clever when adding the Santa hat to make sure it sits level along the top of the dog’s head.
For my card, I used foam pads for the top part of the hat, then a bit of glue along the dog’s head so that when I stuck the hat on, it was level against the head layer that was already raised up.
For a more detailed explanation, and how to work out how many layers of foam pads you need, please watch the video at the top of this page.
And there you have it – your pet Christmas card is now finished!!
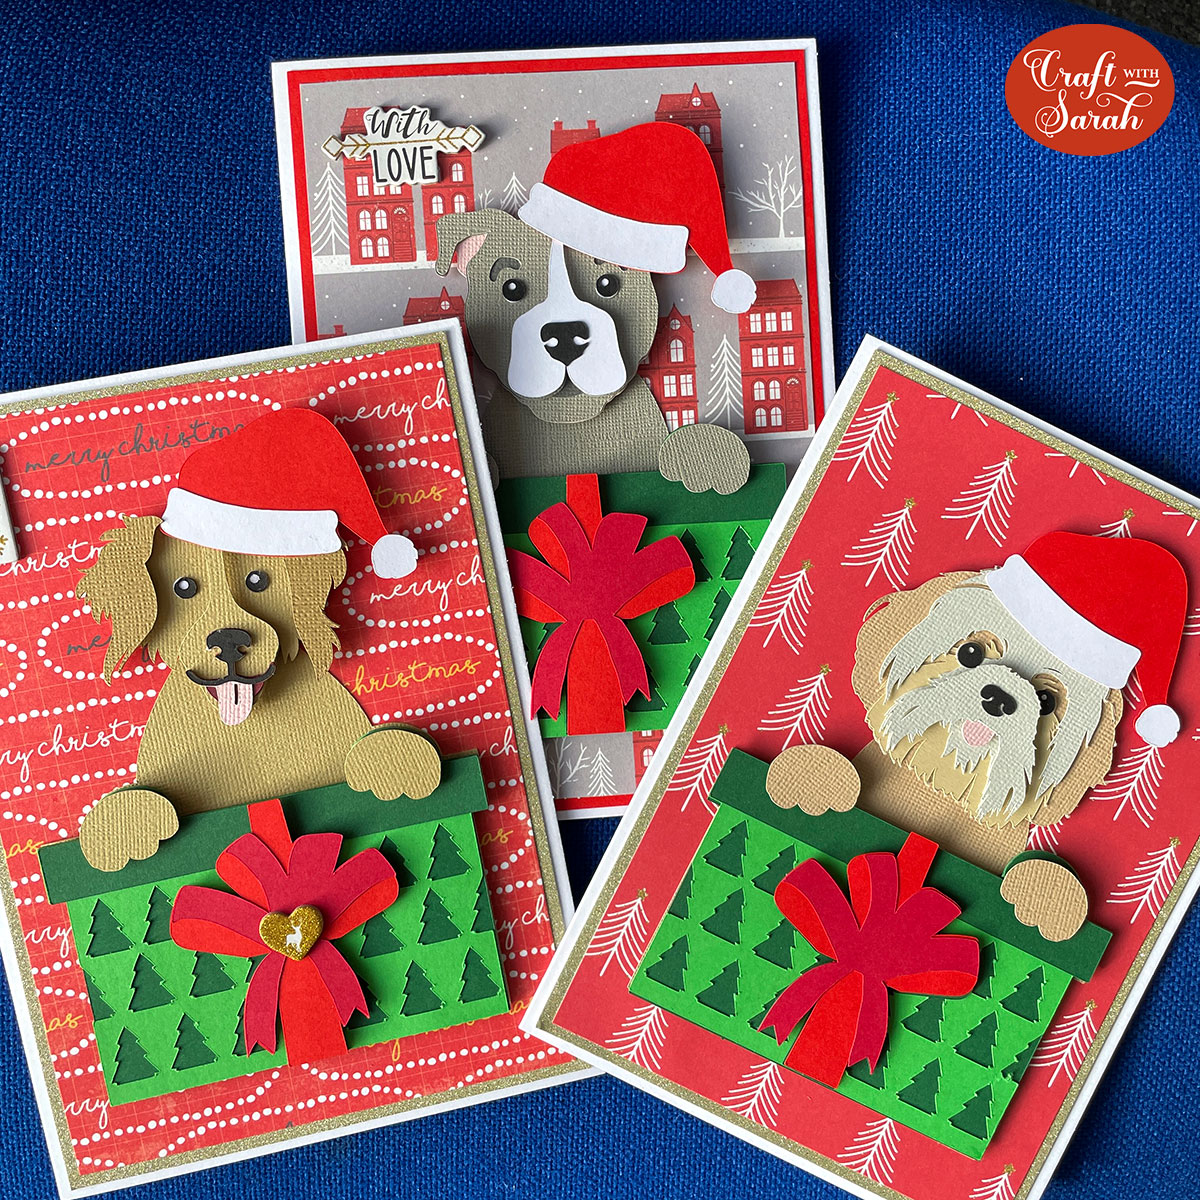
I hope that you enjoy this tutorial on how to make a custom greetings card of your dog or cat!
This project is part of 2021's Christmas Craft Countdown.
Happy crafting,
Sarah x